Haikelite MT03 TA Devourer review
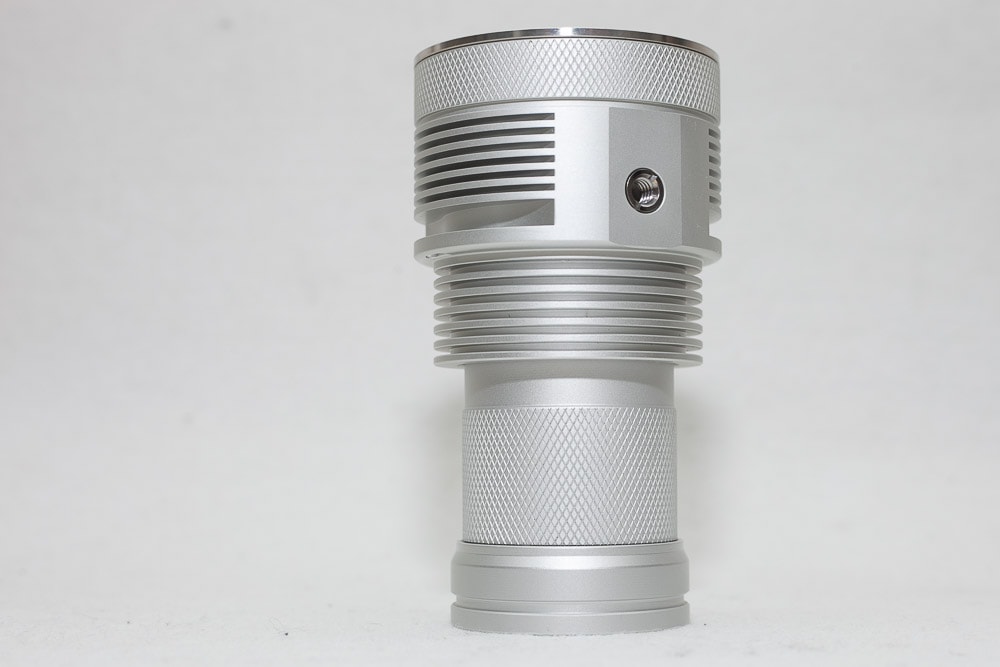
Introduction:
Before you go and order this light, you need to know that there are more versions of the exact light, so let me explain shortly the differences.
Haikelite has 3 flashlights that are named HaikeLite MT03! So please beware that the one I review is the most powerful one of the 3, being the 21,000 Lumen version. The first one is the Haikelite MT03 II Devourer XHP70 2SPS 8760 Lumens. Which this review is not about.
The second one is the HaikeLite MT03 II Devourer XHP70.2 2sps New Driver 12,000 Lumens.. Which this review is also not about.
This review is about the HaikeLite MT03 TA Devourer XHP70.2 P2 21000 Lumens. And to my understanding: TA stands for Texas Ace, a BLF member who designed the driver for maximum power.
| Brand/model | Haikelite MT03 TA Devourer |
|---|---|
| LED | 3* Cree XHP70.2 |
| Lumens | 21,000 lm |
| Beam intensity | N/A |
| Battery config. | 2/4*18650 |
| Material | Aluminum |
| Modes | Many, runs NarsilM |
| Blinkies | Many, runs NarsilM |
| Reflector | Orange peel |
| Waterproof | IPX8 |
| Review date | 2018 |
What you’ll get:
- Haikelight MT03 TA flashlight
- Carton box
- Manual printed on normal paper
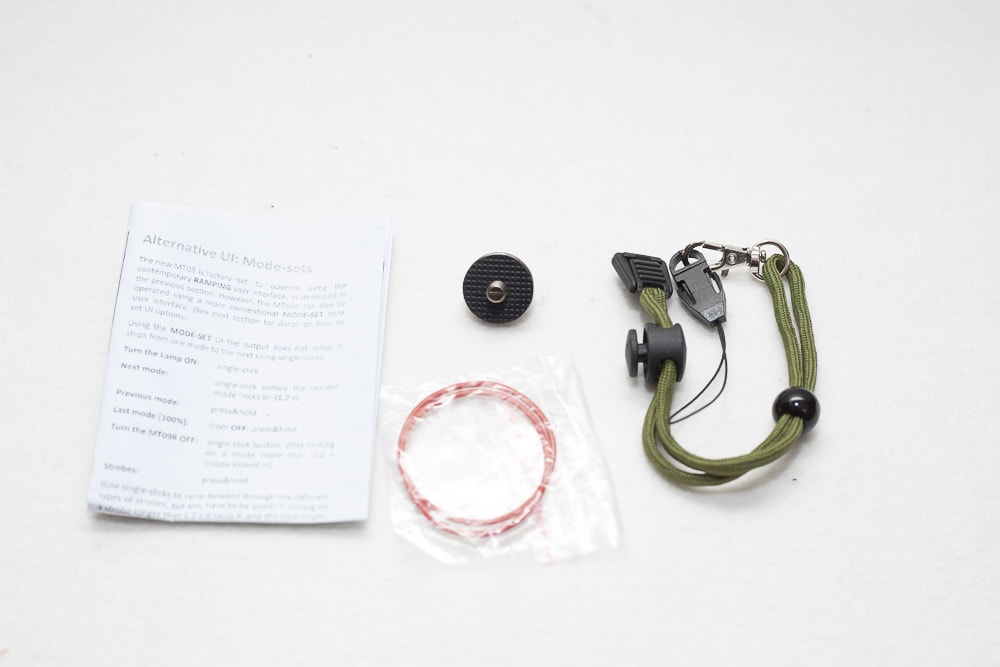
- Spare O-ring
- Tripod mount screw
- Lanyard
I consider Haikelite a flashlight manufacturer with potential. They are making some very interesting flashlights, and this being one of the latest editions. The packaging leaves much to be desired. The carton box is rather weak, but fortunately, the shipment wasn’t a problem with the extra protection around the box.
Inside the box, you’ll find the flashlight, a few spare o-rings, a tripod mount screw ring for lanyard attachment, the lanyard, and a printed manual on normal paper. If they hadn’t added this paper manual, I would have been more impressed. The printed paper lowered the “quality feel” of the whole package. So Haikelite, if you read this.. make sure you add a manual on quality paper, not just printer paper.

Handling of the light
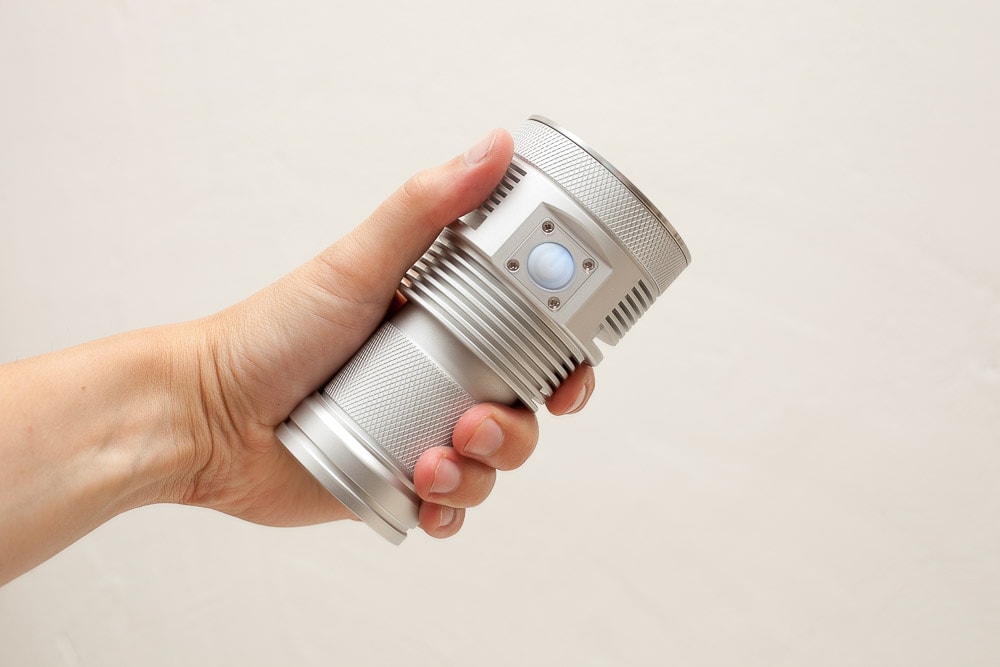
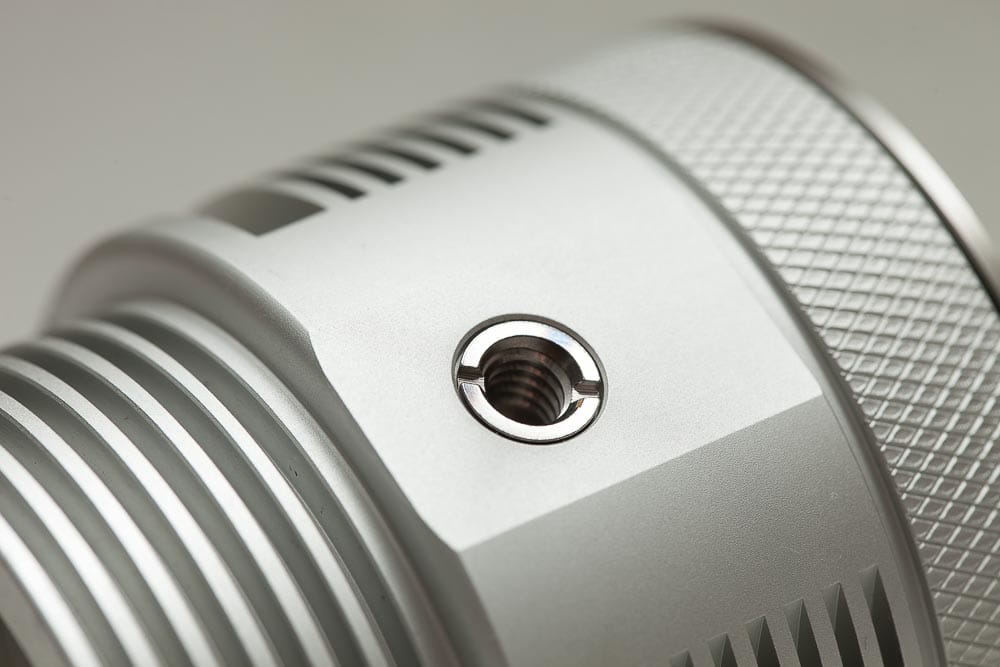
Being a soda can-sized flashlight, it almost seems to have an unnatural balance between body and head, but in person, this isn’t actually the case. If you want to use the lanyard, you could either attach the tripod mount screw first or attach it to the side of head, where they left a small hole for the attachment.
Tailstand?
- Yes, it can! And it’s very stable doing so.
Build Quality and Anodizing
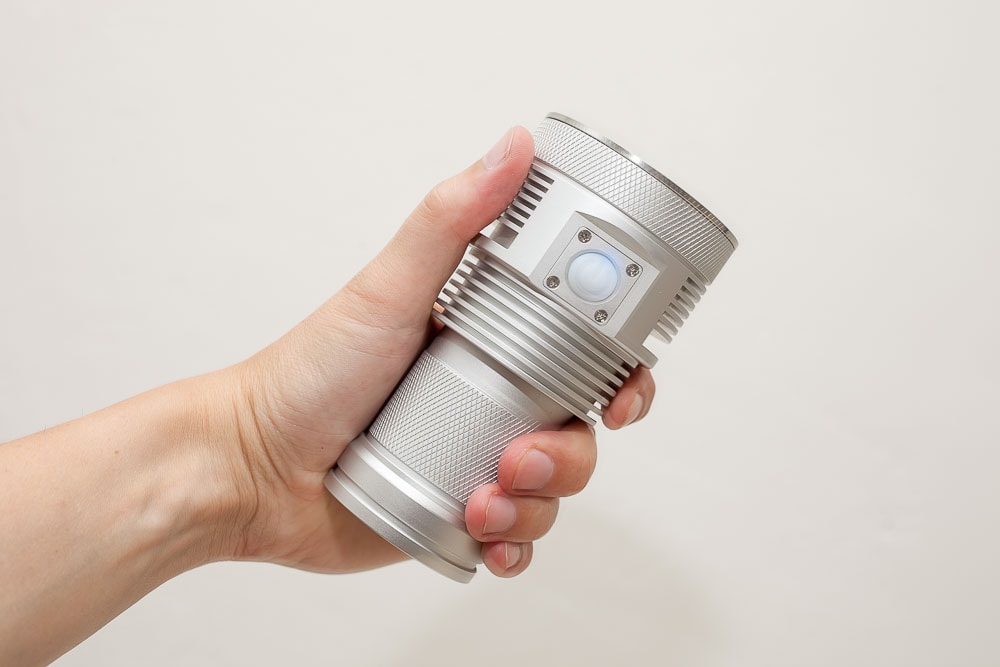
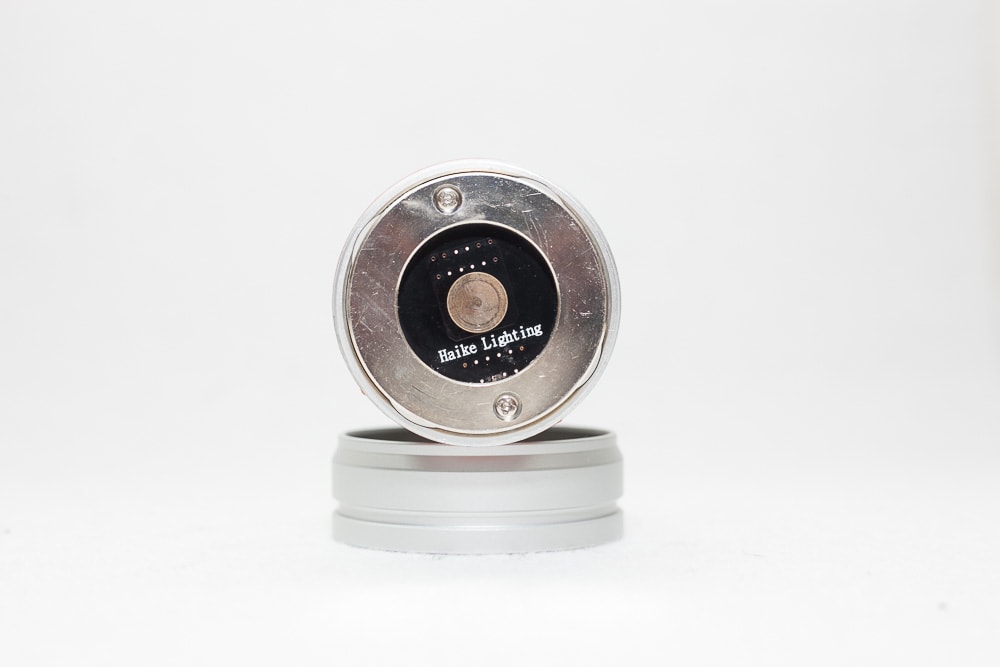
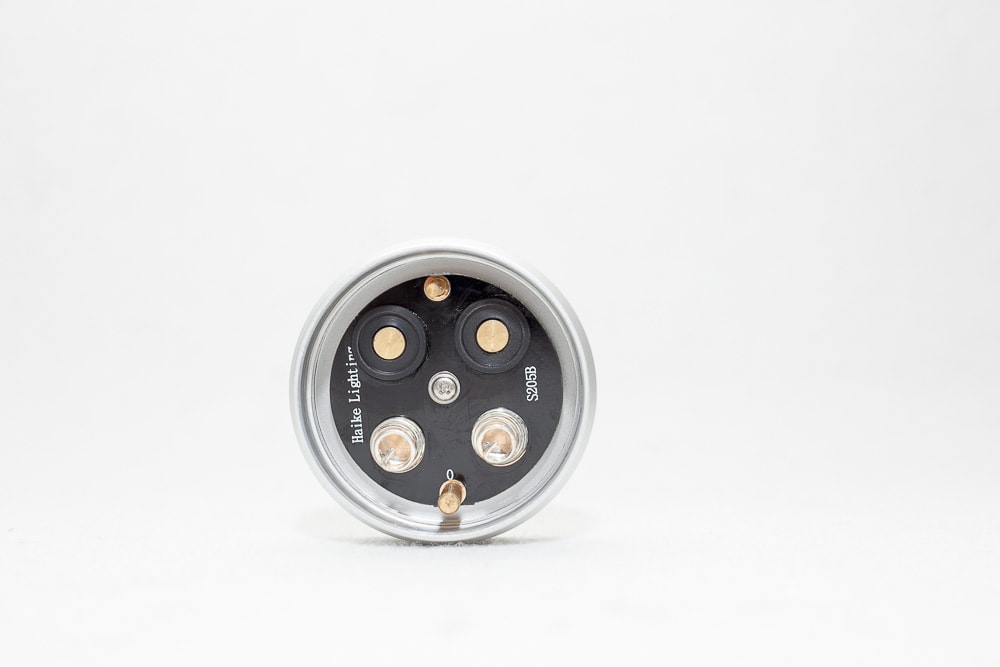
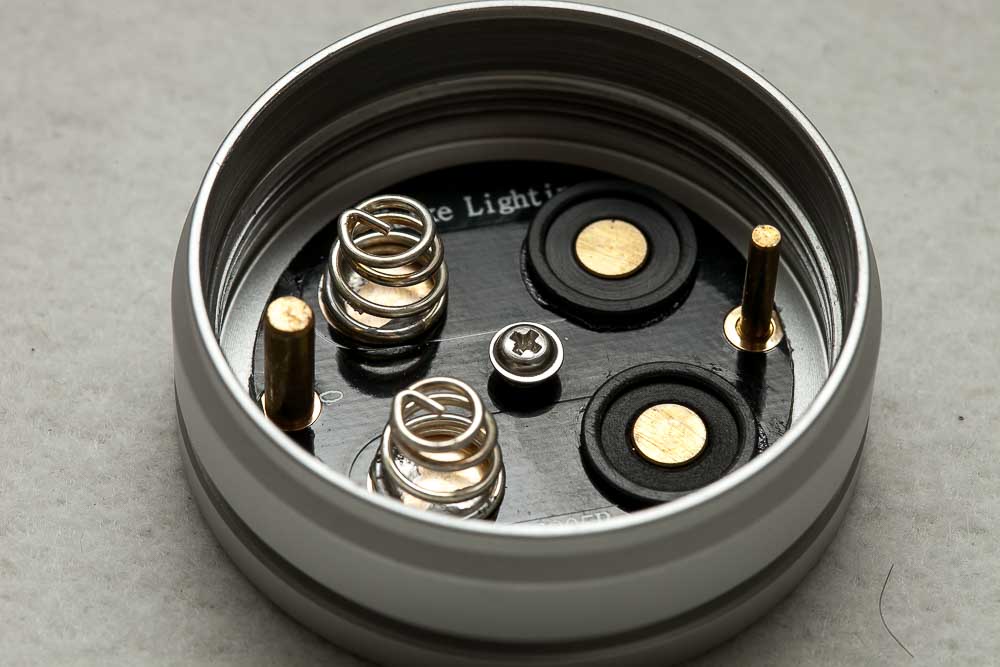
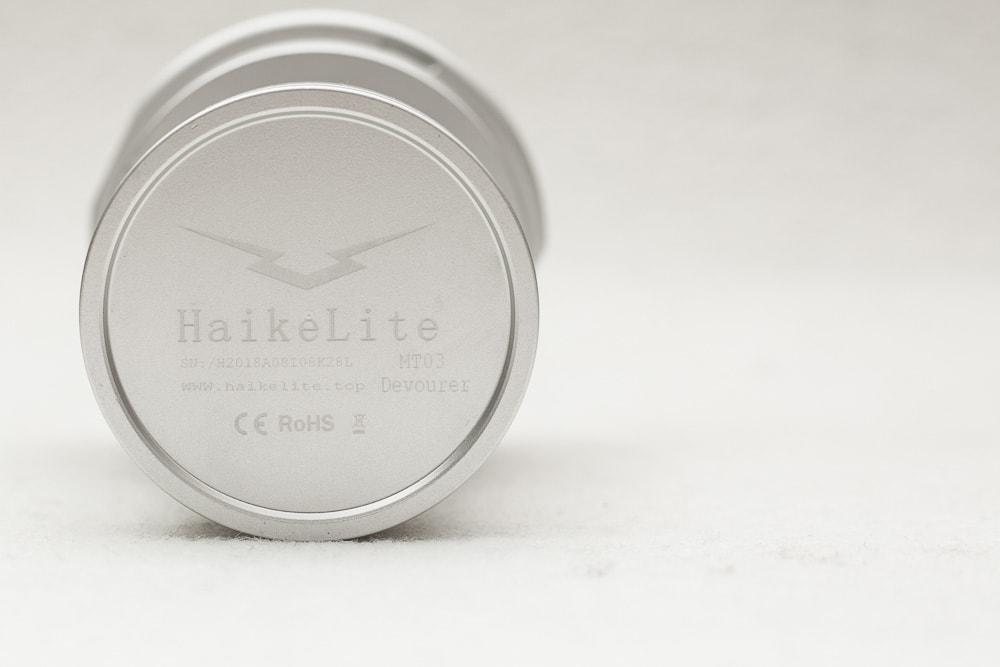
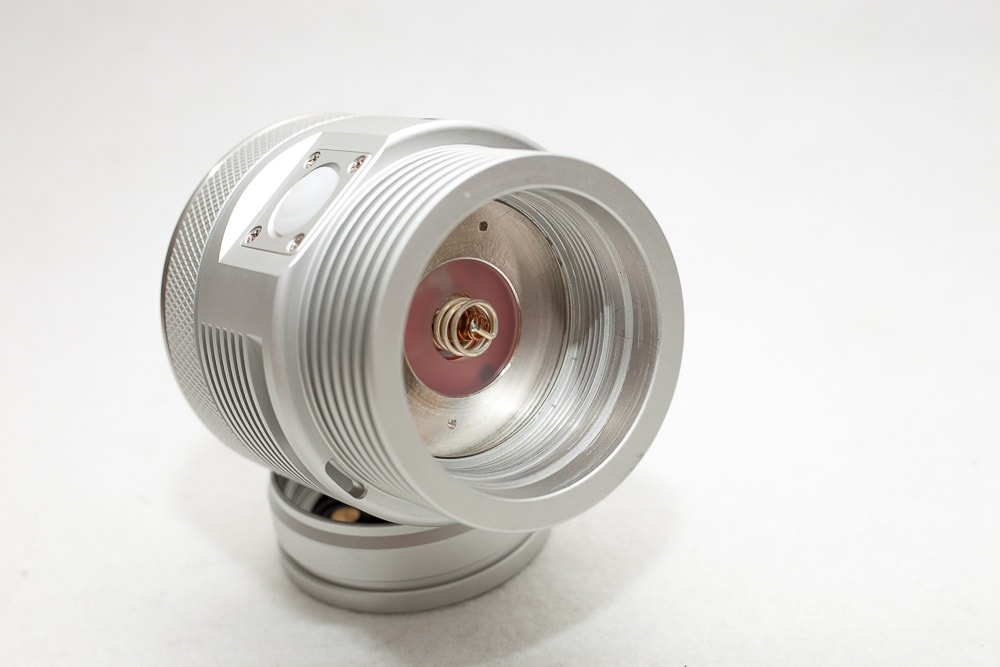
This is my first “white” flashlight, but the build quality seems superb. The only gripe I have is the tailcap. It has 2 metal pins that slide into the bottom side of the body, 1 being thicker than the other. The spring assembly inside the tailcap spins freely, making it a little tricky to attach it to the body. But you need a little trick to do this. The body is bored for 18650 batteries, so no separate battery carrier is necessary.
TIP: When attaching the tailcap, keep the body with the widest hole down. The springs inside the tailcap are the heaviest part and will always be on the bottom, right where the thickest piston pin is located! See the picture in the middle.
Threads and O-rings
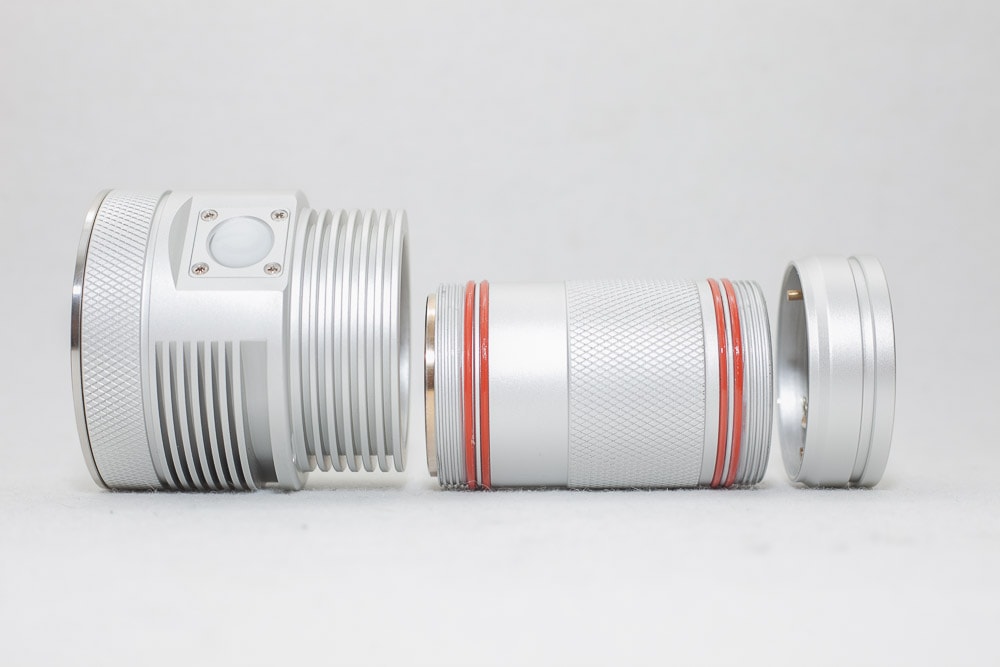
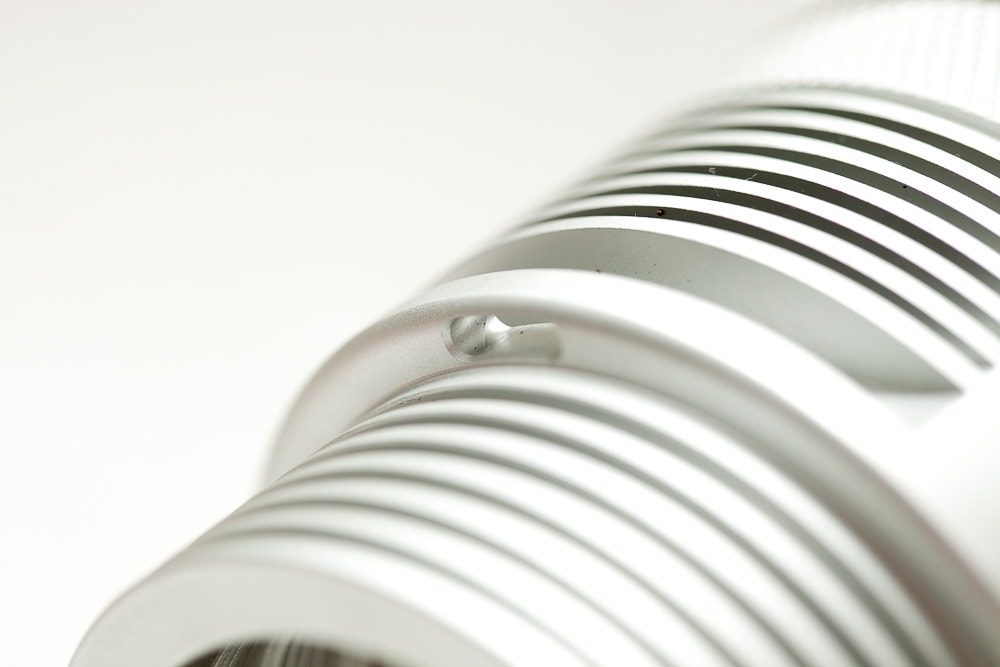
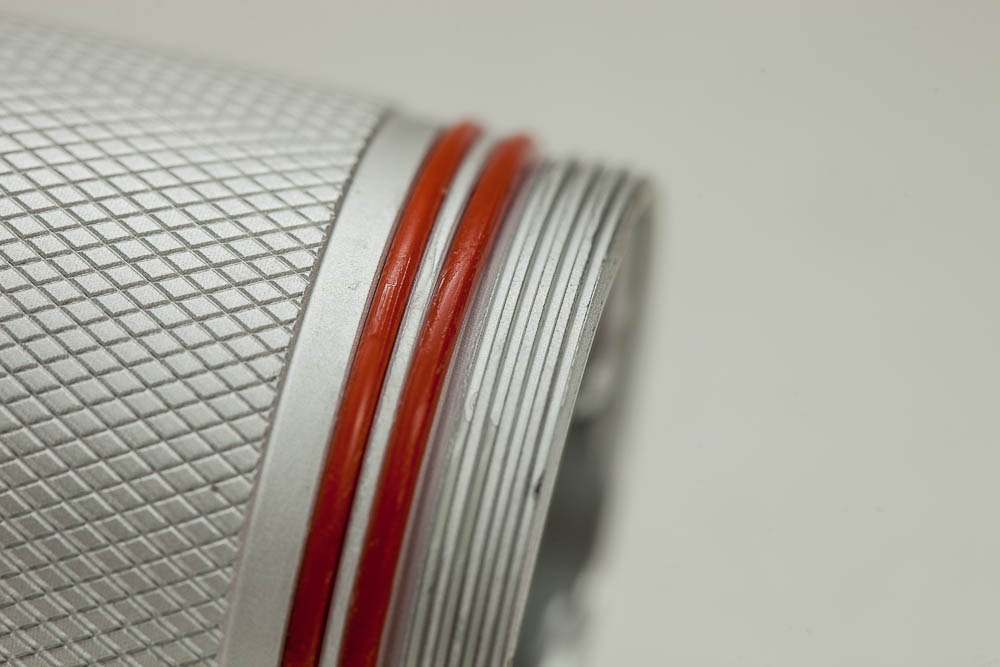
The threads came lubed on both sides of the body. The threads themselves are done excellently—no problems there at all. I was, however, a little surprised with the double O-ring, which only helps with its waterproofness—if that is even a word. The package also contained another set of O-rings in case you want to replace them.
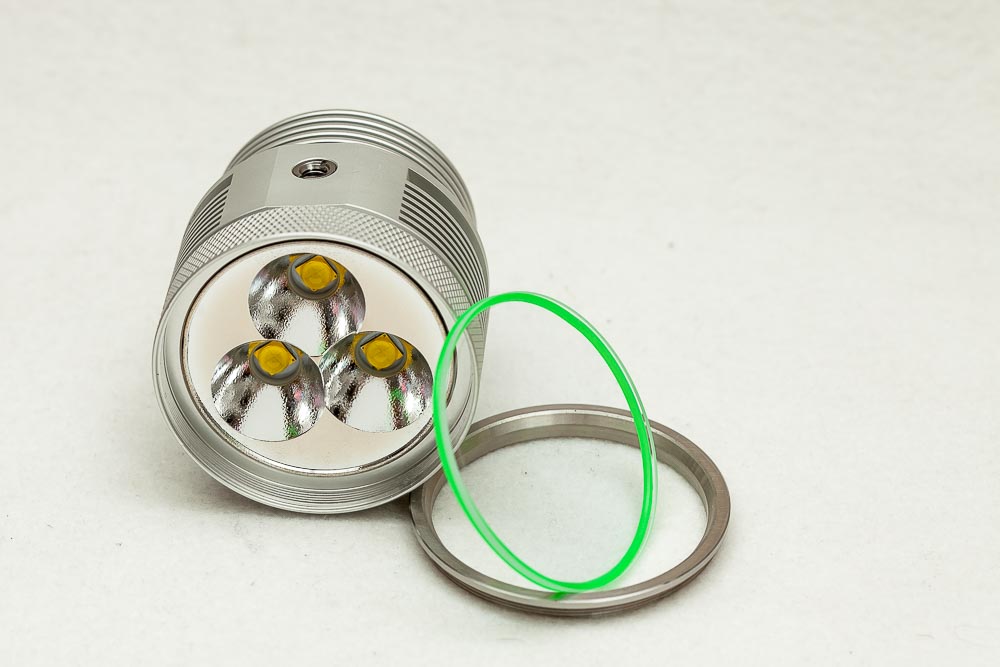
The front lens element has a green o-ring, while the body uses orange o-rings.

LED, Lens Bezel and Reflector
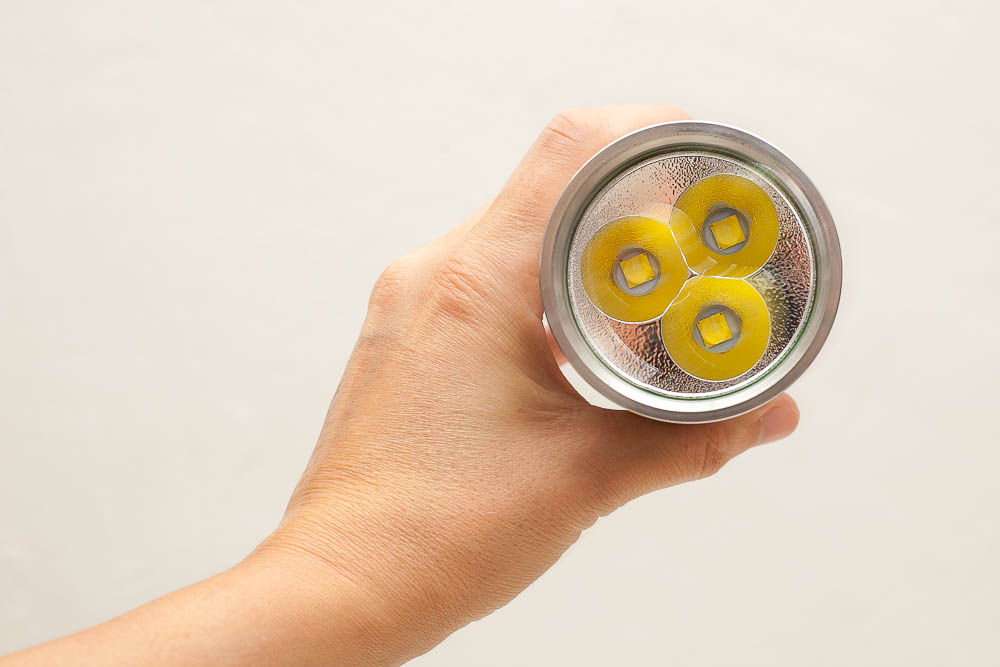
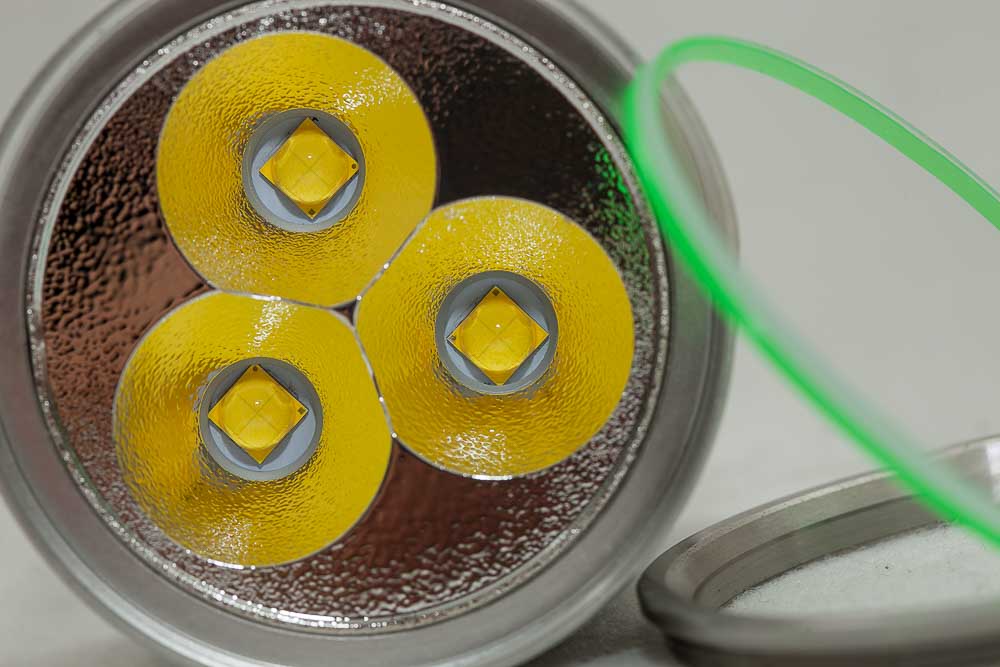
The LEDs being used are 3 pieces of CREE XHP70.2 for max power. More powerful flashlights are out there, but this will do the job.
The reflector is made of aluminum and has an Orange Peel coating. The Lens is clear and has some kind of coating, maybe UV/AR coating?
The bezel is stainless steel, which gives it a nicer look!
Dimensions:
Flashlight manufacturers mainly show dimensions in millimeters.
- Length HaikeLite MT03 TA: 132 mm
- MT03 head diameter: 72 mm
- MT03 Width reflectors: 3*25 mm
- Width body : 50 mm
- Lens Diameter 68 mm
- Lens thickness 2 mm
Weight:
- Weight Haikelight MT03 TA empty: 1290 gr / 2.84 lb.
Size compared to the BLF Q8, Convoy C8, BLF A6 and a Samsung 30Q battery.

User Interface:
The Haikelite MT03 uses Tom E’s open-source NarsilM v1.3 firmware, which is basically the same as the BLF Q8. For more information, read the NarsilM thread at BLF.
See the explanation of CPF/ BLF member Walkintothelight on how to change mode sets. This makes more sense than just reading the info.
From off:
- Press and Hold: start ramping up from Low to High
- Single click: last memorized output
- Double click: Max output (another double click in Max will enter Strobe mode)
- Triple click: Battery check mode. (read explanation below)
- 4x click: Lock-out mode
The firmware is used so you can have the lowest output possible. If you start ramping and release the button the light will either flash 1 or 2 times. 1 time indicates the use of only the 7135 and 2 times is FET + 7135.
Backlight:
Behind the translucent switch cover, you can see a small LED built-in. It is lit by default when the light is turned off.
If you want to turn this backlight off (temporarily) press and hold the button so it starts ramping and quickly release and click again. This will turn the backlight off, but its only temporary. Next time you use the flashlight, it will be back on again.
You can turn it off completely in programming mode, but you must follow the directions to do so.
- It`s a useful locator!
Battery Check mode: The battery check can be entered by a triple click from Off. The light will start blinking. The first blink before the pause will indicate the Voltage. After the short pause, the decimal voltage will be indicated. So if the light blinks: 4 times (pause) 1 time. It means 4.1 Volts, and if the light blinks, it is 3 times (pause) 7 times. It means 3.7 Volts.
Strobe:
You can enter Strobe mode (when enabled) by double-clicking when in Max output.
Lock-out mode:
You can enter this mode by clicking four times when the light is off. And again 4 times to go return to normal operation. My advice is to lock out by twisting the body from the head to break the electric contact if you store the light for a longer period of time. Using the backlight will run down the batteries in about 30 days.
Programming mode:
Enter by pressing the switch for 8 seconds when in ramping mode. Or 3.2 seconds when in a mode group.
Once you are in programming mode, you will have 2 sets of blinkies every time you can enter a setting. Its a very fast 2-flashes, preceded by a number of slower flashes. Please look at the manual for all the options. Please note that they differ if you are in Ramping mode or in Group mode!
PWM
I couldn’t detect any!
Batteries:
The MT03 TA Devourer has added a plastic washer to the protruding positive nipples. (If you understand what I mean). This makes it impossible to use Flat top batteries. Of course, you can get around that by using magnets, but I wouldn’t recommend doing that other than maybe during testing. When a magnet moves around it can make a short.
Using protected batteries can prevent the light from reaching Turbo mode. My Panasonic NCR18650B protected batteries had their protection tripped trying to go into Turbo! Turbo mode pulls a lot of amps, so make sure you have high drain button top batteries.
TIP: You can either use 2 or 4 batteries!
Performance:
Measured with only 2 Panasonic NCR18650B batteries (protected)
- Lowest mode: 0.02A
- Highest mode: 4.5A
- Turbo mode: doesnt work (protection probably tripped)
Measured with only 2 Samsung Q30 batteries (unprotected) using Solid copper wires.
- Lowest mode: 0.02A
- Higest mode: 6.4A
- Turbo mode: 16.4A
In Turbo mode, you get a lot of Amps and Lumens. But the Amps drop very fast.. So only at startup will you draw so many Amps. It also depends on the cells that you use etc.
Beamshots
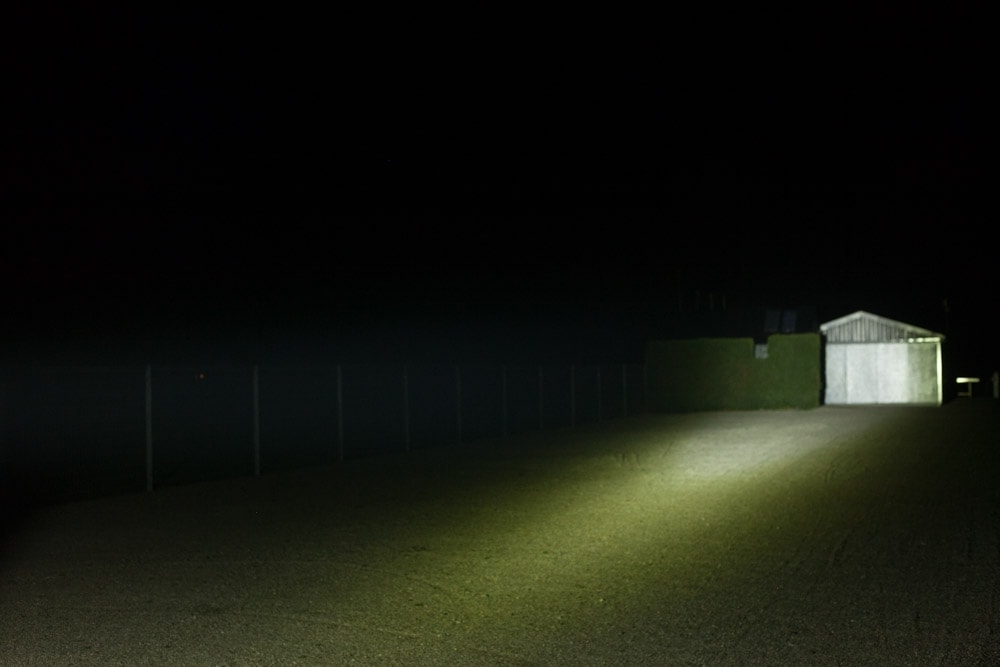
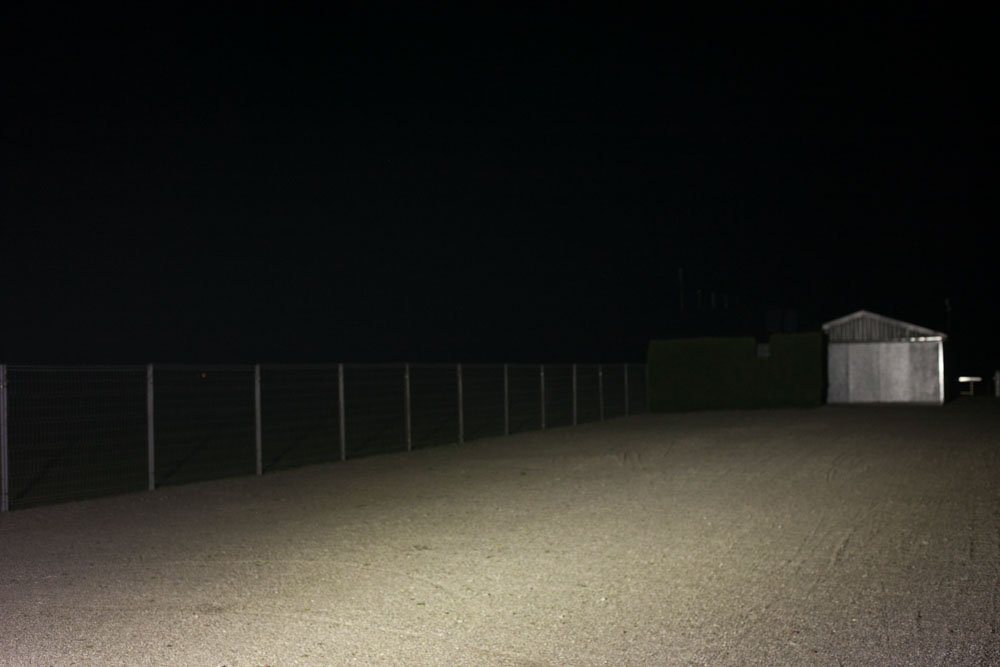
I’ve done beamshots with multiple lights, including those with multi-cell multi emitters. The place I did these beamshots was good enough for throwers, but for flooders like these, it was a little difficult to really show the difference. The BLF Q8 should be around 5000 lumens, the Haikelite MT03 should be 21000 lumens according to specs. In-person the Haikelite is really powerful. It lits up almost an entire soccer field. Passing the 20,000 lumens, it’s not the brightest LED flashlight, but it is more powerful than 99% of the flashlights currently available.

Overall conclusion of the HaikeLite MT03 TA Devourer
Pros:
- Very bright flashlight popping 21,000 lumens (albeit for a short time)
- Simple ramping UI
- One of the cheapest powerhouses at the time of review, August 2018, was priced just above $100, maybe below $100 with a discount.
- White anodizing:–)
- Double O-rings for better waterproofness
Cons
- Tailcap assembly makes it a little difficult to attach it to the body
- Paper manual printed on normal printer paper.
Very Good: 5 stars ☆☆☆☆☆
So far, so good. I have only tested it for functionality and quality, and it’s come out very, very positive. I must say that I don’t have it long enough to say something about long-term use. I will do it if I think I need to give it fewer stars. Currently, this is one of the brightest flashlights I have.
Disclaimer: Banggood provided the flashlight for review. I always do my best to be as unbiased as possible!
Where to buy Haikelite MT03 TA DEVOURER
This one is discontinued. For alternatives, check out our ‘most powerful flashlights list‘.