1lumen selects and reviews products personally. We may earn affiliate commissions through our links, which help support our testing.
Amutorch AL2 Review
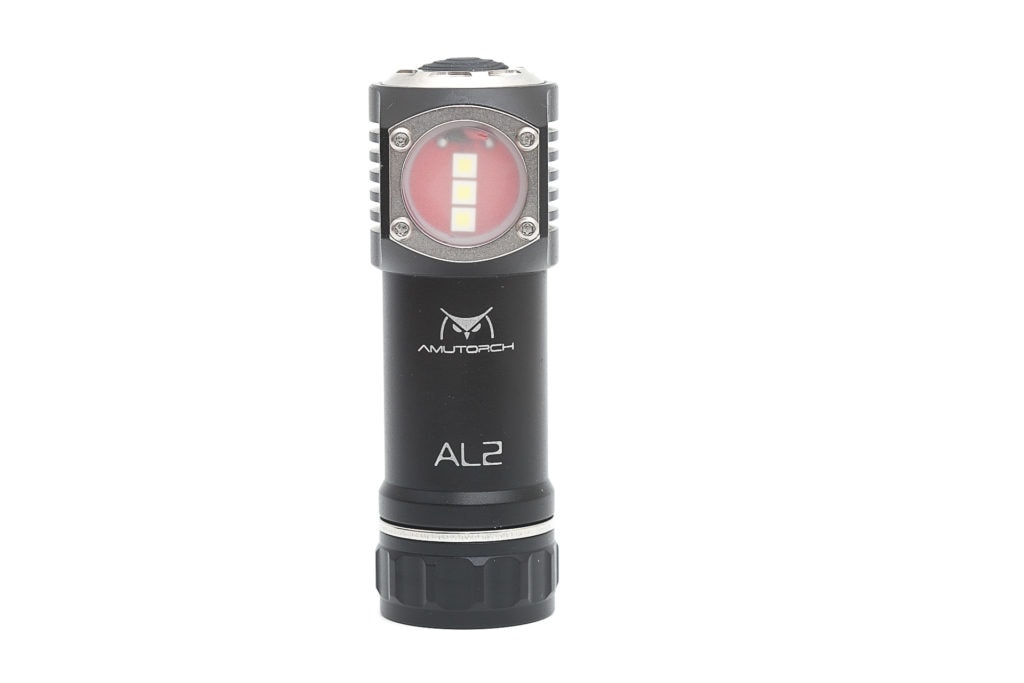
Amutorch AL2 specifications
| Brand/model | Amutorch AL2 |
|---|---|
| LED | 3*CREE XPL-Hi |
| Max. Lumens | 3,160 lm |
| Max. Beam intensity / distance | 100 meters (2,500 cd) |
| Battery config. | 1*21700 |
| Onboard charging | N/A |
| Modes | 4 + Turbo (and a Ramping mode) |
| Blinkies | Strobe |
| Reflector | Mule |
| Waterproof | IPX8 |
| Review date | March 2022 |
Introduction:
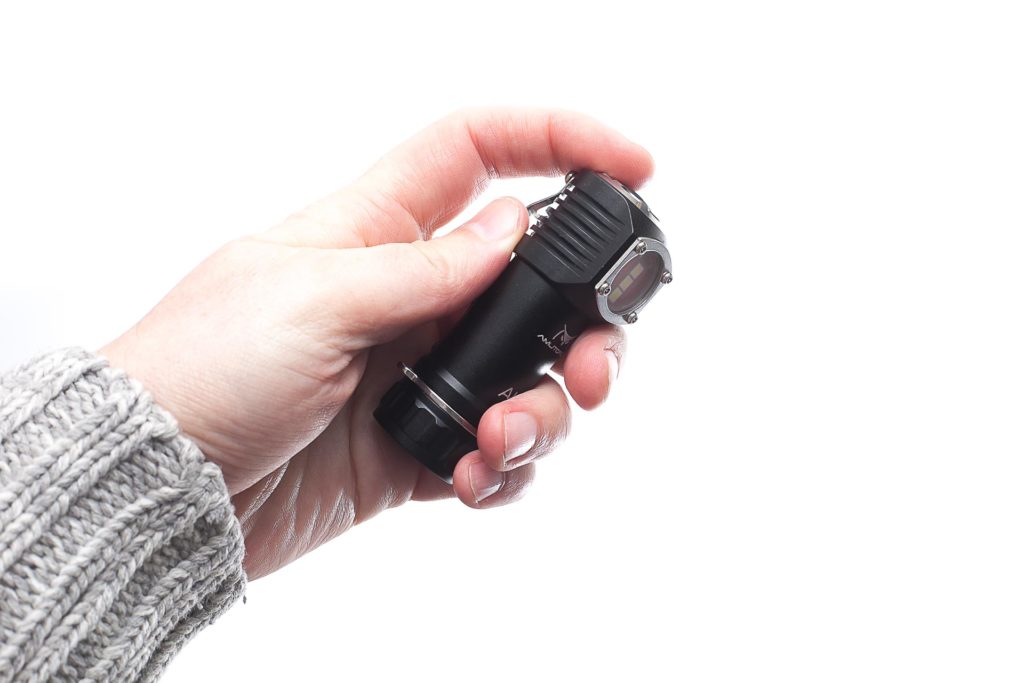
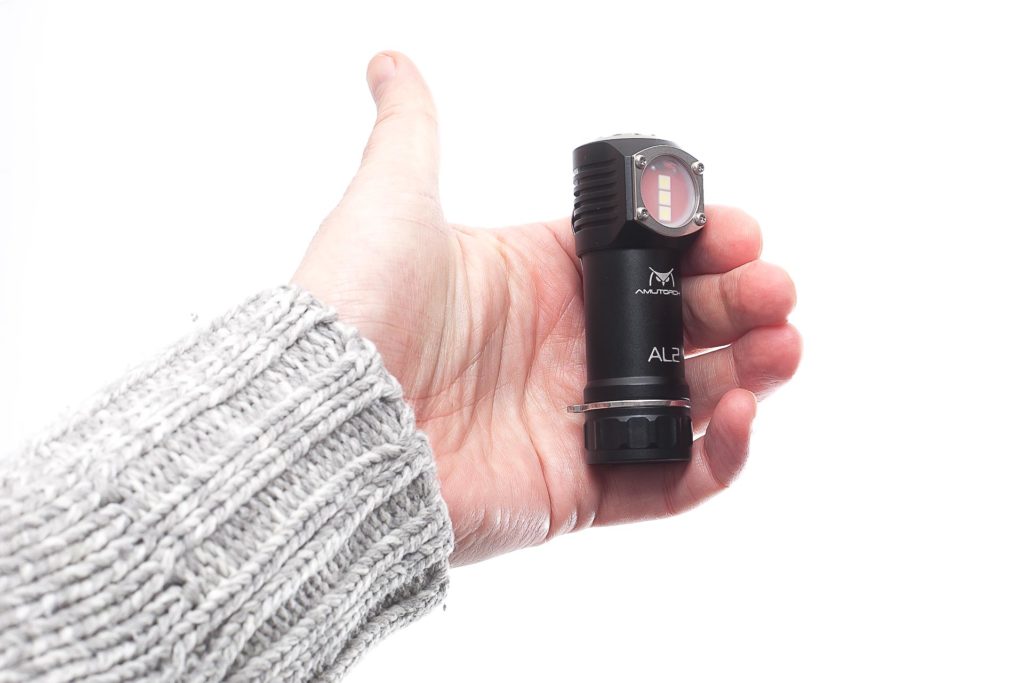
I don’t know of any competition between flashlight manufacturers to see who can build the shortest 21700 flashlights, but Amutorch probably wins. The AL2 is the shortest 21700 flashlight I have ever seen.
So if you’re in for one, better take notice. I use the standard mode group for all the tests, with the default frosted glass lens (there are two options) and an Amutorch 21700 battery. FYI
btw. The one I received looks different from the one on the Amutorch website. Mine has the pocket clip screwed on, while the one on their website has a removable pocket clip. So this clip is presumably much stronger.
Package quality.
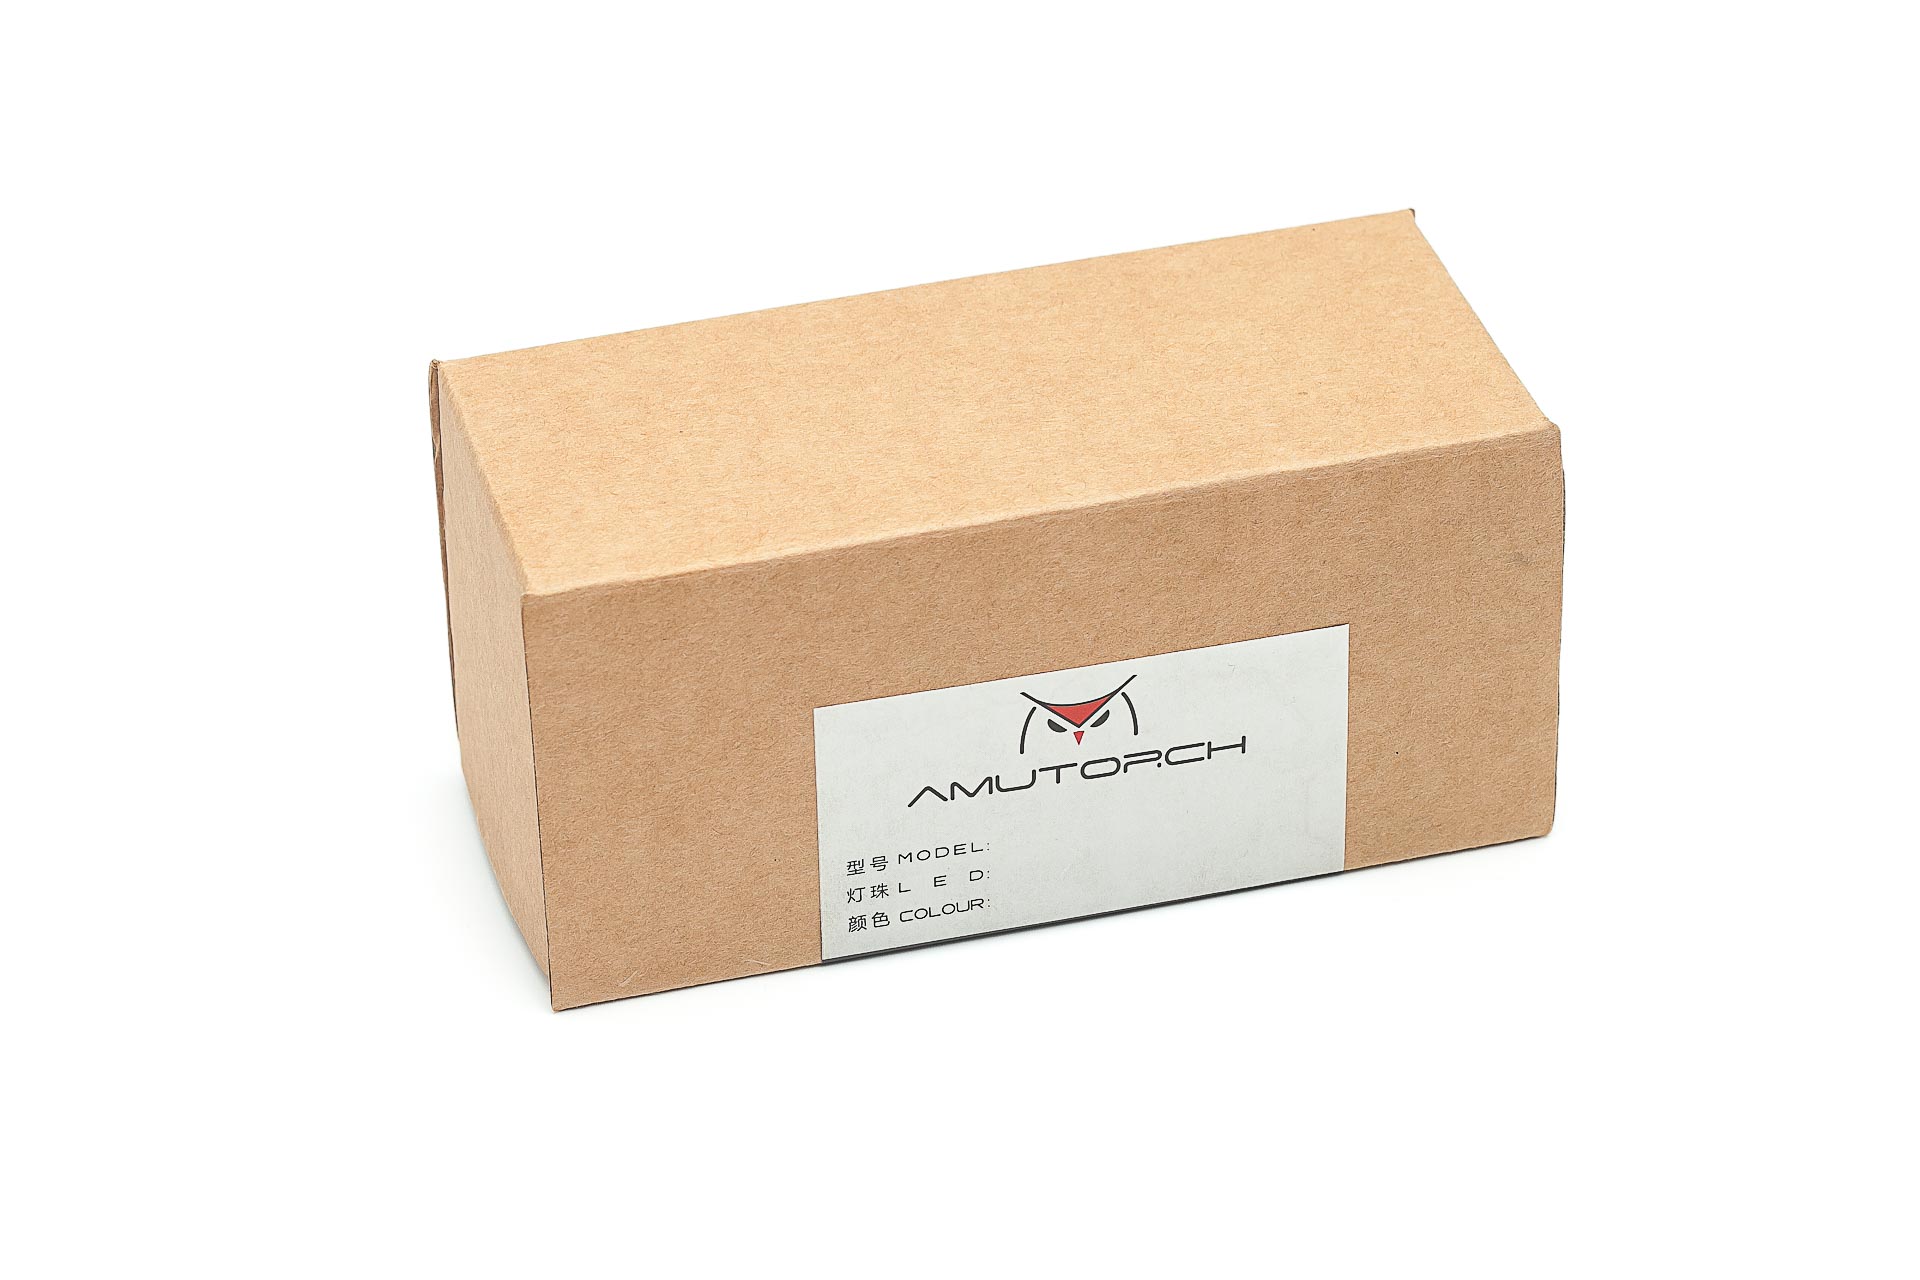
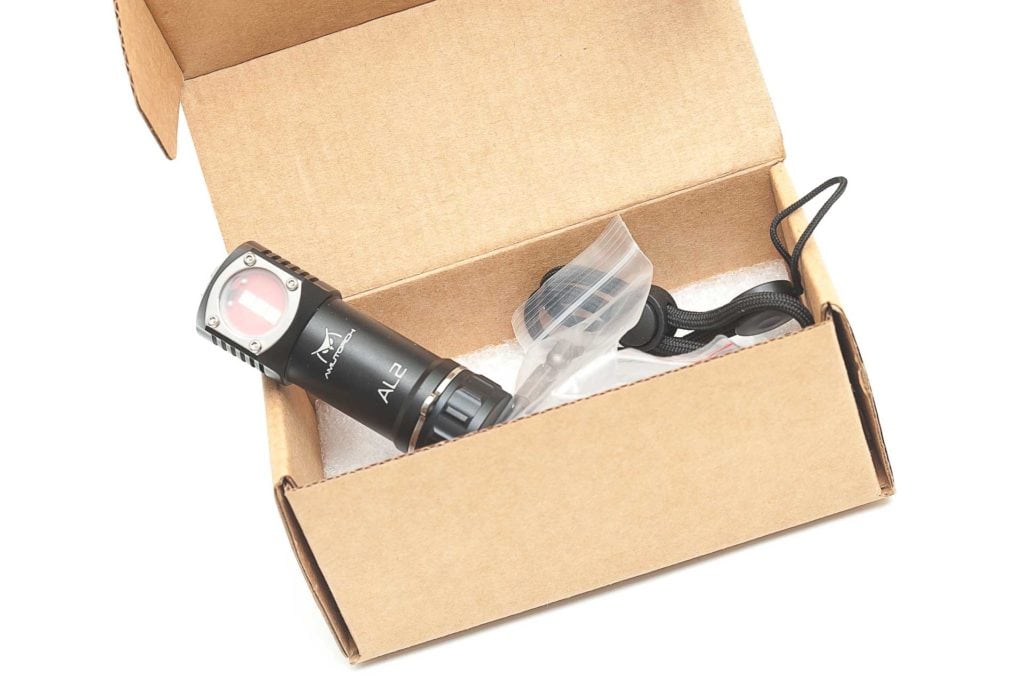
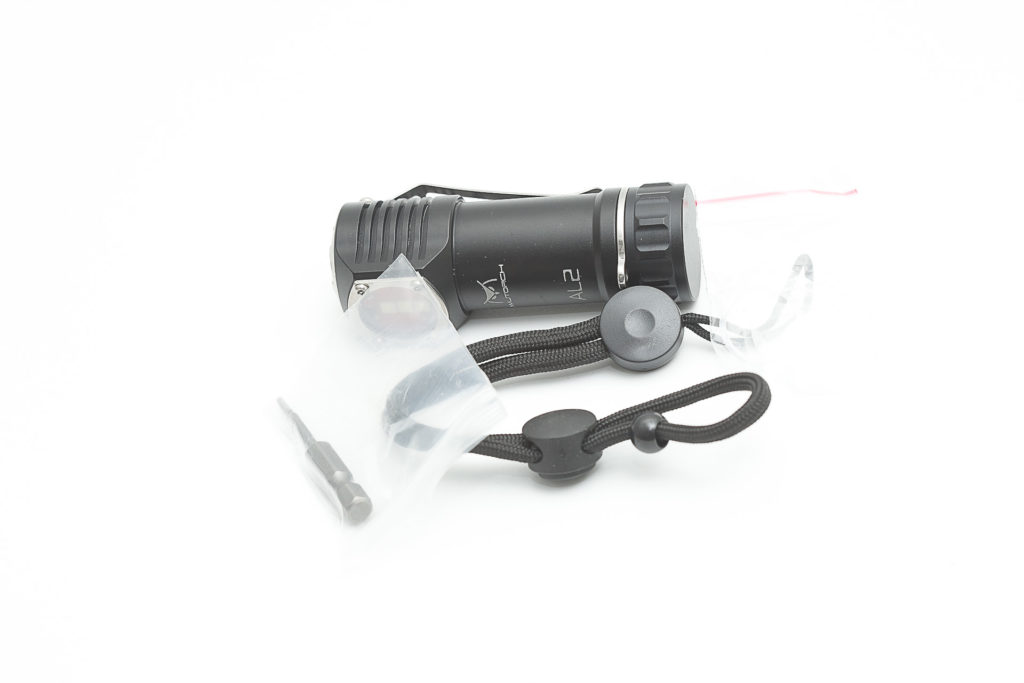
Amutorch uses a simple carton box, with the following:
- The flashlight: Amutorch AL2
- Lanyard
- Spare o-ring
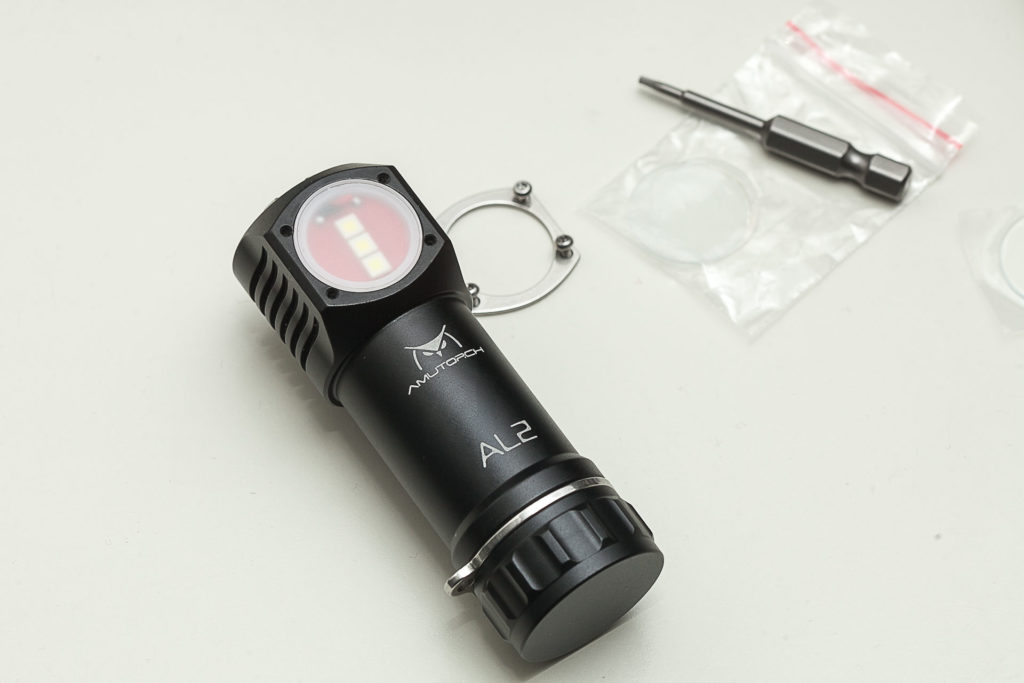
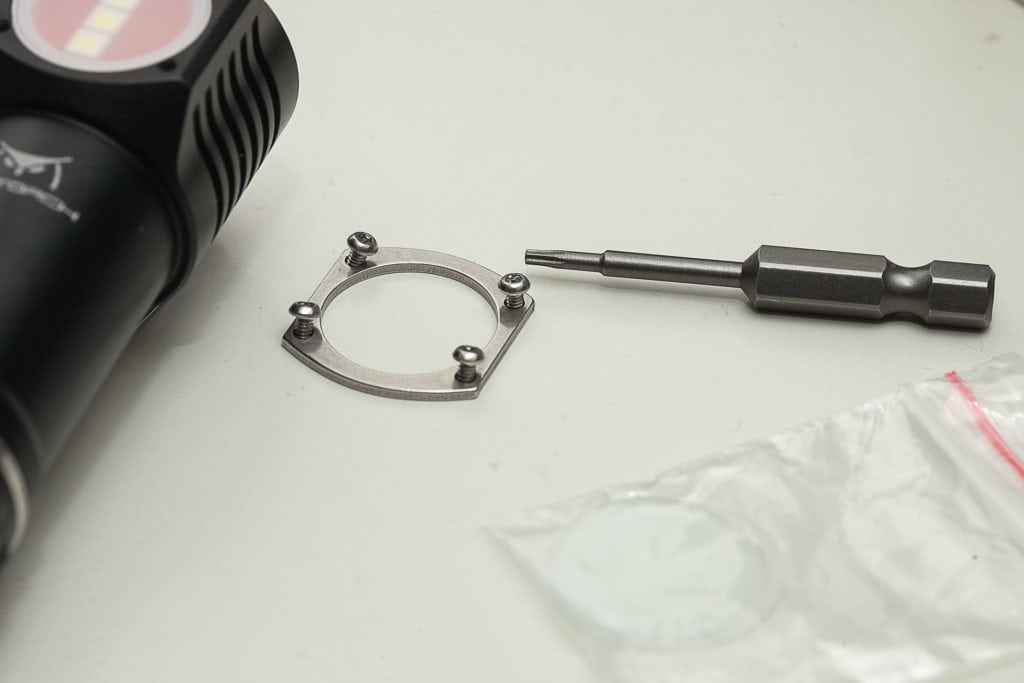
- Security torx bit (T6)
- 2 spare lenses (1 clear, and 1 frosted)
I missed a manual though.
Flashlight in use and use cases
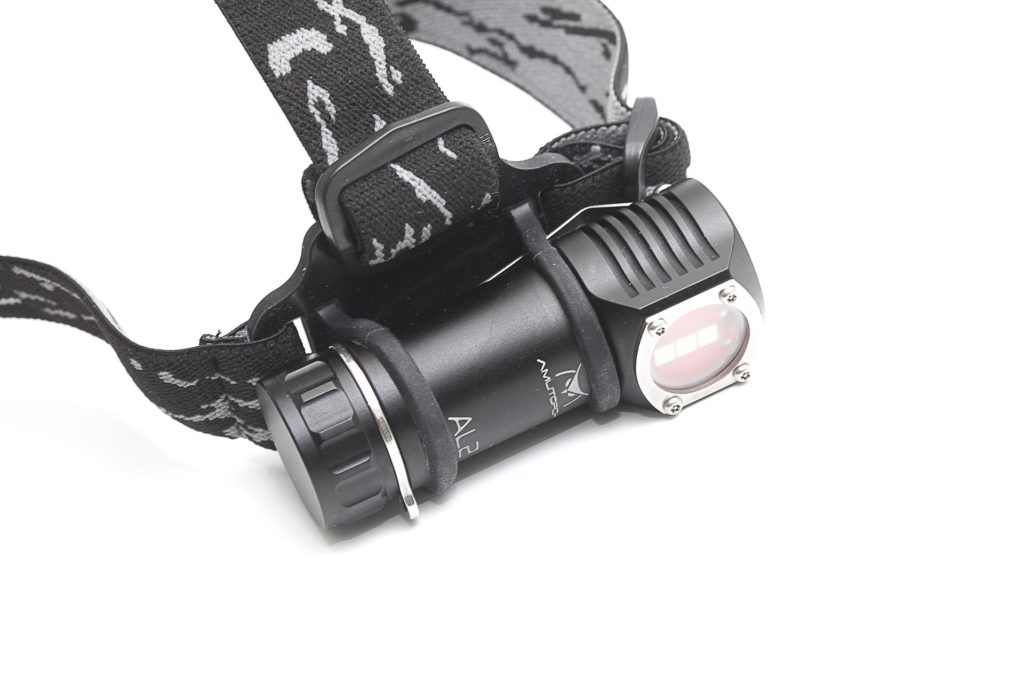
The AT2 can be used as a floody headlamp or as a right-angle lamp. In addition, it’s very compact (possibly the shortest 21700 light available).
Although very lightweight compared to some other headlamps, it’s still too heavy for jogging. Also, it will bounce up and down, which I feel uncomfortable. But it will work just fine for everyday tasks, or working on your car/truck, etc.
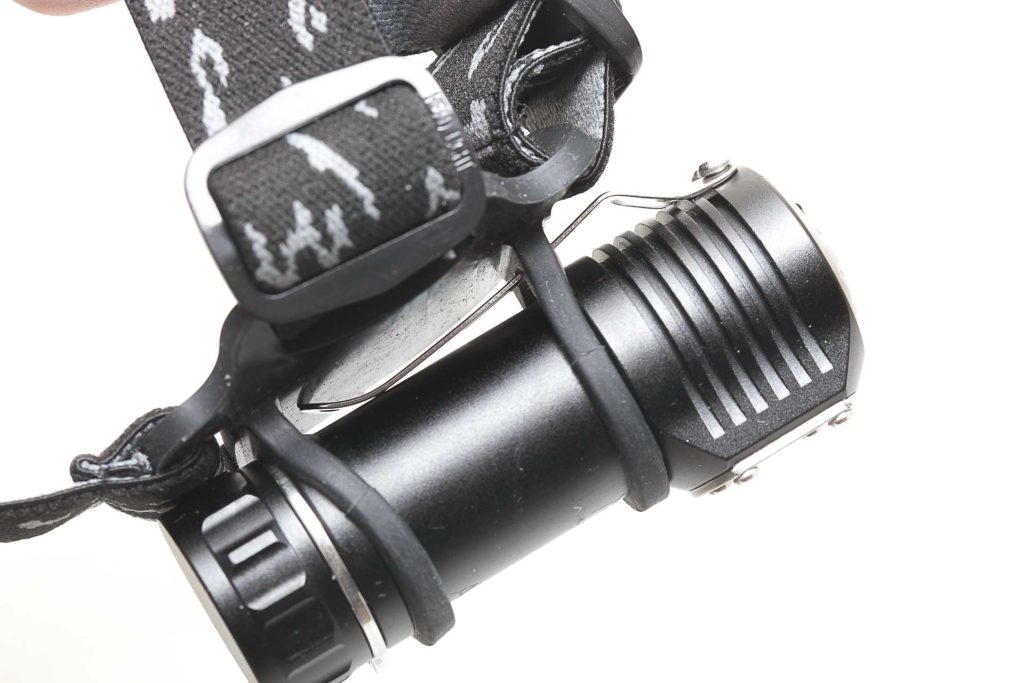
It fits just fine in a generic head strap that I got with the FireFlies PL47 headlamps.
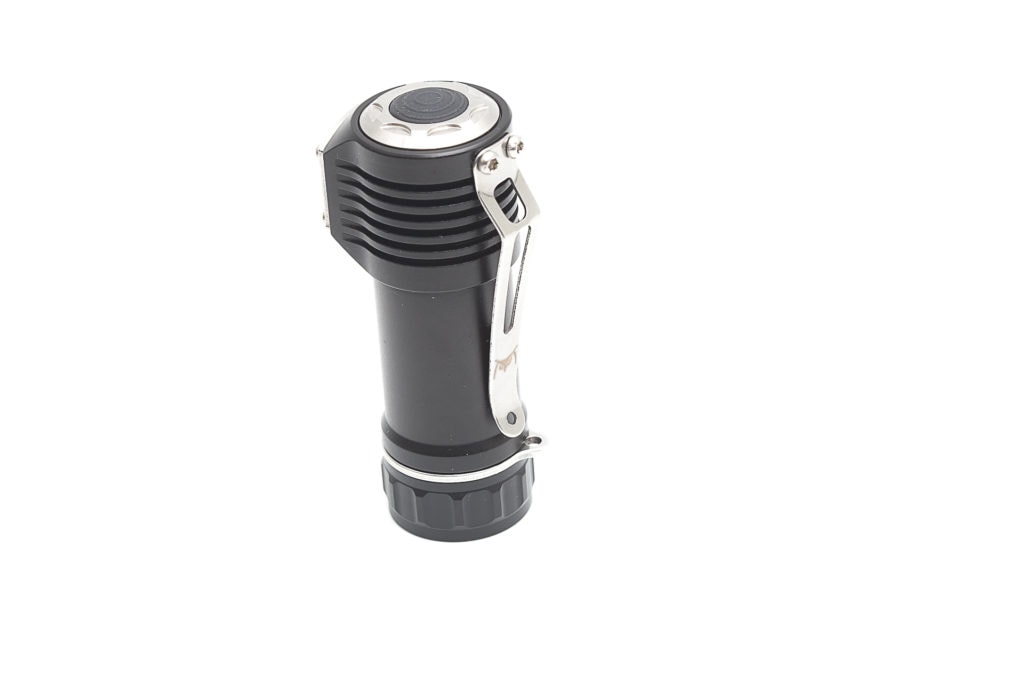
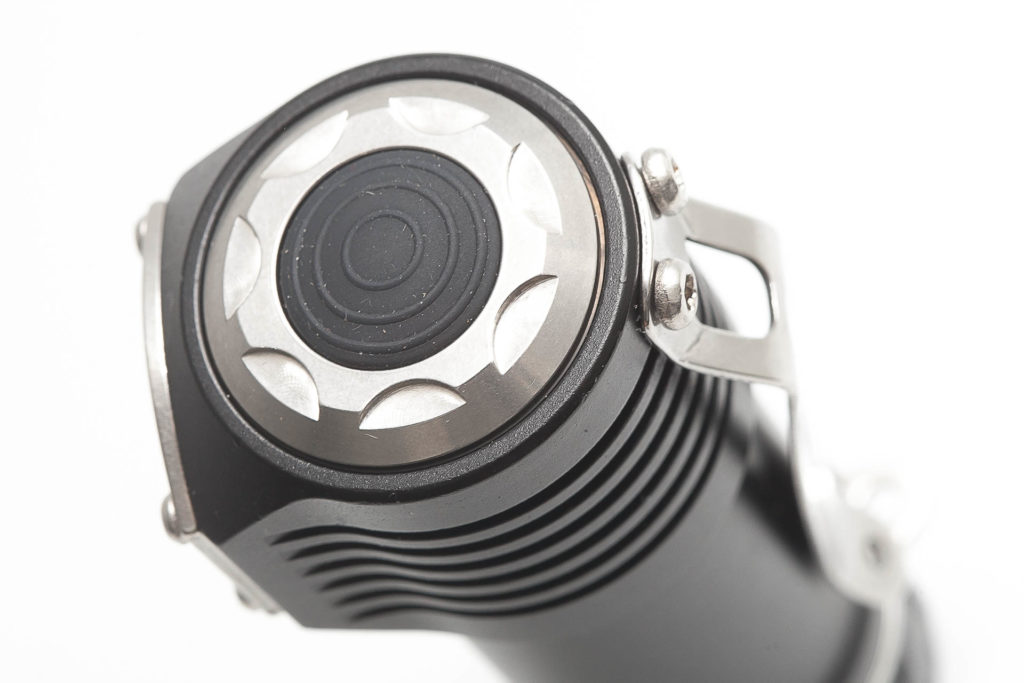
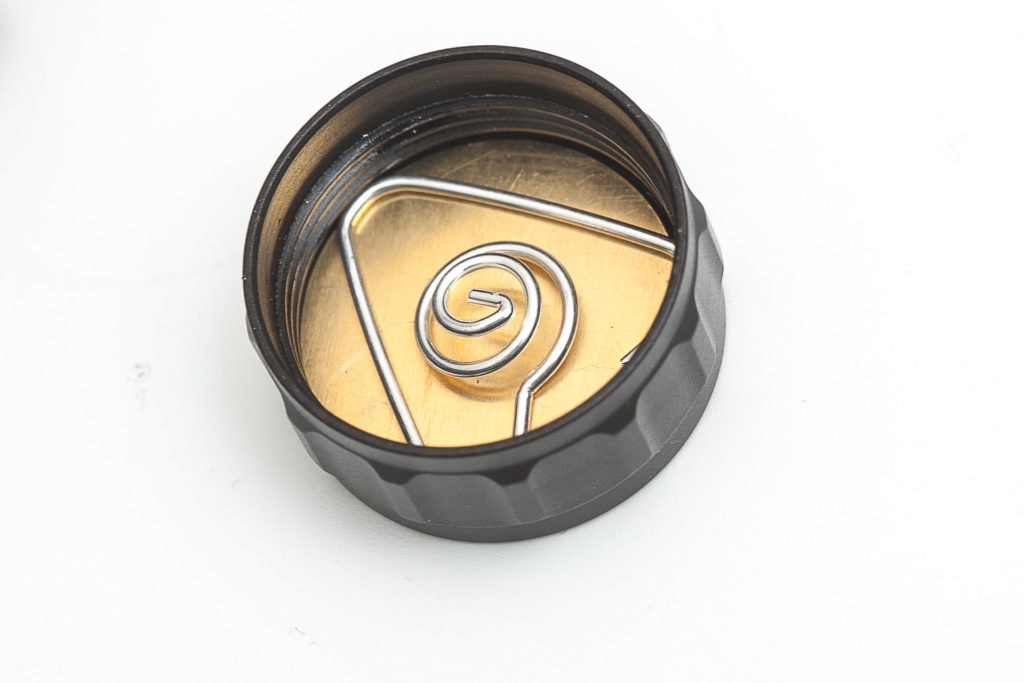
There’s only one switch, located at the top of the head, and the LEDs are positioned on the side. This is a typical layout for l-shaped headlamps with only 1 switch. The tailcap is flat and has a magnet inside. And even though, Amutorch calls it a ‘strong’ magnet, it’s not very strong when attaching it horizontally. It will do just fine if you don’t touch it or something isn’t moving/shaking etc. Hanging down from something works fine.
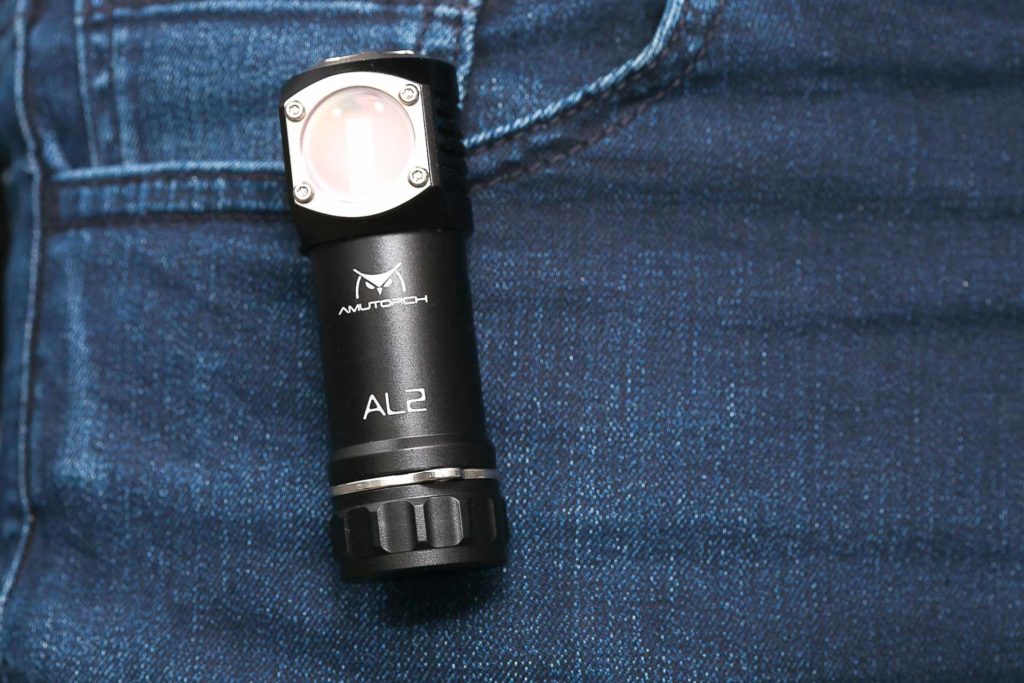
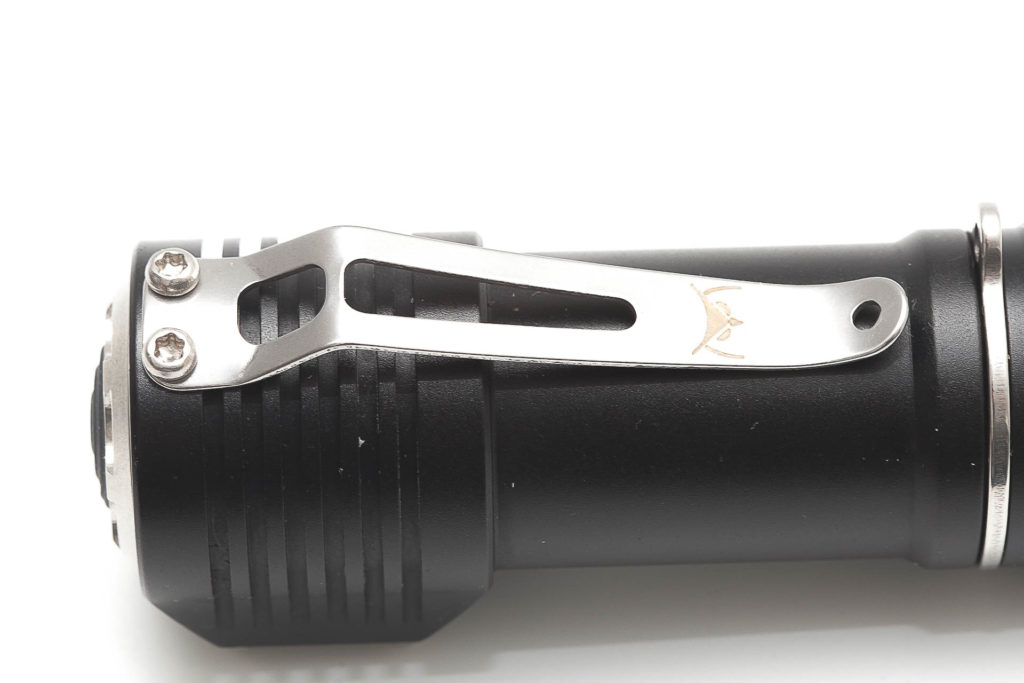
Amutorch changed the pocket clip from a removable one to one that screws onto the body. Having it screwed down makes it stronger. And I’m not sure how stiff the original clip was, but this one is pretty stiff. On the other hand, it clips onto my jeans pockets nice and easy.
Amutorch Build Quality, and Warranty
Beauty is in the eye of the beholder.
And although the build quality seems to be perfectly fine, it doesn’t look as good as the higher-end brands. I’m not very fond of its design and finish. The anodization looks a little shiny but fortunately, doesn’t have any imperfections.
Flashlights aren’t the same as jewelry, correct? Some people don’t care too much about the looks and focus primarily on performance, and user-friendliness.
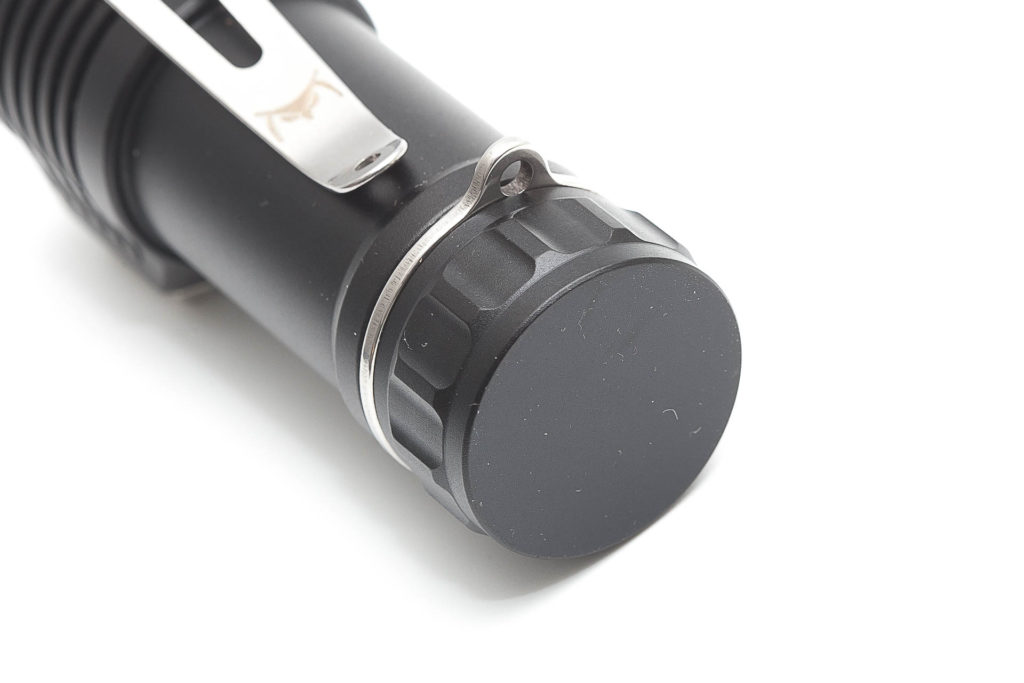
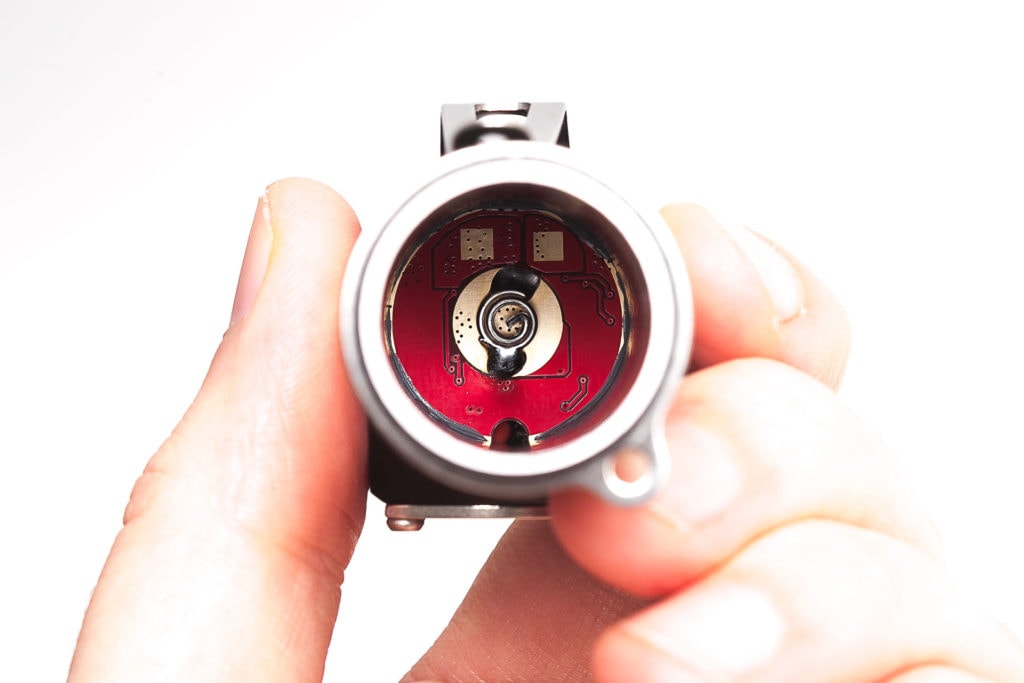
There is no knurling on the battery tube, and the tailcap has the typical Amutorch design. I can’t explain it but have a look at the following pictures.
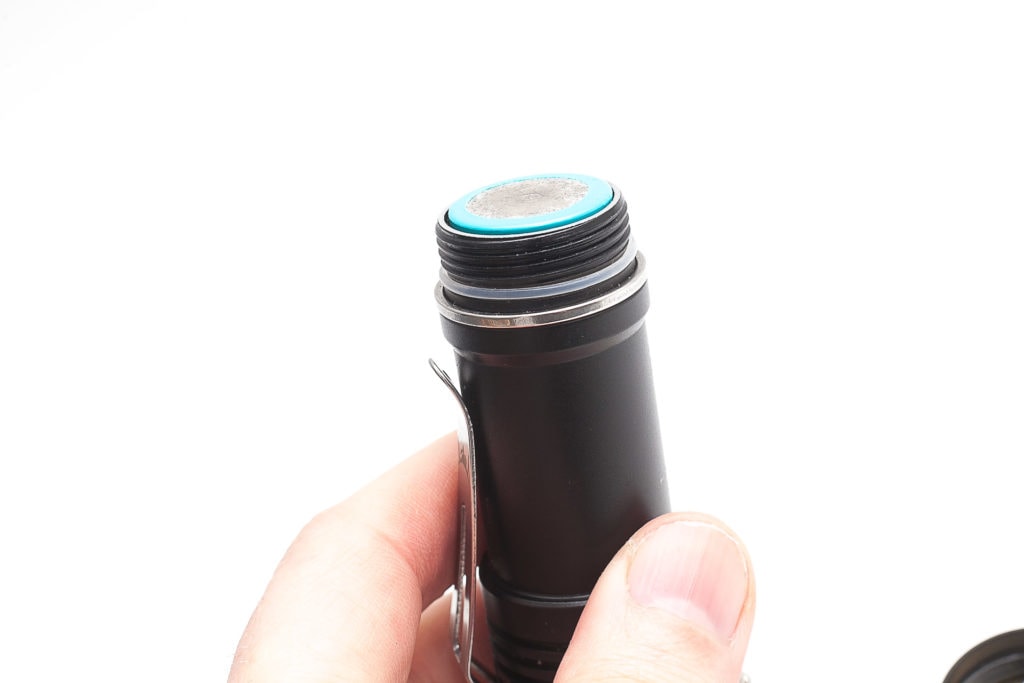
The threads came lubed and anodized as well. There is a single o-ring near the tailcap for waterproof.
To attach a lanyard, they included a removable stainless steel ring. You can remove this by unscrewing the tailcap.
Amutorch Warranty
Amutorch includes a 1-year warranty, covering parts and labor, and a lifetime warranty where you pay for the parts.
LED, Lens, Bezel, Beam, and Reflector
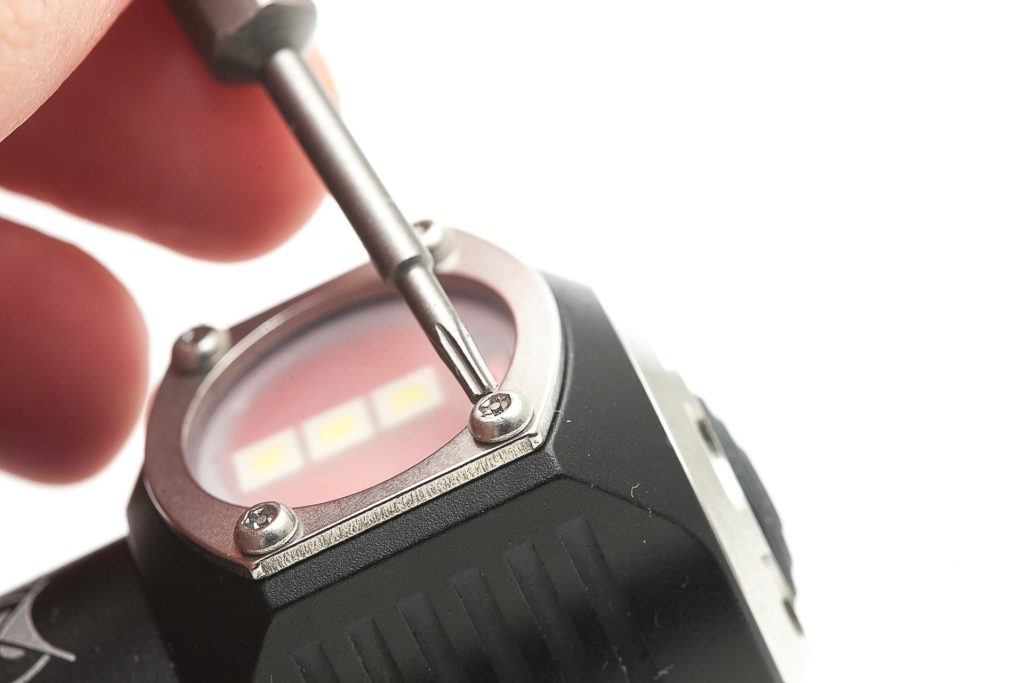
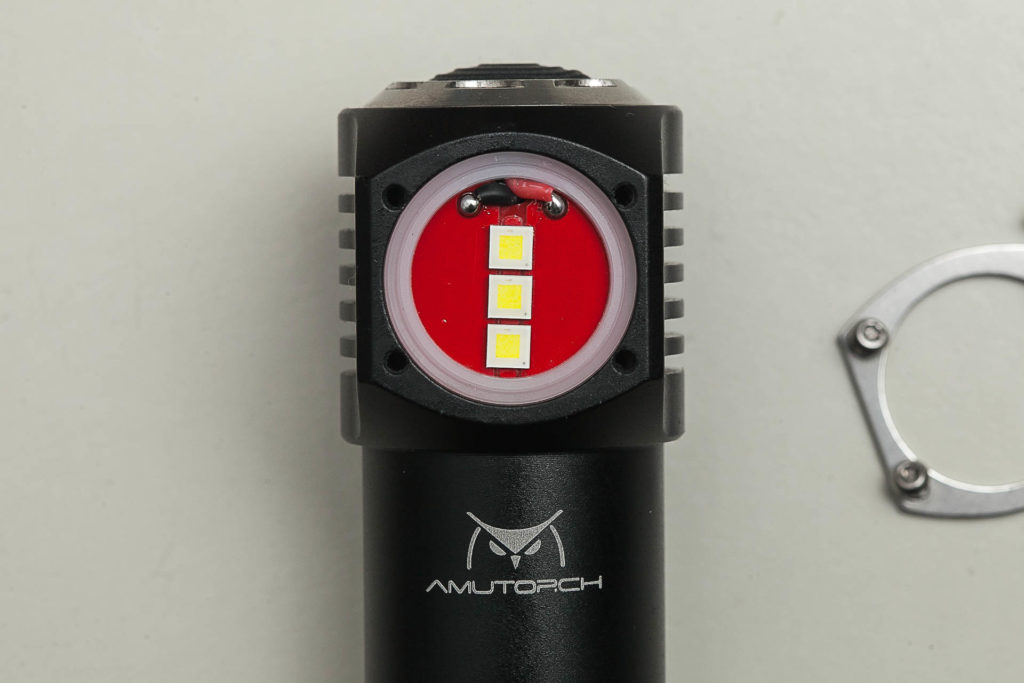
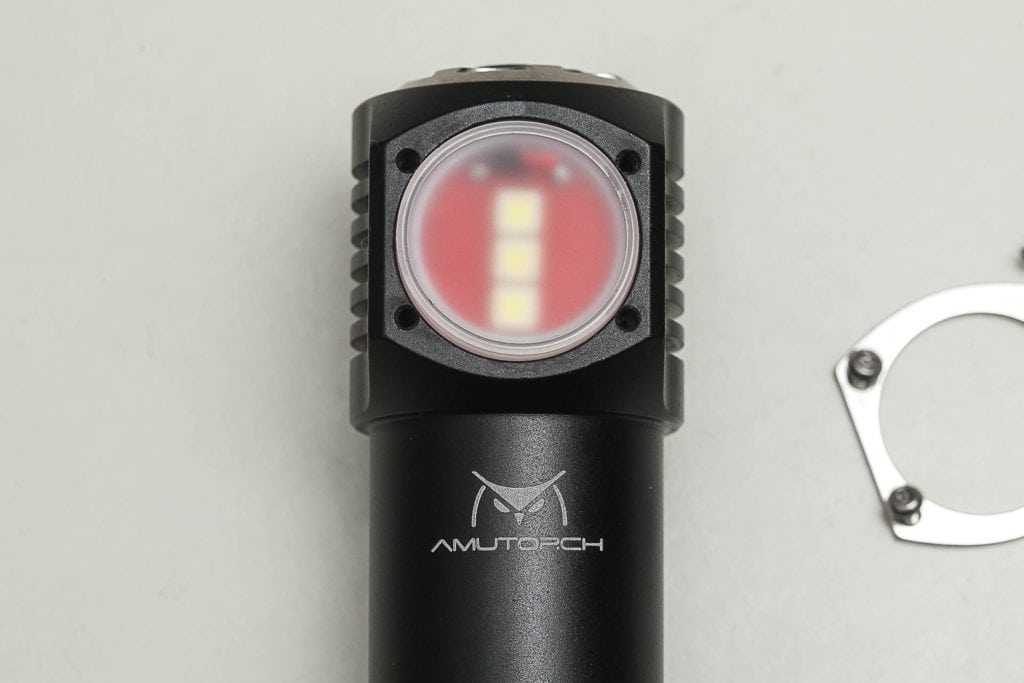
Amutorch decided to do something a little out of the ordinary. They choose to have 3 LEDs in-line onto 1 MCPCB, unlike your average triple MCPCB. And on top of that, there is no reflector or TIR optic. Instead, they added a frosted glass lens in front of the LEDs, so the beam is extremely wide.
And if you don’t like to use this frosted glass, Amutorch included a clear glass. Oh, and along with the spare clear lens, Amutorch includes a frosted lens.
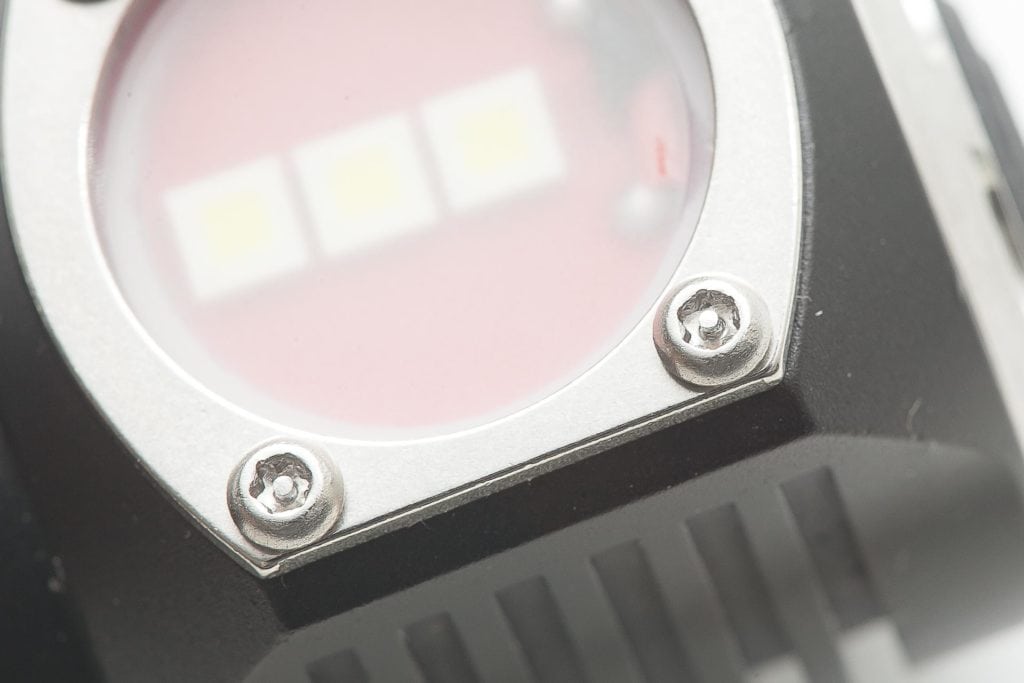
You need to unscrew the stainless steel bezel to get to the lens. The bezel is fixed with 4 T6 safety Torx screws. Fortunately, they included a T6 safety Torx bit, so you can remove the bezel and replace the lens.
All mules have a very, very wide beam, and so does the AL2. I’m not sure how many degrees, but it’s wider than your eyes can focus on. It’s just pure flood.
Dimensions and size comparison
- Length: 85.5 mm / 3.36 ”
- Head width: 29 mm / 1.14 ”
- Tailcap diameter: 28.7 mm / 1.13 ”
- Body diameter: 25.3mm / 1″
Weight:
- Empty: 68.8 g / 2.43 oz
- With battery: 137.4 g / 4.85 oz
Right-angle flashlight comparison
Size compared to other headlamps/l-shape flashlights
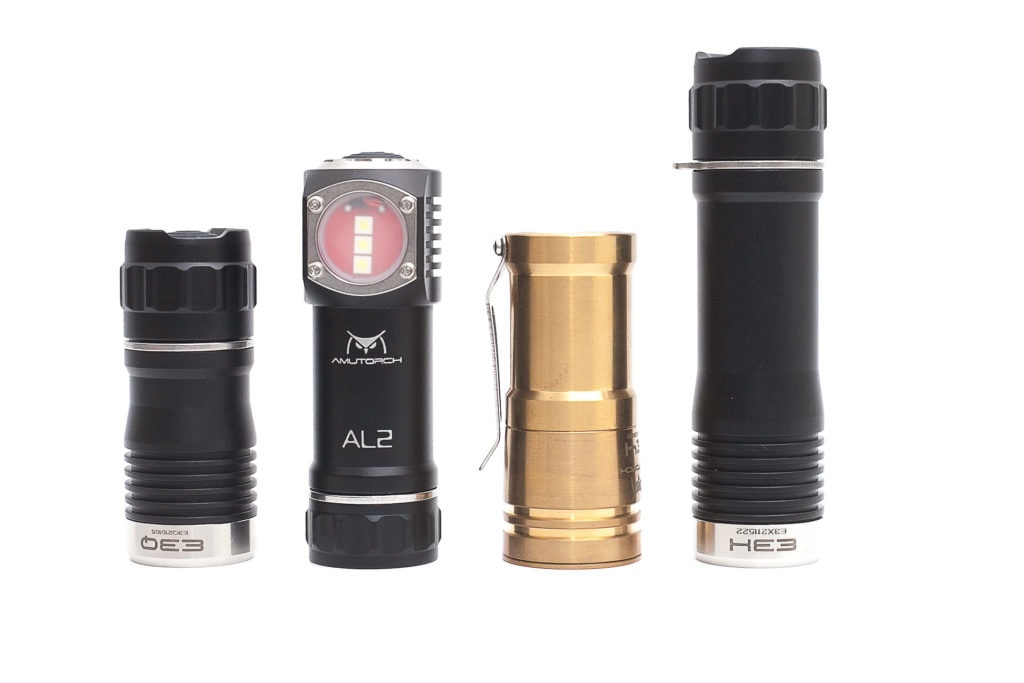
Group 1: Amutorch torches/flashlights: Amutorch E3Q, Amutorch AL2, Amutorch E4, Amutorch E3H
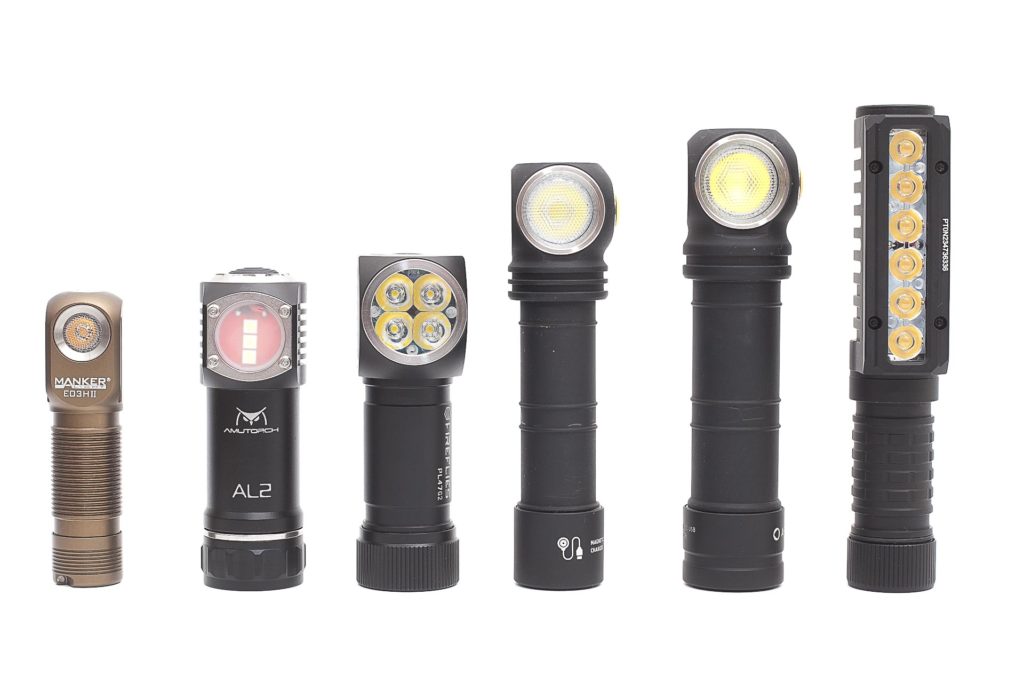
Group 2: l-shape headlamps: Manker E03H II, Amutorch AL2, Fireflies PL47 g2, Armytek Elf C2, Armytek Wizard C2 PRO Max, Acebeam PT40. Here, you can really see how short it is. It’s just a tad bit longer than the E03H, which is an AA type flashlight.
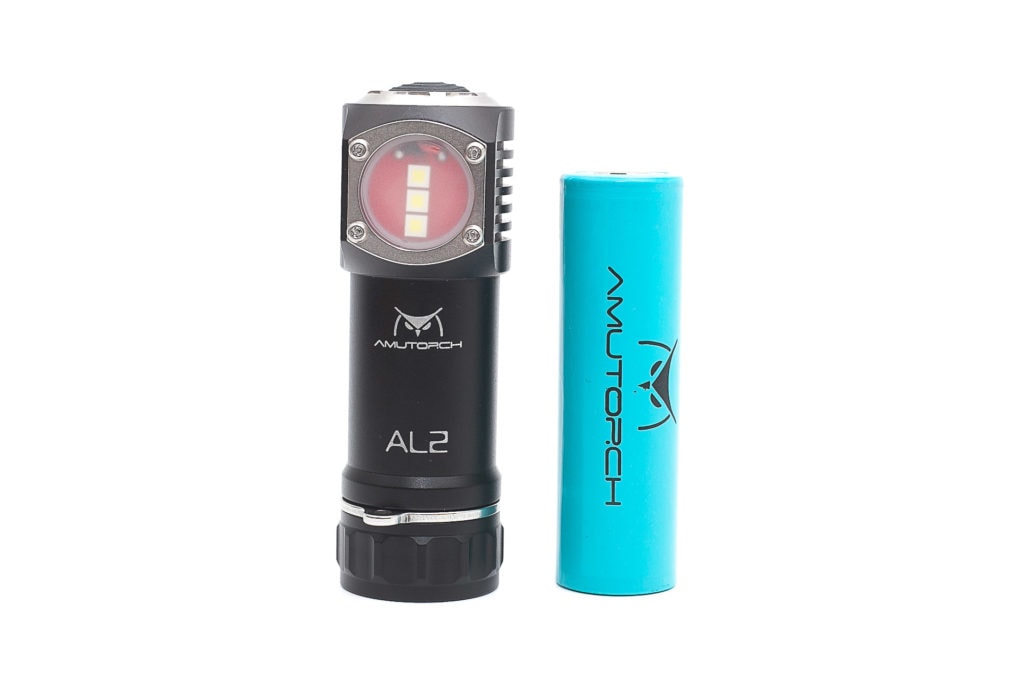
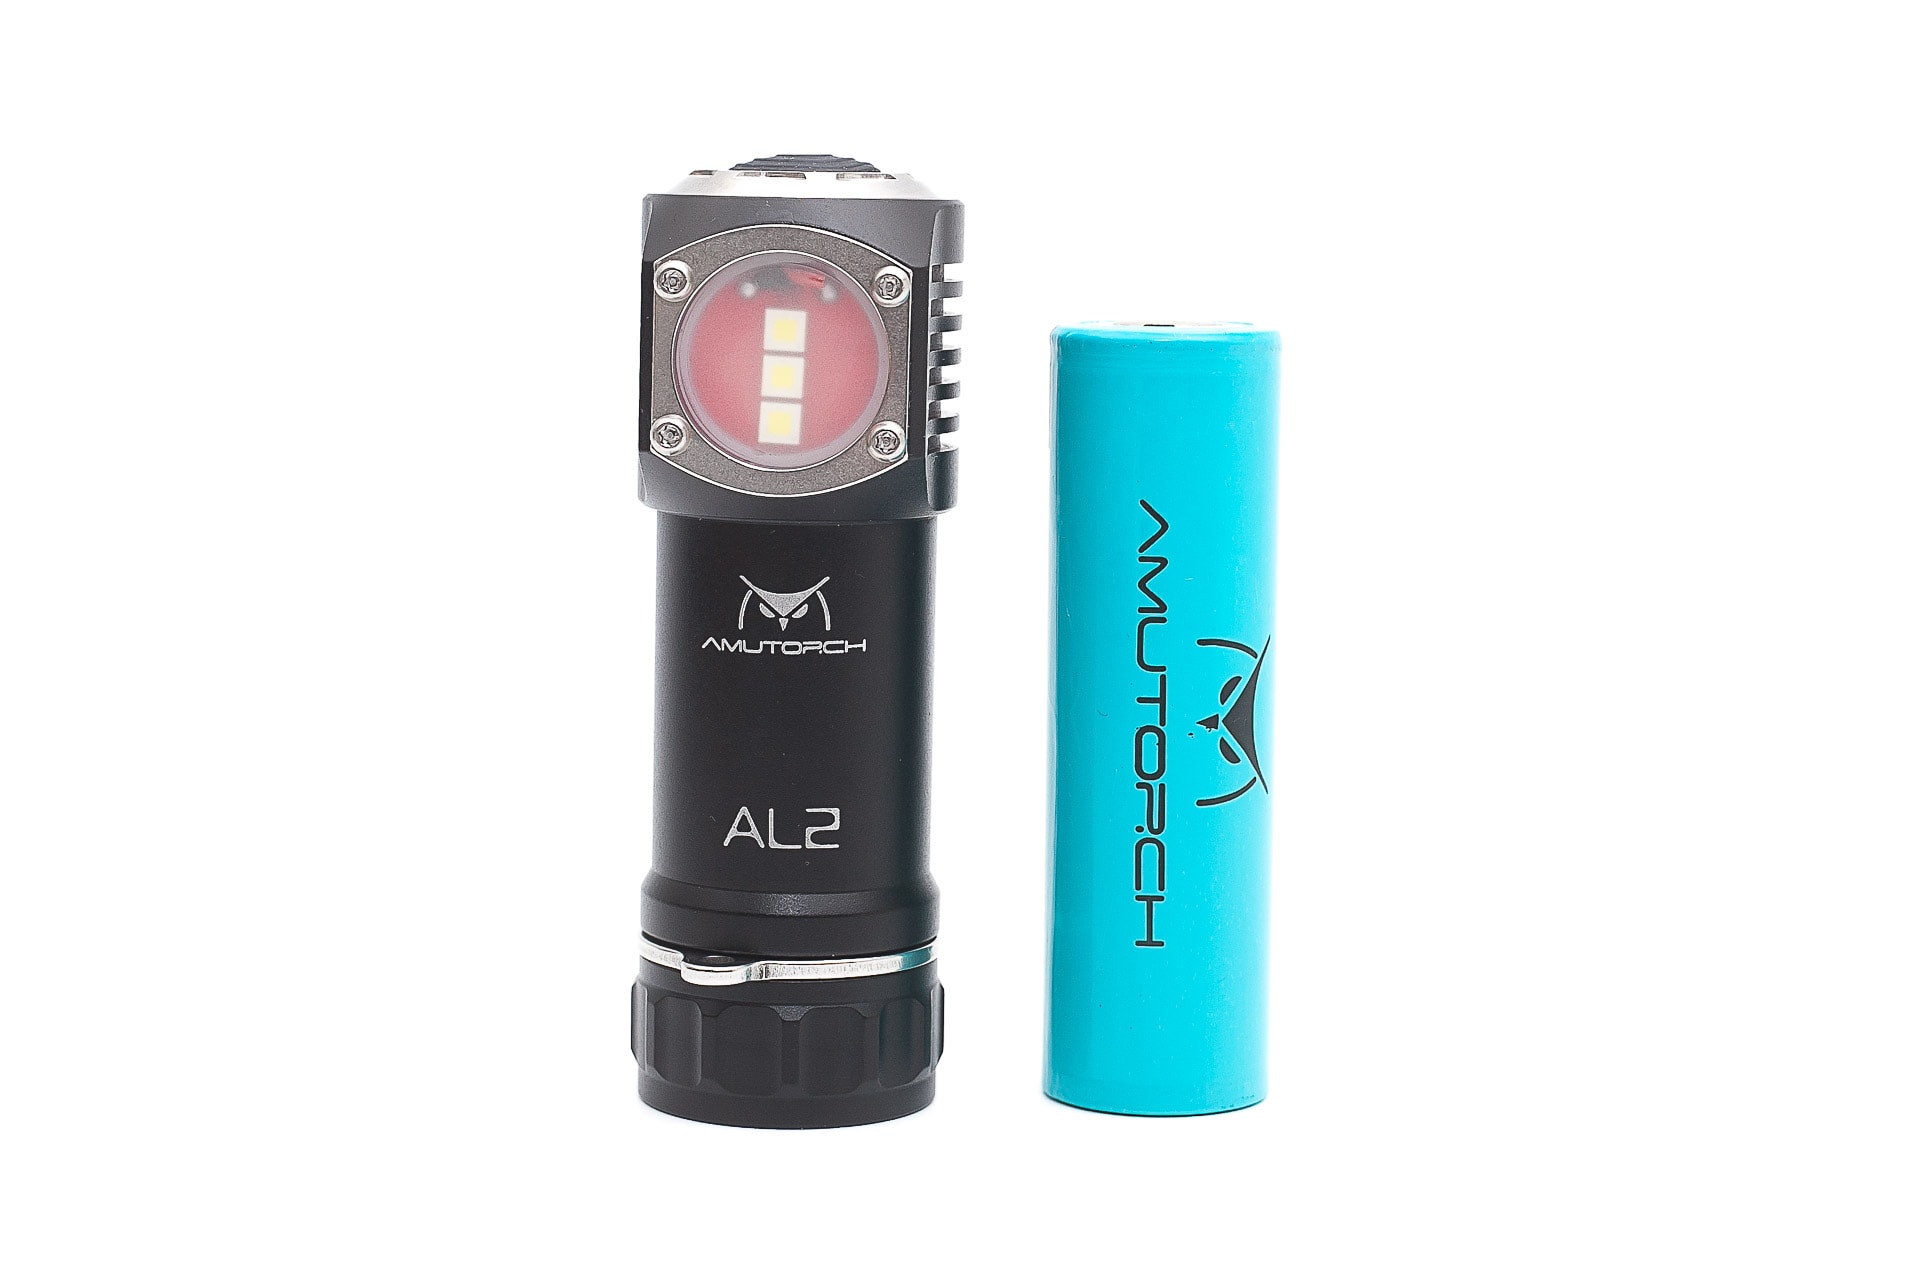
Group 3: AL2 next to a 21700 battery
Driver & User Interface:
Amutorch uses its own firmware with 2 UIs. There’s the standard UI with 4 modes + turbo and a ramping mode.
How to change between Amutorch mode groups?
Both UIs are available at all times, from the off position. A single click will go to the stepped mode group. Press and hold from off will go to Ramping mode.
Available modes:
- Eco, Low, Medium, High + Turbo
- Ramping mode + Turbo
From OFF:
- Single-click: to last used mode, mode memory
- Double click: Turbo mode (but you can’t go back to a lower mode when you entered Turbo mode from off). Not sure how handy this is. You have to turn the light off, and then enter Ramping mode, or the Normal mode group.
- Triple-click: strobe
- Press and hold: Ramping mode activation (you have to release the switch, in order to start ramping)
From ON in Normal Mode group:
- Single-click: cycling between modes from Eco to high
- Double click: Turbo (and a single click to last used mode)
- Triple-click: Strobe
- Press and hold: Off
From ON in Ramping:
- Single-click: Off
- Double click: Turbo (and 1 click to go back to previous output)
- Triple-click: Strobe
- Press and hold: ramping up/down (the light blinks when it reaches the top of ramp, and bottom of ramp.
Shortcuts:
- To Turbo: double click from off, and on, in both mode groups
- To Strobe: triple click, from off,and on, in both mode groups
Mode memory:
- Yes, in both mode groups
Blinky modes menu:
- Strobe
Low battery warning:
- Yes, it blinks when the battery runs low. Also, the temperature controller works this time. Unlike with the Amutorch E3H, E3Q, and E4, of which the step down was just timer based, instead of temperature controlled.
Lock-out mode:
- I couldn’t find any. But you can just unscrew the tailcap more than a half turn.
PWM:
- Not visible by eye
Firmware / UI Conclusion:
The UI is a little different. It’s not my favorite, but if you don’t own many flashlights, you can probably remember it each time you pick it up. I’ll have trouble, because of the many, many UI’s I’ve been introduced to.
Batteries & Charging
Besides just the flashlight, Amutorch gives you the option to include a battery, or a battery and a charger. They will go for about $7 – $13 extra.
I used an Amutorch battery for this review that I got with one of the previous Amutorch flashlights. It’s used a couple of times, but not very often.
And since the AT2 is so extremely compact, you can’t use long cells or protected cells.
Performance
Lumen measurements:
All output numbers are relative to my homemade Integrating Sphere. It is set up with an Extech SDL400 Lux Meter for measurements including a Kenko PRO1D ND-16 filter. The base measurement is done with a Convoy S2+ that has been tested at 255 lumens.
In case I share Amp readings, I use a Fluke 77III DMM, but for higher amps, I use a Fluke 325 True RMS clamp meter. For microamps, I will use a cheap DMM with an easy-to-use micro amp setting, for measuring parasitic drain.
All of my readings were taken from an Amutorch 21700 (5000mAh) battery. The reading at turn on, and 30 seconds were done manually. The one at 10 minutes is taken from the runtime test.
The tests were done with the frosted lens… so even though the output of the clear lens is higher, the runtimes would be identical. And since the frosted lens is the default, I used that.
I didn’t do a runtime test for mode 1 because it would take a couple of days before finishing, so the 10min is missing, but it’s likely to be about the same output as at turn on and after 30 seconds.
| Mode | Specs | @ turn on | 30 sec | 10min |
|---|---|---|---|---|
| 1 | 20 | 16.80 | 16.80 | – |
| 2 | 150 | 107 | 106 | 105 |
| 3 | 300 | 213 | 212 | 207 |
| 4 | 610 | 443 | 435 | 406 |
| Turbo | 3160 lumens | 2742 | 2376 lm | 408 |
I then tested it with the clear glass lens as well.
| Mode | Specs | turn on | 30sec |
|---|---|---|---|
| 1 | 20 | 22 | 22 |
| 2 | 150 | 140 | 139 |
| 3 | 300 | 278 | 277 |
| 4 | 610 | 594 | 580 |
| Turbo | 3160 lumens | 3606 | 3252 lm |
I then calculated the difference in output between the frosted glass lens and this one. The differences were between 30 and 34%.
With the clear lens, the 3160 lumens are easily reached.
Parasitic drain:
- 27.6 µA
- Explanation on milliamps (mA): 1A is 1,000mA
- 1mA is 1,000µA
- 1A is 1,000,000µA
Runtime:
The runtime test was done with the 50cm integrating sphere, including the Kenko Pro1D ND-16 filter and Extech SDL400 data logging Lux Meter.
Remember that these tests were done with the frosted lens because that’s the default setup.
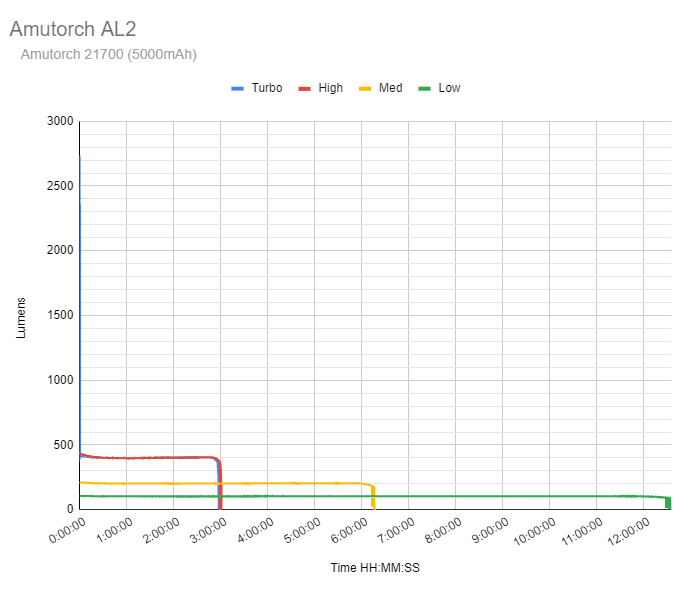
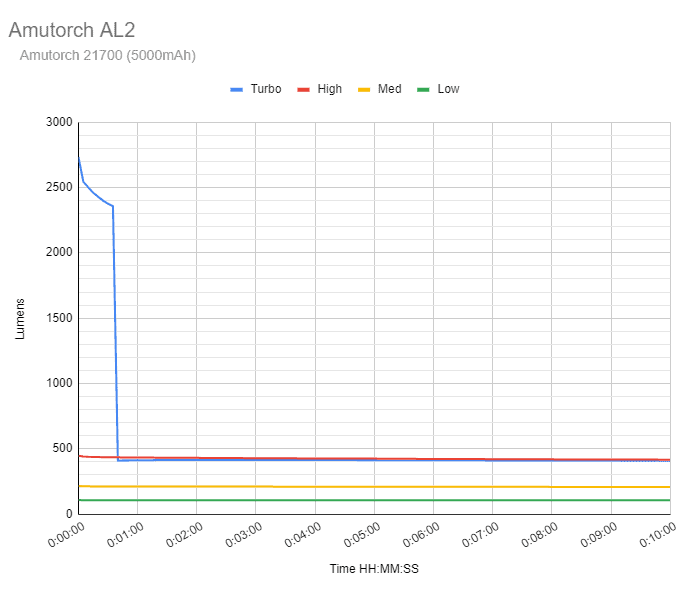
Turbo started around 2742 lumens and slowly dropped. Between 35 and 40 seconds, it dropped from 2358 lumens down to roughly 210 lumens. At 2h56min, it starts blinking, and at 2h58, it shuts off.
Mode 4 (I call it High) starts at around 445 lumens, reduces slowly to 400 lumens, and maintains this output till 2h58min when it starts blinking. Then, at 3h01min, it shuts off.
Mode 3 (I call Med) starts at 215 lumens, slowly reduces to about 202 lumens, and maintains this output. At 5h53min, it reduced output from 204 lumens to 183 lumens when the first blink is observed in the runtime graph. Because the Extech is recording every 5 seconds, it’s easy to miss the blink. At 6h16min, it shuts off completely.
Mode 2 (I call low) starts at 107 lumens and slowly reduces to about 103 lumens for most of the runtime. From 12h01min, it slowly drops to 93 lumens when the first blink is recorded in the graph. At 12h35min the light turns off.
Fortunately, the AL2 has a working temperature controller built-in. The E3Q, E3H, and E4 were sold as being “temperature-controlled”, but weren’t. This time, the AL2 is truly temperature controlled. When the flashlight drops in output, you can’t turn back on Turbo. You can turn the flashlight off, and then turn on Turbo again, but it will drop its output very quickly again, so it won’t overheat.
Throw Measurement
Measurements were taken indoors at 5 meters with a professional Hagner E4-X Lux Meter. Measurements were taken 30 seconds after turn on.
Taken with frosted glass, and with clear glass. Somehow Turbo didn’t perform better with the clear lens… strange
| Mode | candela | meters | yards |
|---|---|---|---|
| Mode 1 | 5 | 4 | 4.89 |
| Mode 2 | 52.5 | 14 | 15.85 |
| Mode 3 | 105 | 20 | 22.41 |
| Mode 4 | 212.5 | 29 | 31.88 |
| Turbo | 1525 | 78 | 85.41 |
| Mode | candela | meters | yards |
|---|---|---|---|
| Mode 1 | 10 | 6 | 6.92 |
| Mode 2 | 65 | 16 | 17.63 |
| Mode 3 | 130 | 23 | 24.94 |
| Mode 4 | 265 | 33 | 35.61 |
| Turbo | 1500 | 77 | 84.71 |
Beamshots
Flooders:
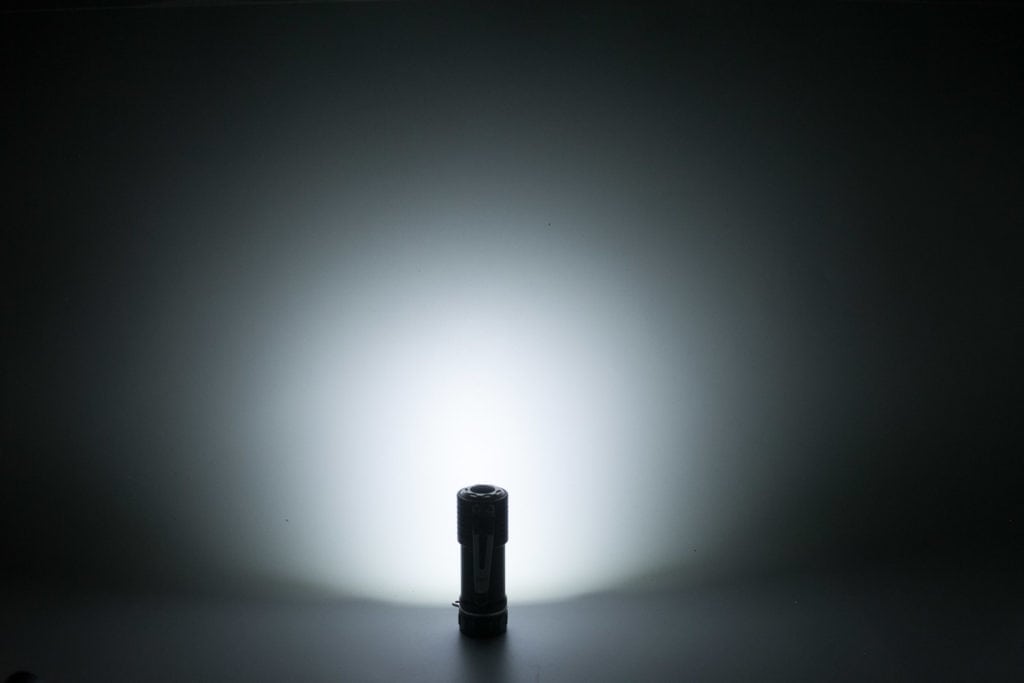
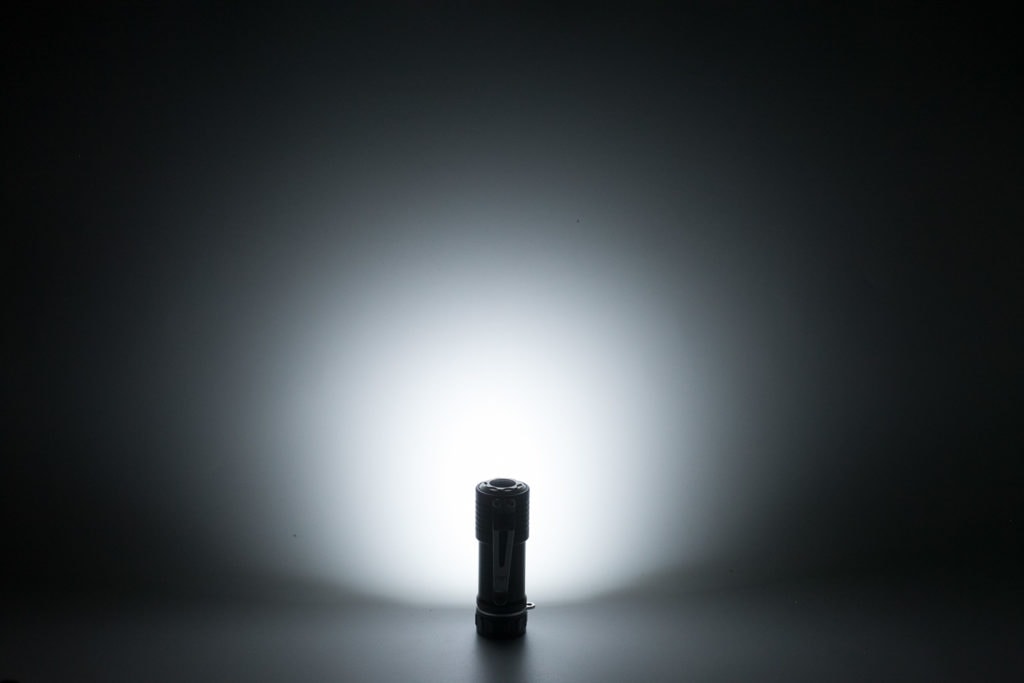
For the following beamshots, I used a Canon EOS 5D Mk2 and a 50mm lens. manual settings: ISO1600, 1/4sec , F4, 5000K
The shed is about 65 meters / 71 yards away. The reflective fence is about 200 meters away.
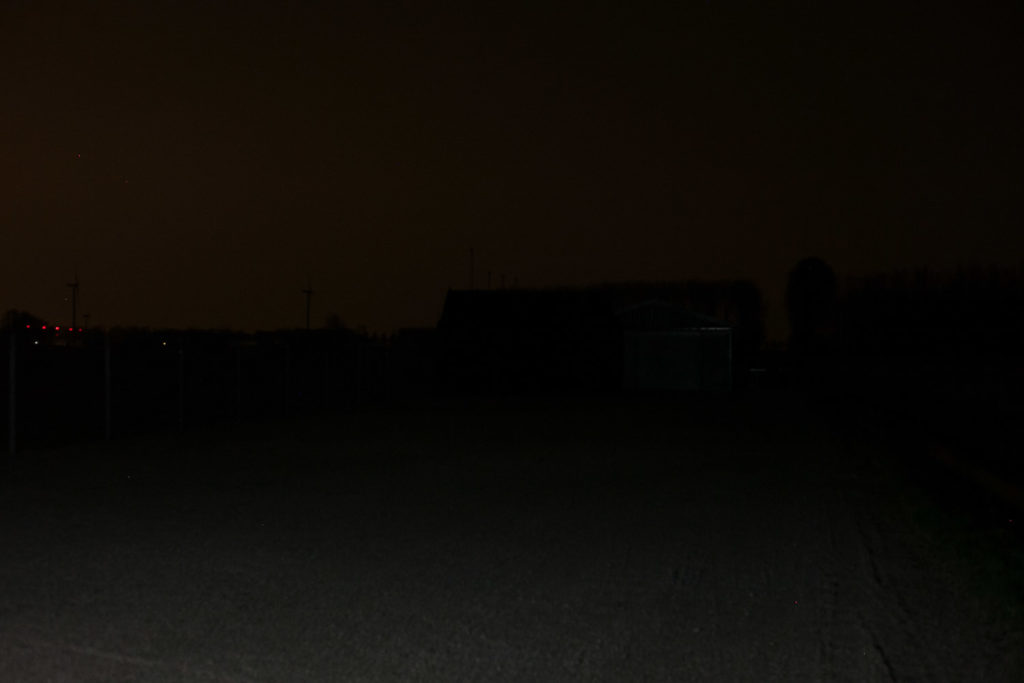
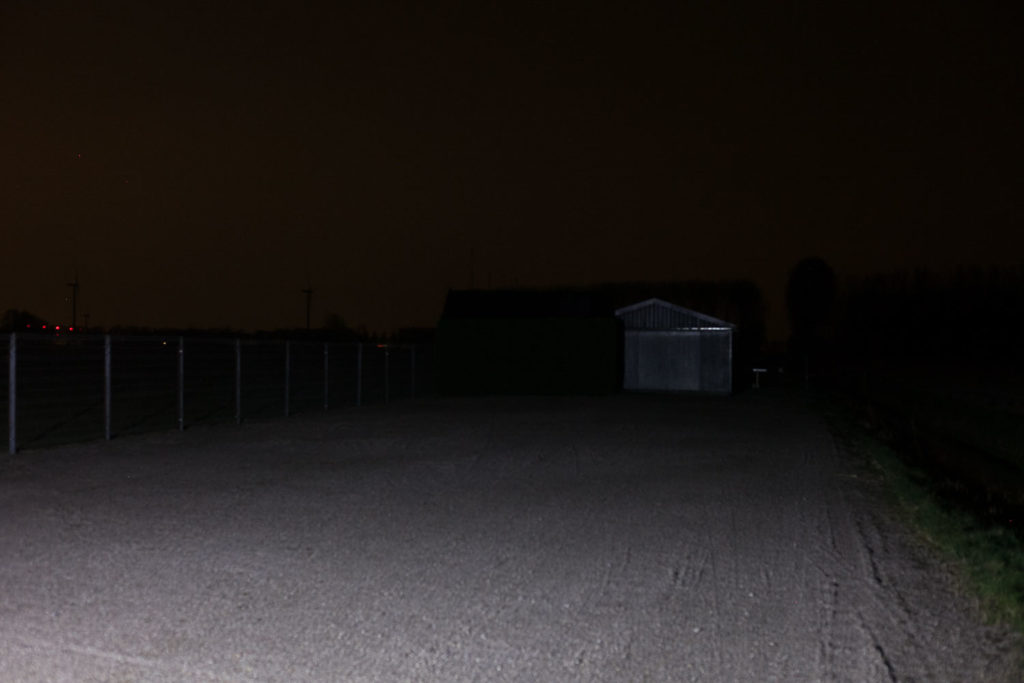
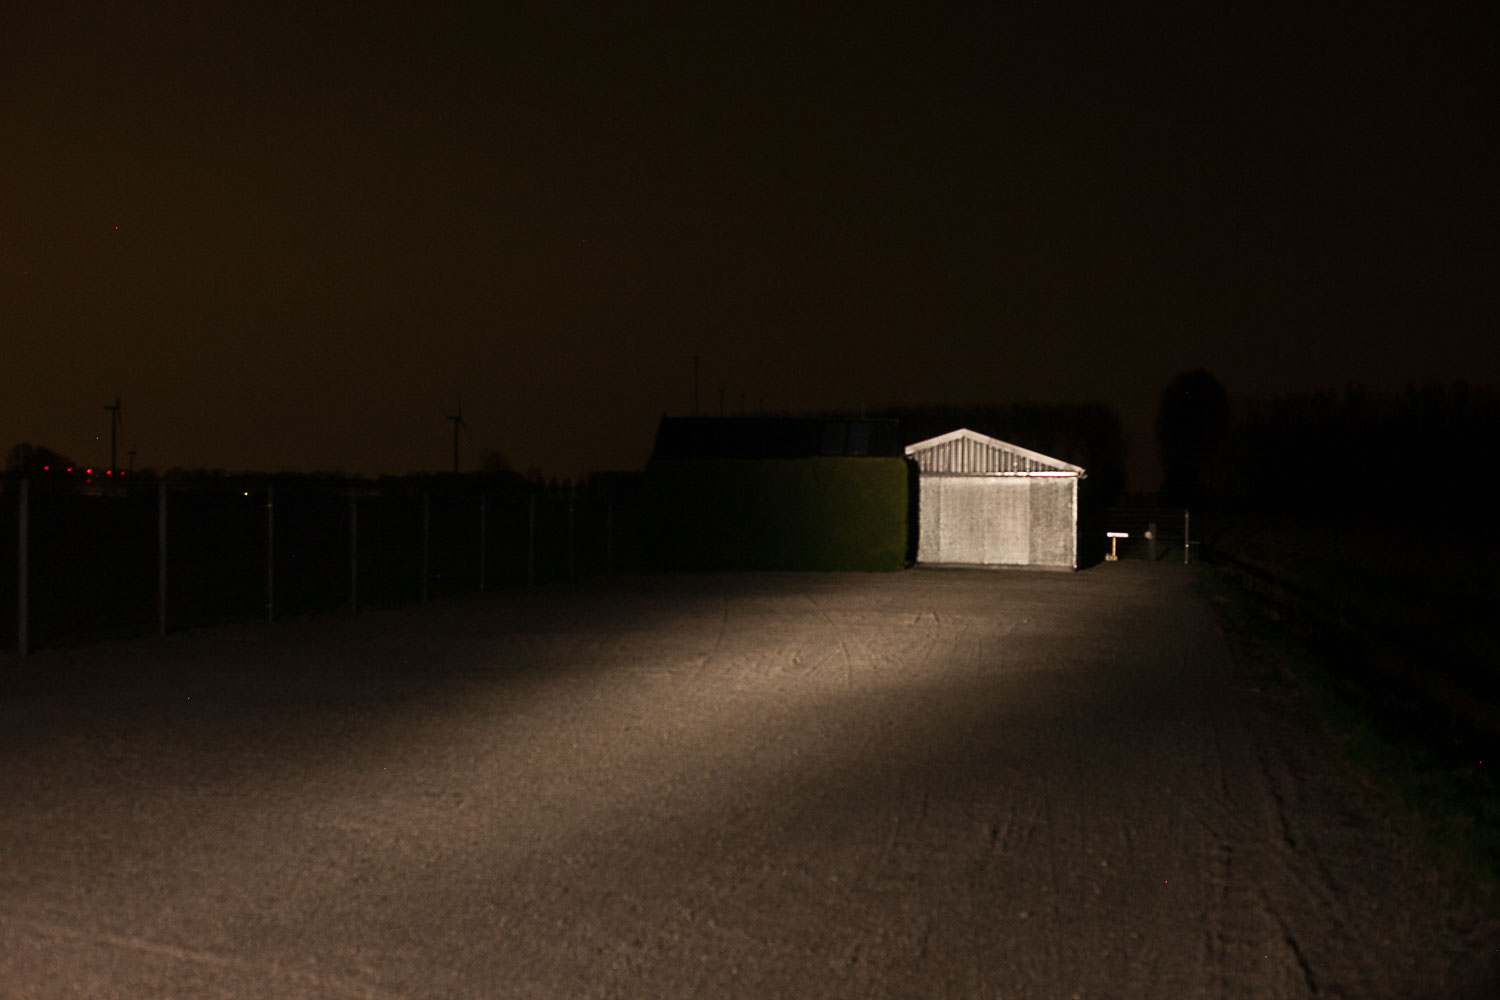
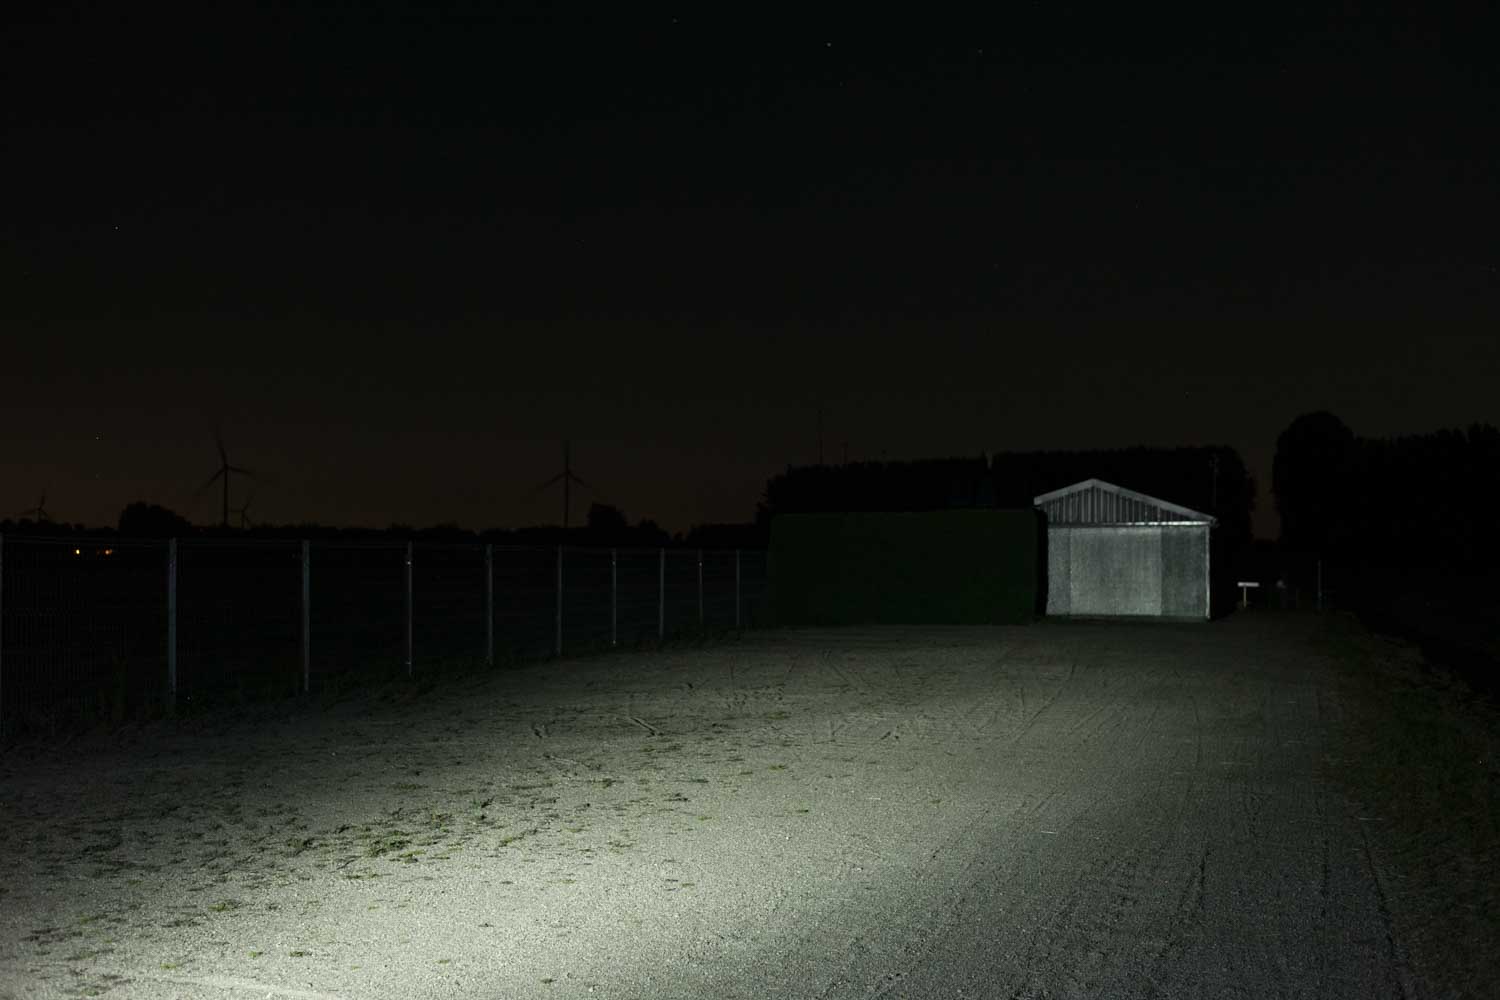
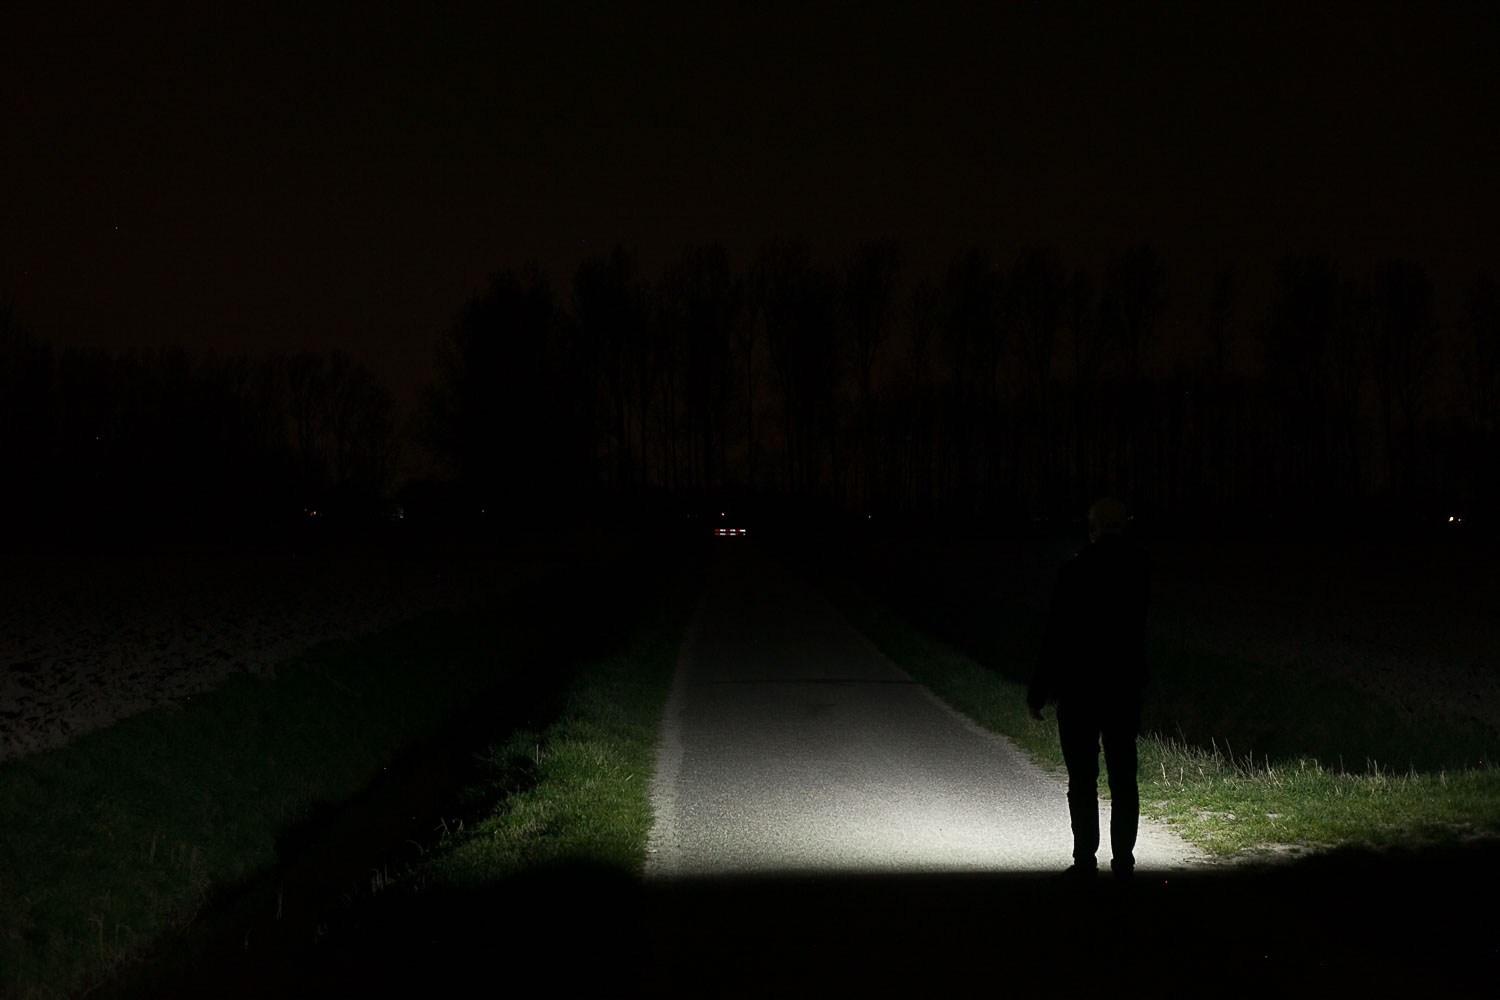

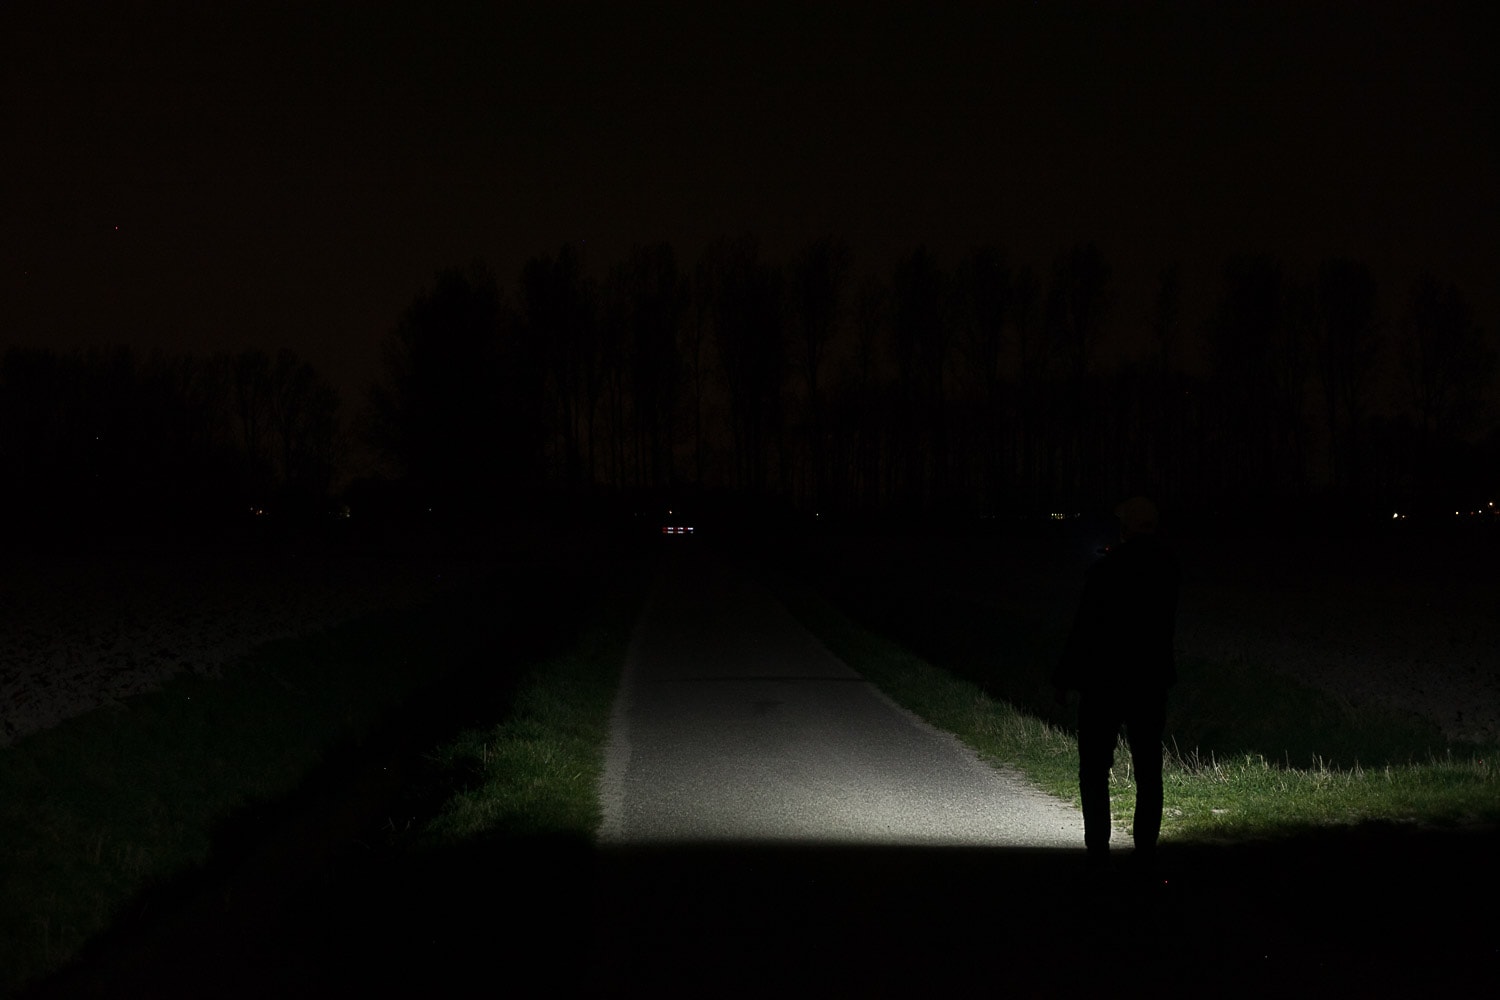
You can clearly see that this is not throwing very far at all. It’s great for close-up work, but not very anything beyond let’s say 10 meters, because of the output drop.
Below: can you see a clear difference? I can’t… at least not enough in my opinion.
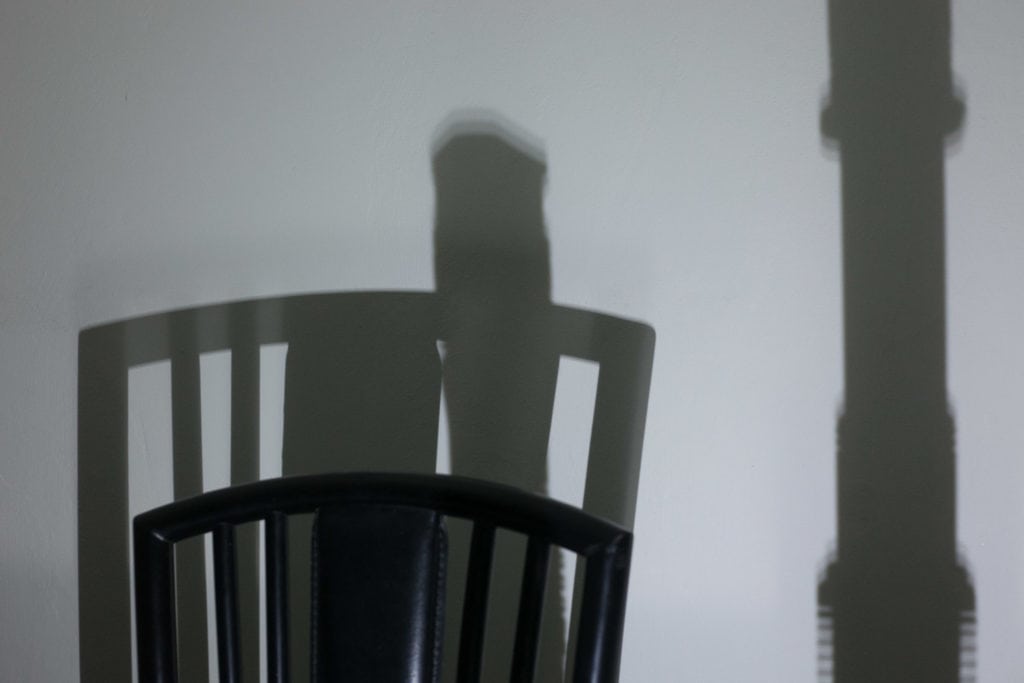
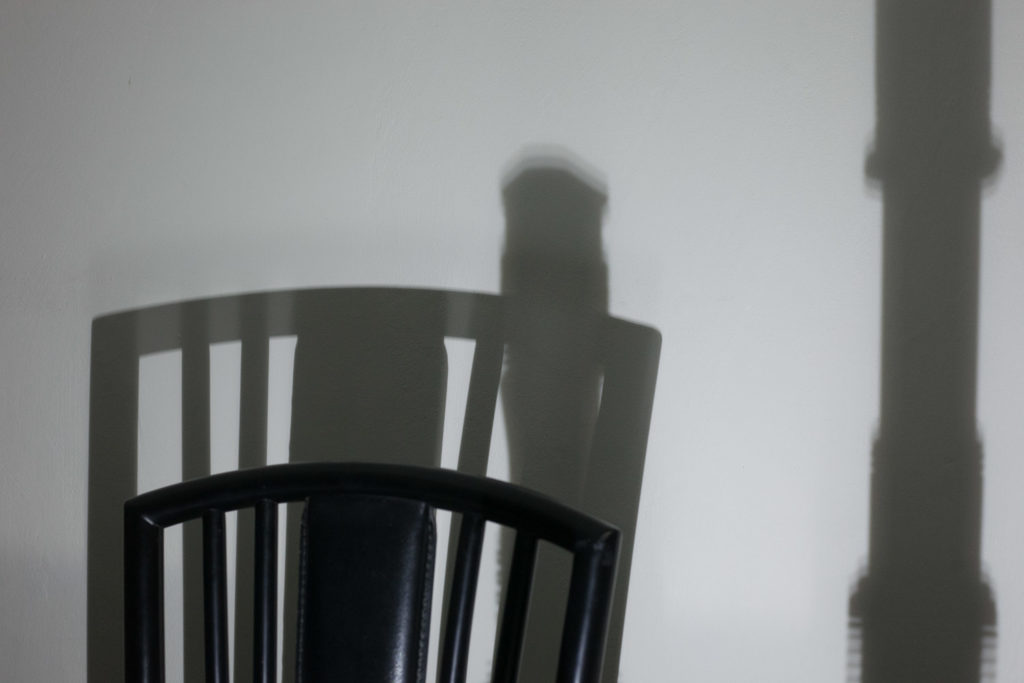
Disclaimer: This flashlight was sent to me for review at no cost by Nealsgadgets. I have not been paid to review, nor have I been holding back on problems or defects.
Final Verdict
Pros
- Smallest 21700 light perhaps?
- Interesting mule design
- Strong pocket clip
- Removable lanyard ring
- Unique UI with stepped menu and ramping menu instantly accessible from Off
- Real temperature controller (wasn’t working on E3H, E4, E3Q etc)
Cons
- UI takes a bit of time to get used to
- No manual was included
- Sustained output is a bit on the low side for a triple LED setup.
- Although 30% difference in output between clear and frosted lens, no real benefits of using the frosted lens with this setup.
Explanation on star ratings:
1: Avoid: my phone flashlight would be a better choice – 2: Poor: significant defect or issues; almost unusable – 3: Average: some defects or issues; but still usable 4: Good: recommended (minor issues) – 5: Great: highly recommended
4 stars: ★★★★
First things first. I’m not a big fan of the UI, but I guess I would be able to get used to it. It would have been nice though if they had included a manual that explained the UI.
Using a frosted lens and a clear lens sounds interesting, but the benefits of a forsted lens are negligible. And besides that, the output drops by 30%, but it doesn’t make the beam look better/worse.
Fortunately, Amutorch’s temperature controller works this time, so that’s a good thing. The drawback, however, is the low output. It’s in the same ballpark as a single 18650 flashlight of 7 years ago.
But being one of the shortest 21700 flashlights, you get about 5 times the runtime of a 18350 light, or double a 18650 flashlight. And on top of that, the AL2 is probably smaller than many 18650 flashlights.
Amutorch AI2 for sale
Use our special 15% off Nealsgadgets discount code: 1lumen711
1lumen selects and reviews products personally. We may earn affiliate commissions through our links, which help support our testing.