1lumen selects and reviews products personally. We may earn affiliate commissions through our links, which help support our testing.
Astrolux EC06 Review

Astrolux EC06 specifications
| Brand/model | Astrolux EC06 |
|---|---|
| LED | 6*CREE XHP50.2 |
| Lumens | 16,000 lm |
| Beam intensity | 76,666 cd (533m) |
| Battery config. | 3*21700 |
| Material | Aluminum |
| Modes | Lots! Anduril 2 |
| Blinkies | Lots! Anduril 2 |
| Reflector | Custom OP reflector |
| Waterproof | IP68 |
| Review date | December 2021 |
Introduction:
Today I’m holding the Astrolux EC06 in my hands, the latest in Astrolux’s “soda-can” lights. Astrolux is a company that needs no introduction to the enthusiast community, with lights being produced that more often than not provide enormous value for money.
As its name would suggest, it’s effectively an Astrolux EC03 with twice the emitters, but it’s more than that – that’s a good frame of reference to start with, though.
I’ve played with some high lumen monsters before (one of the first lights I bought was the Astrolux MF01, and I reviewed the Imalent MS06), so I’m pretty keen to see how this light holds up!
Please note that for a lot of the photos in this review, the light has been carried a fair bit before taking photos – after a hiatus from reviewing, I was a bit too excited to test something out again and rushed past the “take photos while it’s clean” part… oops!
Package quality.
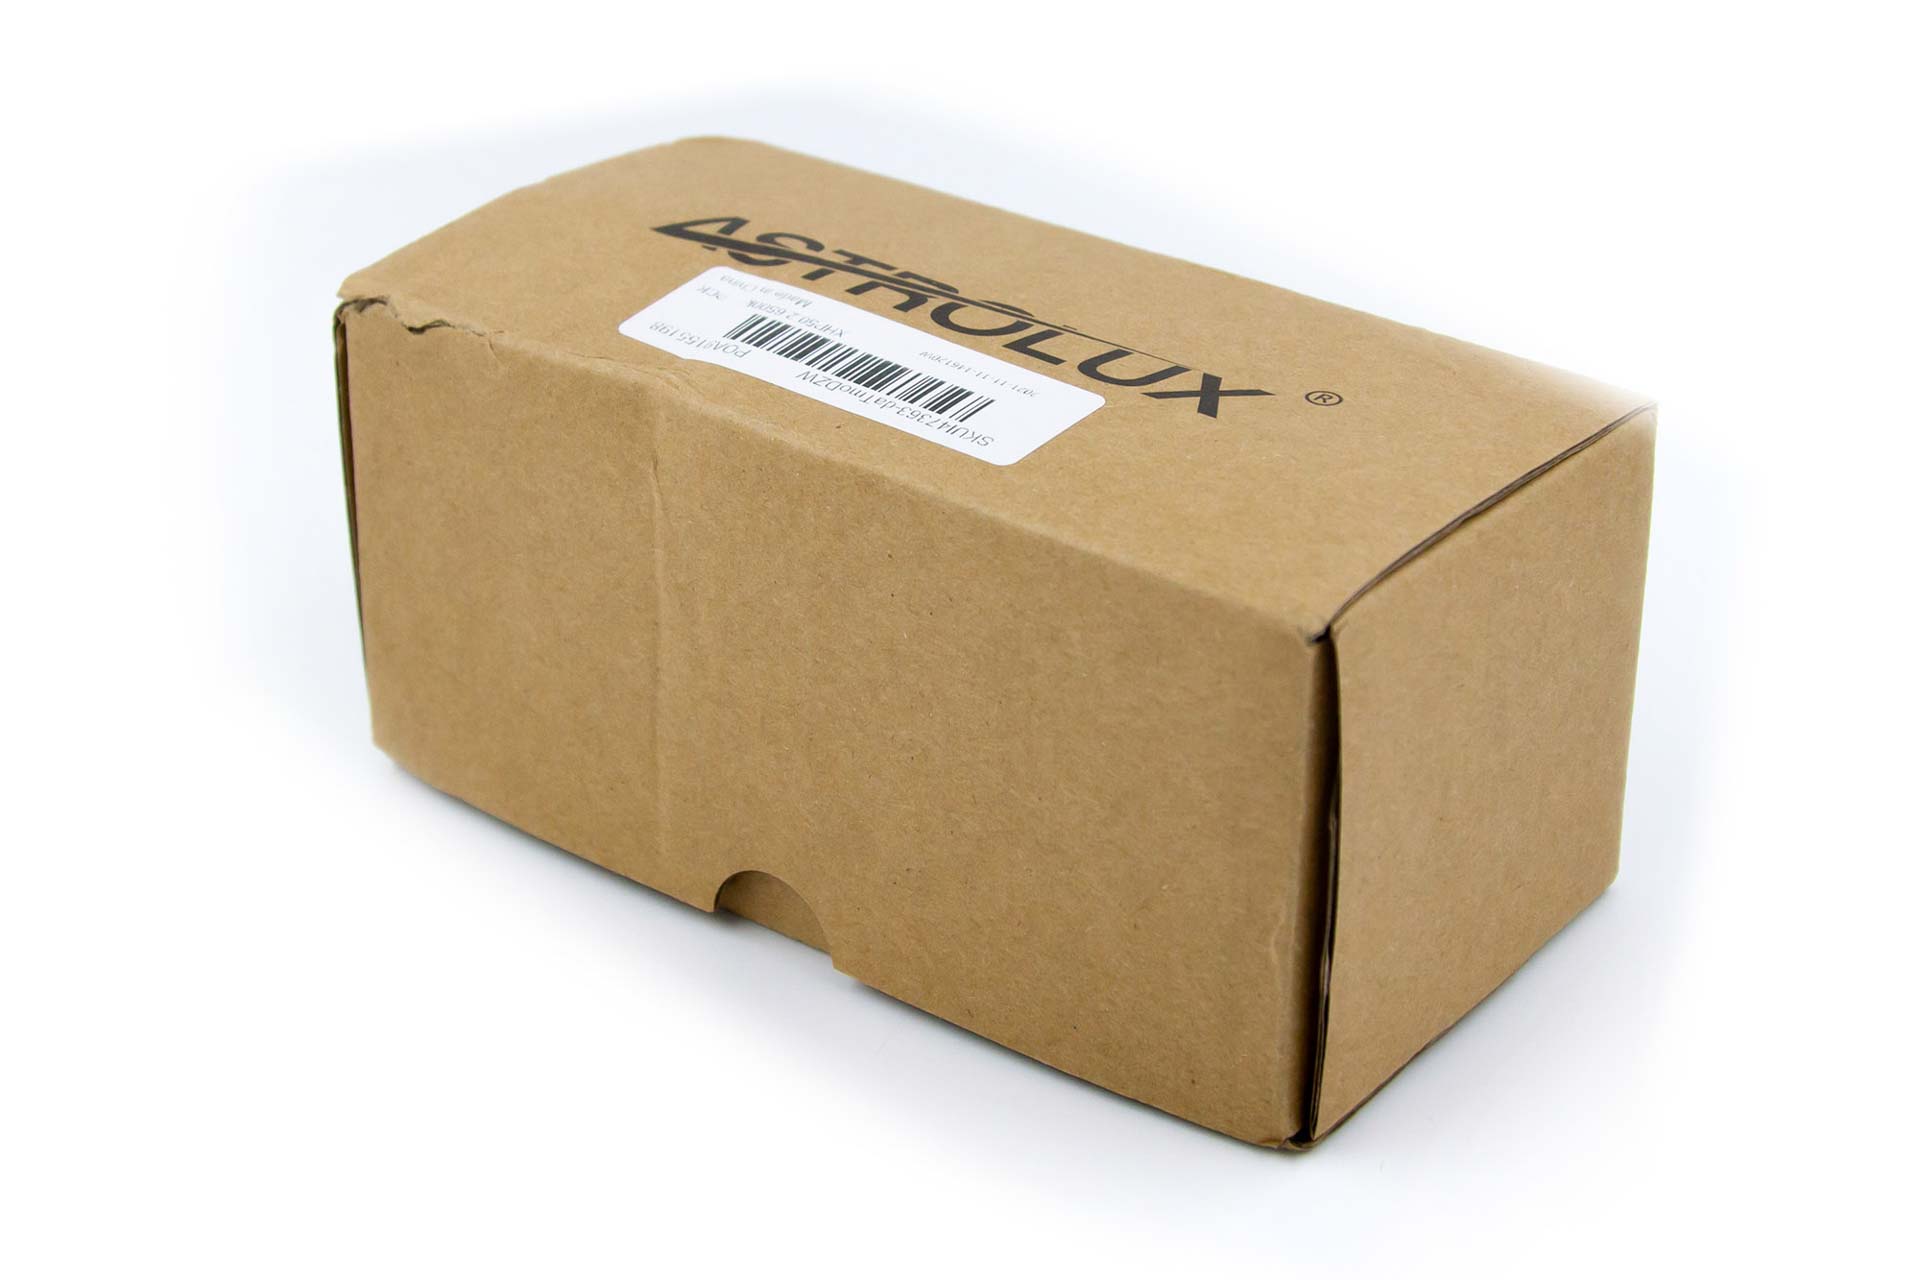
The box that the EC06 comes in is a fairly plain cardboard box with a label on one end showing the model designation.
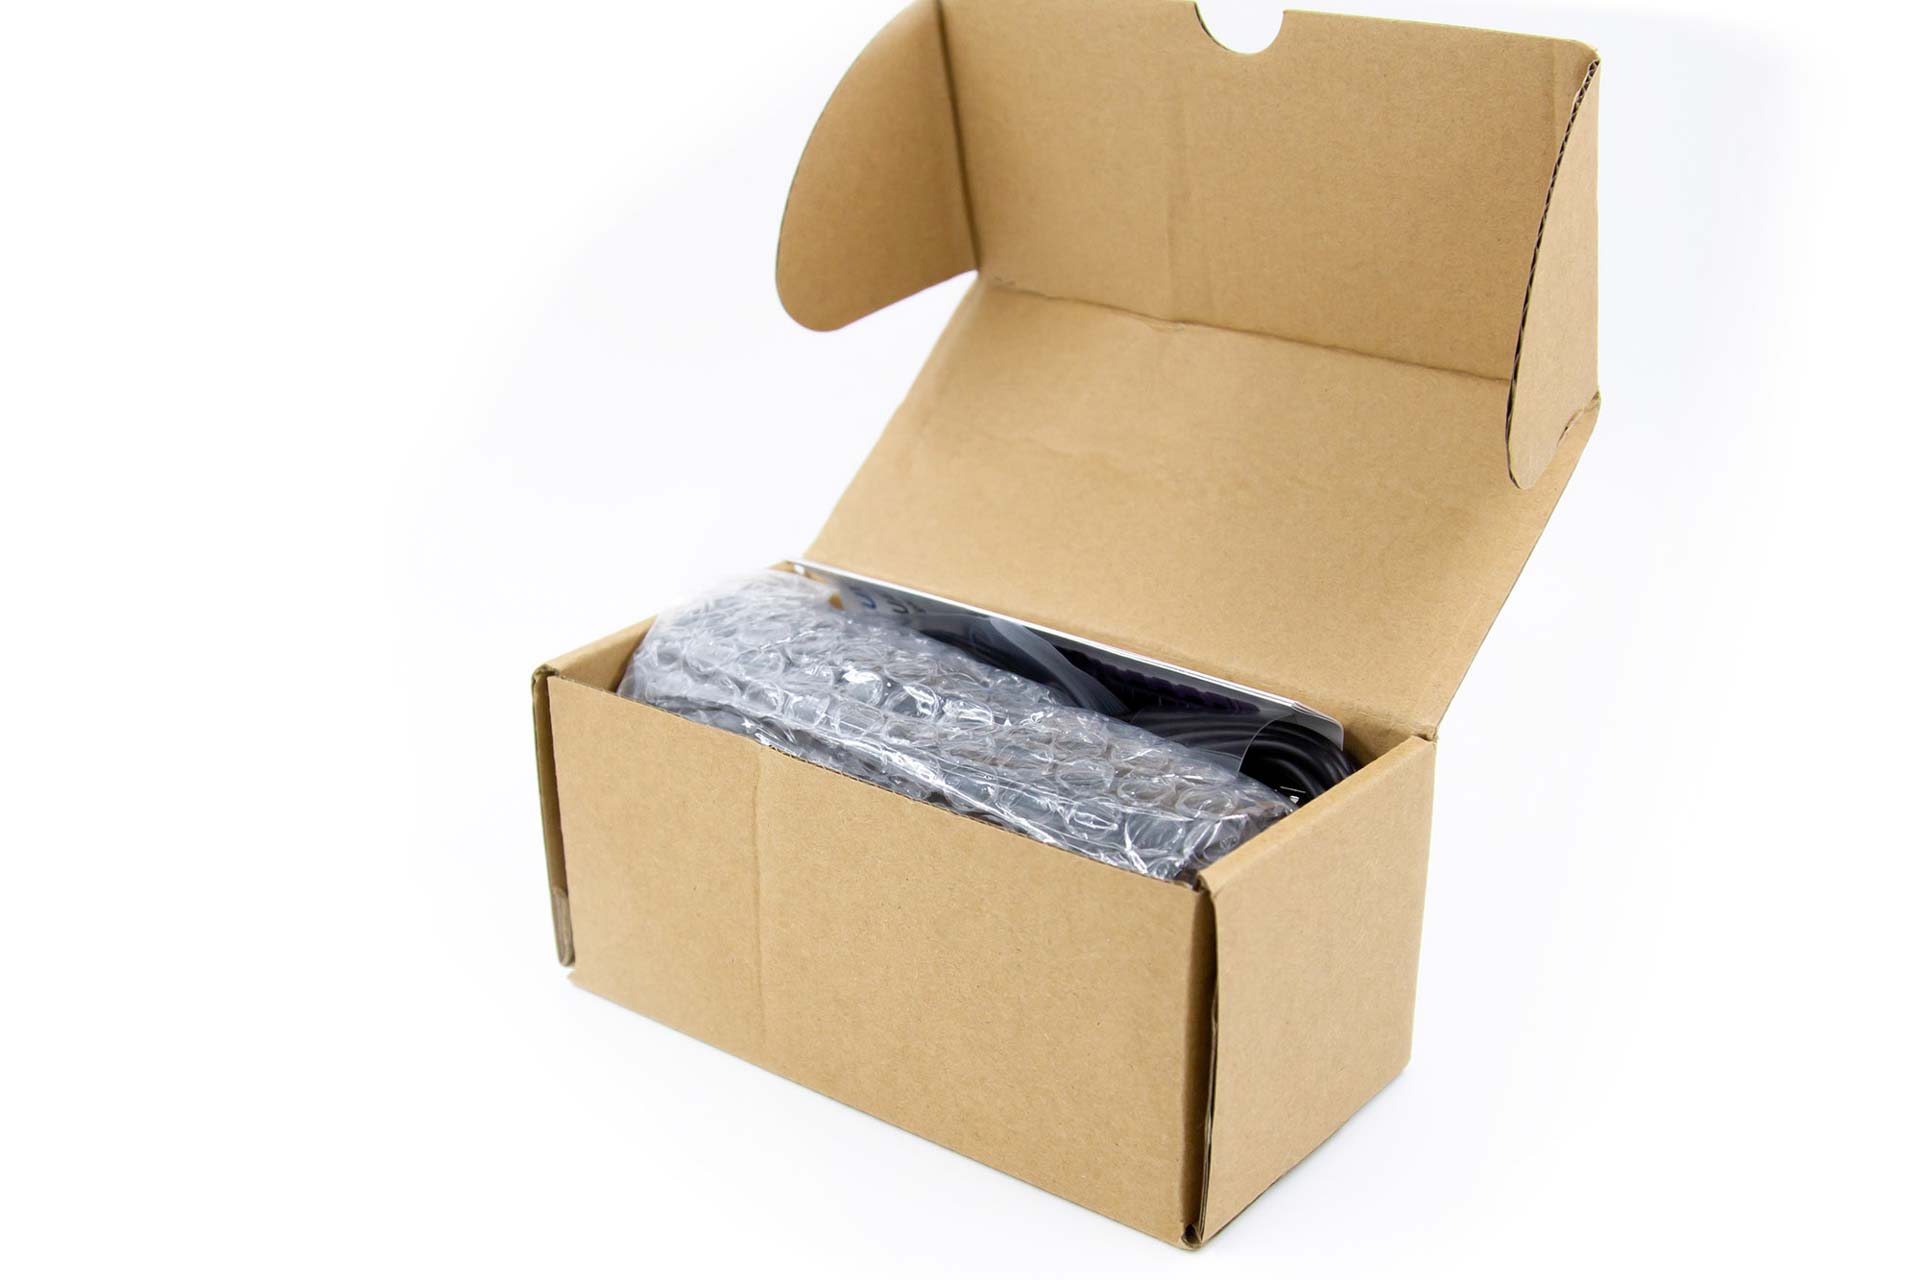
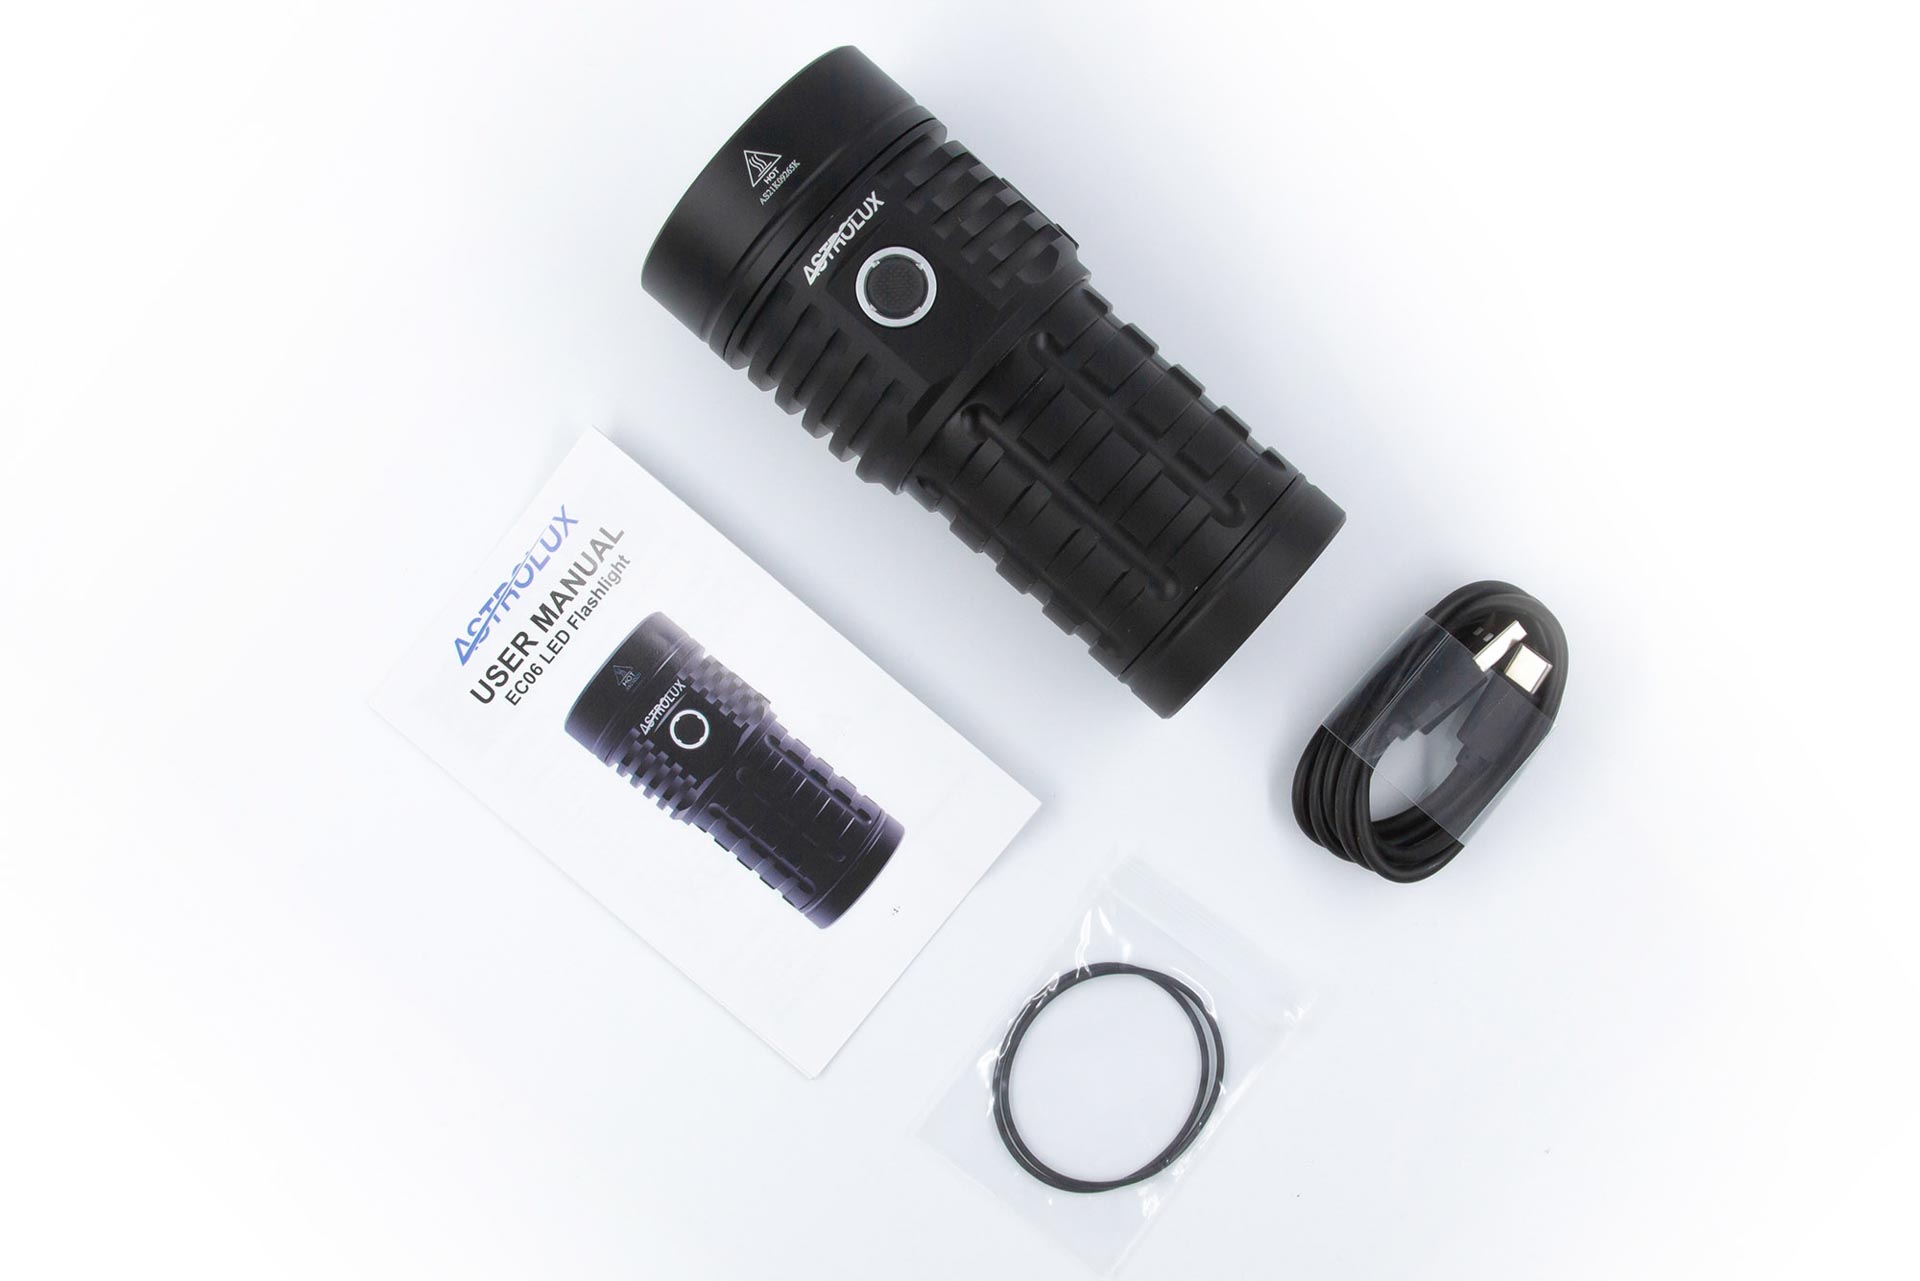
Inside the box, I find:
- The Astrolux EC06 itself nestled inside bubble-wrap
- A bag with two o-rings
- USB-A to USB-C charging cable
- Product manual
While the box seems plain, it doesn’t particularly need to be fancy; in my experience, Astrolux tends to aim for function first and form second.
There’s not much more that would round this package out, other than a kit with included cells. If you’ve got the cells, then you’re ready to go.
Flashlight in use
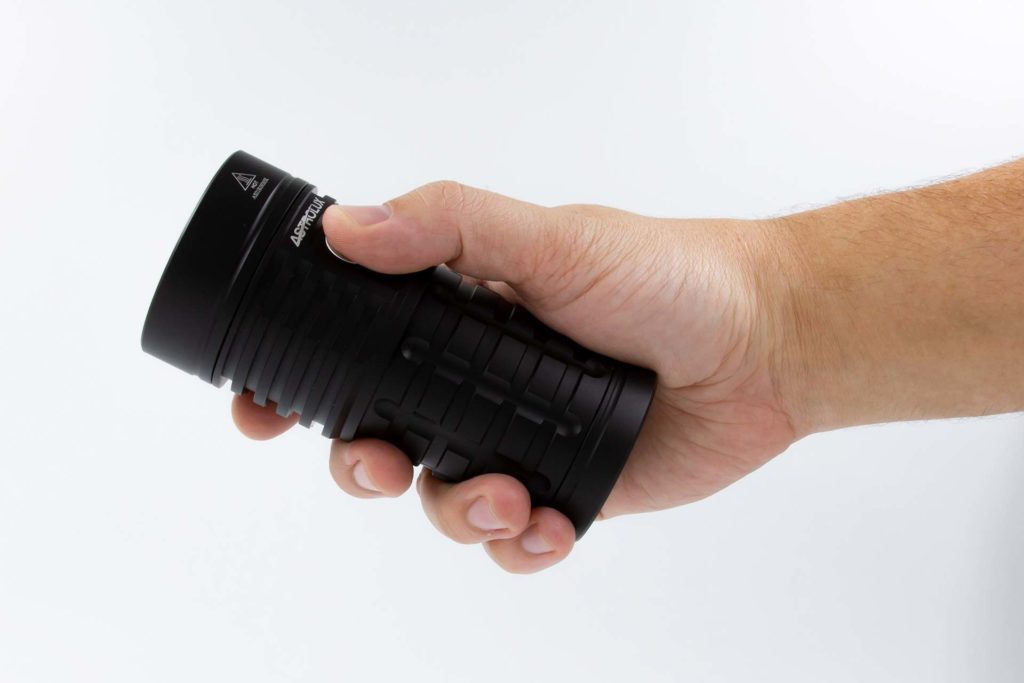
As a soda-can light, there’s only really one way you’ll be carrying the light, and that’s in the “underhanded” grip. Thankfully the grip is sufficient that it rests quite easily in the hand, and the design of the head lends itself to a “scoop” fitting your finger for a better hold.
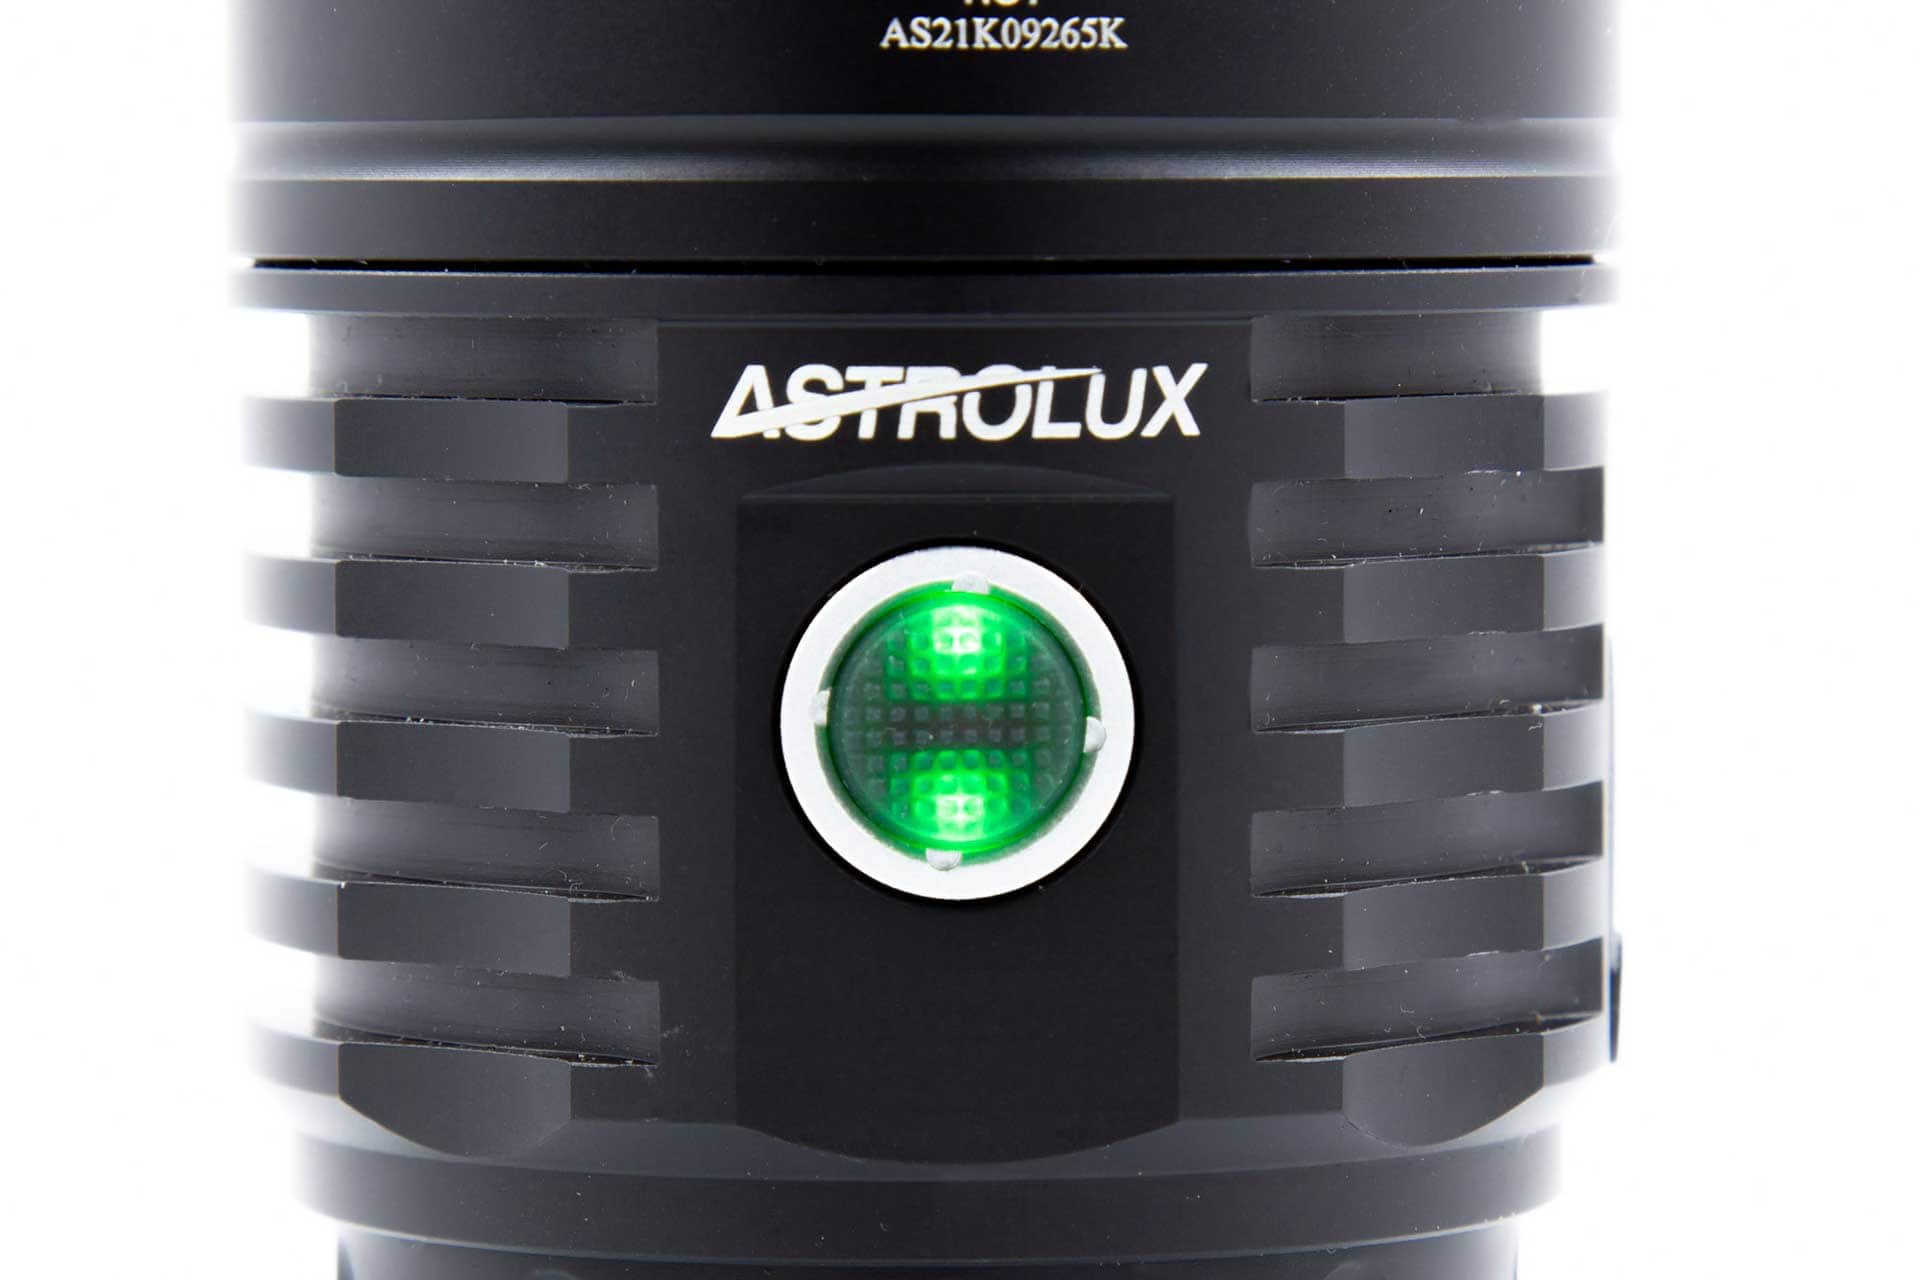
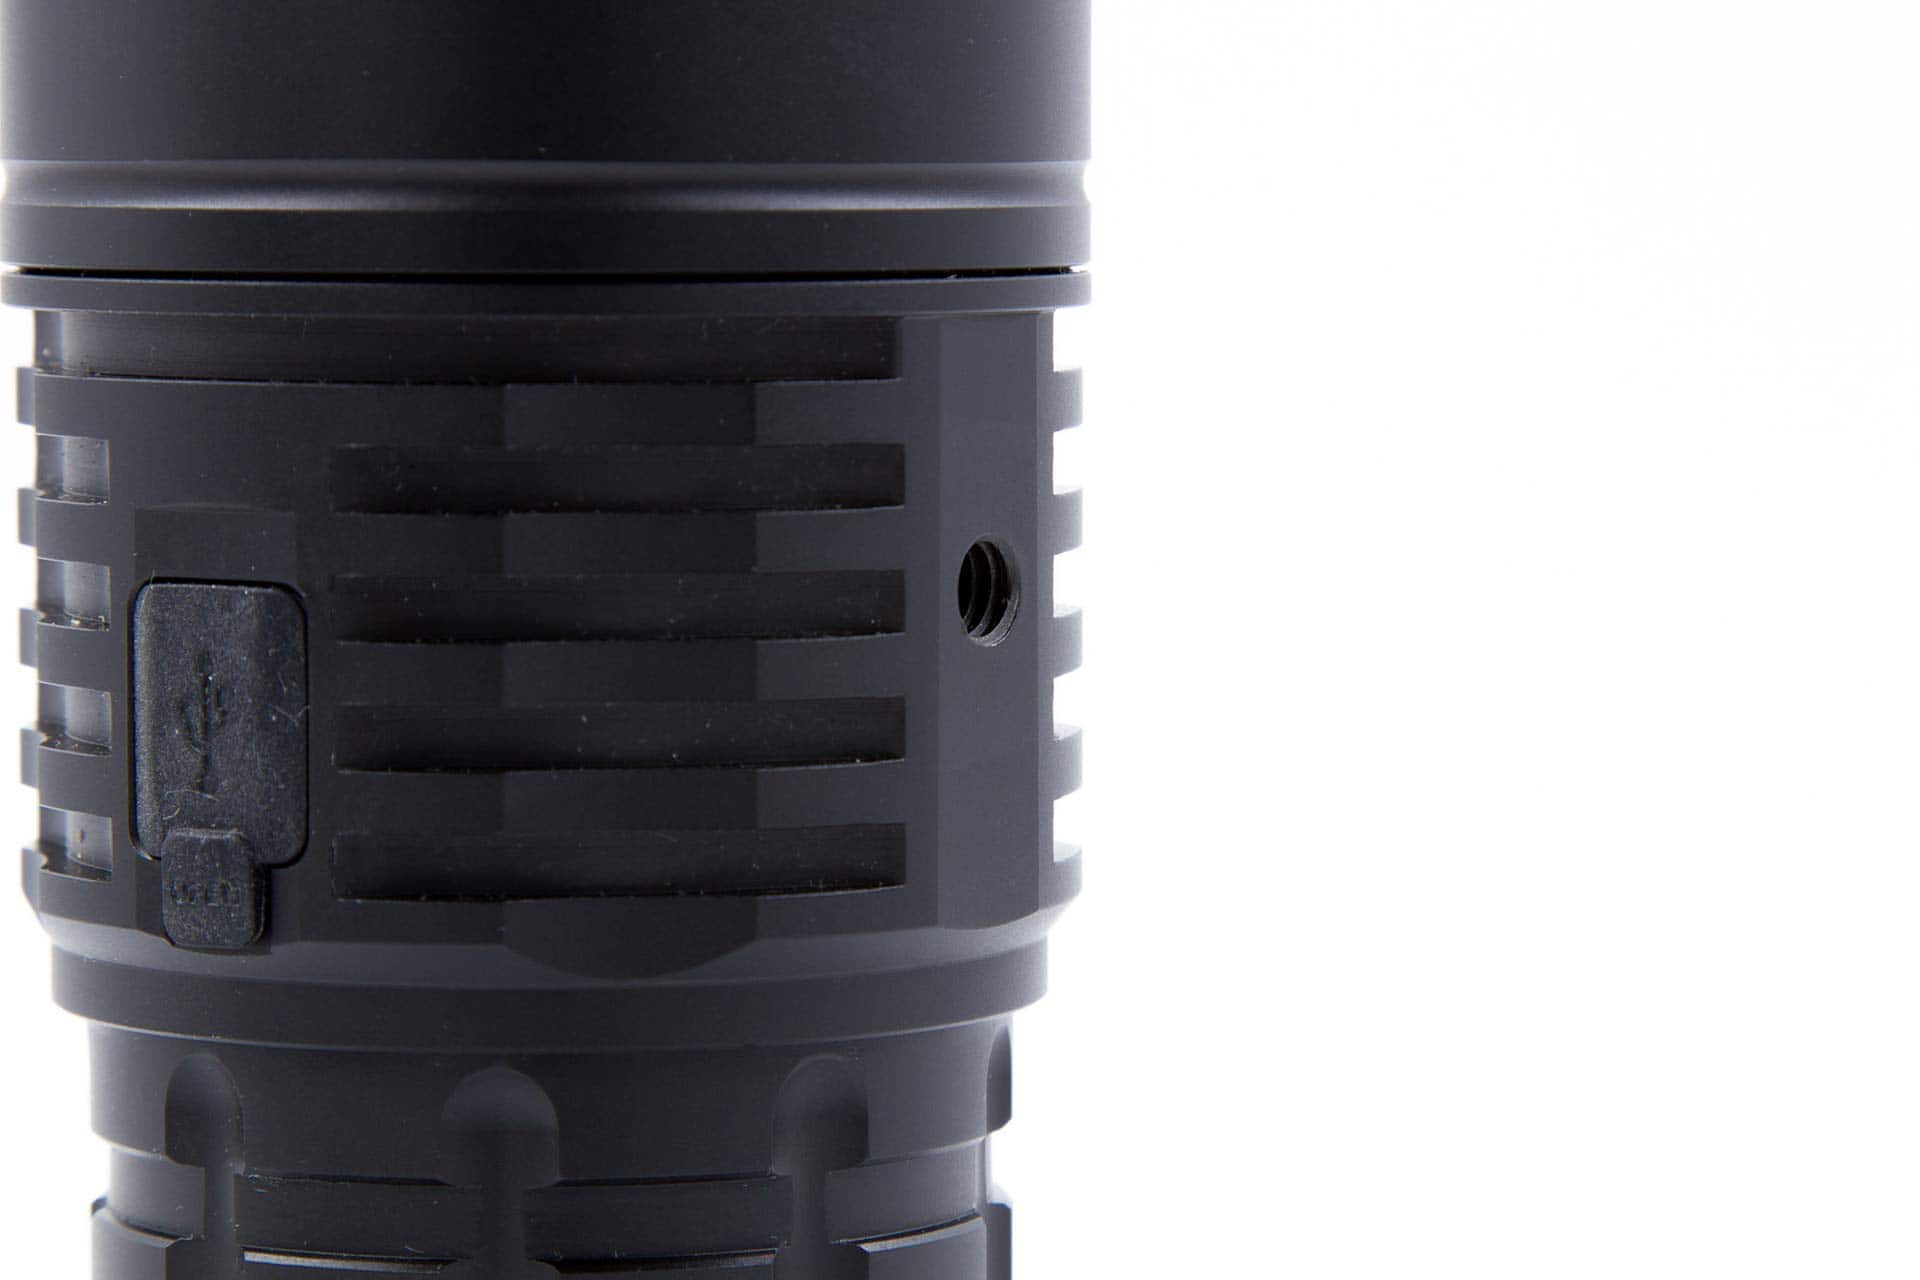
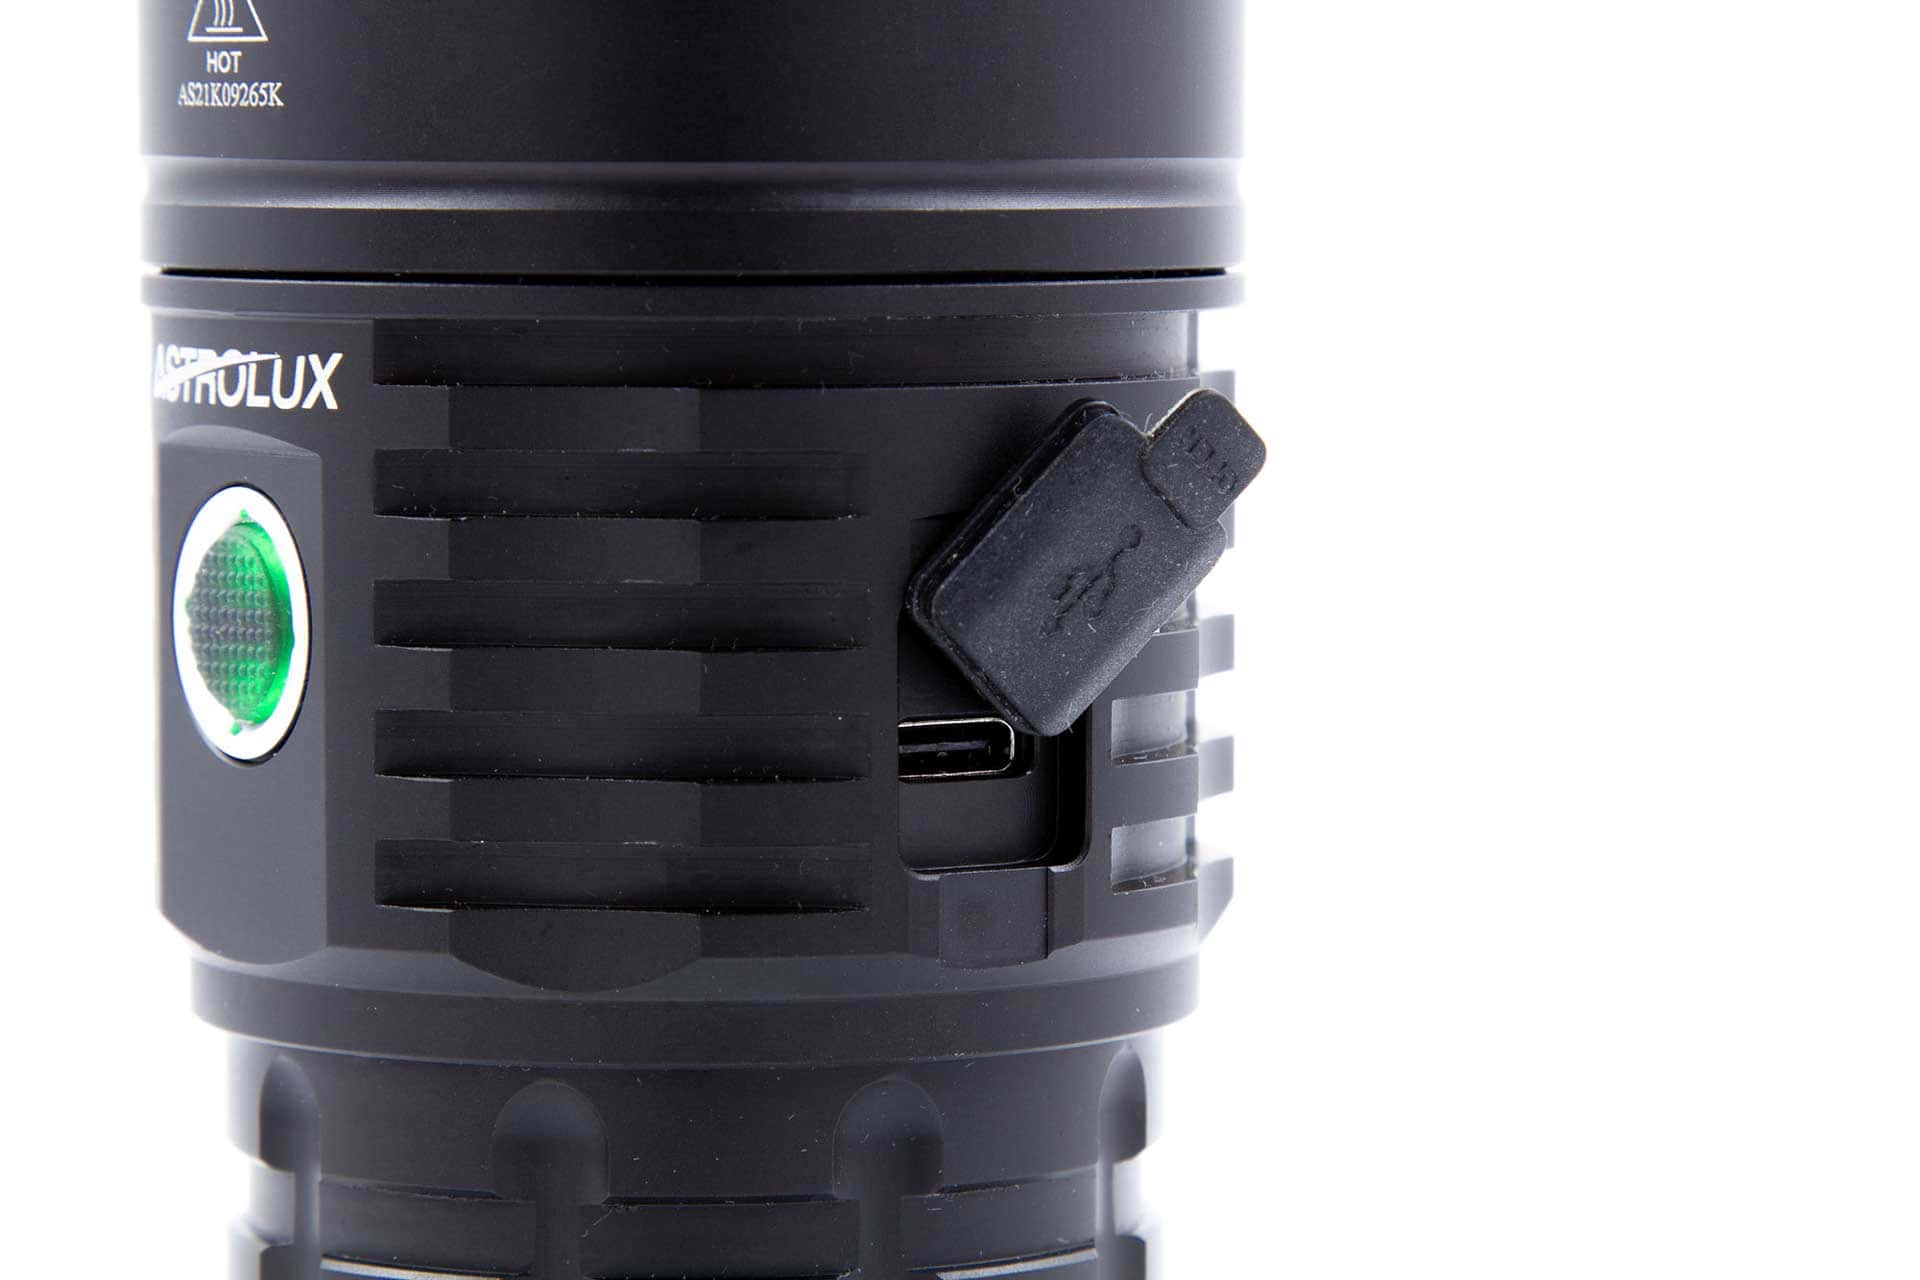
The e-switch on the side sits slightly proud, and is easily found by your thumb, especially with the aux emitters enabled on it. There’s the solid click feel that Astrolux are known for, which is great.
Let’s be honest with ourselves; this light is not going to fit in a pocket. There may be a holster out there designed for it specifically, but the MF01/MF01S holster would be a good place to start, as the body diameter on those lights is the same as the EC06. Other than that, you’d be putting it in a bag to move around. It’s over 700g fully loaded, so this isn’t something to just pop in a jacket pocket unless you like the feeling of that additional weight pulling on your jacket.
As there’s no particularly flat spots on the light, it can roll fairly easily when placed on its side.
With a nice wide base, it’s perfectly designed for tailstanding. With a silicone diffuser and kept in a regulated mode (Step 4 or below), you could have a nice lantern that then doubles as a “light everything up” flashlight.
Something interesting to note is that it can be used as a power bank to charge other devices – a nice feature that I’m starting to see more often.
Build Quality, and Warranty
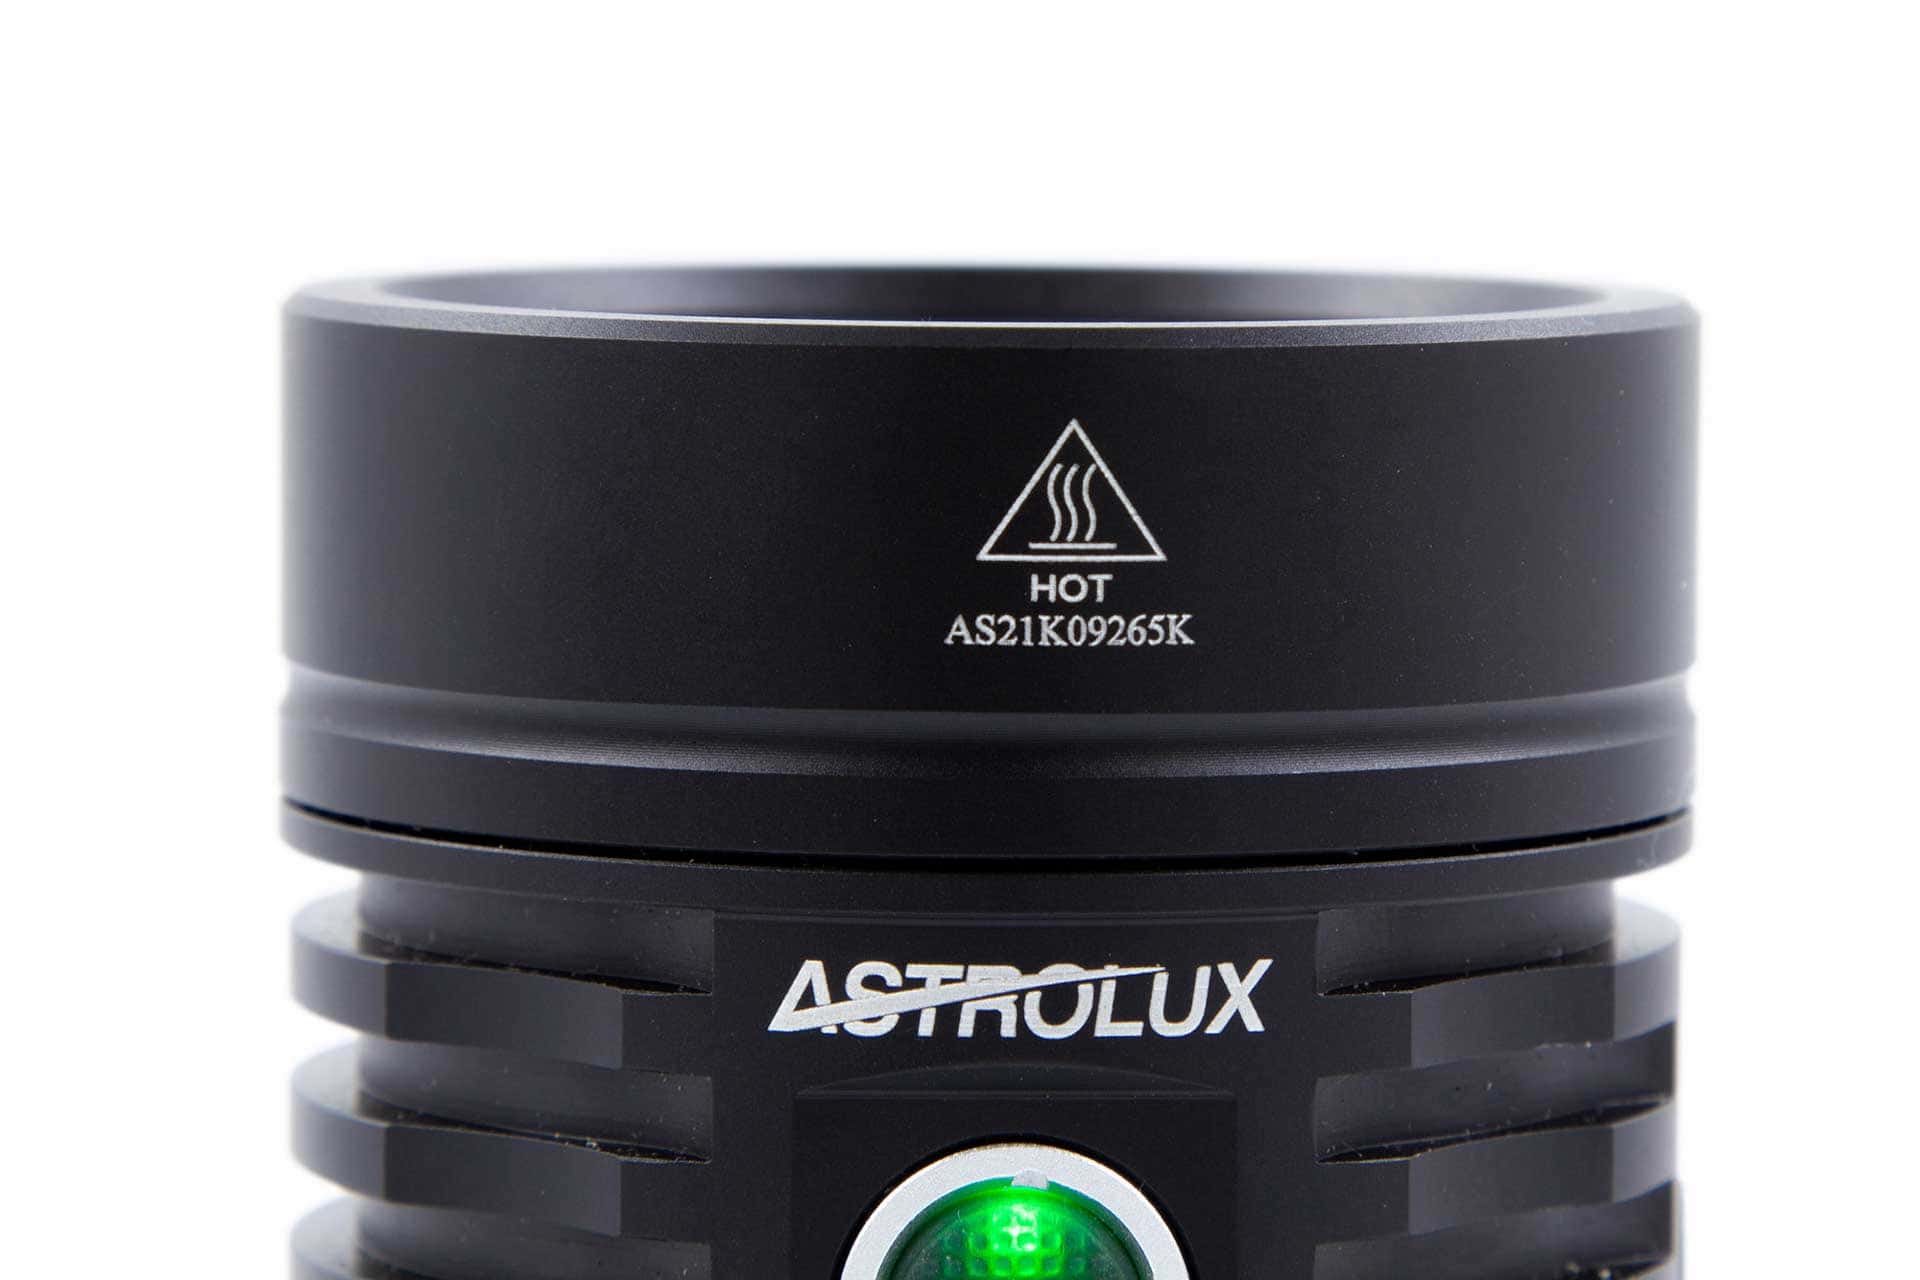
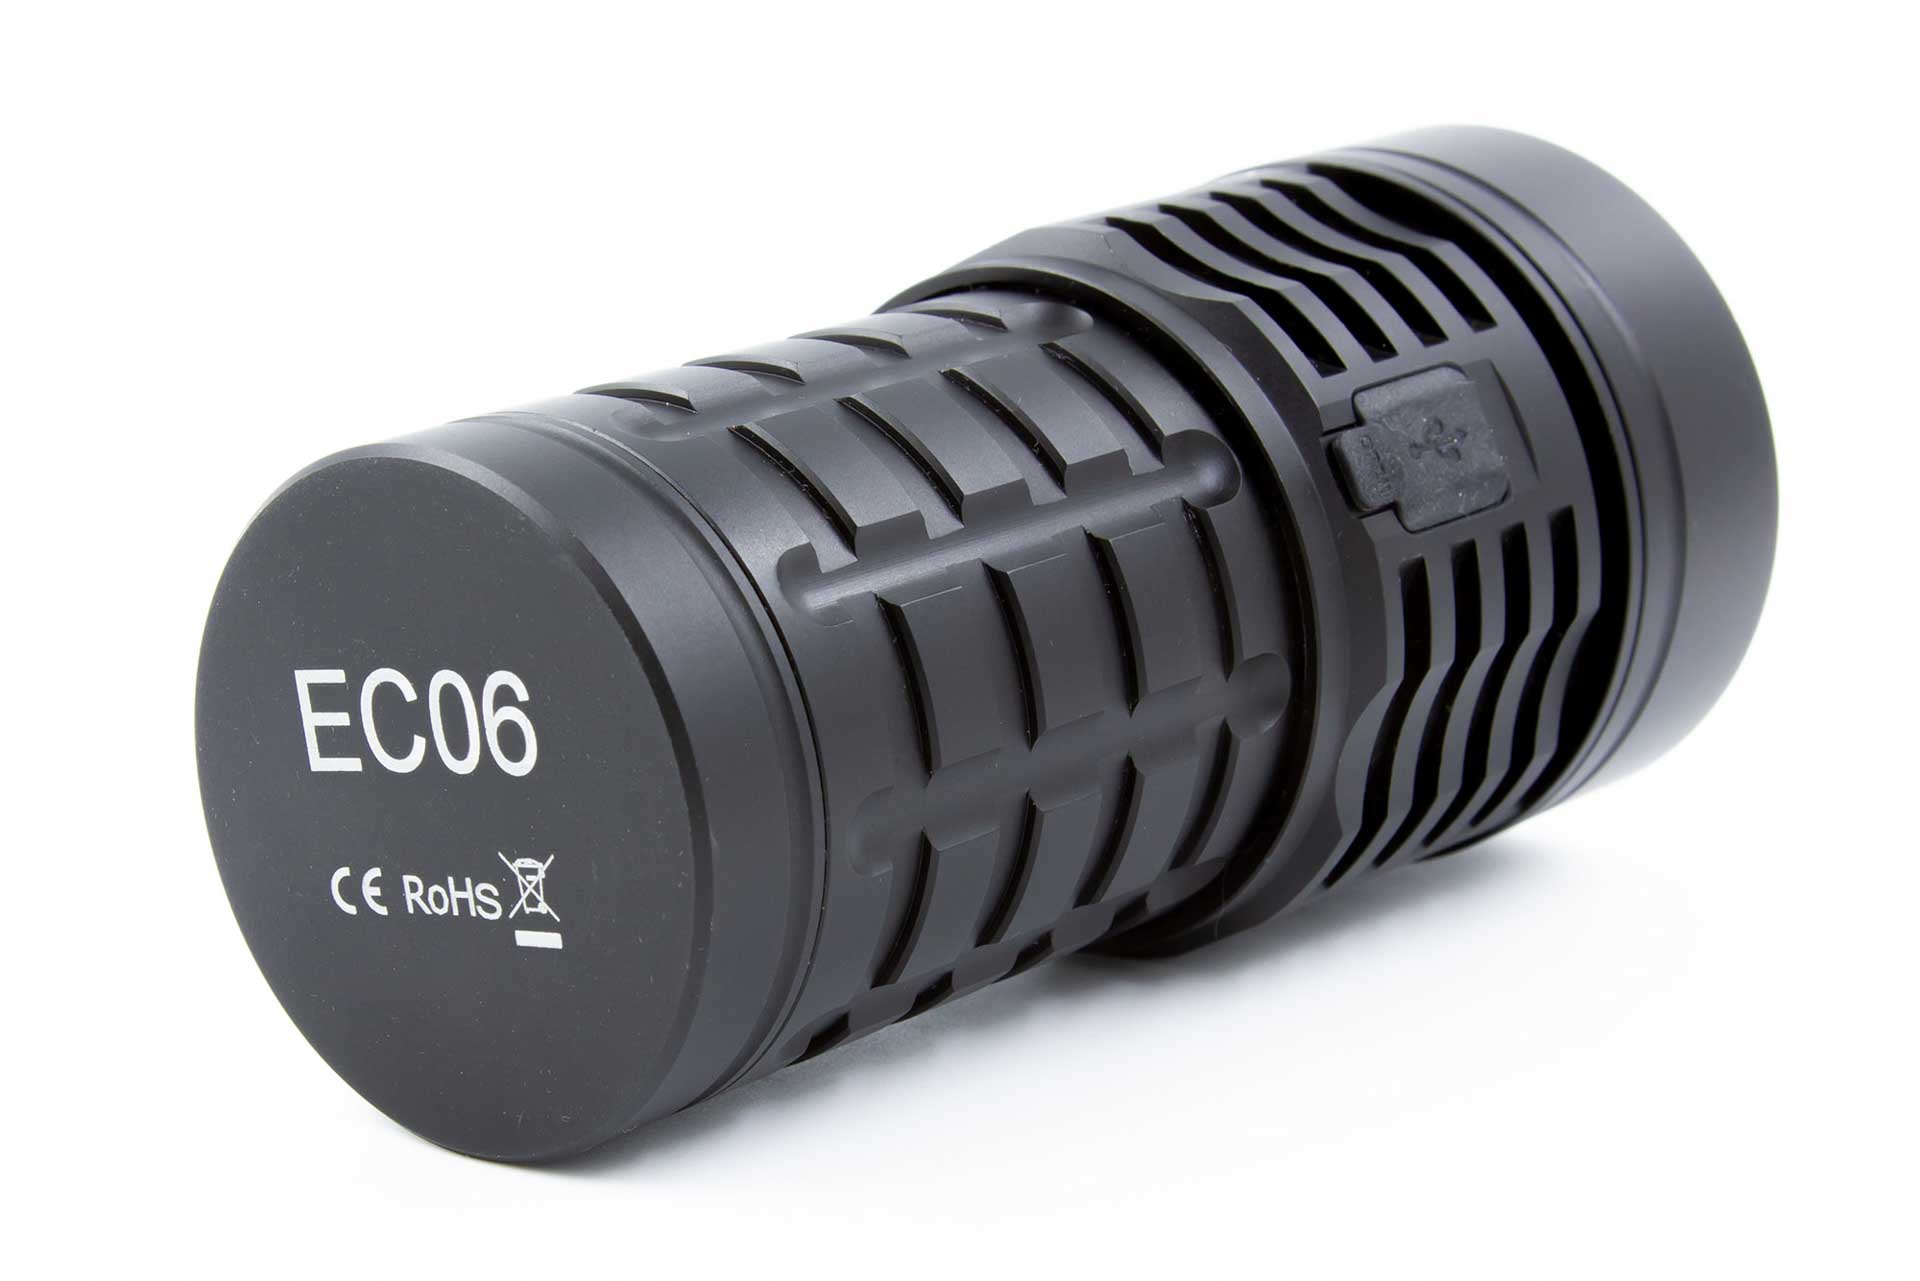
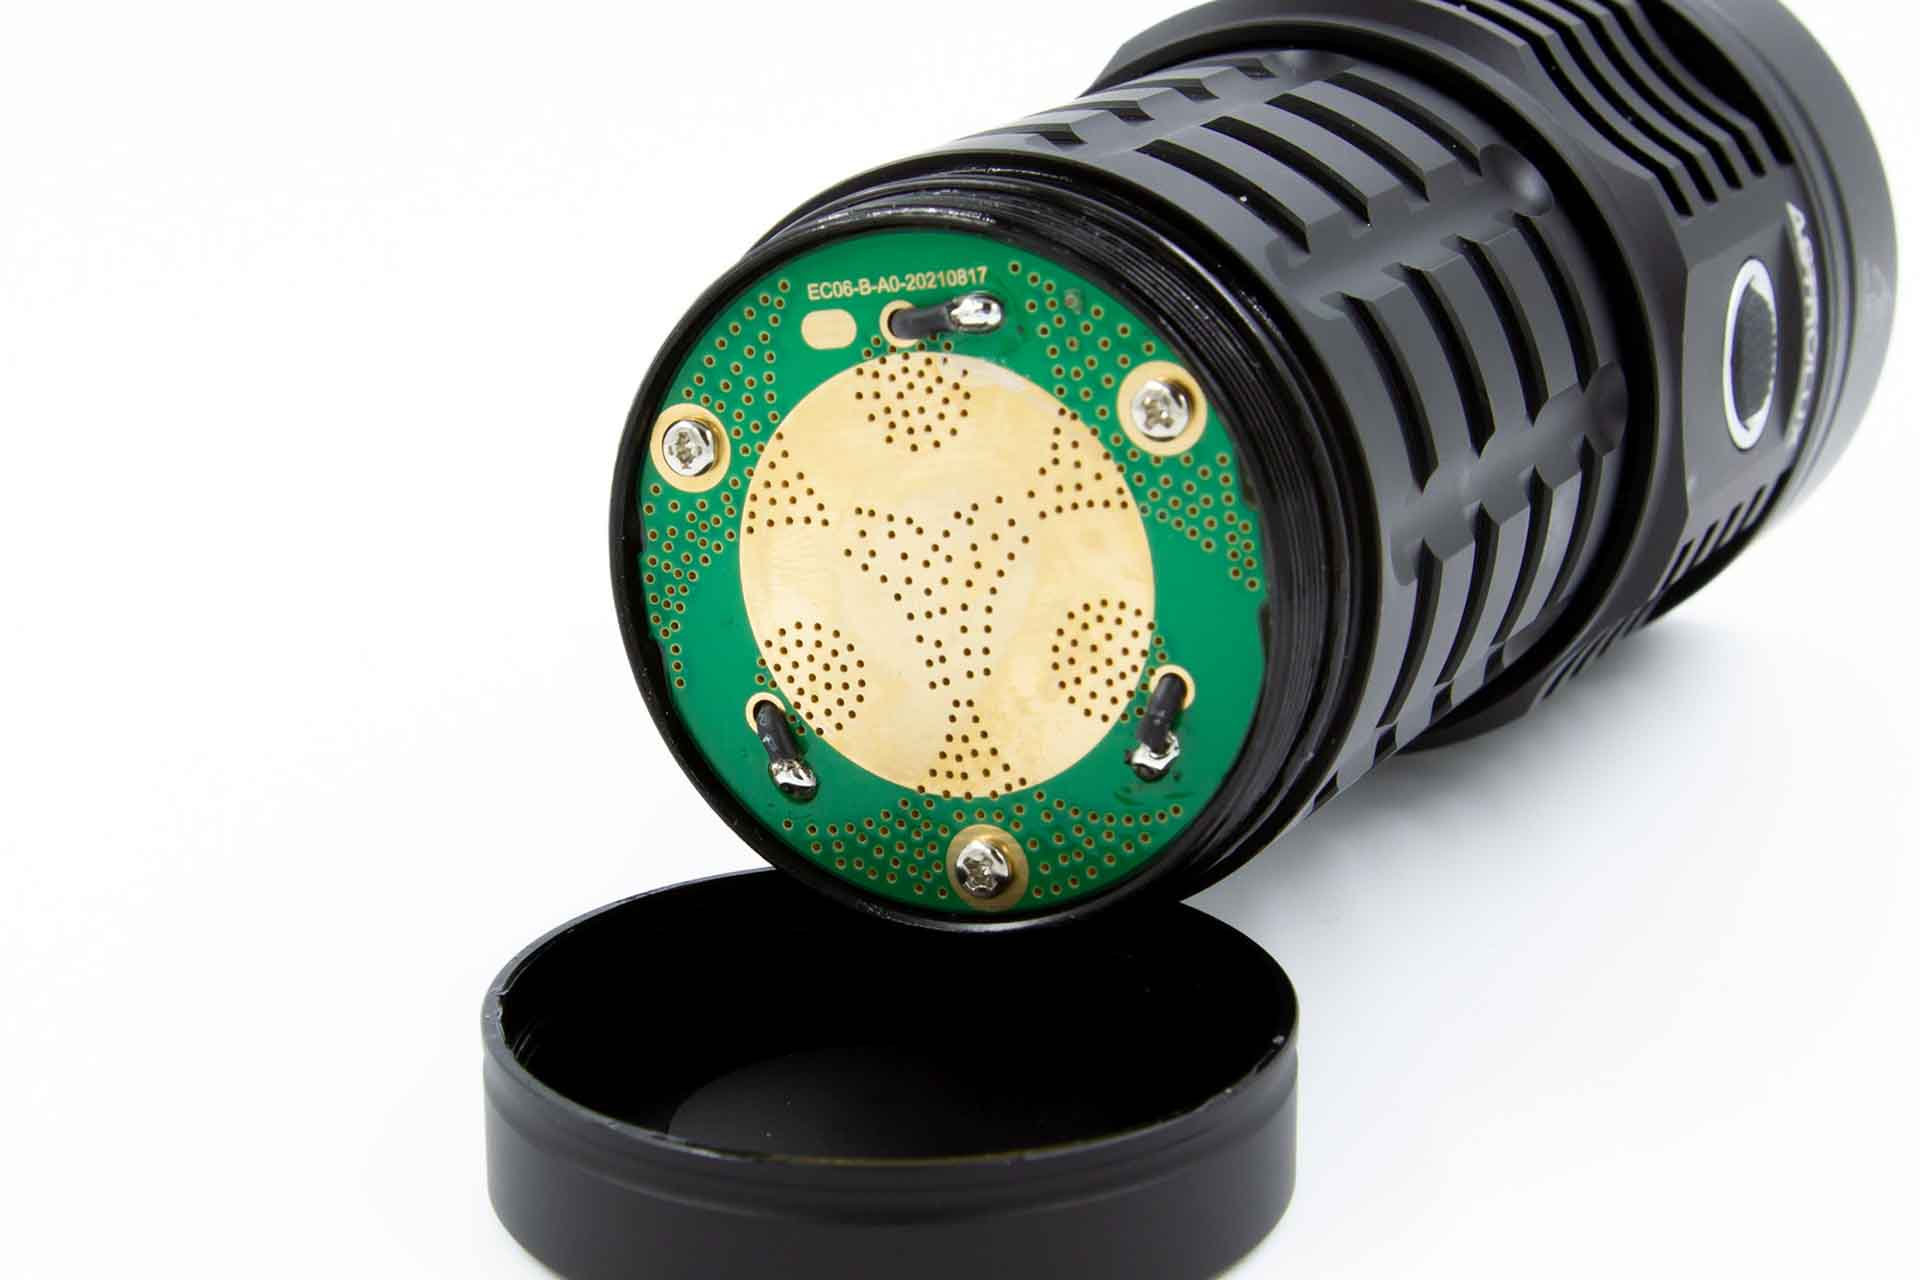
Following Astrolux’s general style that I’ve come to appreciate, the EC06 is a solidly built light that feels like it could take a whole lot more damage than you’d expect to put it through. There’s a definitive heft to it that is demonstrated when opening the light to put in cells – the walls of the cell tube are quite thick, which is very much appreciated.
The threads are smooth and square-cut, and when I removed the EC06 from the box, potentially slightly over-lubed – there was some lubrication below the threads on the body. Nothing that a quick wipe with a tissue can’t clean up, and I’d rather there be too much than not enough.
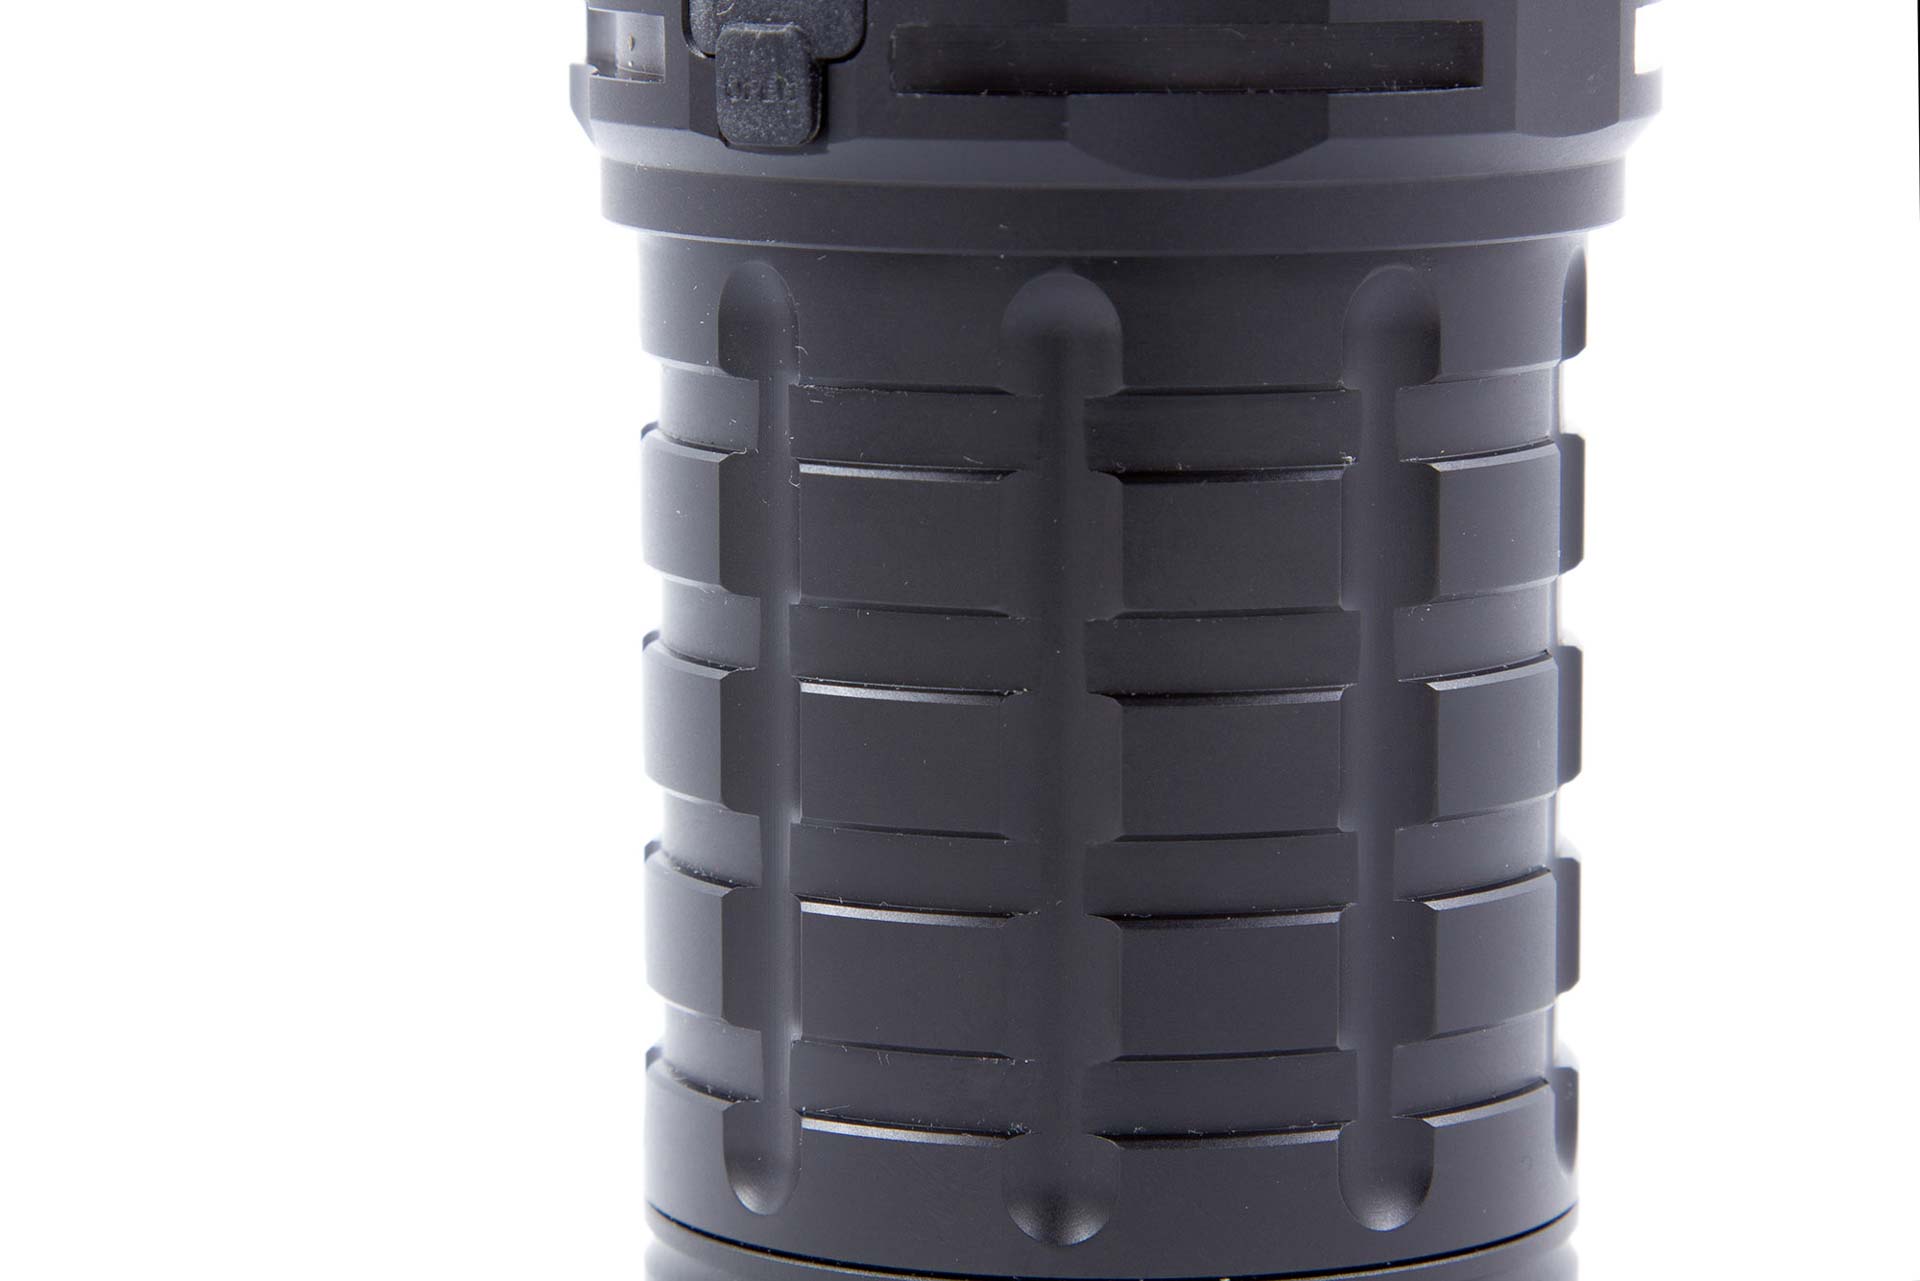
There’s no anodizing defects I can detect without going over the light with a fine-tooth comb, and it’s a nice satin finish that is neither too smooth nor too rough. The knurling itself is primarily large rectangles protruding, and they’re good to hold onto without being painfully aggressive. The heat sinking fins are quite right-angled though, and could do with a small amount of chamfering to smooth the edges, but that’s quite easy to ignore. If you’re holding onto those fins and you want to use the light in a FET mode, you’re going to have a bad time anyway – or you had better be wearing some moderately fire-rated gloves.
One of the things I particularly like – the button has been aligned correctly even through the process of tightening the bezel around it. It’s a small thing, but it’s something that would annoy me to no end if it were slightly off, because I’m a bit particular like that.
There’s no warranty mentioned on the item page on Banggood, so it would conform to Banggood’s standard warranty procedures (which includes a DOA and Quality Guarantee).
LED, Lens, Bezel, Beam, and Reflector
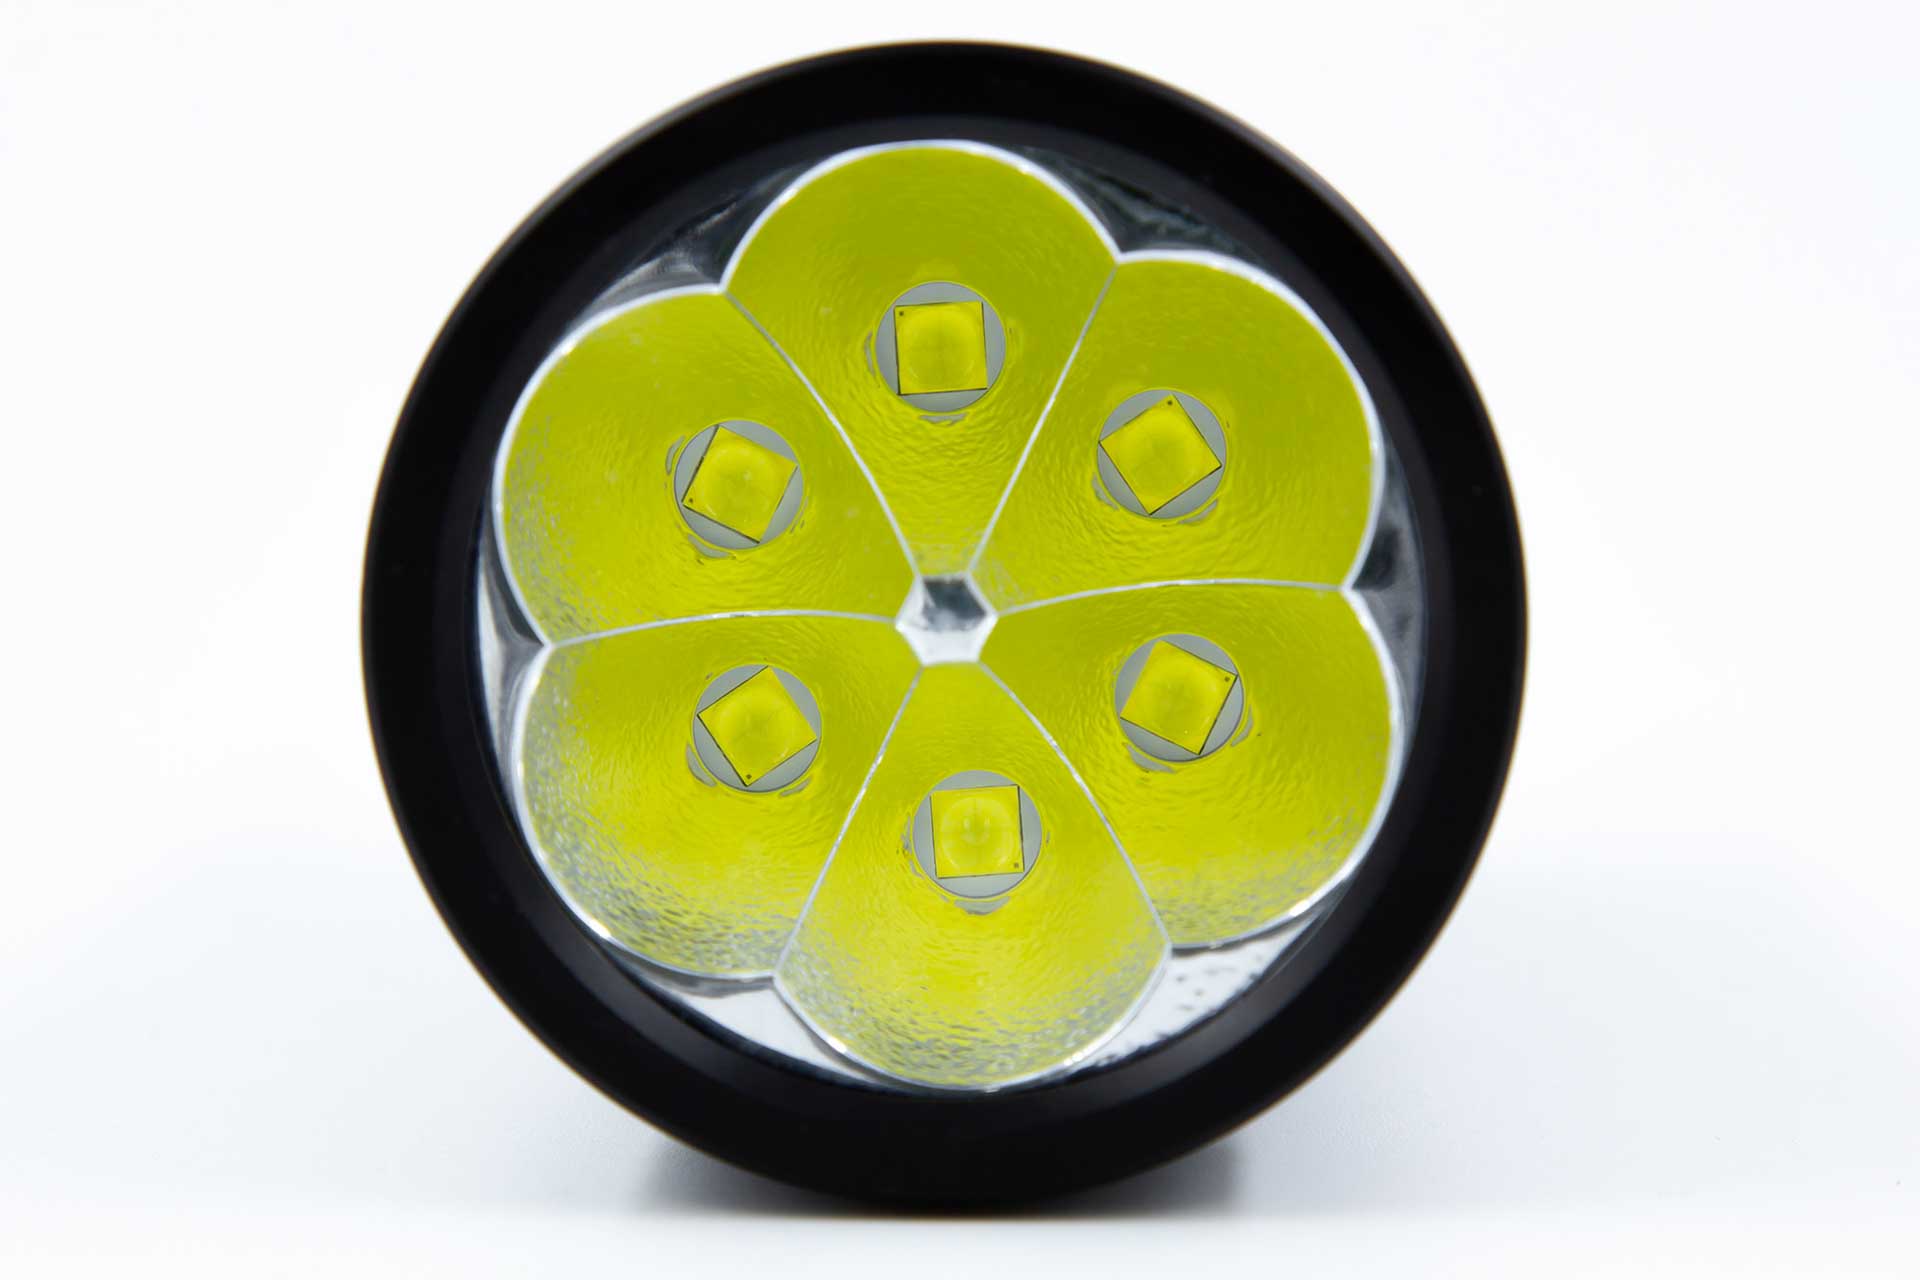
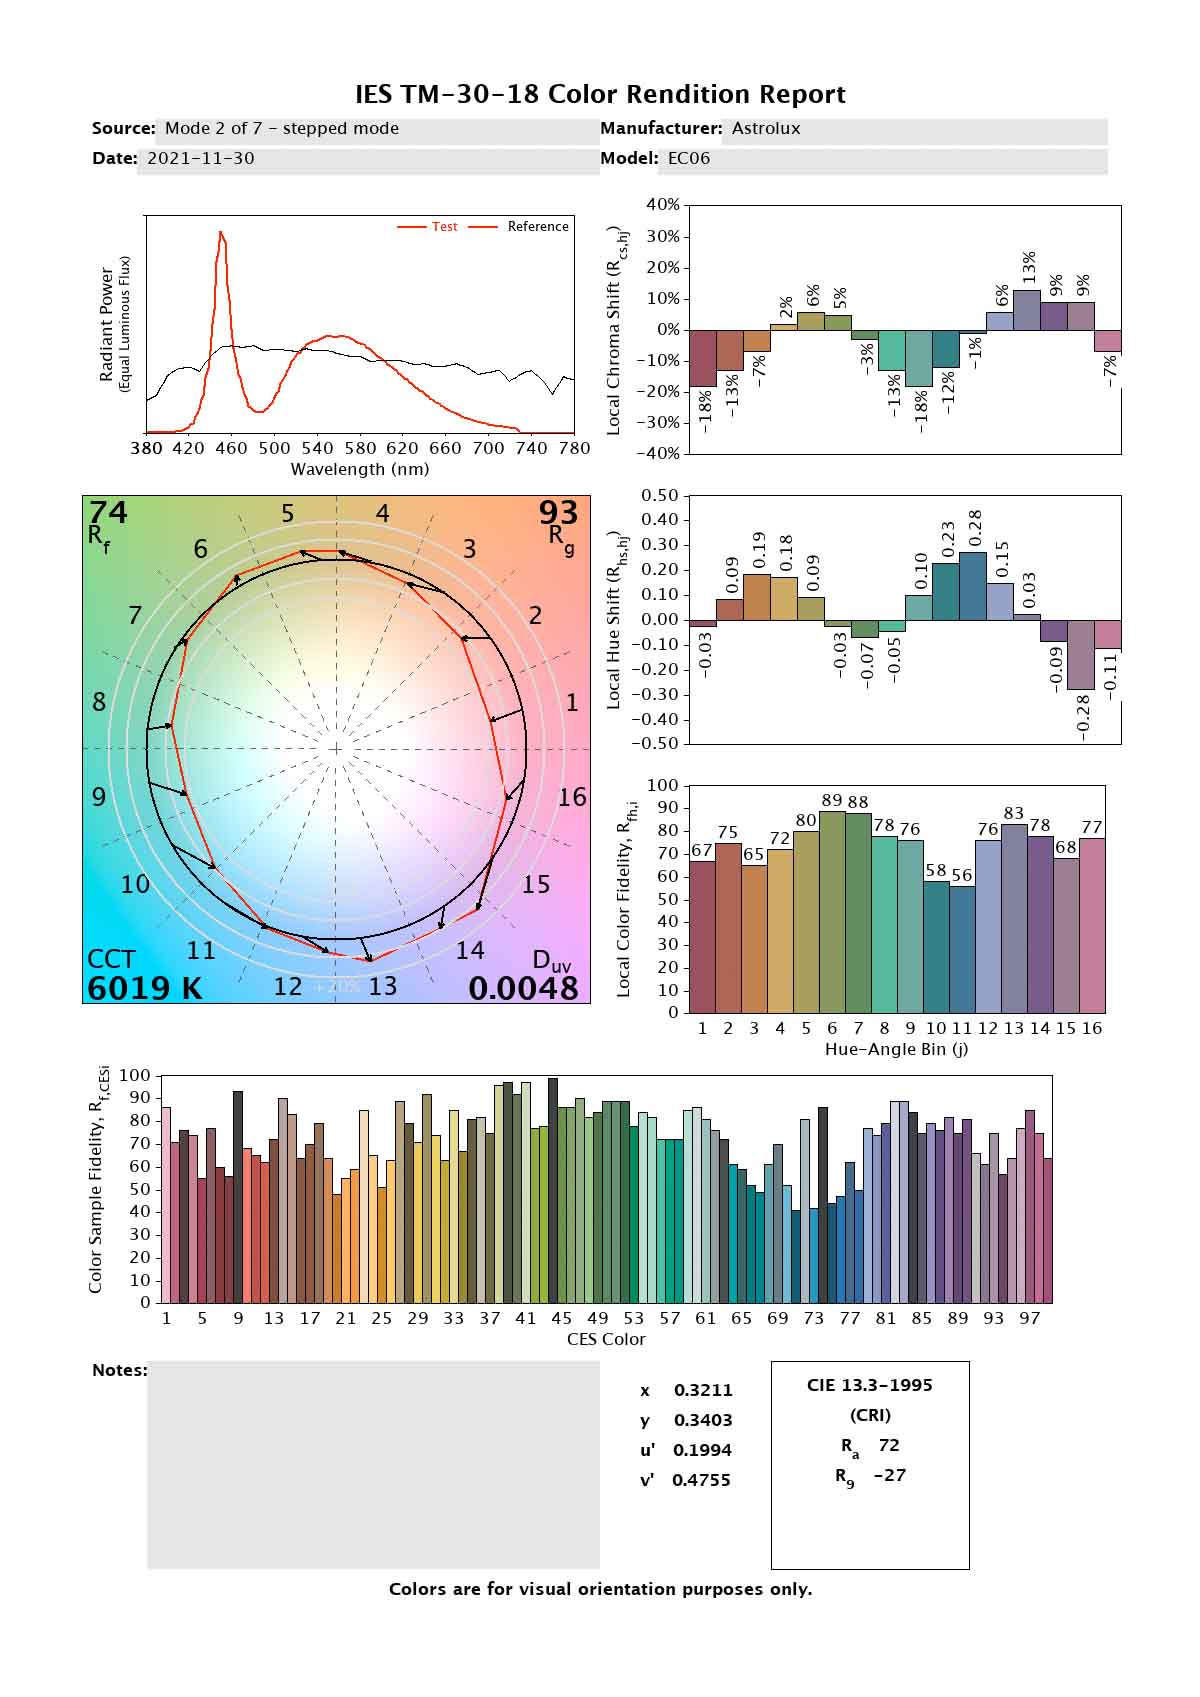
The Astrolux EC06 is loaded up with 3V XHP50.2 emitters at 6500K. These are inherently 70CRI, but that’s not really what we’re after here. The 3V XHP50.2 is also available in lower colour temperatures (5000K and 5700K from memory), but they’re getting harder to find, so I can understand sticking with the 6500K.
Inherent in this is the tint-shift associated with a lot of Cree emitters, but this is only really apparent at lower brightnesses. When the current goes up, the tint changes to lower the amount of green visible – or maybe that’s just my eyes being dazzled by the output against my wall!
There’s a custom orange-peel reflector that helps the hotspot be somewhat wider than a smooth reflector would, and for this kind of light, that’s probably the right choice.
The beam created has a definitive hotspot, along with an outer beam that has what I consider to be a beautiful pattern. This won’t be as noticeable outdoors, as it will blend against non-uniform backdrops.
It’s definitely a medium-range light, with the hotspot being dazzling up too close, but throw isn’t so high as to render it a long-range light.
The bezel is smooth all the way around and appears to be glued on, as I haven’t been able to easily undo it. For most this is a non-issue, but I’m the kind of person that just wants to take a look at things from the inside.
If we take the rated 16000 lumens, we can divide that back to 2666lm per emitter – this seems somewhat conservative after reading testing from djozz over on BLF, but at the rate, this light heats up, it’s probably not too bad a thing.
Spectrum readings are done on the levels that I can achieve without saturating the sensor on my Colormunki – I’m still getting used to it, and need to find out the best way to measure all levels.
Dimensions and size comparison
- Length: 133 mm / 5.24 inches
- Head diameter: 63 mm / 2.48 inches
- Body diameter: 54 mm / 2.13 inches
Weight:
- Without cells: 492 grams / 1.08lb
- With my poorly-solder-blobbed 40T cells: 706 grams / 1.56lb
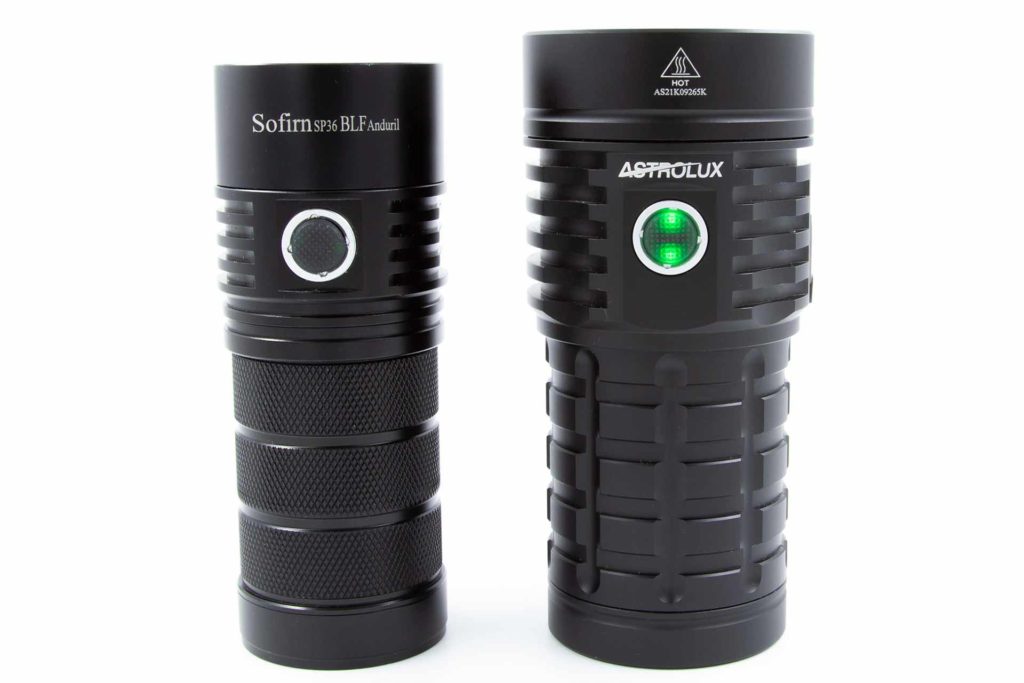
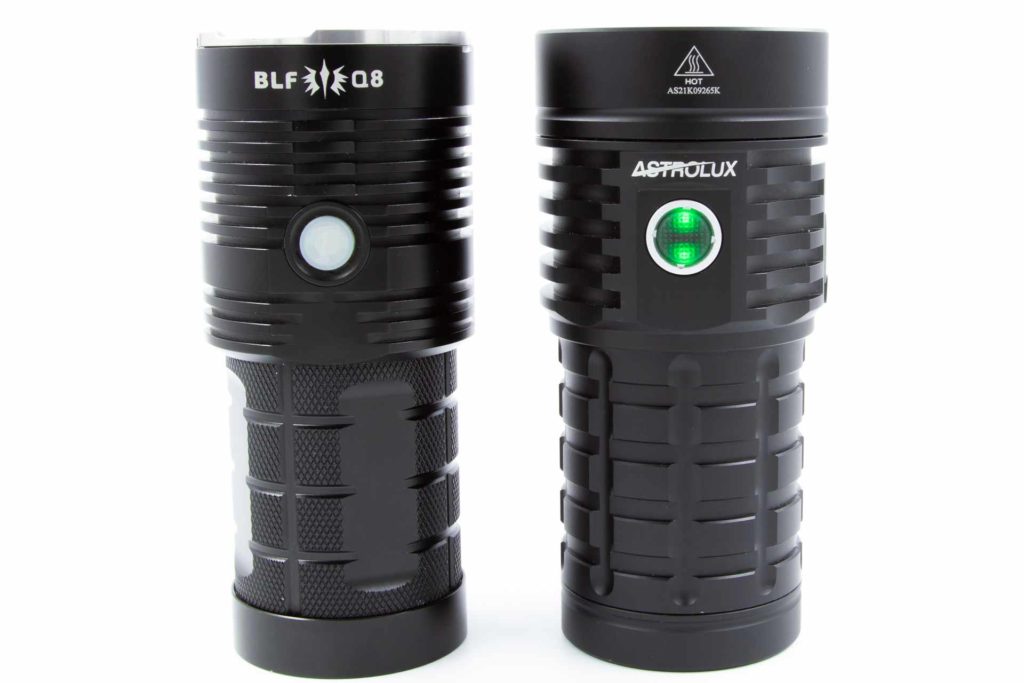
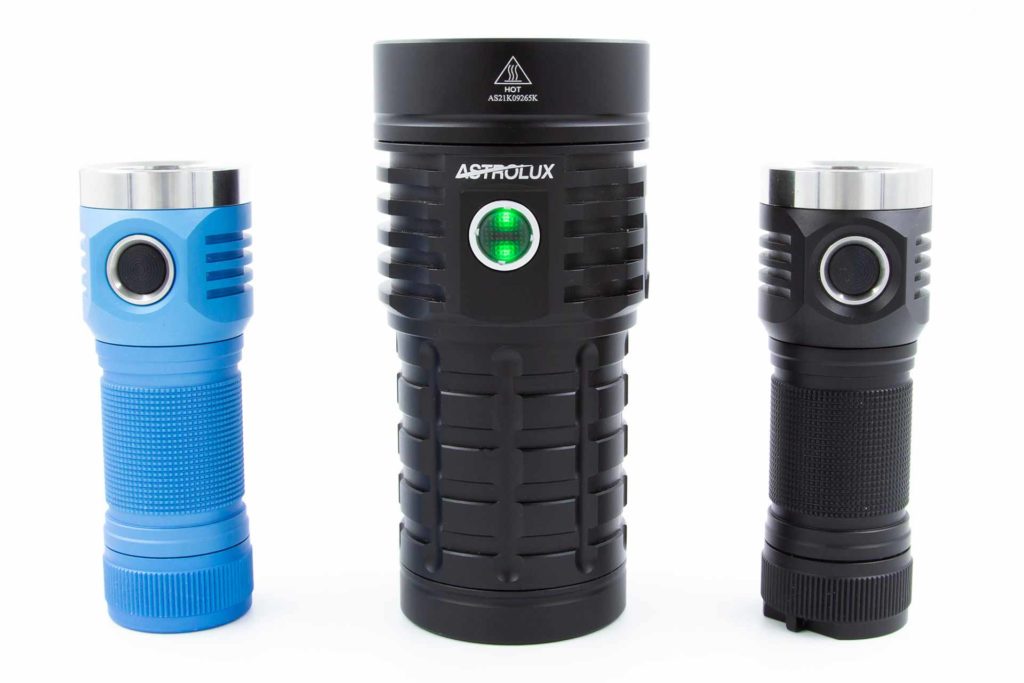
Flashlight competition, and size comparison: Astrolux EC06 vs Sofirn SP36 BLF
The Imalent MS06 is a good light to use for comparison here but is conspicuously absent from this lineup as it’s currently in pieces on my workbench waiting for me to reassemble it. Curiosity got the better of me, and I pulled it completely apart…
Astrolux EC06 vs Sofirn SP36 BLF
Astrolux EC06 vs BLF Q8
Astrolux EC06 vs 2x Emisar D4SV2
Driver & User Interface:
The Astrolux EC06 runs Anduril 2, which is a favourite amongst the enthusiast crowd – with updates released by Toykeeper on a semi-regular basis, and being open source, there’s always more to discover.
Checking the build date, I have 2021-06-06, and a build target of 0611, indicating that it’s using Q8 firmware.
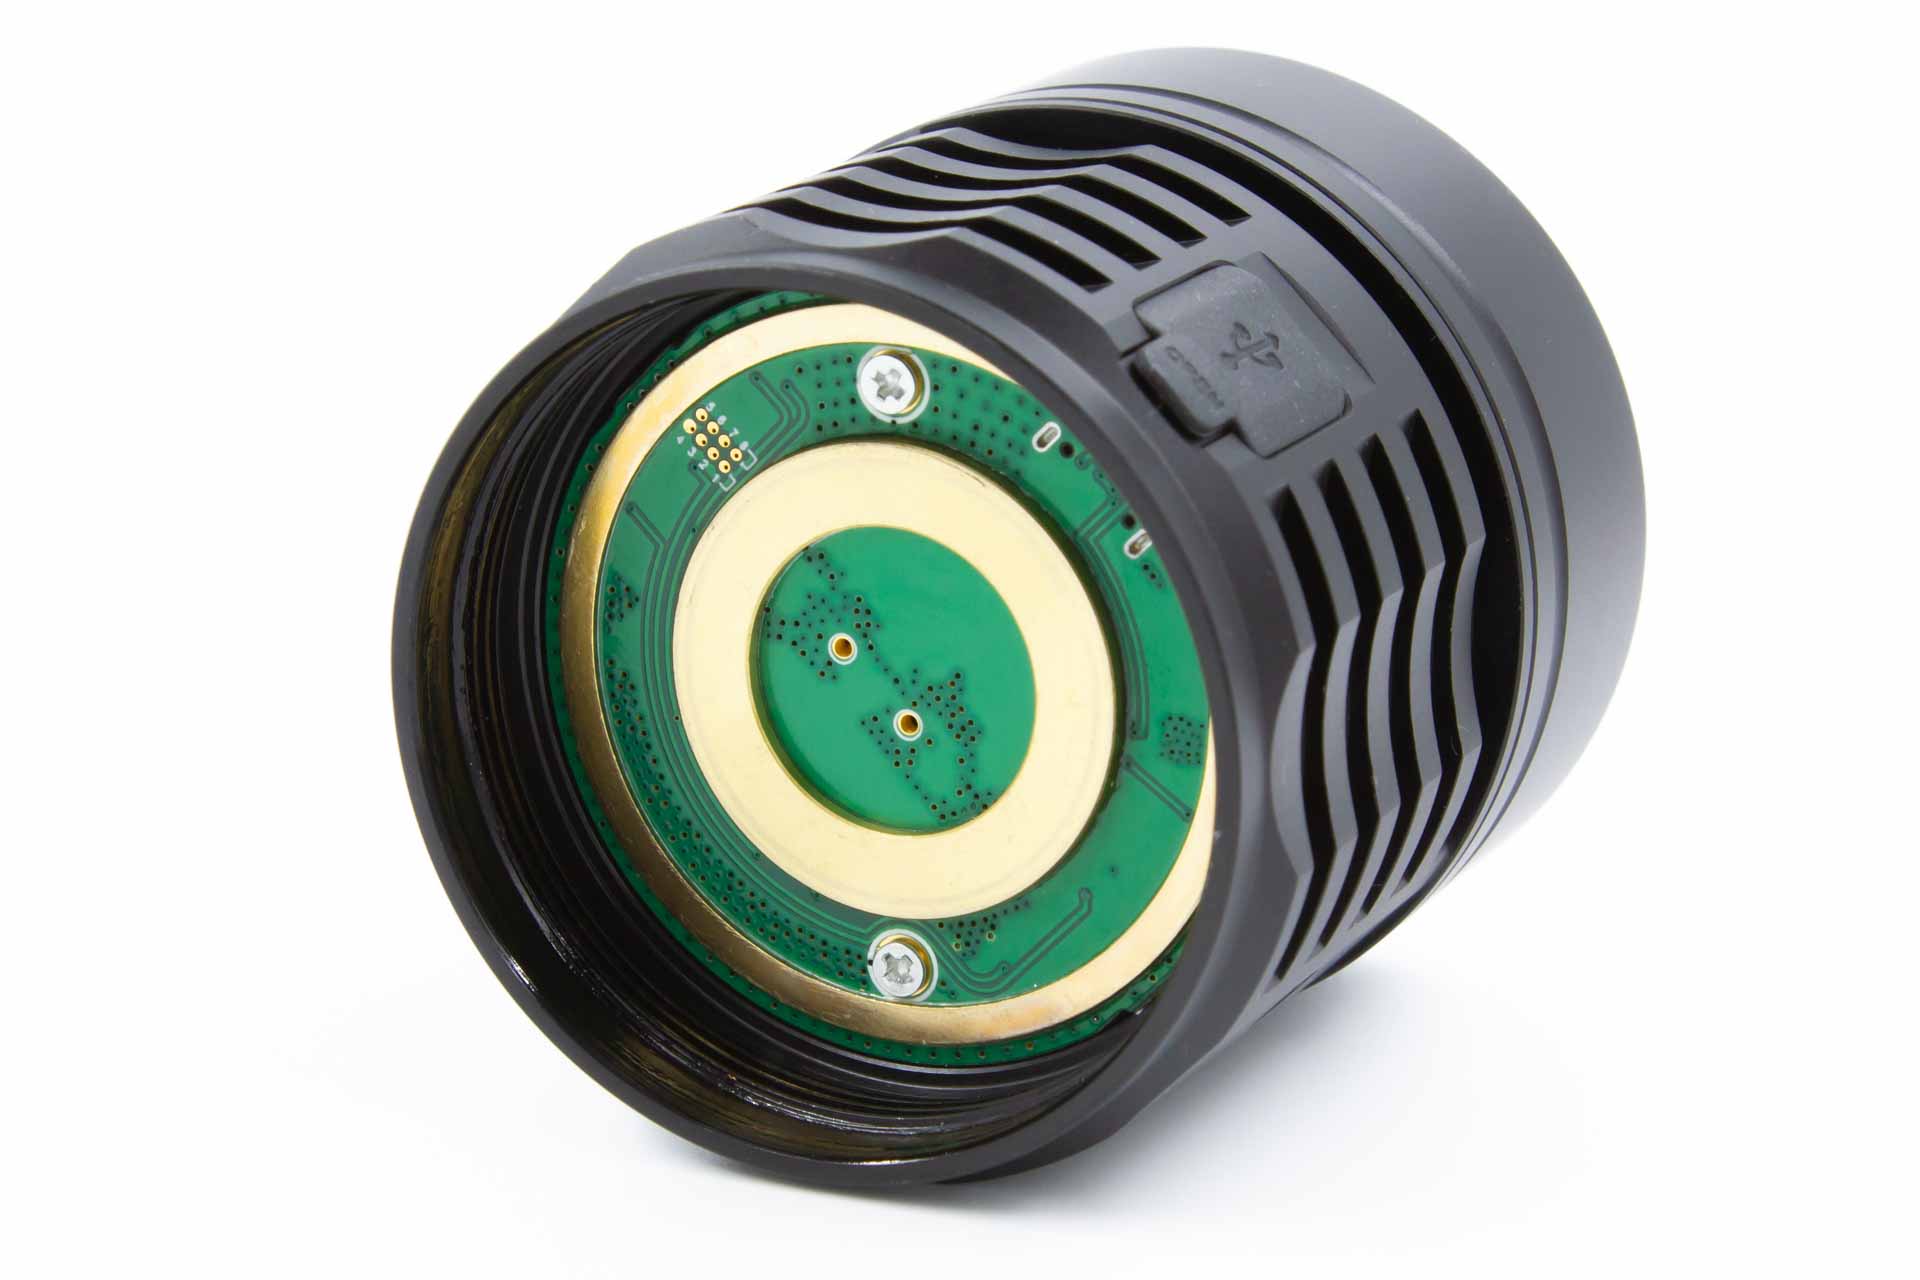
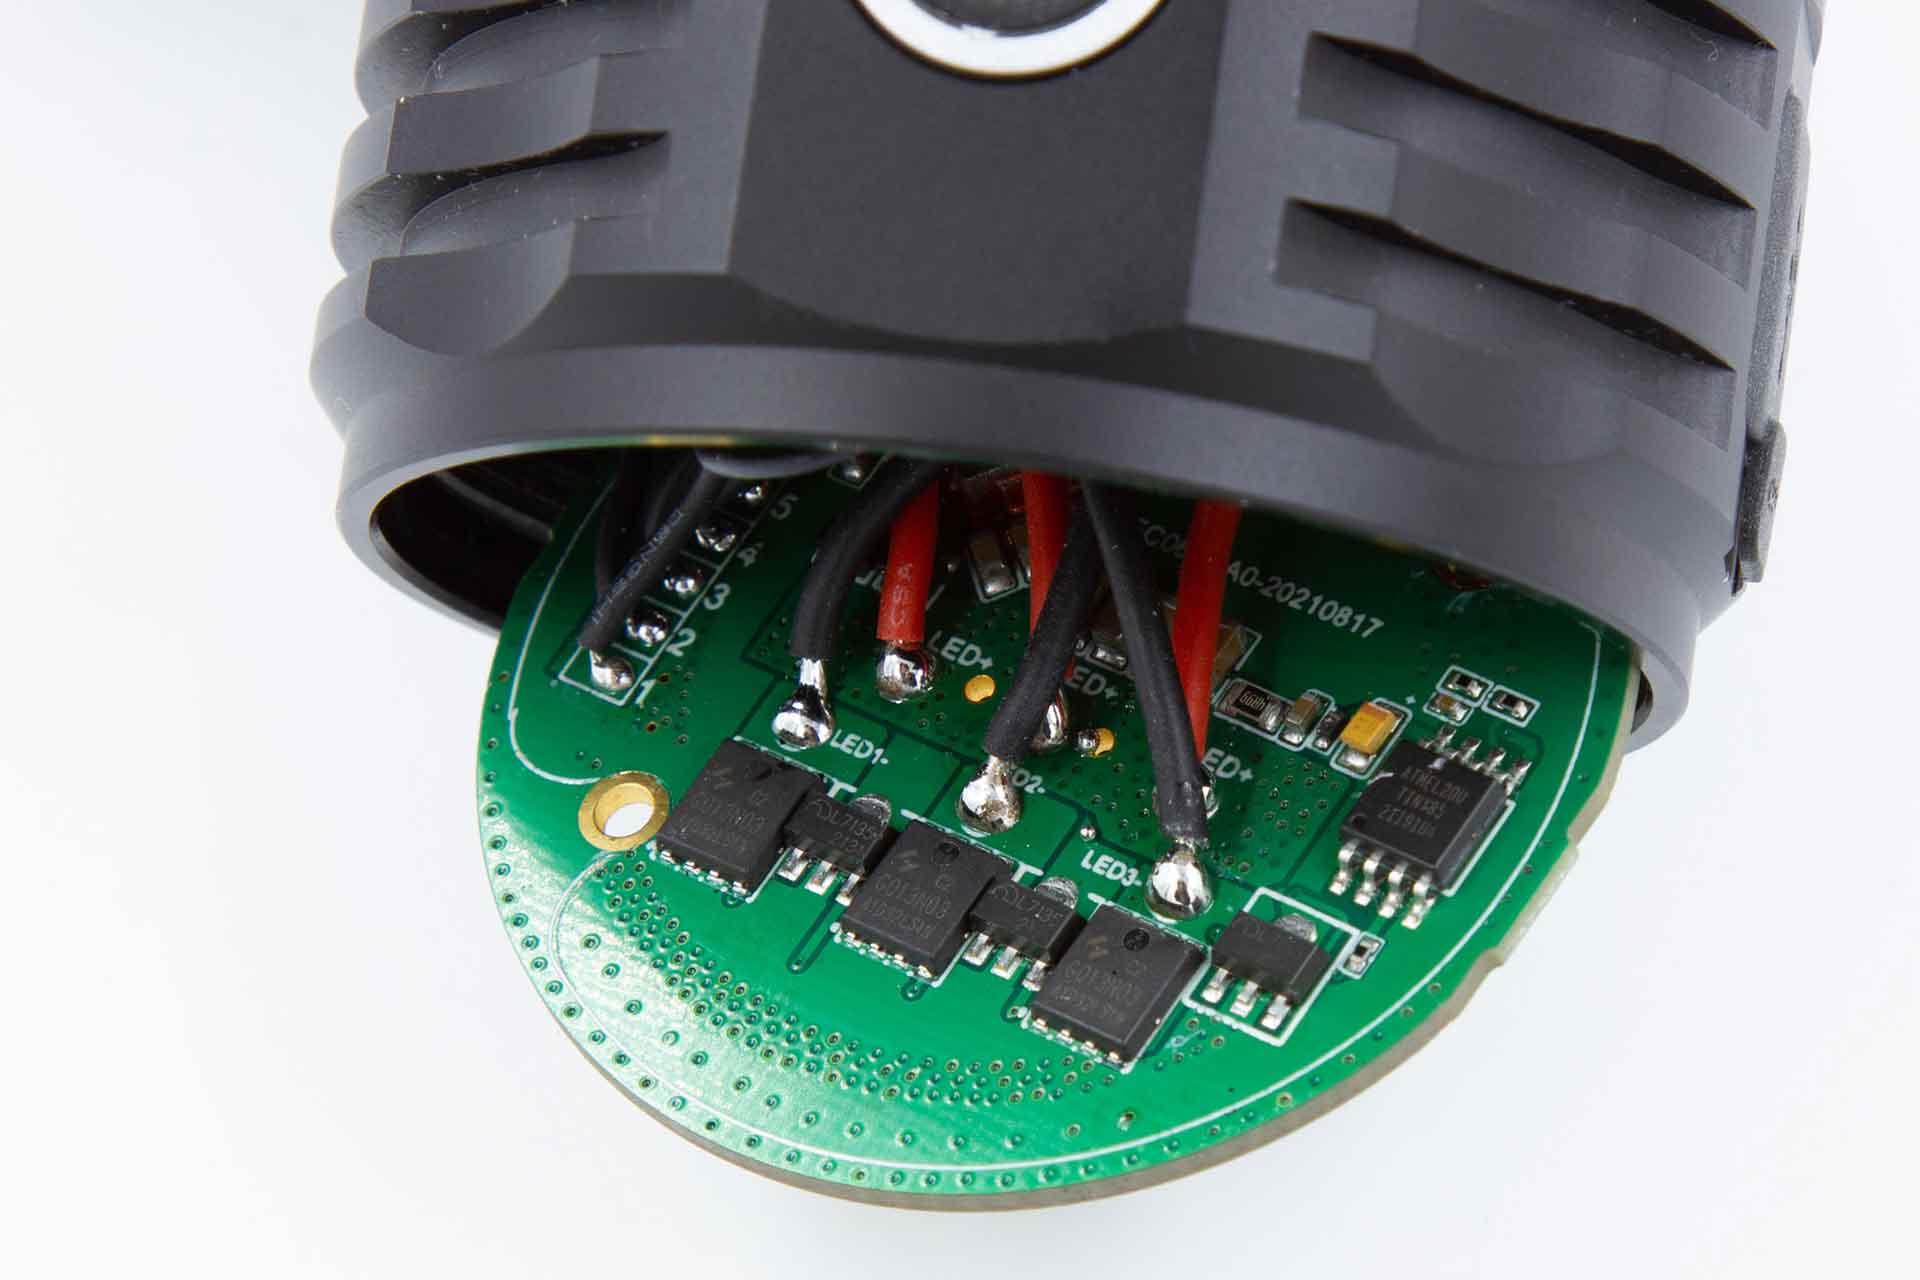
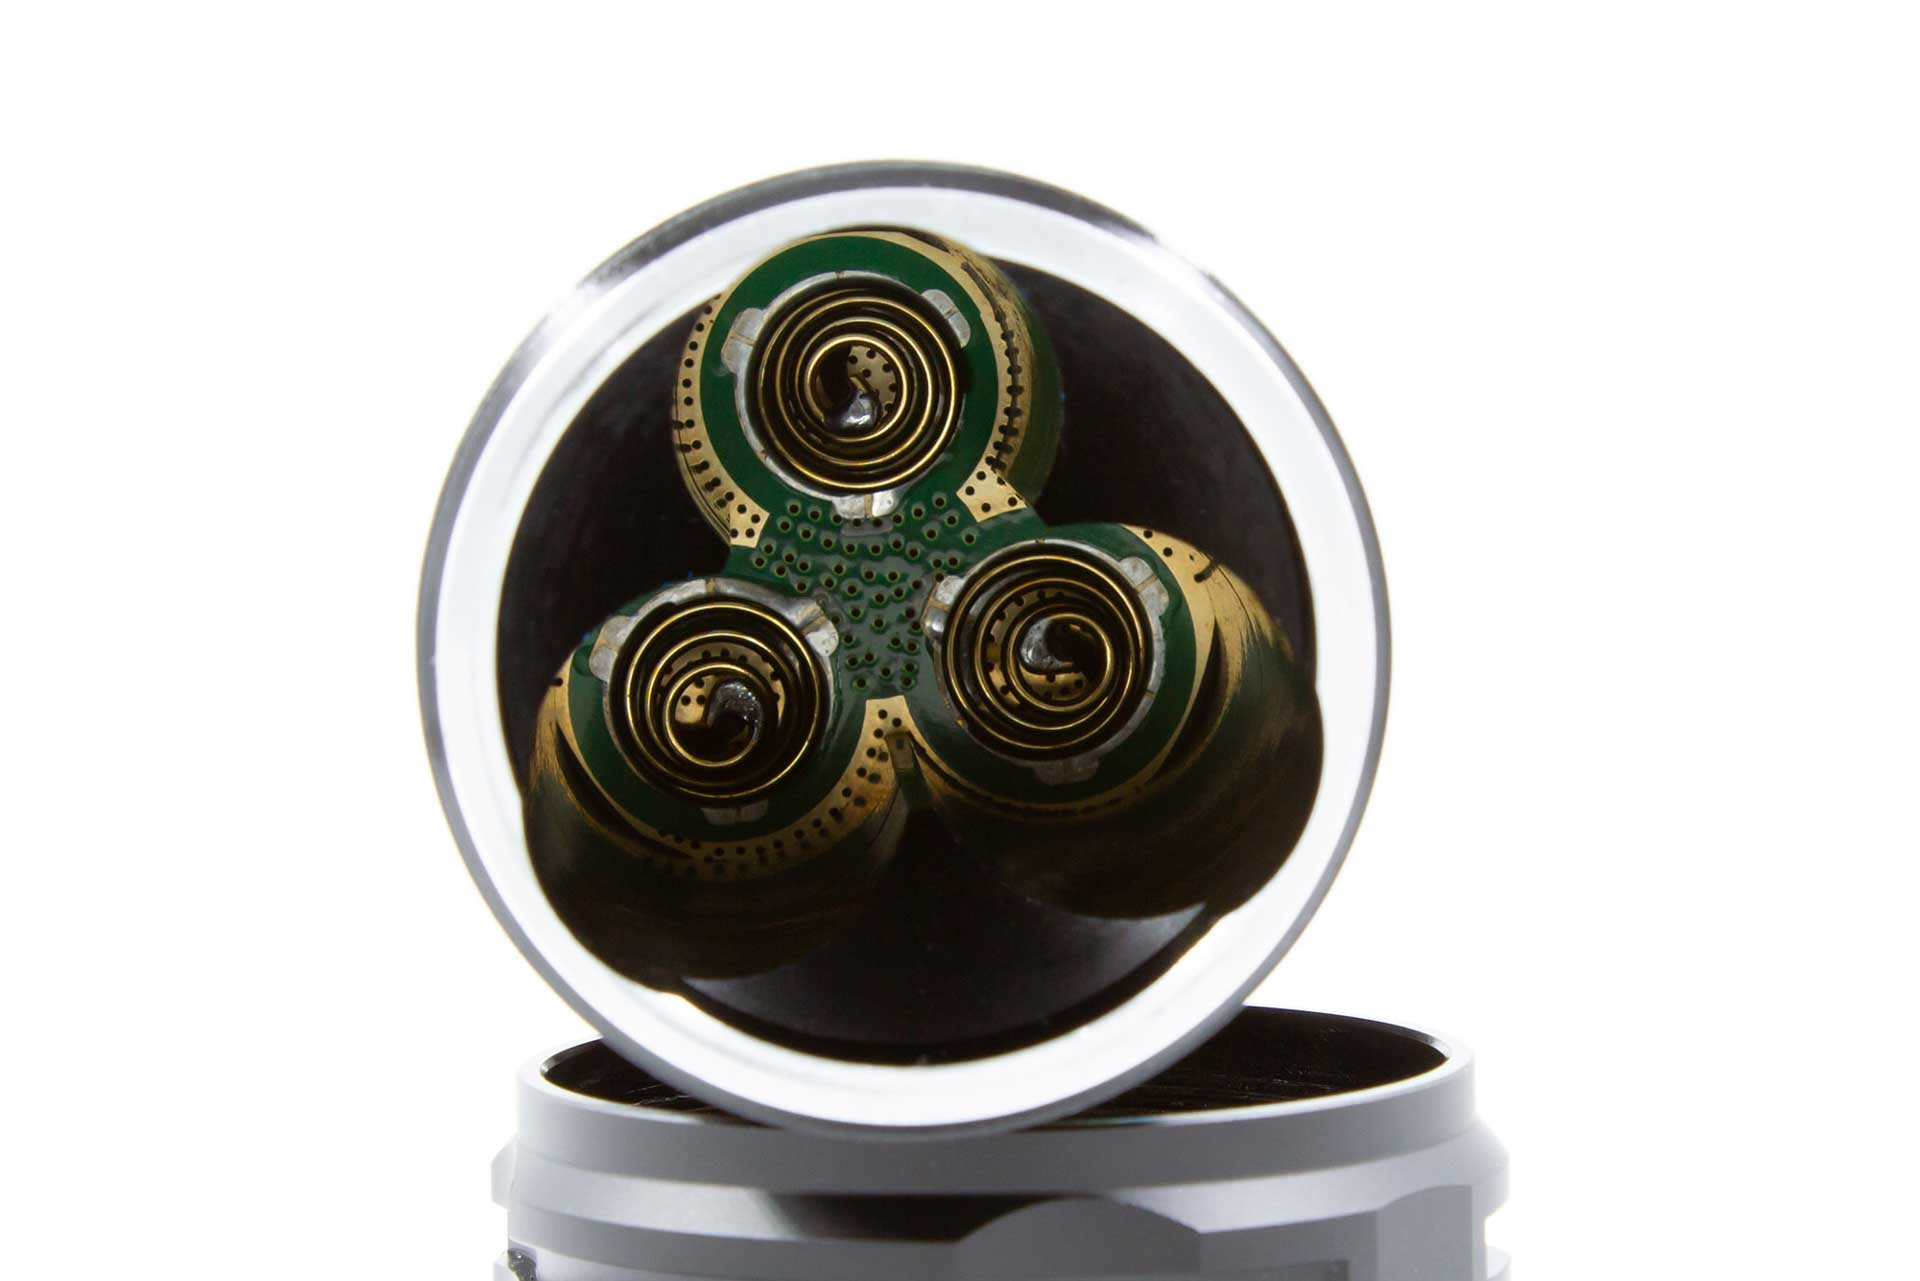
Interestingly enough, the driver appears to have 3 channels in parallel, each with FET+1, and powering two emitters in parallel – the Q8, which the EC06 takes its firmware build from, is a single FET+1, but this appears to split things out a bit more.
Anduril 2 User Interface
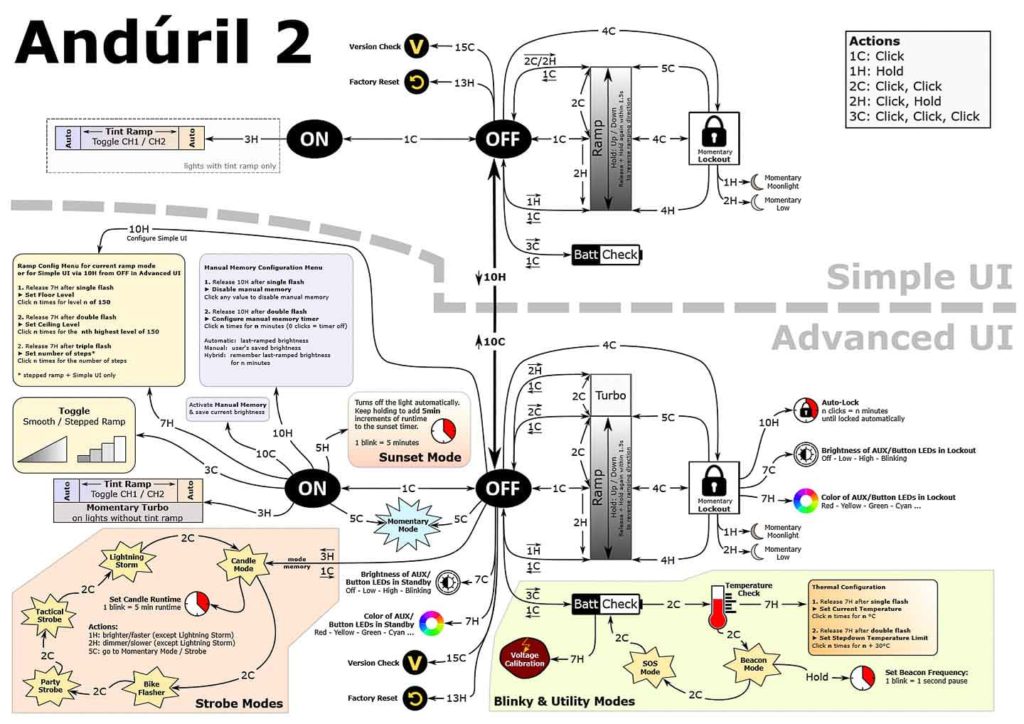
Here is another Anduril 2 image.
And by default, it uses the Simple UI… and here is the UI diagram:
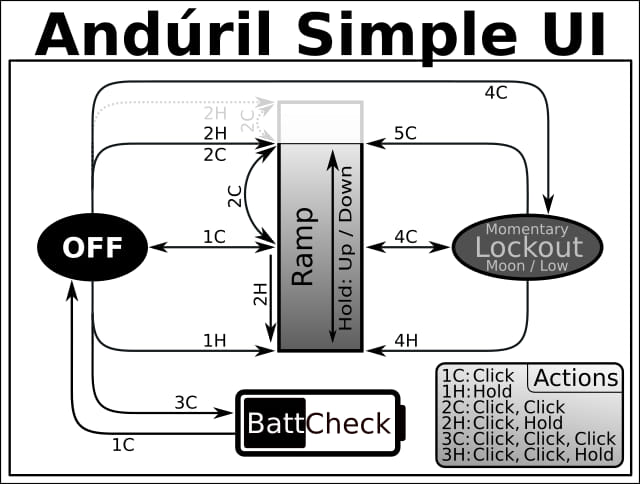
Anduril2 has two UI’s available: Simple and Advanced. The light came with the Simple UI enabled, and I think it’s kind of a misnomer because it’s still a little complicated for a first-time user. However, those familiar with the original will pick it up pretty quickly. Simple UI is missing some of the familiar features present in the original, namely the special blinky modes, temp check, and thermal configuration (those are present in the Advanced UI), and there’s no “muggle” mode either. You still get access to smooth ramping (stepped is, you guessed it, only available in Advanced UI), lockout, momentary high, battery check, and some useful lock/unlock modes.
The Advanced UI is appropriately named because it’s, well, advanced and there’s a plethora of options and configurations available. There’s probably way more features than the average user would ever dip into, but it’s nice to know you can tweak things like the voltage sensor calibration for batt check, AUX LED settings, and even configure the auto-lock. I found this to be a pretty useful feature that enables the light to automatically turn off after a certain amount of time if the light is accidentally activated.
Modes: Simple and Advanced UI both have many standard and blinky modes available, but the main modes are stepped and smooth ramping, but stepped ramping is only available in Advanced UI, and smooth is enabled in both Simple and Advanced.
Switch to Advanced UI from Simple: 10 clicks, but hold on the 10th click
From OFF:
- Press and hold: Turns on in either smooth or stepped ramp (depending on which mode is enabled)
- Single click: Turn on in last mode (step or ramp state-again depends on which mode)
- Double click: Ramp ceiling/turbo
- Triple click: Battery check (in Simple and Advanced UI)
- Triple click and hold: Special strobe modes-remembers last used (in Advanced UI)
- Quad click: Lockout mode. In lockout mode you have different options available:
- 1 click: momentary moon (bottom of ramp)
- 2 clicks: momentary (higher floor)
- 4 clicks: turns on in ramp mode
- 4 clicks with a hold: on in ramp mode, lowest/floor
- 5 clicks with a hold: on in ramp mode, highest/ceiling
- 10 clicks with a hold: configure the lock timeout threshold (in Advanced UI only). This is a new feature for Anduril2, it allows you to set a timeout to the lock, where the light will lock after a pre-set elapsed time.
From ON:
- Press and hold: Ramp up (depending on the mode)
- Single click: Turn off
- Double click: Ramp ceiling/turbo
- Double click and hold: Ramp down
- Triple click: Toggle between smooth and stepped ramping (in Advanced UI only)
- Quad click: Lockout mode (see above for the lockout options)
Mode memory:
- Yes, memorizes last on state setting either smooth or stepped ramping, but does not remember blinkies
Low voltage warning:
- Yes, when in operation, the light steps down brightness gradually until turning off when the cell is around 2.9 volts.
Strobe/blinkies
- Yes, many! The blinkies are accessible from off with 3H (click click click-hold) in ADVANCED UI only. You switch between strobe modes with 2 clicks:
- Candle mode
- Bike flasher
- Party strobe
- Tactical strobe
- Lightning storm
Lock-out mode:
- Yes. In Simple or Advanced UI, lockout is accessed by 4 clicks from on or off. 4 clicks to unlock. The lockout enables momentary operation in the moon mode, however, 2H (click click-hold) enables low mode. There are other lockout modes available (see the diagram).
Temp check and thermal calibration mode
- In the first version, you could do both the ambient temperature sensor calibration and thermal ceiling at the same time, but in Anduril2, it’s a little different. When in temp check, click 7 times and hold on the 7th to enter the thermal configuration. To configure the ambient temp, wait for the first flash and then set the ambient, but once you’ve done that, you need to go back to the temp check and click 7 times, hold on the 7th, this time, don’t let off the button. Wait for the 2nd blink, and then you can set the thermal ceiling.
Batteries & Charging
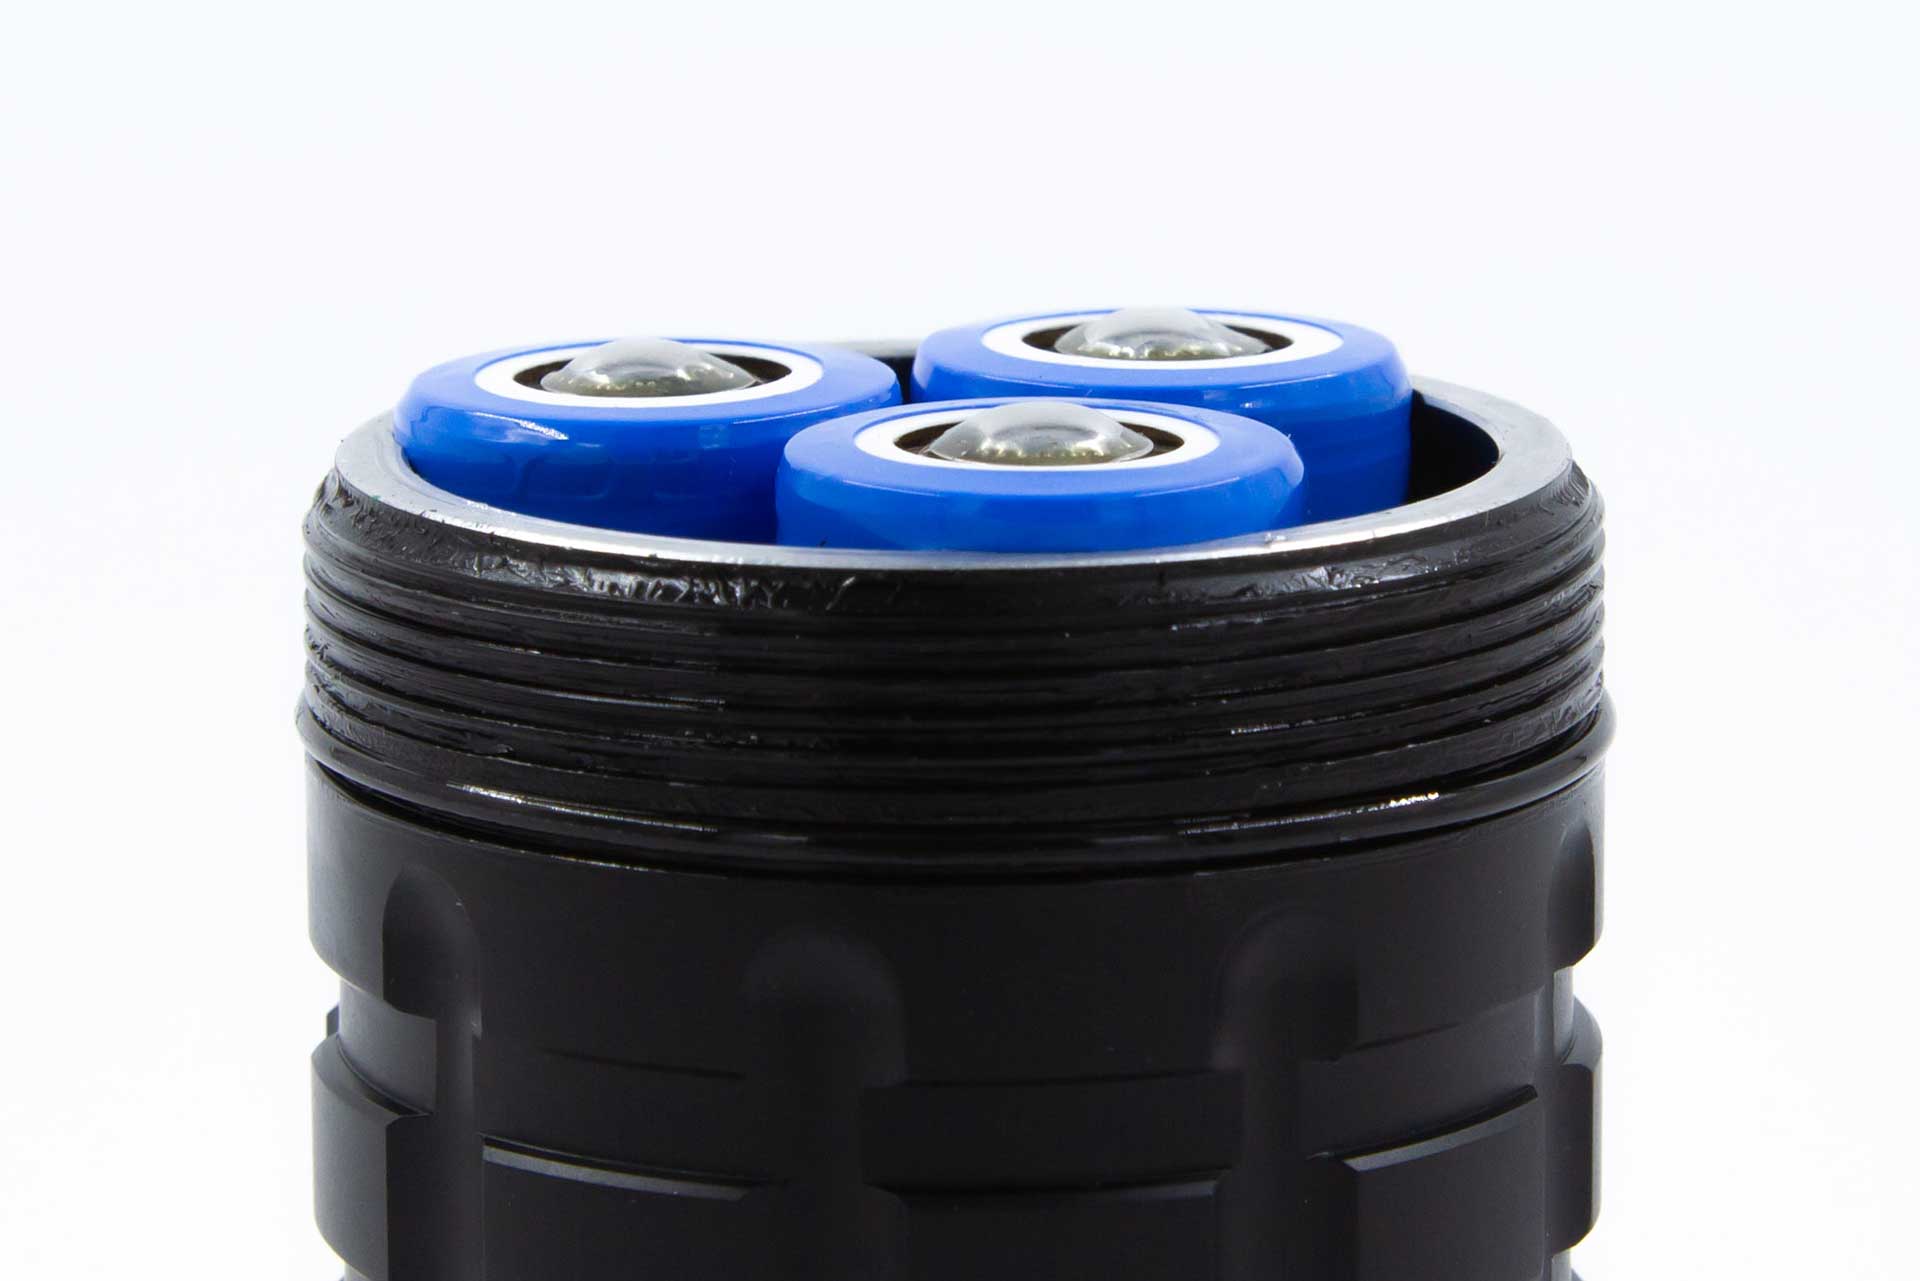
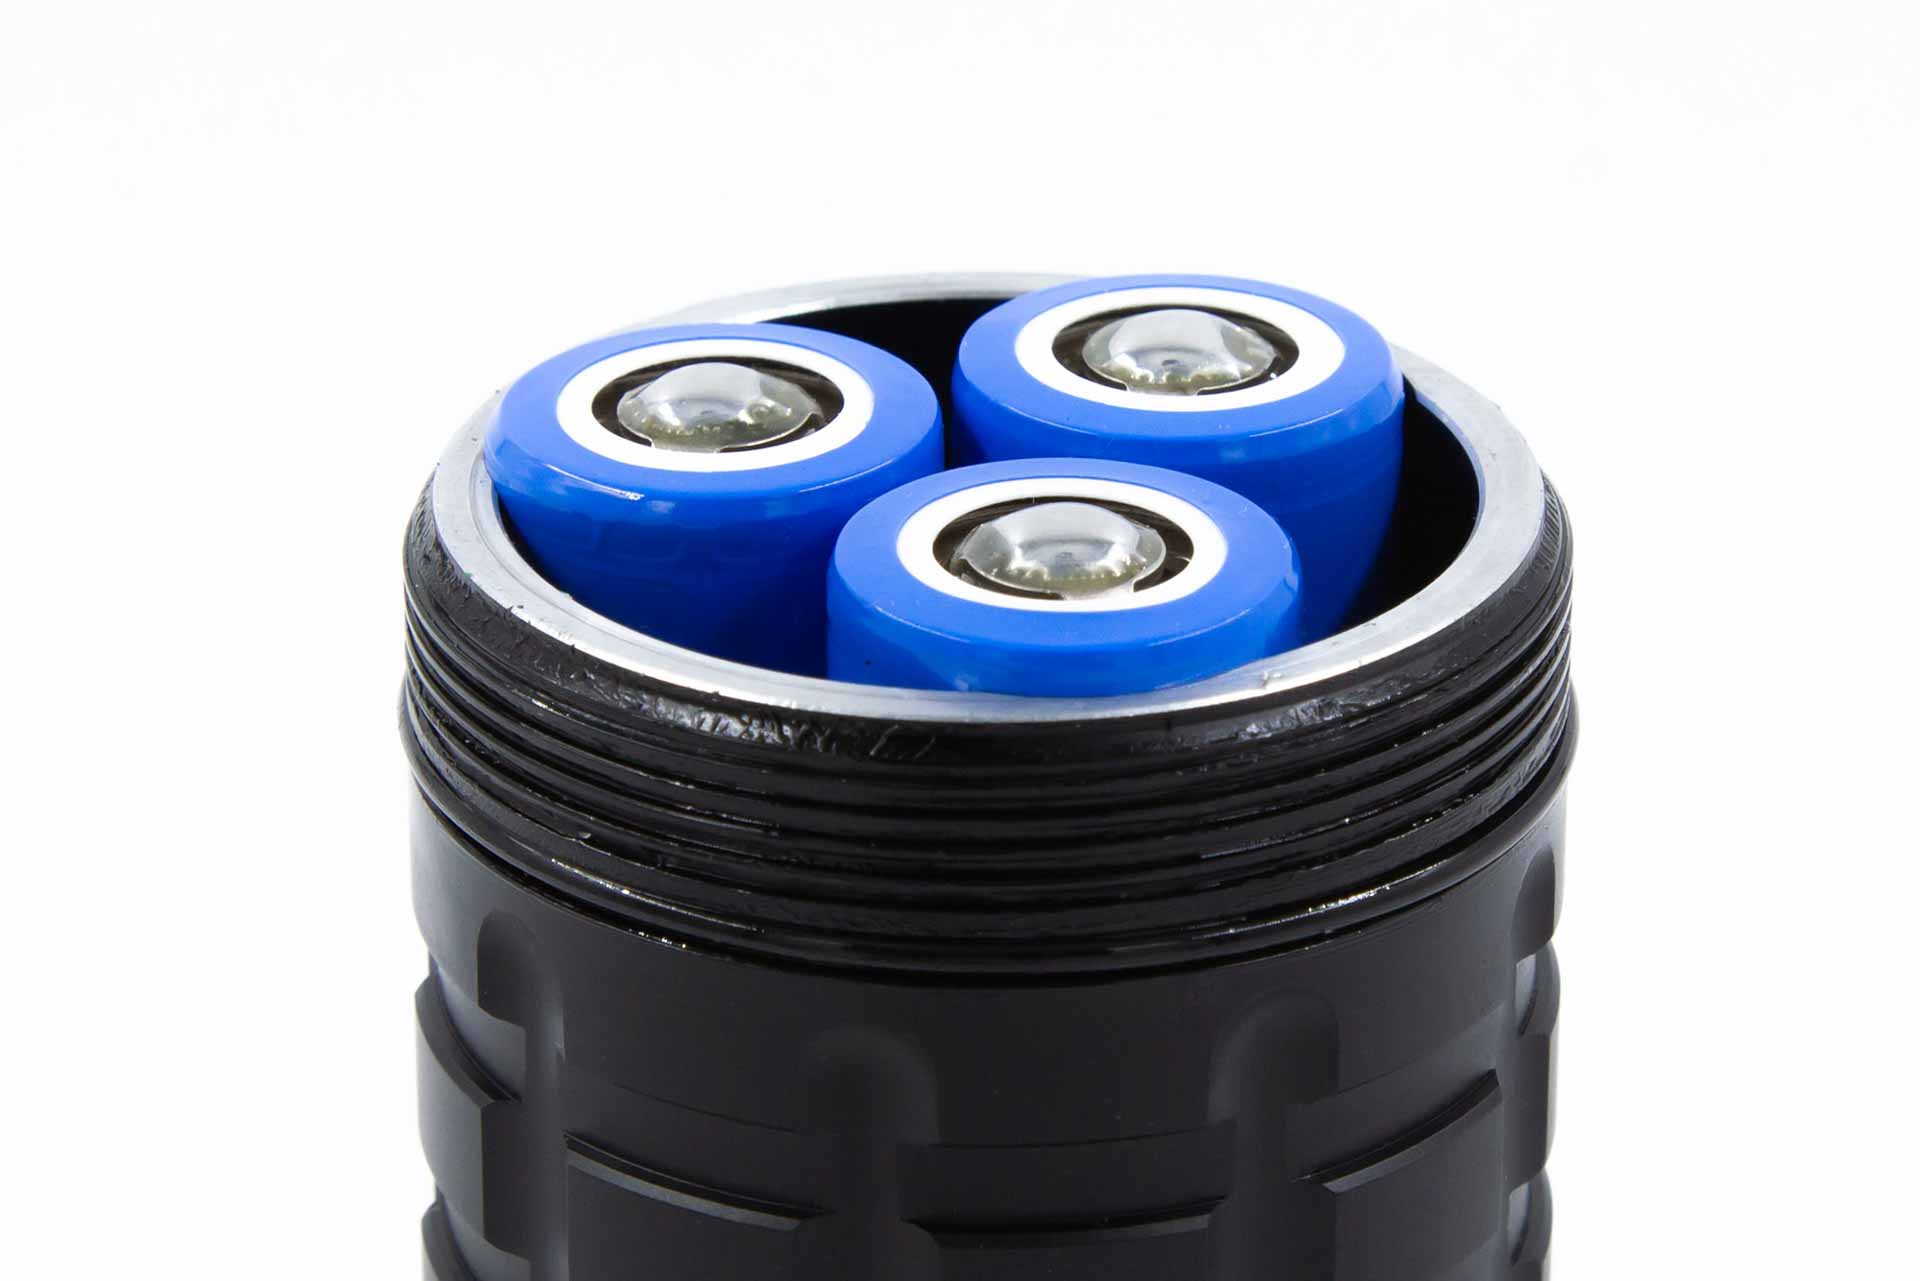
The Astrolux EC06 takes 3x 21700 cells. They will need to be button-top or a flat top that protrudes slightly, like the Molicel P42, as the positive ring on the driver needs clearance from the cells.
I’ve opted to use some Samsung INR21700 40T that I had semi-spare and added solder blobs to them. This is most definitely not the ideal situation, and I really don’t advise doing so, but I was informed that batteries could not be sent with the light. Cells are becoming harder to get in Australia all the time, so, left with little choice, I did what I could.
Including an insert to use flat-top 21700s as found in Convoy’s 3x21A would be highly appreciated to make things easier on cell selection.
When charging via USB-C to C, I get slightly over 2.5A. Charging USB-A to USB-C, I get 2.4A – so it’s much of a muchness there. The light is rated at charging at 3A maximum, so perhaps the cable that I used to test just isn’t as good as it should be.
Charging the cells in Vapcell S4+, though, I can get 2.5A per cell in auto mode – so while it’s much faster in the charger, it’s still not too shabby in the light.
The EC06 can also function as a power bank with a max output of 5V 3A, which I tested by charging my MacBook Air with it – I got a reading of 2.4A. I know this isn’t a fair test, however, as the MBA isn’t a 5V charging kind of device, usually.


Performance
For my readings, I use the following:
Lux Meter: For lumen readings and runtimes, an Adafruit TSL2591 connected to a Raspberry Pi running Ubuntu, using RuTiTe by bmengineer in a custom sphere. A UNI-T UT383S is used for candela readings.
DMM: UNI-T UT139C and UNI-T UT210E – 16AWG wire is used directly into the 139C via some banana plugs and 8AWG wire in a loop for the UNI-T. The DMM I use depends on how high the expected current will be – I use the 139C for <10A, and the 210E for >10A.
Lumen measurements (for each mode)
Before any testing of the light, I performed a factory reset of the light (13H from off), switched to Advanced mode (10H), and checked the temperature it calibrated to. It was within 1 degree of ambient, so I’ve put that in the “close enough” category.
I’d suggest that the manual should have that instruction there, probably – this would give people the best starting point.
The “Amps at start” section is performed with only one Samsung INR21700 40T cell – testing with multiple cells is horrendously difficult.
| Mode | Amps at start | Specs | turn on | 30 sec | 10 min |
|---|---|---|---|---|---|
| Ramp floor | 0.003 | – | 1 | 1 | 1 |
| Step floor | 0.01 | – | 3 | 3 | 3 |
| Step 2 | 0.11 | – | 42 | 42 | 42 |
| Step 3 | 0.42 | – | 157 | 156 | 154 |
| Step 4 | 1.05 | – | 430 | 415 | 400 |
| Step 5 | 2.6 | – | 1,788 | 1,713 | 1,573 |
| Step 6 | 4.88 | – | 4,931 | 4,433 | 686 |
| Step 7 | 10 | – | 9,740 | 7,318 | 687 |
| Turbo | 19.2 | 16,000 | 18,111 | 8,352 lm | 851 |
The lumen numbers above on the higher modes are telling a story that will be expanded in the runtime section below…
Parasitic drain:
- Button LED high: 2.4mA
- Button LED low: 0.15mA
- Button LED off: 0.1mA
Interestingly enough, the current drain from the emitters on ramp floor isn’t much more than the button LED on high…
Runtime graph
So, as usual, I do a full runtime on the highest mode to get a reading on how it will perform at its maximum. As you can see below…
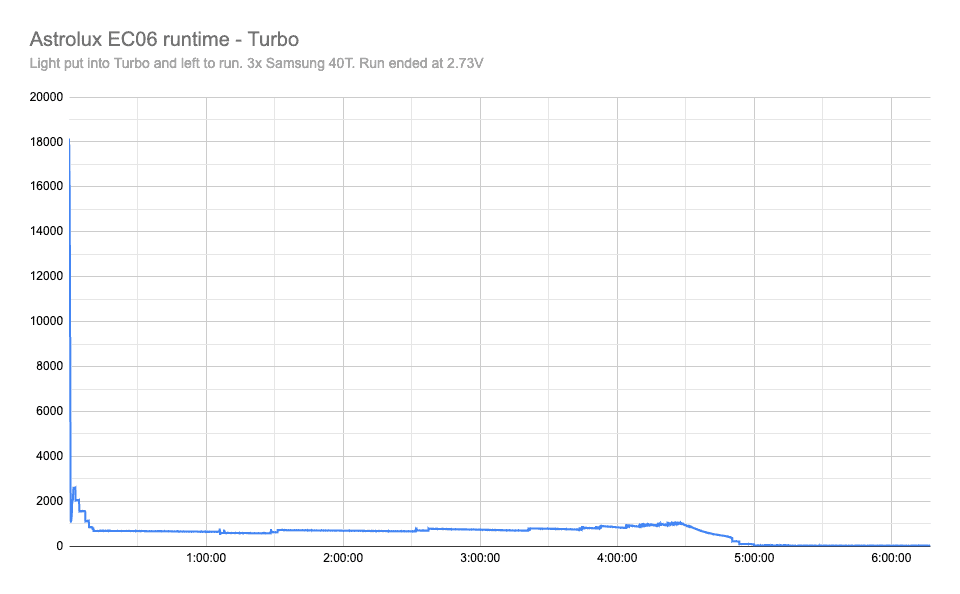
…It drops like a rock, and only attempts to claw its way back slowly, being heat-saturated. It’s not unexpected in any way, but getting “five hours” out of this light really isn’t a big deal if it drops to under 1000 lumens for most of that time.
I was hoping that lower modes would have some kind of sustainable output, but:
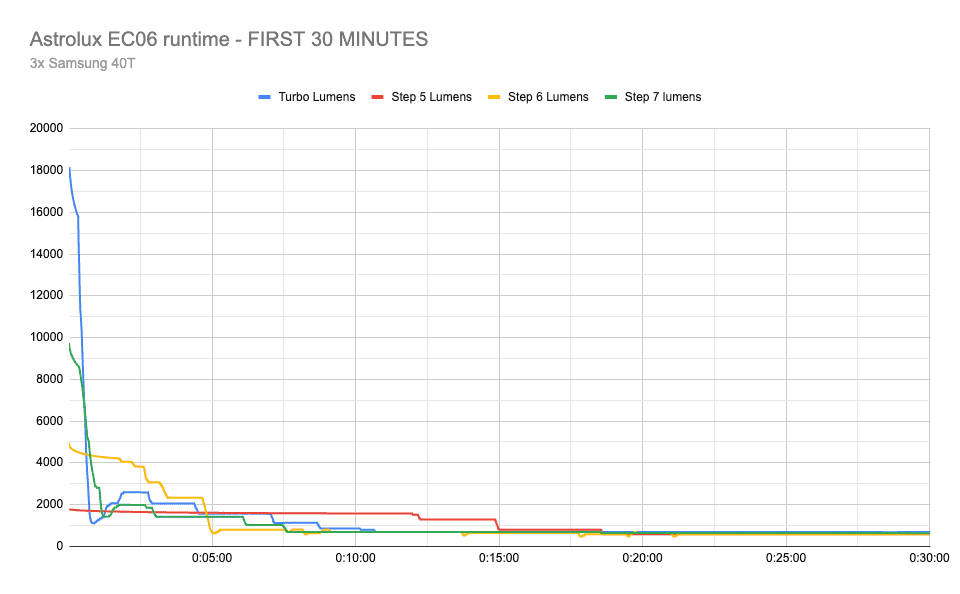
All FET modes of this light drop to under 1000 lumens within 15 minutes and stay there. It’s entirely possible to dial in a FET mode on ramping that would be somewhat above Step 4 (maximum regulated), but in testing it’s almost impossible to do as a repeatable test.
I then dialed in a 60-degree thermal limit to see if I could get things playing nicely on mode 5 and 6, which had the most promise of sustained output, but this had limited success.
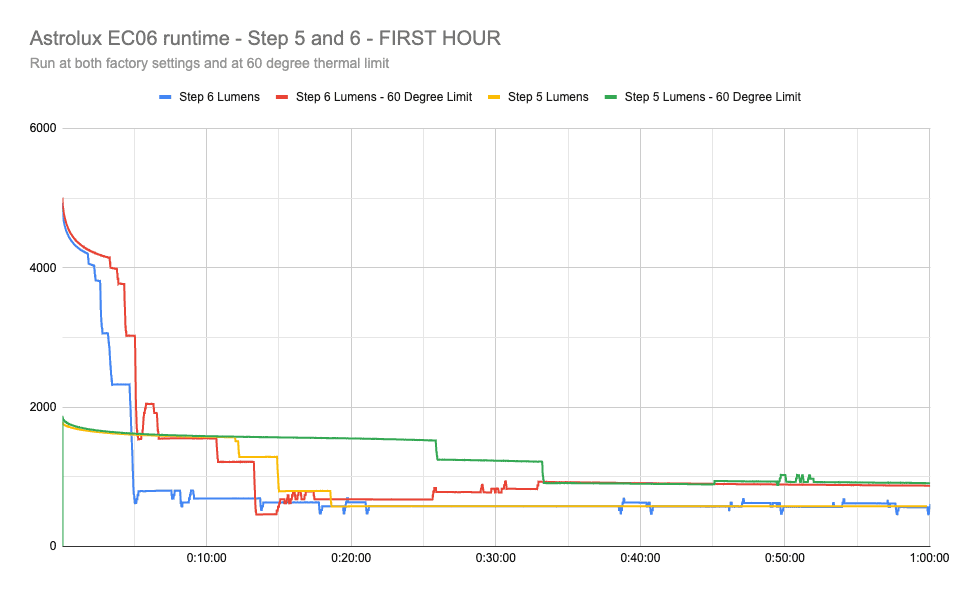
Within 35 minutes, we’re under 1000 lumens again.
Throw numbers:
Testing was done with the Uni-T UT383S lux meter, at 10 metres, ± a few cm.
Let’s be real – we’re not here to find out how much this light can throw on moonlight. I’ll just be testing the FET modes, as this is probably where it would be used the most.
Instant output readings are as follows:
| Mode | Specs | Candela measured | Meters | Yards |
|---|---|---|---|---|
| Step 5 | – | 10,300 cd | 203 | 222 |
| Step 6 | – | 27,300 cd | 330 | 361 |
| Step 7 | – | 53,100 cd | 461 | 504 |
| Turbo | 76,666 cd | 109,000 cd | 660 | 722 |
And for posterity, 30s output reading on Turbo:
| Turbo (30s) | – | 74,300 cd | 545.16 | 596.19 |
That’s fairly expected after the runtime chart.
Beamshots
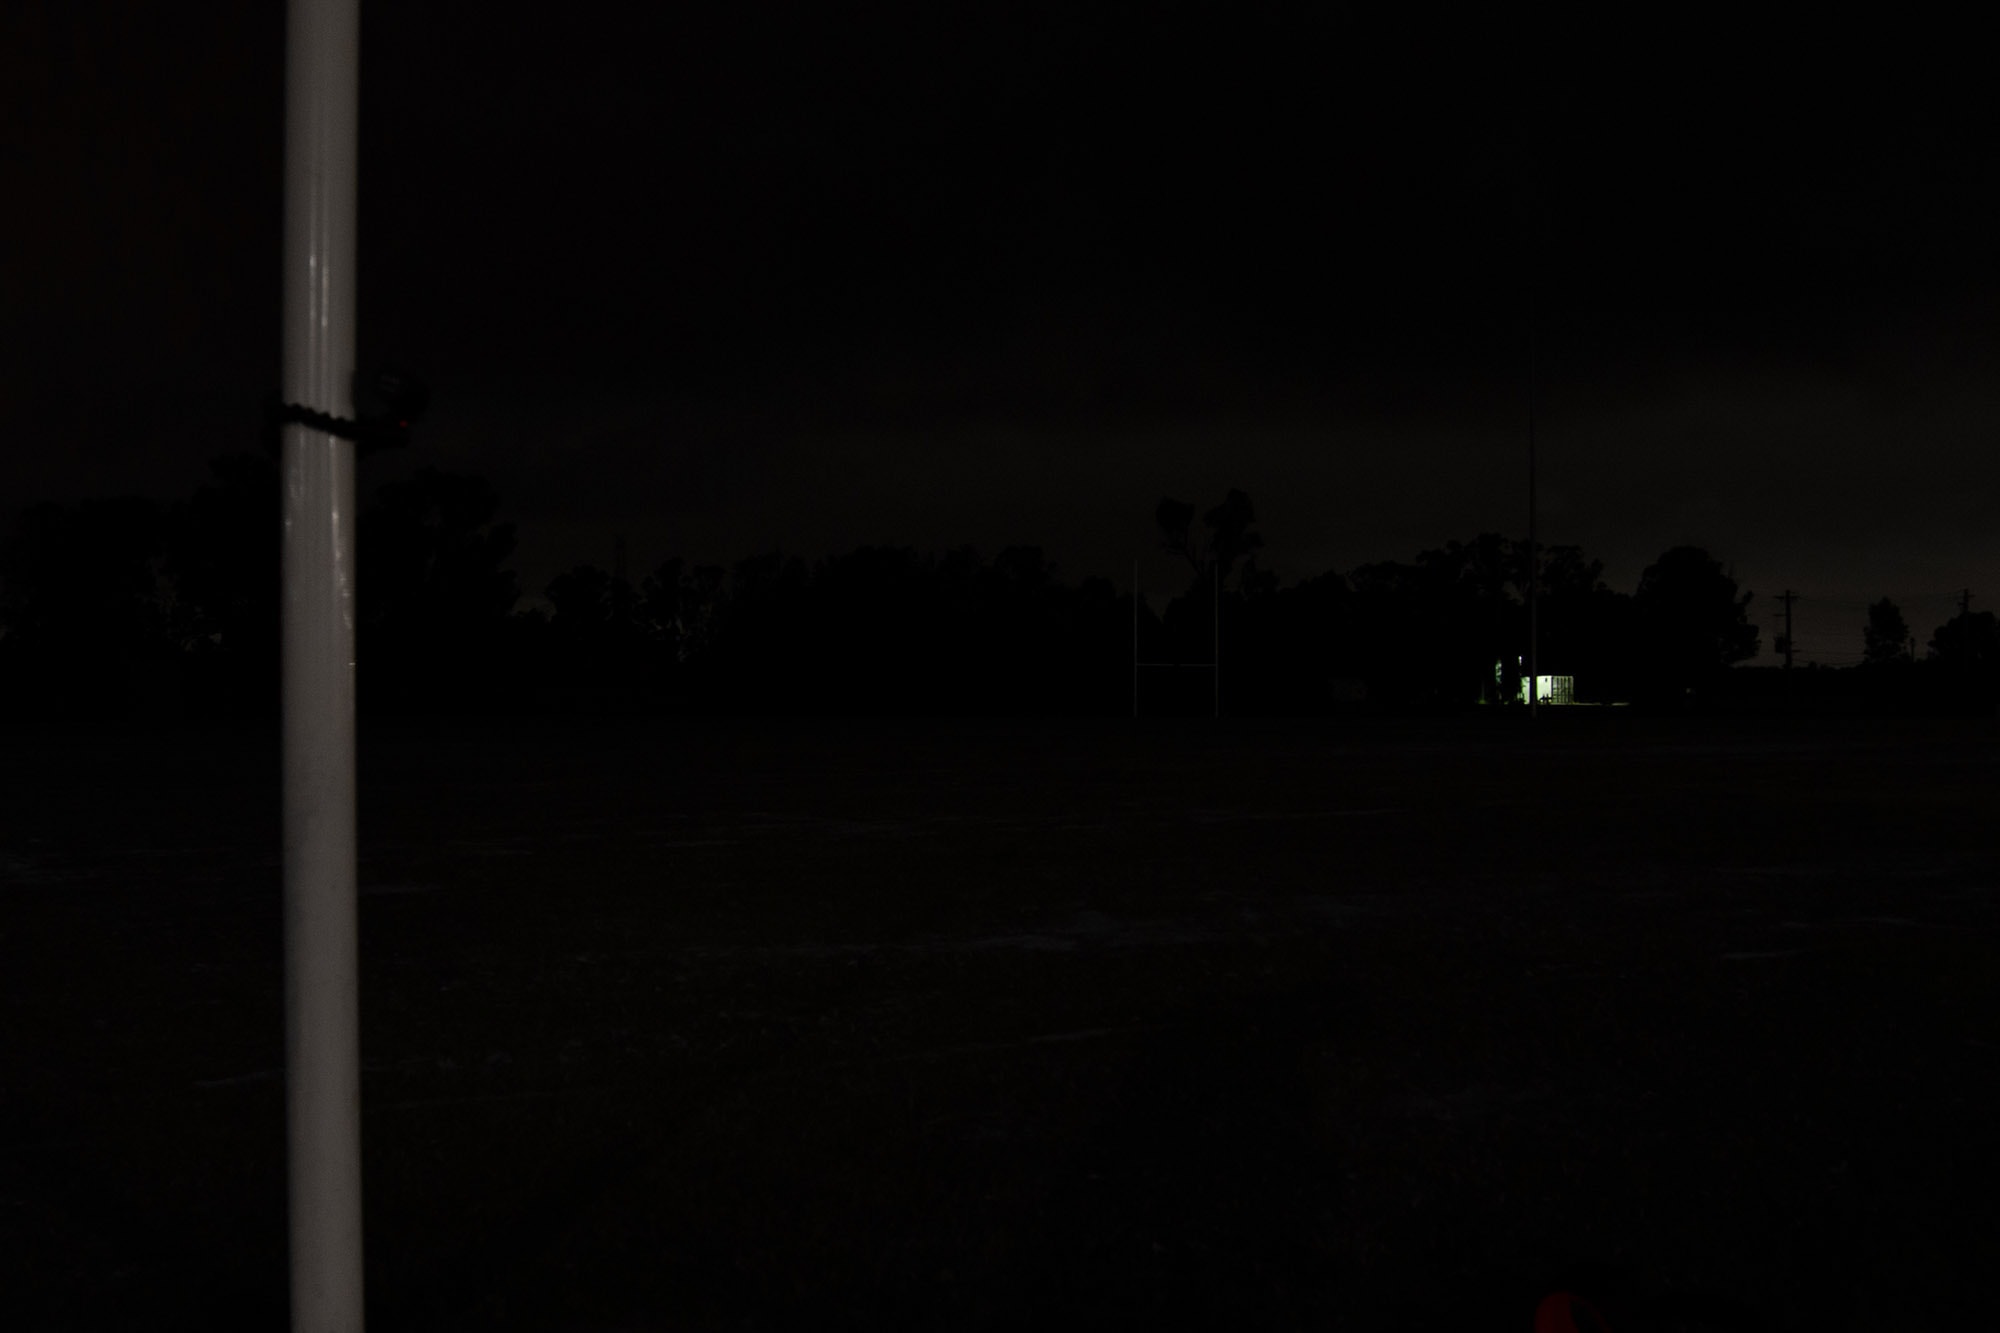
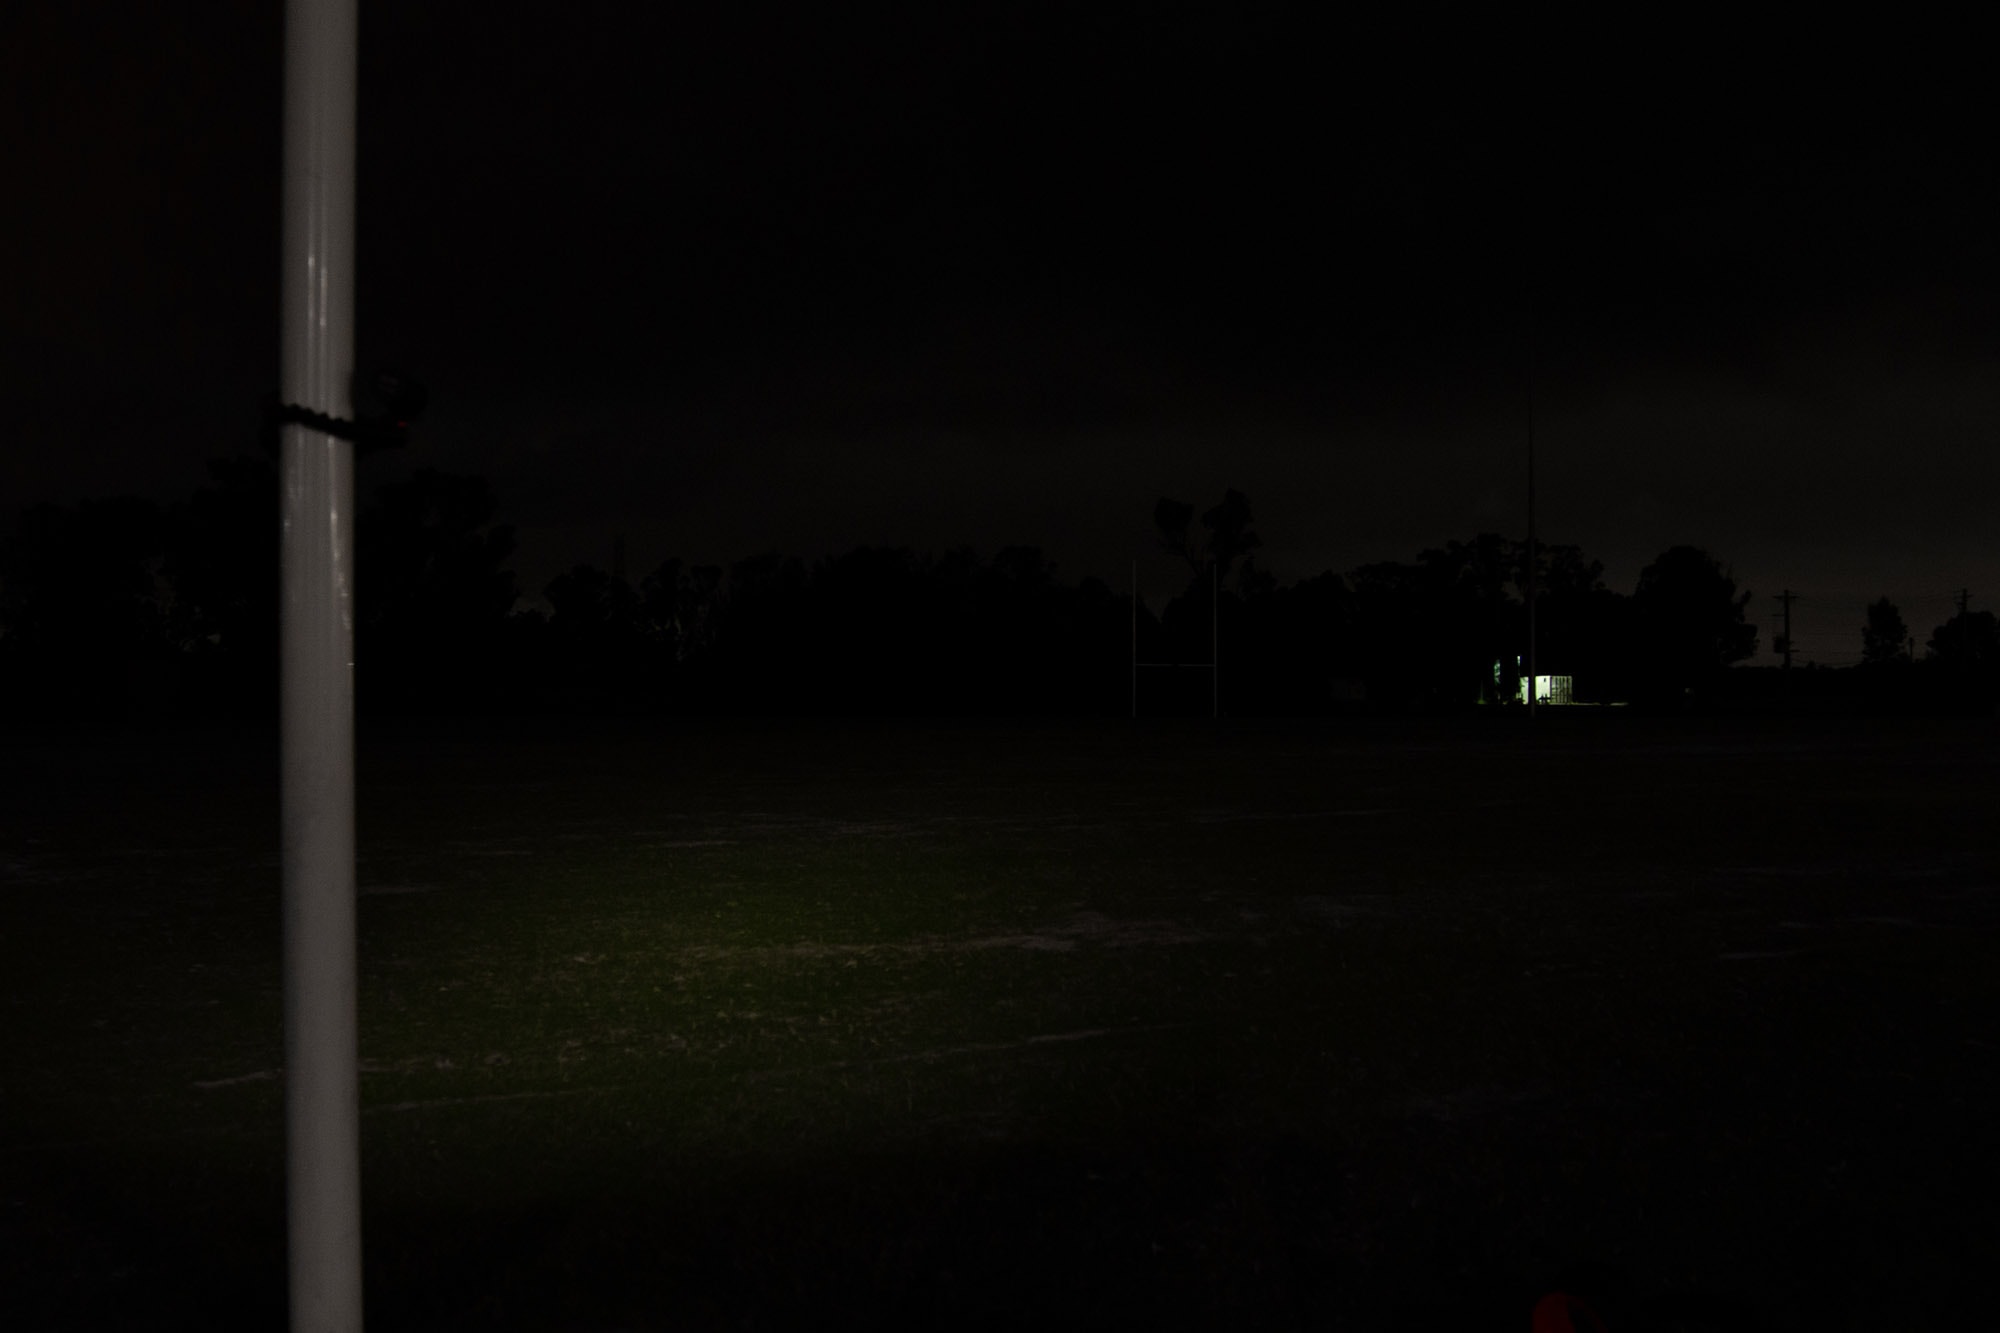
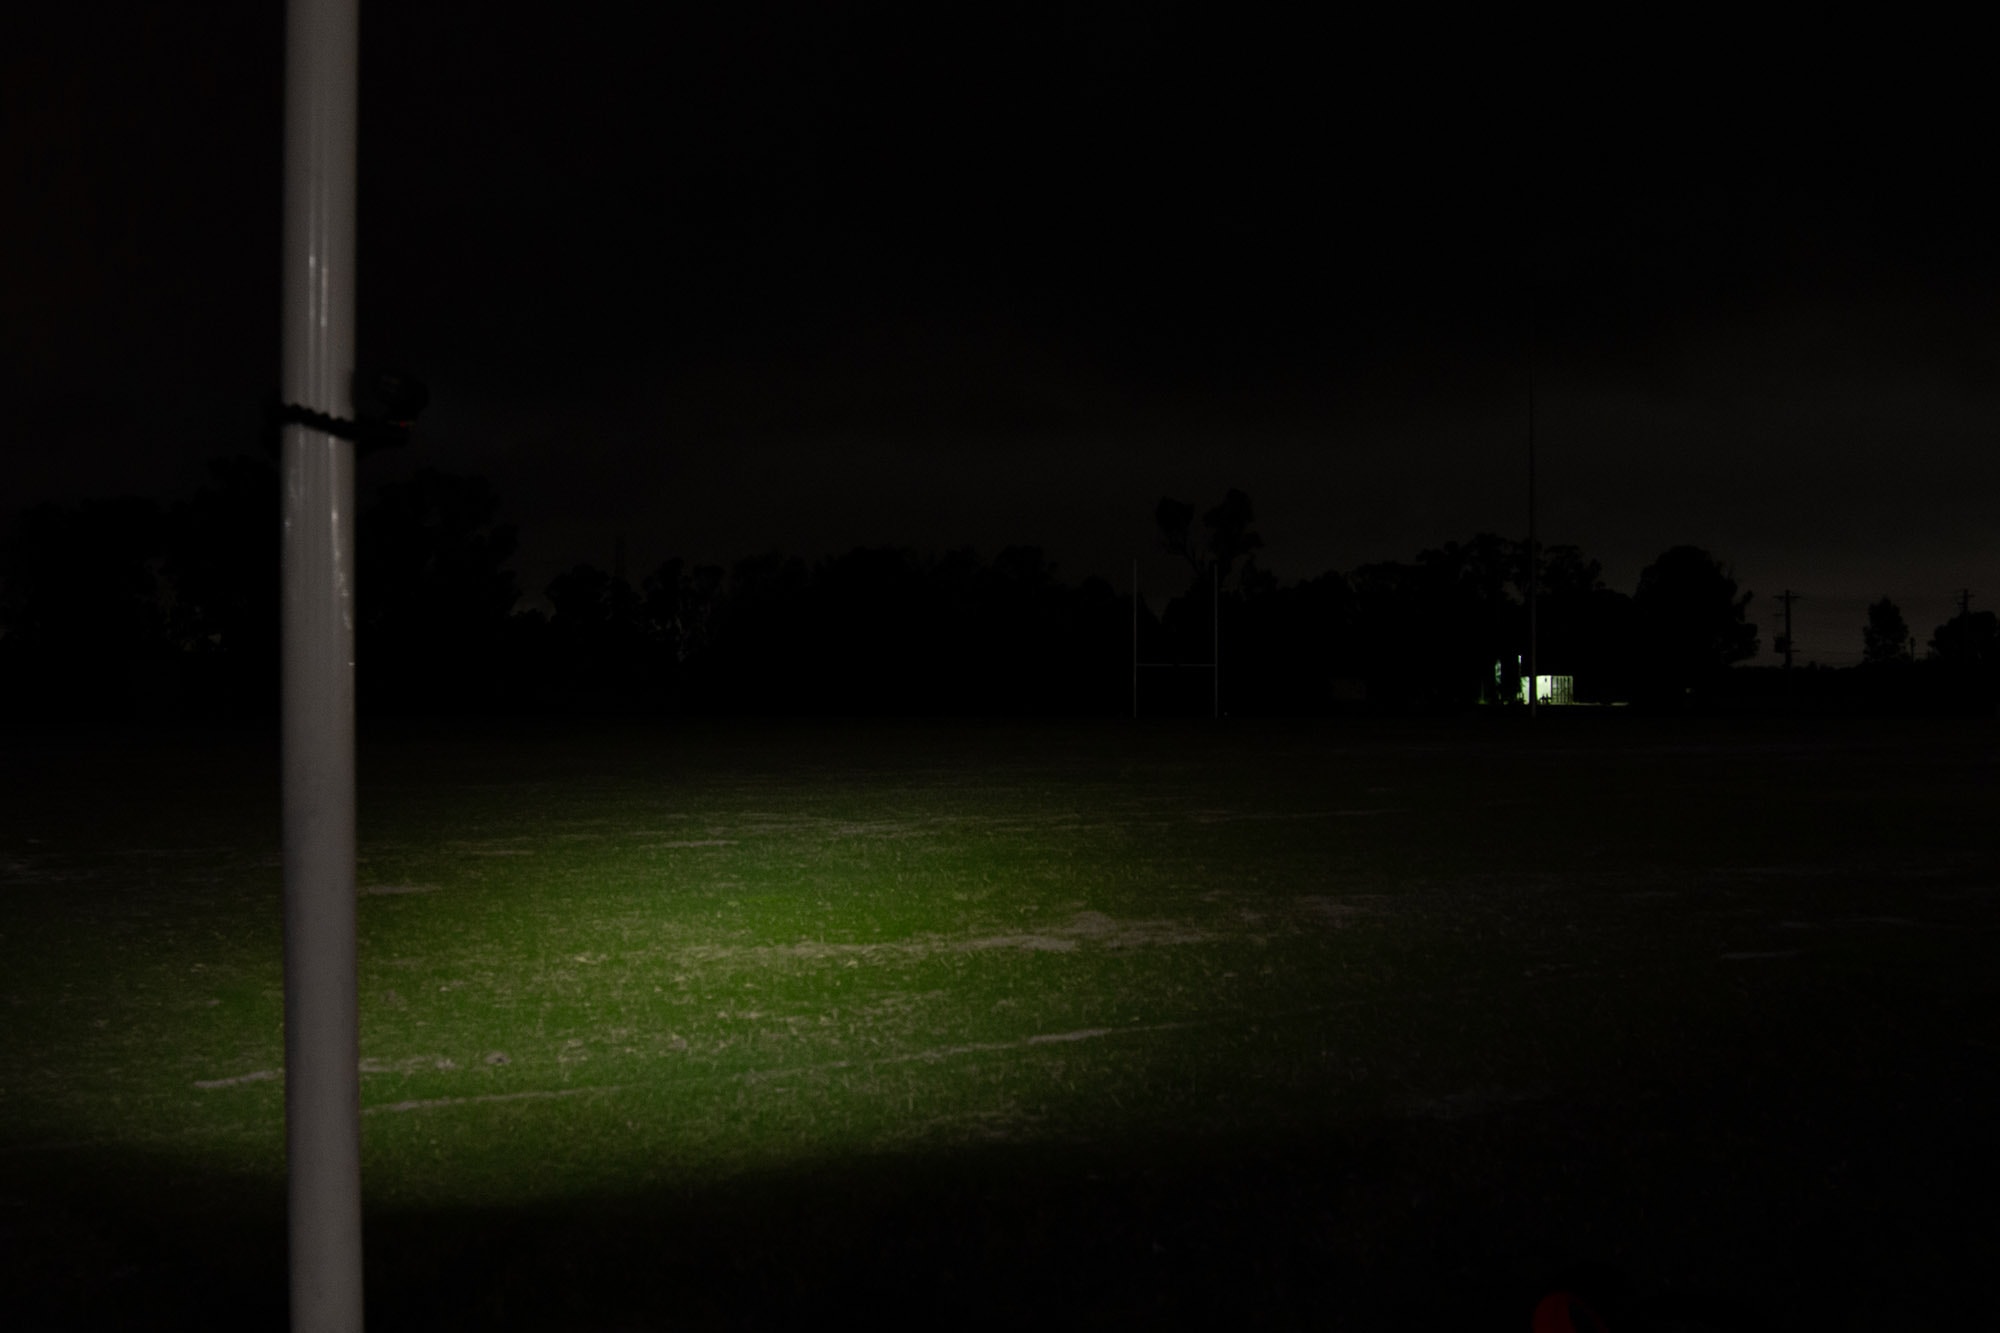
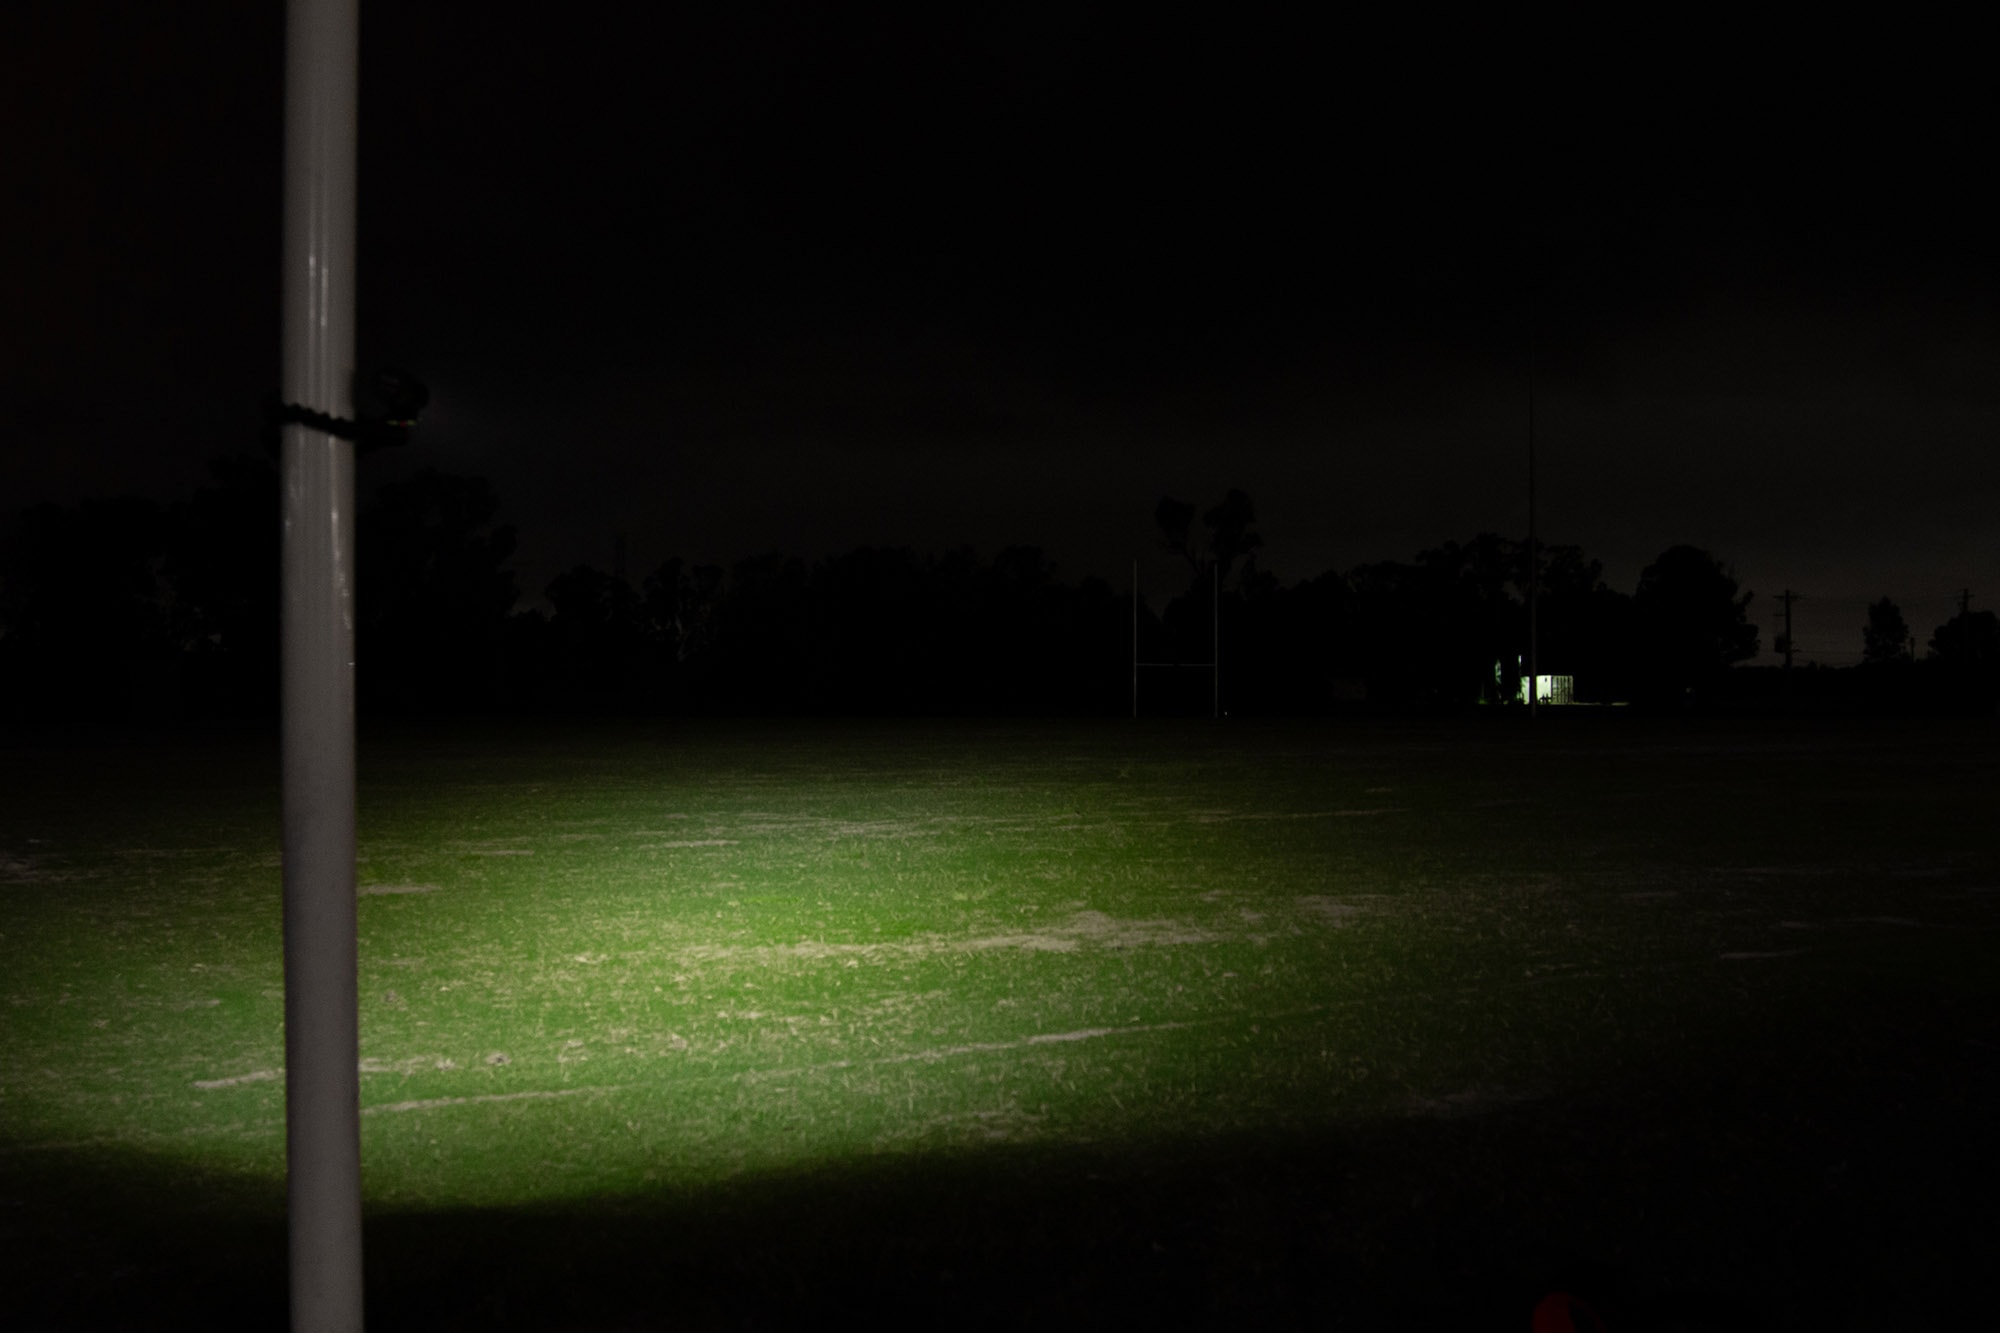
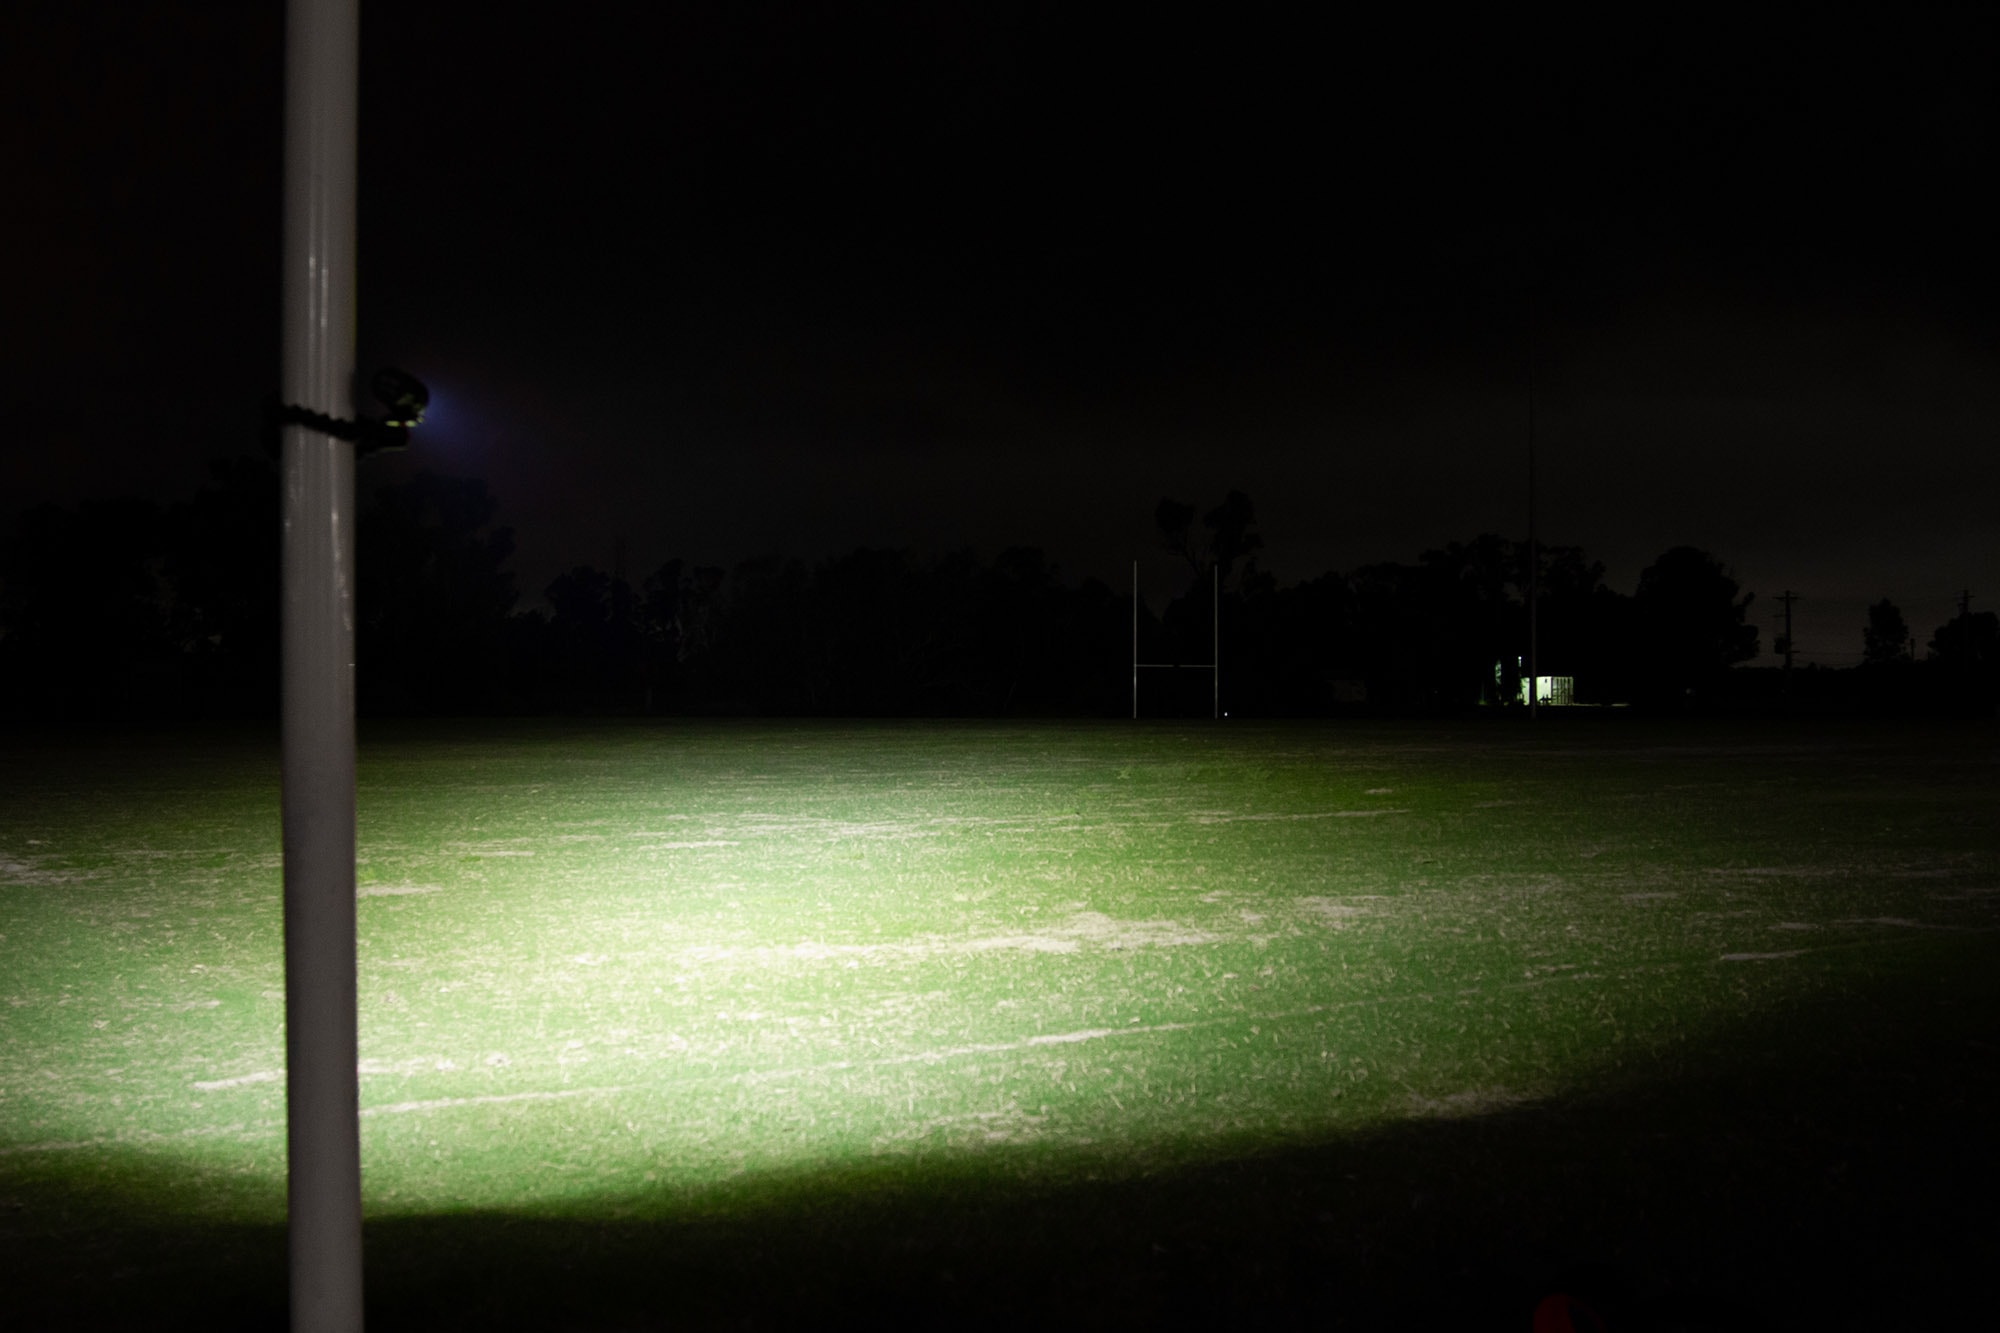
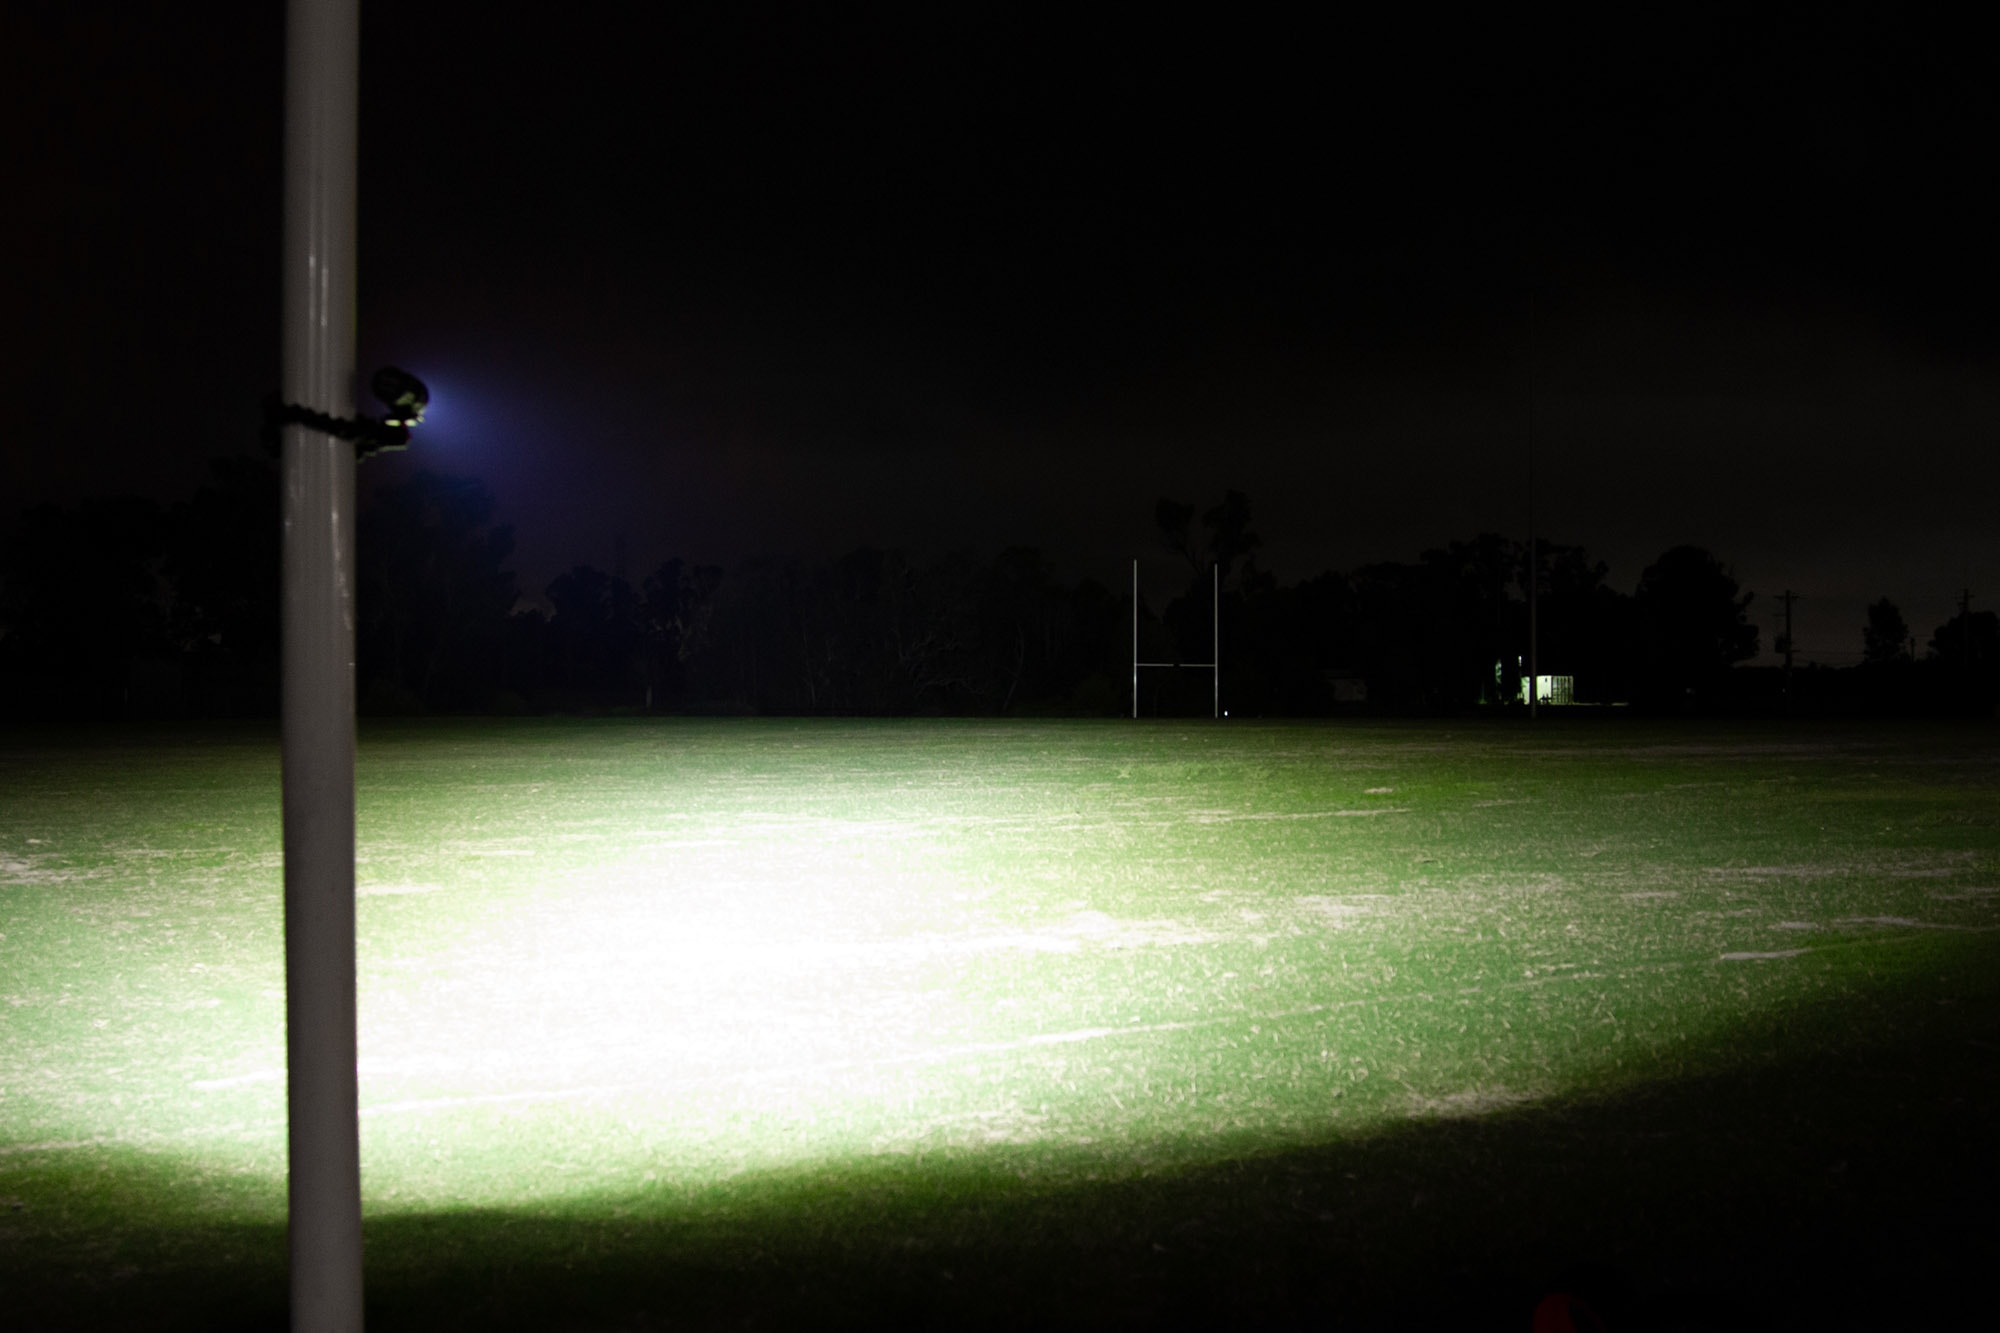
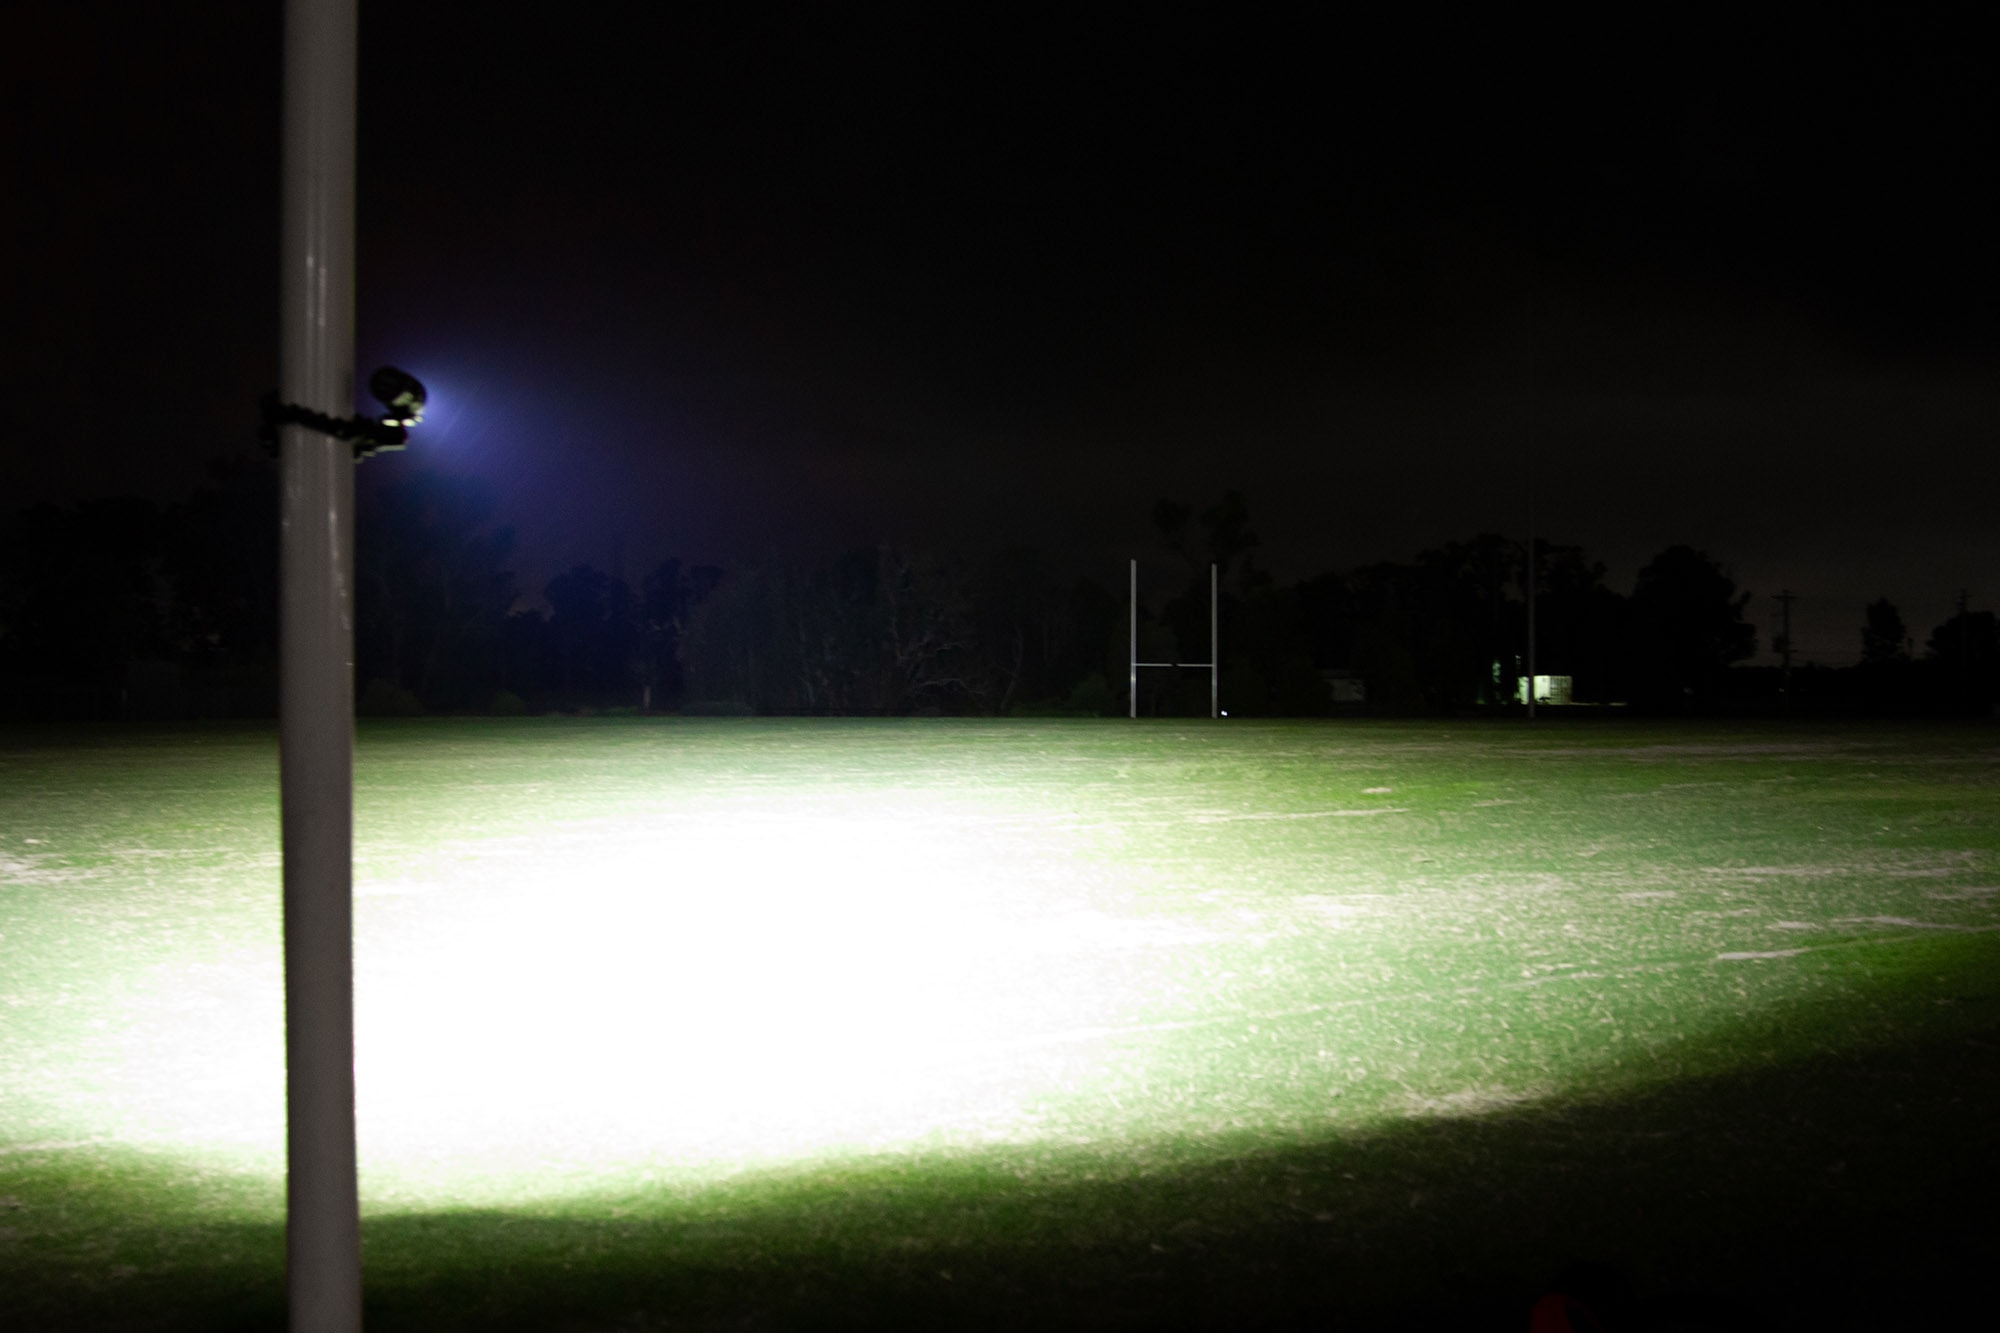
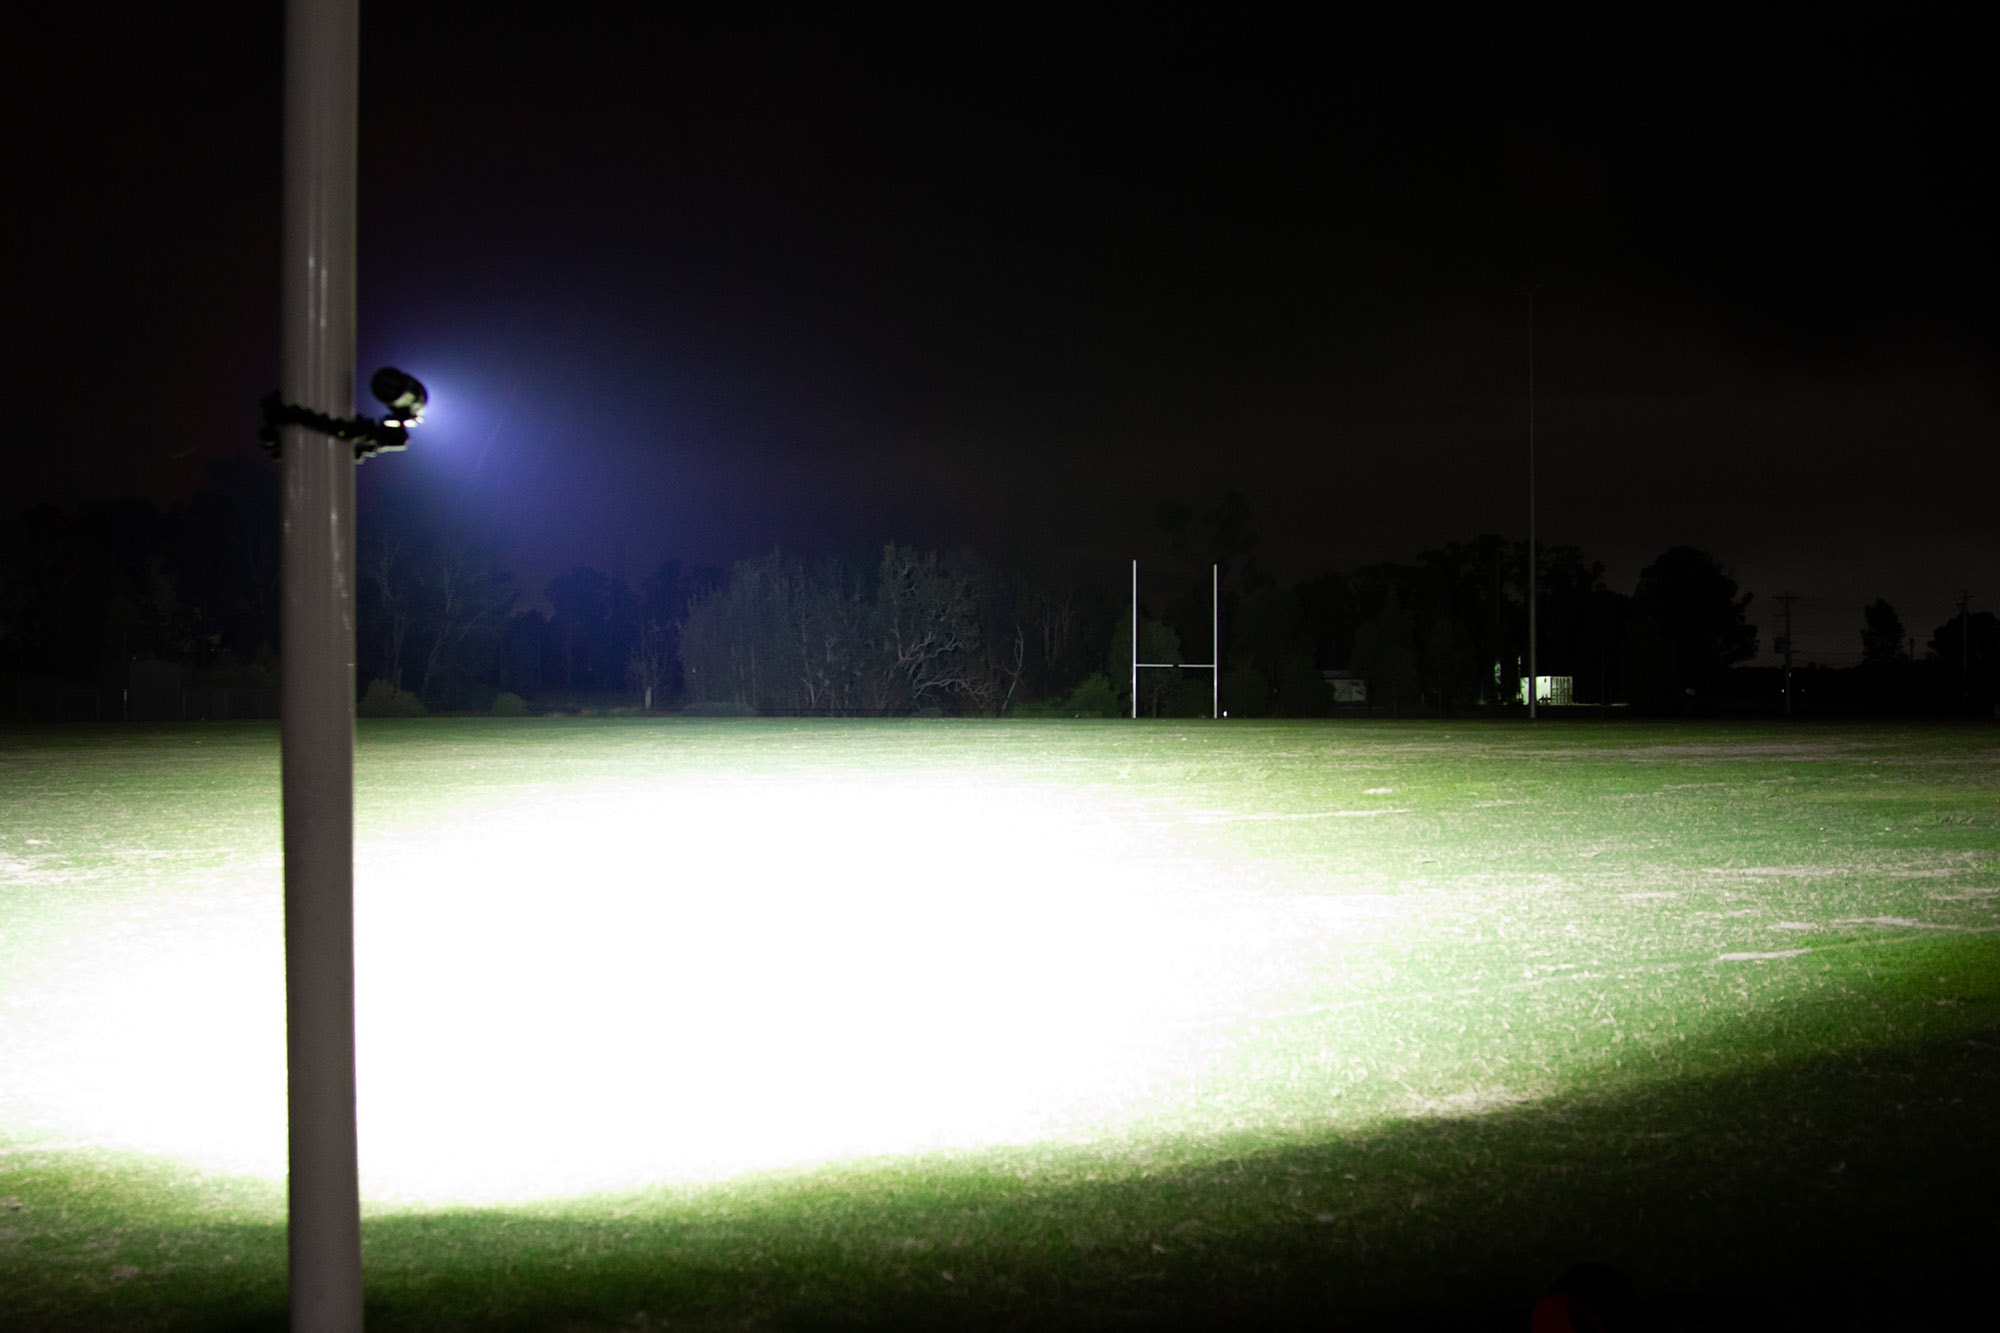
Beamshots were taken at 0.5s, f4, ISO 1600, 24mm.
The trees to the left of the goalposts (in centre-frame) are approximately 160m away from the light.
(More beamshots following soon)
Disclaimer: This flashlight was sent to me for review at no cost by Banggood. I have not been paid to review, nor have I been holding back on problems or defects.
Final Verdict
Pros
- A whole lot of light which is always fun
- Want to set something on fire real fast? This bad boy has you covered.
- Powerbank feature is a great addition
Cons
- Cool white. Could have been 5700 or 5000K without much drop in output, but I recognise they’re harder to source in 3V
- Runtimes that drop like a brick – higher regulated modes would be nice
Explanation on star ratings:
1: Avoid: my phone flashlight would be a better choice – 2: Poor: significant defect or issues; almost unusable – 3: Average: some defects or issues; but still usable 4: Good: recommended (minor issues) – 5: Great: highly recommended

3.5 stars: ★★★⋆
Well, this is a mixed bag.
Ordinarily, I’m loath to entertain emitters cooler than 5000K, but in this light, I just don’t care. It’s ridiculous, and that’s how it should be – this is a light that demands attention when punched into turbo. At this price point, it’s something to definitely look into.
That said, there’s some fairly frustrating shortcomings. The output drops too fast in all FET modes, and can only seem to sustain around 630 lumens in the longer term with the out-of-box settings. If the driver were tweaked to have a higher regulated mode for higher sustained output, this could be something pretty amazing.
Button-top 21700s are also a bit too difficult to come by to make this an easy use – as previously mentioned, the addition of an adapter to convert flat-top cells to button-top wouldn’t cost much more to produce, but would make the light far more accessible.
Ultimately, I give the EC06 3.5 stars. While it’s a very fun toy, it’s not inherently usable as anything other than a “look at this” brief burster due to the amount of heat it has to soak up. With a regulated driver and some more thermal mass, this could potentially be a very different light, with a very different score.
Astrolux EC06 for sale
This flashlight is discontinued. For alternatives, check out our list with the brightest flashlights.
1lumen selects and reviews products personally. We may earn affiliate commissions through our links, which help support our testing.