1lumen selects and reviews products personally. We may earn affiliate commissions through our links, which help support our testing.
Lumintop GT Nano Pro v1 review: (NarsilM)
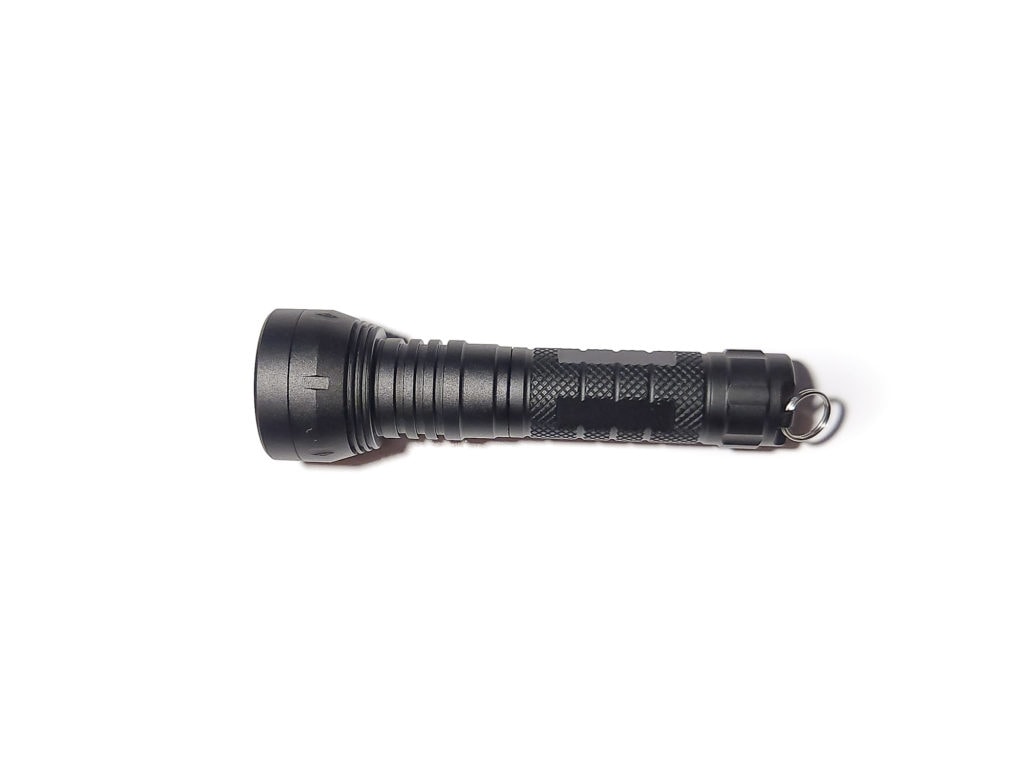
Lumintop GT Nano Pro specifications
| Brand & Model | Lumintop GT Nano Pro |
|---|---|
| LED | Luminus SST20 |
| Lumens | 1,620 Lumens |
| Beam intensity | 6,975 cd |
| Battery config. | 1*10440 |
| Onboard charging | N/A |
| Modes | NarsilM v1.3 |
| Blinkies | Strobe, “police,” 2-second beacon, 10-second beacon |
| Reflector | TIR optics |
| Waterproof | IPX8 |
| Review publication date | August 2022 |
Introduction:
Note: this is the first version, running on NarsilM firmware. There is a newer version using a different firmware. Beware.
One of the most highly anticipated lights of Summer 2022, Lumintop’s GT Nano Pro, has made its appearance! Lumintop turned heads in 2020 with the introduction of their miniature thrower, the GT Nano (which we’ve reviewed in aluminum and titanium), and now they’re doing it again with a somewhat lateral upgrade to the original model.
Much of the buzz around the GT Nano stemmed from its minuscule scale, essentially being the first 10180- (or even 10440)-sized thrower. The Pro model keeps the same form factor, but Lumintop has squeezed three emitters into it, much like they did when the FW21 evolved into the FW21 Pro, and switched out the included 10180 battery and tube for a 10440 tube. You will have to buy your battery separately now, but the larger size will address one of the knocks against the GT Nano by allowing for longer runtime.
Package quality.
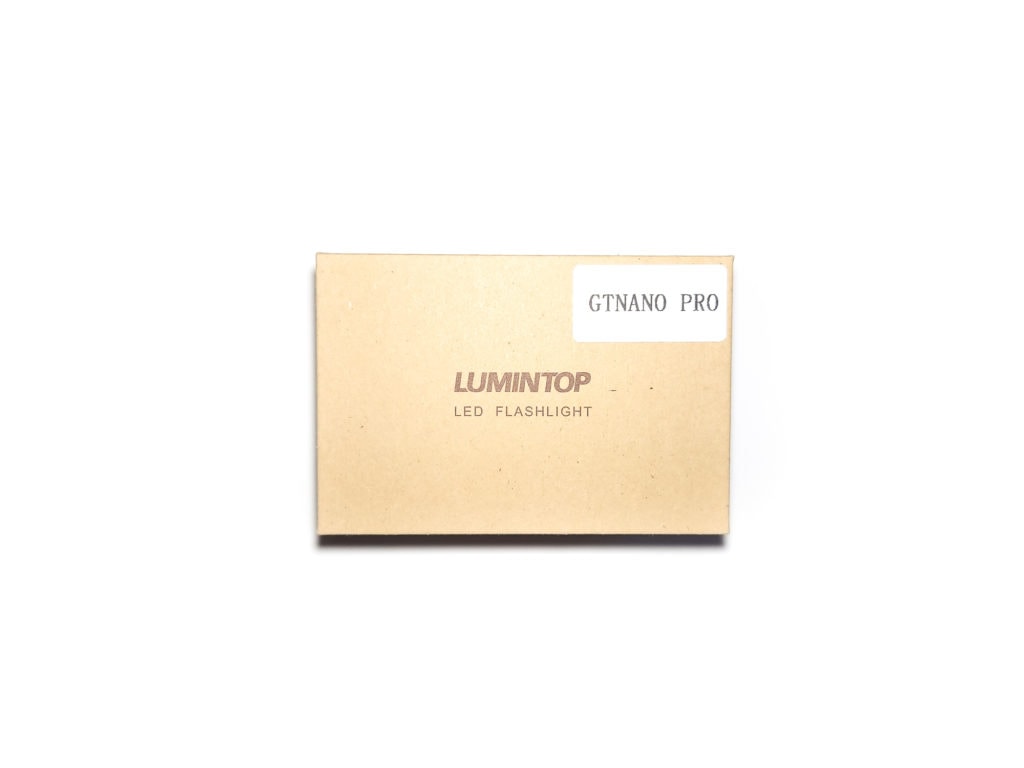
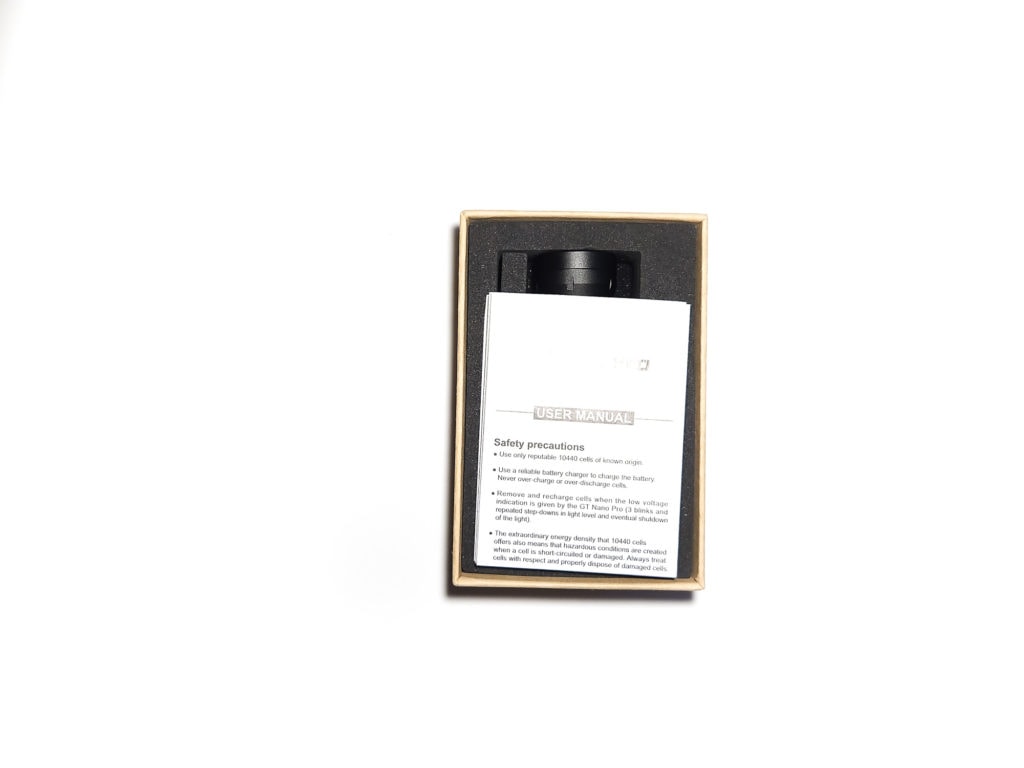
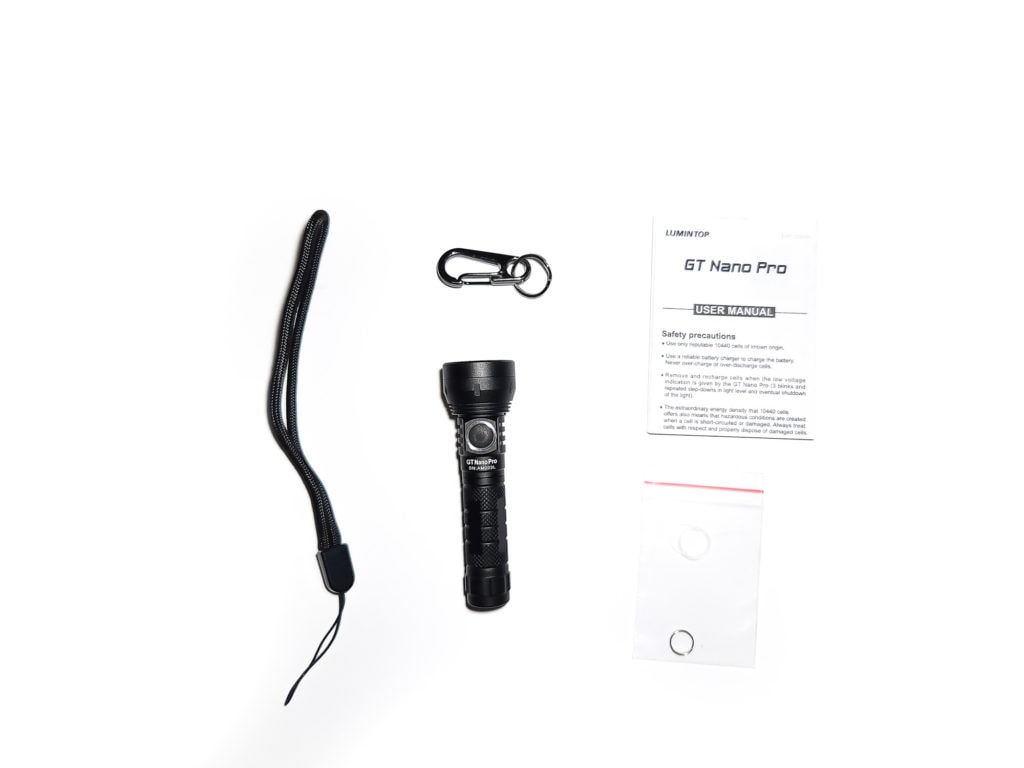
The GT Nano Pro comes in a plain, two-piece cardboard box with Lumintop’s branding and a sticker listing the flashlight model on the top, while the bottom lists Lumintop’s contact information and some regulatory markings. When you remove the top, you’ll find the light securely nestled into a T-shaped cutout in the sturdy foam, with its accessories in a separate cutout next to it. The contents of the box include:
- GT Nano Pro
- Keyring clip
- Lanyard
- Small plastic zip bag including
- Two spare o-rings
- Split ring
- User manual
Flashlight in use
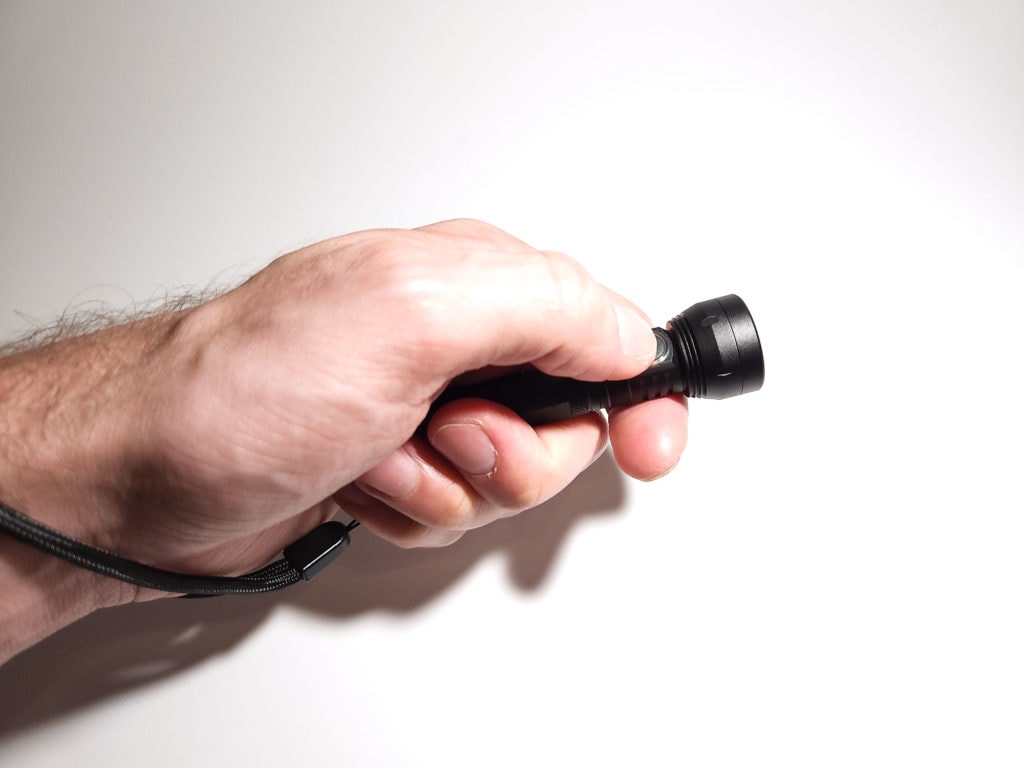
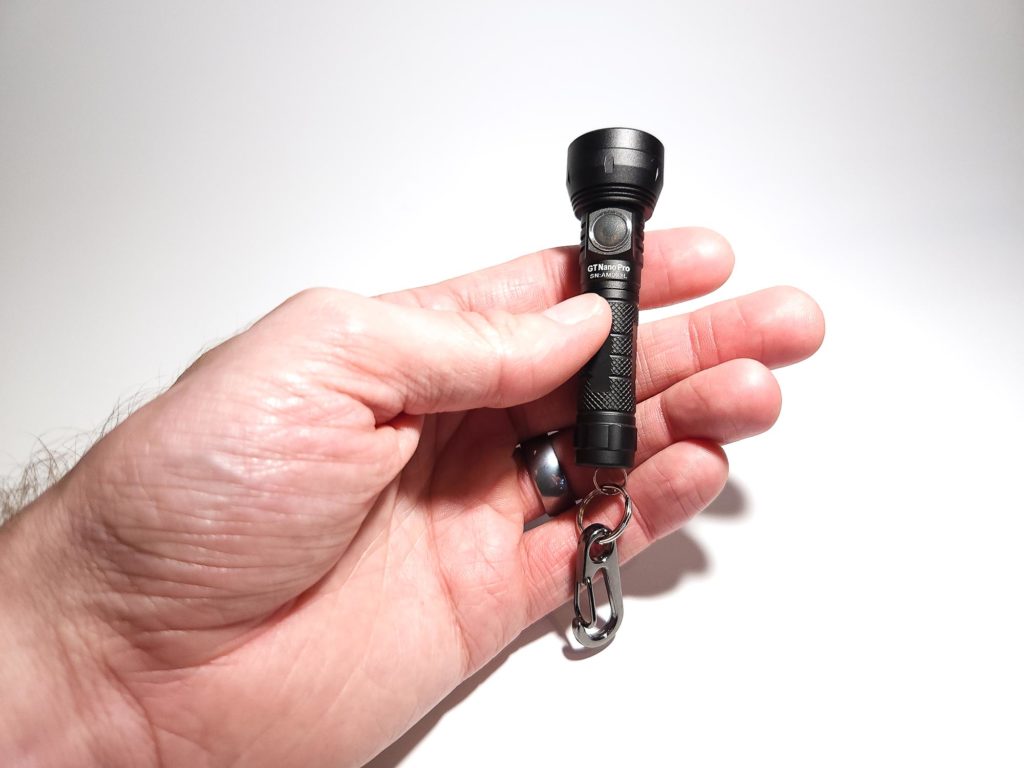
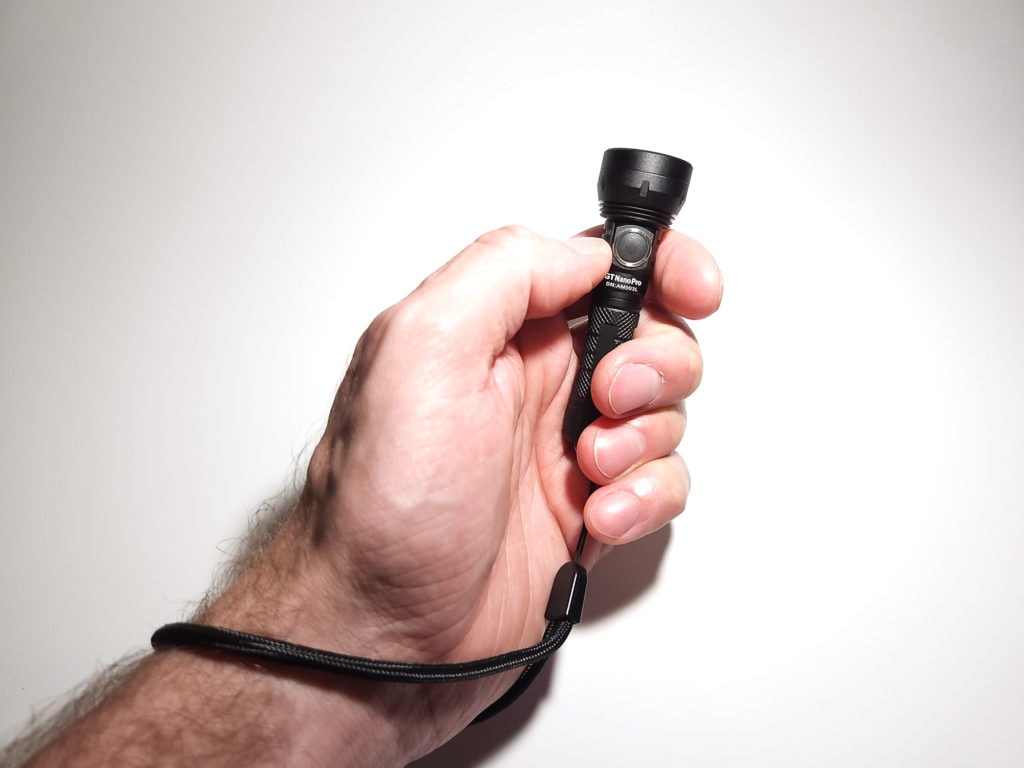
The first thing I noticed while using the GT Nano Pro is how easy it is to hold. Despite being a small light, the combination of different knurling types on the body of the light and various fins on the head allow for a secure grip. The electronic side switch is easy to find due to it being raised above the body and is easy to depress. Under the rubber boot is a red indicator LED which is illuminated when the light is off as a kind of beacon and while this does contribute to some parasitic drain, it can be disabled.
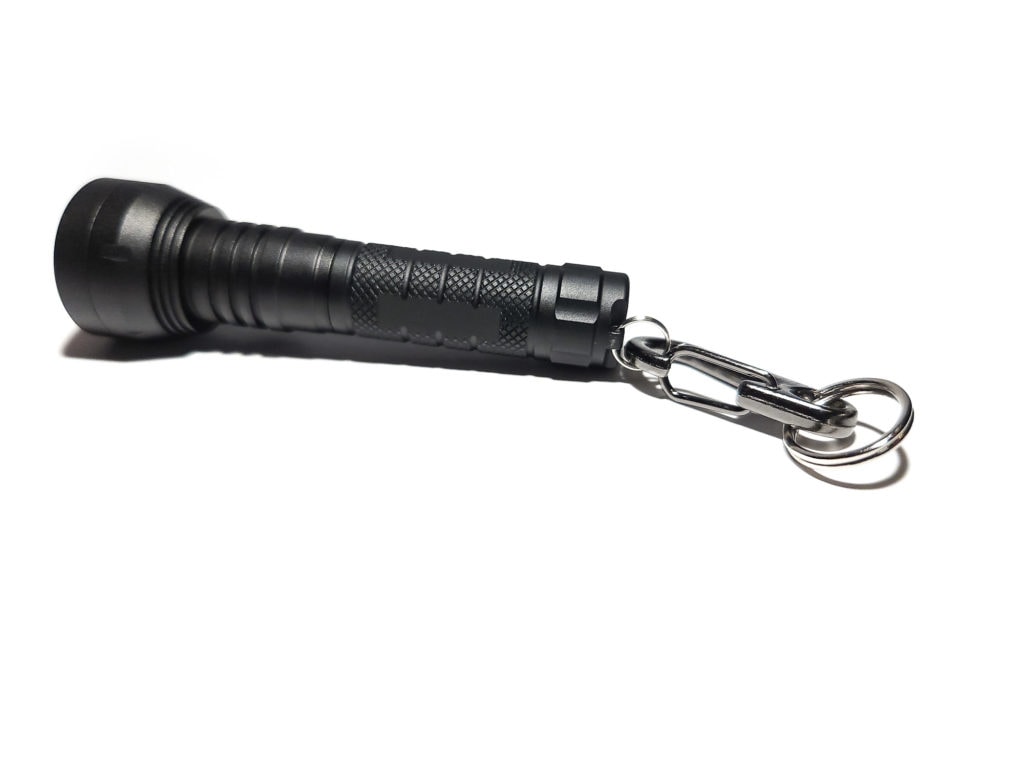
Being a 10440-sized light, the GT Nano Pro easily fits in a pocket or on a keychain using the included split ring and clip. While this is not a pocket clip, per se, you could still clip it onto a belt loop or other type of ring or clip point. The lanyard can also be used to loop around your wrist while you hold it, but the hole at the end of the body is really too small to thread the lanyard through. If you want to use the lanyard, you will have to put the included split ring on the light, then affix the lanyard to that.
If you need to set it down, the end of the light is flat and allows it to tail stand. There is a slot in which you could set a small magnet, but there is no magnet in it by default. Along the side of the bezel, there are several notches which, if the light is placed on a table directly on one of those notches, it can prevent the light from rolling, but it’s tricky to do that. Even with the split ring installed, it can still roll, so you may need to attach the key clip or lanyard to really prevent it from rolling.
Because of the power and runtime limitations inherent to a 10440-size battery (more on that later), the GT Nano Pro is best for short duration use. I can see myself using it as my primary EDC due to the novelty of such a small light, but I’d definitely carry something else in case I needed sustained output. Even with light use, I still find myself topping the small battery off every night.
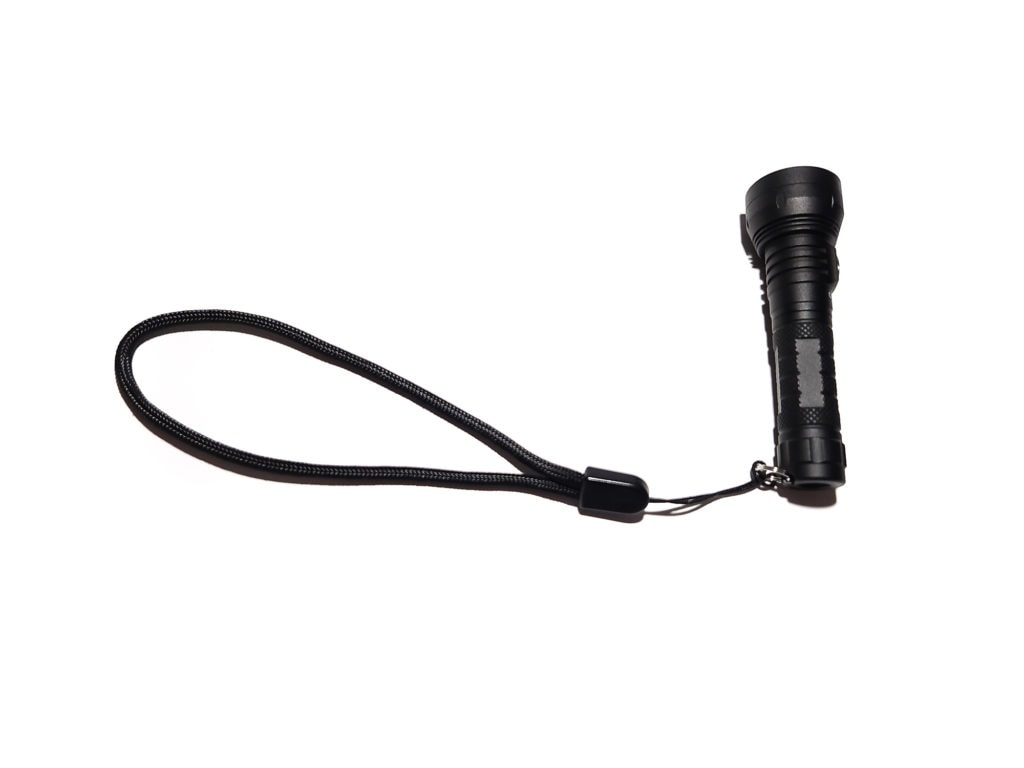
Build Quality, and Warranty
Like other lights from Lumintop, the GT Nano Pro is well-assembled. All of the parts fit together smoothly and snugly and the hard, matte anodization has been scratch-resistant in my pocket so far. While the GT Nano Pro only comes in aluminum as of its initial release, the GT Nano eventually came out in copper, brass, and titanium varieties, so that may be in the future for the GT Nano Pro as well. If you’re impatient, you could buy a 10440 tube from the GT Nano (they’re interchangeable) in those metals now and be halfway there.
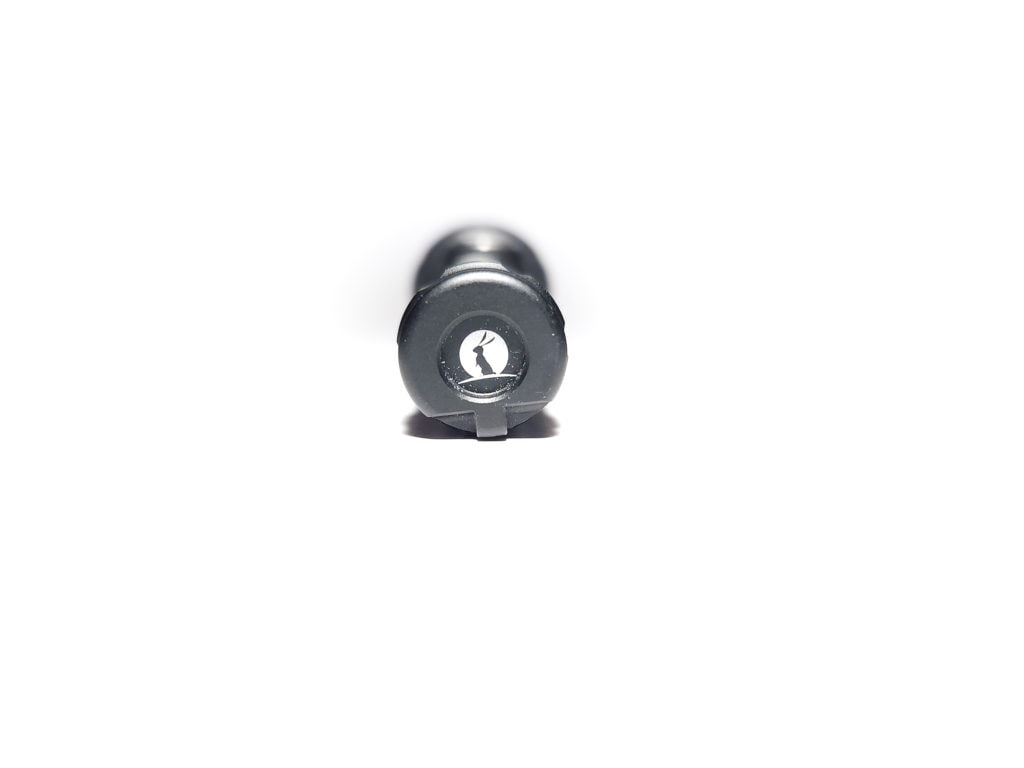
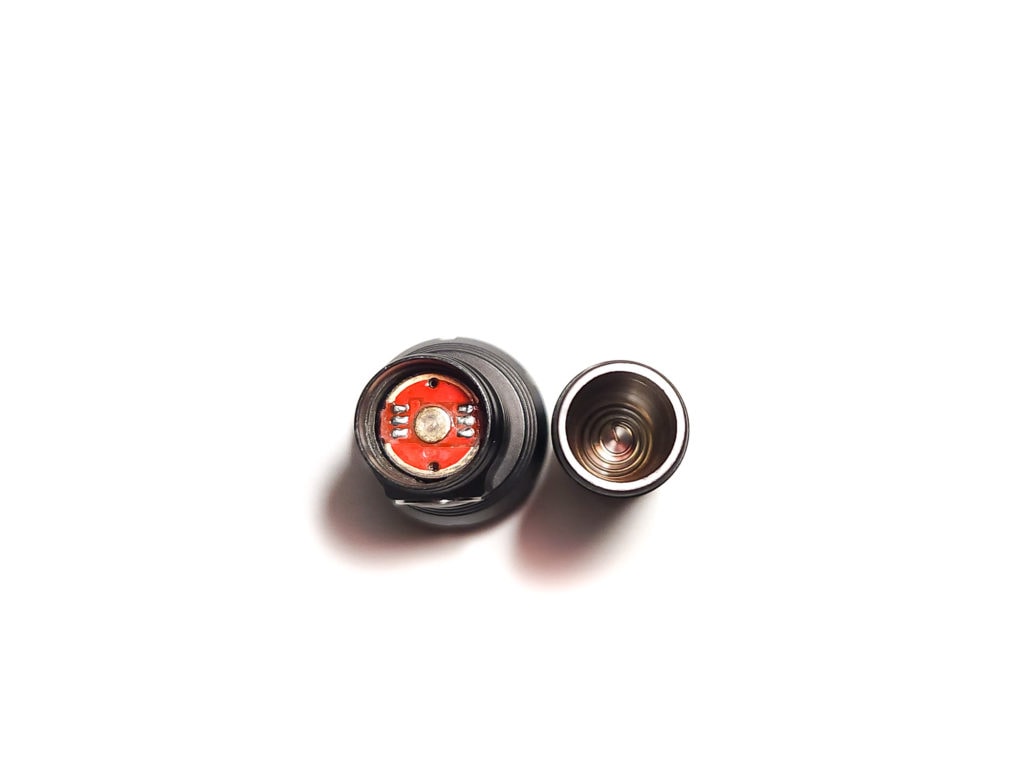
As mentioned before, the tube has a variety of features that help with grip. Most of the body is covered in crosshatch knurling, interspersed with circumferential grooves, and there are four large flat spaces parallel to the direction of the tube. There is no separate tailcap, but the end of the tube has raised surfaces which can also help with unscrewing it. The very end of the tube has an indentation which could fit a very small magnet, but it would cover up the Lumintop bunny logo. The keyring/lanyard hole is also located at the end of the tube.
On the other side of the light, there are shallow fins opposite the button and further up the head, but I don’t believe they’re really big enough to manage much heat from the three SST20s on higher modes. They still look good, though. On the edge of the head are the aforementioned notches set at regular intervals to help stop rolling, though the bezel itself is completely smooth. The rubber boot for the switch is much more translucent than that on my early model GT Nano and it’s easy to see the red indicator light through it.
One point of contention would be that everything lines up symmetrically except when you put the tube together with the head. You can see from the pictures that the notches on the head are in line with the button, and the flat spots on the tube are in line with the keyring hole and logo, but when assembled, the features on the head and tube just barely don’t line up. Unfortunately, this is just the luck of the threading.
Speaking of threading, the threads are anodized, so mechanical lockout is possible.
Lumintop’s standard warranty applies to the GT Nano Pro. You can read the full text on the site.
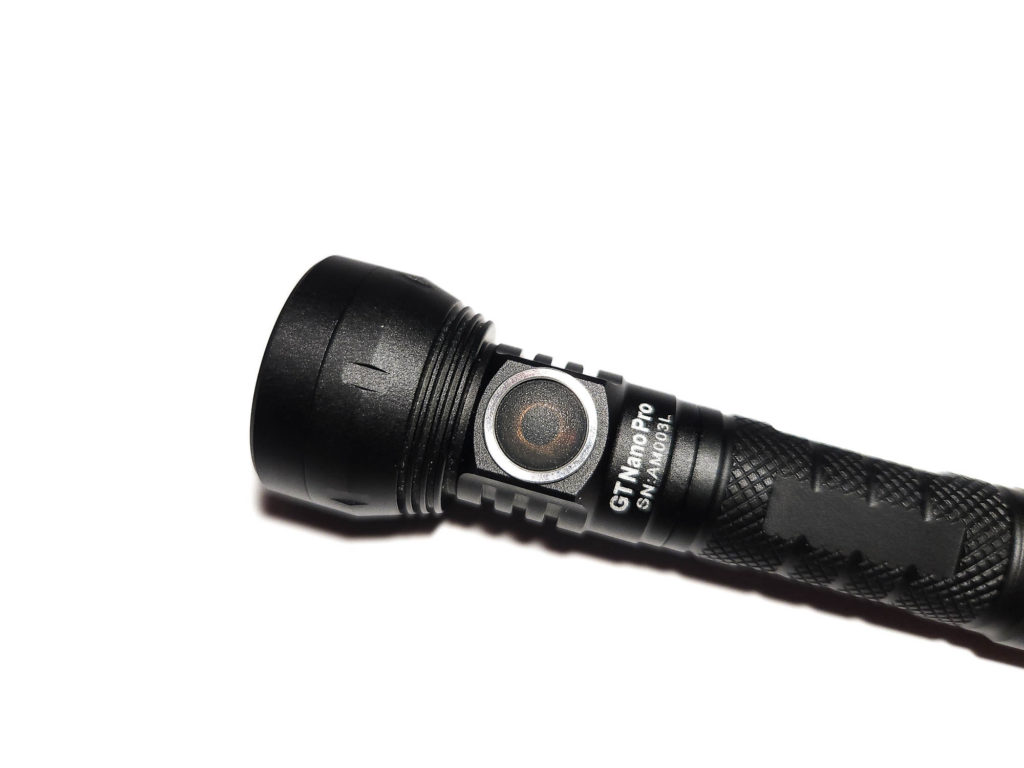
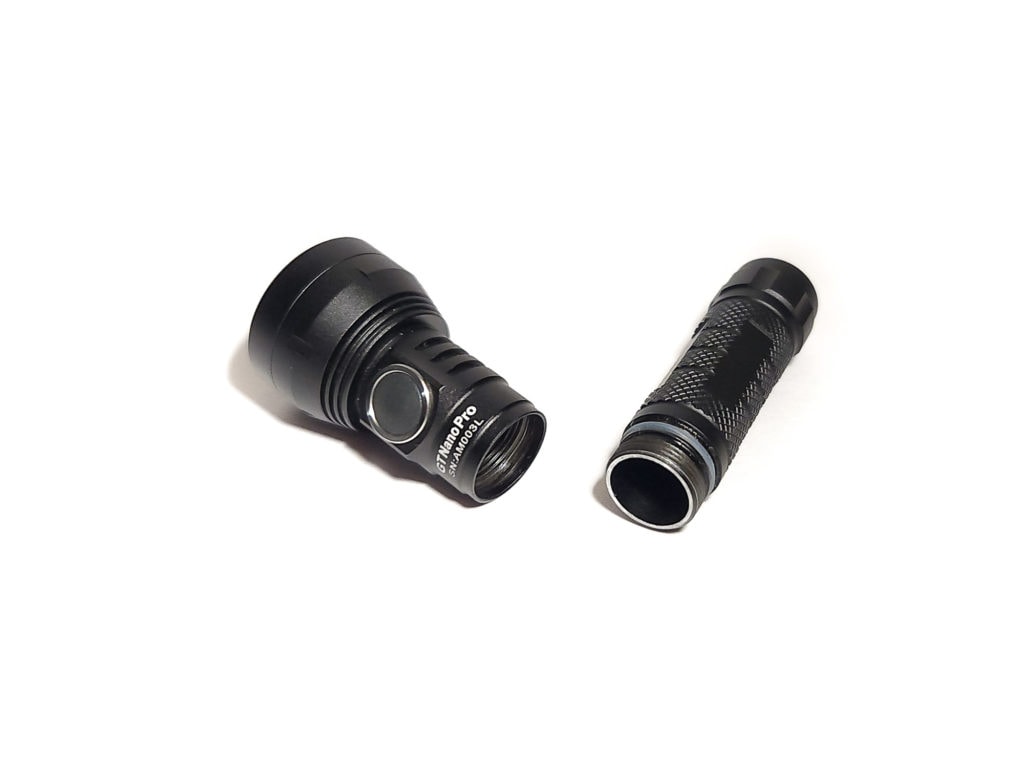
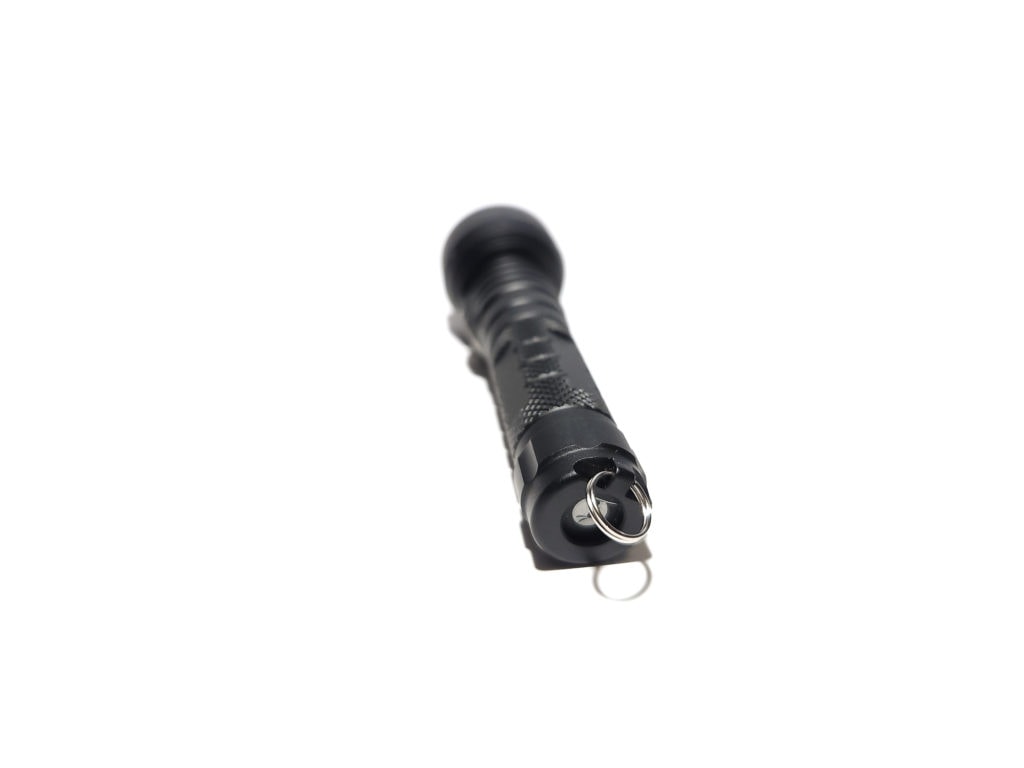
LED, Lens, Bezel, Beam, and Reflector
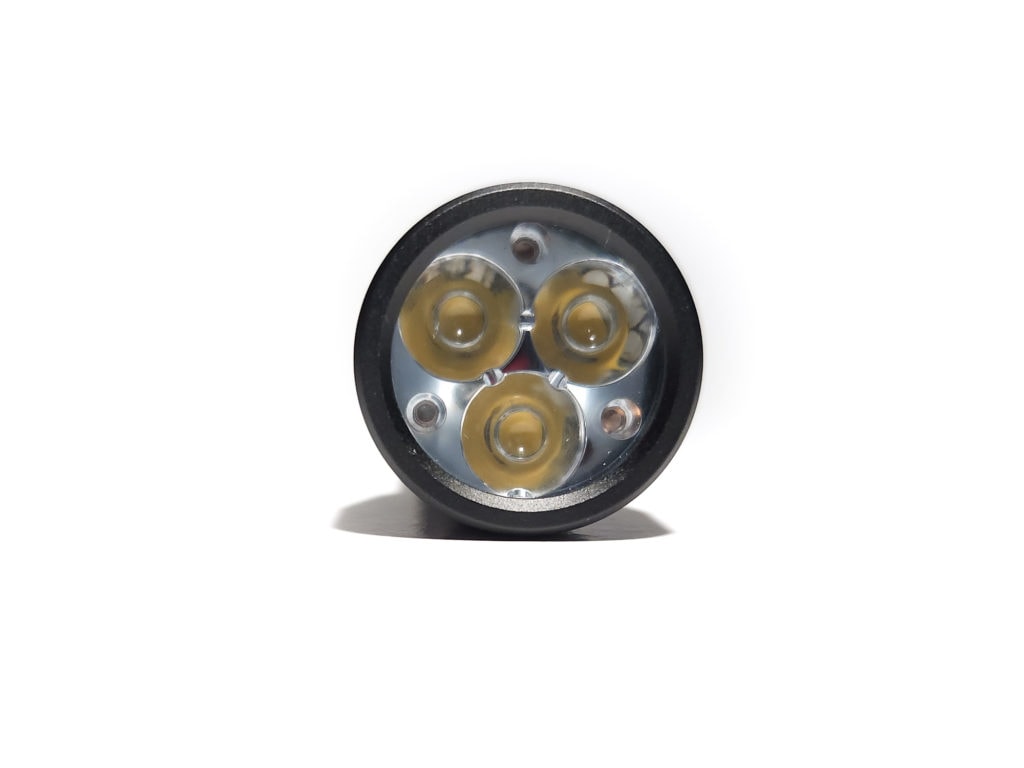
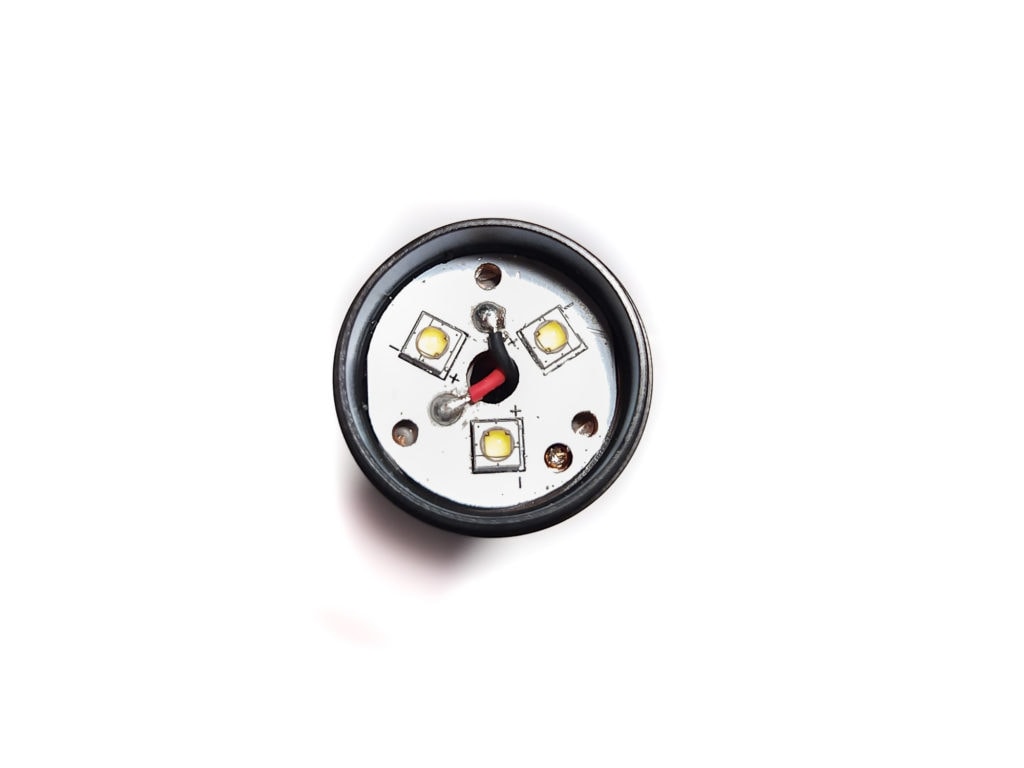
The GT Nano Pro utilizes three, 95 CRI Luminus SST20 emitters in 4000K behind clear TIR optics and an anti-reflective-coated glass lens. Housing all of this is a plain, aluminum bezel.
Together, these produce a neutral, yellow-tinted, floody beam that is even and wide, easily illuminating the entire wall of a household room. There is no well defined hotspot and the edges of the beam fade out gently, without any artifacting. Overall, the GT Nano Pro has a fairly standard diffused TIR beam.
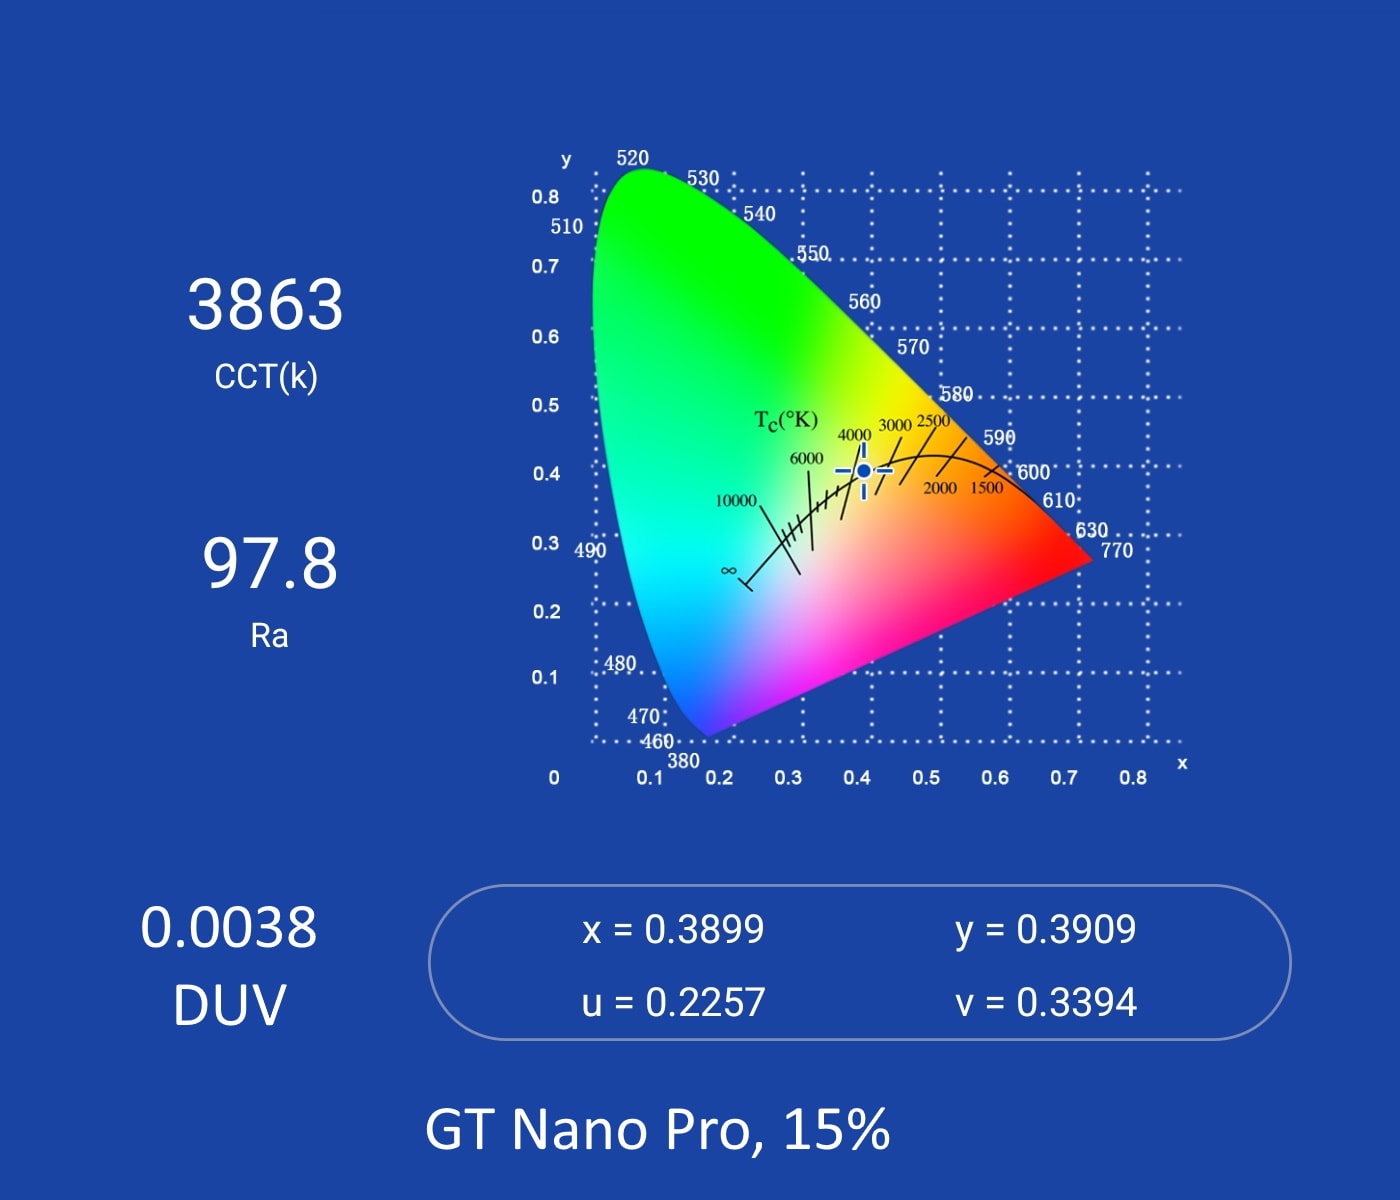
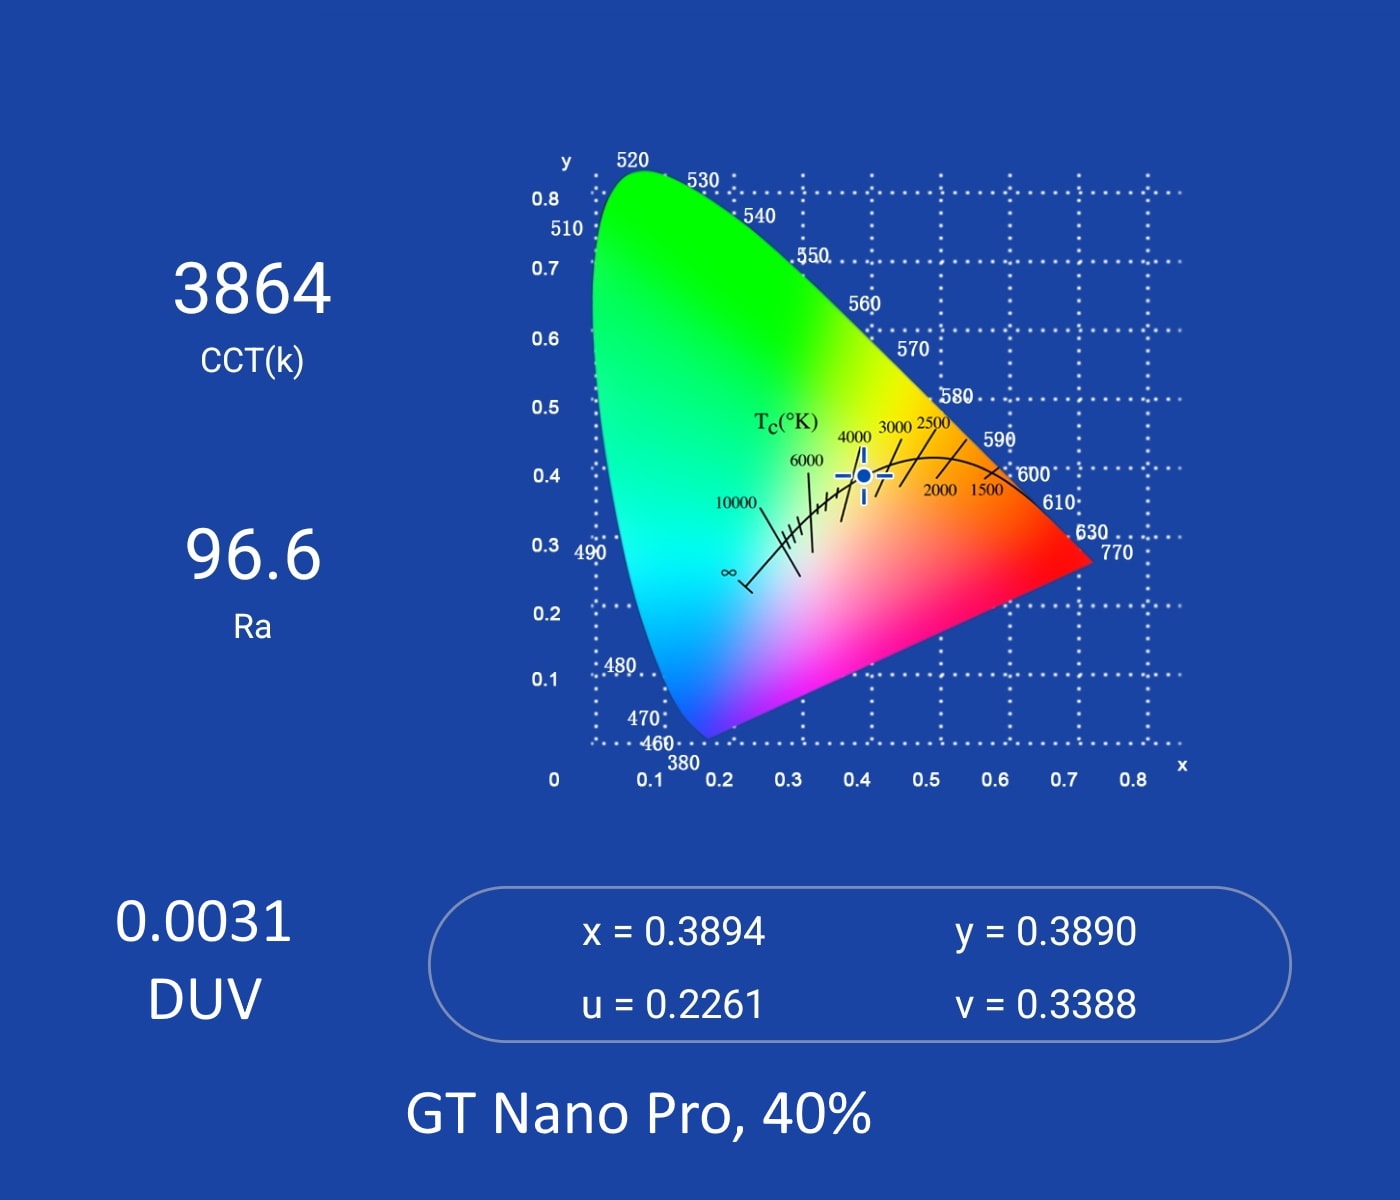
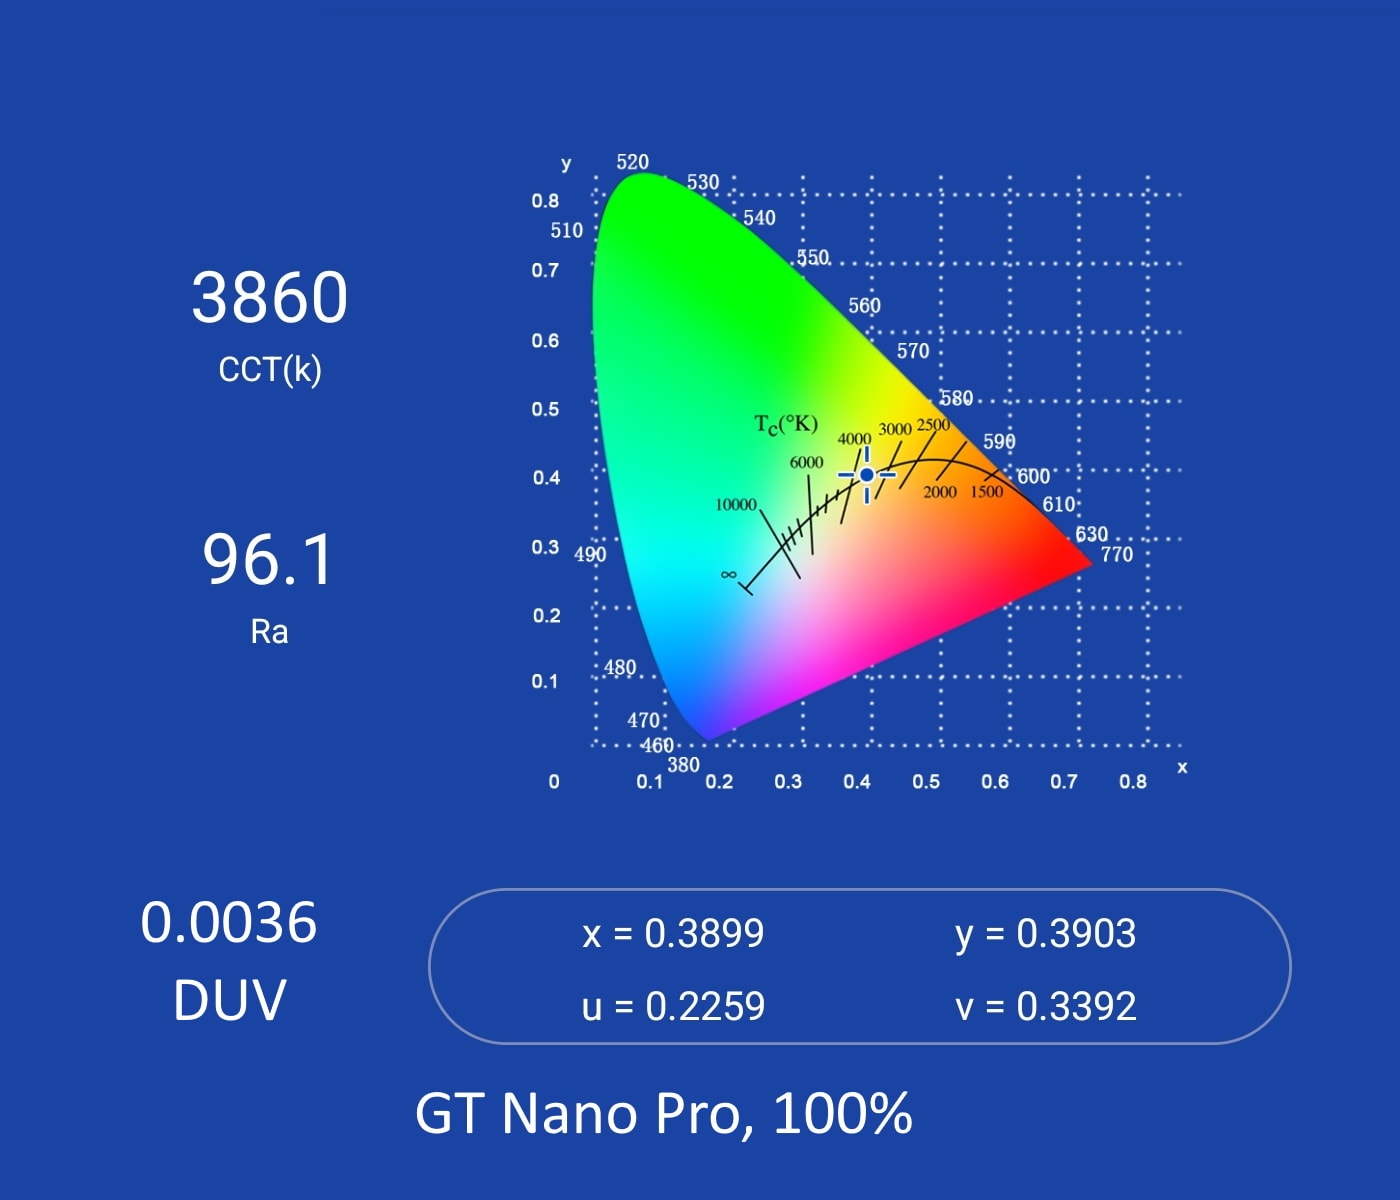
I measured the chromaticity of the SST20s with my Opple Light Master Pro and found that Ra (CRI) was over 96, CCT was consistently around 3860K, and DUV was around 0.0034, all of which makes for very nice light.


Dimensions and size comparison
Dimensions:
| Dimension | Millimeters | Inches |
|---|---|---|
| Length | 79.2 | 3.12 |
| Head diameter | 24.0 | 0.94 |
| Body diameter | 14.0 | 0.55 |
Weight:
| Weight | Grams | Oz. |
|---|---|---|
| Without battery: | 31 | 1.1 |
| With battery | 40 | 1.4 |
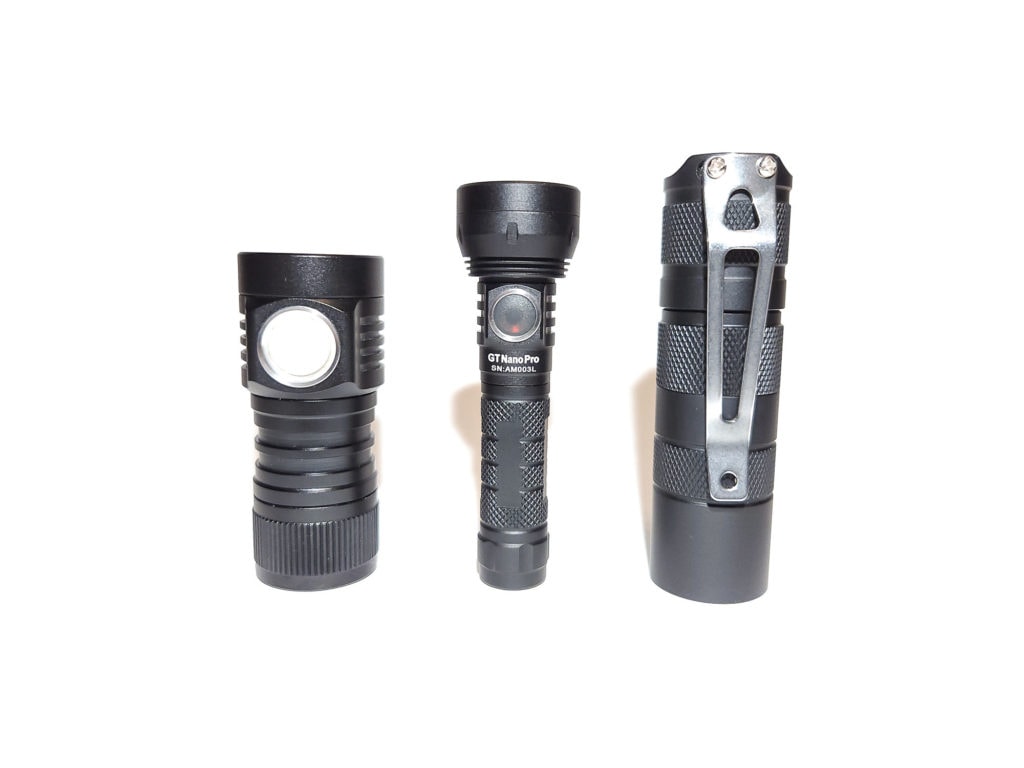
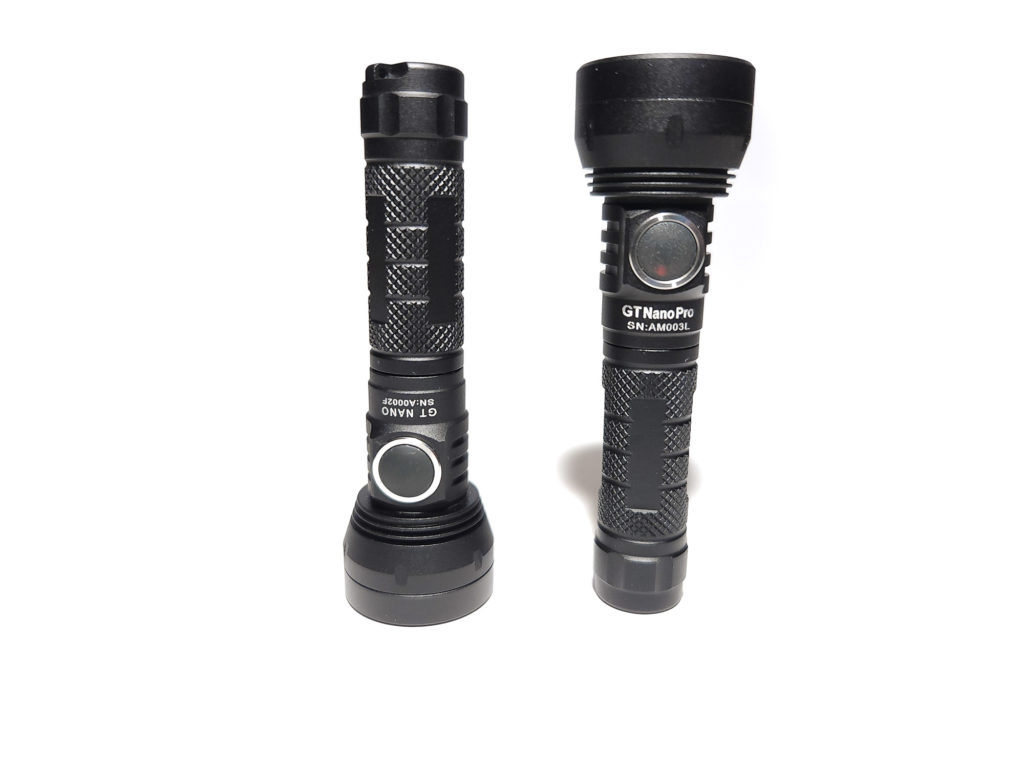
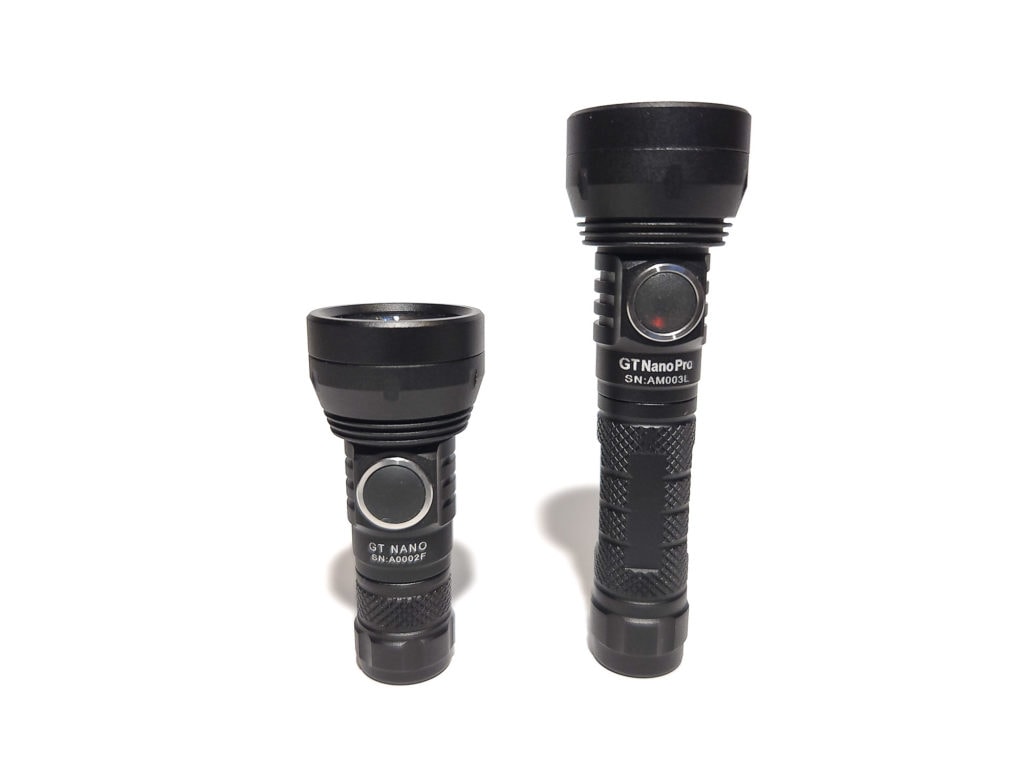
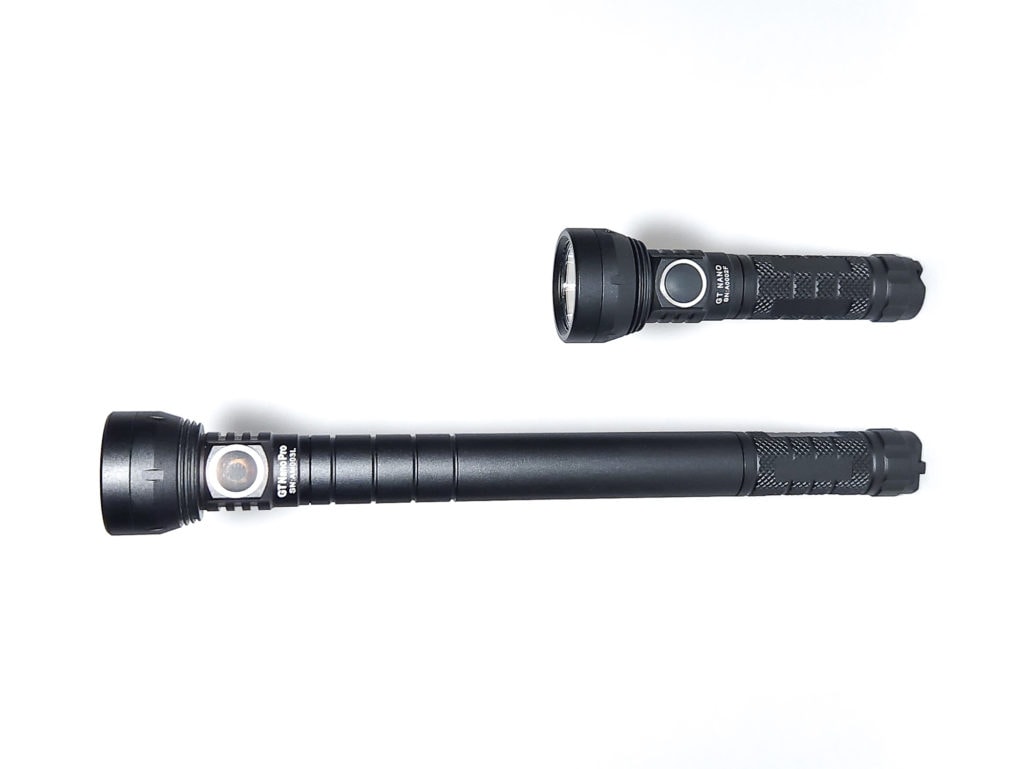
Flashlight size comparison with its competition
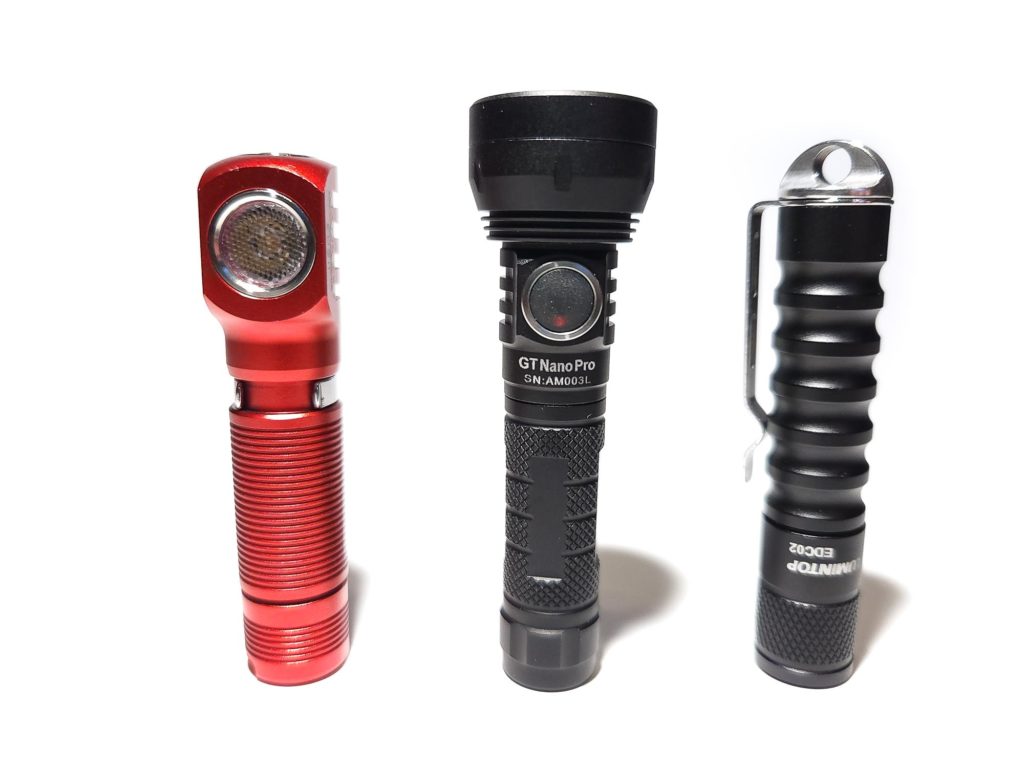
Group 1: Manker E02 II, Lumintop GT Nano Pro, Lumintop EDC02
Group 2: Emisar D4V2 with 18350 tube, Lumintop GT Nano Pro, Convoy S2+ with 18350 tube
Group 3: Lumintop GT Nano with 10440 tube, Lumintop GT Nano Pro
Group 4: Lumintop GT Nano with 10180 tube, Lumintop GT Nano Pro
Group 5: Lumintop GT Nano Pro with AAA extension tube, Luminop GT Nano with 10440 tube
Group 6: Lumintop GT Nano Pro with AAA extension tube, Luminop GT Nano with 10180 tube
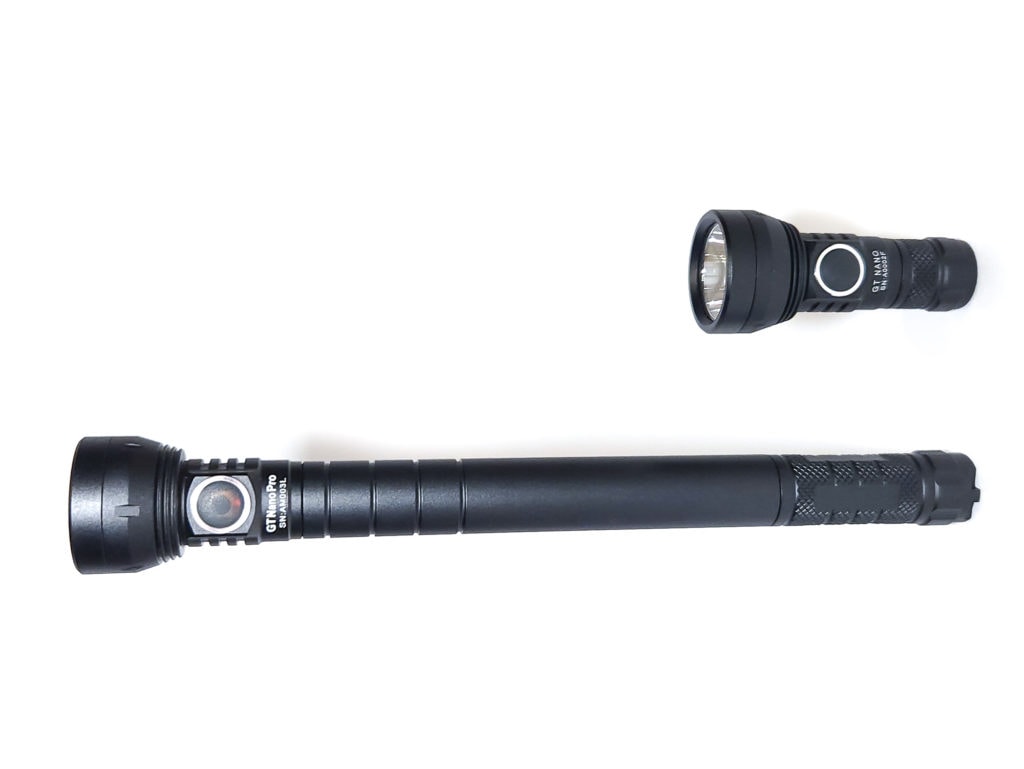
You can see that the GT Nano Pro is nearly identical in size to the GT Nano with 10440 tube (0.7mm longer). I’ve also included comparisons with the 10180 tube which comes with the GT Nano (but not Pro) and optional, separate AAA adapter tube.
Driver & User Interface:
Note: this is the first version, running NarsilM firmware. There is a newer version using a different firmware. Beware.
The GT Nano Pro, like the GT Nano before it, still uses Tom E’s NarsilM v1.3 modified by Texas_Ace. If you’re familiar with Anduril, the highly customizable UI present on a number of current flashlights, NarsilM is its predecessor, so you will find some similarities, especially in the ramping UI portion. It’s a testament to the GT Nano Pro sharing most of its components, including driver and UI, with the GT Nano, though in 2022 I would’ve liked to see Anduril used, given that Anduril is currently being developed and supported, while NarsilM has not been updated since 2017.
I will attempt to list everything out here in a concise manner, though this information is also available in the GT Nano Pro’s manual.
Available modes:
- Ramping UI – The default interface, using smooth ramping
- Mode-Set – A more advanced interface in which you can choose from a number of mode groups, much like the Convoy 12-group UI.
Available blinky modes:
- Strobes are disabled by default in Ramping UI.
- Modes:
- 16 Hz strobe
- “Police” strobe – This mode alternates quickly between shorter and longer pulses, mimicking the different frequencies of the lights atop a police vehicle.
- Biking – This mode is a steady light with a stutter of brighter bursts on an interval. If used on a bike, it would provide constant light to see, and visibility to those around with the flashes.
- 2-second beacon – 2 blinks every two seconds
- 10-second beacon – 2 blinks every ten seconds
User Interface:
Ramping UI:
From OFF:
- Press and Hold: Moonlight, then ramping up if still held
- Single click: Memorized level
- Double click: Turbo
- 2 clicks: Strobes
- 3 clicks: Battery check
- 2 clicks: Temperature check
- 2 clicks: Firmware version check
- 2 clicks: Temperature check
- 4 clicks: Lock out
- 5 clicks: Momentary mode
- Unscrew tube to break the circuit in order to return to normal operation
From ON:
- Press and Hold: Ramp up
- Hold again: Ramp down
- 1 click: Off
- Double click: Turbo
- 2 clicks: Strobes
- 3 clicks: Battery check
- 2 clicks: Temperature check
- 2 clicks: Firmware version check
- 2 clicks: Temperature check
- 4 clicks: Lock out
- 5 clicks: Momentary mode
- Unscrew tube to break the circuit in order to return to normal operation
Mode memory:
- Ramping UI has mode memory
Shortcuts:
- To Moonlight: Hold from off
- To Turbo: Double-click from any mode
- To Strobe: From turbo, double-click again
Lock-out mode:
- Lockout is activated by 4 clicks from either off or on, and deactivated by the same or by breaking the circuit to the battery
Strobe/blinkies
- To get to strobes, double-click to jump to turbo, then double-click again. Single-click within 1.2 seconds to cycle through the available strobe modes. After 1.2 seconds, a single click will turn the light off.
Mode-Set:
From OFF:
- Press and Hold: Highest level (100%)
- Keep holding: Strobes
- Single click: On (to moonlight, low, or memorized mode, depending on the configuration)
- Single click, then hold second press: Battery check
- 2 clicks: Temperature check
- 2 clicks: Firmware version check
- 2 clicks: Temperature check
From ON:
- Press and Hold: Previous mode
- 1 click:
- Within 1.2 seconds of last click: Next mode
- Over 1.2 seconds since last click: Off
Mode memory:
- You can choose to enable or disable mode memory in the settings
Shortcuts:
- To Moonlight: Single-click from off, if moonlight is enabled and memory is disabled
- To Turbo: Hold from off
- To Strobe: From turbo, keep holding
Lock-out mode:
- From off, click click hold
Strobe/blinkies
- To get to strobes, hold to jump to turbo and keep holding. Single-click within 1.2 seconds to cycle through the available strobe modes. After 1.2 seconds, a single click will turn the light off.
The following elements are the same between Ramping UI and Mode-Set:
Low voltage warning:
- The light will blink and step down to indicate low voltage.
- LVP shuts the light off around 3V.
Factory reset
- In Firmware Version Check, hold until the light blinks 4 times (about 2 seconds).
PWM
- NarsilM uses PWM to control brightness levels, however it is fast enough that it is not visible. Interestingly, at 15% there was almost no modulation, like what you see with maximum output, and at 40% there was so much modulation that the graph was almost completely solid. Strange, but not detrimental to the beam.
Additional info on the UI:
- To access the configuration mode of NarsilM, hold the button down until the light flashes twice. While in Ramping UI, this takes 16 seconds, while in Mode-Sets, it takes 3 seconds. Each setting is indicated by two flashes preceding the number of flashes for that setting:
- 2 flashes followed by 1 flash = 1st setting
- 2 flashes followed by 2 flashes = 2nd setting
- 2 flashes followed by 3 flashes = 3rd setting
- etc.
- There will be a few seconds in between these to allow you to make a choice. If you do not click, the setting will not be changed. Once it has cycled through all settings, it will flash four times.
- There are different options while in each mode:
- Ramping UI
- 1 – User Interface
- 1 click – Mode-Set
- 2 clicks – Ramping UI
- 2 – Moon level
- 1 click – set moon level (the light will flash 3 times)
- 1-7 additional clicks
- 1 click – set moon level (the light will flash 3 times)
- 3 – Auto stepdown
- 1 click – Disable
- 2 clicks – Temperature
- The light will then go to turbo; click once it gets hot enough for you
- 3 clicks – Timed (the light will flash 3 times)
- 1 – 60 seconds
- 2 – 90 seconds
- 3 – 2 minutes
- 4 – 3 minutes
- 5 – 5 minutes
- 6 – 7 minutes
- 4 – Strobes
- 1 click – Disable
- 2 clicks – 16 Hz strobe only
- 3 clicks – All strobes
- 1 – User Interface
- Mode-Set
- 1 – User Interface
- 1 click – Mode-Set
- 2 clicks – Ramping UI
- 2 – Mode set
- 3 – Moon mode
- 1 click – Disable
- 2 clicks – Enable
- 4 – Mode order
- 1 click – low to high
- 2 clicks – high to low
- 5 – Mode memory
- 1 click – Disable
- 2 clicks – Enable
- 6 – Moon level
- 1 click – set moon level (the light will flash 3 times)
- 1-7 additional clicks
- 1 click – set moon level (the light will flash 3 times)
- 7 – Auto stepdown
- 1 click – Disable
- 2 clicks – Temperature
- The light will then go to turbo; click once it gets hot enough for you
- 3 clicks – Timed (the light will flash 3 times)
- 1 – 60 seconds
- 2 – 90 seconds
- 3 – 2 minutes
- 4 – 3 minutes
- 5 – 5 minutes
- 6 – 7 minutes
- 8 – Strobes
- 1 click – Disable
- 2 clicks – 16 Hz strobe only
- 3 clicks – All strobes
- 1 – User Interface
Troubleshooting tip – factory reset does not appear to reset the temperature stepdown setting. While going through the menu, I accidentally clicked to set the temperature stepdown but quickly clicked again to get out of the menu. However, that set the temperature threshold very low. I did a factory reset to undo that mistake, but then turbo stepped down almost immediately. Took me a bit, but I realized that the temperature stepdown must not have been reset and set it again, this time leaving it on for 30 seconds. After that, turbo would last about that long.
Batteries & Charging
The GT Nano Pro does not come with a battery, so when you’re planning your purchase, ensure you have or buy a button top 10440 to ensure it makes contact. A flat top might work, but the button on the board is not very pronounced and there are other components that can interfere with the connection.
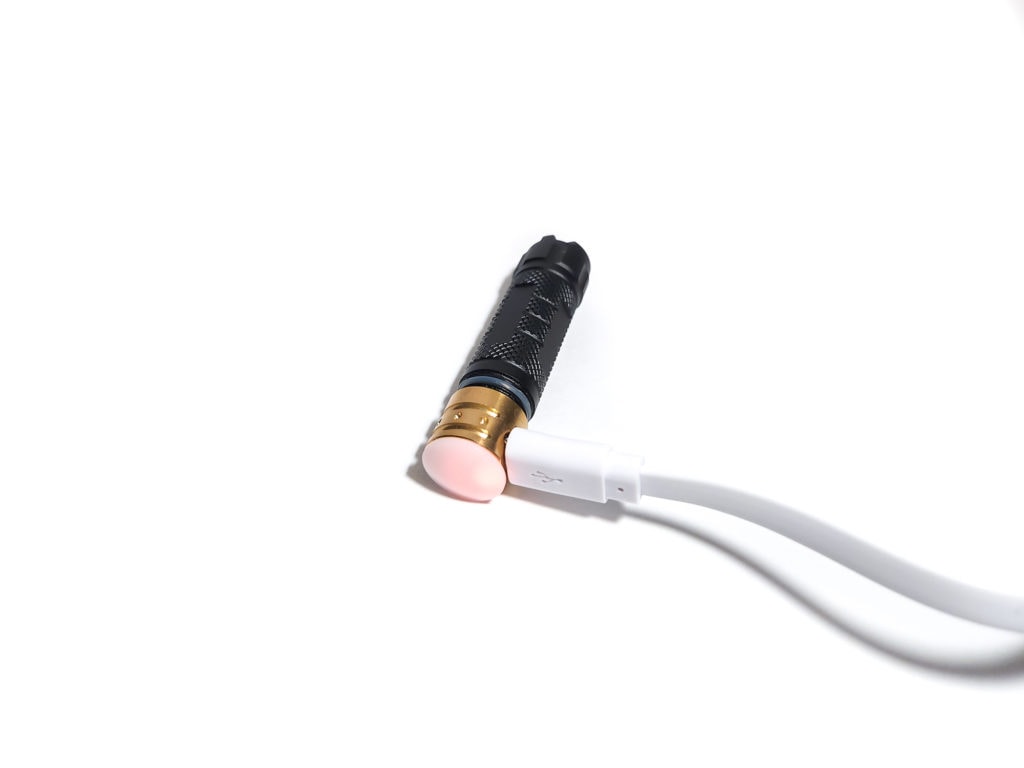
On that note, make sure you have a charger that can handle 10440. If you’re unsure, Lumintop also offers the USB-C charger that comes with the Frog as a separate purchase, so pick that up, too. I have the micro USB version which shipped with the original GT Nano but in both cases, the charger screws onto the tube with the battery inside and provides a slow charge. There is also an indicator light which is red when charging and turns to green when complete. In my test, it took a little over 4 hours to charge my 320mAh Vapcell 10440 from 3.3V to 4.2V.
If you’re looking for some variety, you can use the 10180 battery and tube from the original GT Nano, or the AAA extension tube in conjunction with the original tube if you prefer using 3 AAAs. Please note that if you put three 10440s in here, you will burn up your driver as soon as you turn it on.
Performance test
Lumen measurements:
To obtain these numbers, I used a very rudimentary integrated shoebox and ceilingbounce on my Samsung Galaxy S10. Ceilingbounce has been calibrated to match the specs of the Baton 3 as provided by Olight and corroborated with other reviewers.
Of importance to note is that the GT Nano Pro can also be purchased with Cree emitters and since Lumintop only provides one set of specifications, it is unclear whether they are for the SST20 or Cree.
Since the GT Nano Pro ships with Ramping UI set as the default, I switched over to NarsilM’s Mode-Set UI to measure set levels. The default Mode-Set mode is number 4, which has its levels set to 1.6%, 15%, 40%, and 100% power.
For these tests, I also left the step down at the default, which is based on temperature. I did not configure the temperature step down further, so I do not know what the default temperature limit is. As mentioned before, you can also set the step down to 60 seconds, 90 seconds, 2 minutes, 3 minutes, 5 minutes, 7 minutes, or disable it entirely. Obviously do this at your own risk.
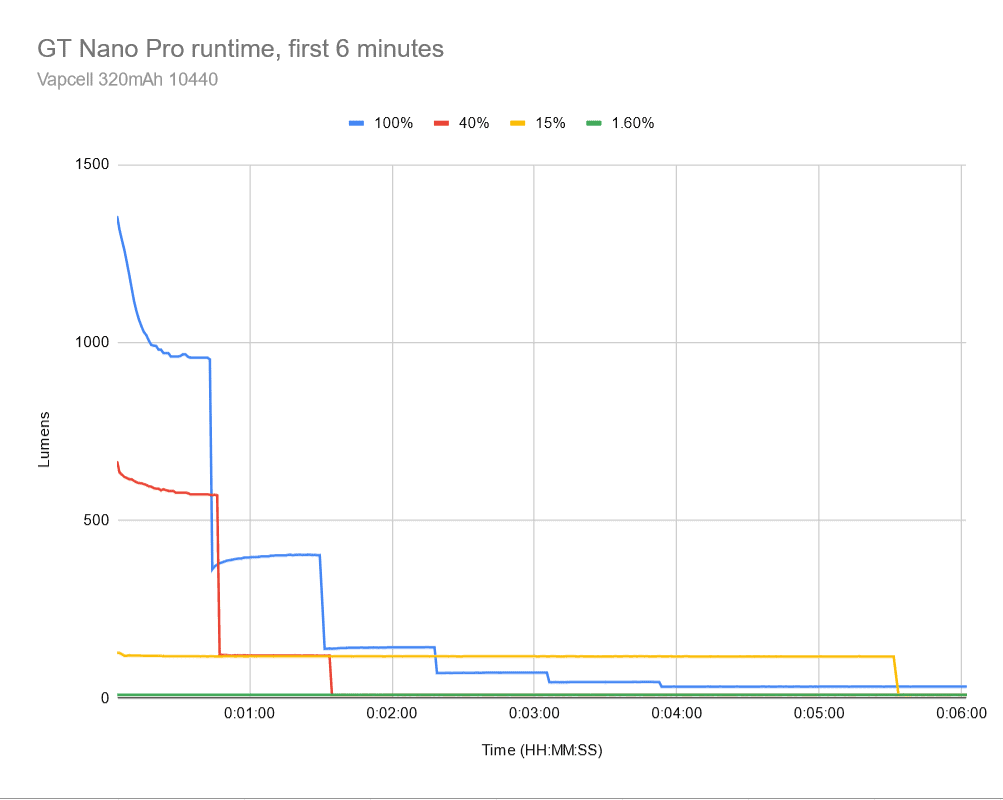
With the default settings in place, using the GT Nano Pro at higher levels is limited to short bursts, due largely to the small capacity and voltage sag of the battery. As you can see from the runtime graphs, maximum output from 100% and 40% drops off after around 45 seconds. The almost completely L-shaped graphs can look disappointing, but these are constant runtime tests. If you use turbo/100% and it drops off, you can always jump back up to turbo, though if you do it immediately, it will drop down quickly again.
On the other hand, the GT Nano Pro and the 320aAh battery I used were perfectly capable of delivering 10 lumens for almost 11 hours. In fact, it didn’t completely shut off for another two hours after that, though it was sub-lumen.
As a more real–world practical test, I measured the runtime while repeatedly jumping to turbo and letting it step down to about 10%. I was able to repeat this process 11 times before the voltage sag caused low voltage protection kicked in and shut the light off. Interestingly, the second and third jumps to turbo produced higher output than the first. Really, though, the entire light was too hot to handle after the second or third jump.
I attempted a second test of the different step down settings, though I only got a comparison of temperature (default), 60 seconds, and didn’t quite make it through 90 seconds before LVP activated. Again, the light was extremely hot after the 60-second test. The battery was still at 3.6V afterwards.
Moonlight is configurable in NarsilM’s settings. By default it is set to level 3 out of 7.
- Moonlight 1 is ok for near-complete darkness.
- Moonlight 2 is ok for regular use.
- Moonlight 3 is a bit too high for preserving night vision in complete darkness.
- Moonlight 4, 5, and 6 get progressively brighter.
- Moonlight 7 is very close to the bottom of the ramp.
Due to the body tube including the tail cap as part of its design, it was not possible to measure the amperage draw from the light during use. Lumintop claims that turbo draws 2.5A.
Lumen measurements (for each mode)
| Mode | Specs | @turn on | @30 sec | @10 minutes |
| Moon | – | 0 | 0 | 0 |
| 1.60% | – | 9 | 9 | 9 |
| 15% | – | 113 | 105 | 9 |
| 40% | – | 589 | 510 | 9 |
| Turbo (100%) | 1620 | 1197 lm | 849 lm | 30 |
(Edit: Nov 2022: lumen table updated after applying new correction factor)
Parasitic drain:
- Unable to measure
Runtime graph

| Mode | Specified | Measured runtime (ANSI) | Time till shut off |
|---|---|---|---|
| 1.6% | – | 10h43min | 12h43min |
| 15% | – | 5min32sec | 8h54min |
| 40% | – | 1min35sec | 8h26min |
| 100% | – | 2min19sec | 3h21min |
ANSI FL1 standards: The runtime is measured until the light drops to 10% of its initial output (30 seconds after turning on). This does not mean that the flashlight is not usable anymore. The last column shows how long the light actually works till it shuts off. If there is a + symbol, it means that the test was stopped at that particular point, but the light was actually still running. This happens on certain occasions, with certain drivers, firmware, or batteries.
Throw numbers: Peak beam intensity
The numbers for candela were obtained with ceilingbounce on my Samsung Galaxy S10 at 5 meters.
| Mode | Specified | Candela measured | Meters | Yards |
|---|---|---|---|---|
| 1.6% | – | 17 | 8 | 8.7 |
| 15% | – | 605 | 49 | 53.5 |
| 40% | – | 1933 | 88 | 96.2 |
| 100% | 6975 cd | 6052 cd | 156 | 170.6 |
While the candela of the 100% mode/turbo at 30 seconds misses the mark, peak candela at turn on was 9313 cd, for 193m/211yd of throw.
Extra info: Peak beam distance according to ANSI FL1 standards: The calculated value of distance in meters at which the flashlight produces a light intensity of 0.25 lux. (0.25 lux is about the brightness of a full moon shining on an object).
Beamshots
These were taken with a Samsung Galaxy S22+ using pro mode and the following settings:
- WB 5000K
- ISO 200
- Speed 0.5
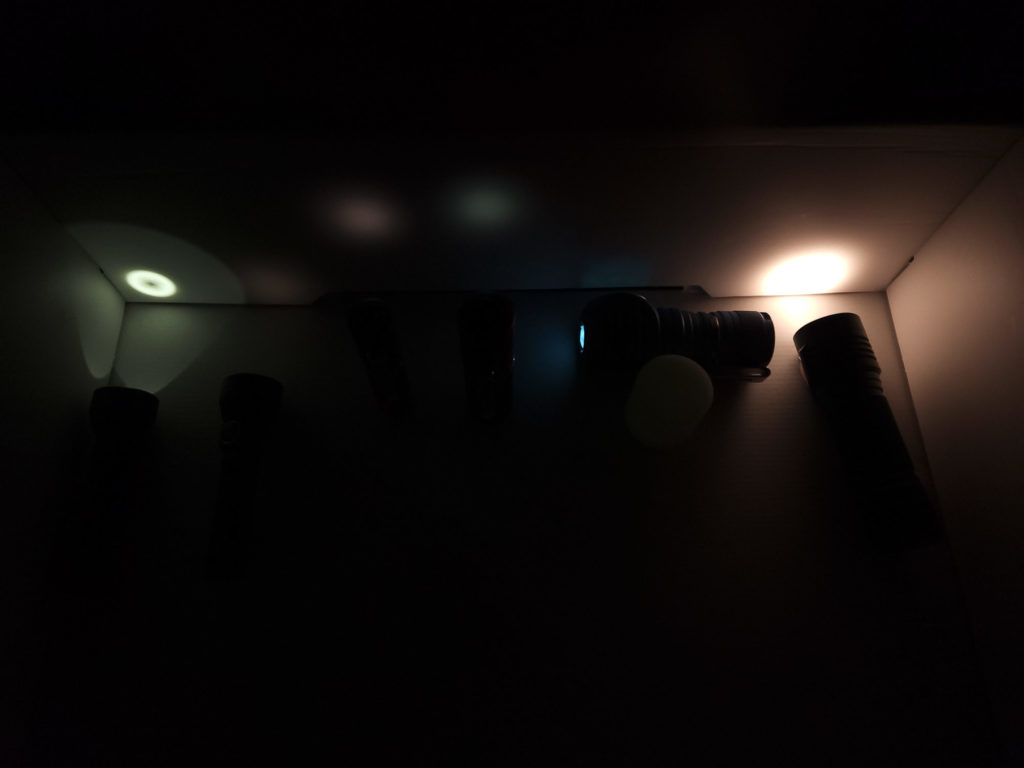
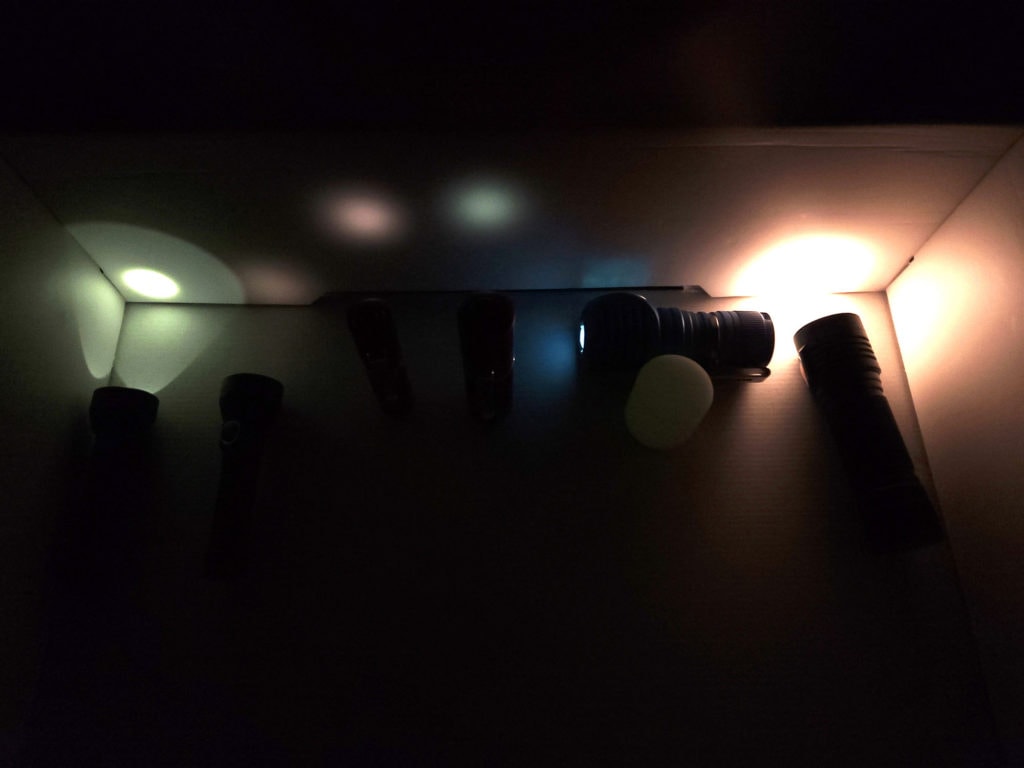
In addition to the standard beamshots I obtained at a local park, I’ve also added an extra comparison of the lowest moonlight on the GT Nano Pro as compared to other lights. From left to right, GT Nano, GT Nano Pro, Manker E02 II NW, Manker E03H II CW, Emisar DW4 with cyan button and low blue aux, Emisar D4V2 with Nichia E21A. I had to lighten the picture so you could see the lights and contrast between the output better. The GT Nano Pro’s moonlight level 1 is lower even than the aux lights on an Emisar on low!

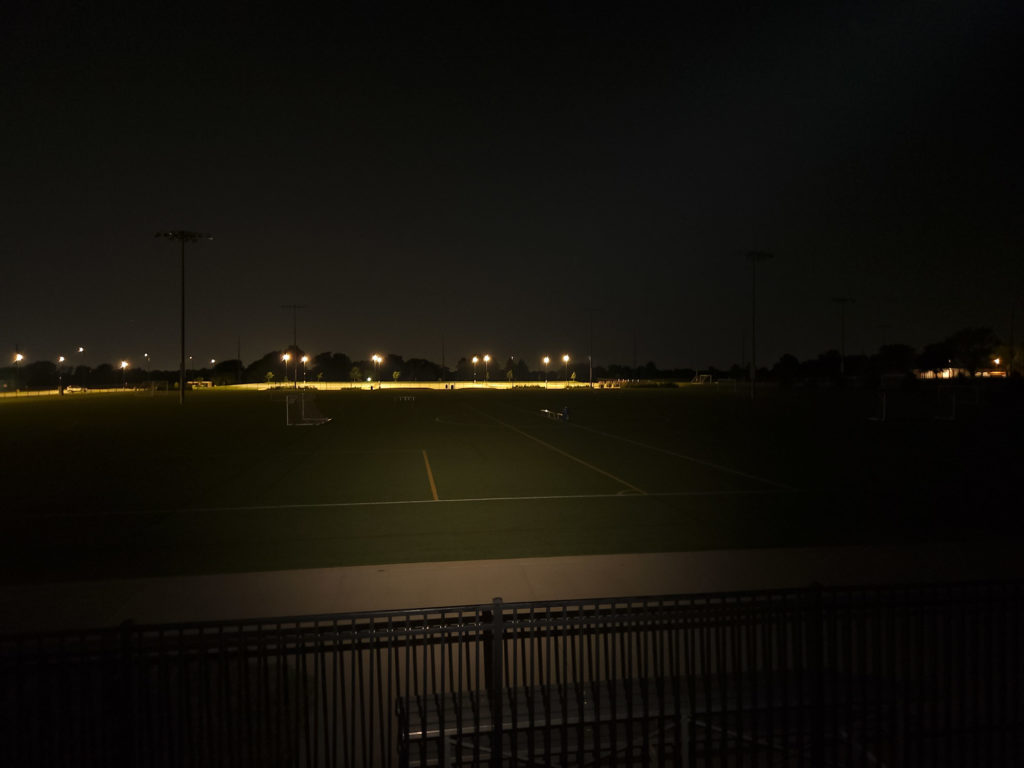

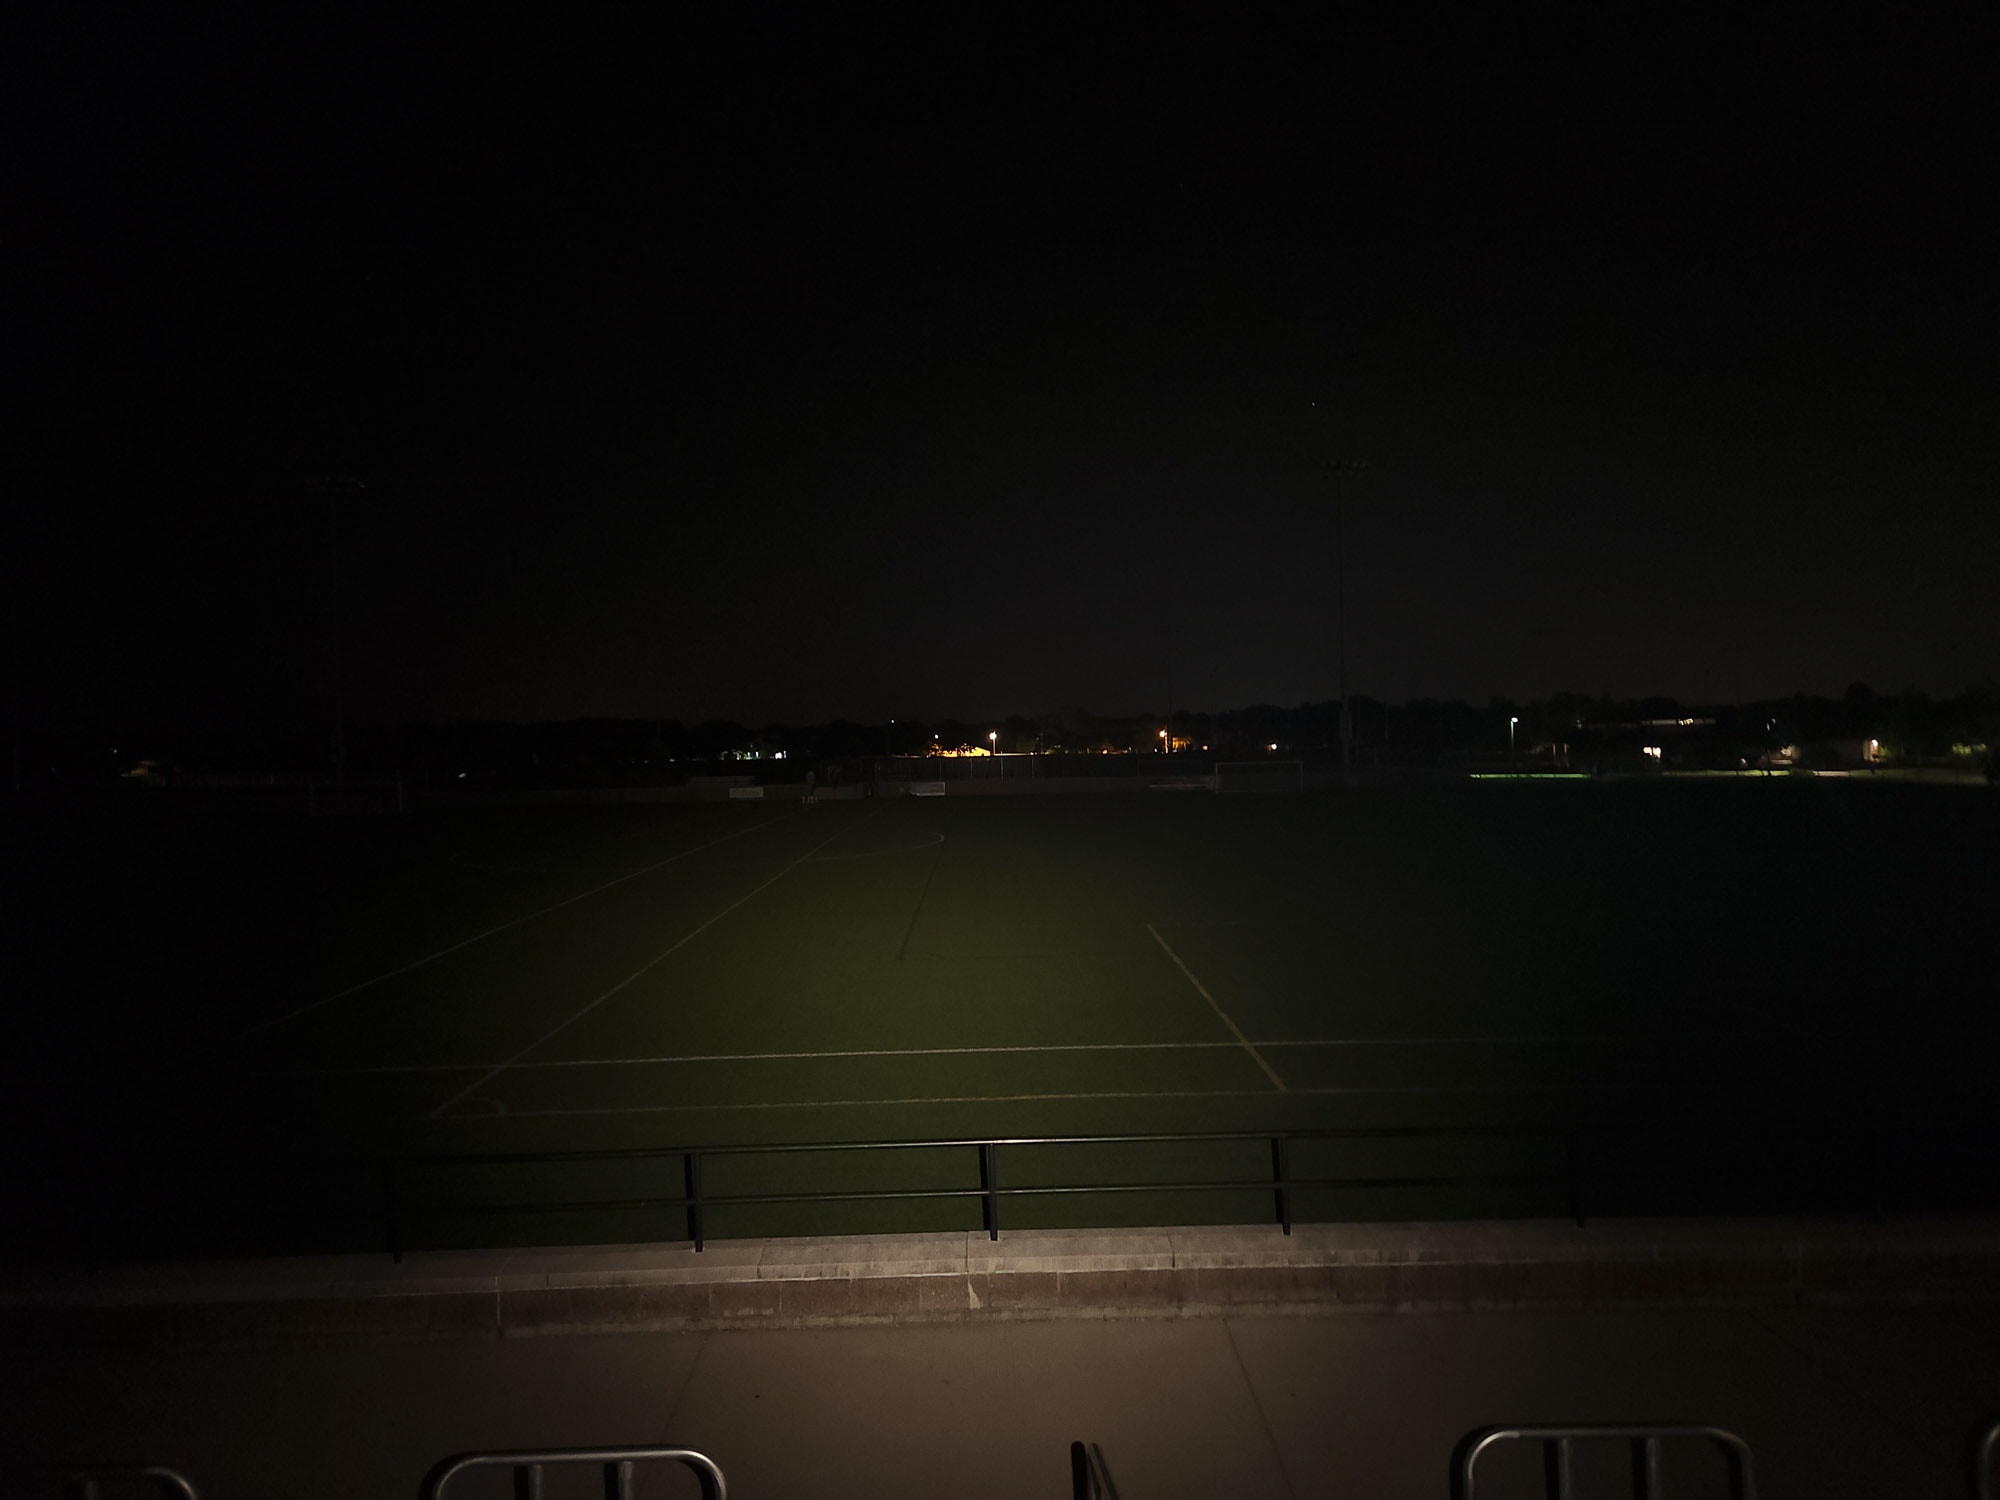
And at 98meters:

Disclaimer: This flashlight was sent to me for review at no cost by Nealsgadgets. I have not been paid to review, nor have I been holding back on problems or defects.
Final Verdict
Pros
- Still has the exciting wow factor of the original
- Comes with the 10440 tube, which the GT Nano should have
- Small size makes it easy to pocket
- Blast of lumens, even if for a short time
Cons
- Still using NarsilM (last updated in 2017) when not only Anduril is available, but Anduril 2 is actively being developed and updated
- Lack of carry options
- It WILL roll without accessories
- Quick step down from turbo and high (40%) by default; too hot to use if you change the step down time
Explanation on star ratings:
1: Avoid: my phone flashlight would be a better choice – 2: Poor: significant defect or issues; almost unusable – 3: Average: some defects or issues; but still usable 4: Good: recommended (minor issues) – 5: Great: highly recommended
Author: Rob
5 stars: ★★★★★
Lumintop’s GT Nano Pro is like a fun-size candy bar. It’s a (briefly) high-powered triple with an advanced UI in a 10440-sized package. The diminutive size, of course, does hold it back in terms of power and longevity, and it’s not going to replace an 18650 or larger light when it comes to overall performance, but it’s a great light to have handy for random tasks and to impress your friends.
Lumintop packed a lot of flashlights into a little body, but keep in mind that at the end of the day, it is a small light. If you remember that, you’ll have a lot of fun.
I give the GT Nano Pro five stars.
Lumintop GT Nano PRO discount coupon code
We have 2 separate codes for Nealsgadgets, so you can use either of them.
Use our coupon 1lumenNew , and if it doesn’t work, use 1lumen711
Note: This review is of the GT Nano PRO, running NarsilM firmware. There is another version of this light using a different firmware. Beware.
1lumen selects and reviews products personally. We may earn affiliate commissions through our links, which help support our testing.