Nitecore P10 v2 review
Nitecore P10 v2 specifications
| Brand / Model | Nitecore P10 v2 |
|---|---|
| Category | Tactical flashlight |
| LED | XP-L2 6500K |
| Lumens | 1100 lumens (CR123), 1000 lumens (18650) |
| Beam intensity | 10150 cd |
| Battery config. | 1*18650 / 2*CR123 |
| Material | Aluminum |
| Modes | 3 |
| Blinkies | Strobe |
| Reflector | Smooth |
| Waterproof | IP68 – 2m submersible |
| Review date | July 2020 |
Introduction:
Nitecore has a long history in the tactical flashlight space – their offerings have been a staple of law enforcement agencies worldwide. I’ve spoken to friends of mine who are law enforcement officers, and they either have used a Nitecore or know other officers who do, so it’s quite an ubiquitous brand.
The second revision of the P10 changes the emitter from an XM-L2 to an XP-L2 – with a smaller die area comes an increase in throw, and an extra 200 lumens certainly doesn’t hurt.
I’ve never used a Nitecore light before, so I’m keen to see what all the hullabaloo is about!
What you’ll get:
The P10 v2 arrived in a very impressive retail box. Small details have added to the experience, such as gloss printing on the light itself on the box, which elevate it above packaging from other lights. I realise this isn’t the be-all and end-all, but it’s definitely nice to see on lights in this arena.
On opening the box, there’s a tab you can pull to slide the entire internal package out, which is great. Inside the packaging, I find:
- A tray holding the P10 v2 itself
- Inside, a Nitecore NL1835 battery with isolator shield
- Nitecore NTH10 holster
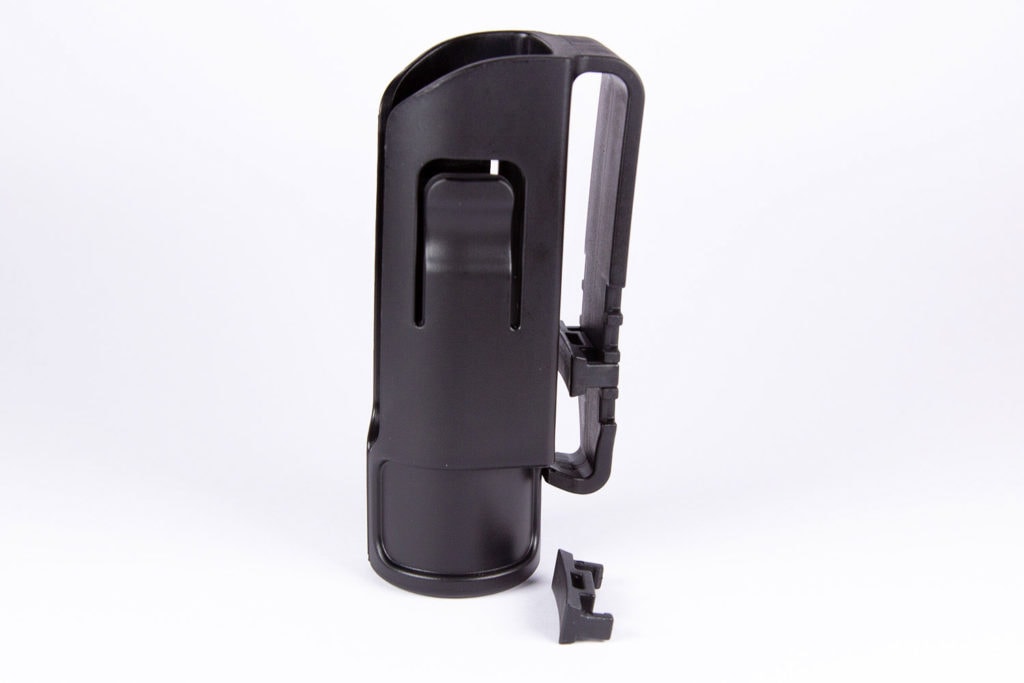
- A spare “clip” for this, for where it contacts the belt
- Lanyard
- 2x o-rings
- Stainless clip with titanium coating
- 2x CR123 battery magazine
- Manual
- Warranty card
This is a great bundle – everything you need to get up and running. There’s no charger, but a lot of law enforcement agencies will be using CR123 cells, so the point is moot – for those of us who like Li-Ion rechargeables, we’ll most likely have our own charger anyway.
The one thing in the package that initially confused me was a small piece of plastic that I couldn’t initially work out what it was for, but I quickly realised that as mentioned above, it’s to put on the belt holster to support from the inside.
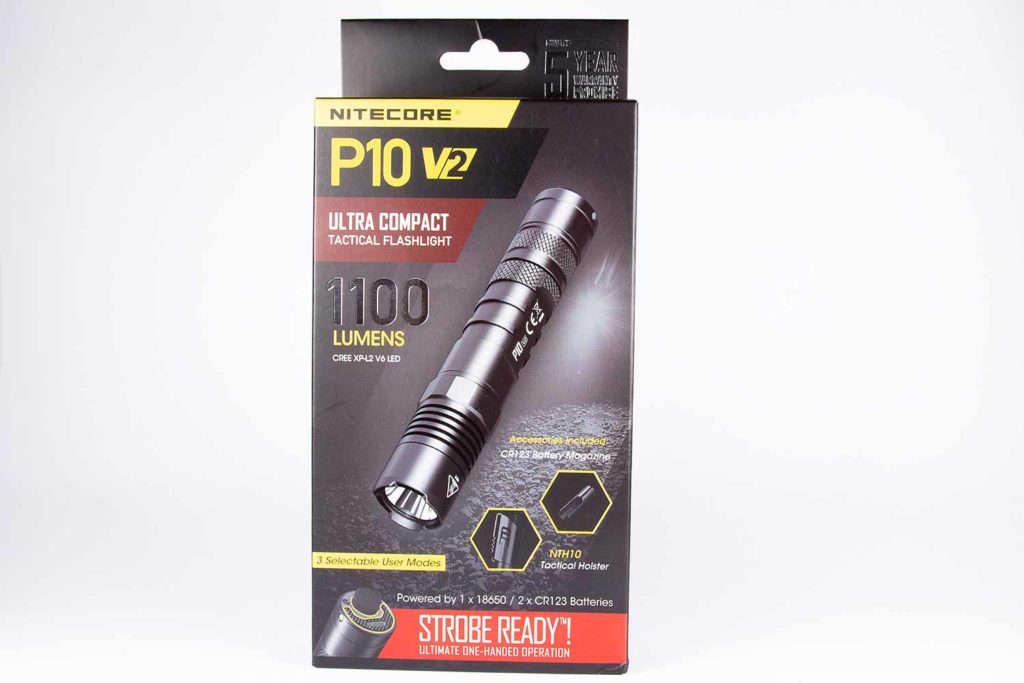
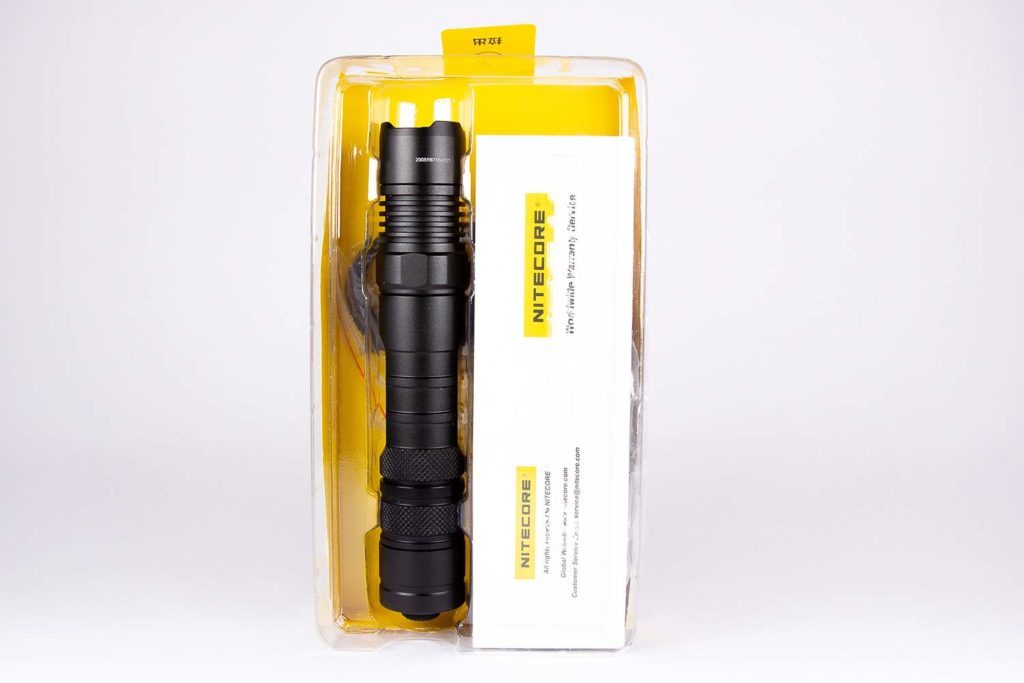
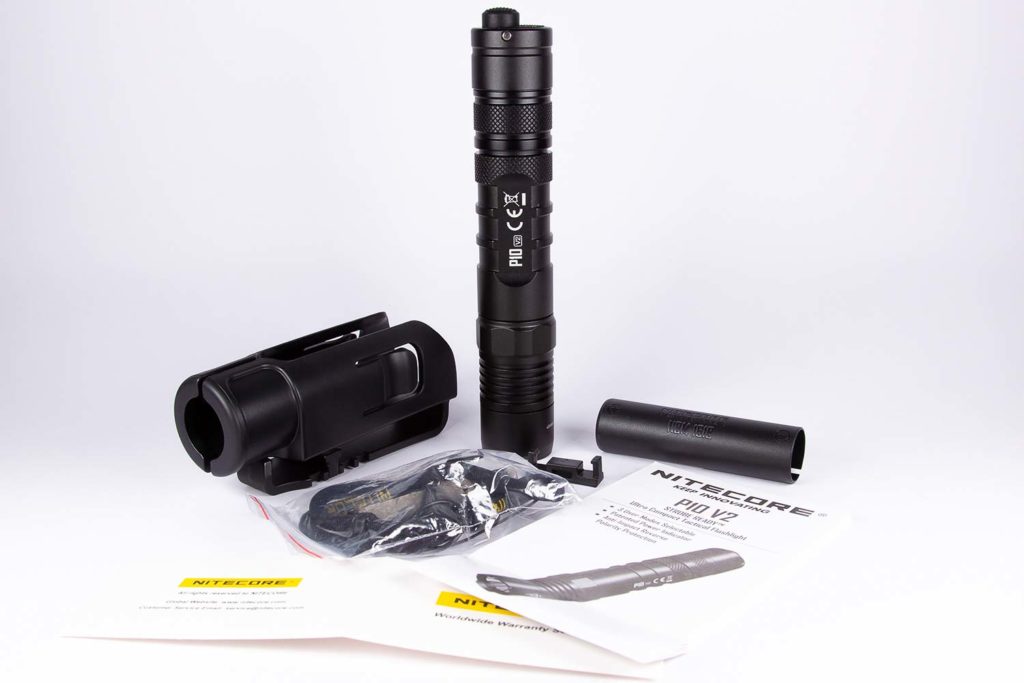
For more information, please visit the Nitecore’s product page.
Handling of the light
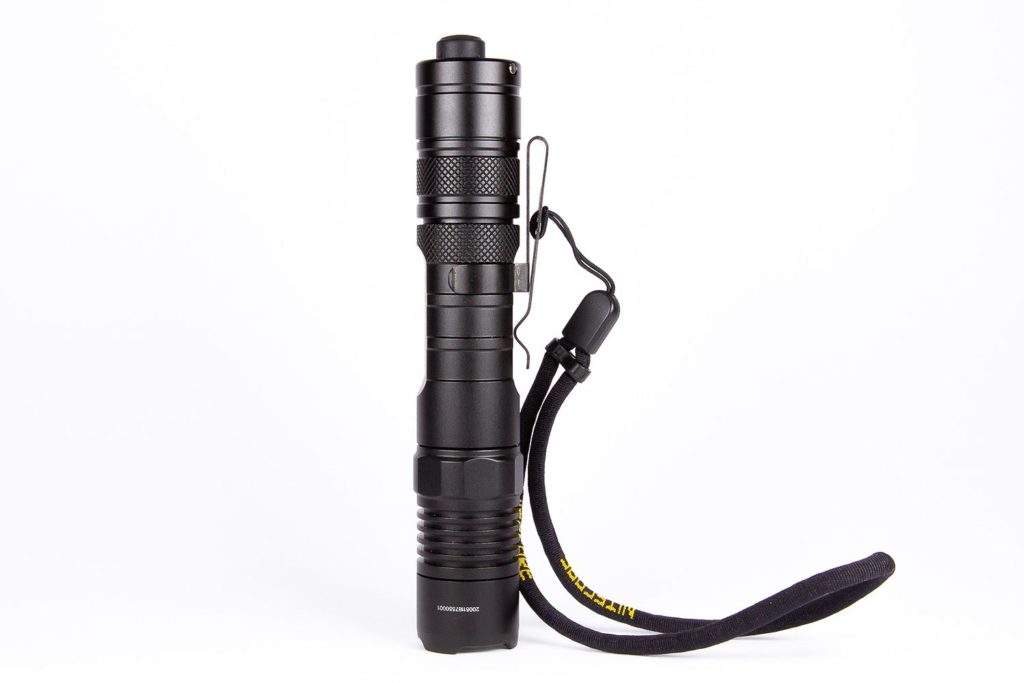
This is a very nice light to handle. There are sufficient knurling and ridges in the light to make it very secure in the hand, and the flat spots on the side are a nice addition to give your fingers somewhere to rest in the tactical grip. There are no sharp edges that I can see or detect with my hands, which gives it an even more premium feel.
The primary switch is a forward-clicky type – You can half-press it from off to temporarily activate it, or fully press it to turn the light on/off. The Mode switch is an e-switch but is held in by the pivot pins (seen either side of the tailcap), and has a good “click” to it, so you’re aware that it has activated.
The angular area behind the head of the light helps prevent it from rolling away if placed down, which is great to see. I wouldn’t expect the light to be placed down given the included holster or clip, but it’s a nod in the direction of “what if”.
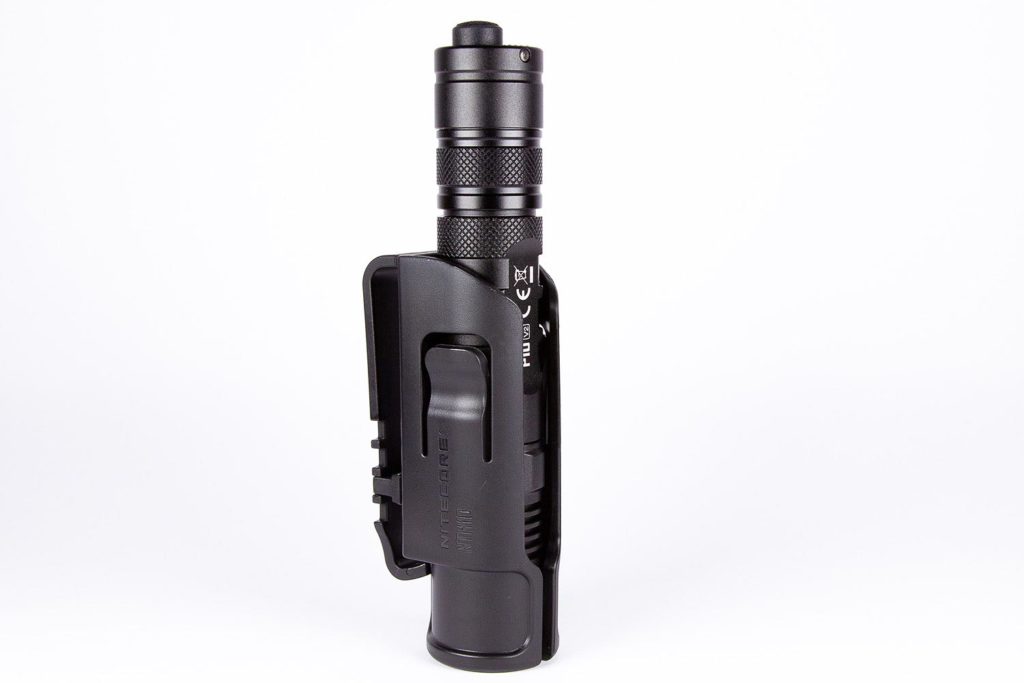
Sliding the P10v2 into and out of the holster is smooth – it’s a straight-up, straight down motion. There’s a bit of wiggle room for an angle, but not very much of one, which is fine. There’s a hole in the bottom of the holster that allows light to be shone through while it’s in the holster if you need some quick ground illumination around you, or to show your location to others.
The included clip and lanyard are also good quality; the lanyard can fit around my hand (gasp!), but can only attach to one place – the loop in the clip. The clip itself has a smooth yet matte-like finish that feels rugged and doesn’t catch when sliding the light into a pocket.
Tail standing is a no, though – the primary button protrudes far too much to even consider it. It can technically tailstand in the holster, but lens-down is a far better orientation for that.
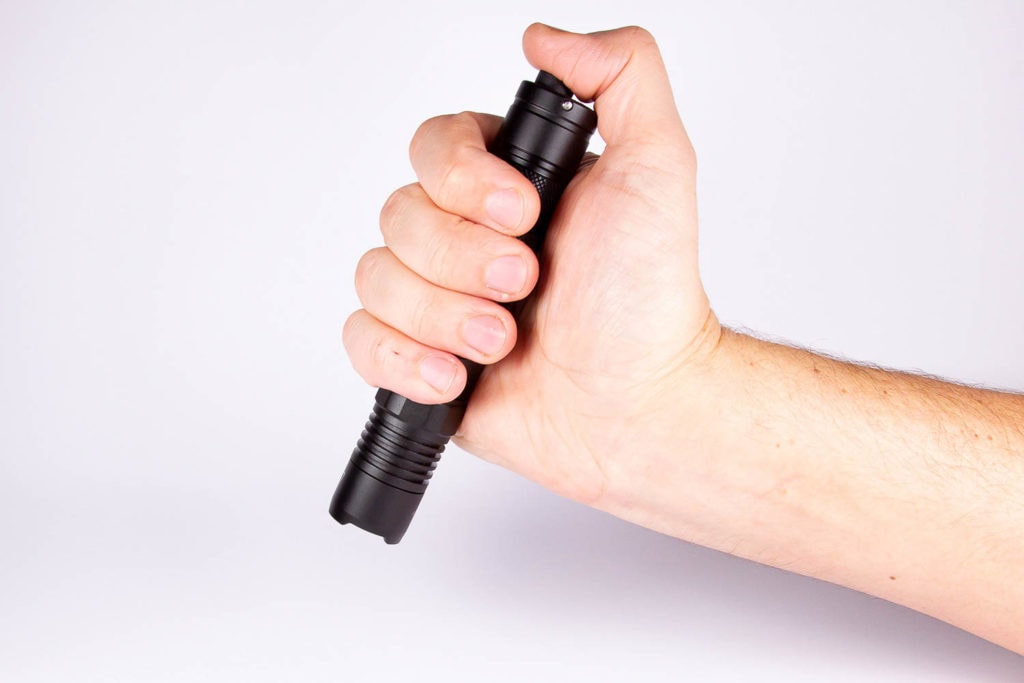
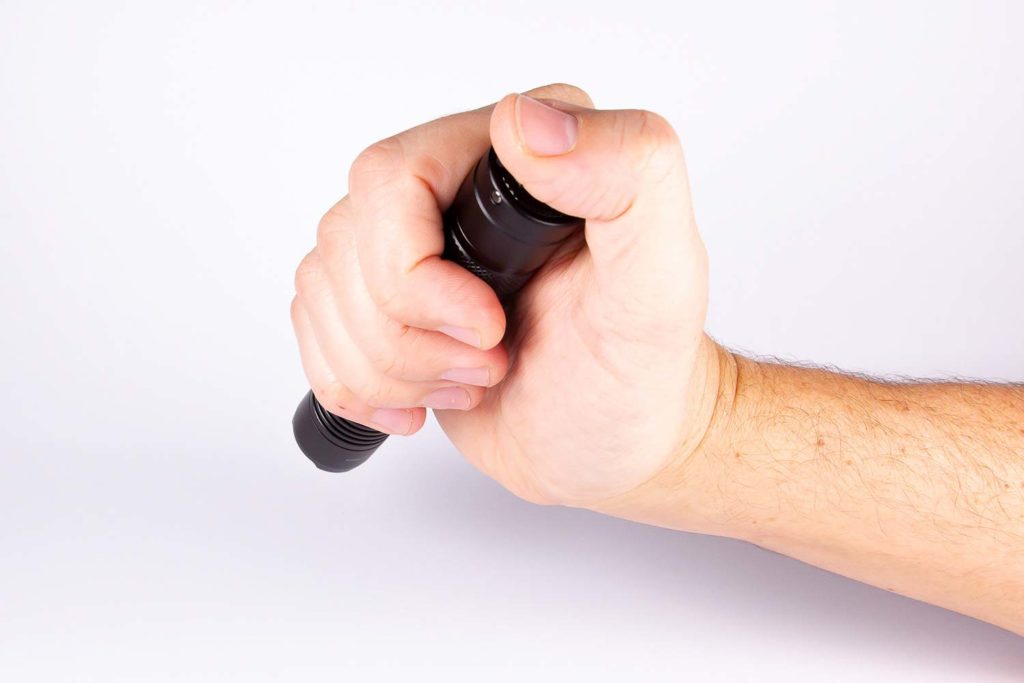
Build Quality, knurling, threads, and anodization
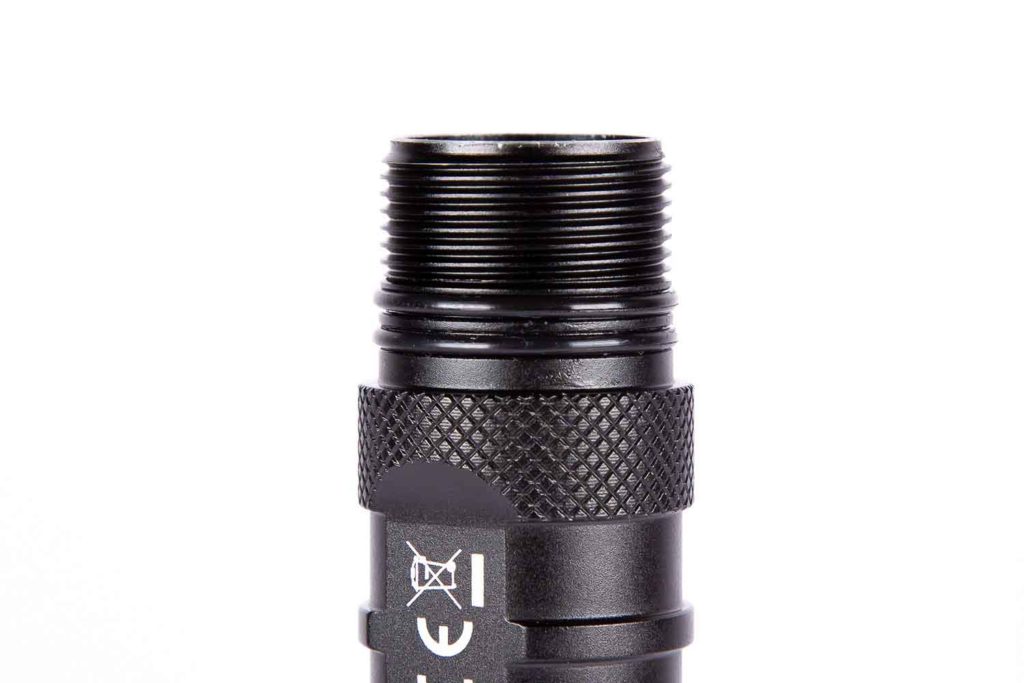
As I’ve previously mentioned, this is the first Nitecore light I’ve used, but all reading I’ve done of them to date has led me to believe that the build quality is very solid. The light I’ve received is no exception to this; there’s a definite feel to it that is very welcome. It’s hard to put it into words, but I can just feel that it’s well built. There’s plenty to grip onto, as both the knurling and the “lines” in the middle of the tube provide excellent grip. Those “lines” give spacing for the clip, so you can install it whichever way you like. That said, lens-down would be the most useful direction.
The belt holster is fantastic – the P10 v2 slides in and out of it quite easily and doesn’t get caught up. It also holds snugly so that the light doesn’t jump out of it while moving quickly, either. It’s a big step up from other fabric-based holsters I’ve come across.
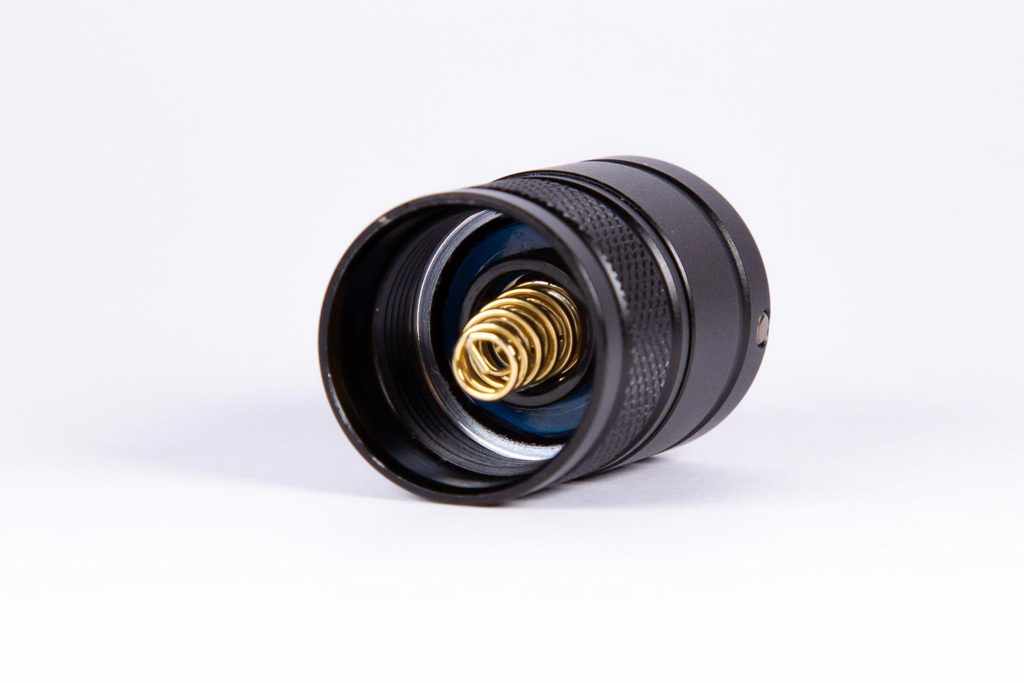
Inside the tube I can see the contact point for the battery – this appears to be a contact point on a spring, which is quite nice; it gives the light a bit more durability in harder use.
The anodisation on the light is mentioned as HA III Military Grade on the advertising blurb – this means that it’s thicker than 25µm (0.0025mm!). It’s definitely a step up from other anodisations I’ve felt.
The threads on the light are triangle-cut and quite long – this requires quite a bit of unscrewing to get the tailcap off. They’re very well lubricated, so the movement of doing so is very smooth. There are two o-rings there too, which gives excellent environmental protection.
I’m impressed by the quality of the clip and lanyard – both are suitably sturdy. There’s a nice matte finish on the clip that feels better than some of the cheaper offerings, and the lanyard can actually fit around my hand (!!!!!).
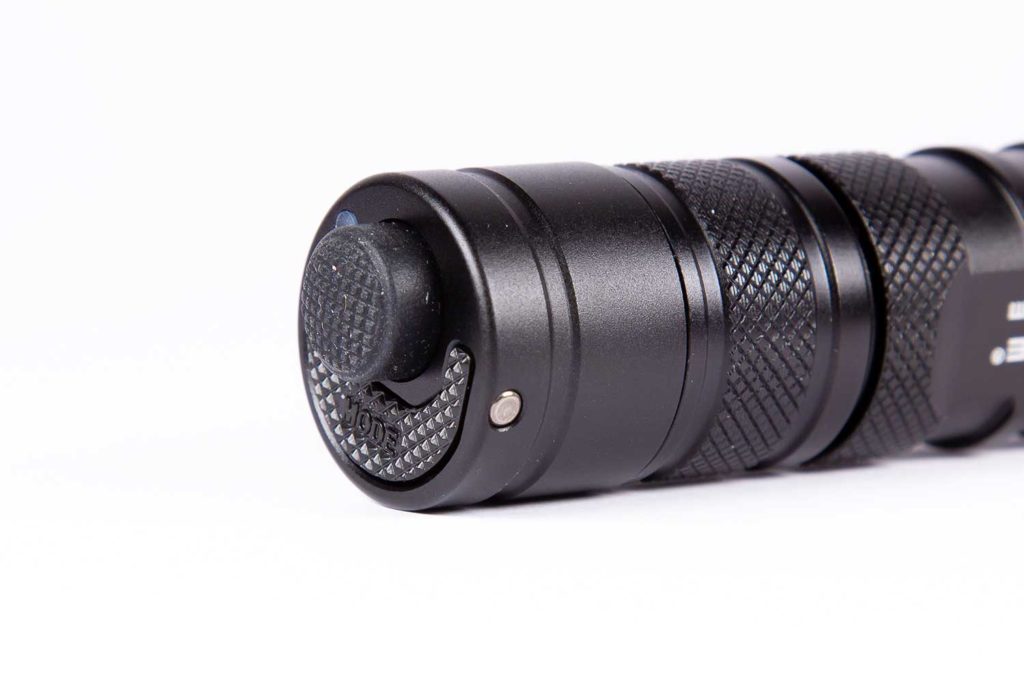
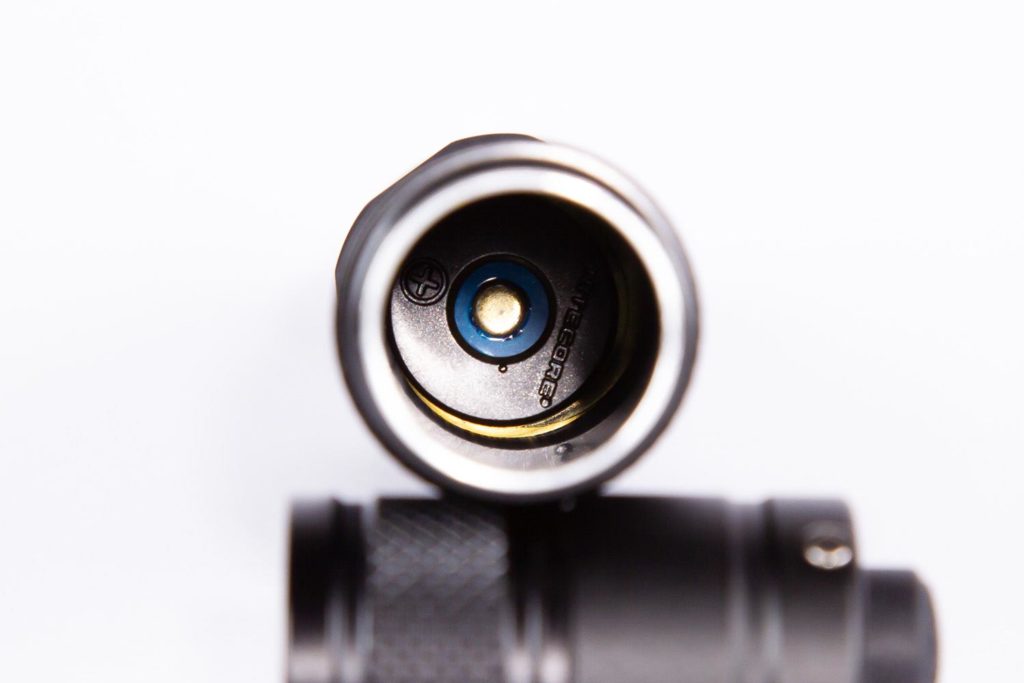
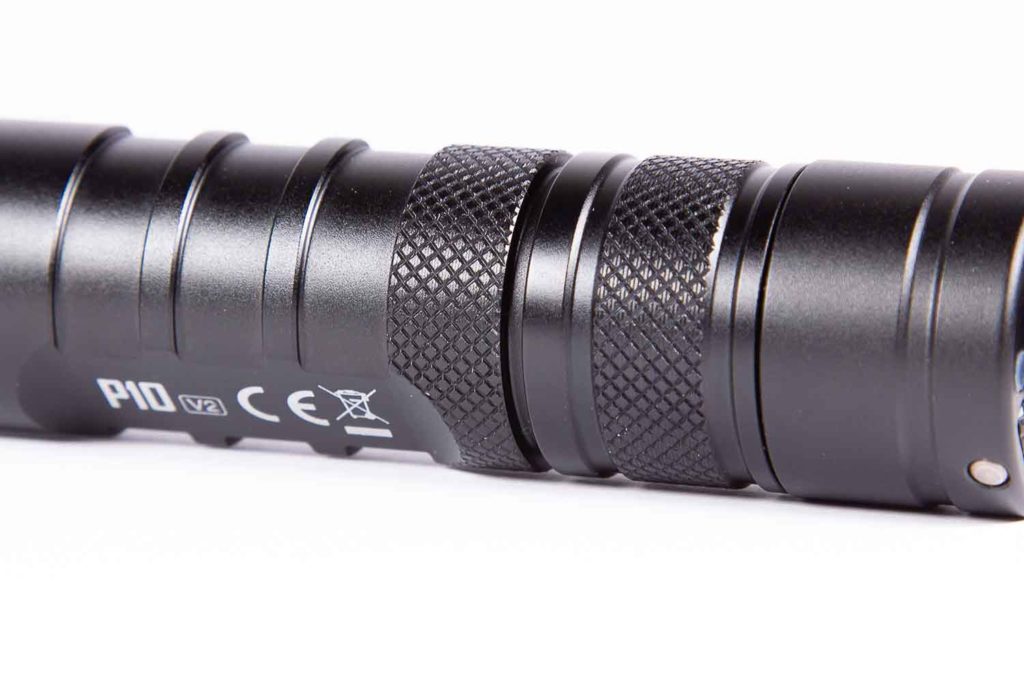
LEDs, Lens, Bezel, and Reflector
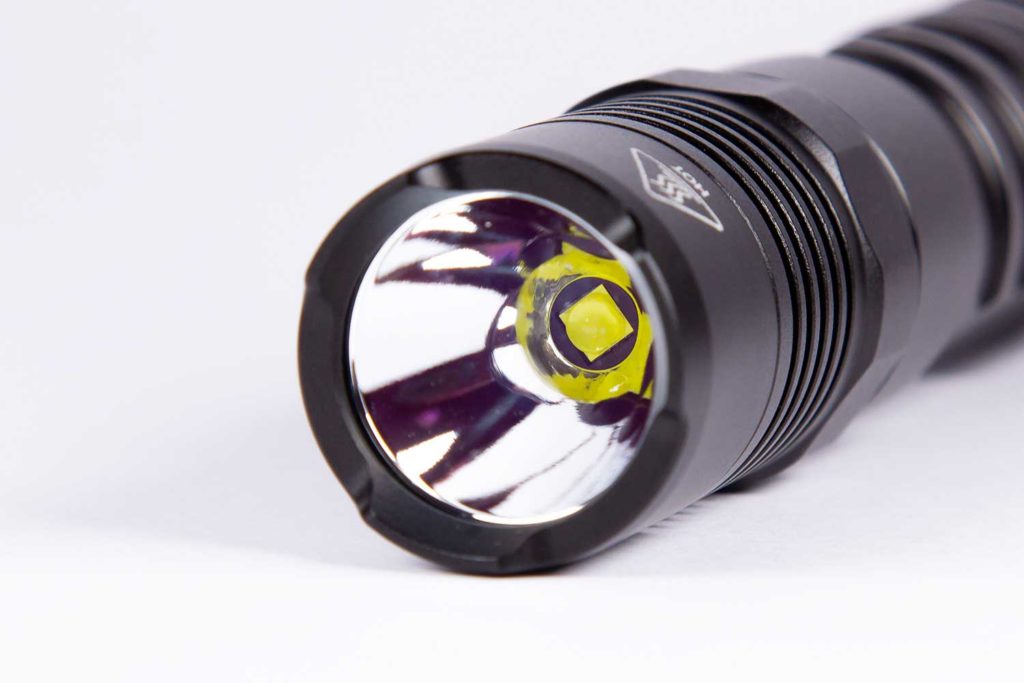
Nitecore has chosen an XP-L2 emitter for this light, at 6500K. While not my personal preference, I know that this is a very popular CCT for tactical lights, as it generally provides higher illumination levels than lower colour temperatures.
There’s a little bit of green around the edges of the corona, but this is only really noticeable when shining at white walls. While using it outside, it’s far less noticeable.
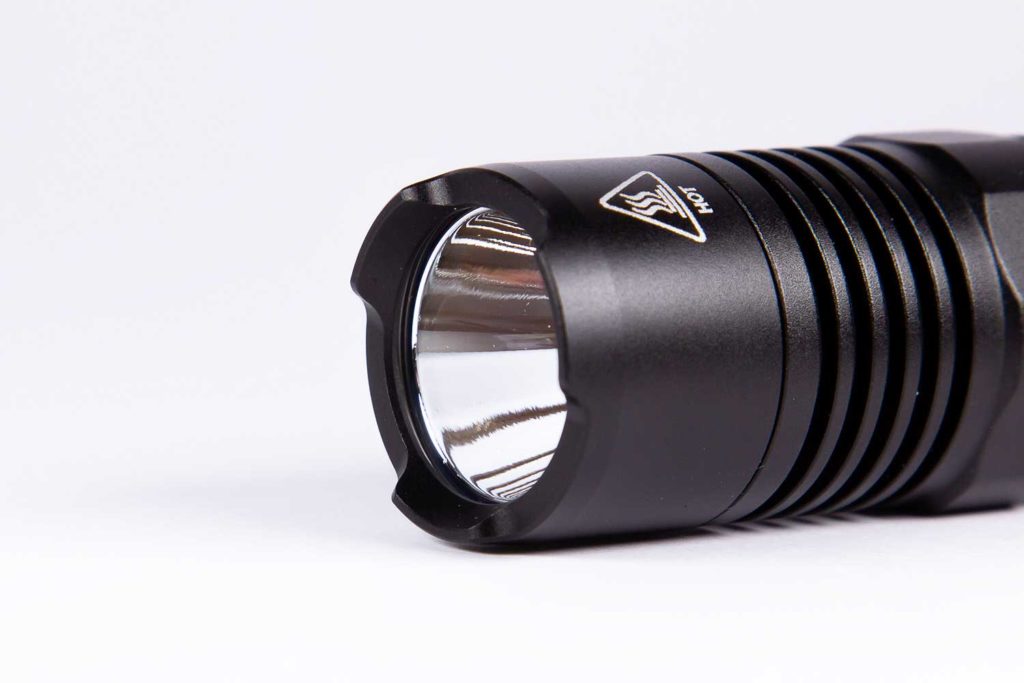
A somewhat deeper than expected smooth reflector gives the light quite a bit of punch, and the XP-L2 being a domed emitter makes the hotspot a decent size. There’s quite a lot of usable light in this, which is very much ideal for the intended use.
The bezel itself is somewhat of an “attack” bezel, with three evenly spaced crenelations. It’s not quite as aggressive as other tactical light bezels, but I still wouldn’t want to be on the receiving end of a hit with it.
Dimensions:
- Length: 148.3 mm (5.84 in) from bezel to end of button
- Head diameter: 25.4mm (1 in)
- Body diameter: 25.3mm (1 in) at widest – 21mm (0.83 in) at narrowest around logo
Weight:
- Weight: 94.3 gr (3.33 oz)
- With included cell: 143.4 gr (5.06 oz)
Compared to other Tactical Flashlights
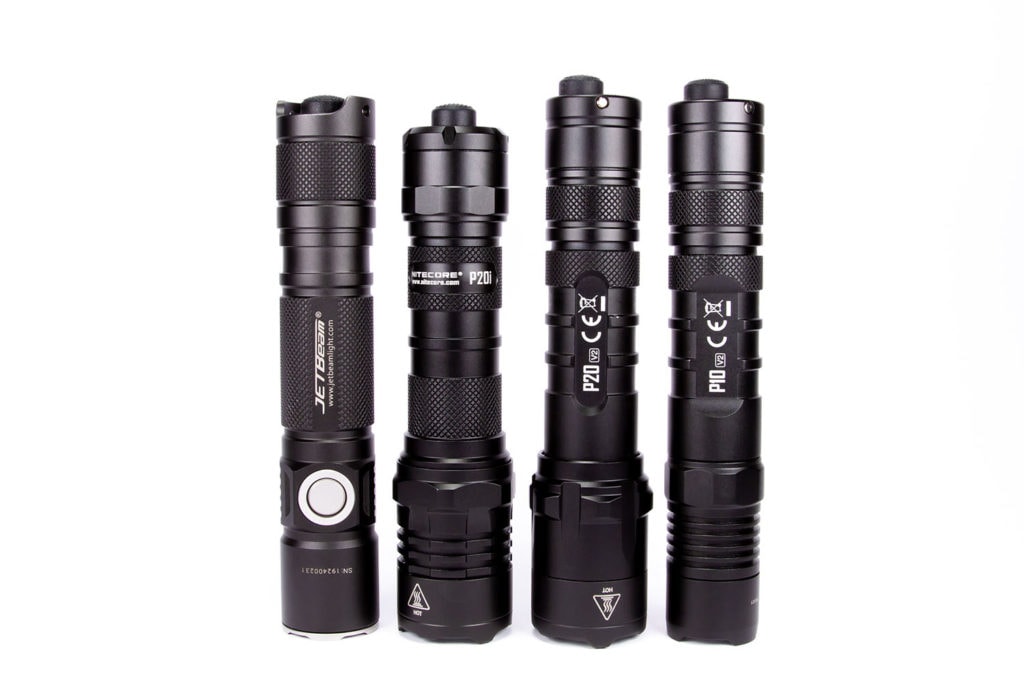
Image 1: size comparison to other great tactical flashlights: from left to right: Jetbeam PC20, Nitecore P20i, Nitecore P20 v2, Nitecore P10 v2
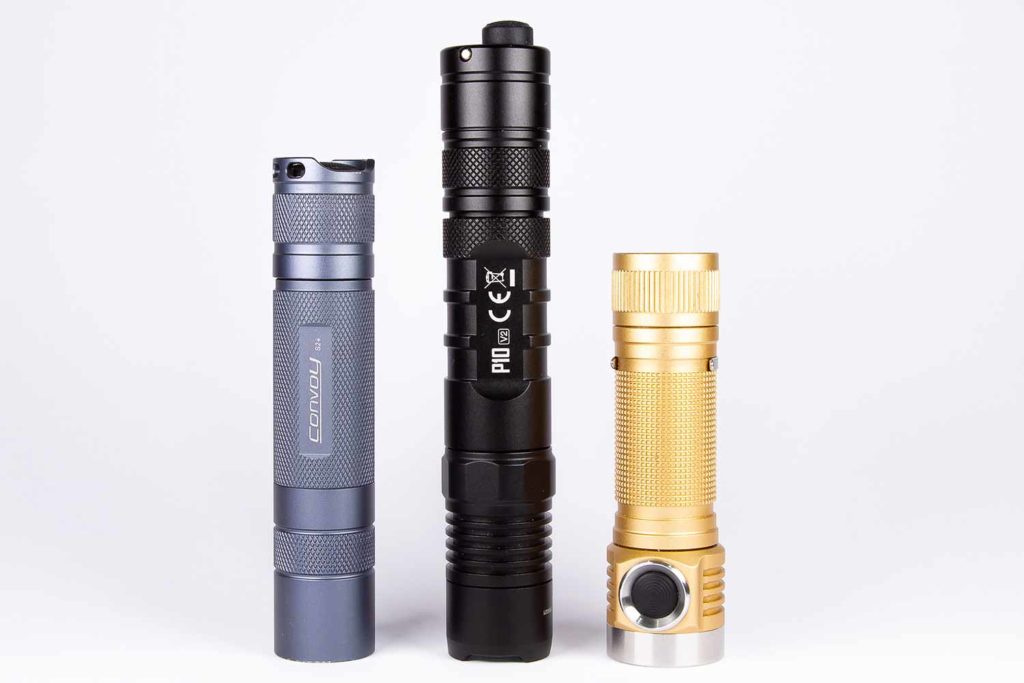
Image 2: compare to other popular flashlights: from left to right: Convoy S2+, Nitecore P10 v2, Emisar D4v2
Driver & User Interface:
Initial fun fact – the driver is in the tailcap! This stands to reason as there’s two switches and only one set of contacts between the cell and the tube – but it’s definitely something new for me.

Nitecore’s UI for this is both simple and complicated – usage is simple, but changing things took a bit for me to wrap my head around.
The idea is this:
There are three modes with this light – Tactical Mode (Mode 1), Law Enforcement Mode (Mode 2), and Daily Mode (Mode 3). The way they are broken down is this:
- Mode 1: High, Strobe
- Mode 2: Mid, High, Strobe
- Mode 3: Low, Mid, High, Strobe
The trick is that Mid on Mode 2 and 3 are actually different – Mode 2’s Mid is about half the lumens of Mode 3 (200 vs 370).
Out of the box, the P10 v2 will come in Daily Mode, which is great for getting a feel for things. To change modes, you need to unscrew the tailcap to break contact (¼ turn), and then while holding the Mode button, tighten the tailcap. This will make the main light flash the number of times of the mode it’s going into (ie. flash once for Mode 1, twice for Mode 2, thrice for Mode 3). Note that you need to do this once per mode change; you can’t go from Mode 1 to Mode 3 by continuing to hold Mode after it flashes twice for Mode 2.
Confused? That’s where the “complicated” part comes from. But it’s far more intuitive after you’ve done it once or twice than it is while reading.
Modes:
From OFF:
- Press and hold Mode button: Strobe
- Single click main button: Last used mode (other than strobe, Daily Mode only – Mode 2 always starts in High)
- Half-press main button: Instant High (or instant mode-memory in Mode 3)
From ON:
- Press Mode button: Change mode (LMH, MH, or H/Strobe)
- Press and hold Mode button: Strobe (press again to return to previous mode)
- Single click main button: Turn off
Mode memory:
- As previously mentioned, only available in Daily Mode (Mode 3).
Low voltage warning:
- There’s no official LVP mentioned, but in my two runtime tests, the light turned itself off at around 3.2V. This might be a little high, as it could probably be stretched to 3V without issue, but it’s not a bad idea in the interests of keeping cells as healthy as possible.
Strobe/blinkies
- You activate Strobe by holding down the Mode button from either off or on – while off, you release to stop, and while on, you need to press Mode again. Mode 1 also has Strobe as part of its cycle.
Lock-out mode:
- No lockout mode is available other than unscrewing the tailcap ¼ turn.
PWM:
- The PWM on this light is very much present. While checking through the camera of my phone as I usually do for reviews, there are LARGE black bars instead of the rolling thin lines.
If I do the “card trick”, it shows up very clearly as distinct cards. This is less apparent the higher brightness you go, but at low, it’s very obvious.
Batteries and charging:
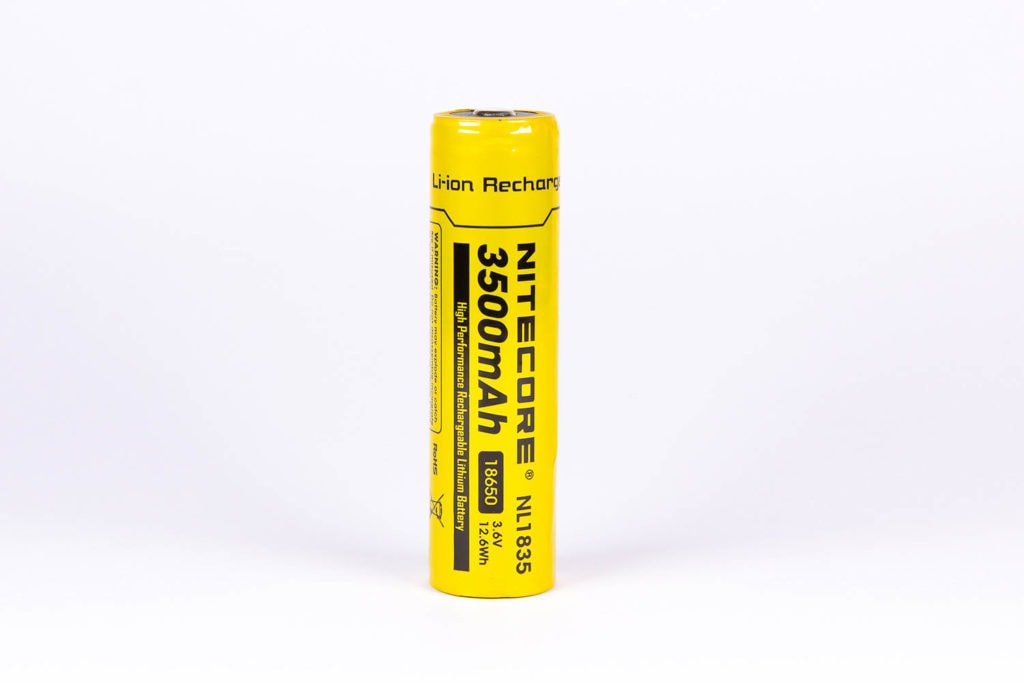
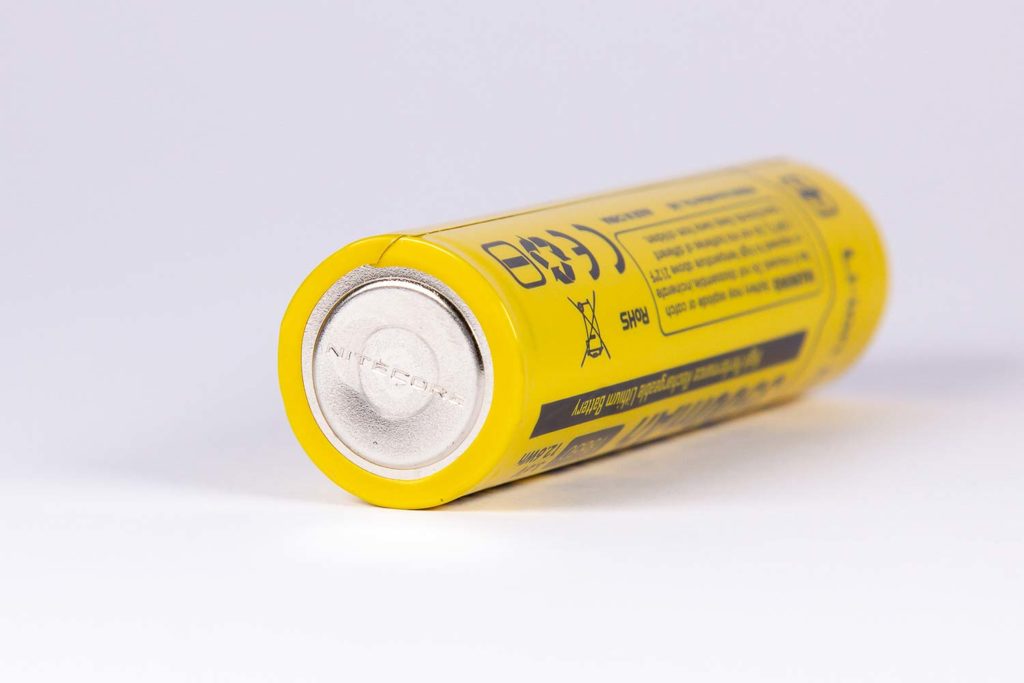
This light is compatible with both 18650 and CR123 cells. It requires a button-top for the 18650, and I’m happy to report that it’s happy with unprotected cells too, as I tested with my 30Q button-tops. The Nitecore cell fits more neatly inside the tube though, and actually requires a bit of a jiggle to release, it’s that snug – quite impressive on the tolerances.
There’s a carrier provided for CR123 cells to be placed in parallel, too.
On the tailcap is a small indicator LED. When you tighten the tailcap, you get a quick battery check that flashes this LED depending on the battery life remaining. The flashes indicate as follows:
- Three flashes – power is above 50%
- Two flashes – power is below 50%
- One flash – power is almost depleted
While not as precise as other battery checks, it’s a very quick way to see if you need to be changing the battery.
You’ll need to place Li-Ion cells you use into an external charger though, as there’s no internal charging – please don’t try and recharge CR123 cells though!!
Performance:
For my readings, I use the following:
Lux Meter: For lumen readings and runtimes, an Adafruit TSL2591 connected to a Raspberry Pi running Ubuntu, using RuTiTe by bmengineer in a custom sphere (build document coming soon, when I have some more time). A UNI-T UT383S is used for candela readings.
DMM: Fluke 87 (original series!) and UNI-T UT210E – 16AWG wire is used directly into the Fluke via some banana plugs, and 8AWG wire in a loop for the UNI-T. The DMM I use depends on how high the expected current will be – I use the Fluke for <10A, and the UT210E for >10A.
I will be using the battery supplied with the light (Nitecore NL1835); the light can also support CR123 cells in a 2x carrier, but as I have ethical concerns regarding disposable batteries, I’ve chosen not to purchase some purely for the purposes of testing the light.
Amp measurement
- Standby: 78 µA
- Low: 165 mA
- Medium (mode 2): 540 mA
- Medium (mode 3): 1.1 A
- High: 3.4 A
Runtime graph
As expected with a light like this with smaller thermal mass, starting on high gives the burst of power, and over three minutes, drops down to 900 lumens. Not too bad, as it started on ~950 – but over the next 12 minutes, drops down to a tad under 300.
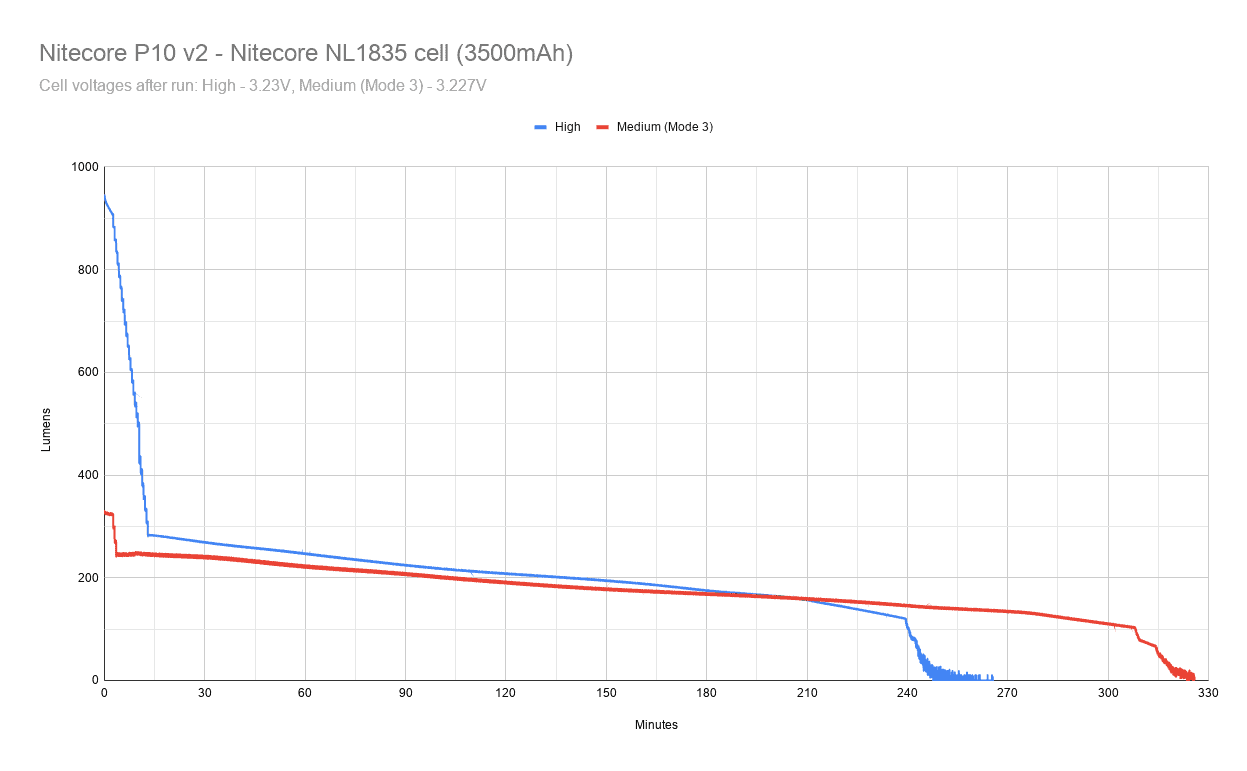
Realistically, this is still plenty sufficient light if it’s otherwise dark around. From there, over the next 3.5 hours, the light slowly fades to the ~110-lumen mark and then drops off as the cell voltage is sufficiently low, before turning off completely. I ran this twice on different days with a freshly charged cell, to make sure I had it right; the light will stop working at around the 3.2V mark.
There’s some flickers of light at the end; the light goes into a somewhat strobe-like mode and flickers quite rapidly at the end of the runtimes. You’re probably not going to get a more obvious notification than that for low cell voltage, other than a complete shut-off.
I’ve also included a runtime in medium on Mode 3, which is the mode it’s set to out of the box, for comparison. As seen, it tapers off over time and finally finishes after a bit over 5 hours.
Lumen measurements (for each mode)
As (briefly) mentioned in my Sofirn SP33 v3 review, my integrating sphere is finally complete – I’m still writing up an article for how I built it, specs, etc. Suffice to say, this has been calibrated and tested extensively over the last few weeks, as I haven’t been 100% satisfied with it. Short of spending large amounts of money on an externally calibrated sphere, I’m now confident that it’s about as close as I’m going to get.
In this sphere, my readings are as follows:
- Low: 57 lm
- Medium (mode 2): 179 lm
- Medium (mode 3): 333 lm
- High: 956 lm
Throw numbers:
I’ve measured at 5m indoors, and 10m outdoors. With a fully charged battery, I set the lux meter to record maximum lux, turn on, point it at the sensor, change to the highest mode if not already there, and gently wave the light around to try and capture all of the hotspot. With that, my results are:
- Indoors 5m: 509 lux = 12725 cd = 225.61m throw
- Outdoors 10m: 120 lux = 12,000 cd = 219.09m throw
This is a decent amount more than is rated by Nitecore – they’ve rated it at 9780cd (198m) while using their 18650 battery. I’m always impressed when a manufacturer understates figures.
Beamshots:
Picture shows JetBeam PC20 (XHP35 HD 6500K), Nitecore P10 v2 (XP-L2 6500K), and Convoy S2+ (XPL HI 5000K).
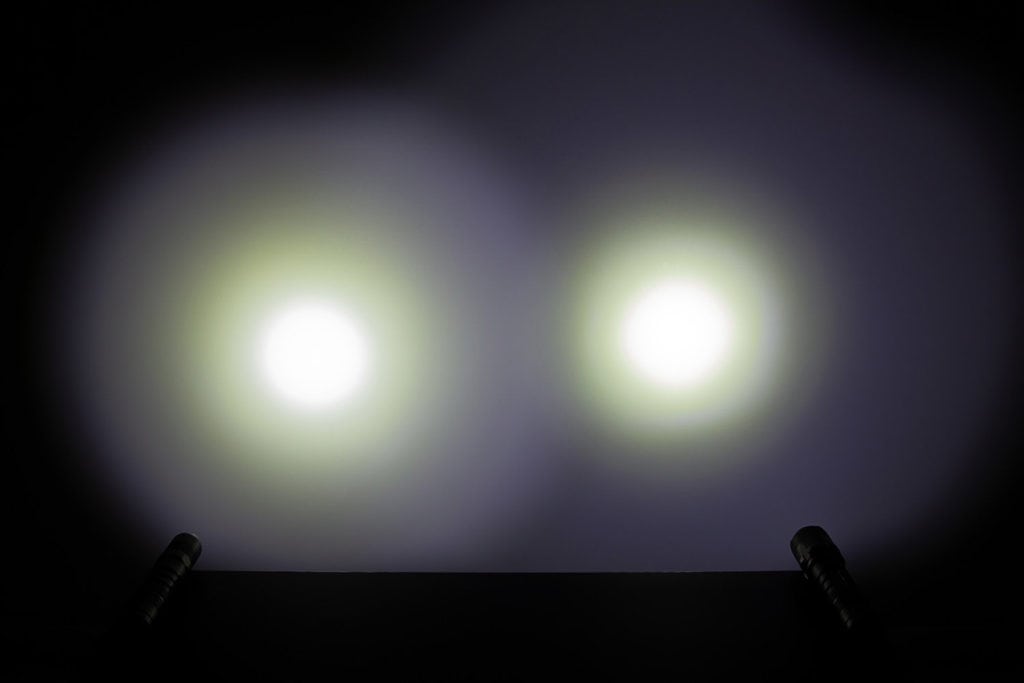
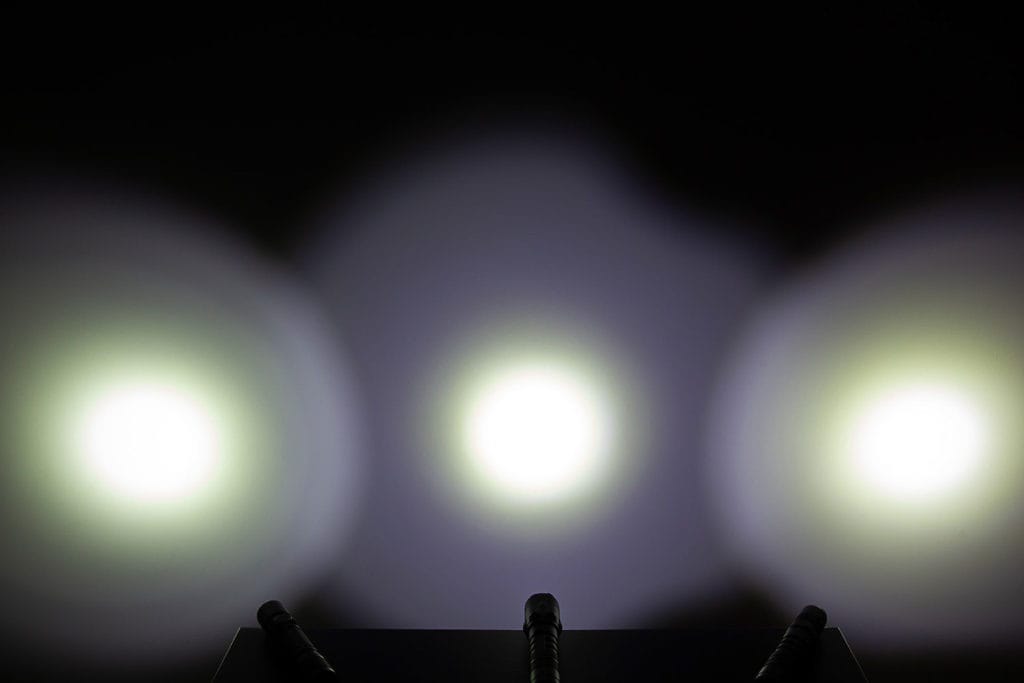
I’m still on the hunt for a local spot to get good beamshots; I hope to be including these in my reviews soon.
Disclaimer: This flashlight was sent to me for review at no cost, by Nitecore. I have not been paid to review, nor have I been holding back on problems or defects.
Overall conclusion
Pros:
- Great feel in the hand
- Easy UI
- The included holster is great
Cons
- PWM!
- Cool white, but that’s personal preference

Rating: 4 stars ★★★★
First off – I like it! The tactical light space is more suited to much simpler UIs, and similarly to the JetBeam PC20 I’ve previously reviewed, this light has a job to do and it does it very well. The included holster is an excellent addition; the light slots in easily and is reliable to draw from, and being able to use the light while in the holster is a nice touch. My primary frustration with this light though is the PWM: when standing still it’s not hugely noticeable, but when turning rapidly (which may be needed to do in a situation that calls for this kind of light) I started to notice it more, and it was almost a grainy feel in my eyes, similar to staring at an old CRT monitor. As such, I give the P10v2 4 stars – if the PWM could be smoothed out, I’d give it 5 stars without hesitation. It’s an excellent light that fills its requirements but needs some work.
Nitecore P10 v2 for sale
Get 10% off at Nitecore, using our discount code: 1lumen
1lumen selects and reviews products personally. We may earn affiliate commissions through our links, which help support our testing.