1lumen selects and reviews products personally. We may earn affiliate commissions through our links, which help support our testing.
Nitecore T4K Keychain Flashlight Review | 4000 Lumens
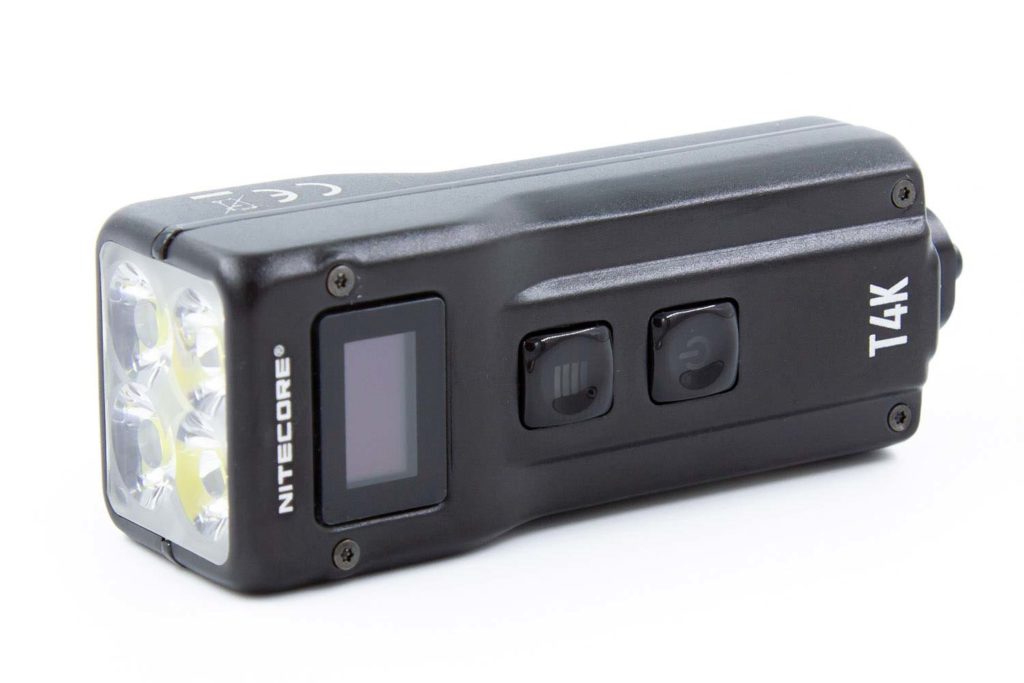
Nitecore T4K specifications
| Brand/model | Nitecore T4K |
|---|---|
| LED | 4* XP-L2 |
| Lumens | 4,000 lm |
| Beam intensity | 13,000 cd / 228m |
| Battery config. | internal Li-ion 1000mAh |
| Material | Aluminum+plastic |
| Modes | 5 |
| Blinkies | N/A |
| Reflector | Custom TIR |
| Waterproof | IP54 |
| Review date | February 2021 |
Introduction:
Today I’m taking a look at the Nitecore T4K, the latest in the Nitecore keychain light series. This is the successor to the Nitecore TUP, which has always been a light of interest for me. A small light with an OLED screen? Ridiculous! The primary change is to increase the number of emitters from one to four, so this should be quite a hotrod.
The thing is though, I’m very open to ridiculous things on lights, so this is like handing treats to a child.
Time to take this for a spin and see what it can do!
Package quality.
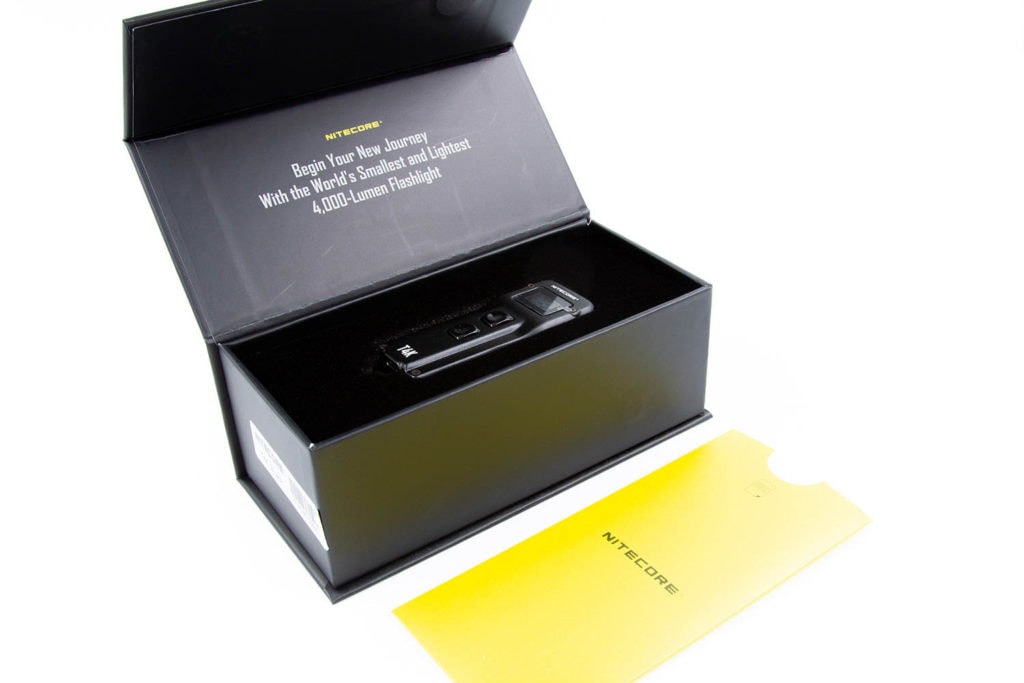
The T4K arrived in a slightly different box than I’m used to with Nitecore lights – usually, I would be expecting a box that can be hung up on a retail wall-and-hook arrangement, but this has come in a box that’s more designed for displaying directly on a shelf.
It’s a mildly satin finish with gloss highlights, with all the relevant information around the four sides, and labels on the end with the model.
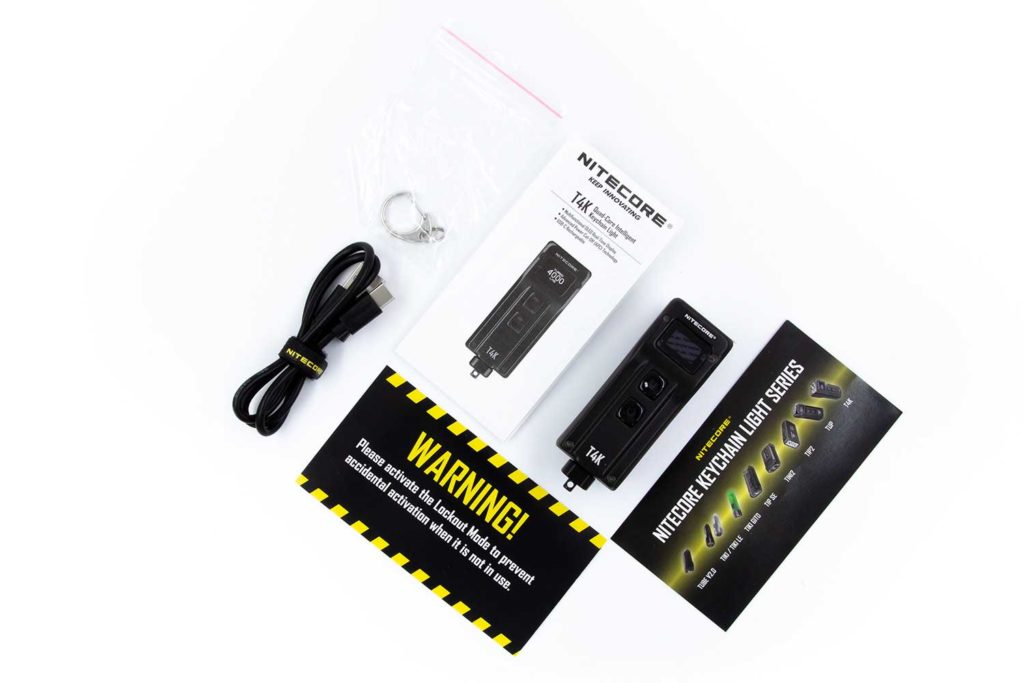
The box opens by lifting a flap that attaches magnetically to the rest of the box, revealing the items within:
- The T4K itself, with the easy-release keychain attachment connected
- Small sleeve that holds:
- User manual
- Warning slip
- Small product lineup brochure for Nitecore’s keychain lights
- USB-C cable
- Keyring attachment clip
As usual, everything needed to get up and running. There’s only one thing that I think would be a nice extra, and that’s a lanyard – but the T4K isn’t really advertised as that kind of light, so it’s not that big a deal.

Handling of the light
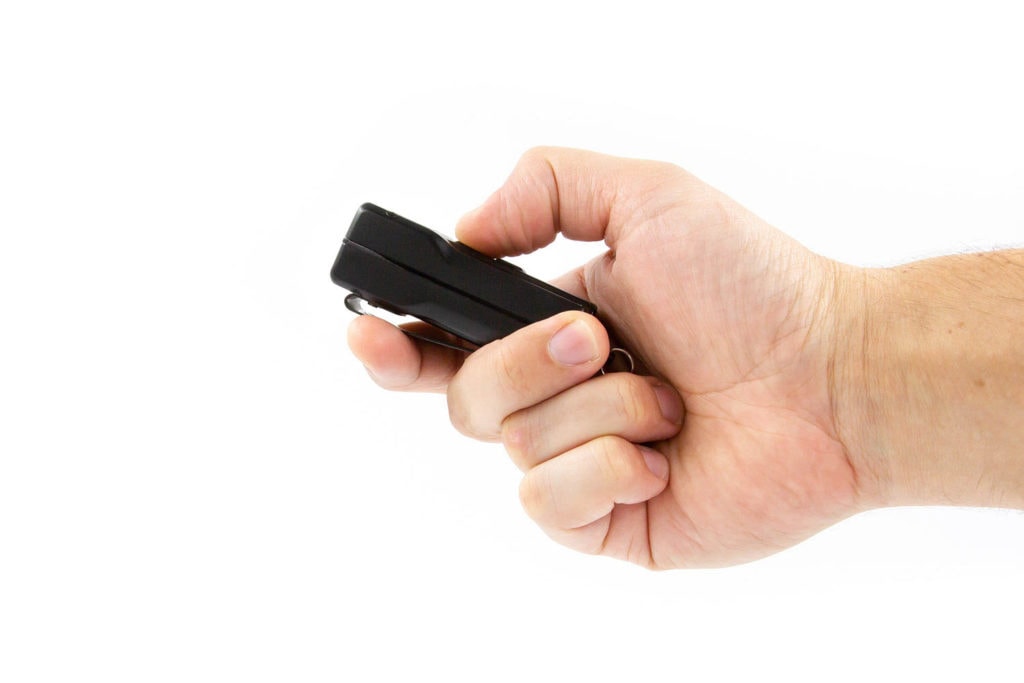
Holding the T4K, I find my hand slipping into a position with my thumb on the buttons, and my middle finger slipping into the curve of the clip where it starts to come back away from the light. There’s only one real way to carry it in your hand, and that’s pretty much as I’ve described. You could hold it with your fingertips in a semi-tactical hold, but that’s just odd.
The two e-switches have good tactile feedback to operation without being too “clicky” – I feel it’s just the right amount of click.
There’s a plastic line that traverses from head to tail on either side, and I found that it was, while not quite sharp, a very hard cut line on the underside of it that would grab onto my fingers when holding the light. I believe it’s meant to be flush with the rest of the body, but mine protruded.
The direction of the attached clip is probably the right idea, as it can be clipped to the strap of a backpack and provide ceiling bounce illumination. The same could be said if the clip were the other way though, as it would then provide ground illumination, but that’s neither here nor there. It also allows for clipping it to a cap, so you can use it as a headlamp of sorts.
You can also attach the keyring attachment; I found the split-ring a bit hard to separate and get onto the black connector, but I’ve got bigger fingers. More on this below, though.
Tailstanding: Nope – The keyring clip prevents that, and there’s a ring that protrudes even when the clip is removed
Build Quality, and Warranty
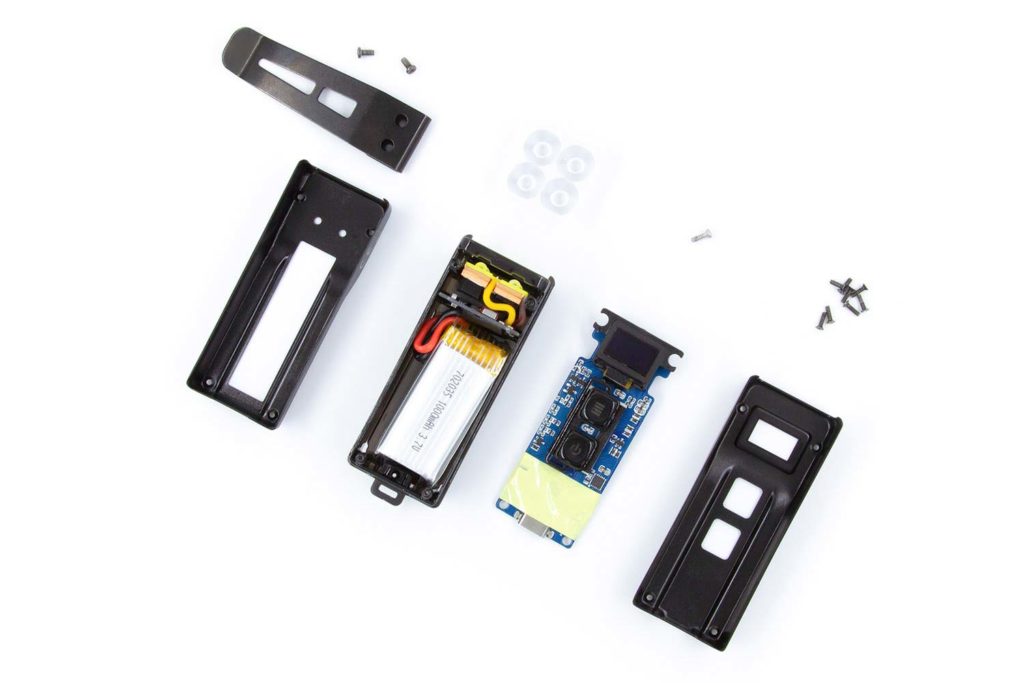
The Nitecore T4K is designed in a modular fashion – a plastic frame starts things off, with a metal slab that the MCPCB sits on, and then extends to the back of the light. Once the components are in, a thin metal casing rounds things out.
As mentioned above in the handling section, the plastic trimming along the sides of the T4K should probably be flush, and mine is out a bit. Given Nitecore’s attention to detail that I’ve experienced in the past, I’m assuming that the light I received is an anomaly that slipped past their QC somehow.
The keyring clip attaches to a small black attachment that can then be attached to the small loop at the bottom of the light. It’s marketed as “quick release”, but I found it anything but. Maybe it’s because I’m 6’3 and have suitably large hands, but I found getting my thumb down to the button was quite difficult. There’s a decent amount of force required to press the button in, sufficiently to detach. There’s also a very “ano on ano” slightly grinding feel when attaching it.
As the post inside the anodised part is rounded, it won’t just slip on. You need to fully actuate the button to slide the clip on; it isn’t angled like the latch on a door.
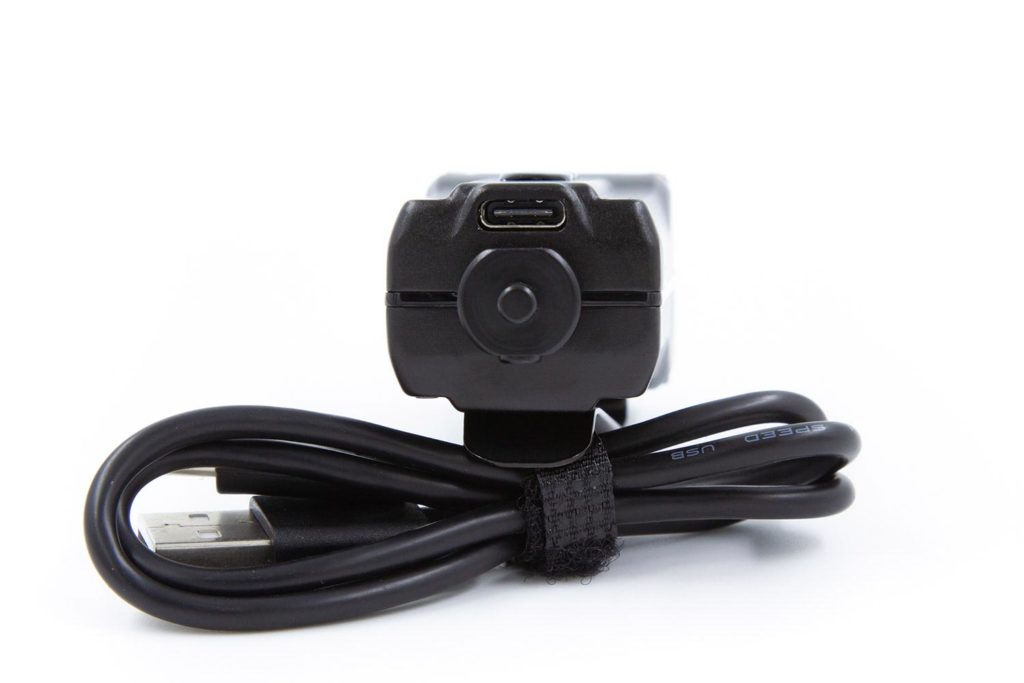
The USB-A to USB-C cable is great as always, and the keyring attachment feels fairly solid.
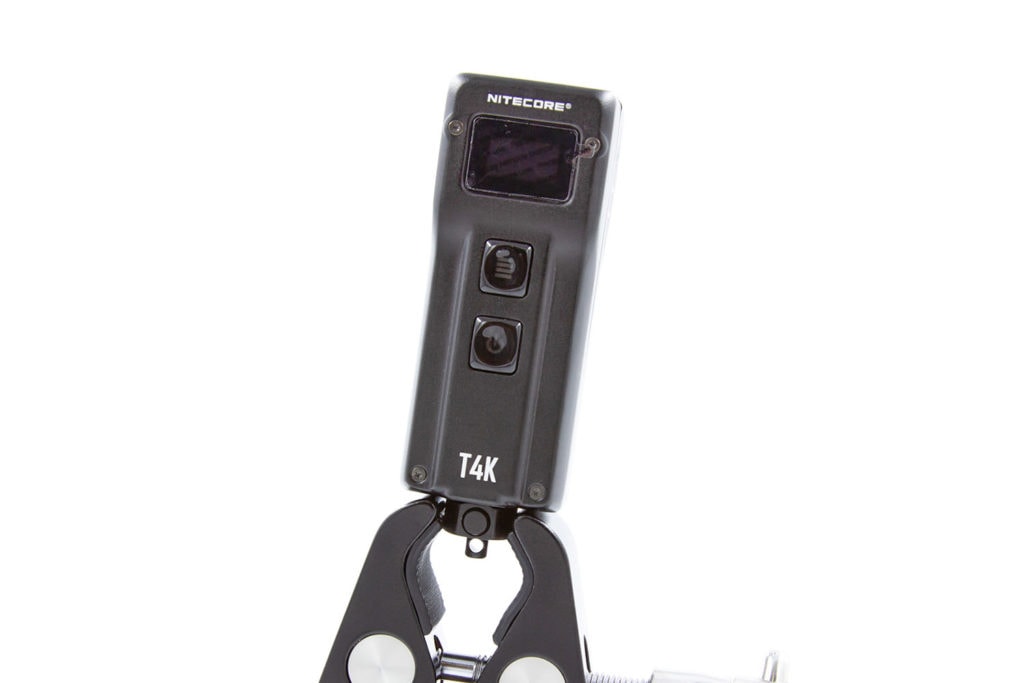
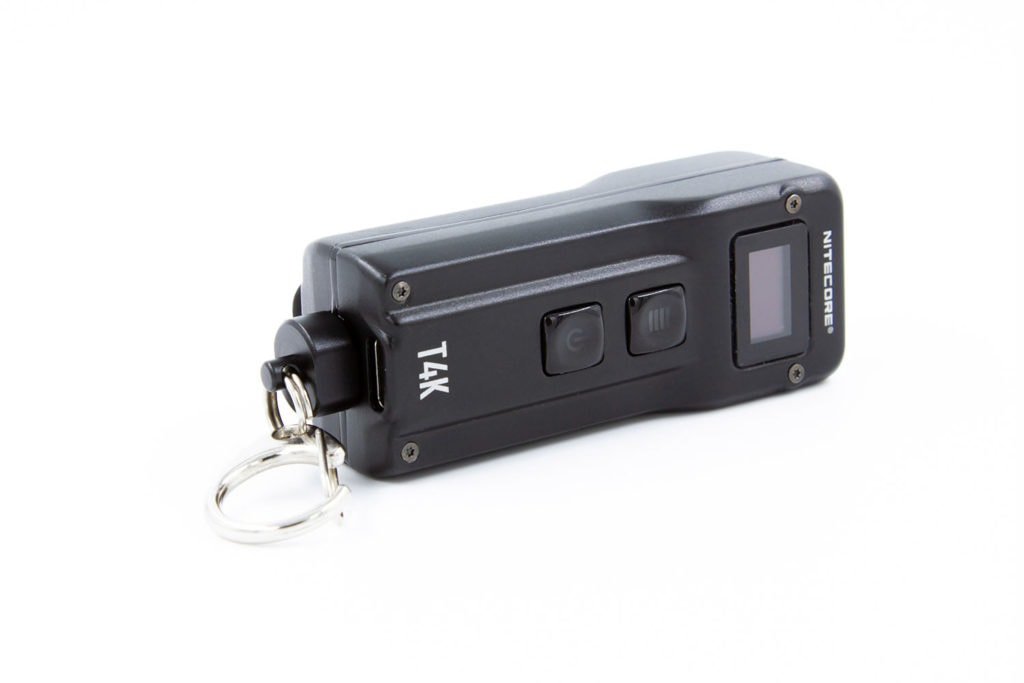
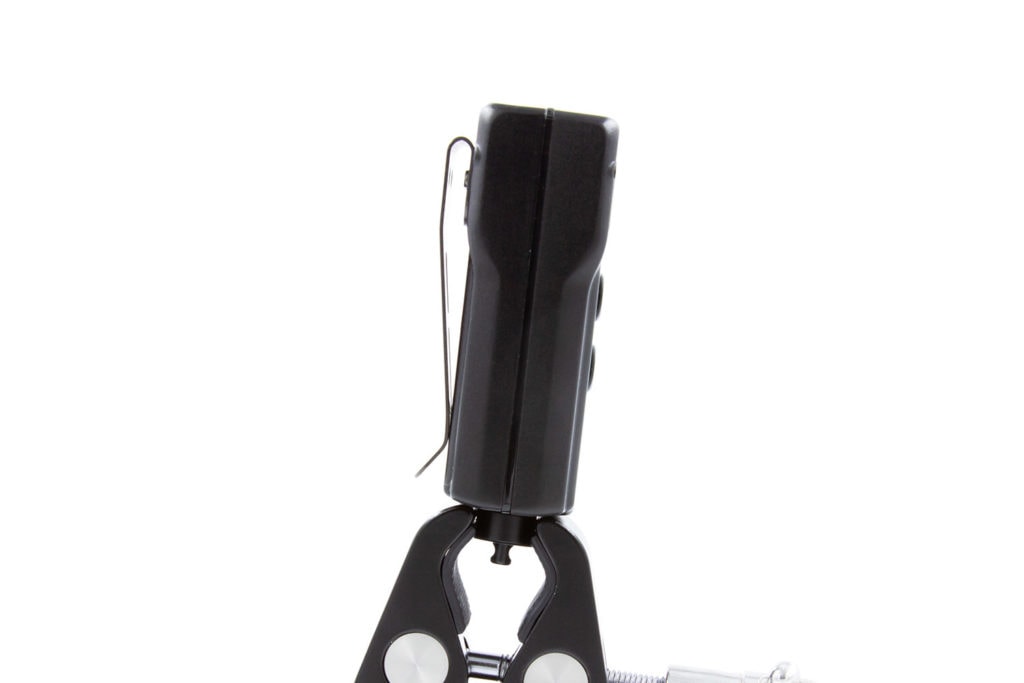
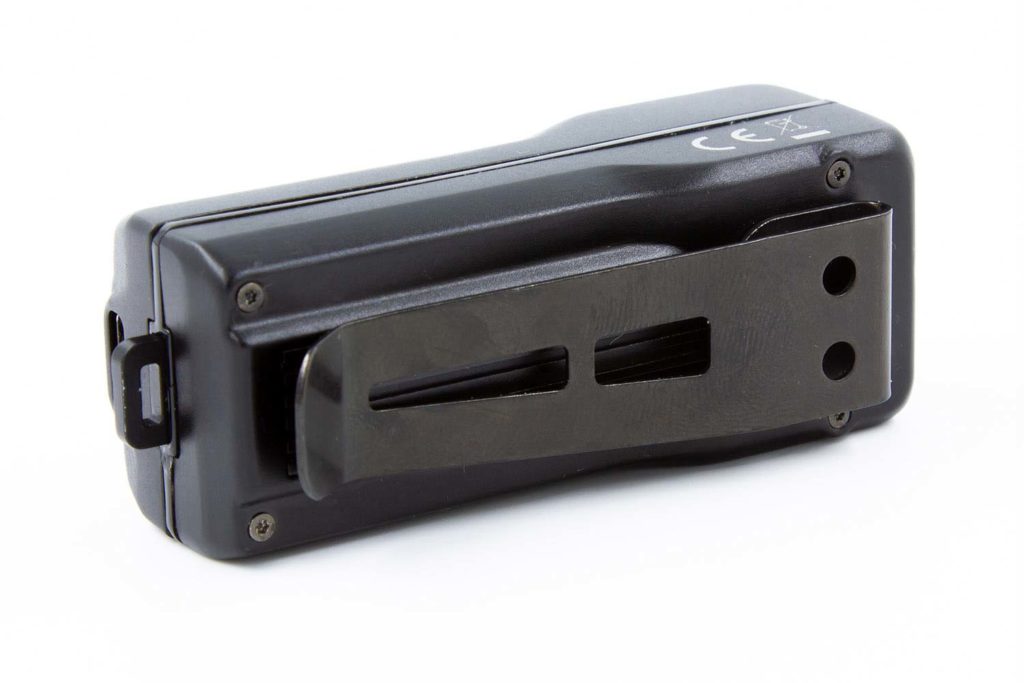
LED, Lens, Bezel, and Reflector
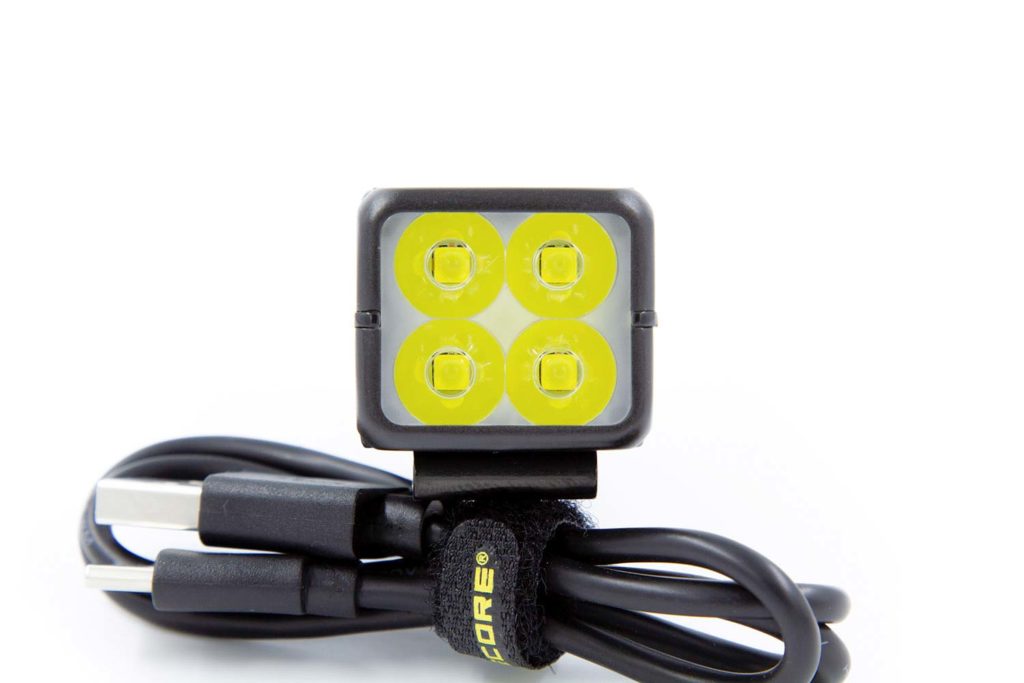
The business end of the Nitecore T4K has a custom quad TIR setup that is flush with the body, and behind that is nestled a set of Cree XP-L2 emitters. These are the same as found in the Nitecore P10v2 and P20 v2 I have previously reviewed – they’re at 6500K, which I’ve come to expect,
It’s all behind a custom quad TIR that sits flush with the top of the light, so placing it emitters-down will have the TIR against whatever surface it’s placed on. Thankfully, the highest mode you can leave it on is 200 lumens, so you won’t be melting anything any time soon.
You get the usual “quad” pattern in the beam, which is primarily floody – there’s a wide hotspot which fades outwards to the edges. The TIR is quite shallow, so even though it’s a clear optic with what appears to be a narrow angle, it does bring the candela down.
Dimensions
- Length:72mm (2.83“) (not including clip/ring on bottom)
- Body width: 29mm (1.14“)
- Body depth: 25.2mm (0.99”) at head to 24.1mm (0.95“) at base
Weight:
- Weight: 73g (2.57 oz) without clip
Keychain Flashlight comparison
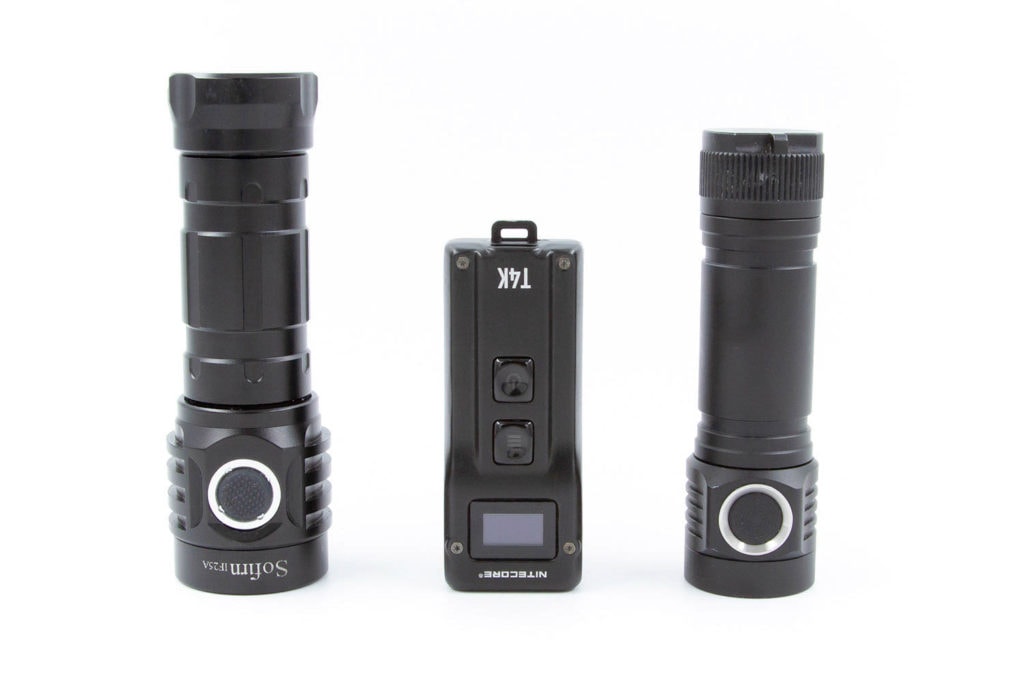
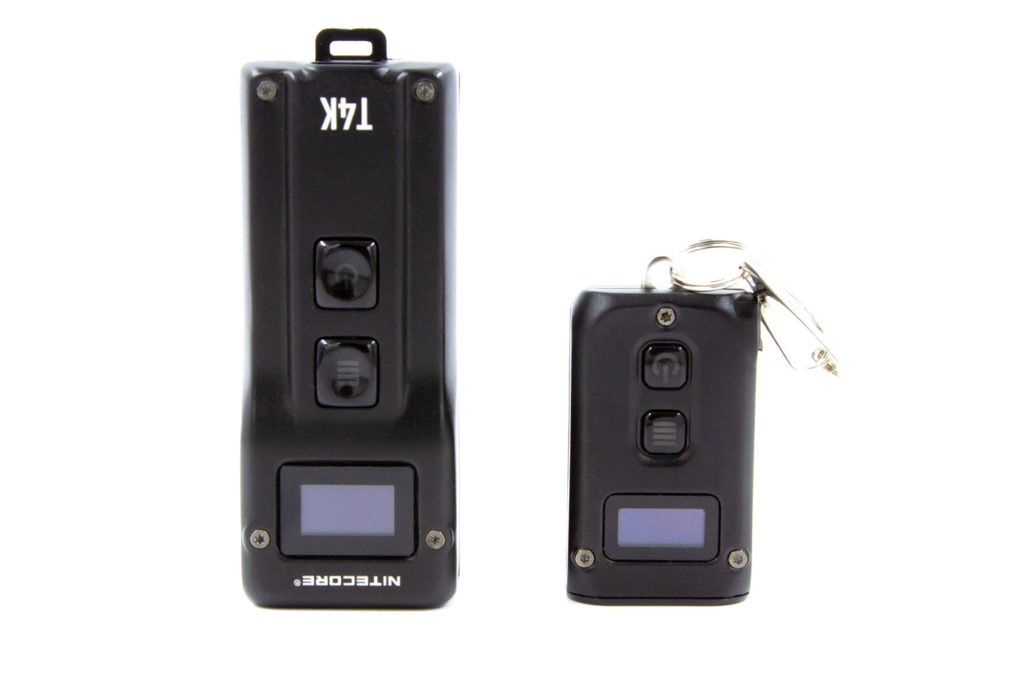
Size compared to other Keychain Flashlights
Image 1: From left to right: Sofirn IF25A, Nitecore T4K, Emisar D4.
Image 2: Nitecore T4K, Nitecore Tini 2
Driver & User Interface:
The Nitecore T4K generally has 2 overarching modes – Daily mode, and Demo mode. There’s two lockout modes, and in one of them, you can still (semi) use the light.
Out of the box, the light will come into Demo mode. This mode is the same as Daily mode, but with the difference that the light will only stay on for 30 seconds after the last mode change. Turbo can still be accessed as per Daily mode, but more on that later.
To switch between Demo and Daily mode, hold both buttons on the light and the display will show the mode changing, and flash (once for Daily to Demo, and twice for Demo to Daily).
Modes:
- Ultra-Low (1 lumen)
- Low (15 lumens)
- Mid (65 lumens)
- High (200 lumens)
- Turbo (4000 lumens)
From OFF:
Mode button:
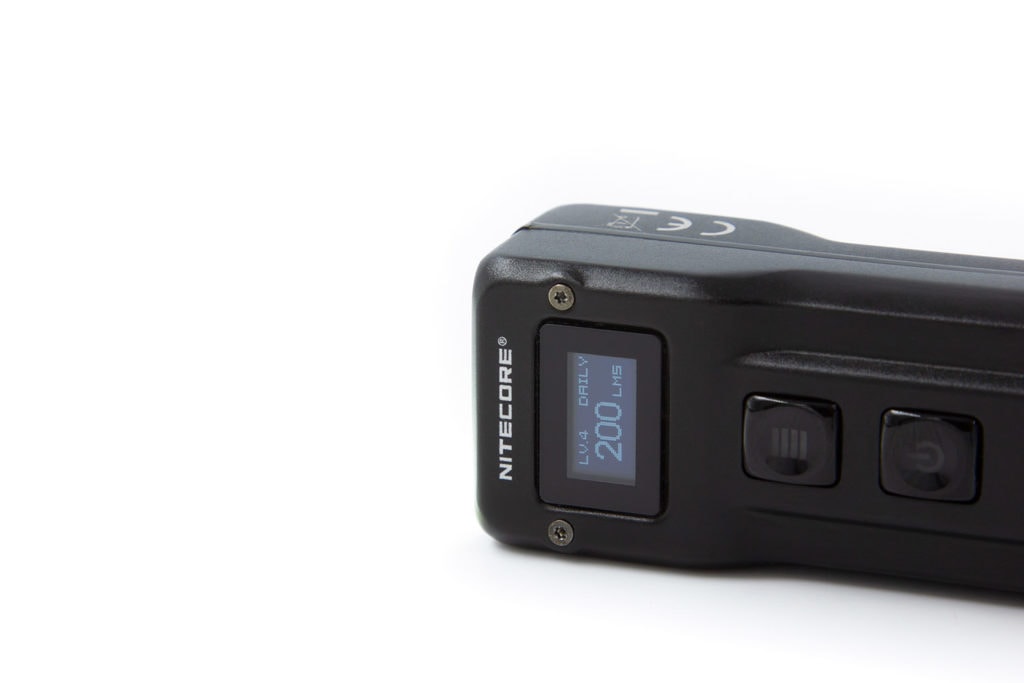
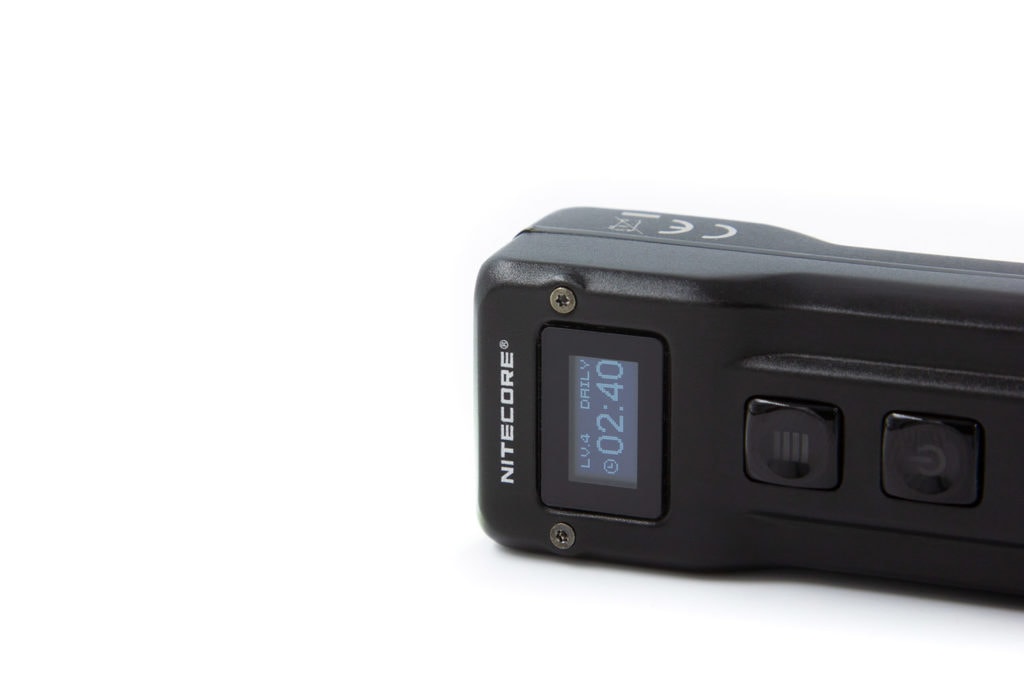
- 1 click: Turns display on, showing battery life, main mode (Daily/Demo), and brightness level (marked as Lv.1 through Lv.4)
- Press and hold: Turbo (see note below)
Power button:
- 1 click: On : last used mode
- Press and hold: Ultra-low (1 lumen)
- 1 click + press and hold for 1 second: Lockout mode 1
- 1 click + press and hold for 3 seconds: Lockout mode 2
See notes below regarding lockout modes, once you’re in them.
From ON:
Mode button:
- 1 click: Cycle through modes, Ultra-low through High
- Press and hold: Turbo
Power button:
- 1 click: Off
- Press and hold for 1 second: Lockout mode 1
- Press and hold for 3 seconds: Lockout mode 2
Turbo mode:
Turbo on the T4K lasts for around 10 seconds and shows a progress bar in reverse, in effect the timer counting down. Realistically it’s not a bad thing – the light is very warm by the end of the timer, and running it for 20 seconds would probably have it be either unreasonably hot or severely throttled by thermals. I usually wouldn’t use a turbo mode for more than that long on something like this anyway, and I’ve been trained by the Emisar D4v2 not to use it for that long, so I don’t see that timer as an issue.
You can almost instantly re-engage Turbo, but it progressively lasts for less and less time due to heat constraints.
Lockout modes:
So there’s two lockout modes on the T4K, indicated by a padlock with a 1 or 2 in it. In Lockout 1, you can still enter turbo mode by holding the Mode button. In Lockout 2, the light is not able to be turned on.
You enter lockout mode by holding the power button while the light is on, or a click then hold from off. As you hold the power button, you’ll see the padlock with a 1 on it, and then it changes to a 2 a few seconds later. Exiting both lockout modes is done the same way as entering it from OFF – click then click-hold. A key icon will appear on the screen, and then a progress bar will show. The light will then turn on in the last-used mode (except Turbo).
Low voltage warning:
- At 3.4V, the buttons will light up blue once every two seconds – I feel this is quite high, and 3.1 or 3V would be perfectly fine.
Strobe/blinkies
- Thankfully there’s no strobes on the T4K – a keychain light isn’t the best place for it.
PWM
- The Nitecore T4K is advertised as not having PWM, and I can’t detect any with my eyes, nor my camera.
Batteries & Charging
The T4K has an internal 1000mAh cell, which is recharged by a USB-C port on the “bottom” end (opposite the emitters). It’s next to the keyring attachment though, so either the cable included in the box, or a cable with a similarly slim plug end is needed if the attachment is on.
When connected to a charger, the screen will light up with the current voltage and an increasing progress bar, but this will turn off after a few seconds. The two buttons will light up blue for one second, and then off for one second until the battery is full, at which point the lights stay blue.
There’s no plug, so it’s more susceptible to dust and water, hence the IP54 rating.
It will work on both USB-A to USB-C, as well as USB-C PD – although it only charges at 1A, and then lowers down as the battery approaches full.
Performance
For my readings, I use the following:
Lux Meter: For lumen readings and runtimes, an Adafruit TSL2591 connected to a Raspberry Pi running Ubuntu, using RuTiTe by bmengineer in a custom sphere (build document coming soon, when I have some more time). A UNI-T UT383S is used for candela readings. An Adafruit MCP9808 rounds out the list for temperature monitoring.
DMM: UNI-T UT139C and UNI-T UT210E – 16AWG wire is used directly into the 139C via some banana plugs, and 8AWG wire in a loop for the UNI-T. The DMM I use depends on how high the expected current will be – I use the 139C for <10A, and the 210E for >10A.
Amp measurement
Given that this light has a fully internal battery, measuring amps is a bit of a silly task. But I’m going to do it anyway! That said, because the battery is soldered to the driver, I can get a clamp meter around the wires, but don’t feel good about de-soldering the battery to test that way. So what I have is the High and Turbo current readings:
- High: 400mA
- Turbo: 10A
Hoo boy, big jump there. Useless for everyone except the truly nerdy, or those wanting to do emitter swaps down the line (ie. me).
Runtime graph
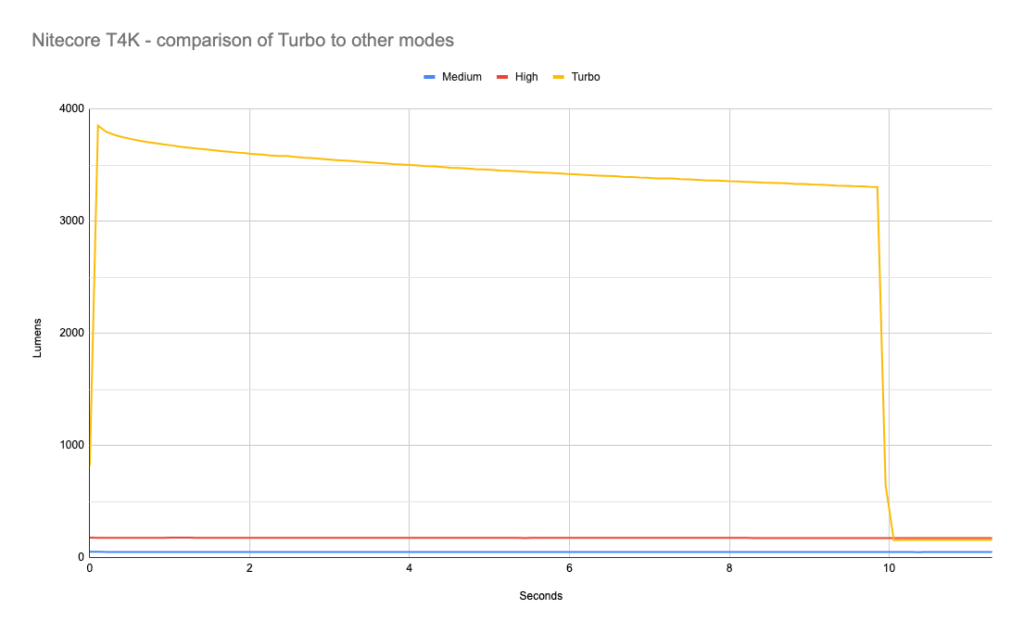
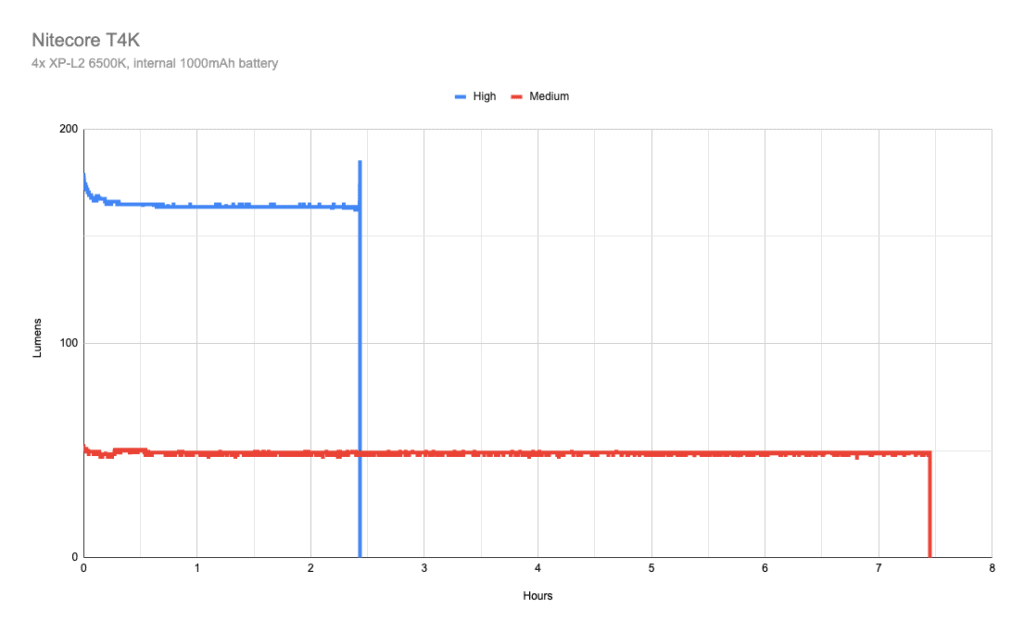
Given that Turbo only works for 10 seconds, I won’t be stressing the light by hitting turbo over and over again; it doesn’t really result in much, as the light gets heat-soaked, and turbo lasts for shorter and shorter periods until it lasts for less than 1 second. I’ve run High and Mid, though, as I believe these will be the most commonly used modes for longer periods of time.
As expected, the light holds its output pretty solidly for close to the times advertised. On High I got 2:25h vs 2:45h advertised, but the room was hotter than usual (good old summer heat), but on Mid I got 7:27h vs the 7h advertised.
One thing of note is the flick upwards in the output of the High run before the end. I don’t really have a good explanation for that…
Lumen measurements (for each mode)
- Ultra-Low: 1 lm
- Low: 14 lm
- Medium: 51 lm
- High: 176 lm
- Turbo: 3736 lm
So while not quite hitting 4000 (on my sphere), it’s within the margin of error I expect with not having professional equipment, and realistically there’s almost no visible difference between 3736 and 4000. Nice!
Throw numbers:
These numbers are for Turbo.
- 5m indoors: 568 lux = 14,200 cd = 238.33m throw
- 10m outdoors: 150 lux = 15,000 cd = 244.95m throw
I’m slightly out on one of these, but I did a lot more tests at the 10m range because I was trying to get a repeatable setup working using a laser measurement device, so I’m inclined to believe that end of it more. It’s a decent amount higher than advertised (10,900cd, 204m), so I’m fairly chuffed with that.
Beamshots
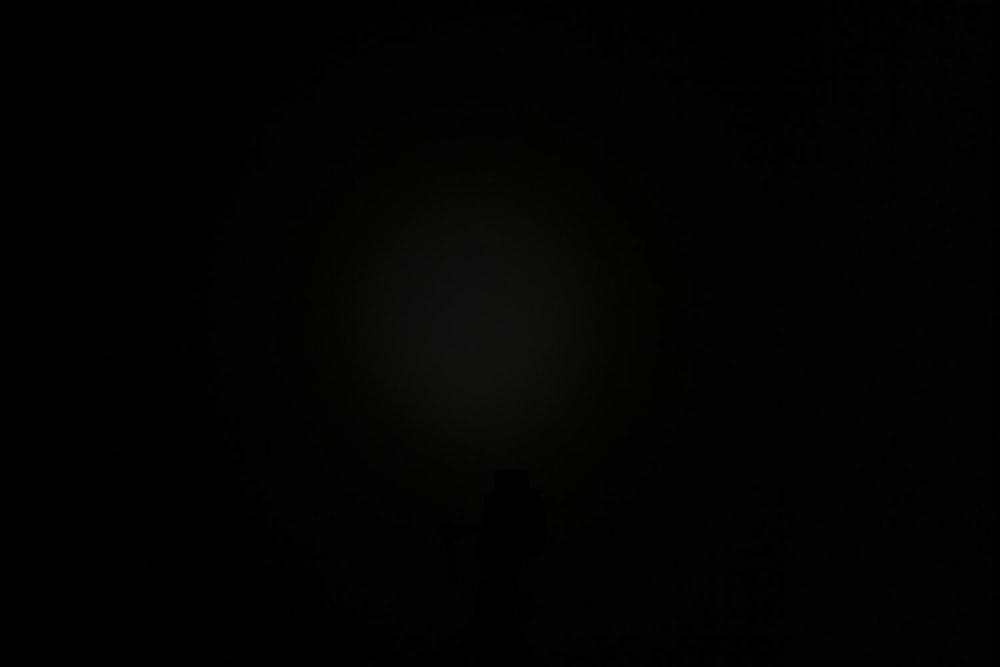
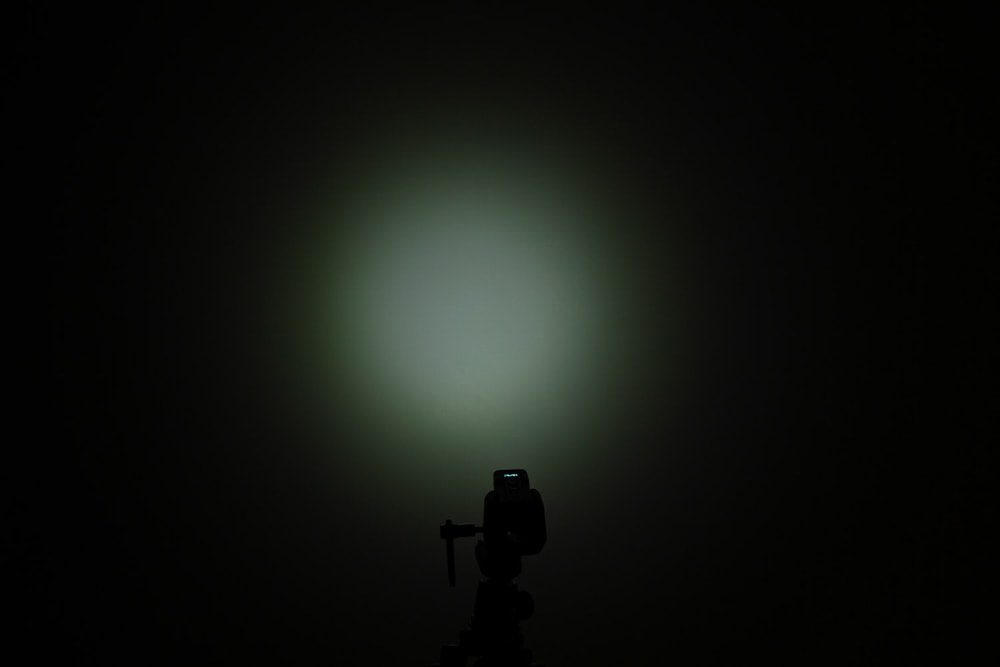
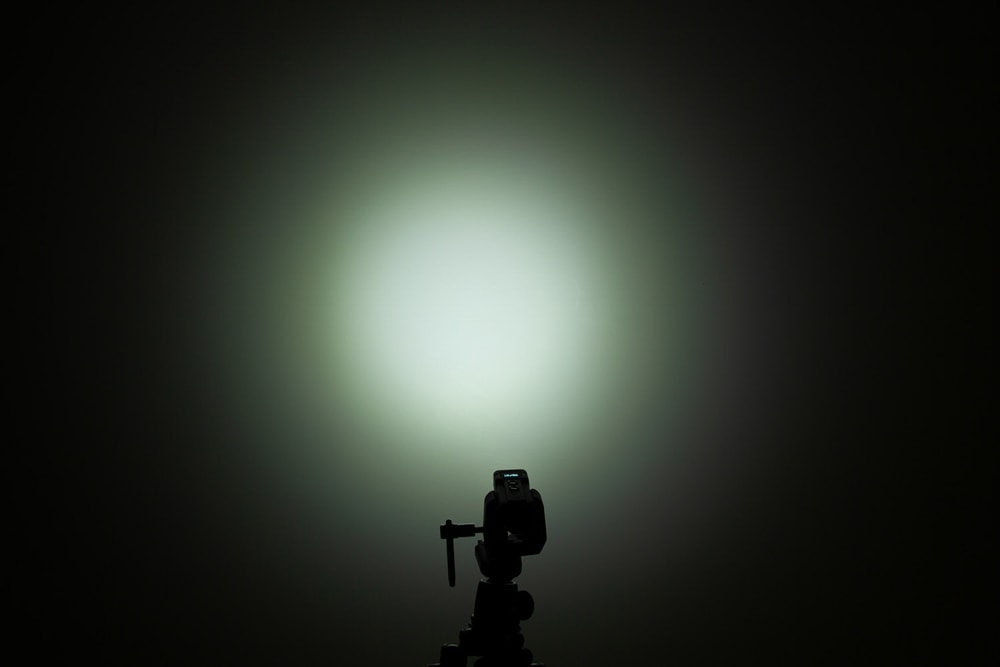
All wall-shots taken at 0.3s, f8.0, ISO 100, 5000K WB; straight off the camera with no adjustment in post. Lights are approximately 60cm from the wall.
The 1 lumen mode almost looks invisible, but it’s definitely visible to the eye – just quite dim.
Last 2 images: Nitecore T4K, Emisar D4…. Nitecore T4K, Sofirn IF25A


Disclaimer: This flashlight was sent to me for review at no cost by Nitecore. I have not been paid to review, nor have I been holding back on problems or defects.
Final Verdict
Pros
- Whole lot of light in a small package
- Simple UI (good in a light like this)
- Easy USB-C charging (PD included)
- Love the OLED screen
Cons
- Whole lot of light for only 10 seconds
- Quite expensive for what it is

3.5 stars: ★★★⋆
This is actually quite tough. On one hand, it’s quite a decent flashlight that can put out a wall of light, albeit not for very long. On the other, it’s essentially a fairly large 200 lumen light, taking the turbo burst out of consideration.
I feel like if there’d been a higher “normal” mode, like 500 lumens, or a lower but longer turbo mode, then there’d be more utility, but the jump from 200 to 4000 (or, if you look at it another way, 4000 down to 200) lumens is just too great. It’s an impressive spectacle, but it shoehorns the light into the “fun toy” category.
It’s a very well made light, with a good UI and great screen/styling, but the mode spacing and its abilities hold it back. If there were a 500 lumen high, and a turbo to only 2500 lumens, but for longer, I think it’d be far more effective.
This is a light that I think a “stars” score doesn’t truly reflect the reality, but I give it 3.5 stars. Given the price, it’s just a bit too ambitious with the output and the limitations that come with that; with tweaked output levels, this could be a lot greater.
Nitecore T4K discount coupon code
Get 15% off by using discount code 15OFF on orders above $75. Below $75, use our unique coupon code 1Lumen to get 10% off.
1lumen selects and reviews products personally. We may earn affiliate commissions through our links, which help support our testing.