1lumen selects and reviews products personally. We may earn affiliate commissions through our links, which help support our testing.
Sofirn Q8 Pro review
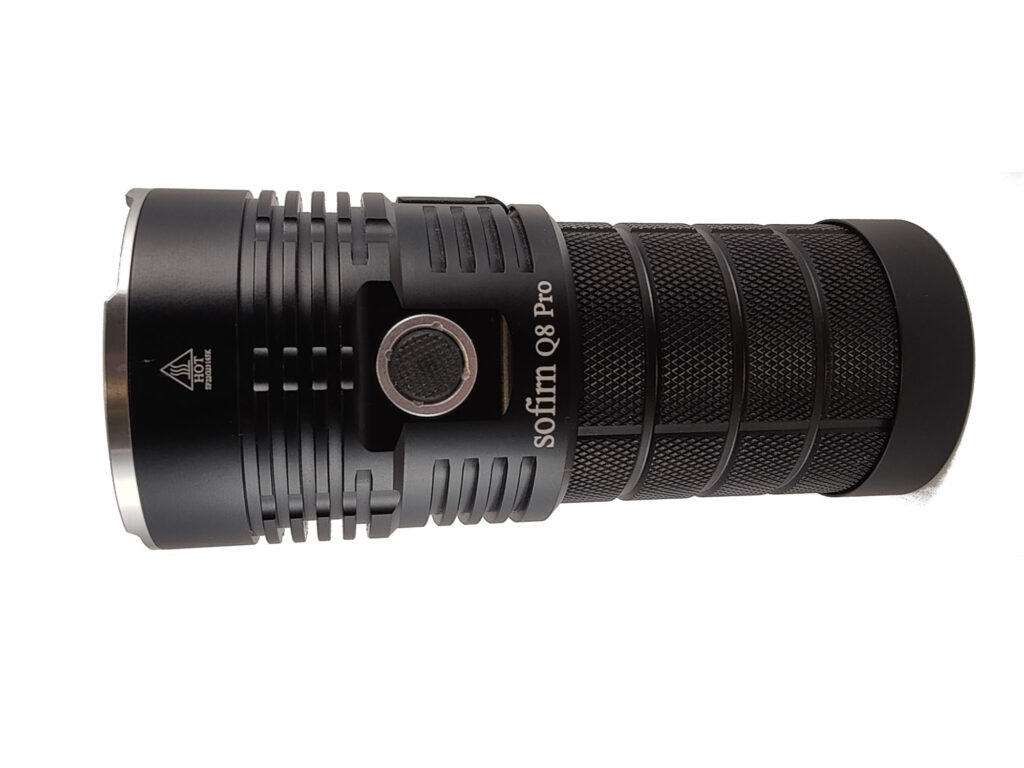
Sofirn Q8 Pro specifications
| Brand & Model | Sofirn Q8 Pro |
|---|---|
| Flashlight category | Lumen Monster / Soda Can Light |
| LED | 4*XHP50.2 |
| Max. output | 11,000 lumens |
| Max. beam distance | 400 meters |
| Battery config. | 4*18650 |
| Onboard charging | USB-C w/ Powerbank |
| Modes | Simplified Anduril: 5 default steps; smooth rampingAnduril 2: 7 default steps; smooth ramping |
| Blinkies | Simplified Anduril: Candle, bike, tactical strobe, party strobe, lightningAnduril 2: Candle, bike, tactical strobe, party strobe, lightning, beacon, SOS |
| Waterproof | IPX8 to 2 Meters |
| Review publication date | December 2022 |
Introduction:
I will be up front. The bubble wrap that is typically around Sofirn lights was ripped when I opened it. When I initially opened the packaging to start this review, it fell. You will probably notice the mark on the top above the logo, but the reason I am telling you this, because I knew this Q8 Pro was an absolute chonk of a light by the heft of the box and the small divot it left on the floor of my office is proof. Frankly, I was a little disappointed but at the same time, even more excited to play with this light and get into the depths of what this can do. Now, for the actual light, this is a predecessor for the Q8, which had a different UI and FAR less output, but overall, the same general shape. With Anduril 2 over Narsil and over double the output of the outgoing model, this really should be a no-brainer. Let’s get to it and see if these changes are for the better!
Package quality.
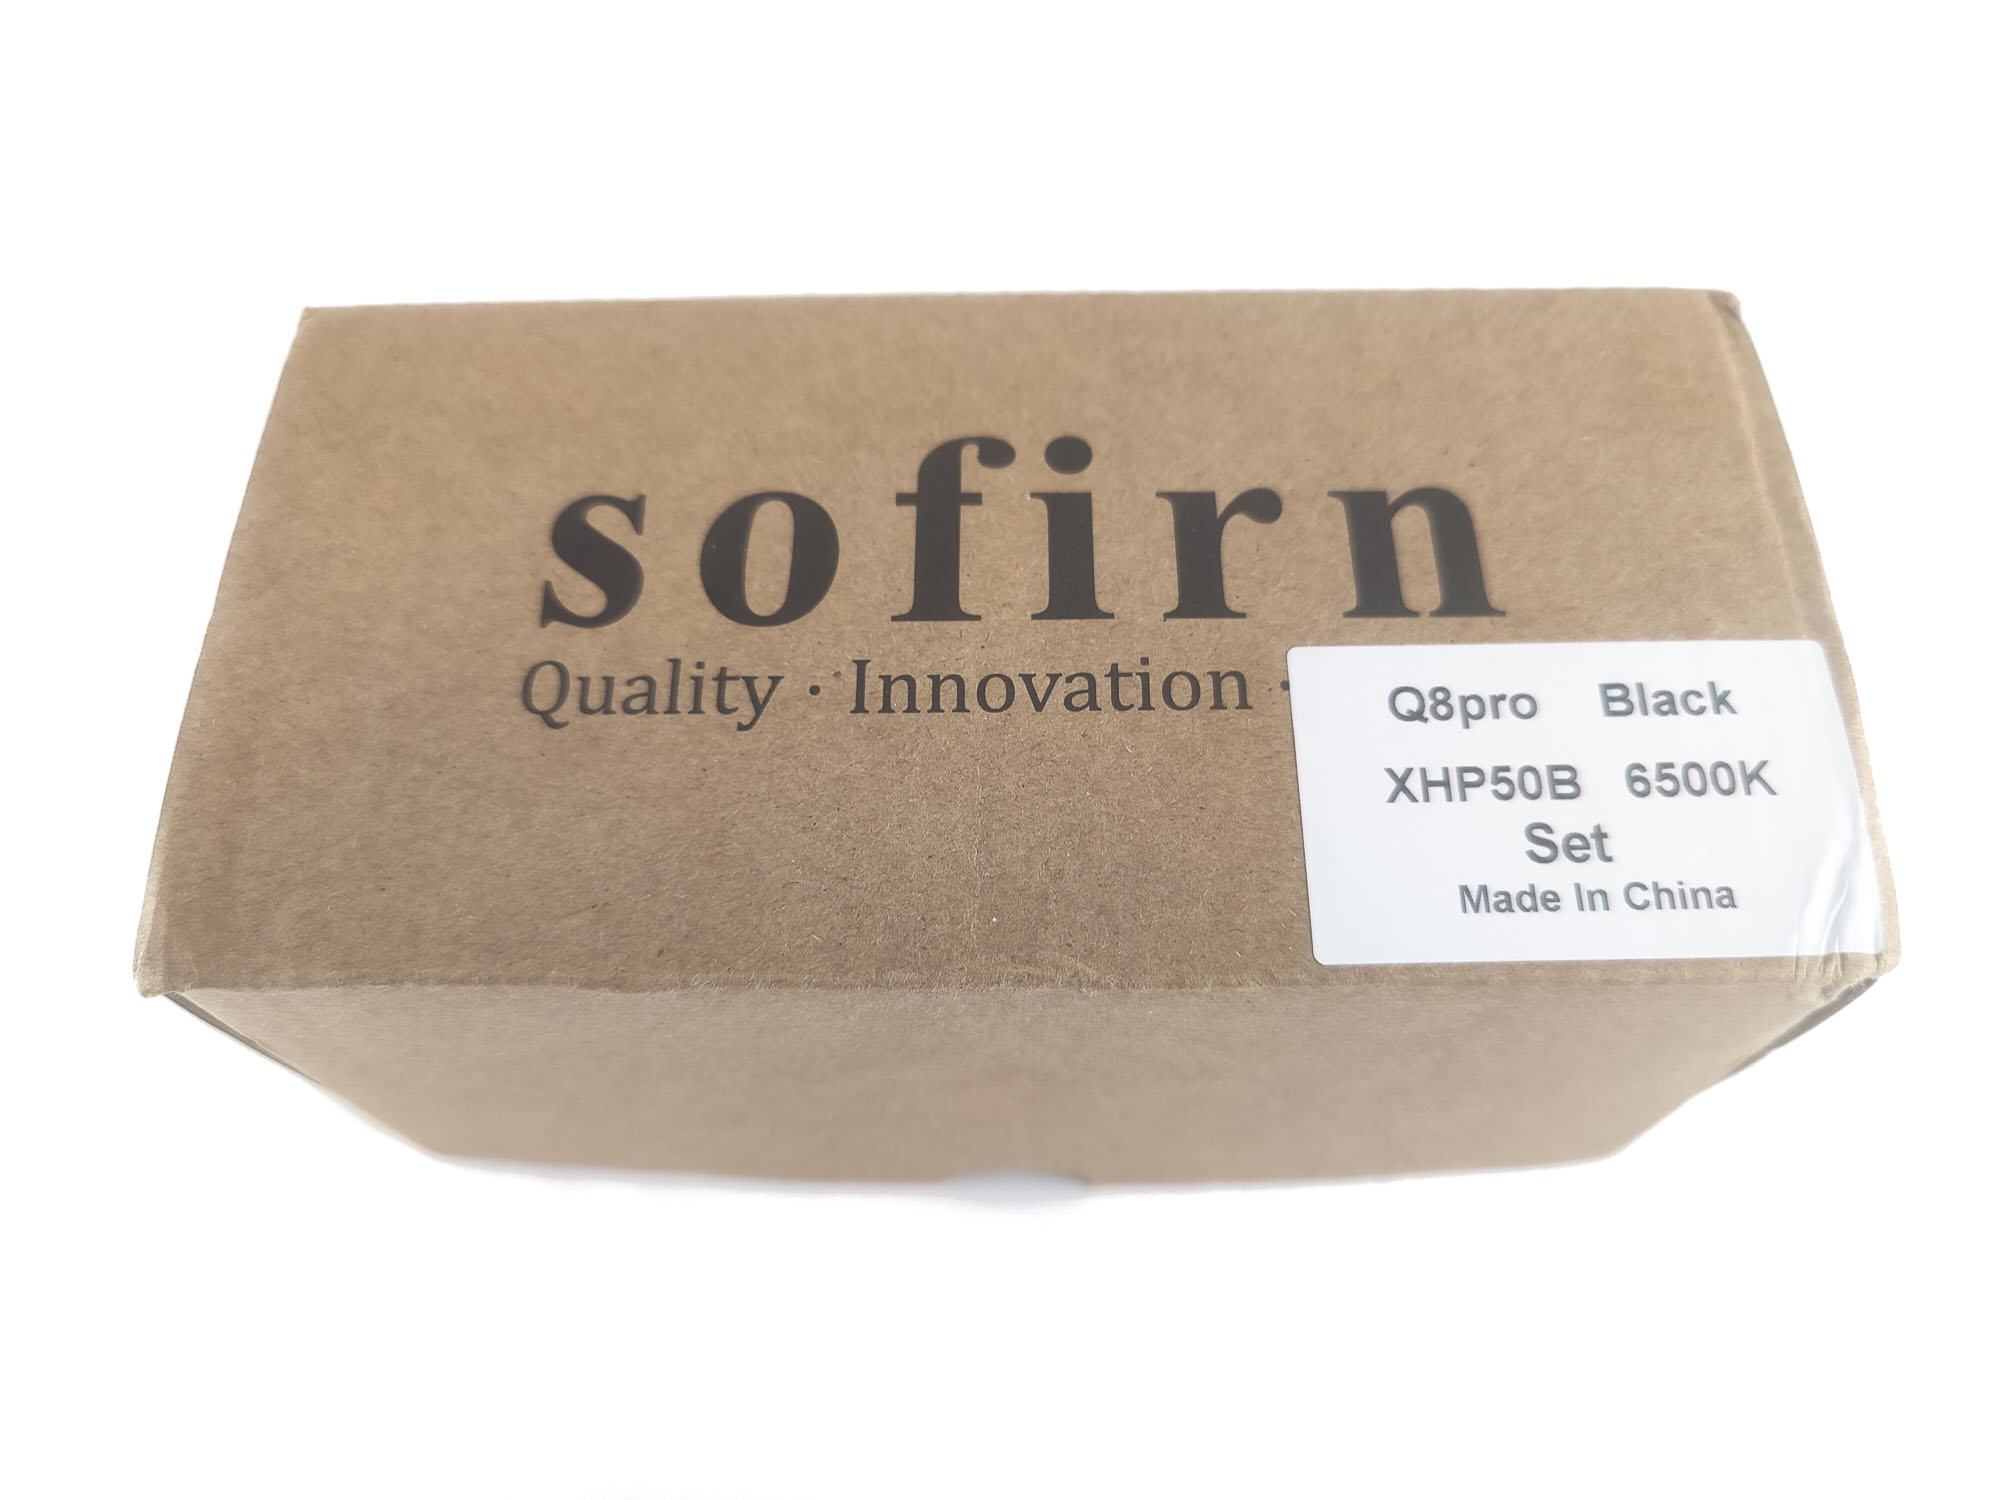
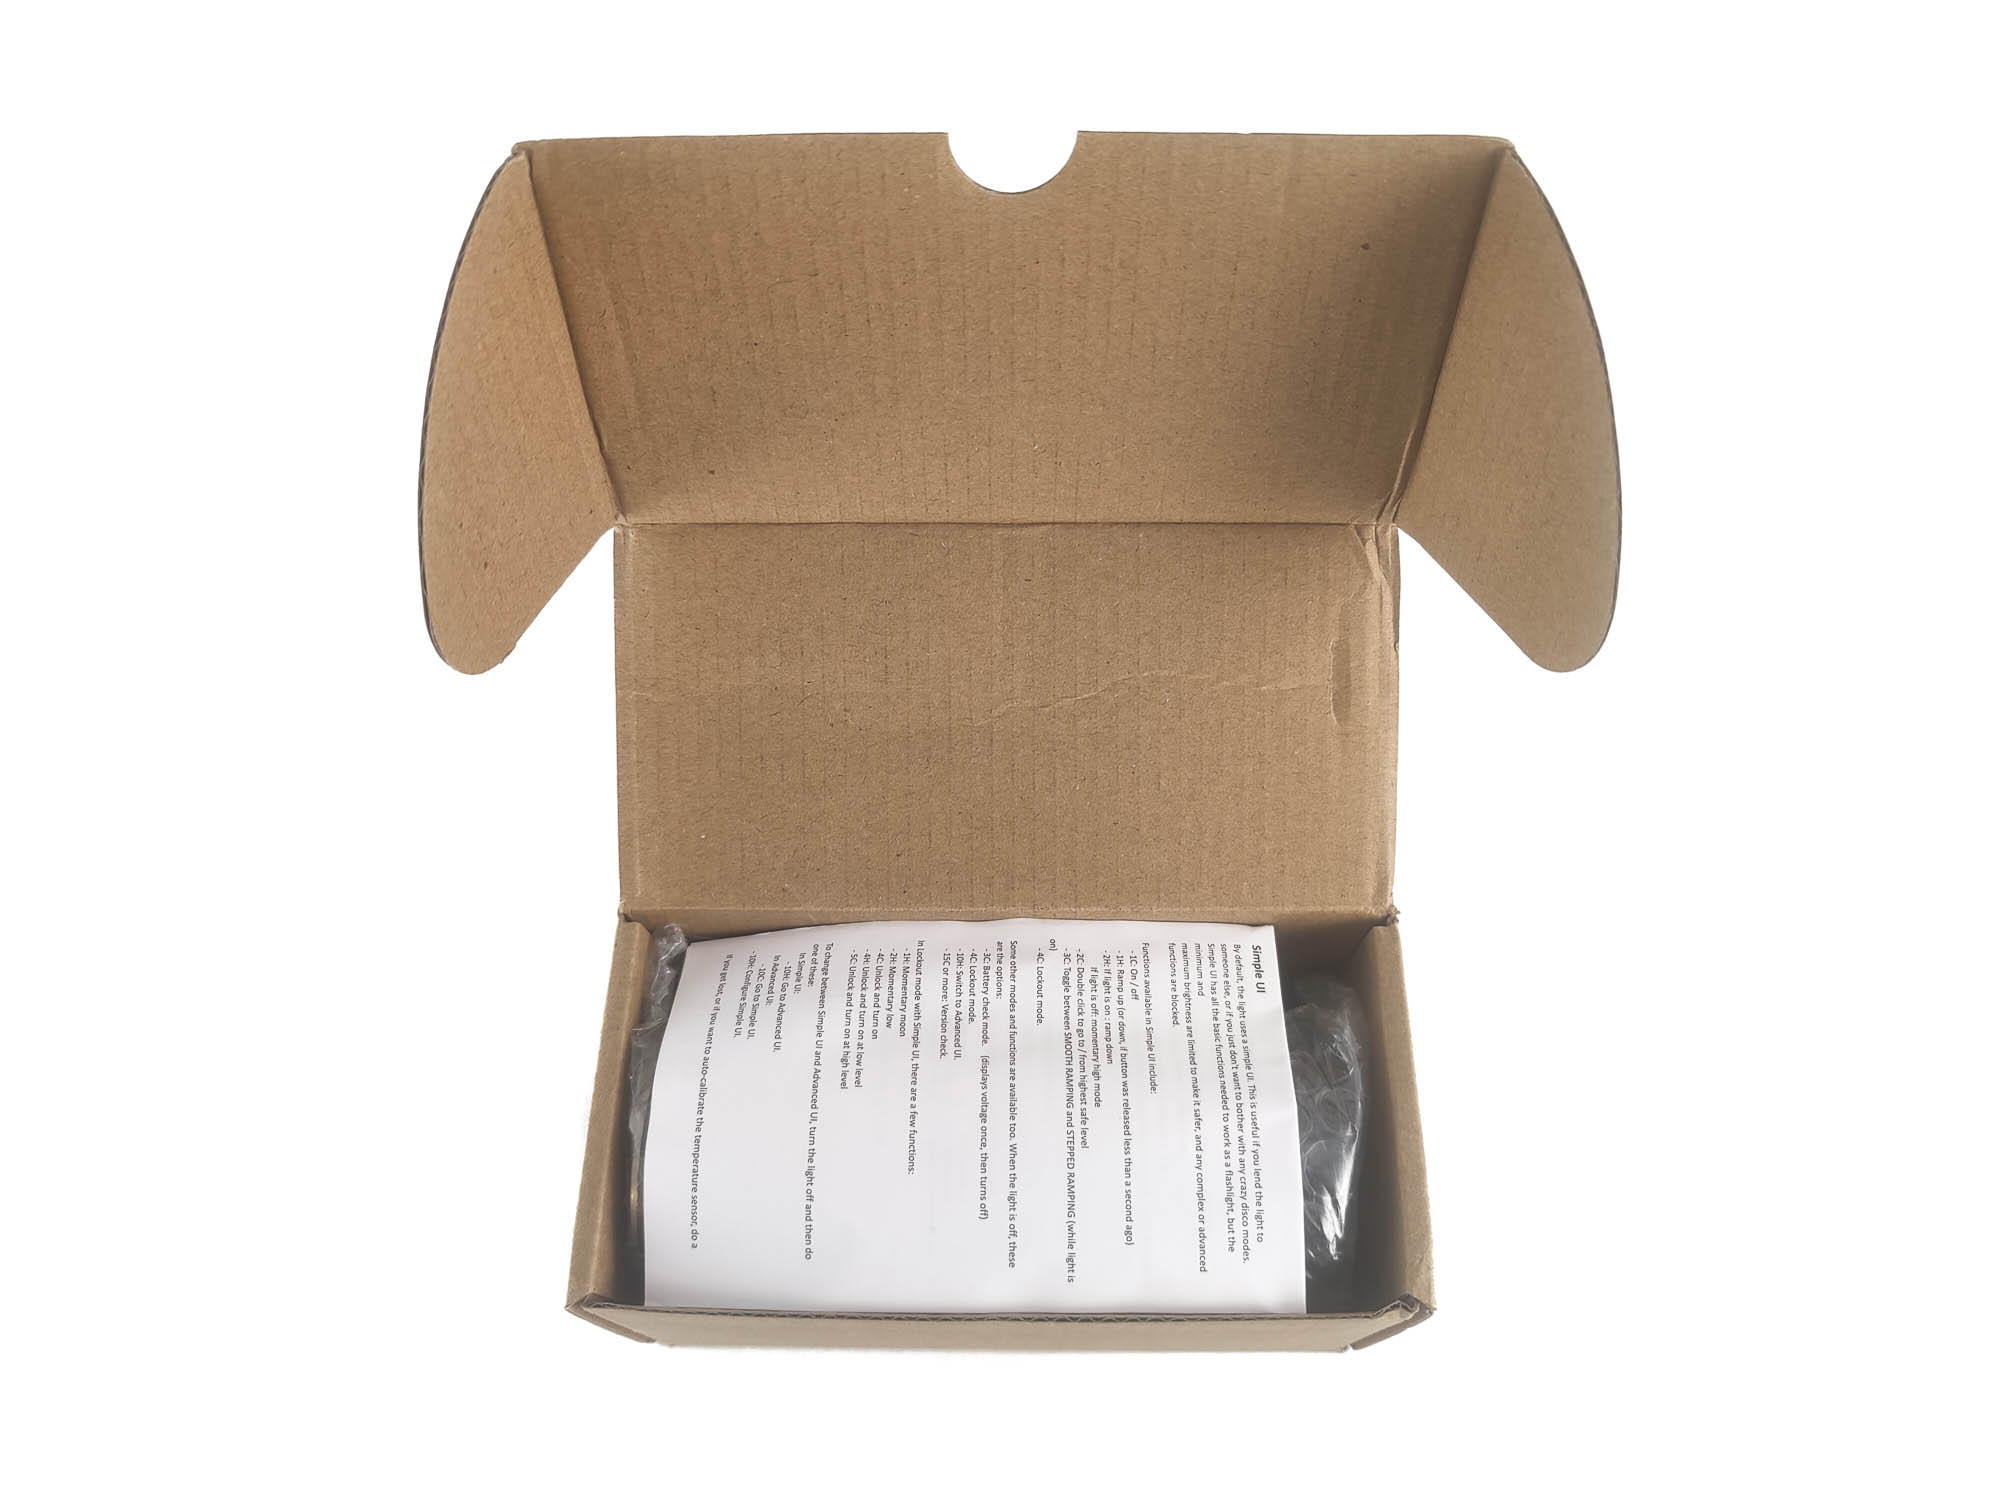
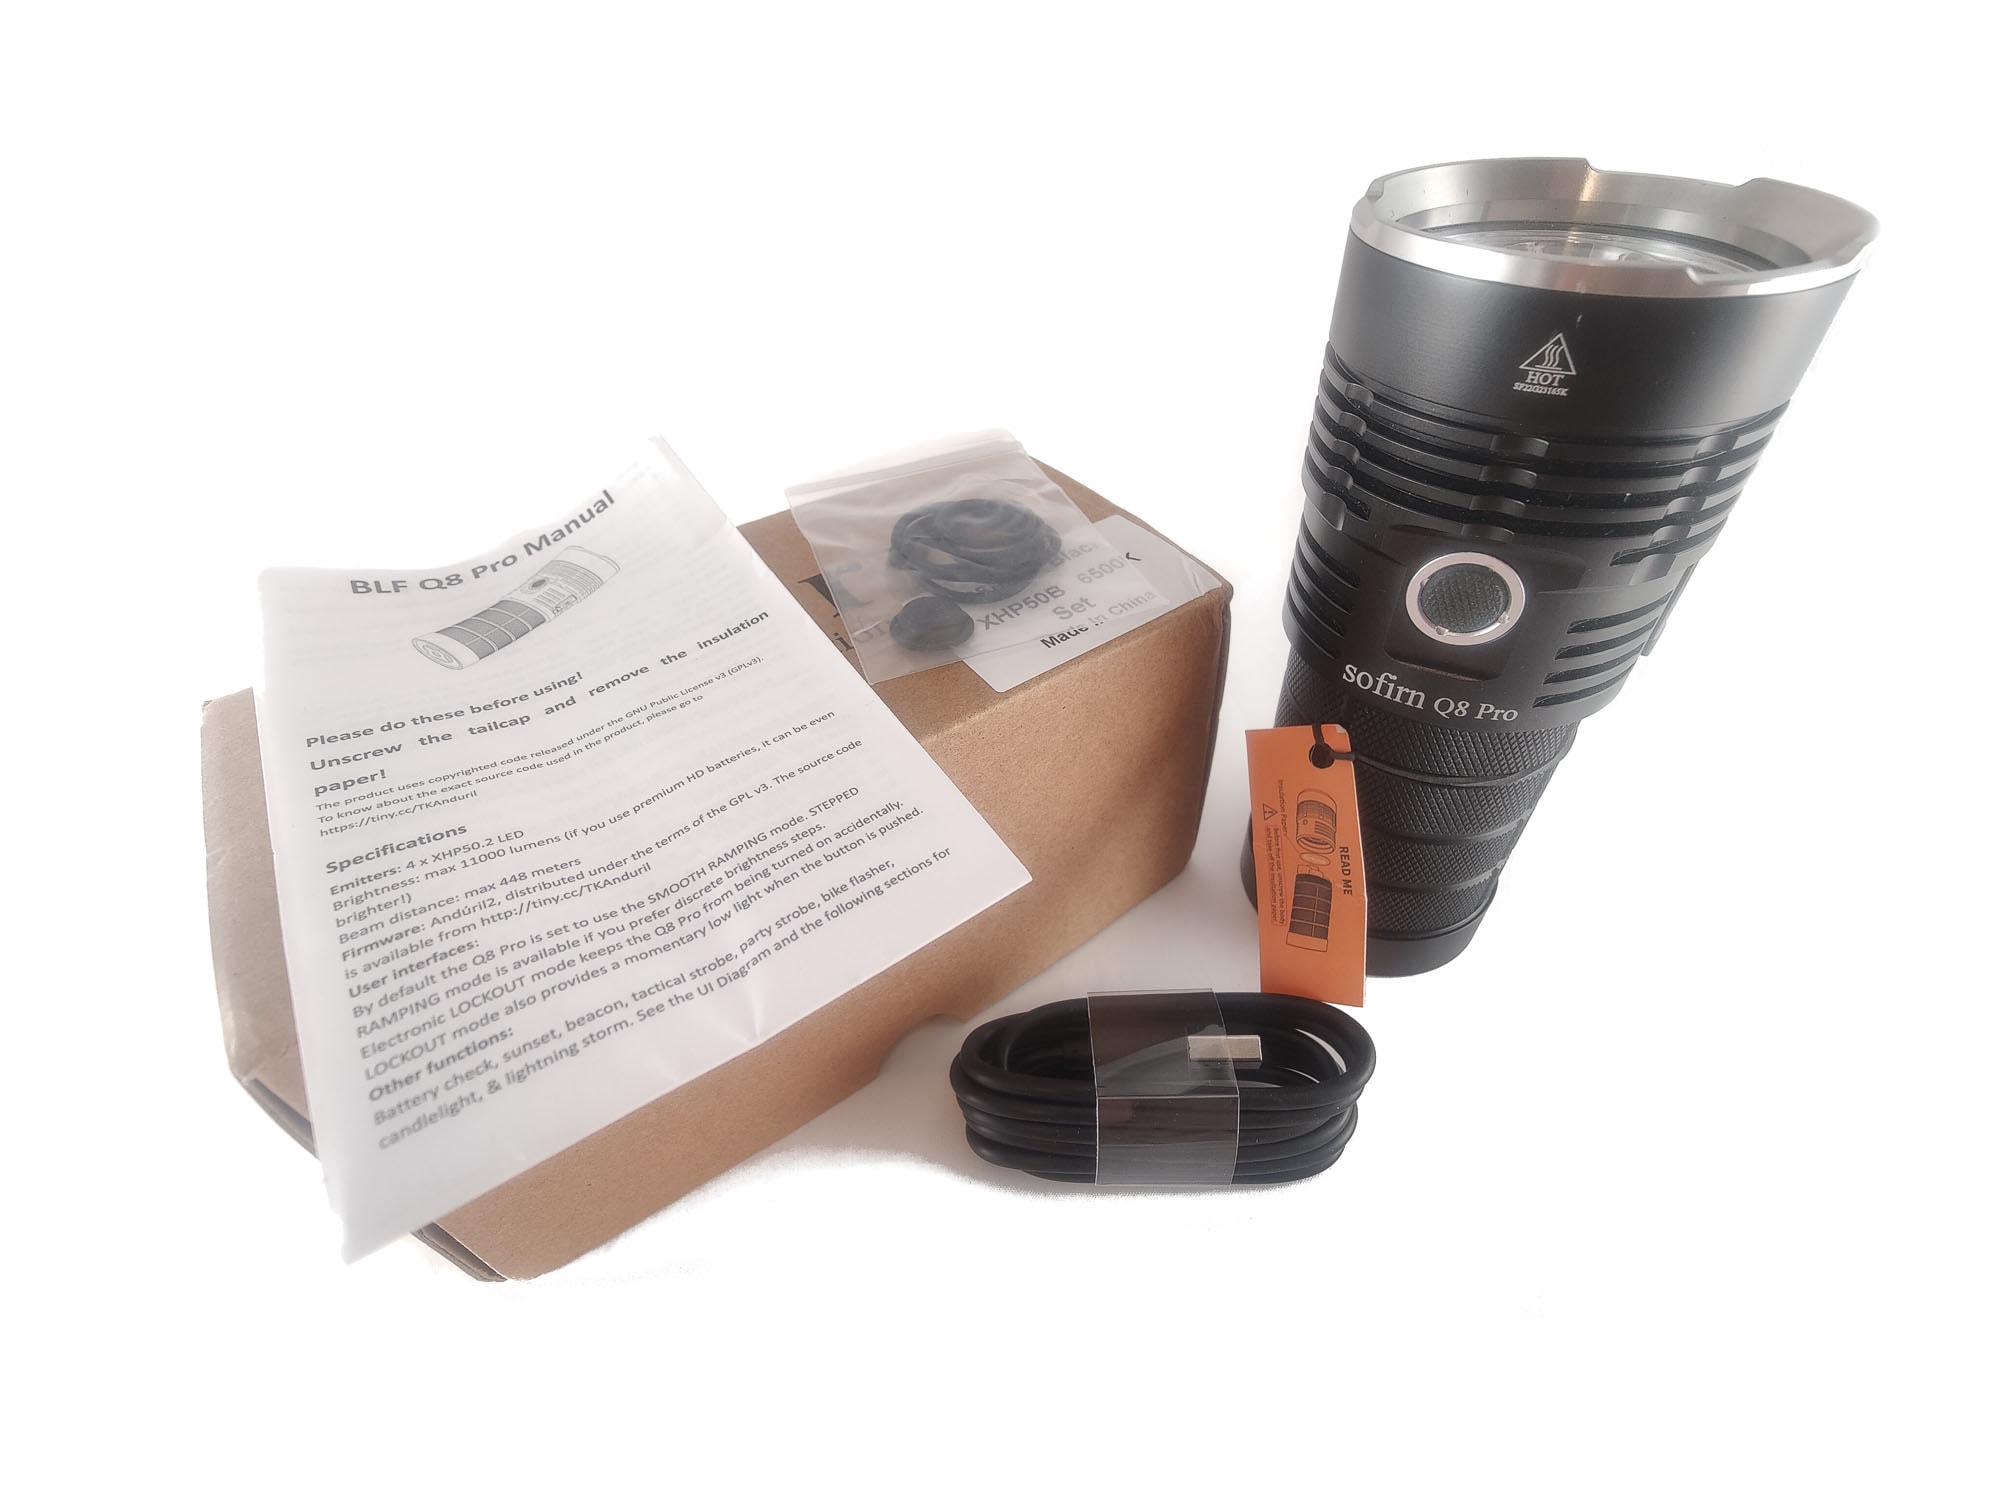
The packaging is exactly what I have come to expect from Sofirn. A cardboard box with the flashlight and all of its fixings nestled in tightly. The only downside, that I spoke of earlier, is that the wrap around the flashlight was already ripped when I opened the packaging, causing it to fall.This has never been the case for the other Sofirn lights I have opened in the past. Included in the box are:
- Sofirn Q8 Pro (with isolated batteries)
- Manual
- USB-C Cable
- Spare O-Rings
- Replacement Button
Flashlight in use
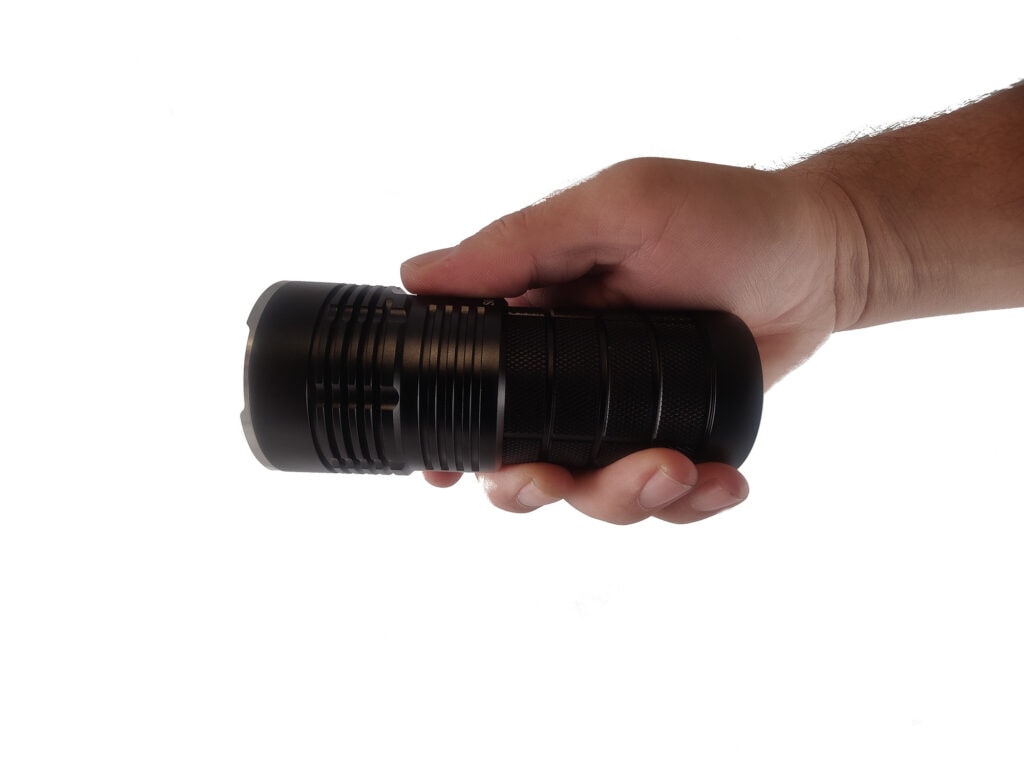
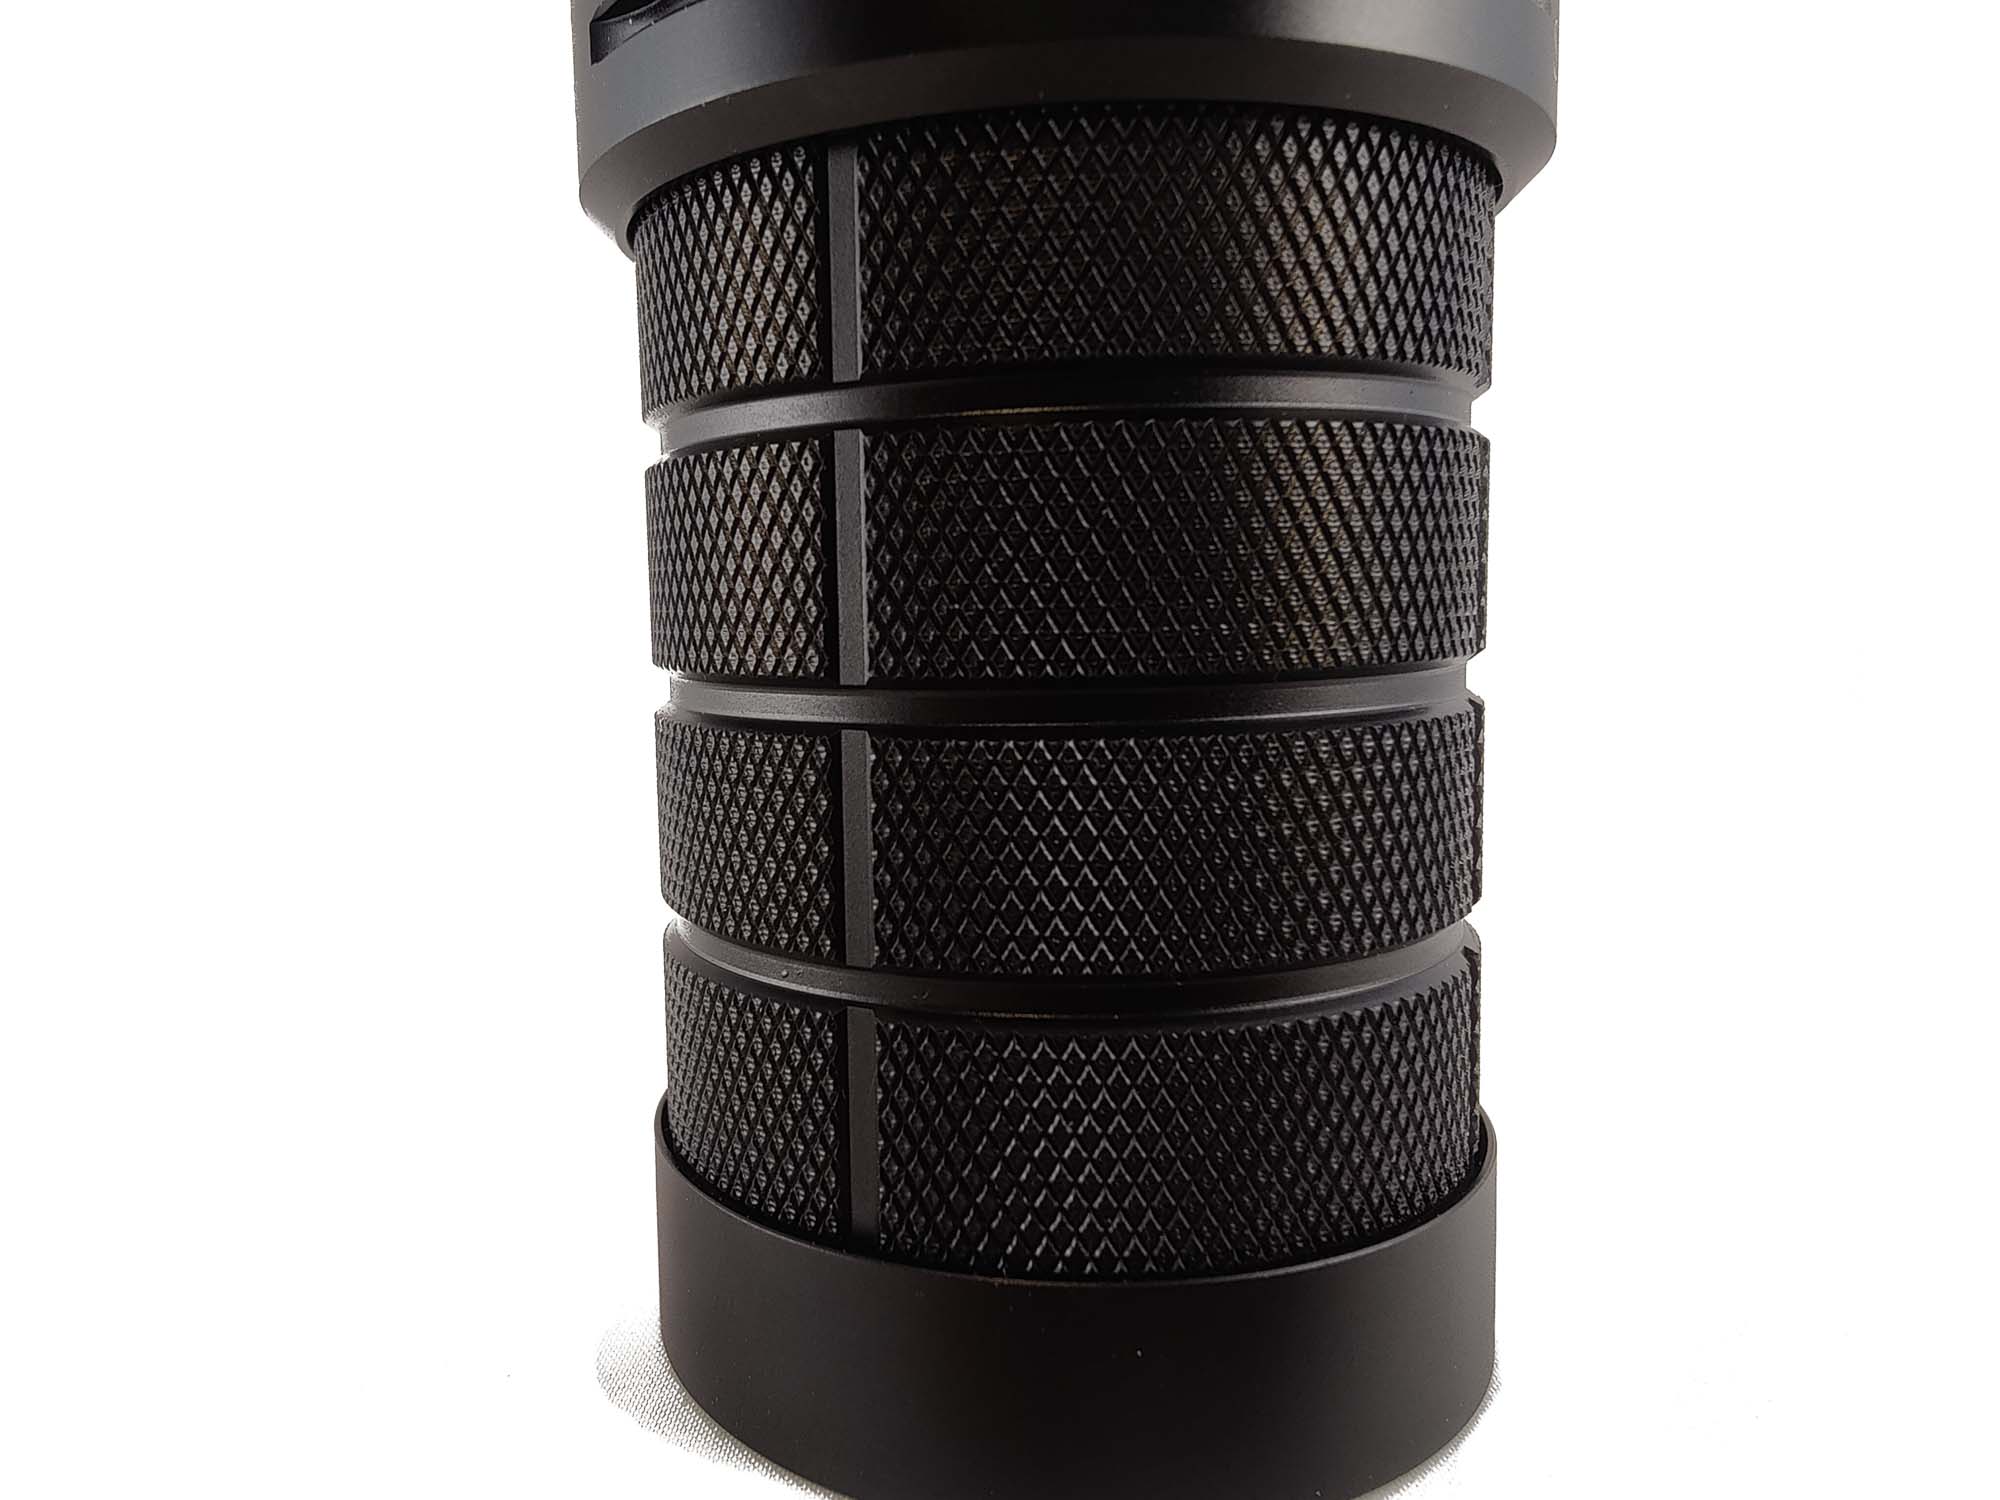
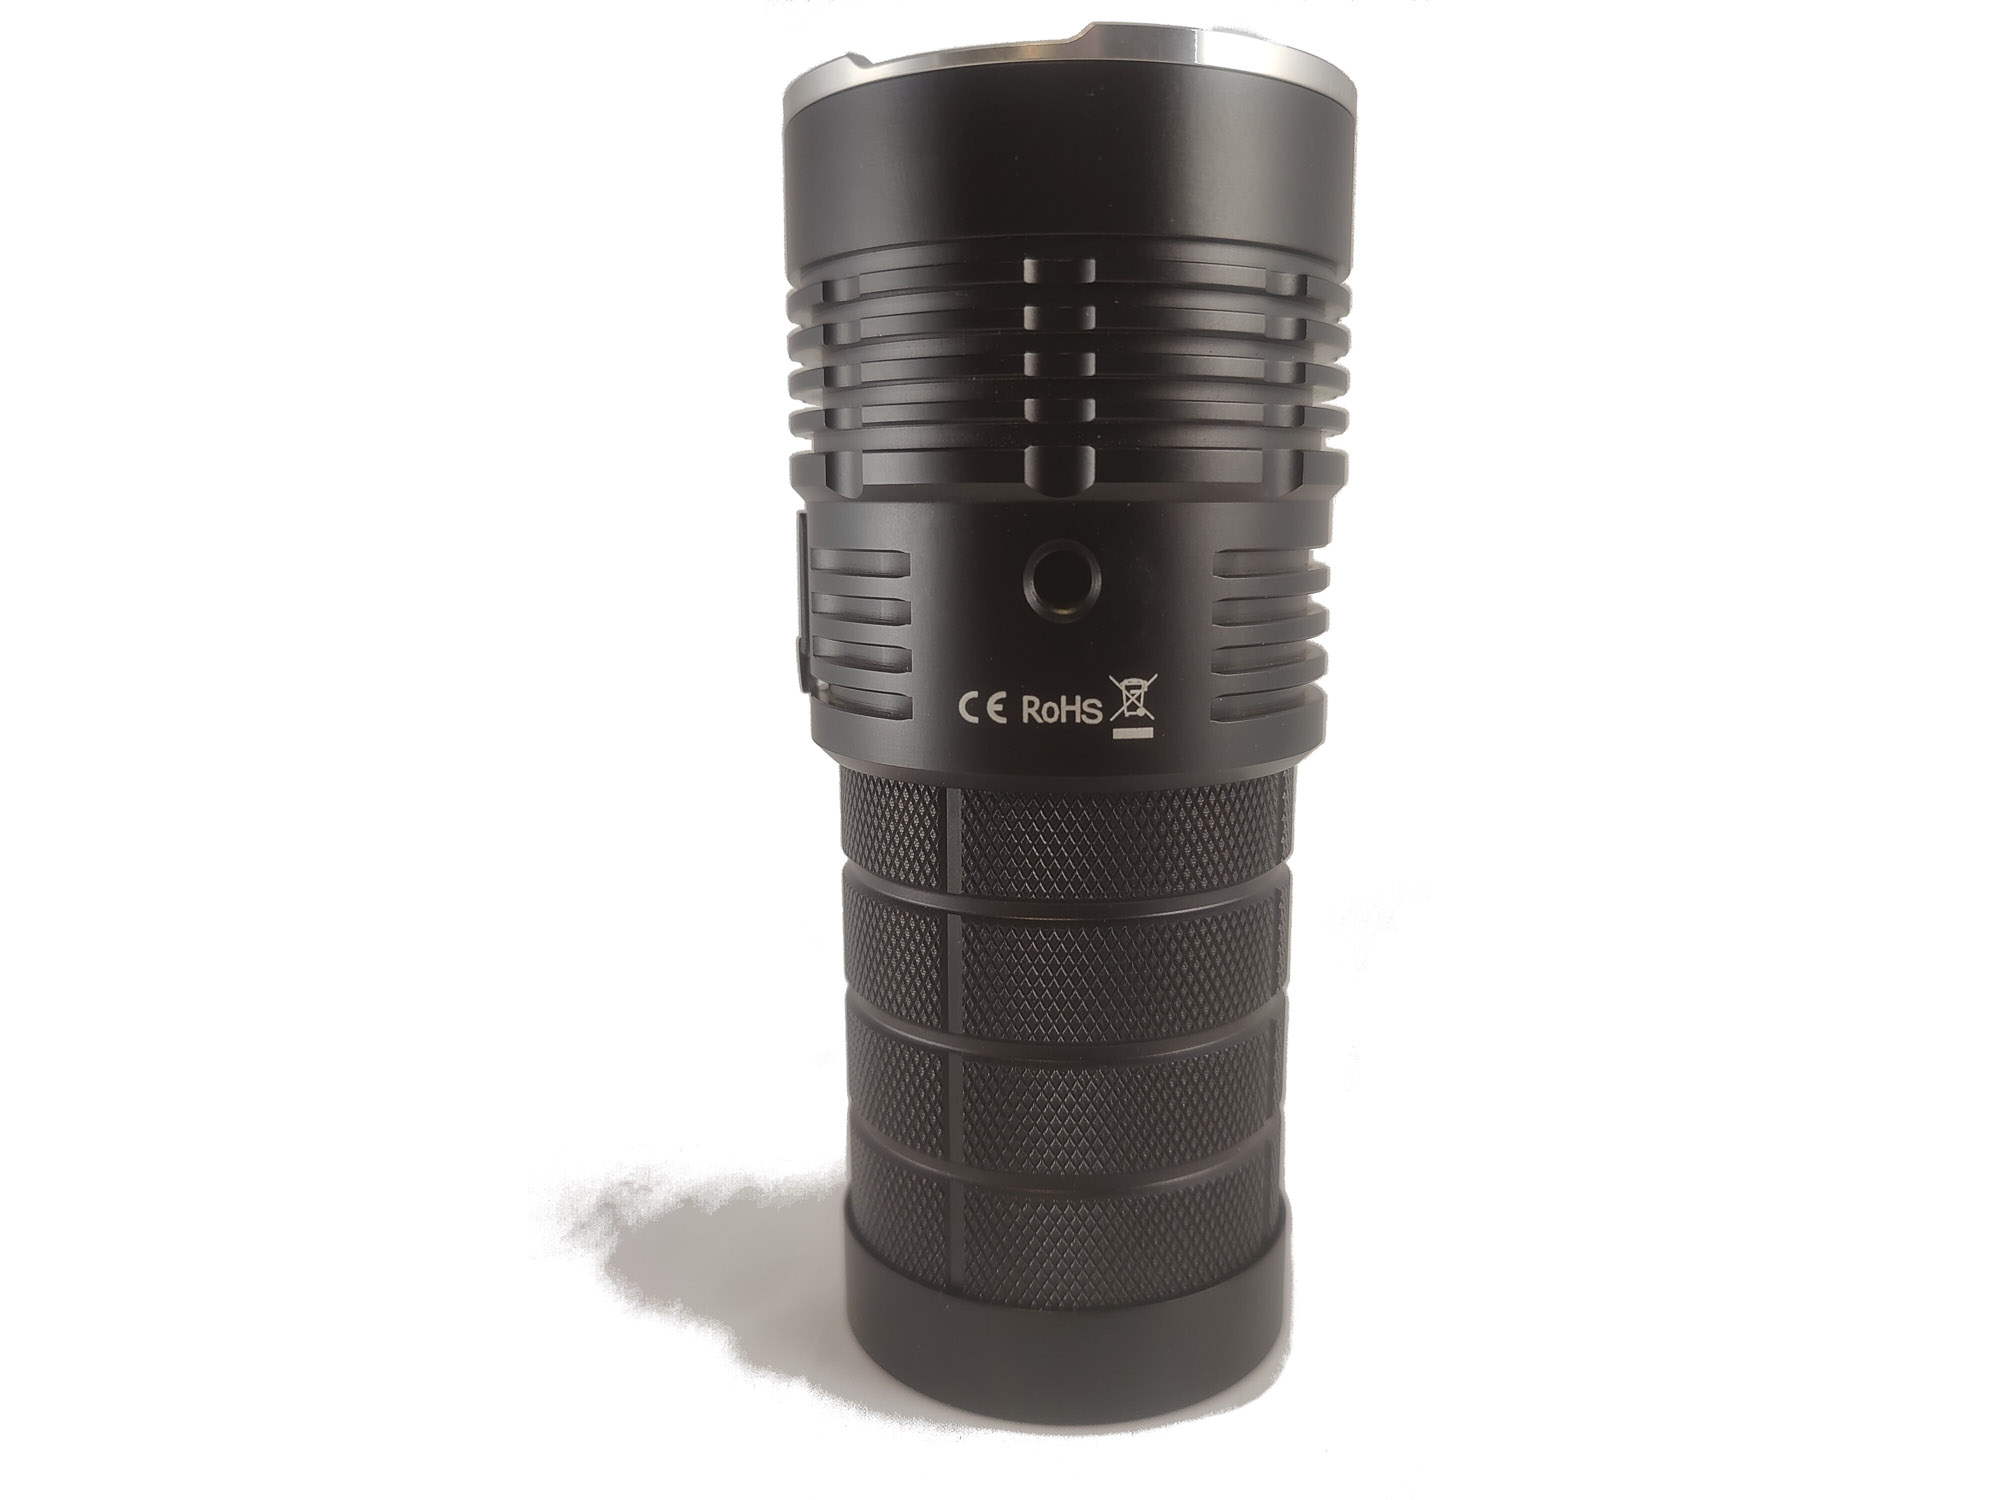
The Sofirn Q8 Pro is not for the small handed. I am 6’2” and 215 pounds (Thanks holiday food!) and it fits well in my hands, but dwarfs the hands of my children. That being said, in my hands, it feels quite good. The knurling gives quite a lot of grip so I had no fear of it falling (again), even though it is very smooth.
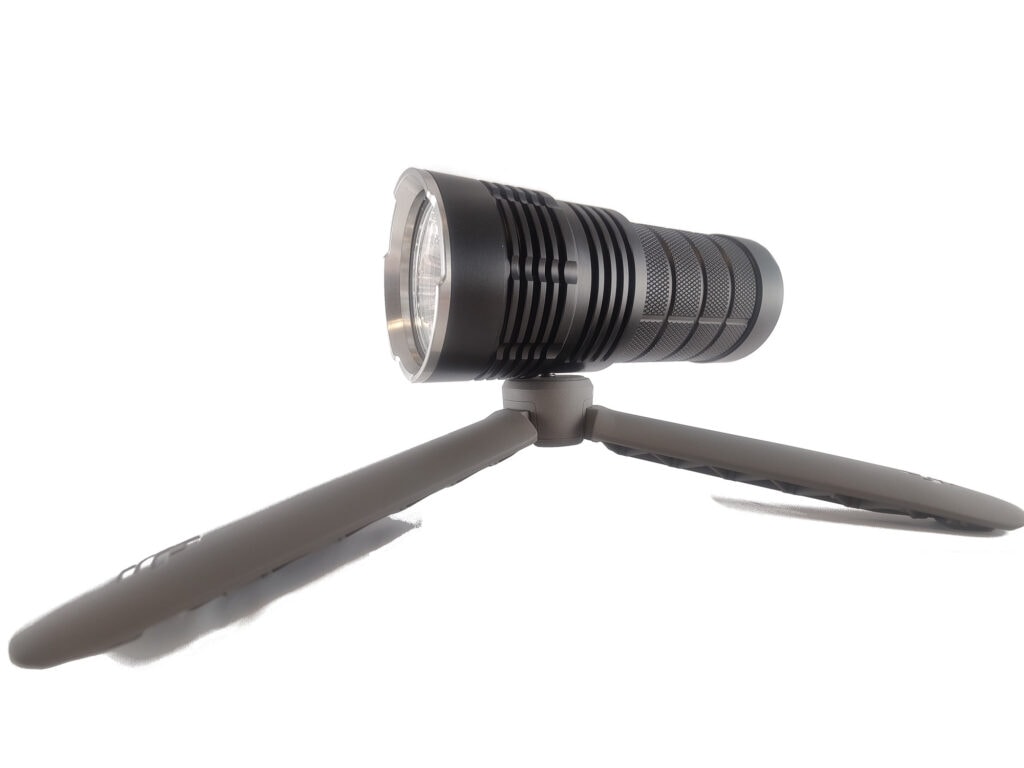
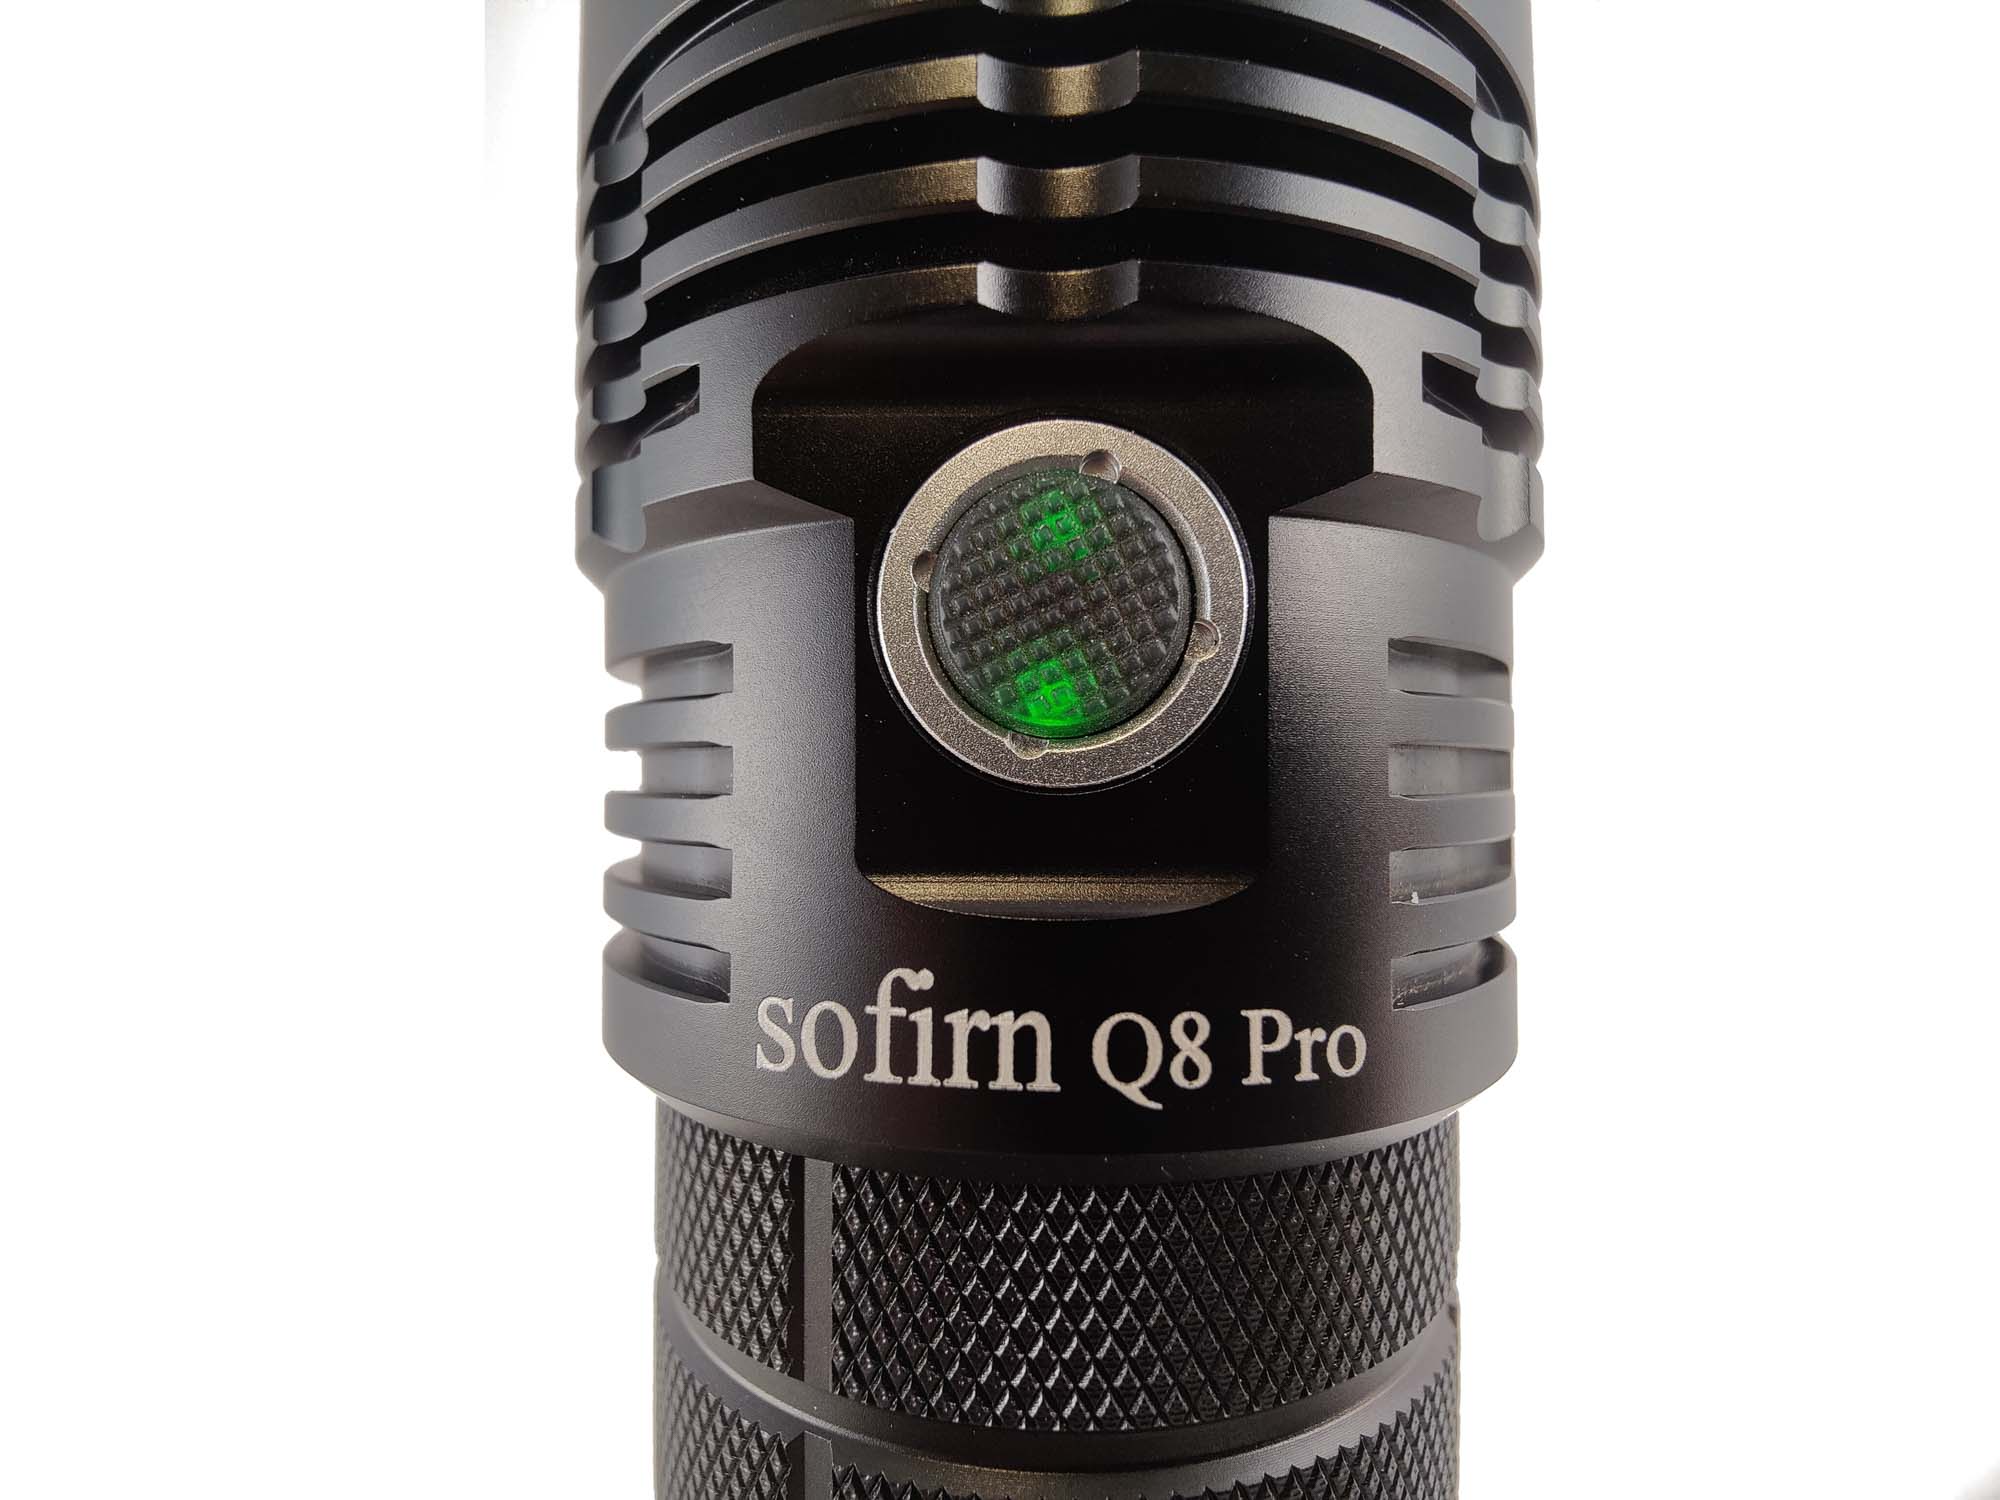
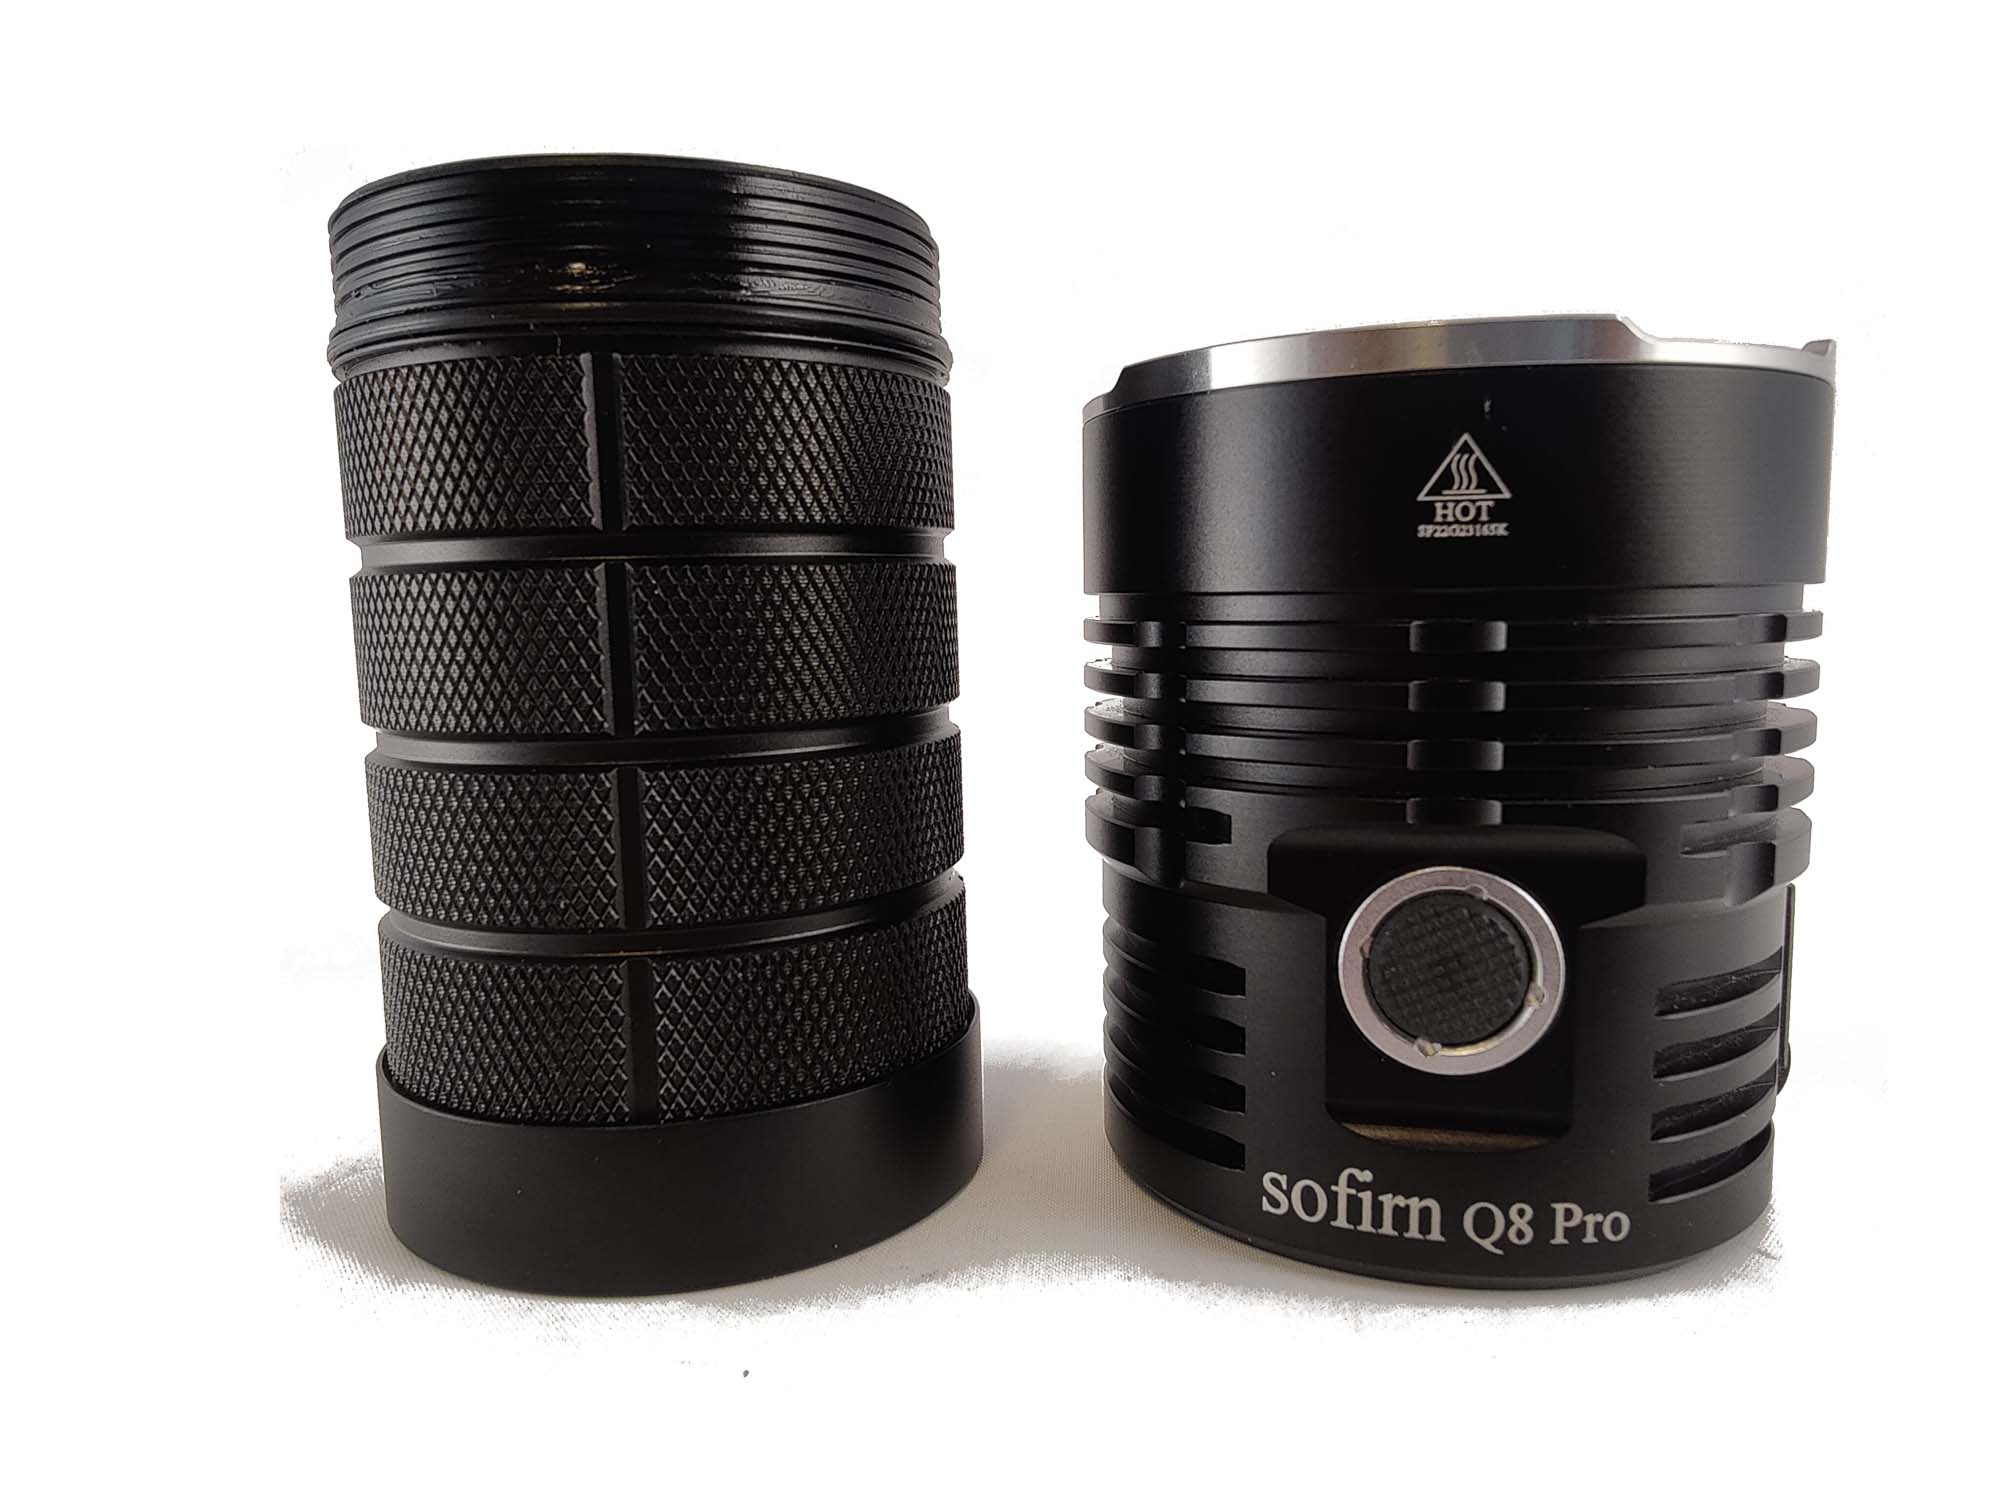
The E-switch is easily identifiable since the rubber button gives a huge tactile contrast from the rest of the body and is pretty standard for what Sofirn puts on most of their Anduril based lights. There is no lanyard hole or pocket clip, but it is tripod mountable. I don’t want to try fitting this in my pants pocket anyhow, so the exclusion of a pocket clip is okay with me. If you were to want it in a pocket. It would easily fit in a larger jacket pocket, but that is about it.
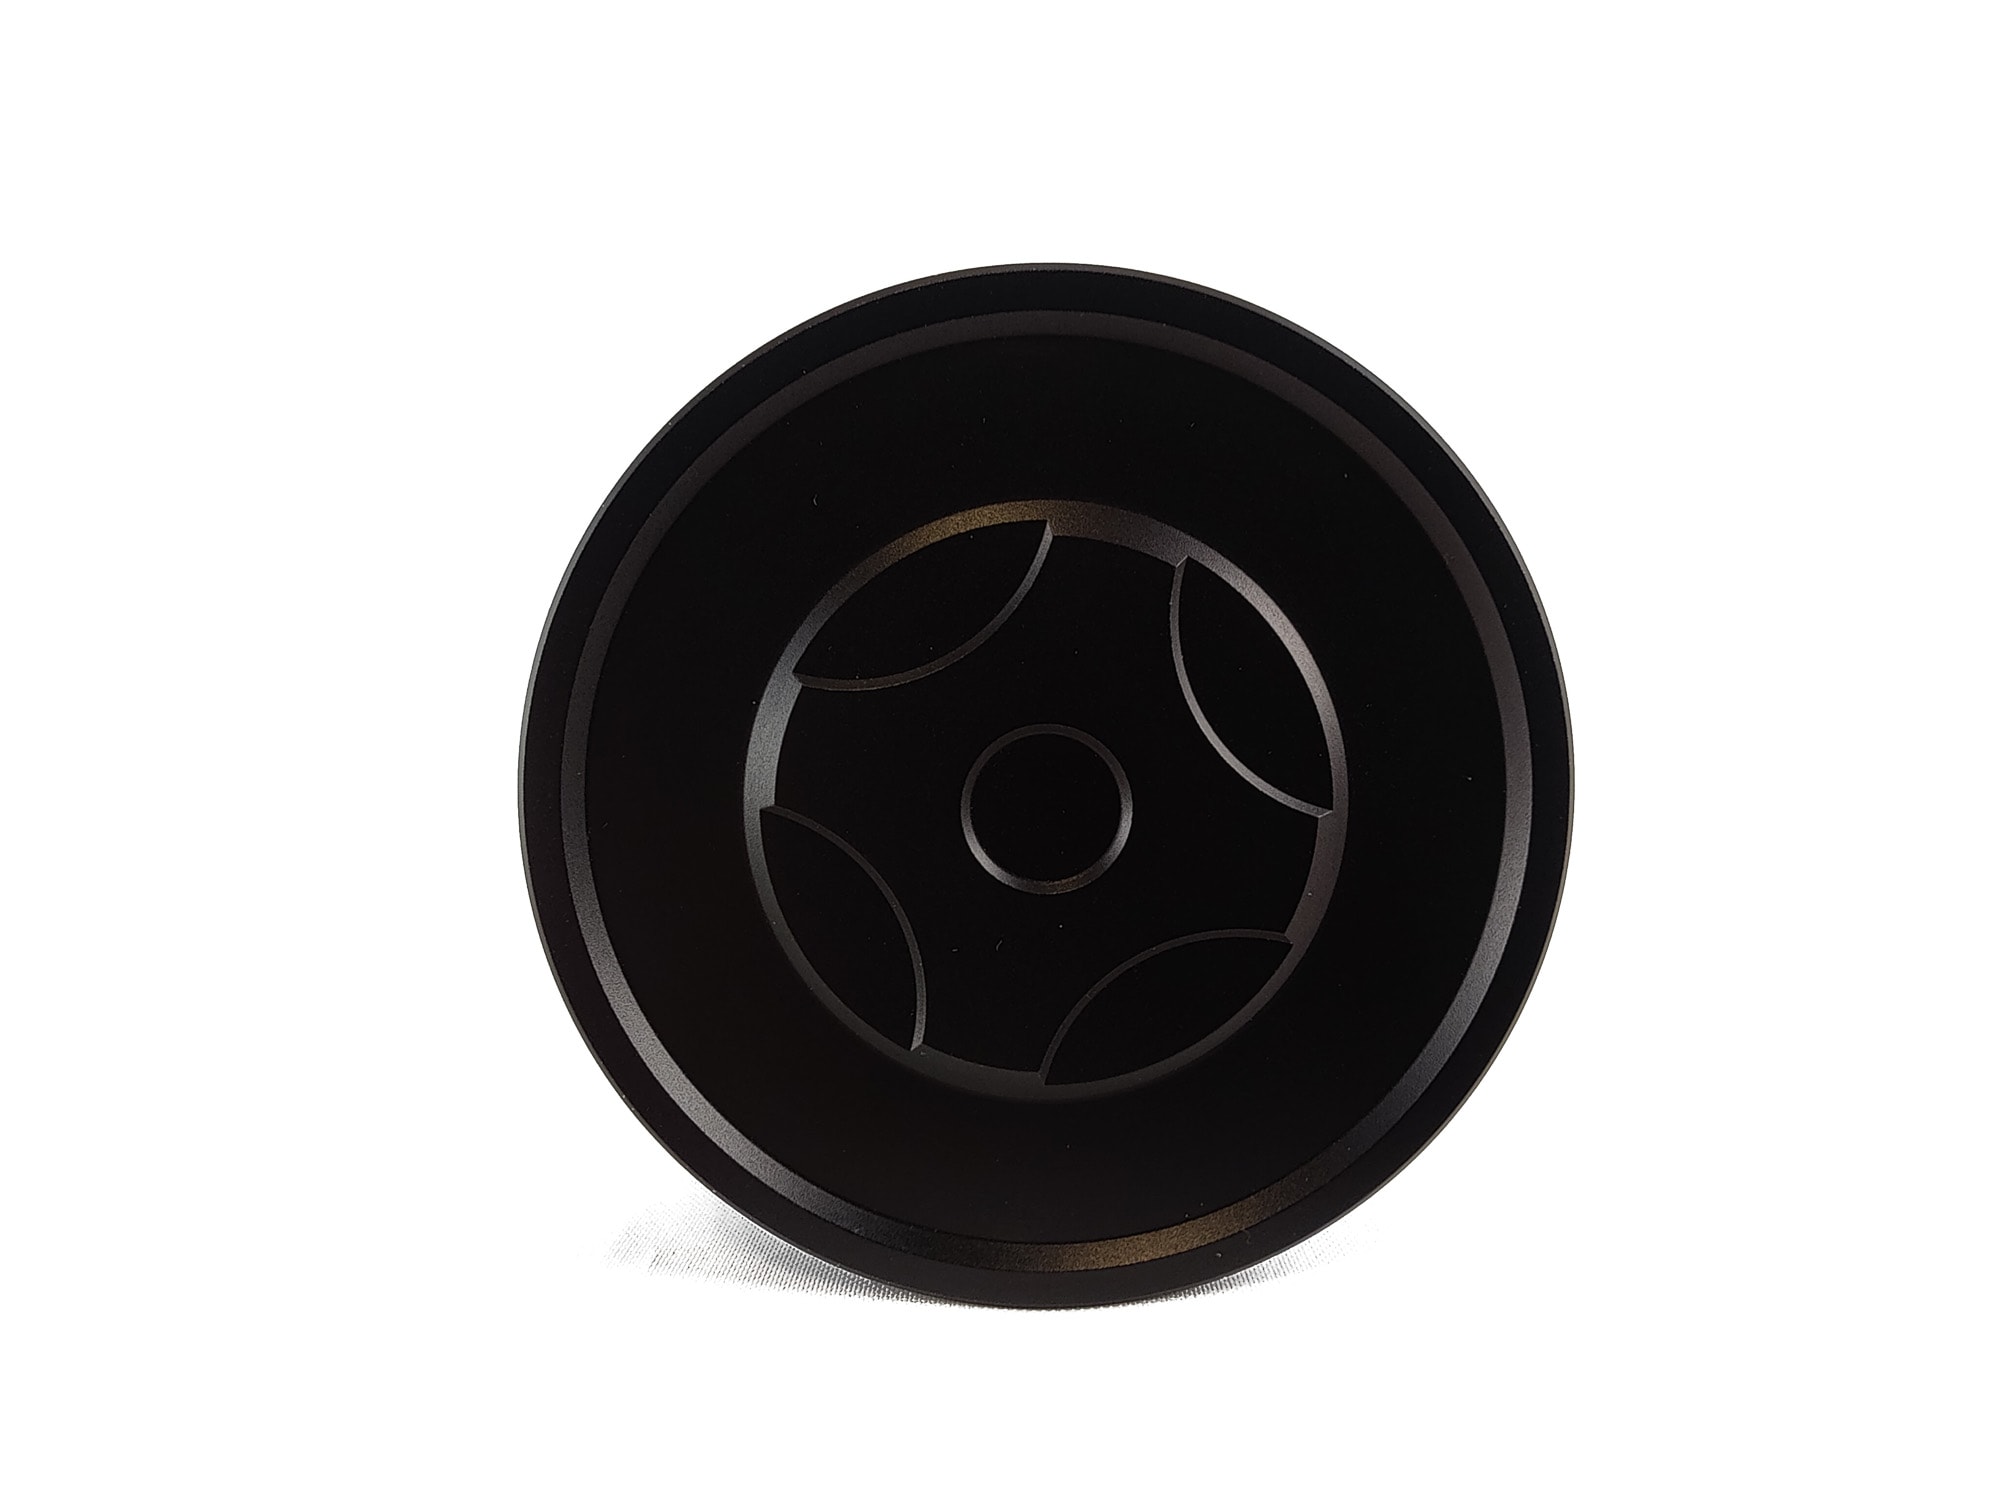
It also excludes the use of a magnetic tailcap. That same tailcap sits flat and, given the size, would tail stand until the end of time. One thing that is very nice is that with Anduril, you get a lot of steps for brightness, so as long as you don’t mind the weight, you could use this light for just about anything except for maybe a magnetically mounted work light or a headlamp. You won’t get miles of throw given the emitter and reflector combo, but the flood still lights up quite a distance.
Build Quality, and Warranty
The Sofirn Q8 is exactly as I expected here. From initial photos I had seen of the light, it seemed glossy, but that disappears when holding it in your hands. The finish is identical to what I have seen on most other Sofirn options, with a few exceptions.
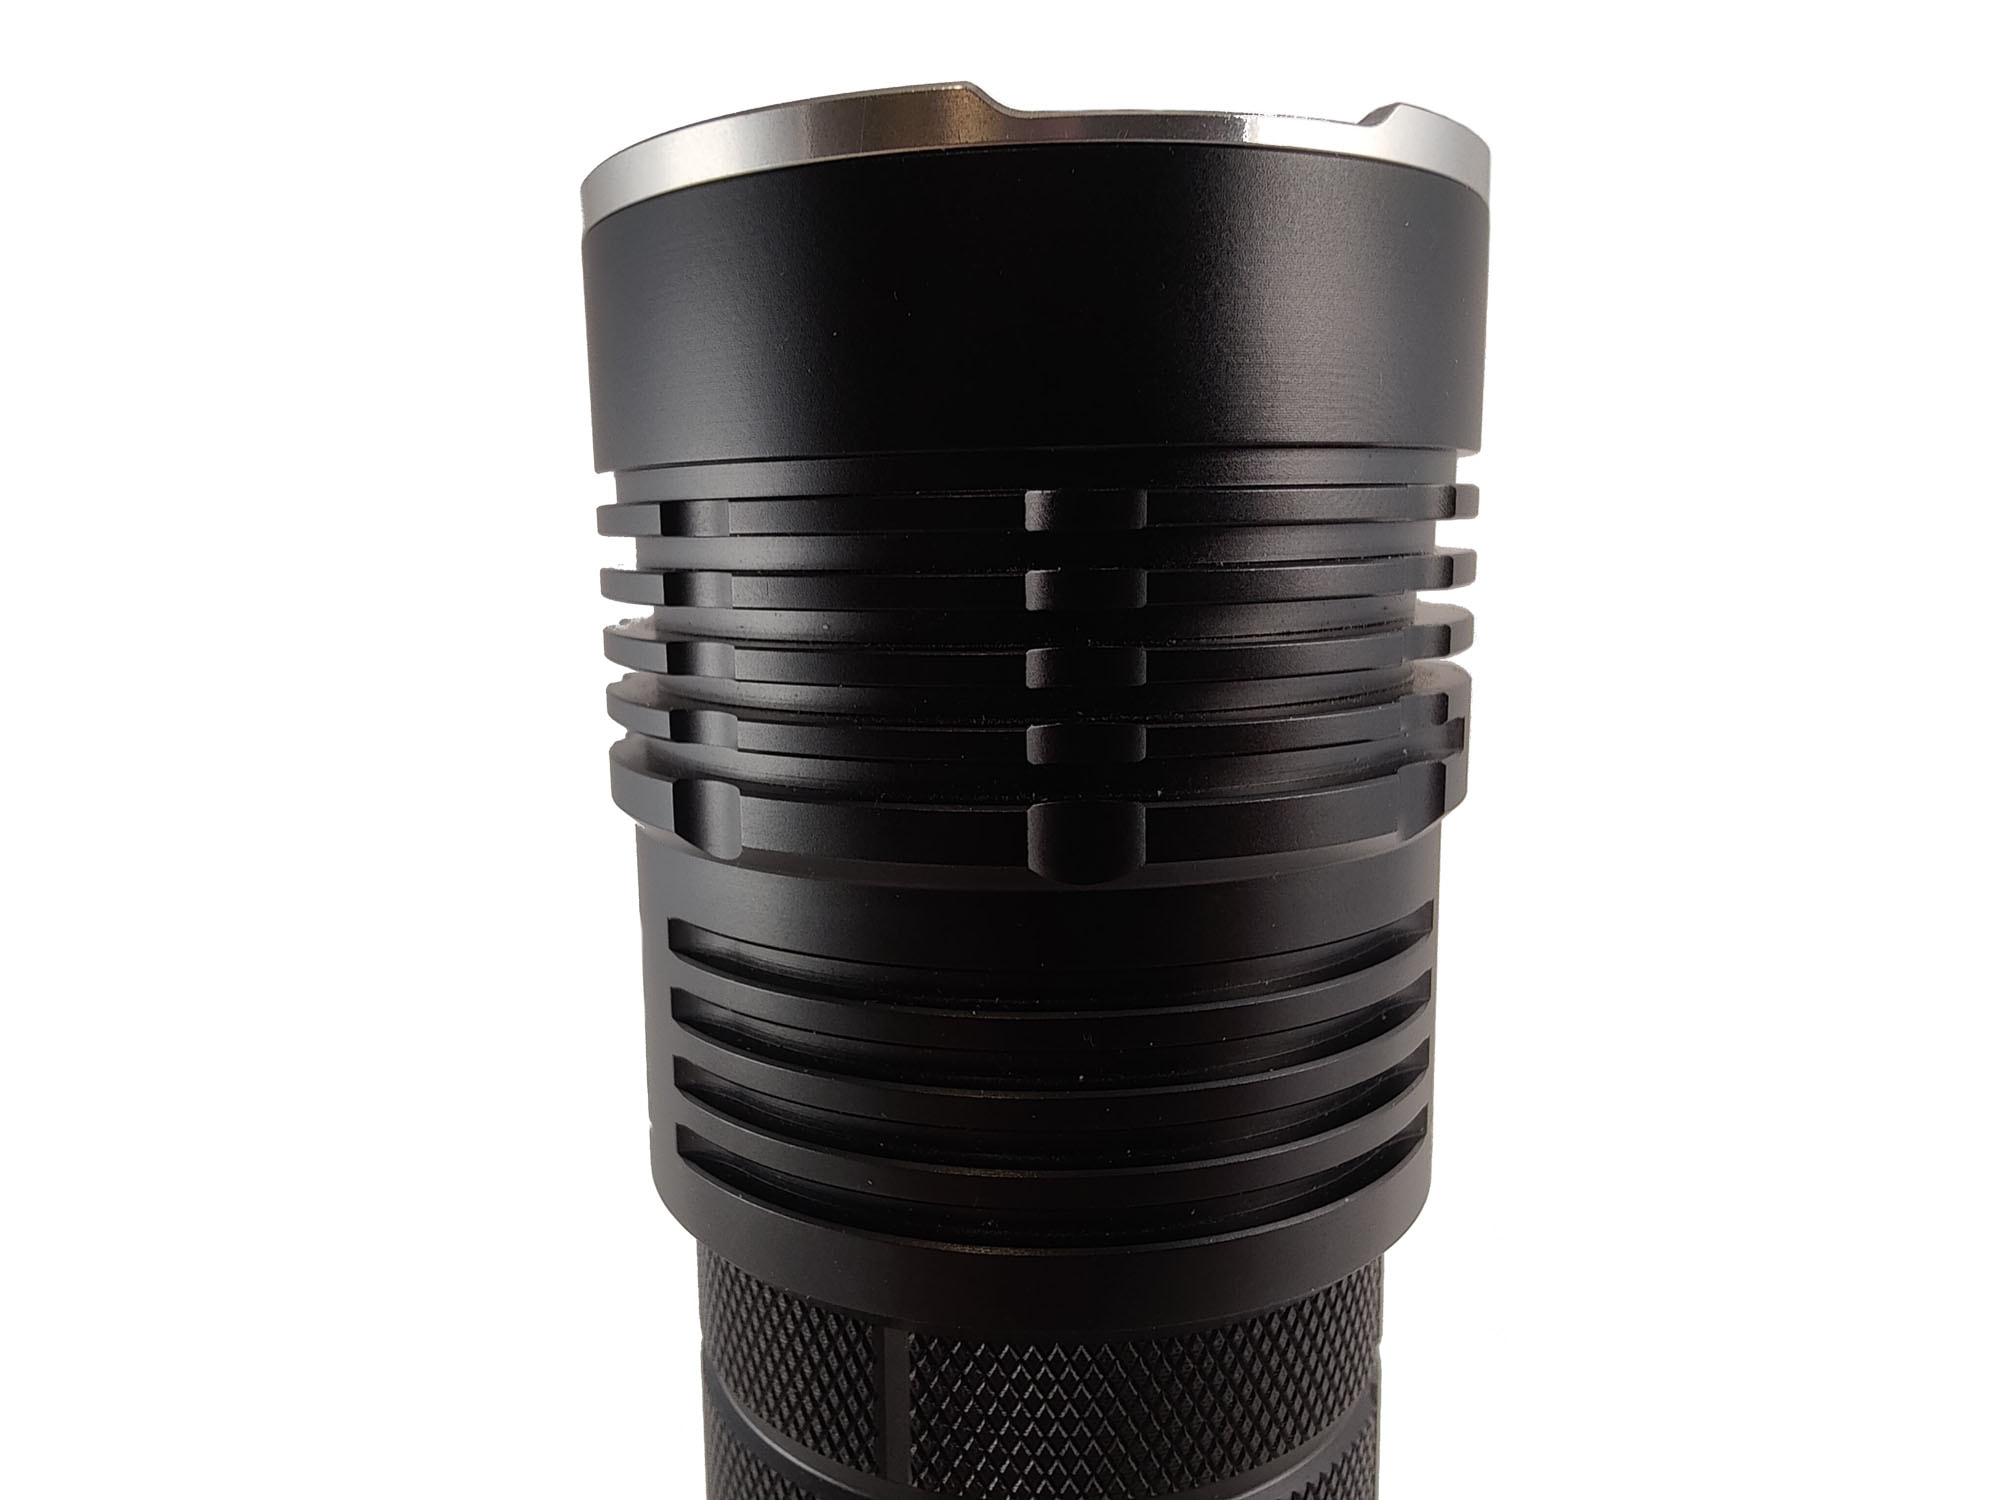
The anodizing, on the Q8 Pro, does seem slightly thin, especially around the edges of the machining on the 6061 aircraft grade aluminum and only comes in black. Maybe they will use a page from their own playbook and release the Q8 Pro in other colors? I know they have in the past with other lights.
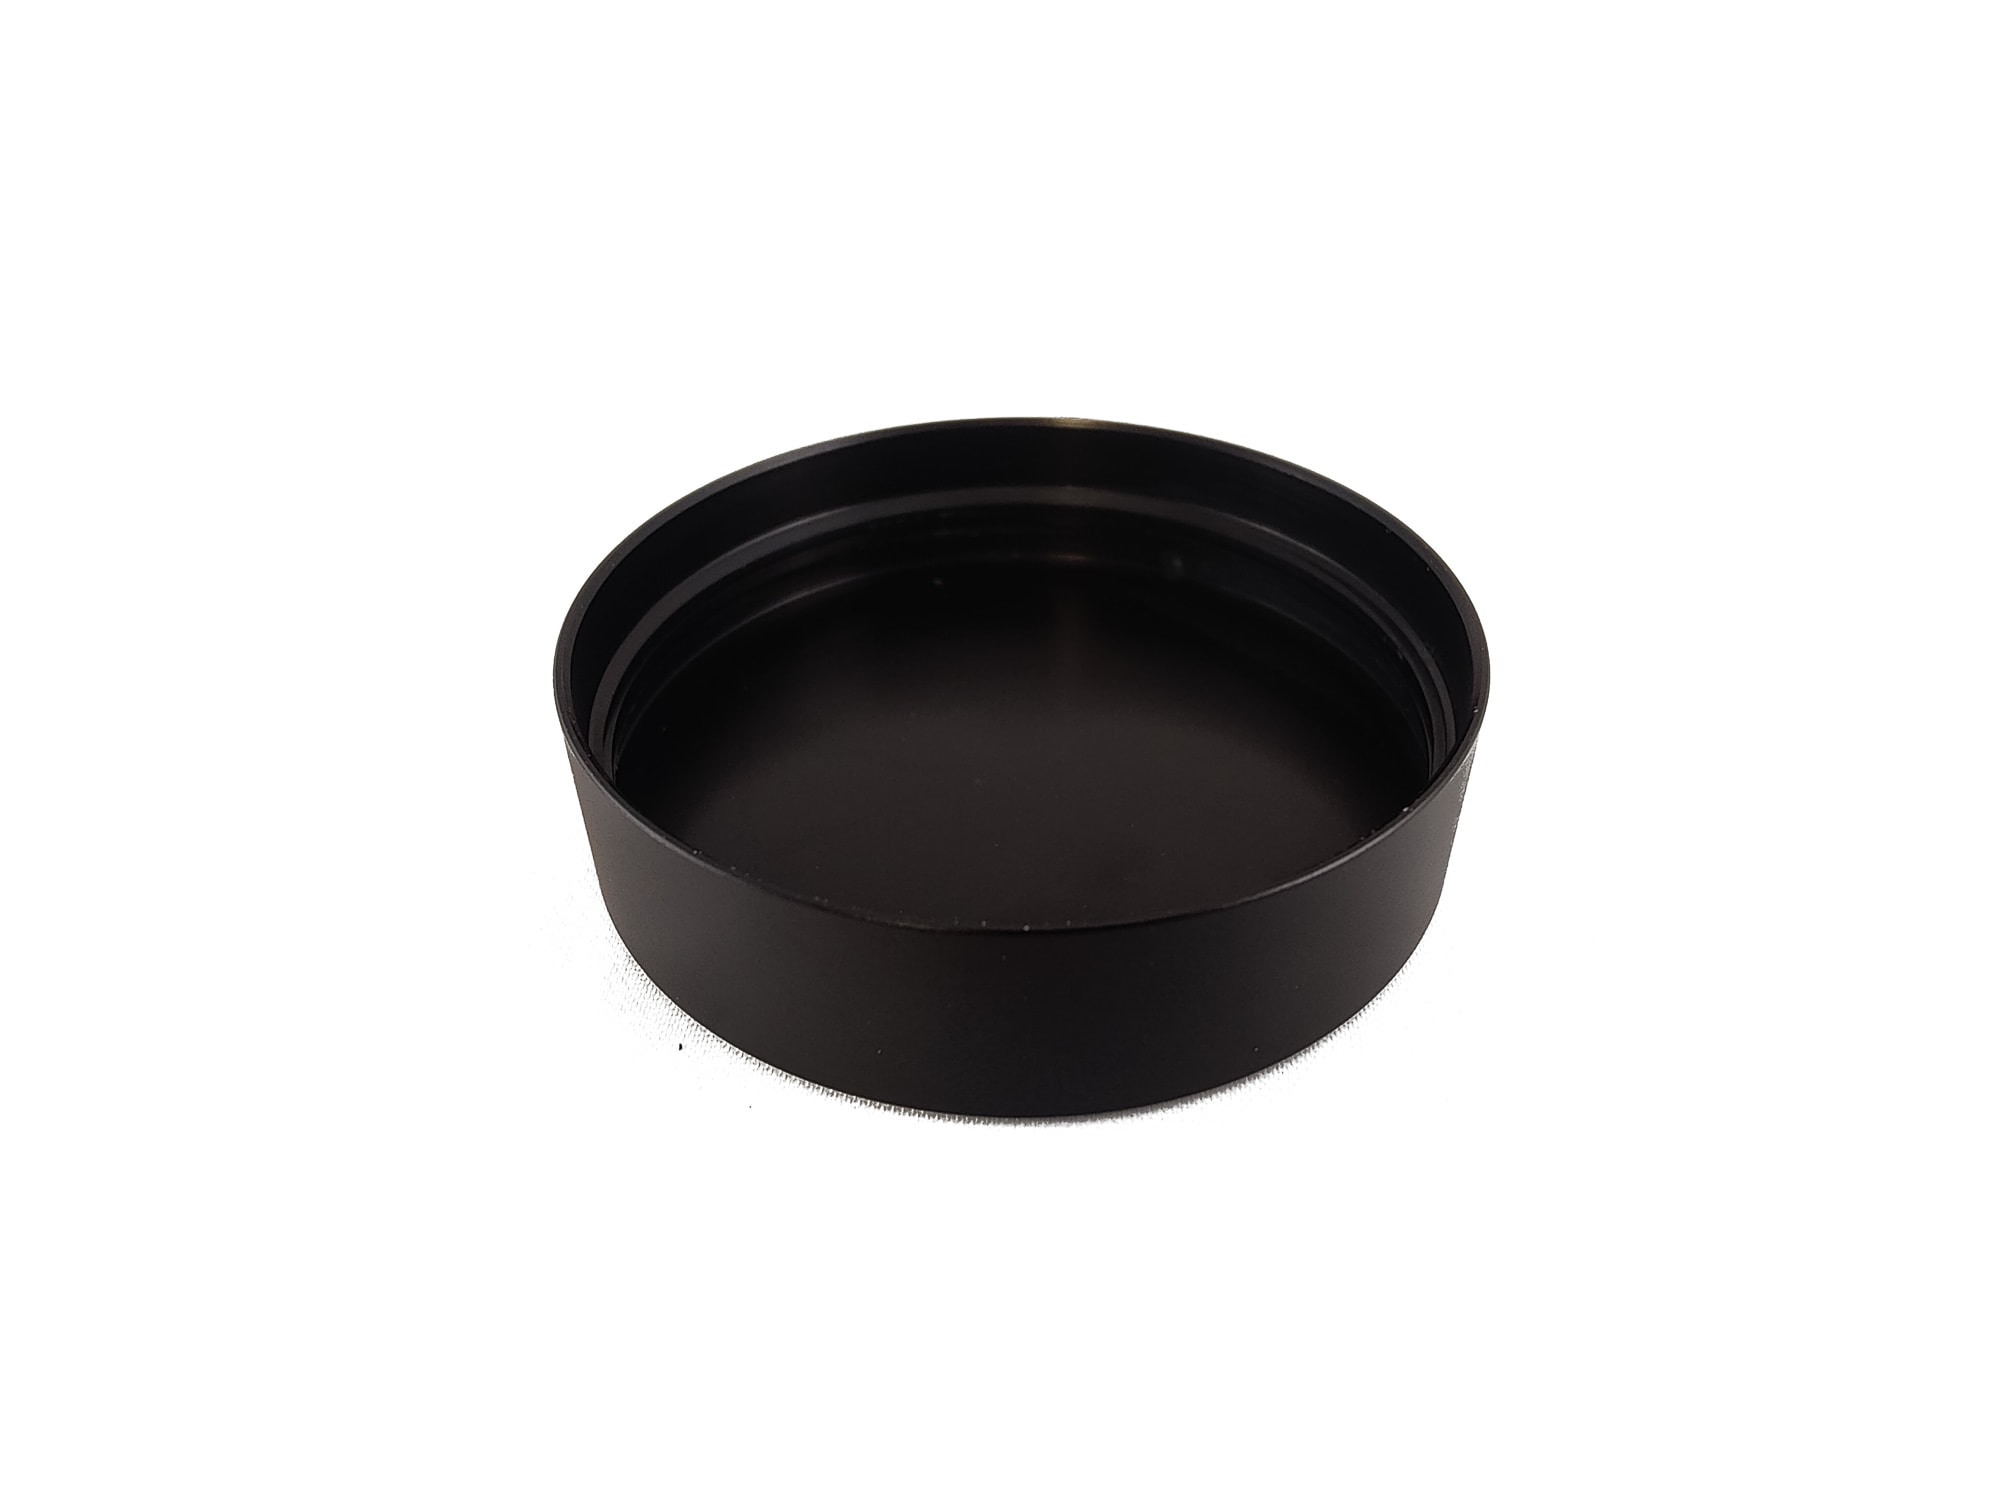
The threads are also anodized and this gives you the ability to lock out the light without having to use the fancy clicks for the UI, although that option is still available. They are square cut and also operate very smoothly because of the anodizing. I spoke earlier of the tripod mount, and there is one small flaw in its design. The tripod mount is quite close to the machining marks that stand proud for the cooling fins on the head. This will definitely get in the way if you try to mount the light on any sort of quick release pad or even if the base of your tripod is wide at all.
Not a deal breaker, but would have made more sense if it were slightly further from the cooling fins. While this is a nuisance, it doesn’t affect the operational use of the light. If your light is not completely operational though and you find there to be an issue with it, there is a 1 year repair/replacement window on all Sofirn lights and your batteries can be repaired or replaced within 6 months.

LED, Lens, Bezel, Beam, and Reflector
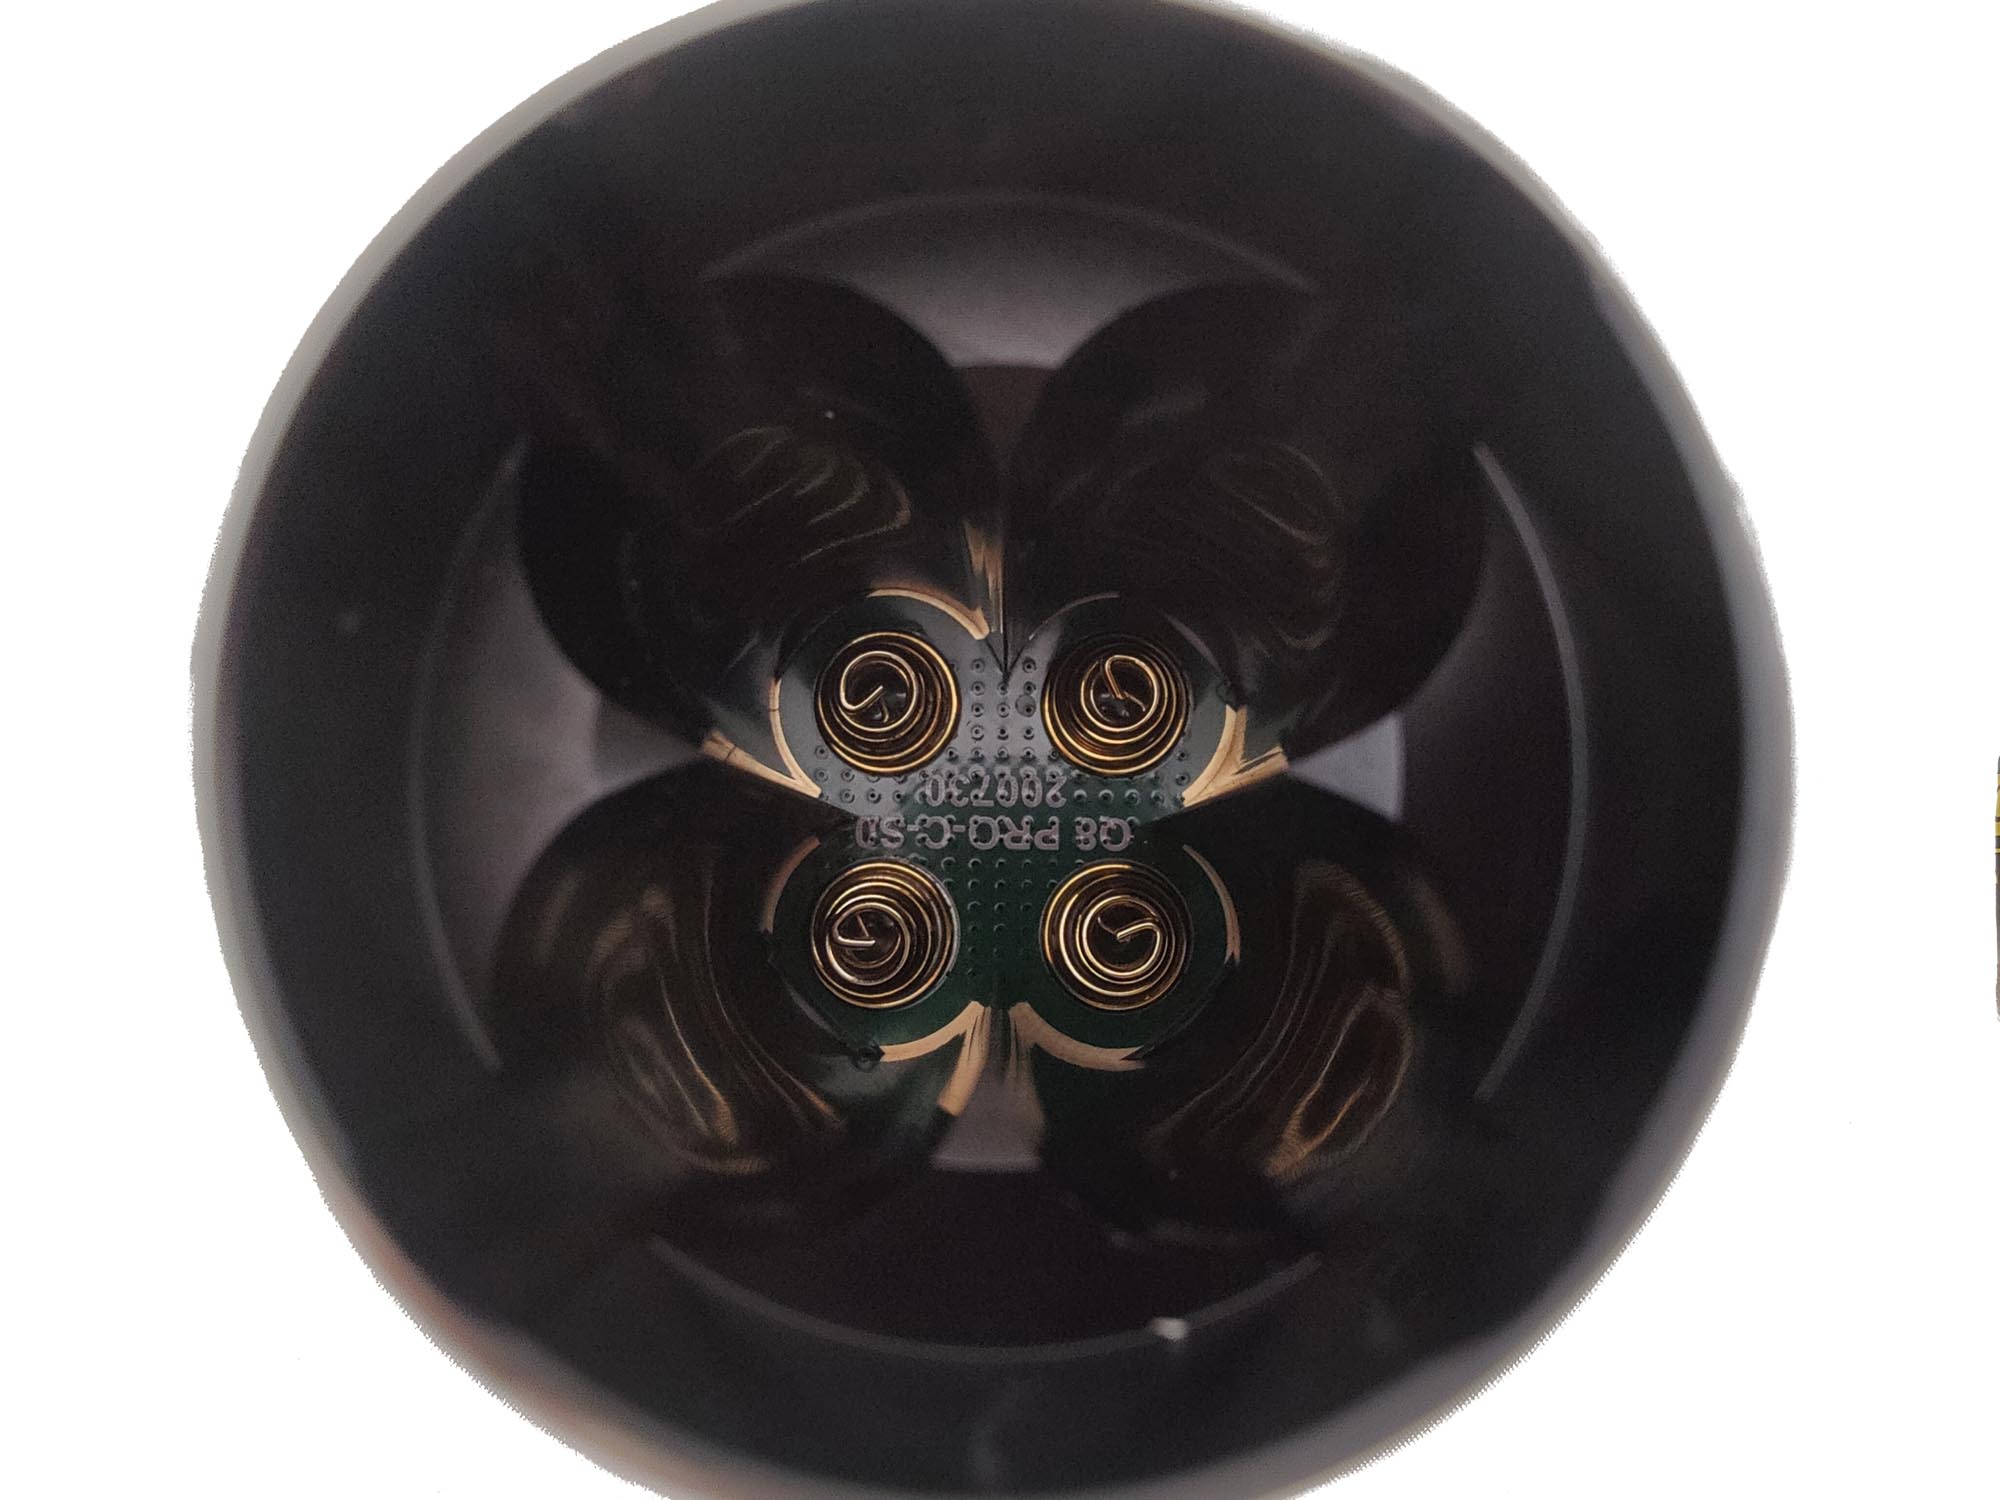
This is where the Q8 Pro really shines (pun intended). With 4, count ‘em 4, XHP50.2 emitters, this thing can really pump out the lumens! 11,000 of them to be exact. Each of these LEDs sits in its own centering ring, shining through a rather orange peeled reflector that helps soften the beam for flood use. All four reflectors converge low so the beams can join and these are all protected by a glass lens under a long, but not deeply crenulated stainless steel bezel. This will help protect the light if it were to drop (don’t bring it up, it’s too soon).
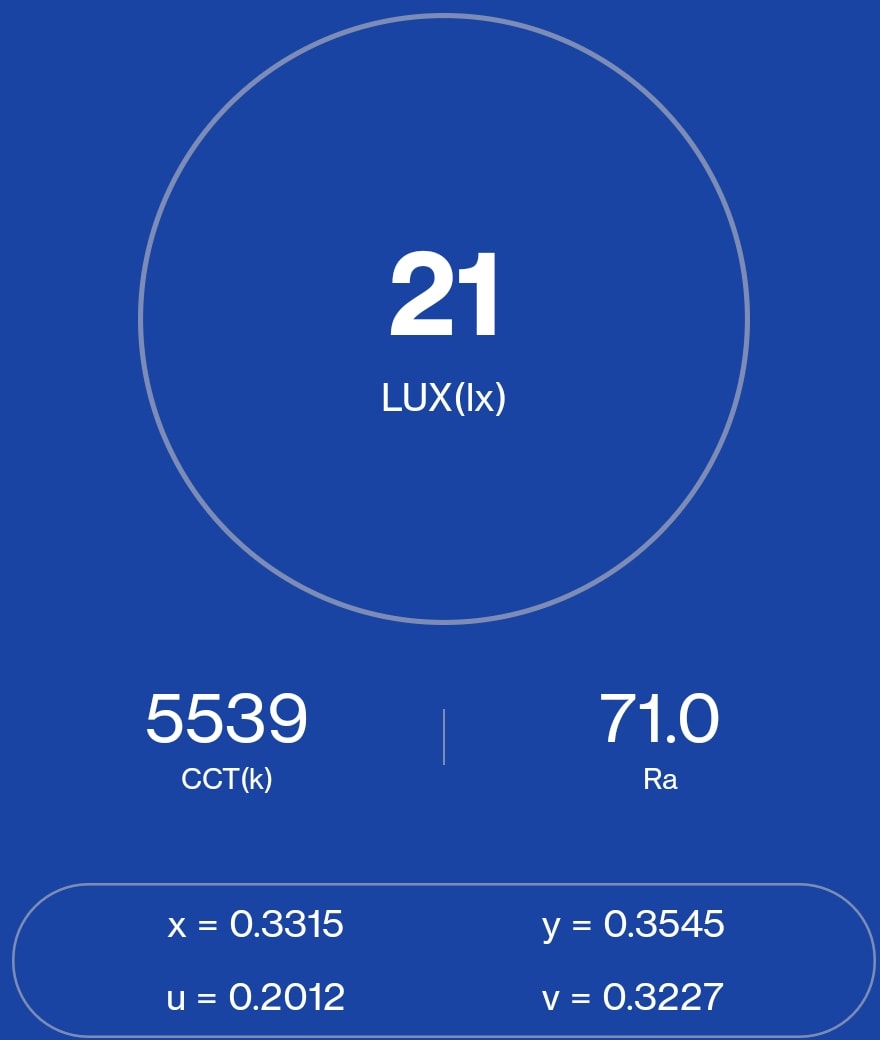
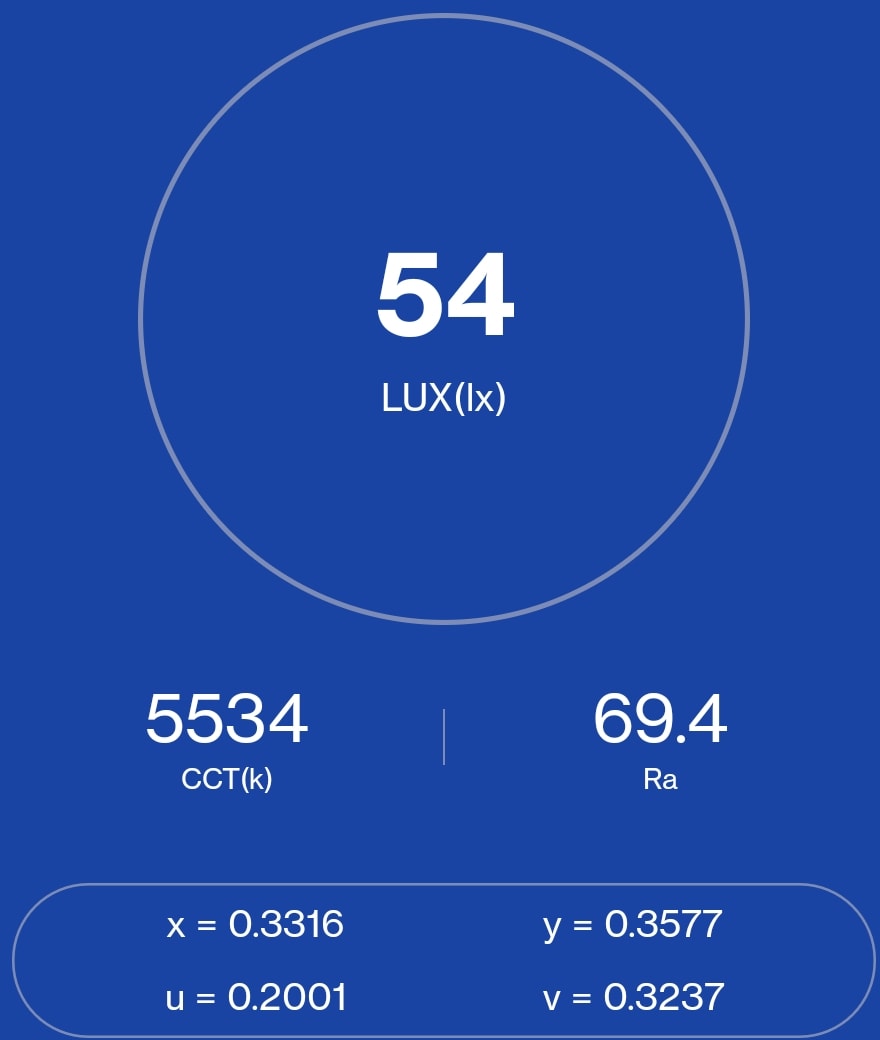
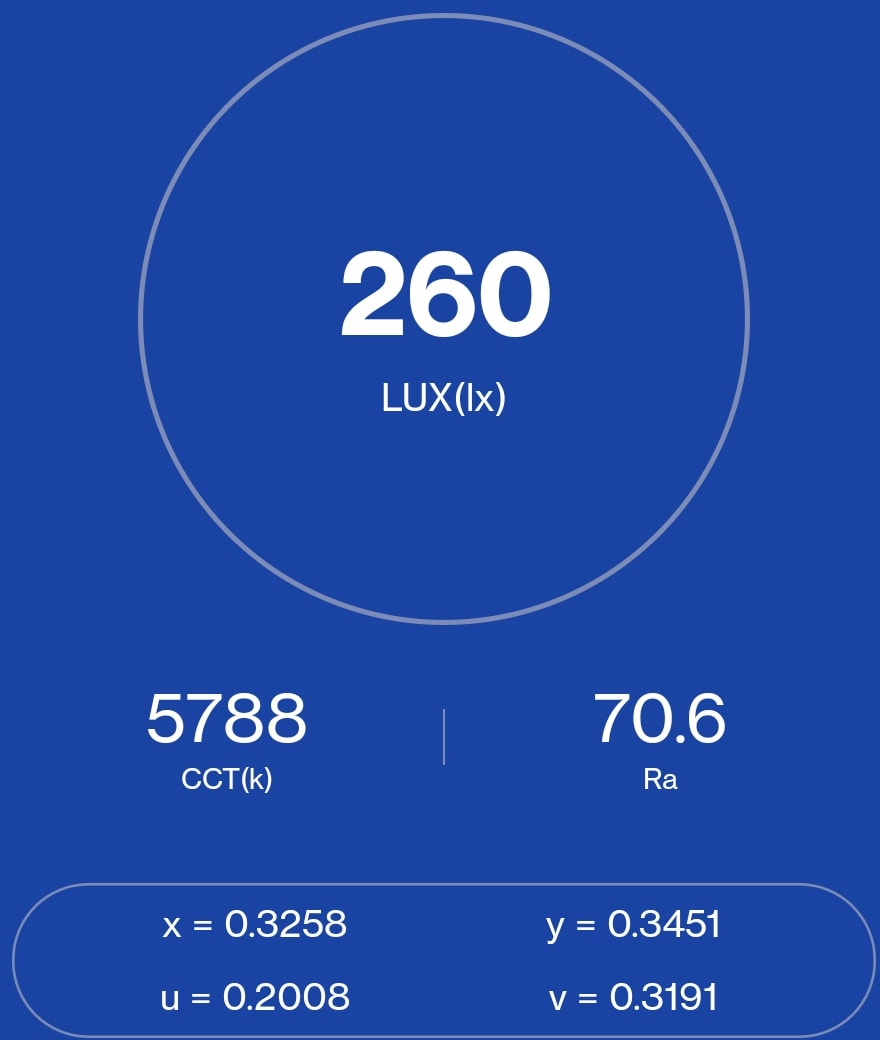
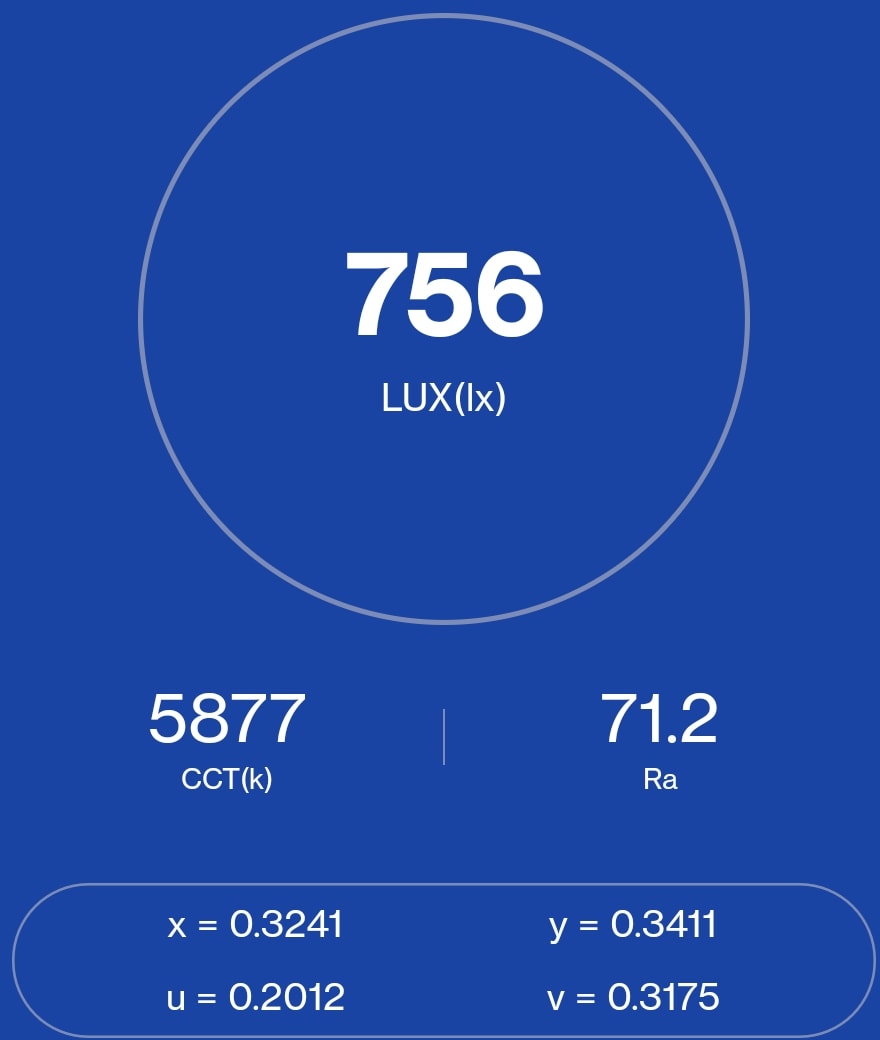
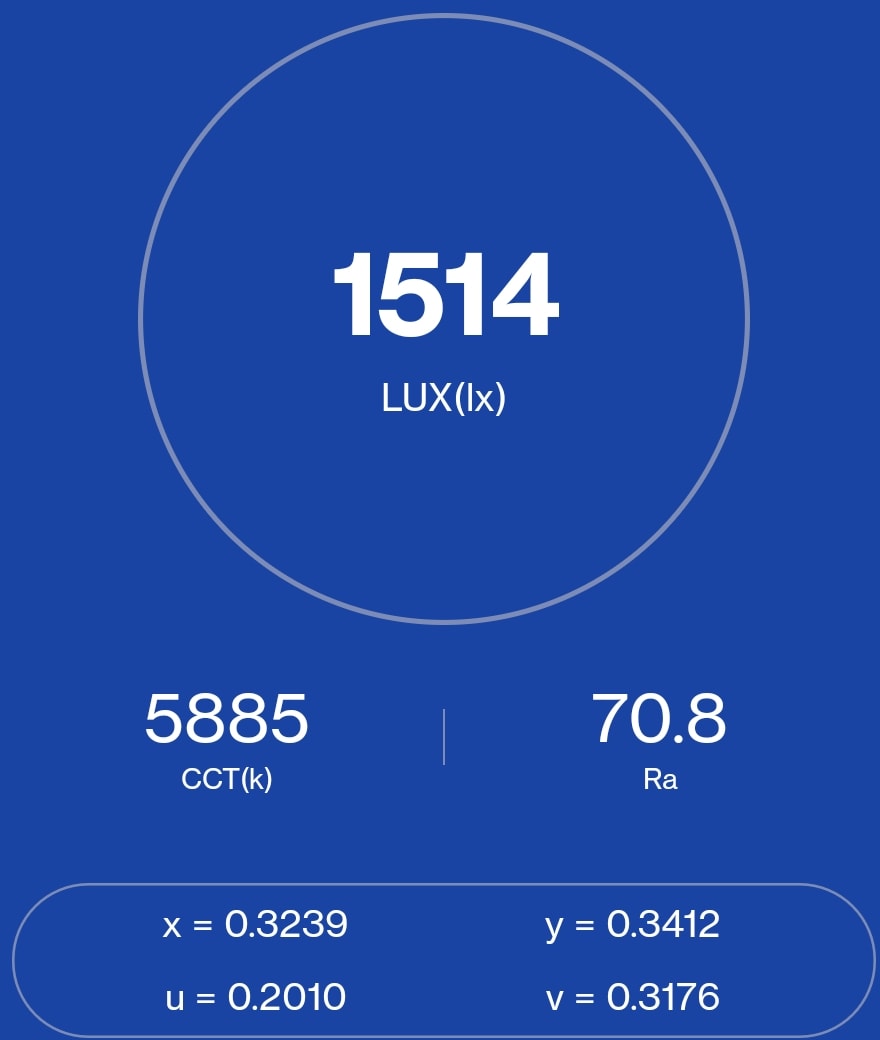
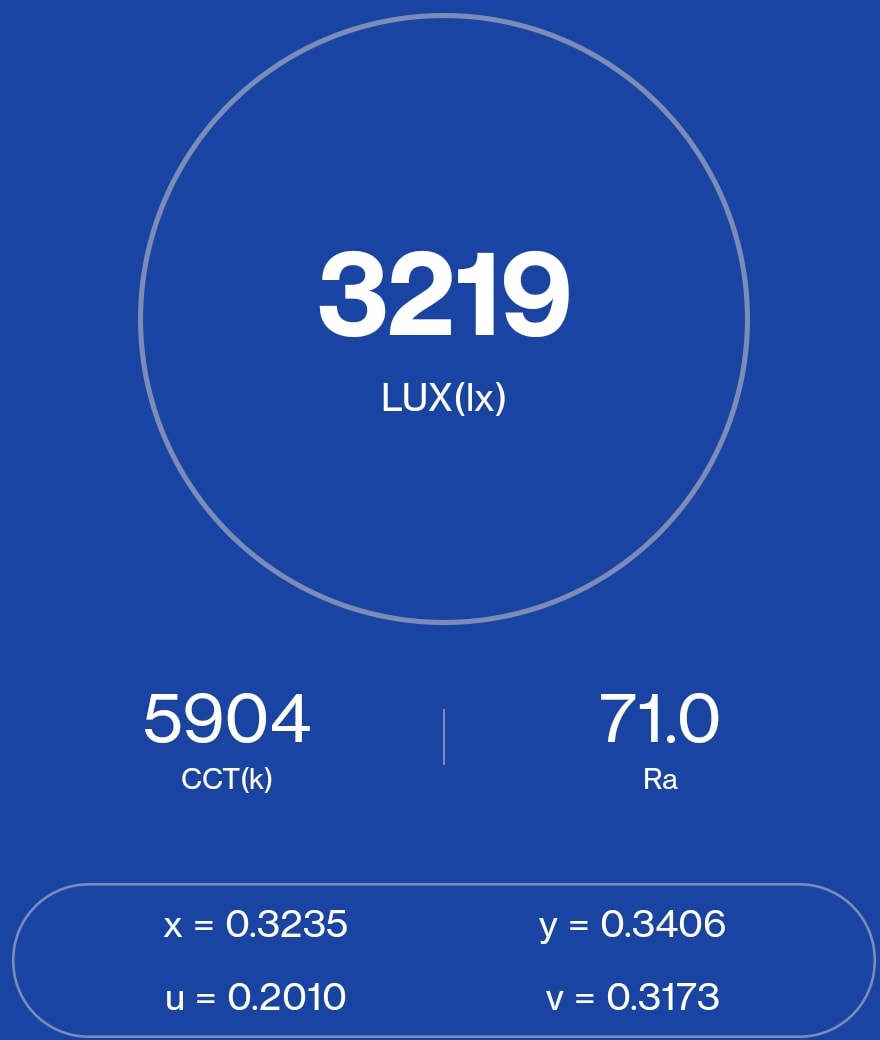
As far as the beam, well, it doesn’t really have one. It has an incredibly wide hotspot that, even at 6 meters, is already 2.5+ meters wide. This is in addition to the fact that it is very soft and blends in well with the spill, essentially giving it a full flood effect and just blankets anything you shine it at in light. Now the box indicated this was the 6500k variant (it also comes in a 5000k model), however, this particular light, using my Opple Lightmaster Pro at 10 meters, came in just above 5500k on lower modes but shot up to about 5900k on higher output modes.
So I couldn’t definitively tell you what version I was supposed to have, regardless of the box labeling, considering it fell smack dab in the middle of the two. And color rendering? This came in right at about 70CRI, which is right where I would expect the XHP50.2 to come in at.

Dimensions and size comparison
Dimensions:
| Sofirn Q8 Pro | Millimeters | Inches |
|---|---|---|
| Length | 138 mm | 5.4 in |
| Head diameter | 59 mm | 2.3 in |
| Body diameter | 50 mm | 2 in |
Dimensions are rounded to the nearest millimeter, and to the nearest tenth of an Inch.
Weight:
| Sofirn Q8 Pro | Weight in grams | Weight in oz |
|---|---|---|
| Without batteries: | 416 g | 14.7 oz |
| With batteries: | 593 g | 20.9 oz |
Weight is rounded to the nearest gram, and to the nearest tenth of an Oz.
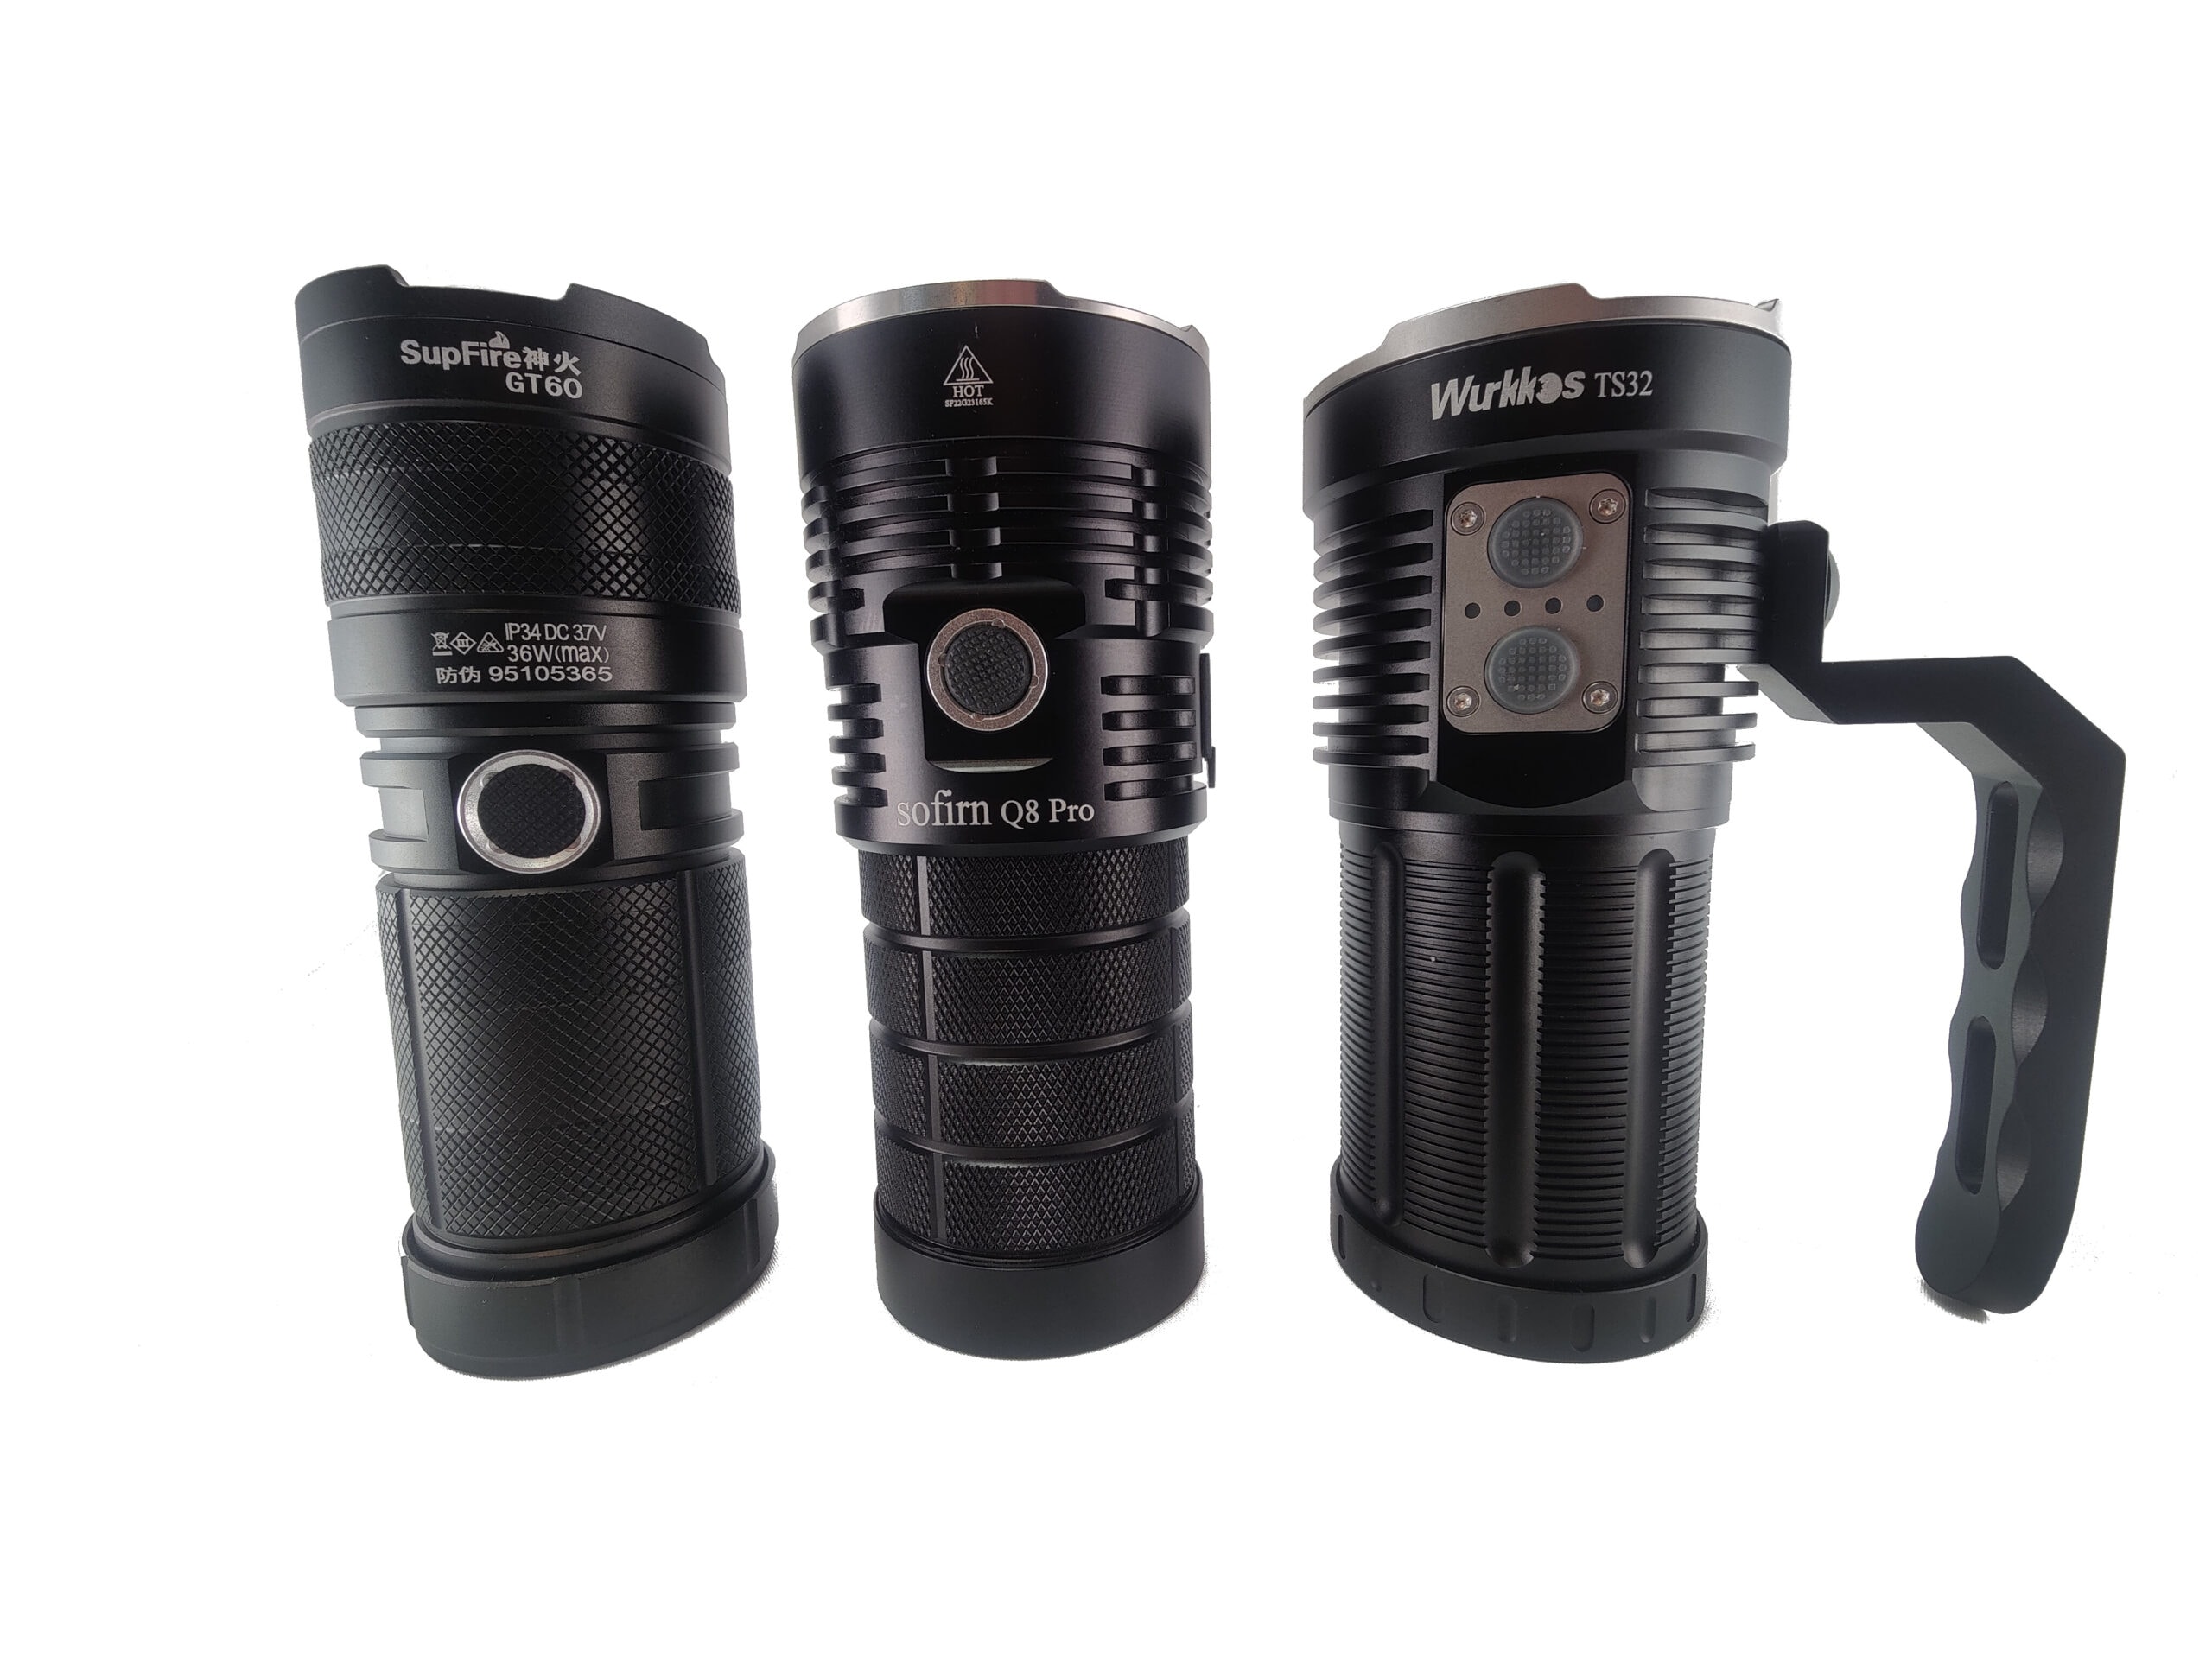
Flashlight size comparison with its competition:
The Sofirn will be compared to the Wurkkos TS32 and the Superfire GT60. By definition, these are all flooders or soda can lights.
Driver & User Interface:
Anduril 2 User Interface
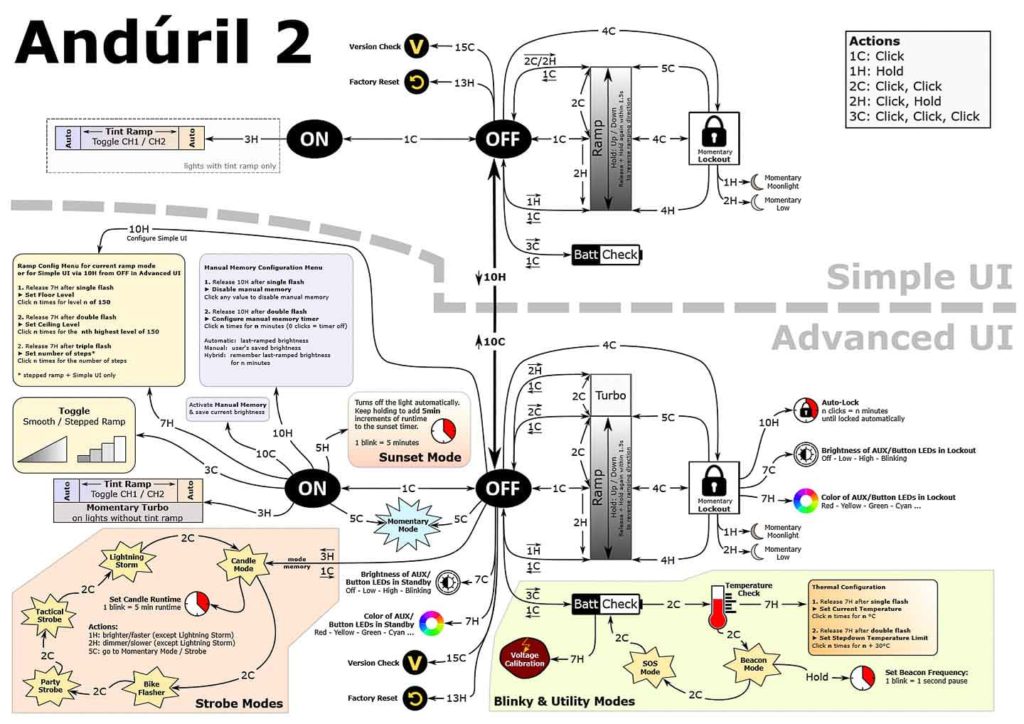
Here is another Anduril 2 image.
And by default, it uses the Simple UI… and here is the UI diagram:
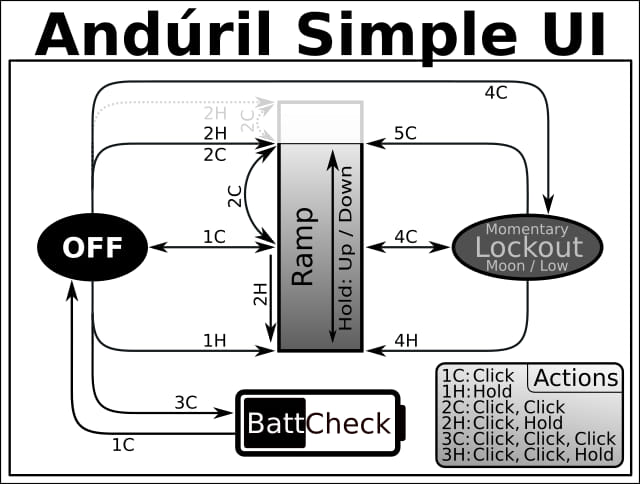
Anduril2 has two UI’s available: Simple and Advanced. The light came with the Simple UI enabled, and I think it’s kind of a misnomer because it’s still a little complicated for a first-time user. However, those familiar with the original will pick it up pretty quickly. Simple UI is missing some of the familiar features present in the original, namely the special blinky modes, temp check, and thermal configuration (those are present in the Advanced UI), and there’s no “muggle” mode either. You still get access to smooth ramping (stepped is, you guessed it, only available in Advanced UI), lockout, momentary high, battery check, and some useful lock/unlock modes.
The Advanced UI is appropriately named because it’s, well, advanced and there’s a plethora of options and configurations available. There’s probably way more features than the average user would ever dip into, but it’s nice to know you can tweak things like the voltage sensor calibration for batt check, AUX LED settings, and even configure the auto-lock. I found this to be a pretty useful feature that enables the light to automatically turn off after a certain amount of time if the light is accidentally activated.
Modes: Simple and Advanced UI both have many standard and blinky modes available, but the main modes are stepped and smooth ramping, but stepped ramping is only available in Advanced UI, and smooth is enabled in both Simple and Advanced.
Switch to Advanced UI from Simple: 10 clicks, but hold on the 10th click
From OFF:
- Press and hold: Turns on in either smooth or stepped ramp (depending on which mode is enabled)
- Single click: Turn on in last mode (step or ramp state-again depends on which mode)
- Double click: Ramp ceiling/turbo
- Triple click: Battery check (in Simple and Advanced UI)
- Triple click and hold: Special strobe modes-remembers last used (in Advanced UI)
- Quad click: Lockout mode. In lockout mode you have different options available:
- 1 click: momentary moon (bottom of ramp)
- 2 clicks: momentary (higher floor)
- 4 clicks: turns on in ramp mode
- 4 clicks with a hold: on in ramp mode, lowest/floor
- 5 clicks with a hold: on in ramp mode, highest/ceiling
- 10 clicks with a hold: configure the lock timeout threshold (in Advanced UI only). This is a new feature for Anduril2, it allows you to set a timeout to the lock, where the light will lock after a pre-set elapsed time.
From ON:
- Press and hold: Ramp up (depending on the mode)
- Single click: Turn off
- Double click: Ramp ceiling/turbo
- Double click and hold: Ramp down
- Triple click: Toggle between smooth and stepped ramping (in Advanced UI only)
- Quad click: Lockout mode (see above for the lockout options)
Mode memory:
- Yes, memorizes last on state setting either smooth or stepped ramping, but does not remember blinkies
Low voltage warning:
- Yes, when in operation, the light steps down brightness gradually until turning off when the cell is around 2.9 volts.
Strobe/blinkies
- Yes, many! The blinkies are accessible from off with 3H (click click click-hold) in ADVANCED UI only. You switch between strobe modes with 2 clicks:
- Candle mode
- Bike flasher
- Party strobe
- Tactical strobe
- Lightning storm
Lock-out mode:
- Yes. In Simple or Advanced UI, lockout is accessed by 4 clicks from on or off. 4 clicks to unlock. The lockout enables momentary operation in the moon mode, however, 2H (click click-hold) enables low mode. There are other lockout modes available (see the diagram).
Temp check and thermal calibration mode
- In the first version, you could do both the ambient temperature sensor calibration and thermal ceiling at the same time, but in Anduril2, it’s a little different. When in temp check, click 7 times and hold on the 7th to enter the thermal configuration. To configure the ambient temp, wait for the first flash and then set the ambient, but once you’ve done that, you need to go back to the temp check and click 7 times, hold on the 7th, this time, don’t let off the button. Wait for the 2nd blink, and then you can set the thermal ceiling.
PWM
- There’s PWM visible via camera, but when pointing the light at a fan and ramping up and down, there’s not a noticeable change in “blade speed” as you might get with some other lights, so it’s not hugely visible to the eye.
Batteries & Charging
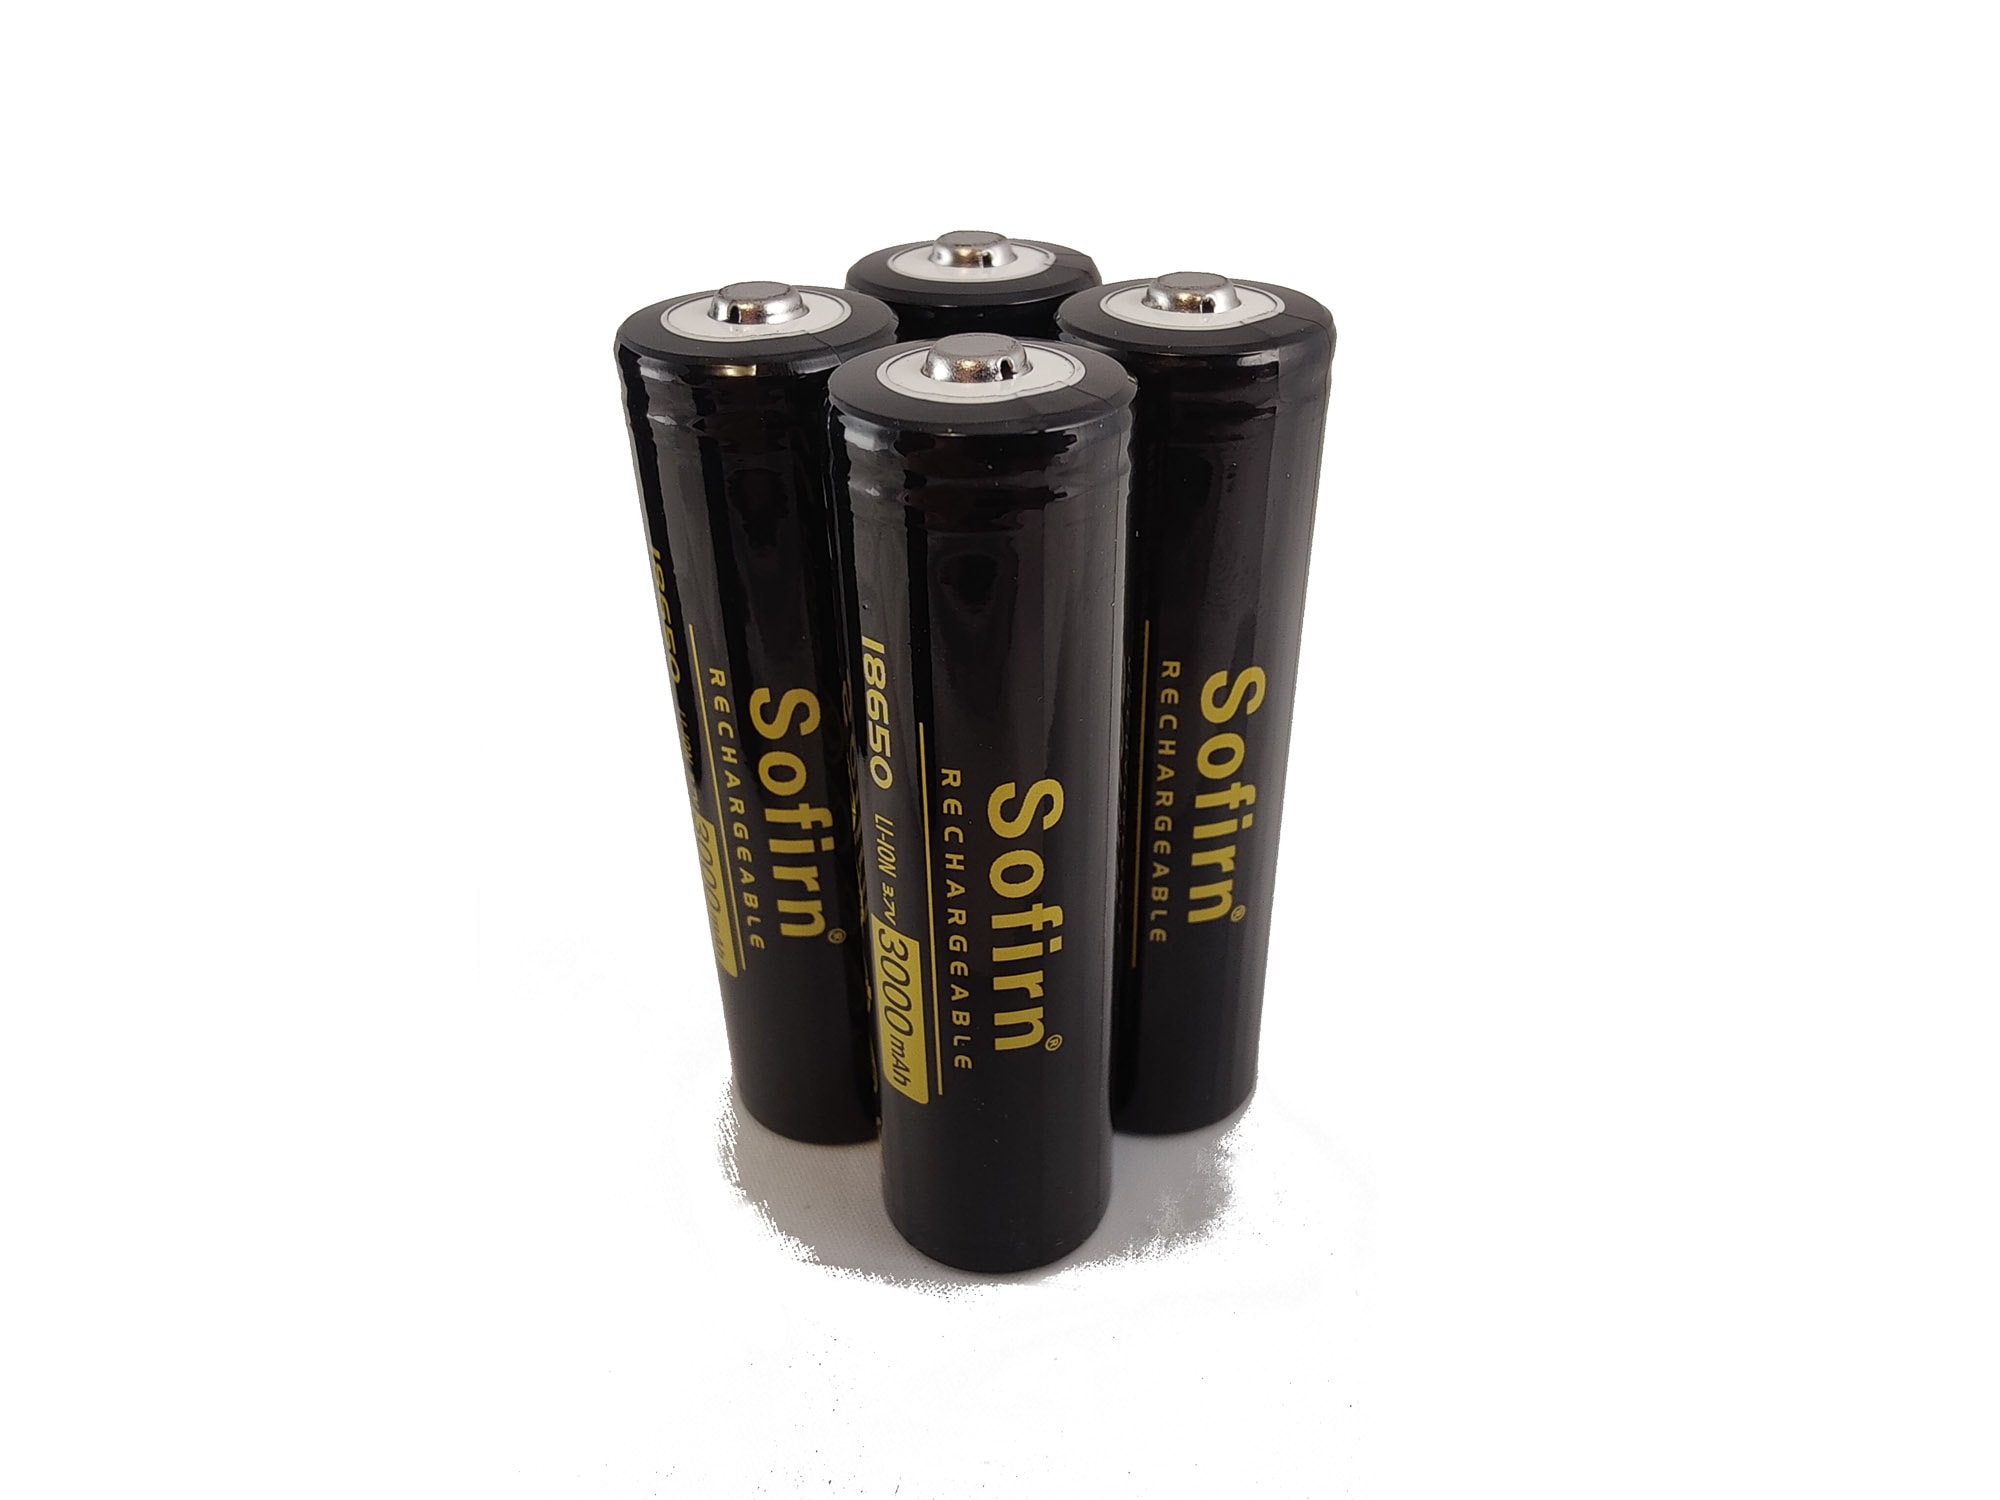
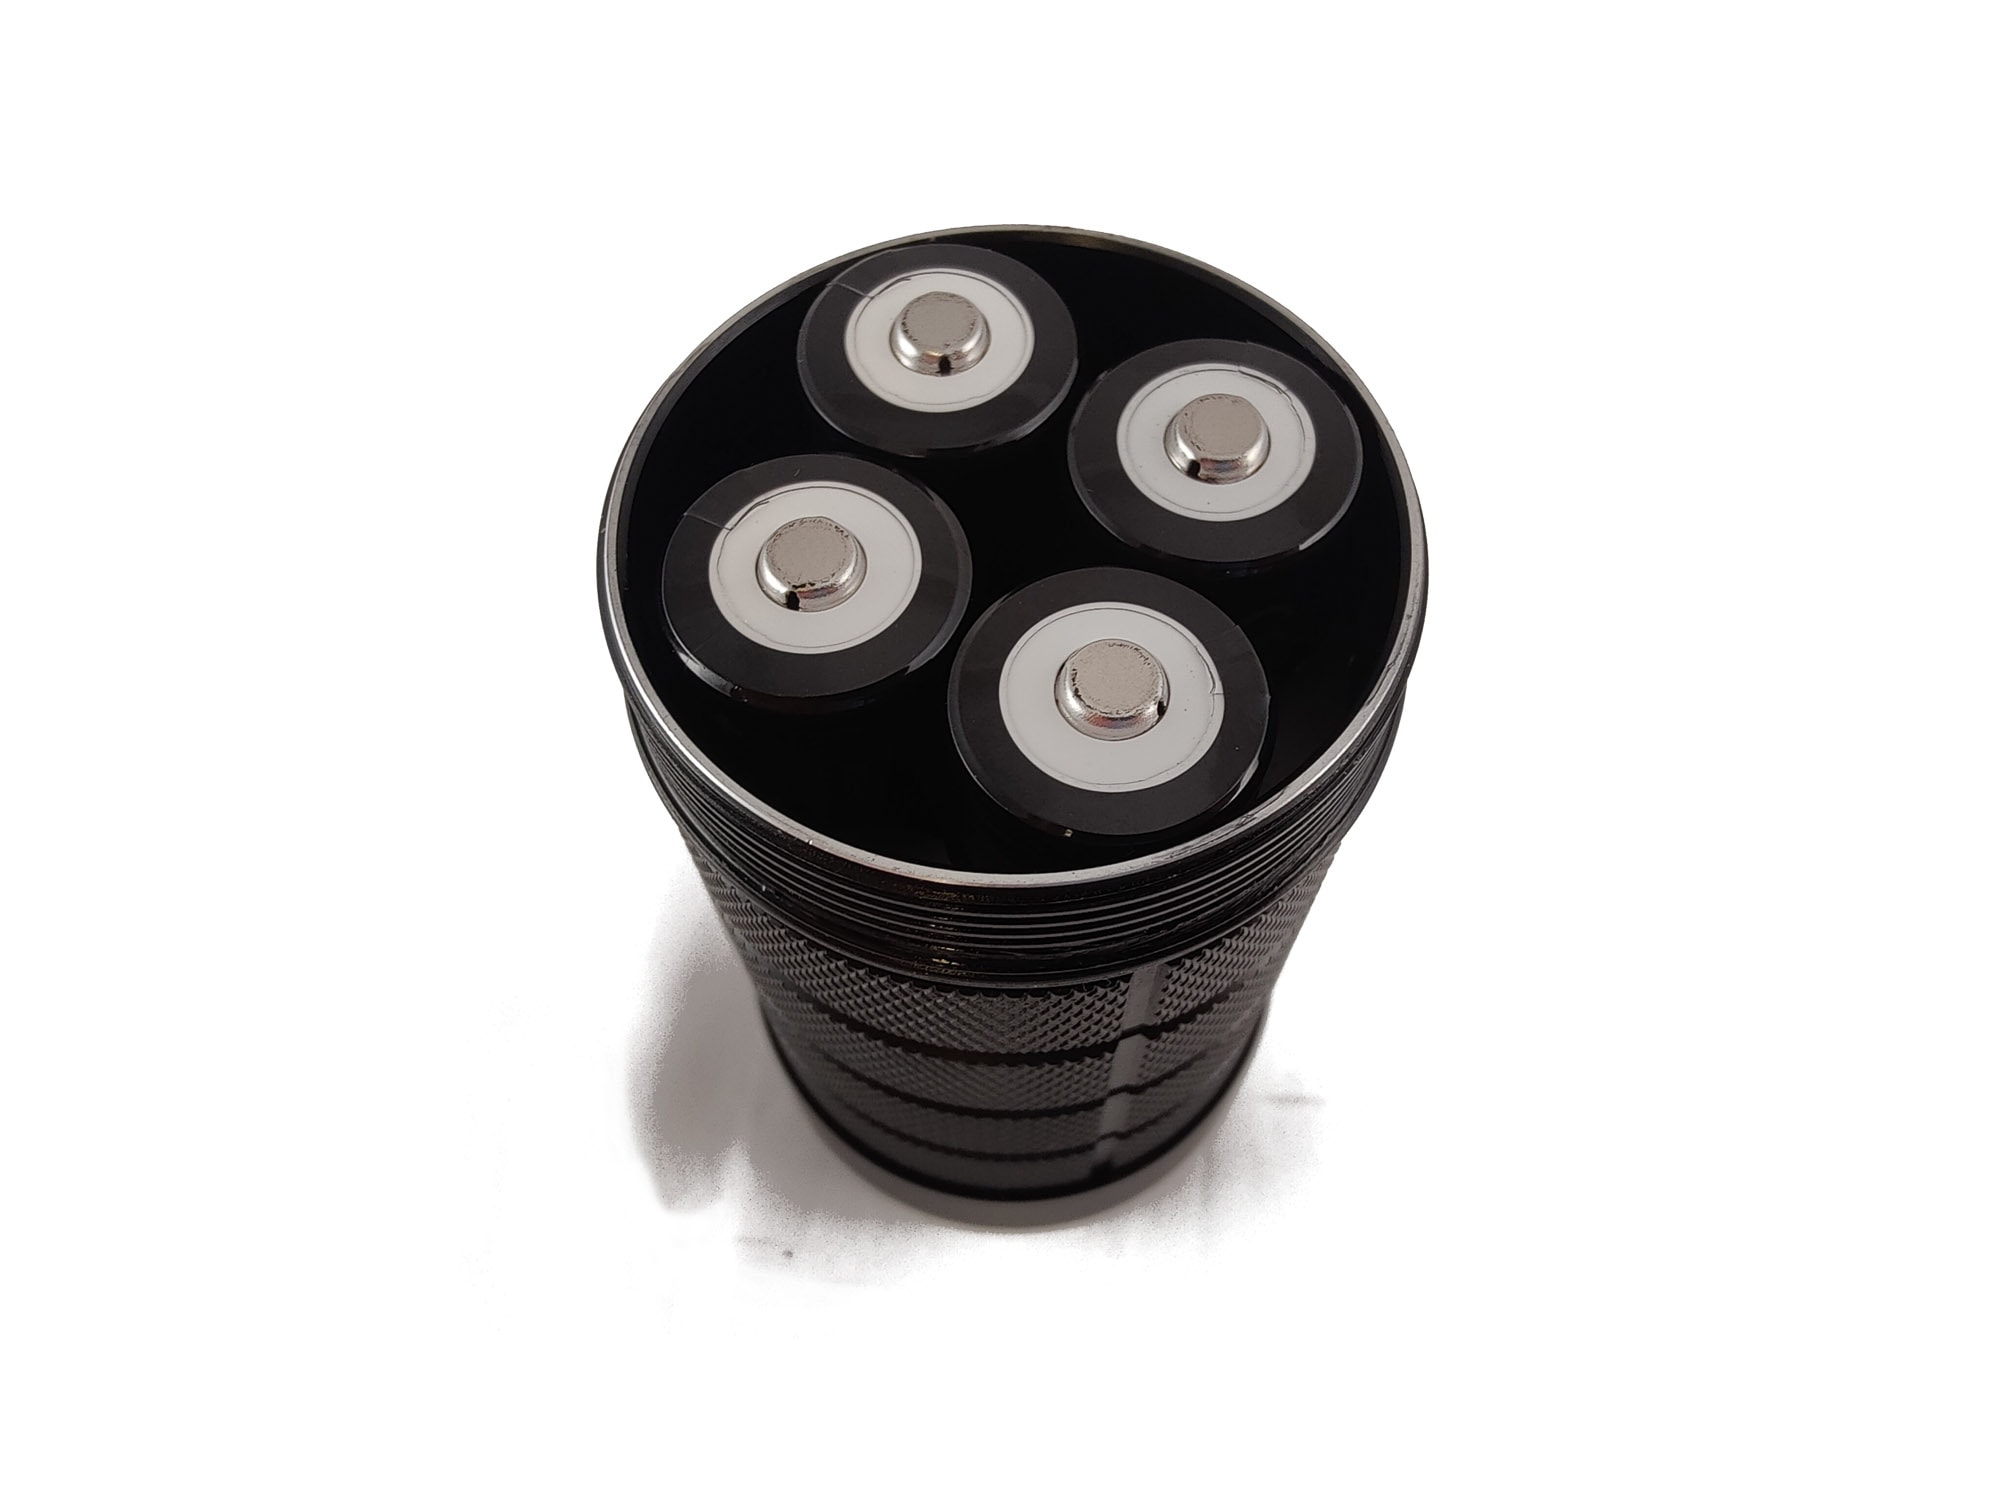
4*18650 3000mah Sofirn branded cells
The charging system built into the Q8 Pro is fantastic. The manual states it will run at a constant 10 watts (5V/2A) and after testing from low voltage cutoff, I was able to get all four 18650 cells topped back off in 5h and 21 minutes, according to my USB meter. I checked the batteries on my advanced charger after the standard internal charge sequence was completed, and the batteries ranged from 4.16V to 4.18V. 4 complete batteries in 5 hours and 28 minutes is pretty good to me. In case that needs repeating, that is a whopping 12,000mah of capacity. This battery is a beast.
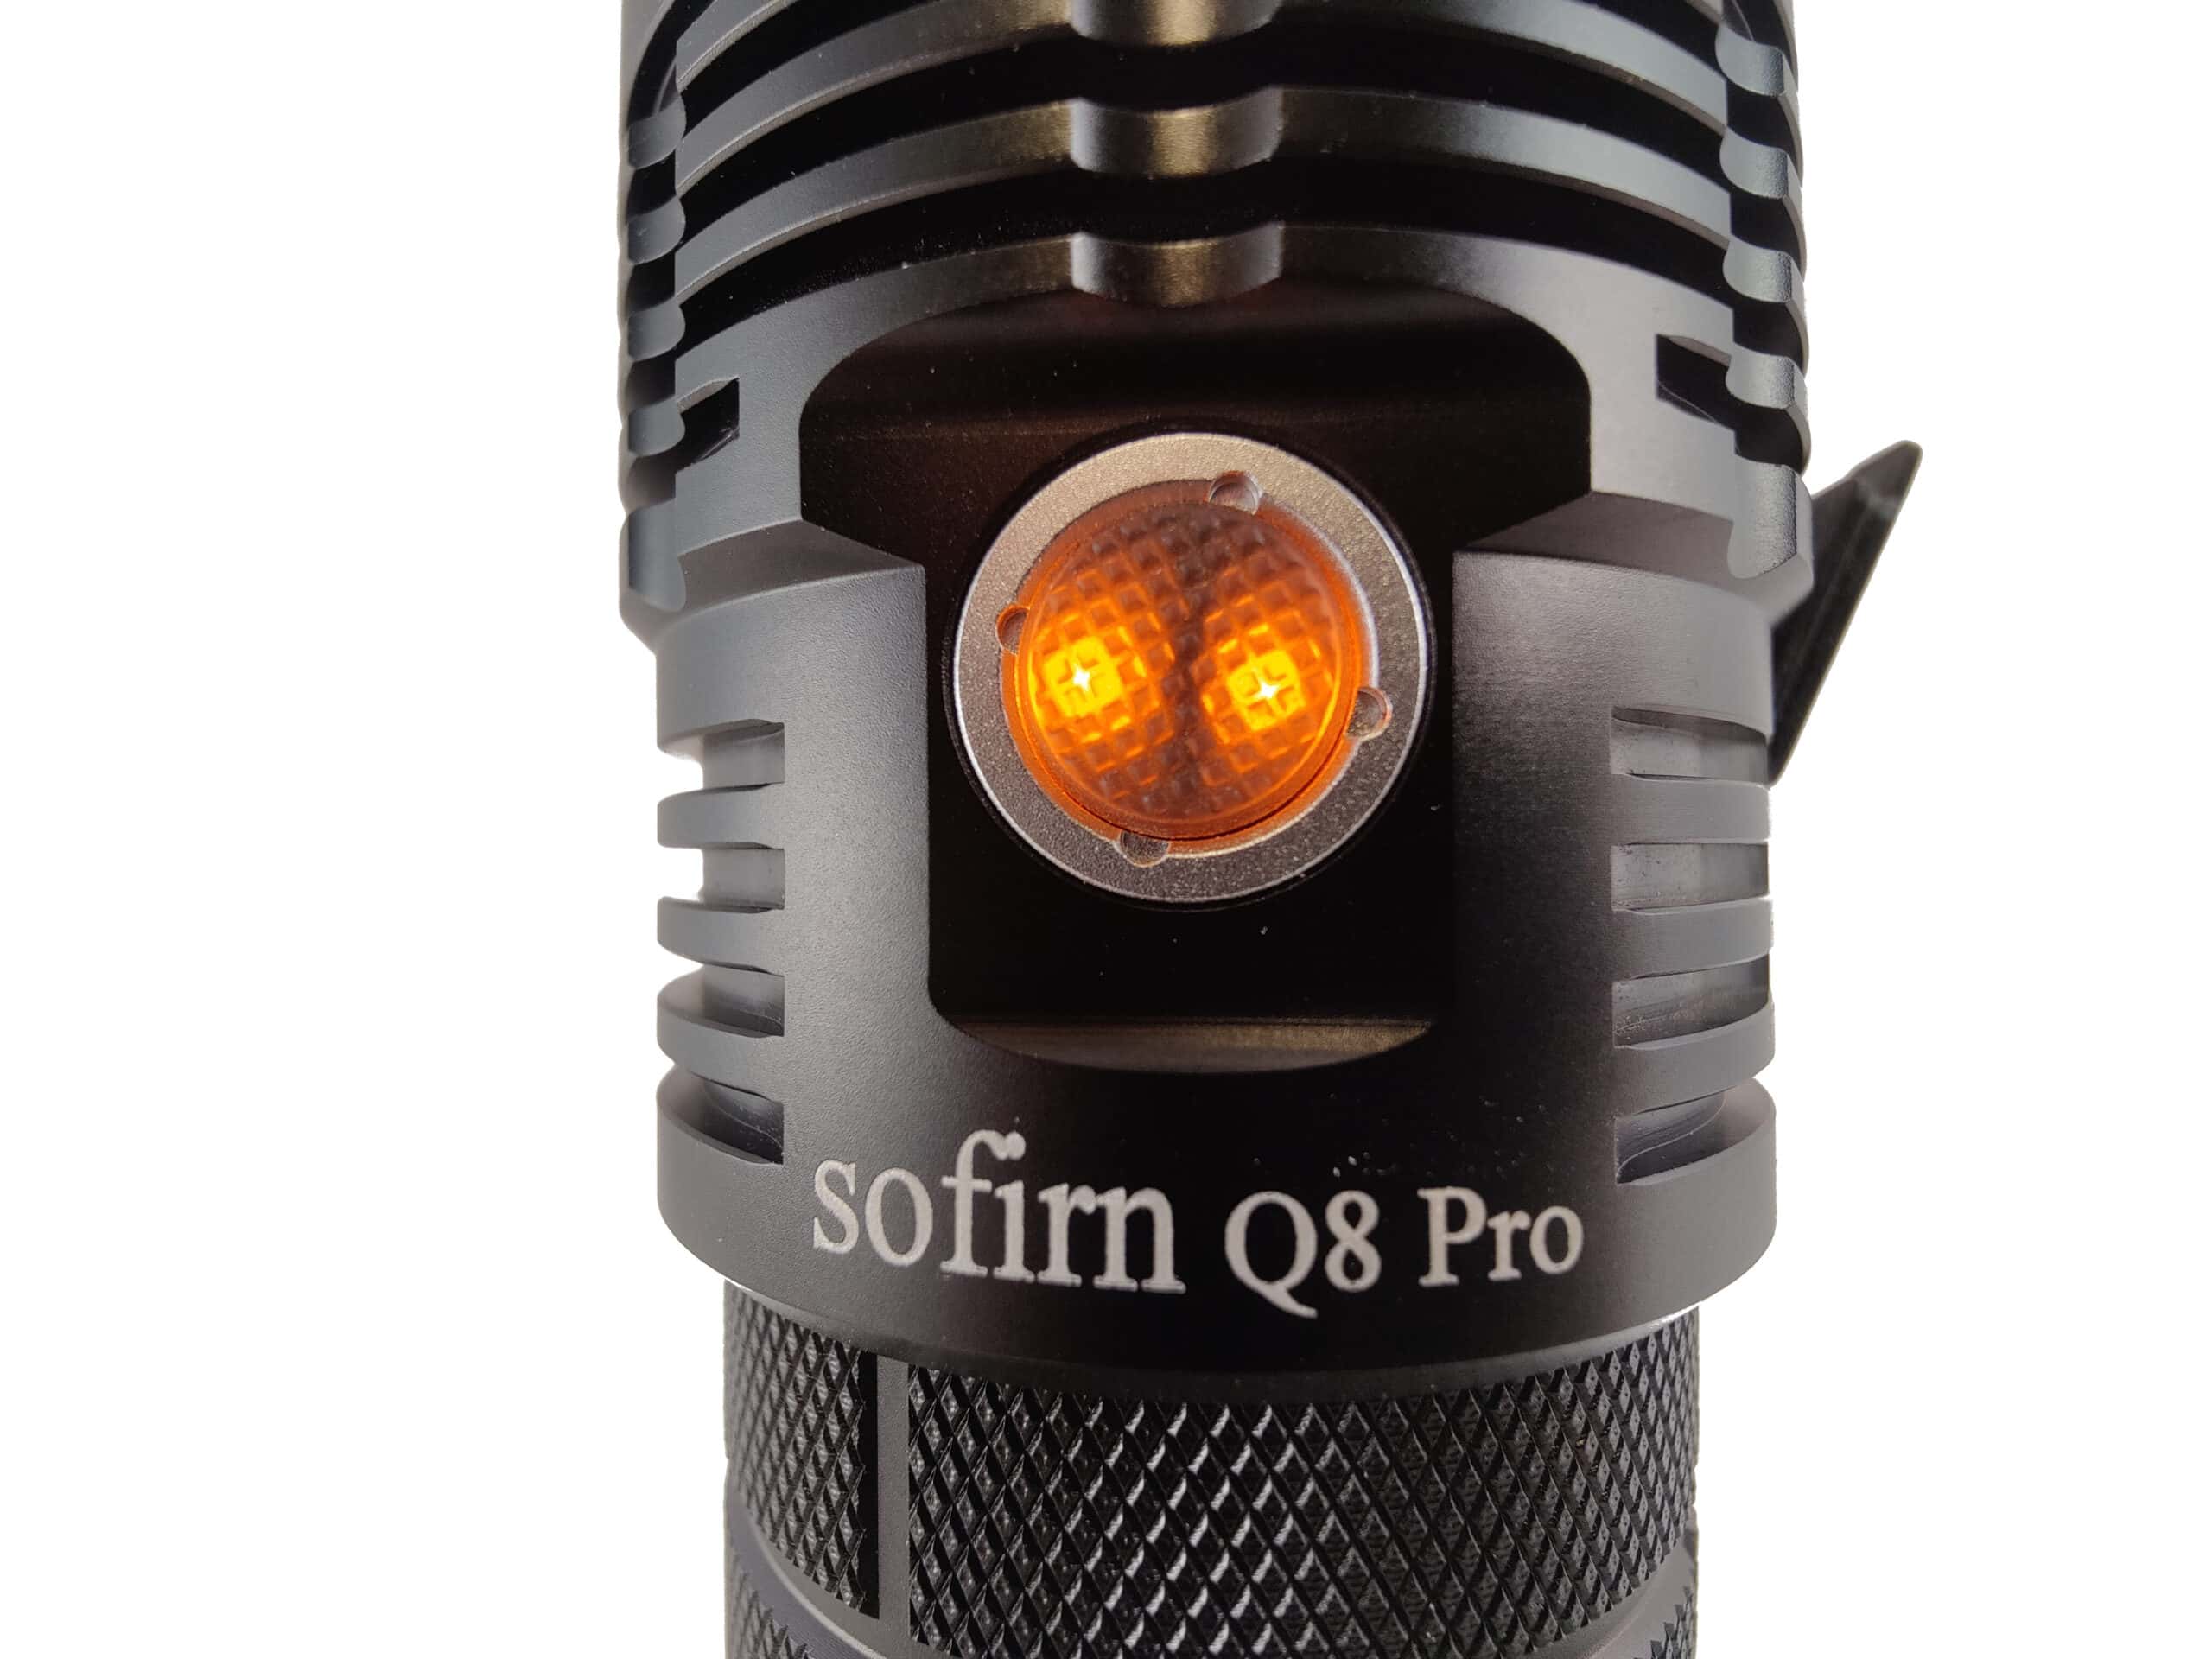
To put the proverbial icing on the cake, when the batteries were reinserted, there were a set of orange LEDs that showed up on the E-Switch. These indicate the ability to use a powerbank option. With a USB-C cable, I was able to get that same USB meter in line and test out the powerbank while charging my cellular device. The meter is capable of accepting up to 65W charging so I knew the bottleneck would be the powerbank feature. I am glad to say that it charged my phone completely right at 3A. 15W from a flashlight to charge auxiliary devices can save you in a pinch and I am quite impressed.
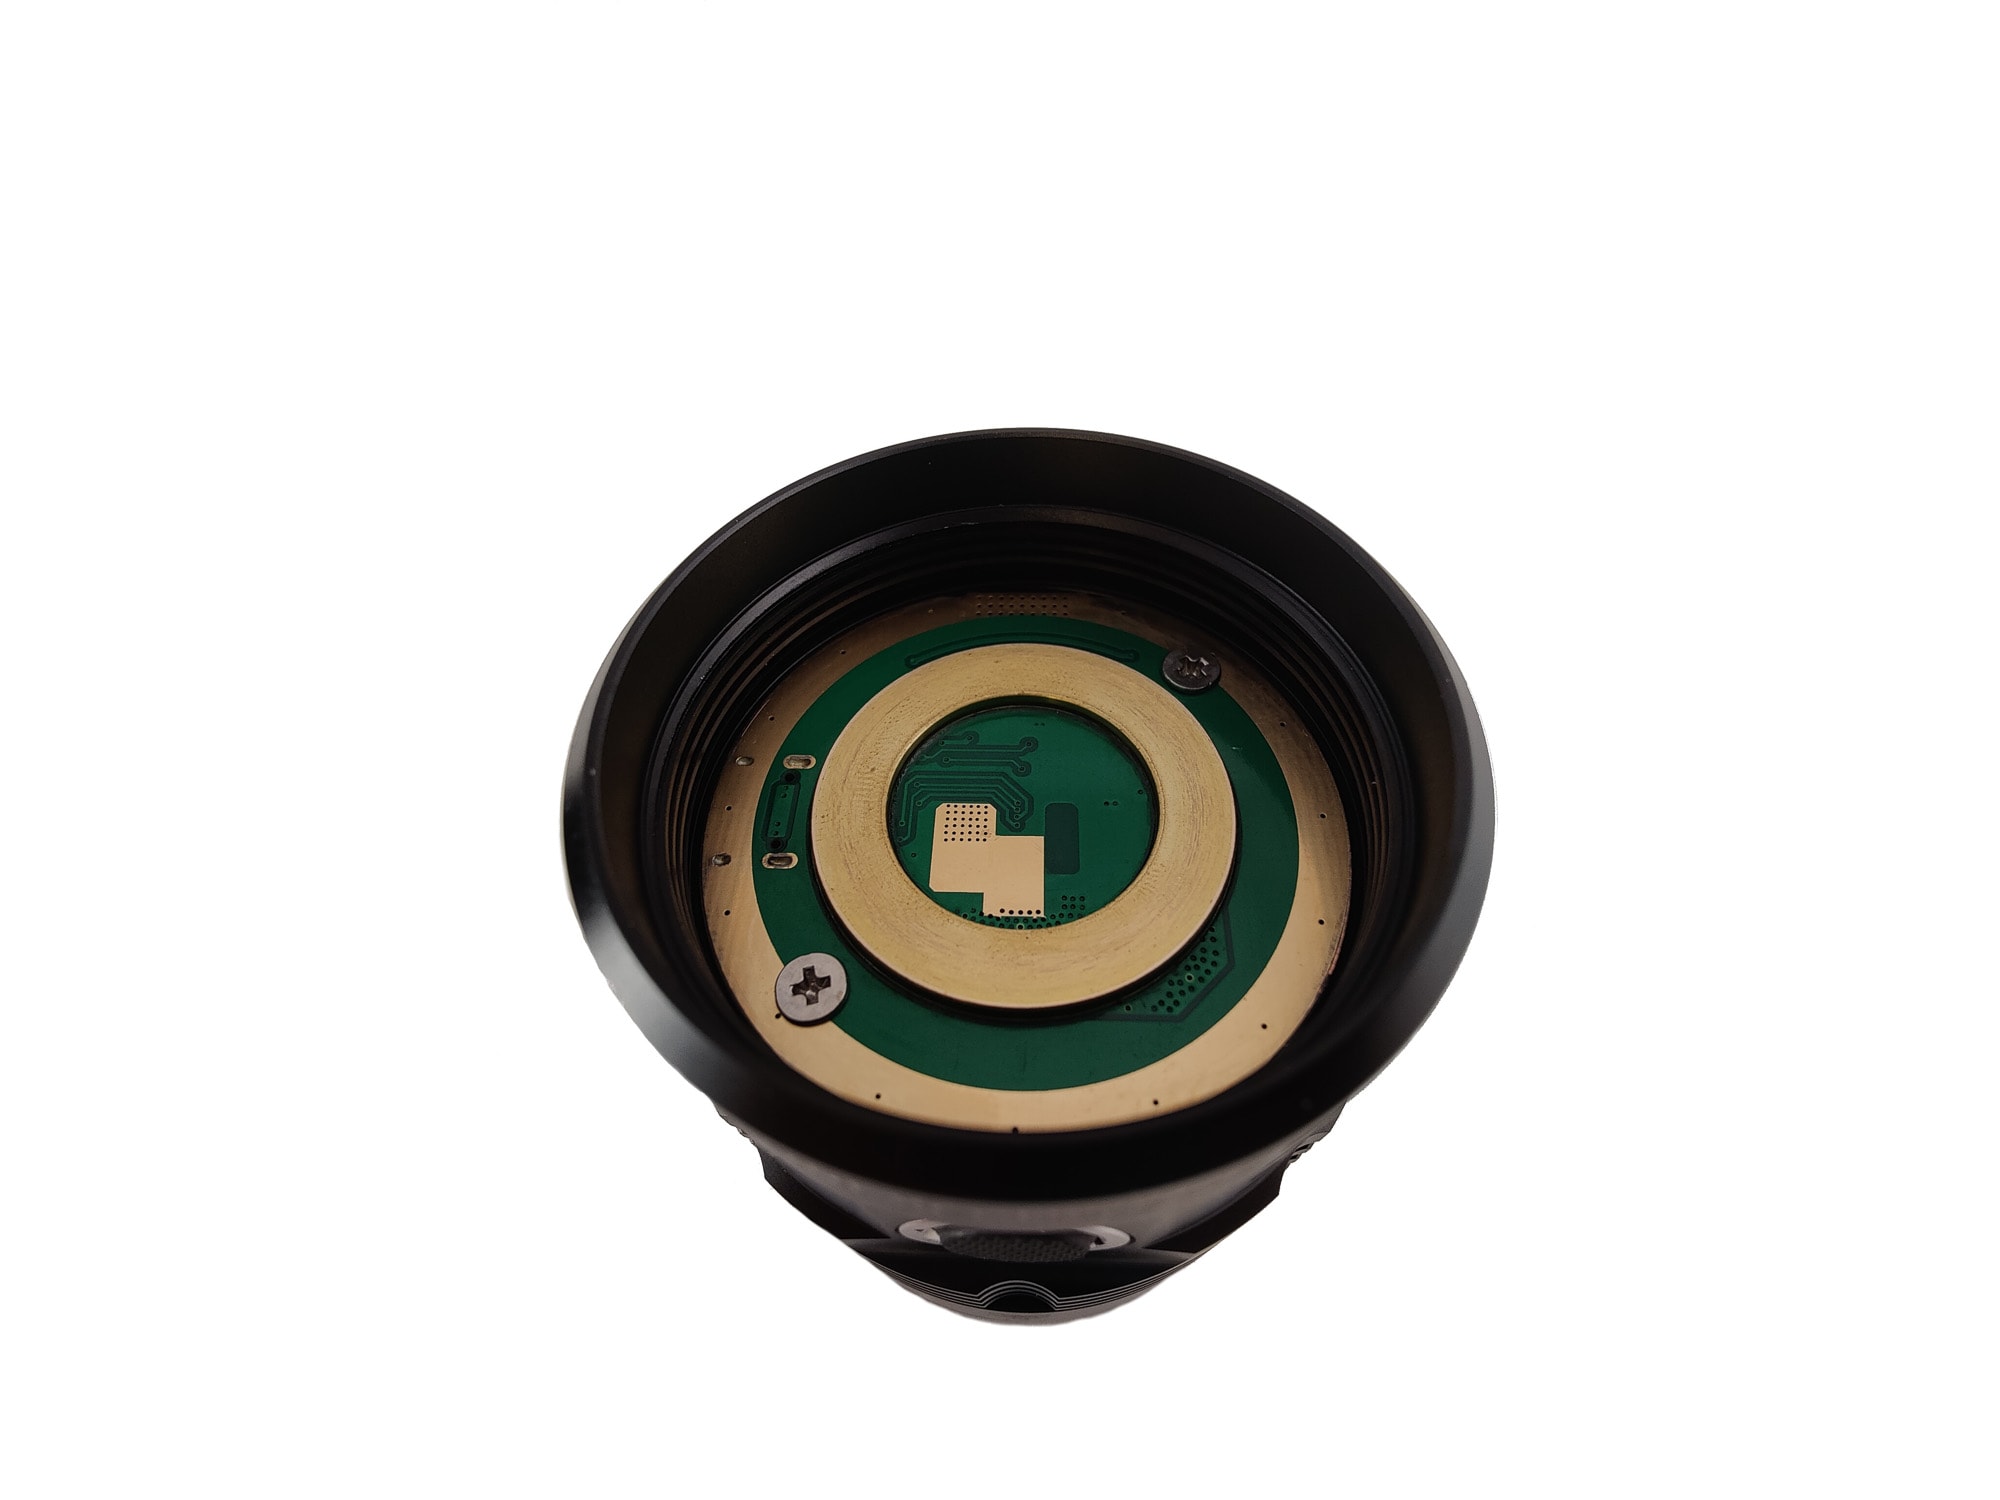
Now I did test other batteries to see if they could be used as well, and It seems sort of hit or miss. Let me explain. Yes, you can use other batteries, but no, not just any batteries. The positive contact on the driver is a copper ring and to make contact you will be required to use button top cells. The included cells are button top so all is well on this front. The spring tension at the bottom of the battery tube are stiff enough to eliminate all shaking noise from inside.
Performance test
All measurements were taken using a purpose built integrating sphere and an ExTech SDL400 datalogging lux meter. The known output from a light source (273lm Convoy S2+) was then taken into account when getting my figures calibrated for accuracy purposes. Temperature settings in Anduril 2 were verified to be accurate within 1 degree Celsius.
Lumen measurements (for each mode)
| Mode | Specified | turn on | 30 sec | 10 minutes |
|---|---|---|---|---|
| H1 | * | 1 lm | 1 lm | 1 lm |
| H2 | * | 18 lm | 18 lm | 18 lm |
| H3 | * | 61 lm | 63 lm | 61 lm |
| H4 | * | 170 lm | 166 lm | 165 lm |
| H5 | * | 918 lm | 904 lm | 870 lm |
| H6 | * | 2484 lm | 2434 lm | 1994 lm |
| H7 | * | 4488 lm | 4286 lm | 1428 lm |
| H8 | 11000lm | 11400 lm | 3550 lm | 1611 lm |
Battery Life: Runtime graphs
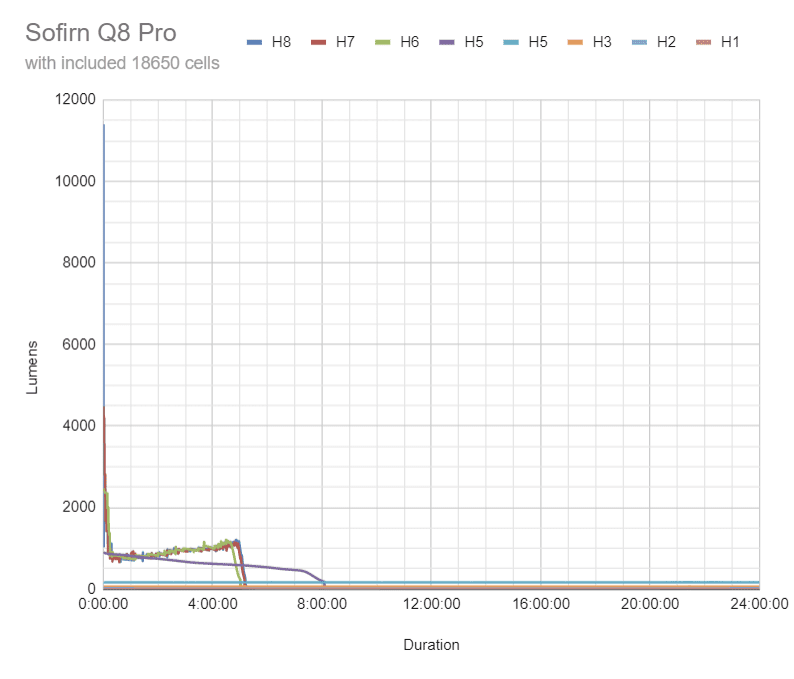
The included Sofirn 18650 cells were charged until the charging circuit completed and then each mode was tested. Each runtime test was done until the lights shut off unless they were to take over 24 hours.

| Mode | Specified | Measured runtime ANSI | Time till shut off |
|---|---|---|---|
| H1 | * | 24h+ | 24h+ |
| H2 | * | 24h+ | 24h+ |
| H3 | * | 24h+ | 24h+ |
| H4 | * | 24h+ | 24h+ |
| H5 | * | 8h 5min | 20h 20min |
| H6 | * | 5h | 10h 06min |
| H7 | * | 5h 6min | 11h 05min |
| H8 | * | 5h 10min | 7h 52min |
The ANSI runtimes were only as good as they were due to the fact that there is a ton of immediate drop in output before that 30 second mark. If it were based off of the initial output, the higher mode runtimes would be SIGNIFICANTLY shorter, like, in the 5 minute range. On a surprising note, this is the first time I have seen a set of runtimes with over half of the modes running over 24 hours. Yes, this meant it took a while to get these runtime tests completed, but not having any specified information directly from Sofirn meant I didn’t know exactly what to expect, ergo, the TESTS MUST CONTINUE!! (Sorry, I am a dork)
ANSI FL1 standards: The runtime is measured until the light drops to 10% of its initial output (30 seconds after turning on). This does not mean that the flashlight is not usable anymore. The last column shows how long the light actually works till it shuts off. If there is a + symbol, it means that the test was stopped at that particular point, but the light was actually still running. This happens on certain occasions, with certain drivers, firmware, or batteries.
Peak beam intensity and beam distance measurements
| Mode | Specified | Candela measured | Meters | Yards |
|---|---|---|---|---|
| H1 | * | Did Not Register | – | – |
| H2 | * | 150 cd | 24m | 26 yd |
| H3 | * | 575 cd | 48m | 52yd |
| H4 | * | 1,475 cd | 77m | 84yd |
| H5 | * | 7,775 cd | 176m | 192yd |
| H6 | * | 22,750 cd | 301m | 329yd |
| H7 | * | 44,575 cd | 422m | 462yd |
| H8 | 400m | 51,025 cd | 452m | 494yd |
* Specifications not listed by manufacturer
Now, I did try multiple times and my figures were consistent, so I am not exactly sure what attributed to the high throw numbers. They were high, but with only the highest of specs available from the manufacturer, I couldn’t tell you how high the rest of the modes were. The Turbo settings came in at roughly 12 percent higher than spec. If this is indeed factual, It is a pleasant surprise. It is believable though, since my output numbers were also high on this particular light.
Extra info: Peak beam distance according to ANSI FL1 standards: The calculated value of distance in meters at which the flashlight produces a light intensity of 0.25 lux. (0.25 lux is about the brightness of a full moon shining on an object). Columns Meters and Yards show rounded numbers.
Beamshots
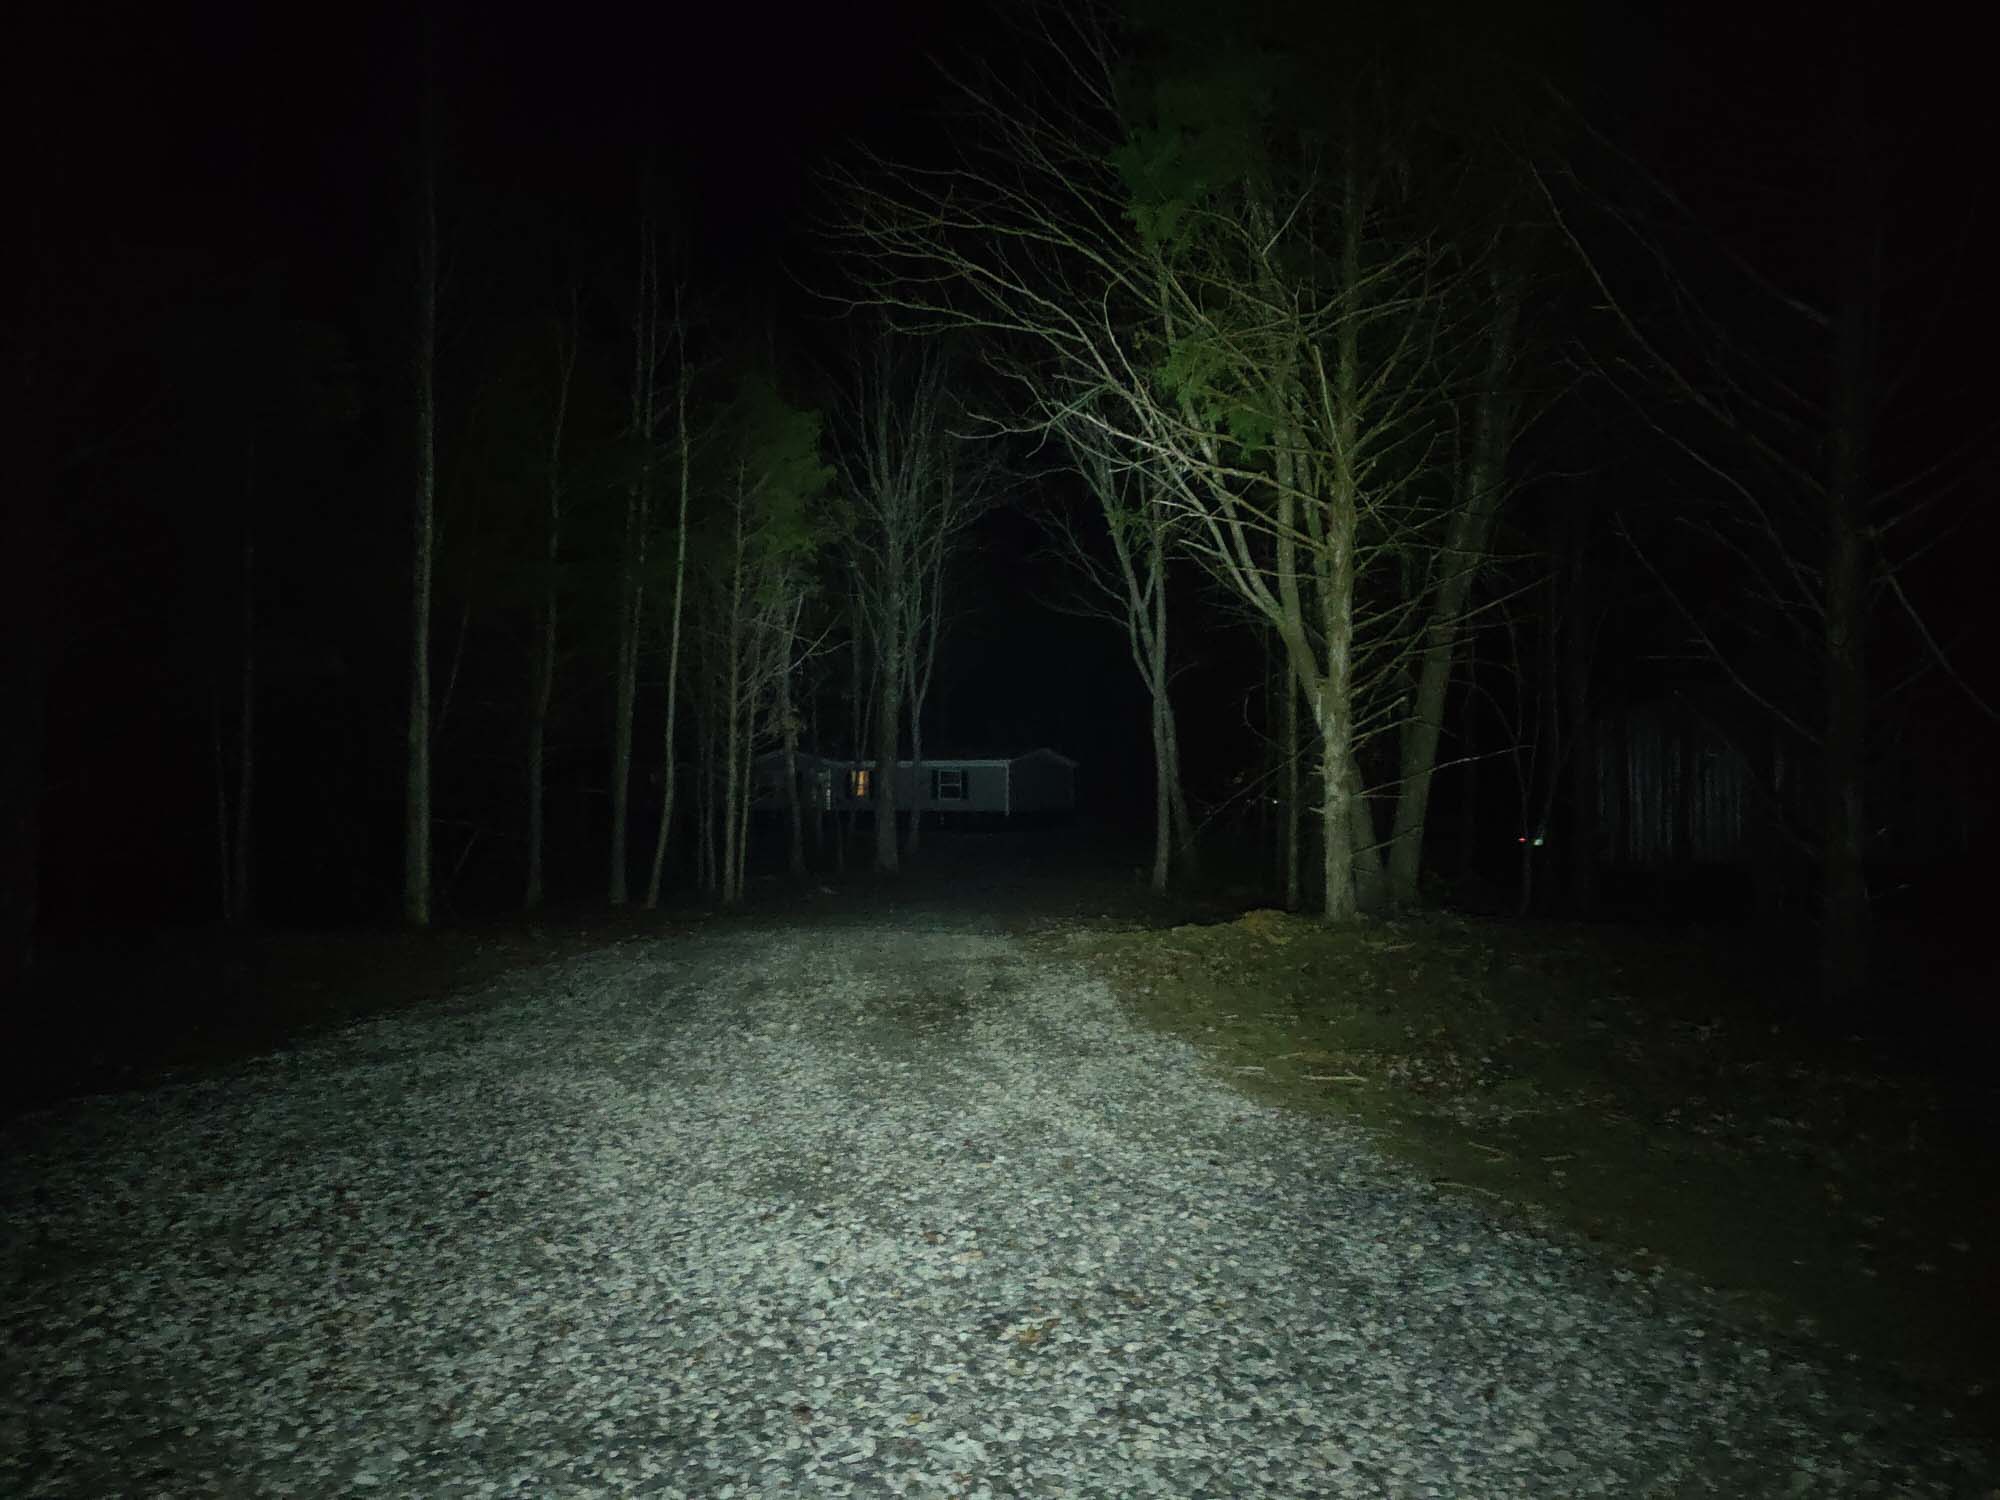
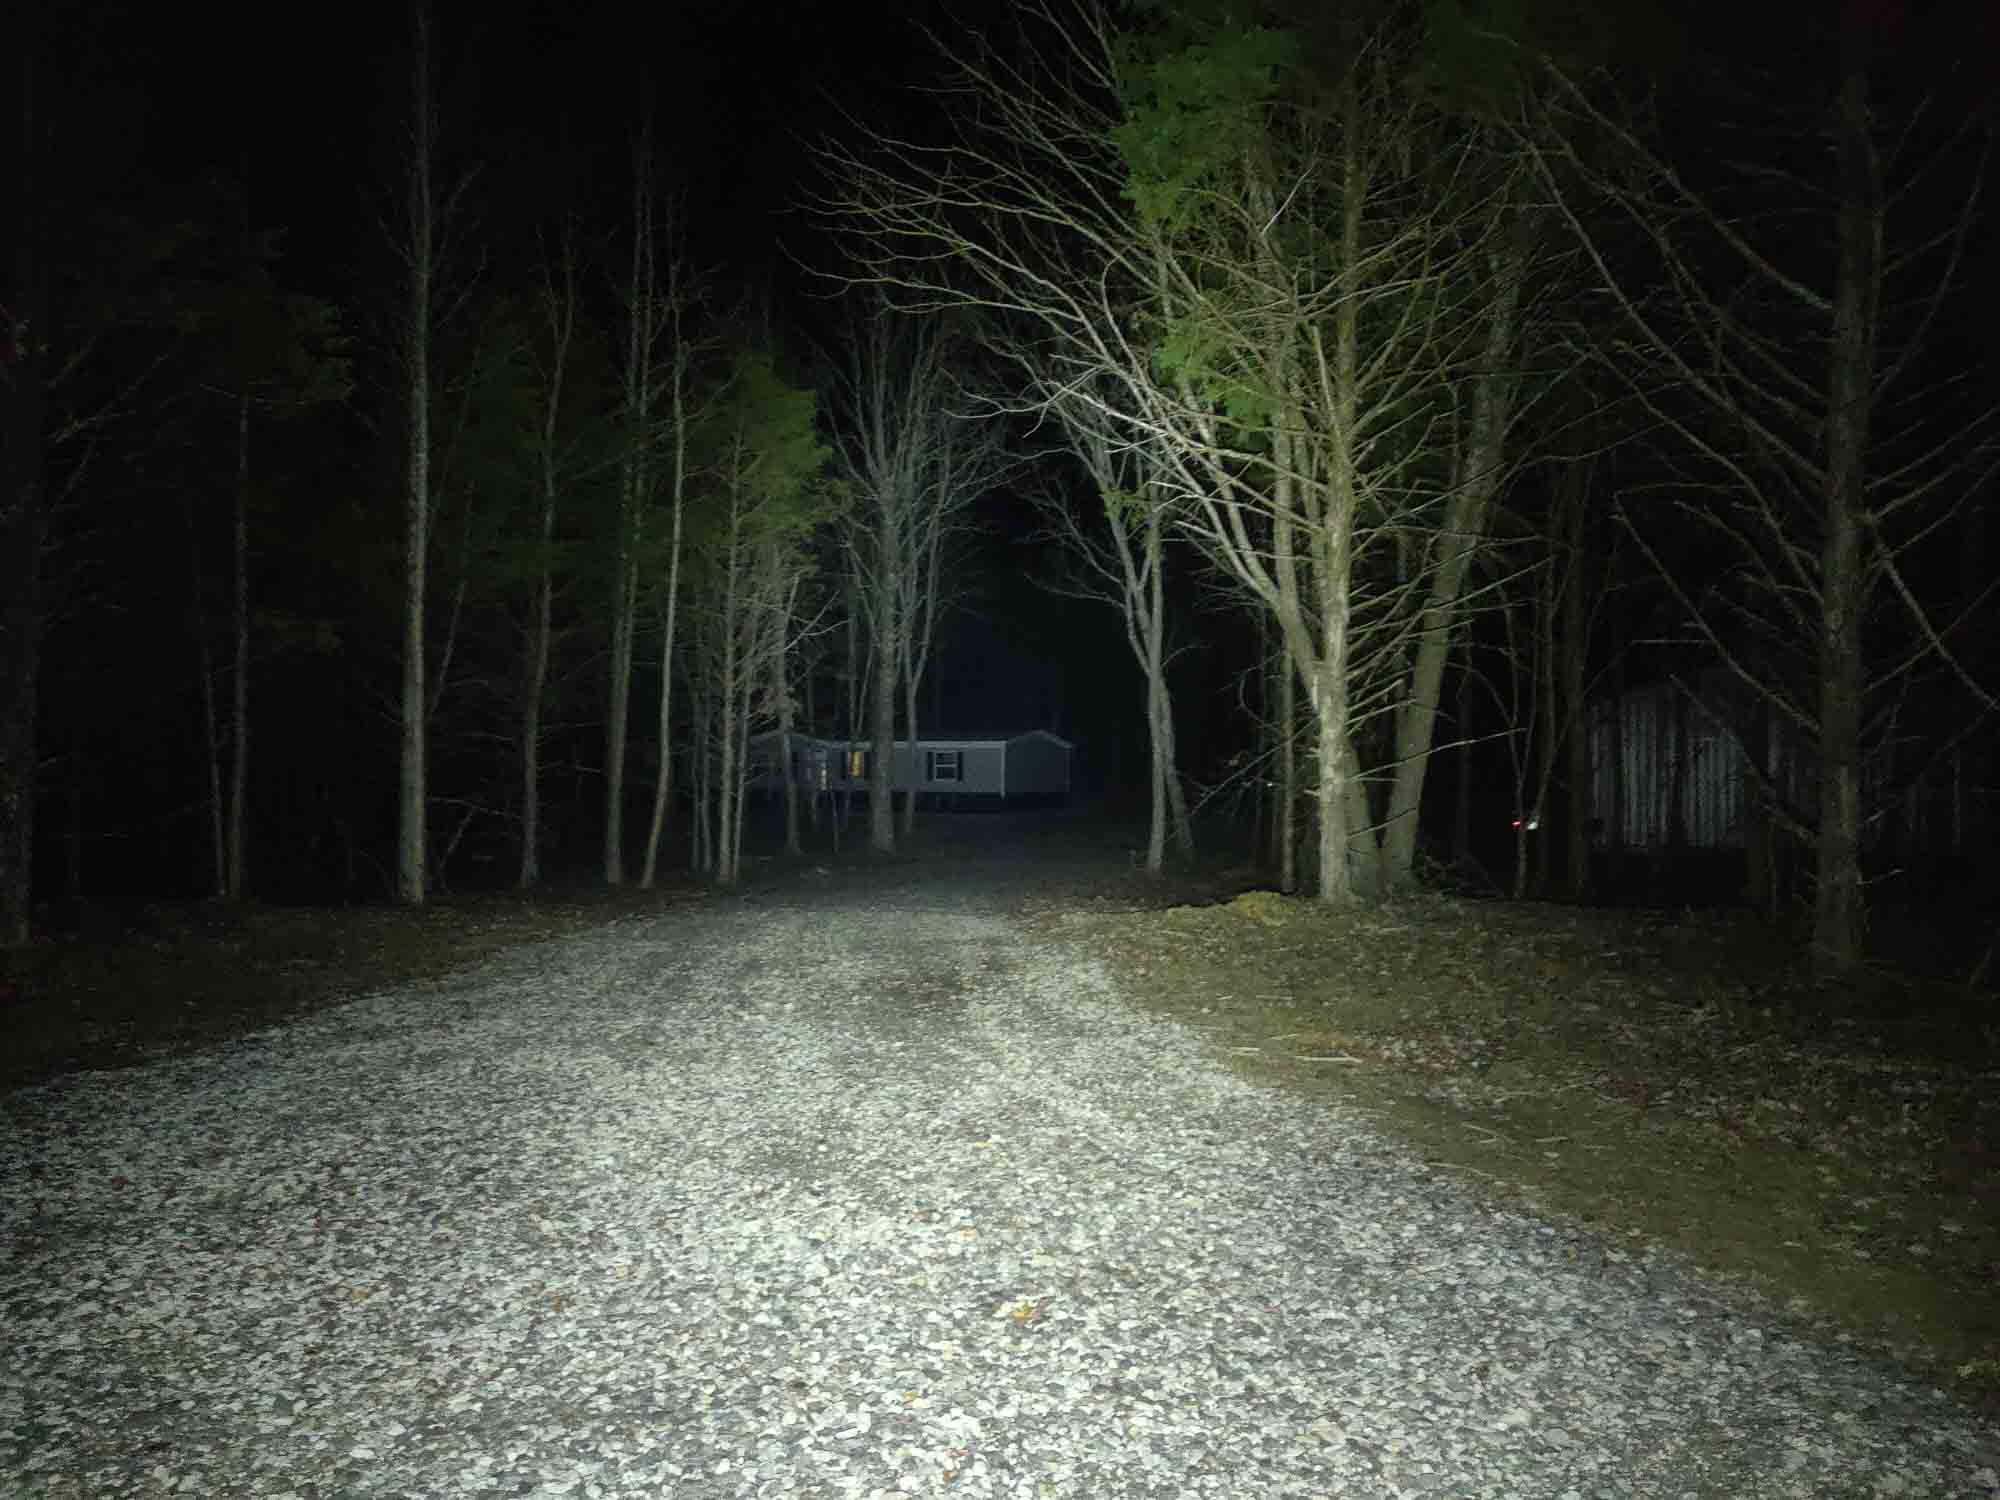
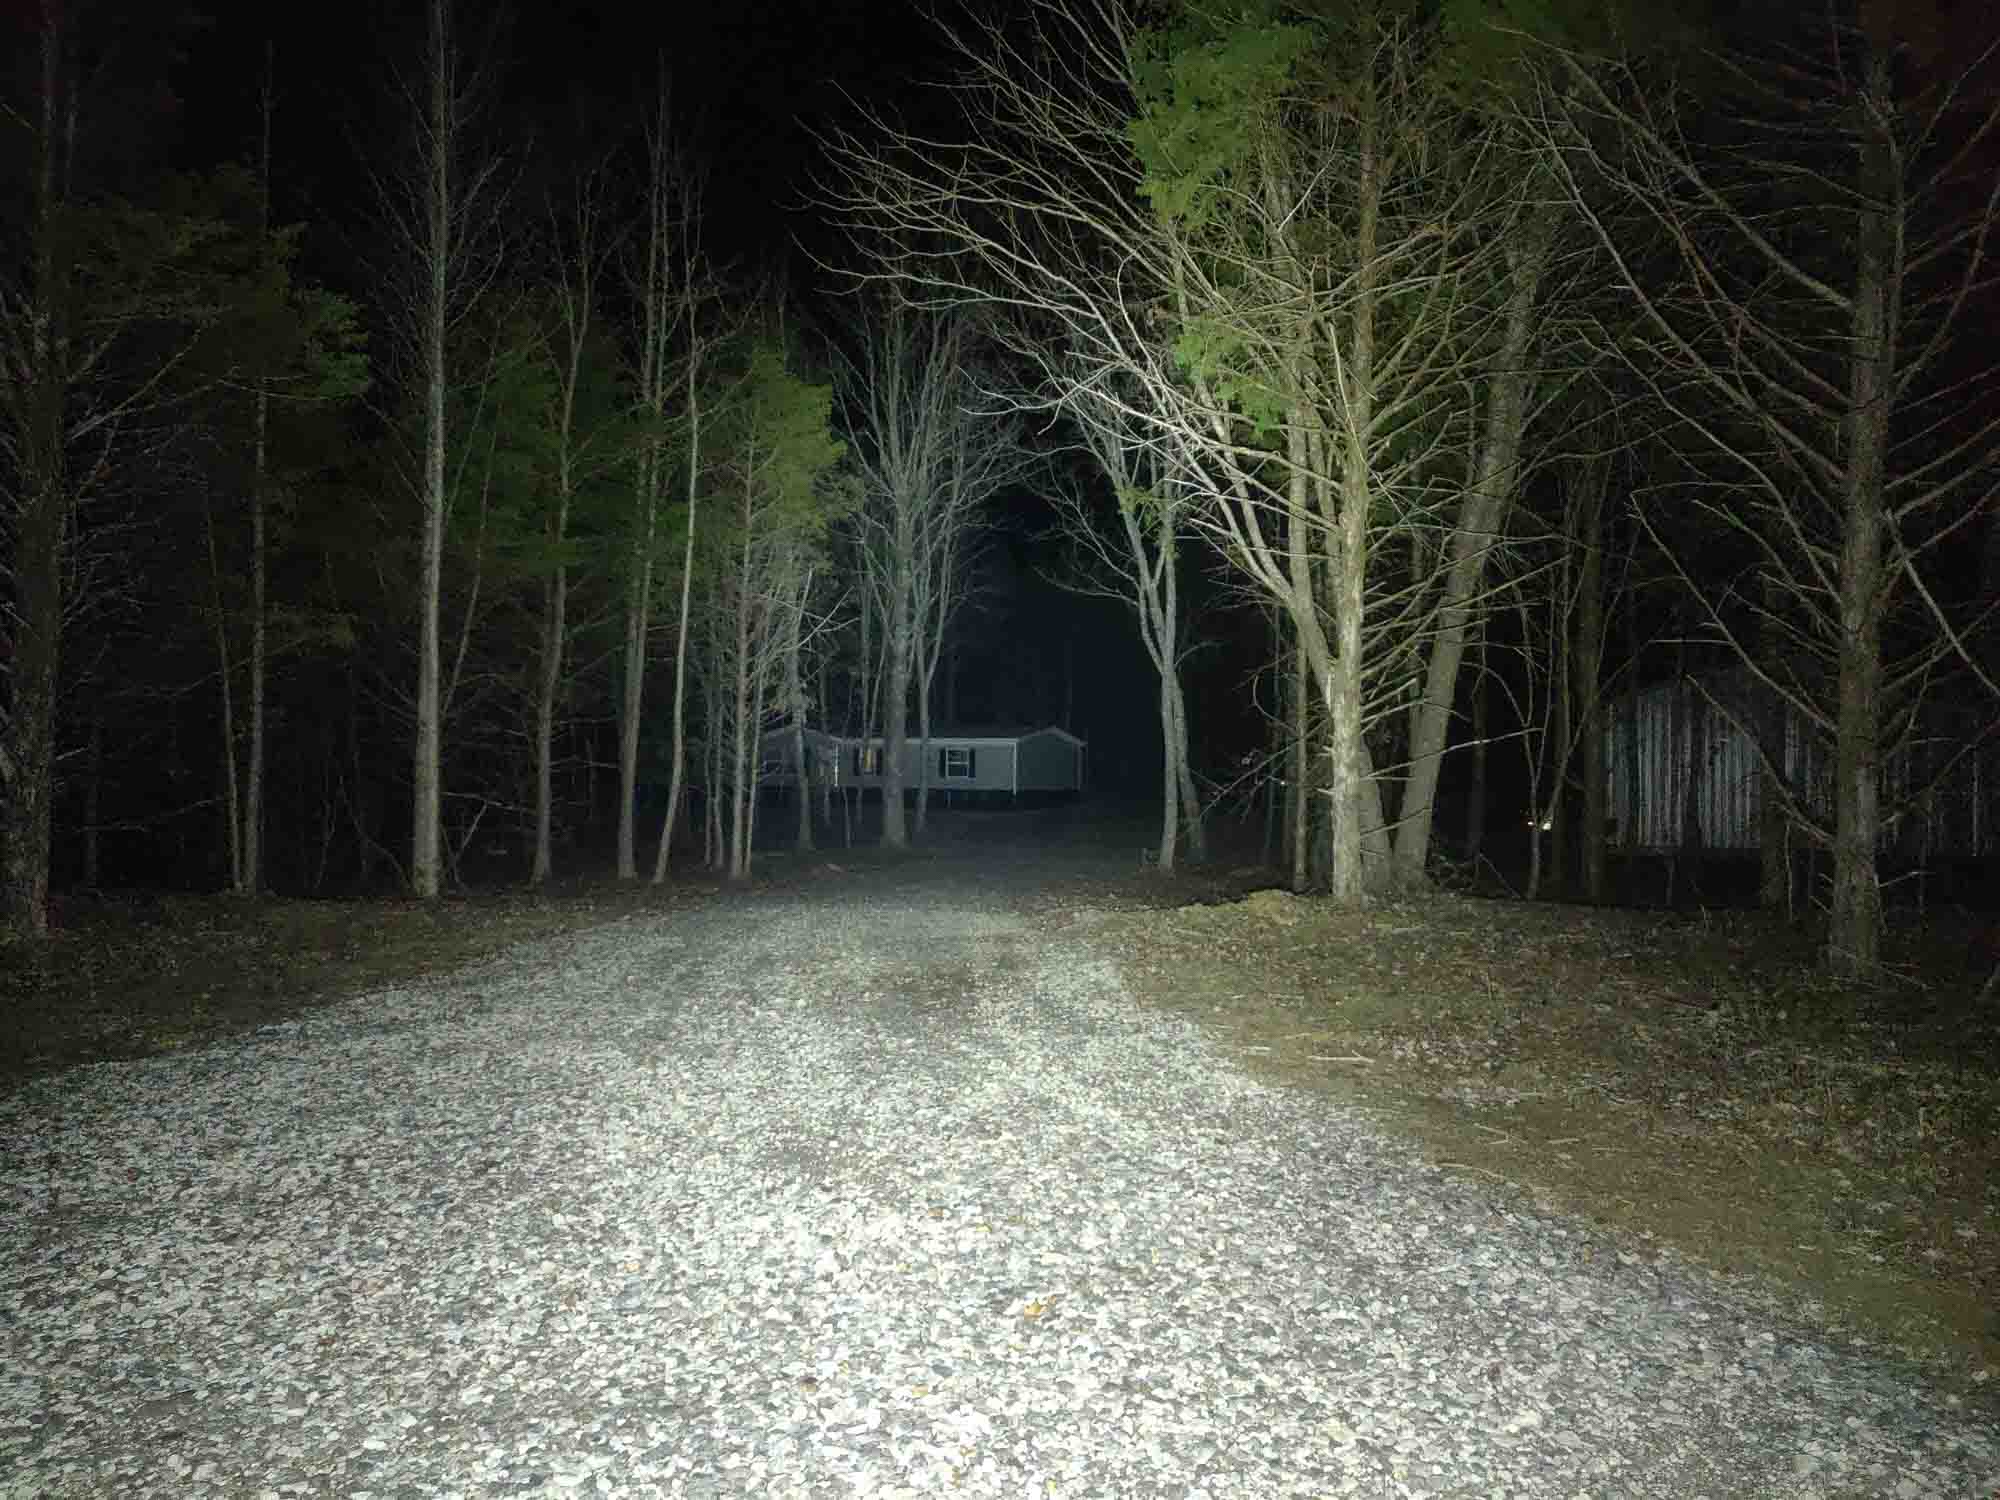
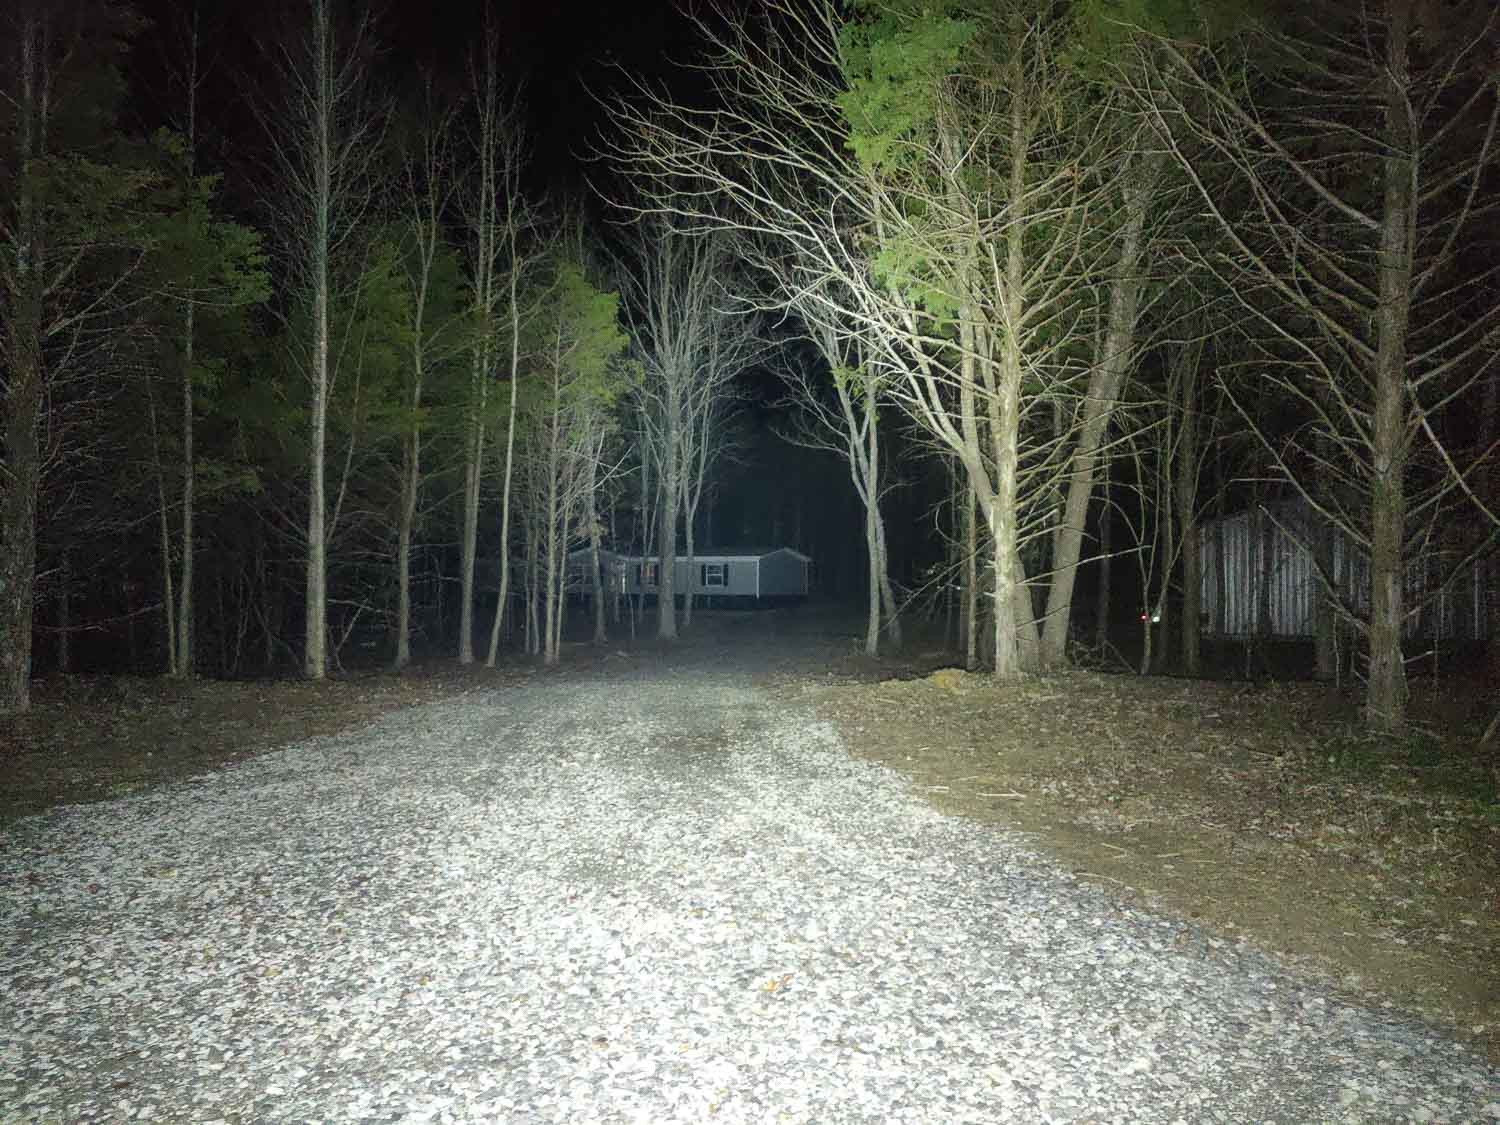
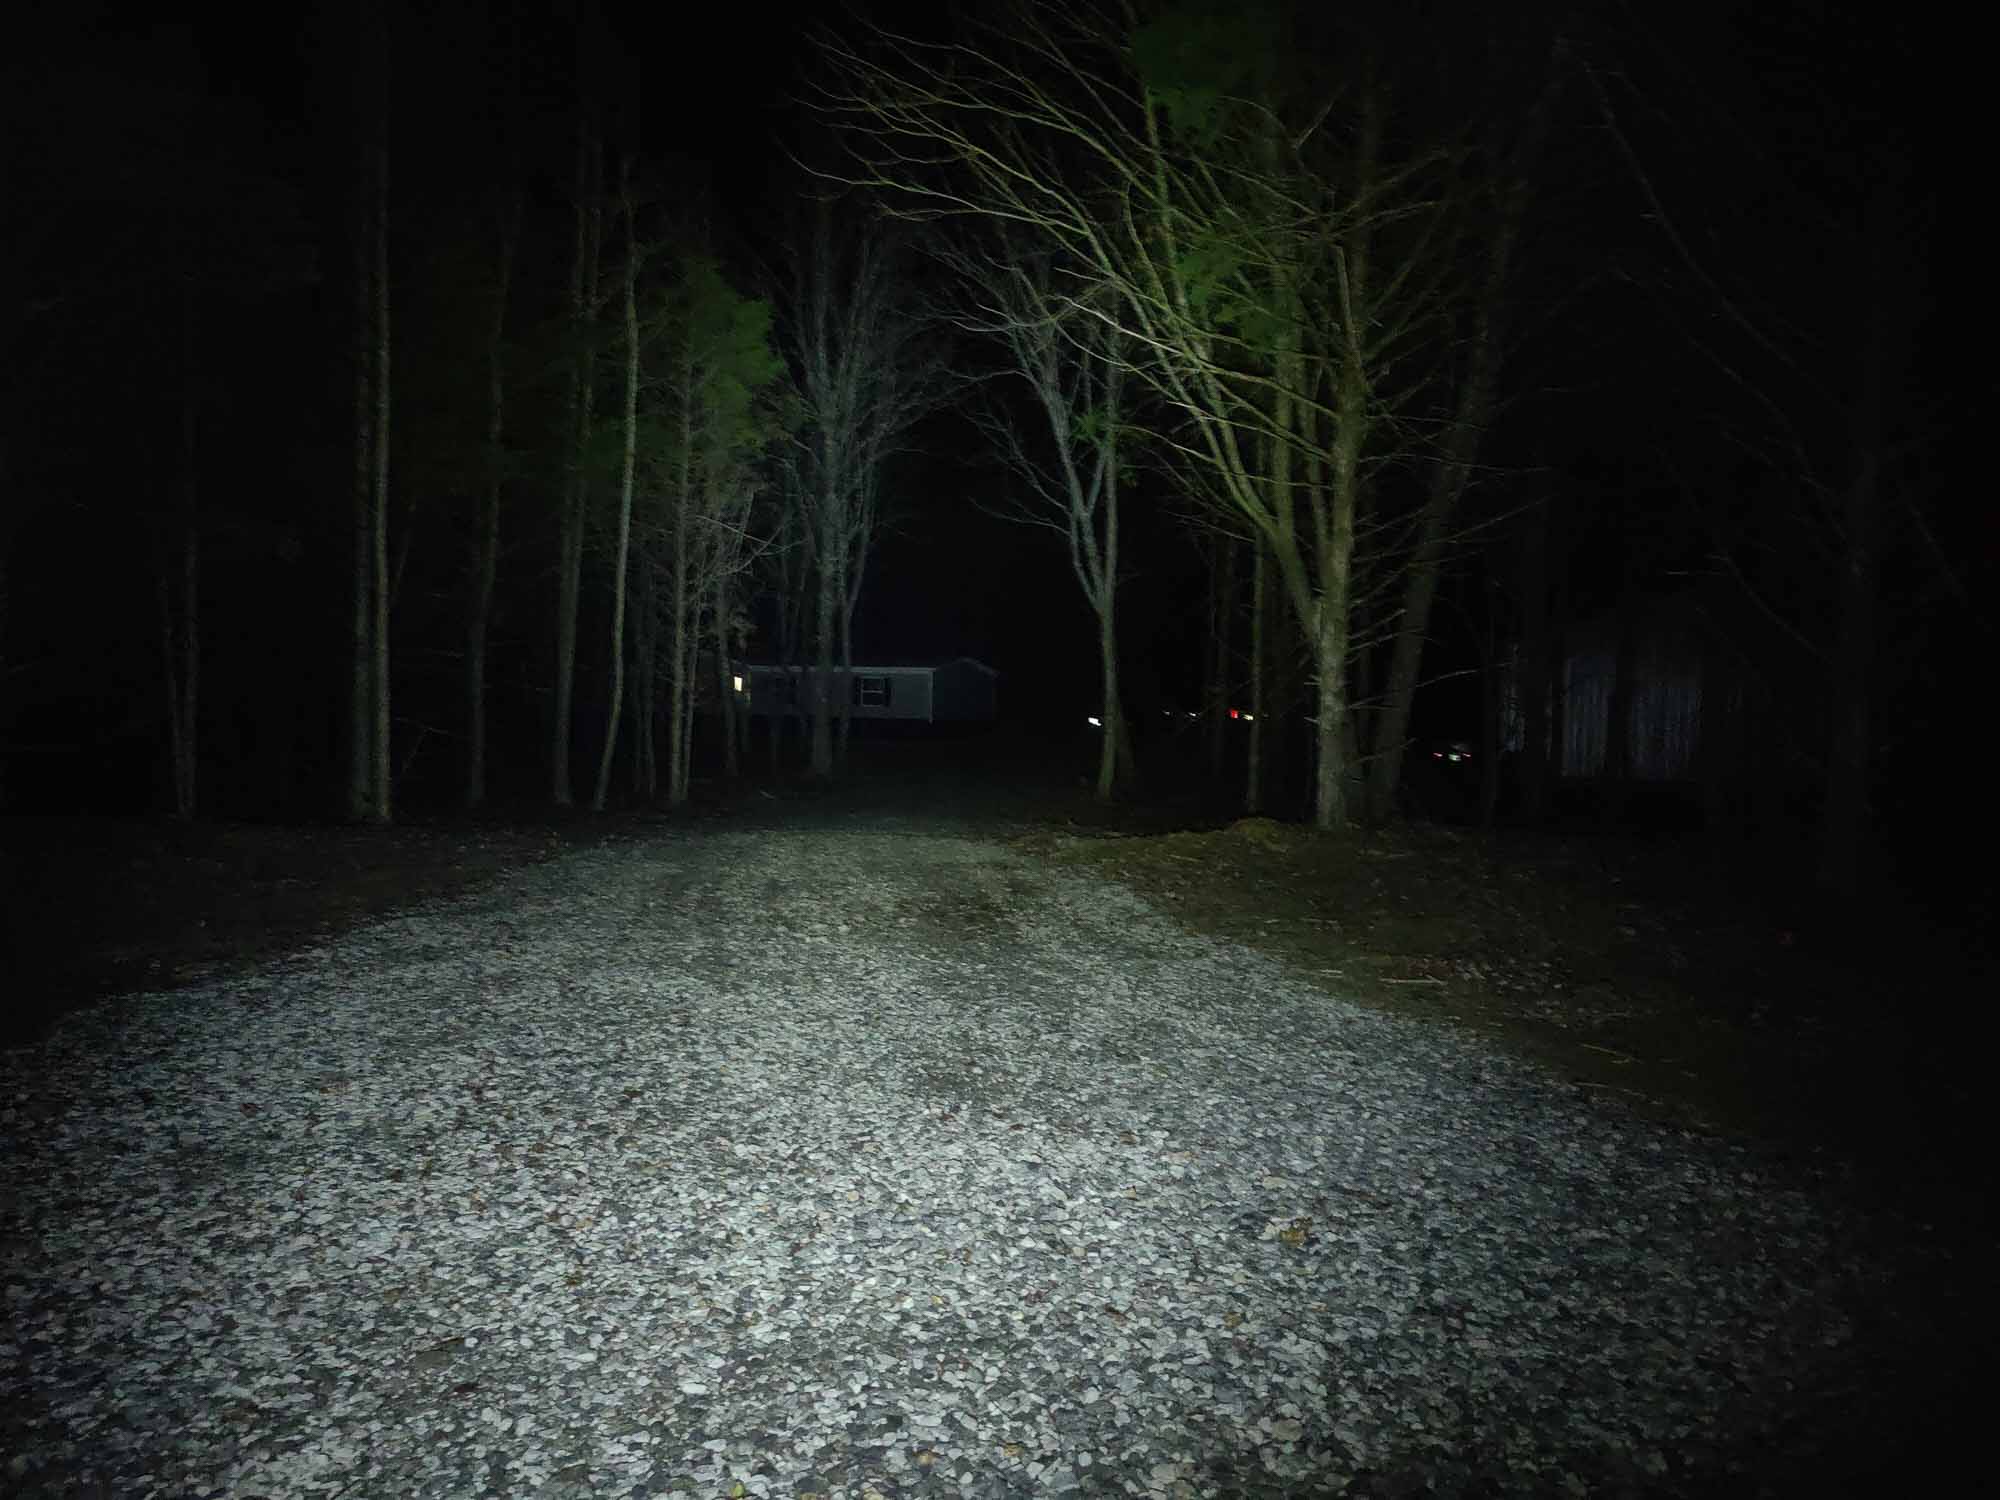
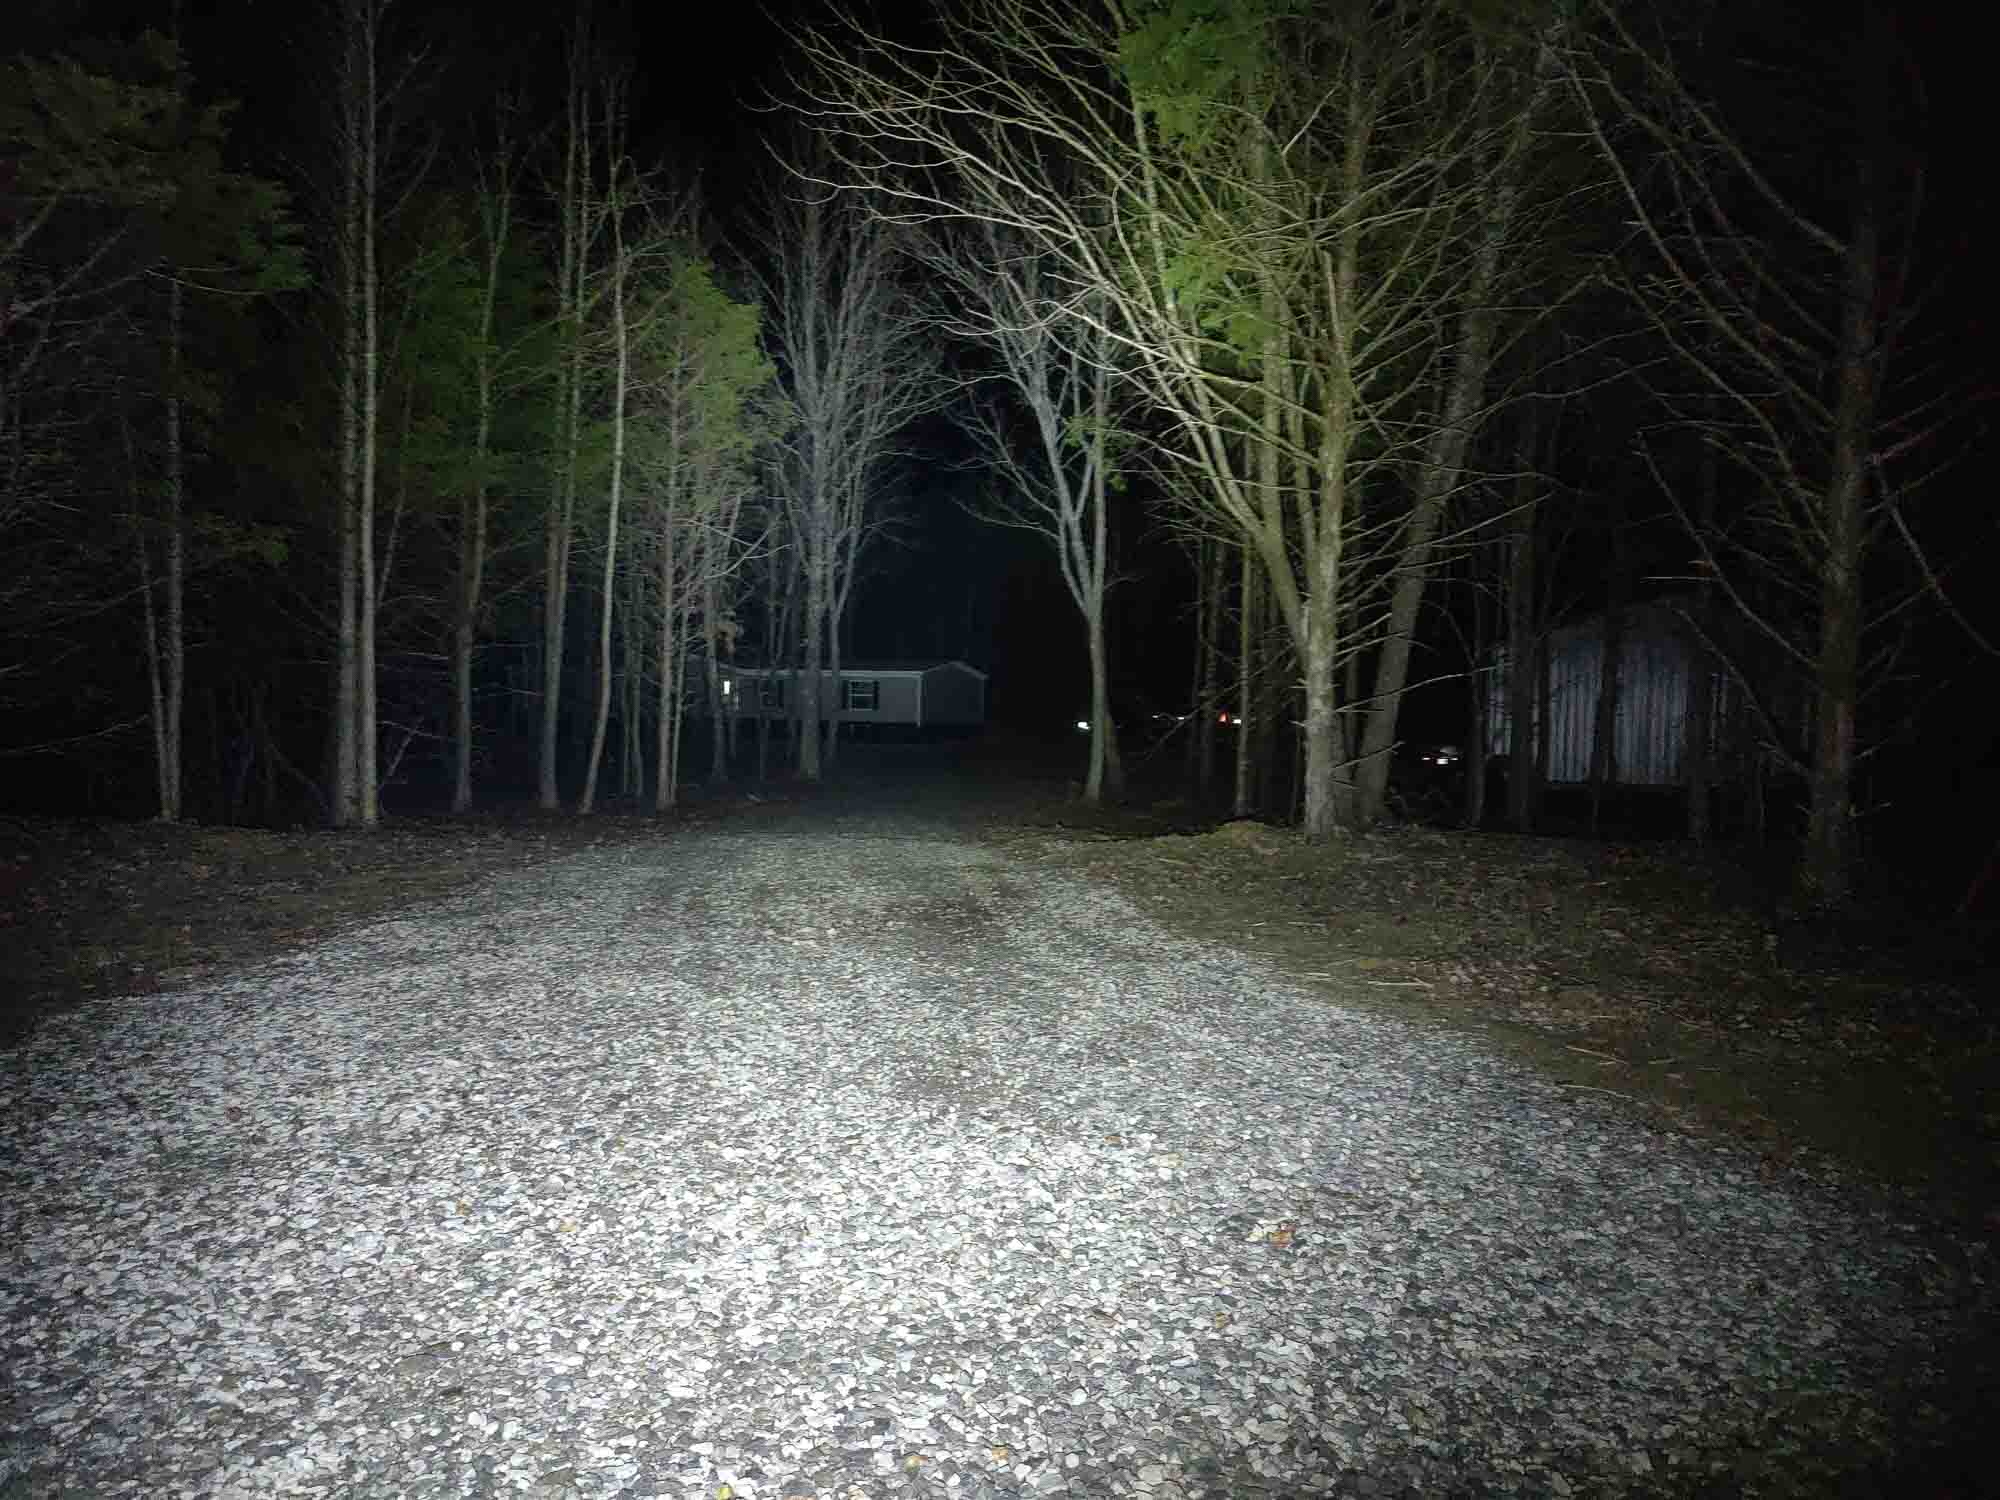
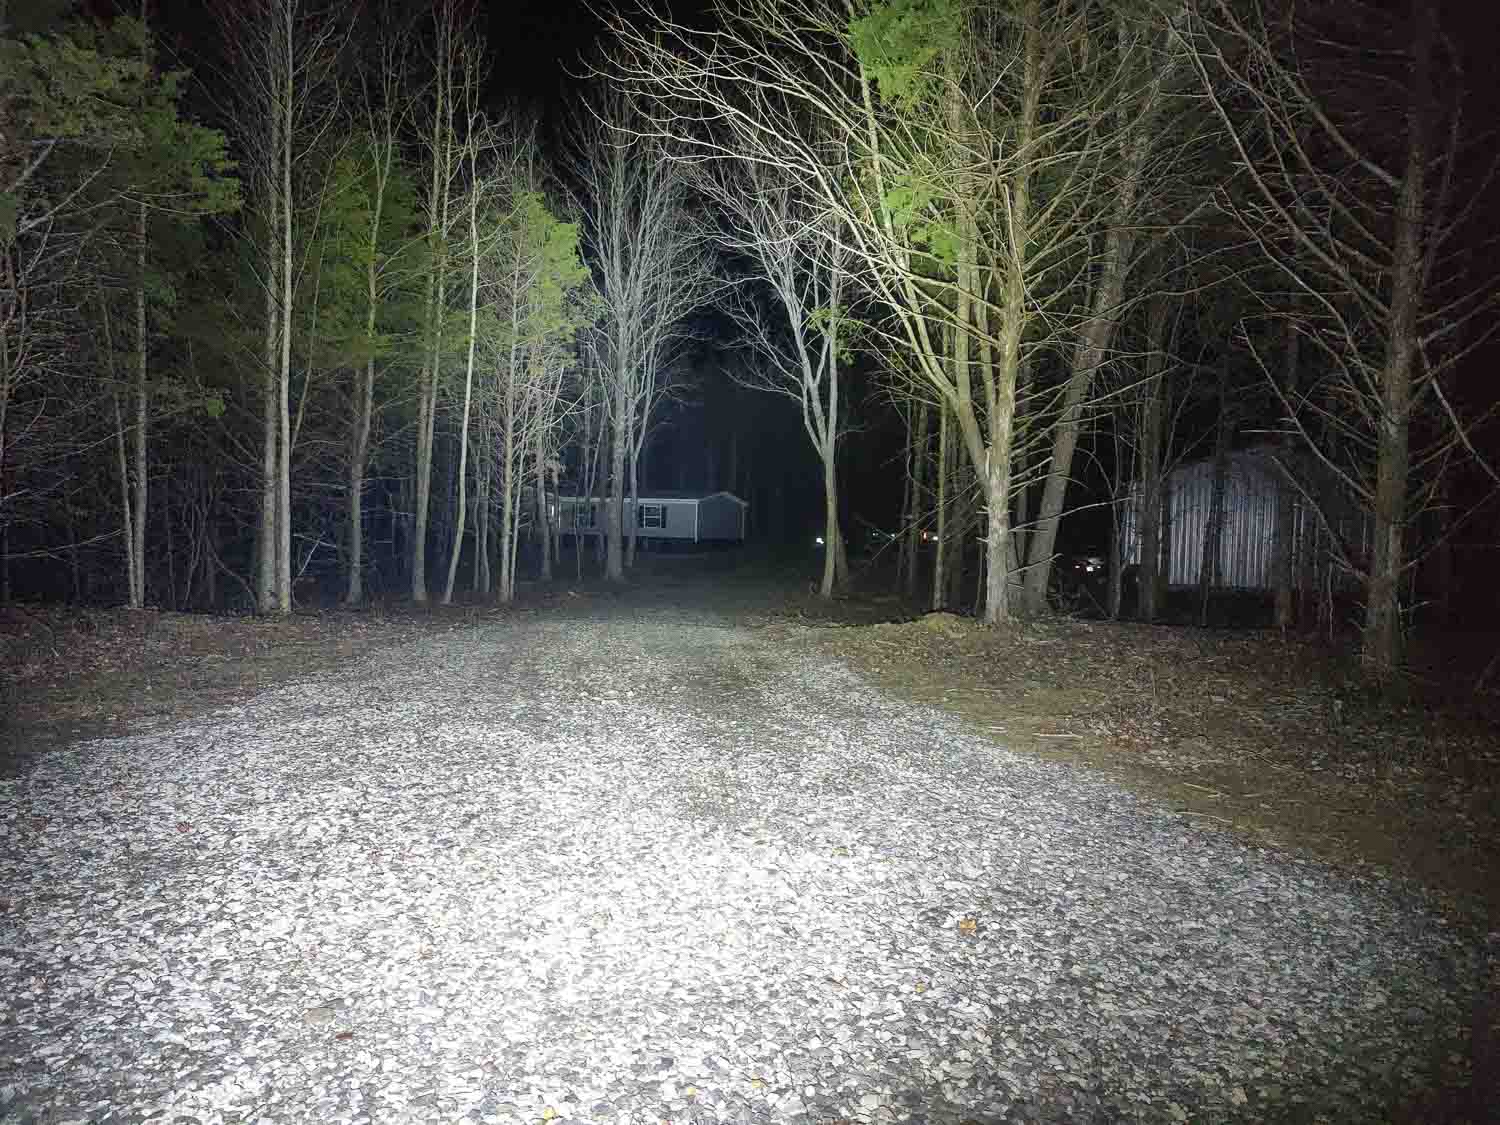
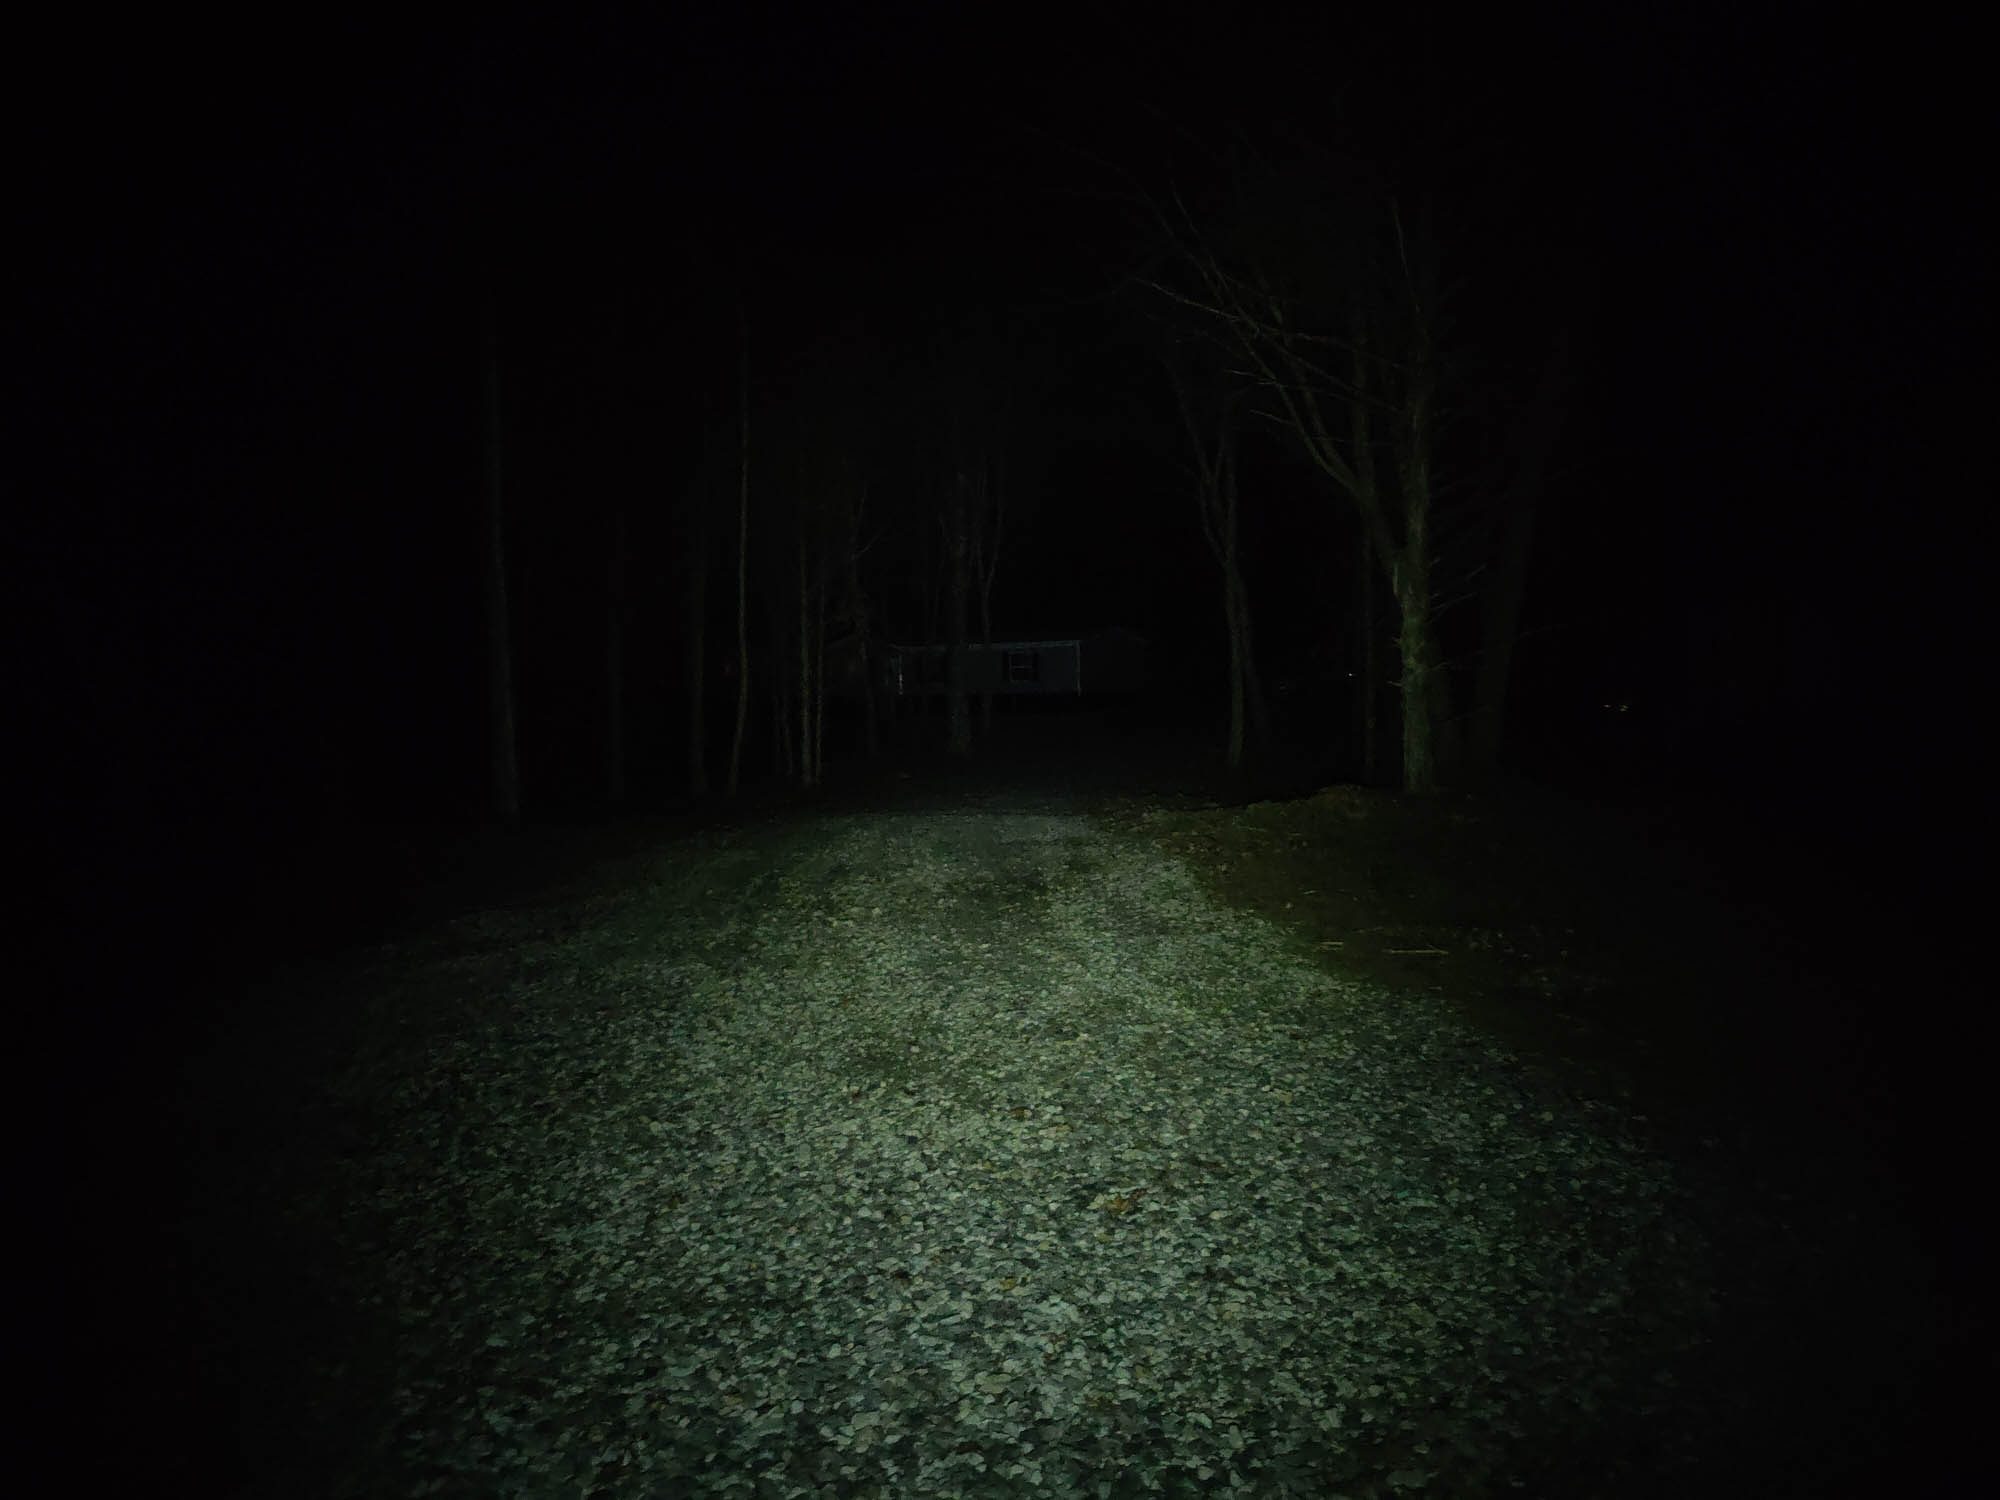
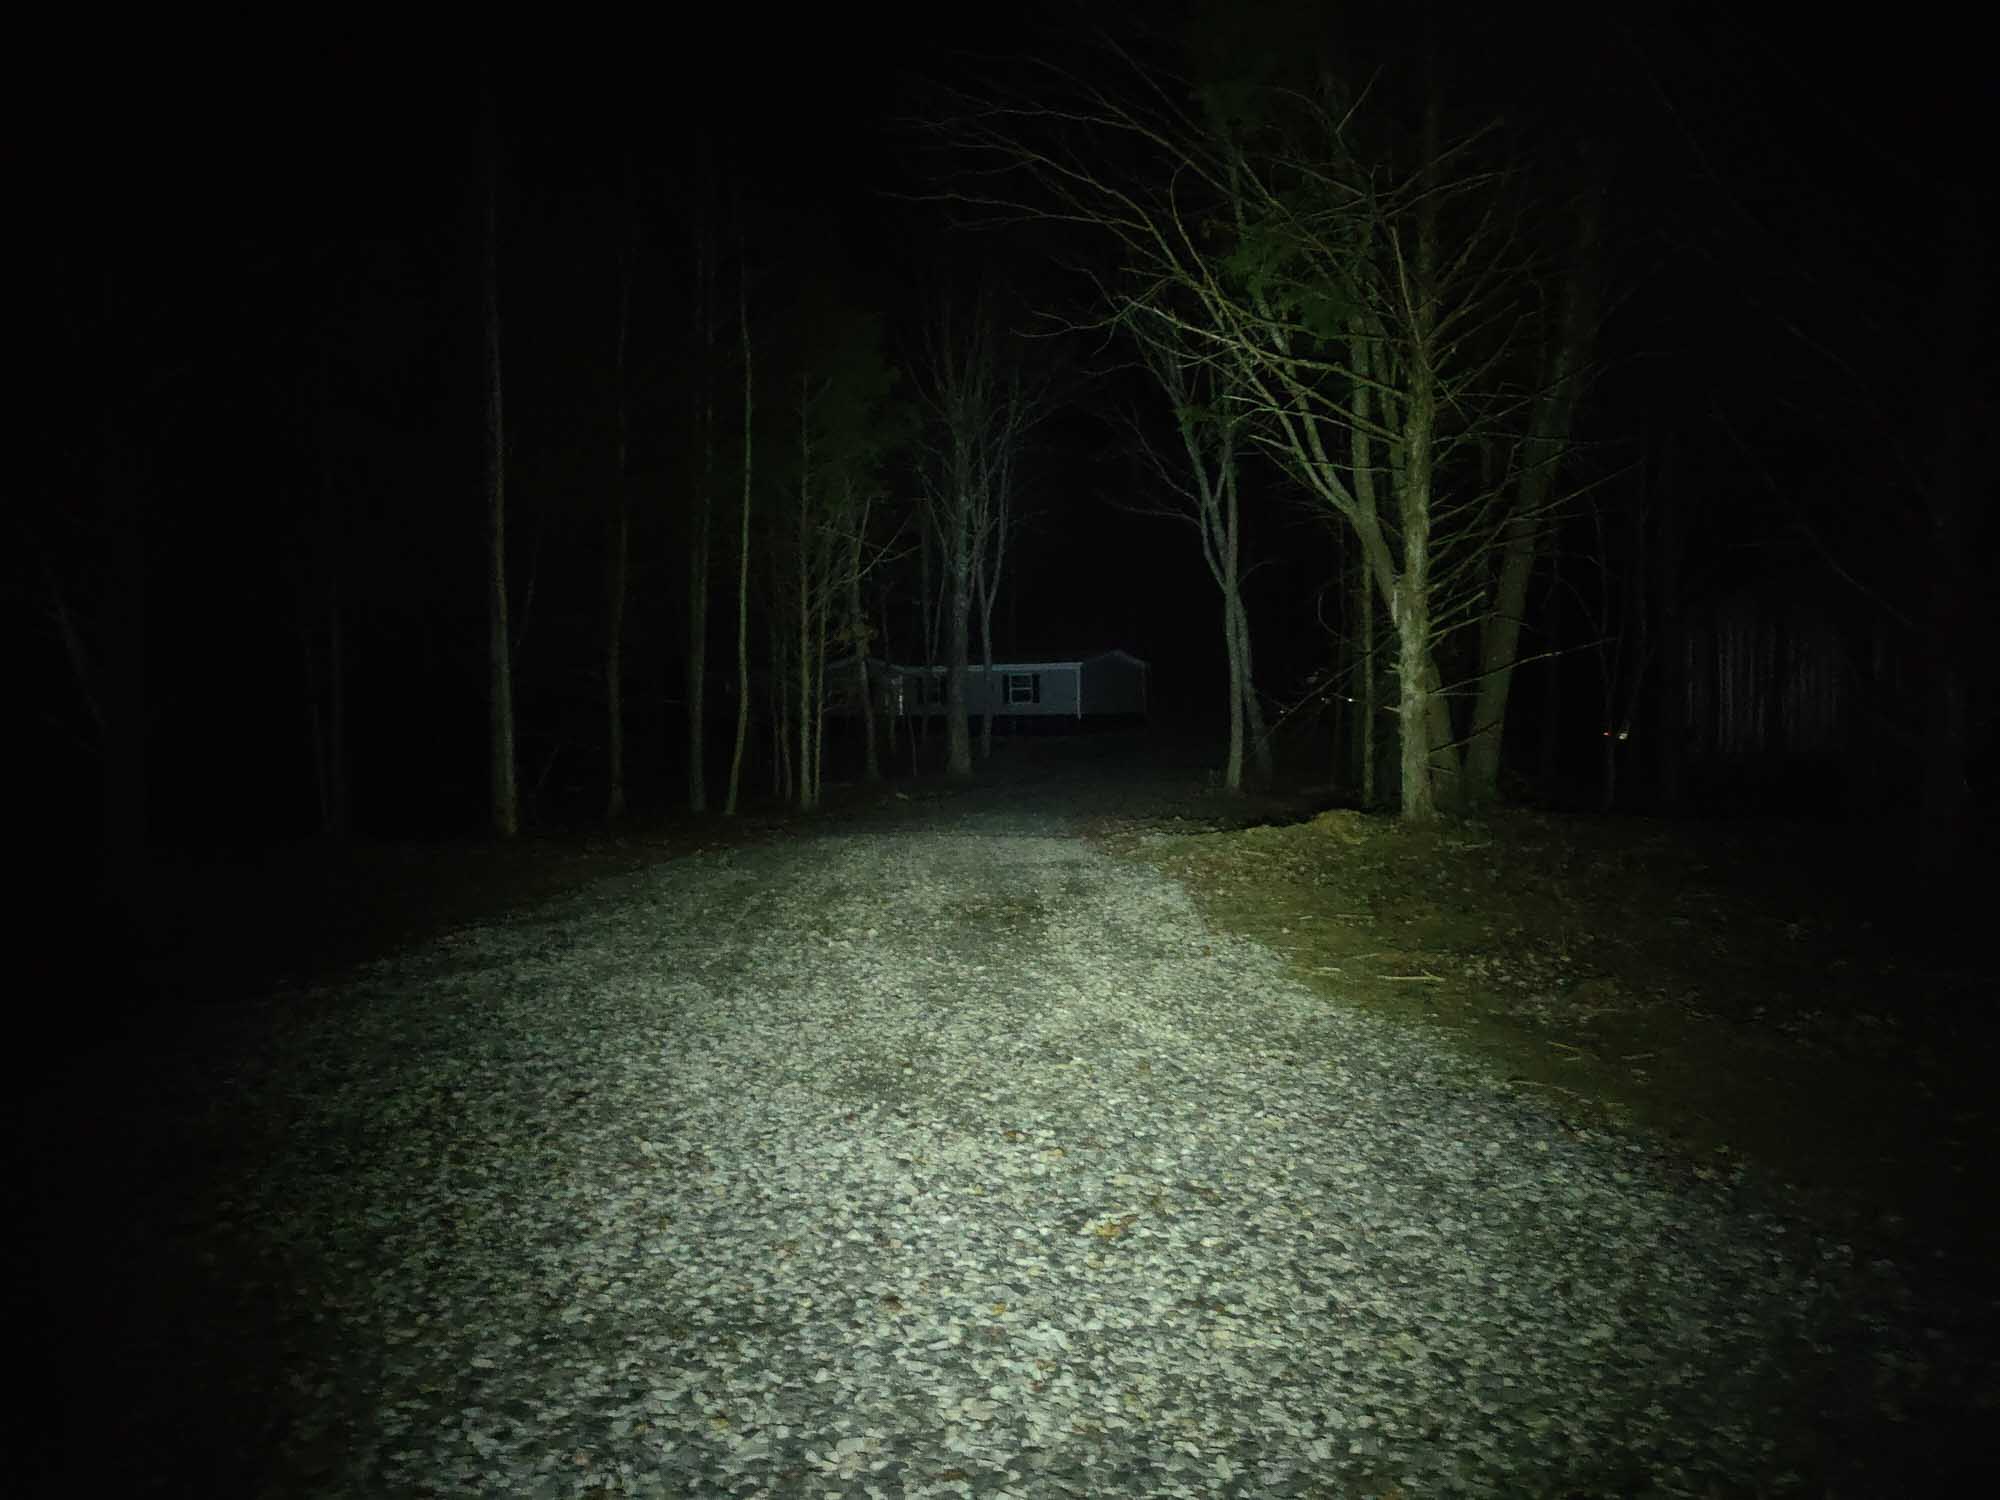
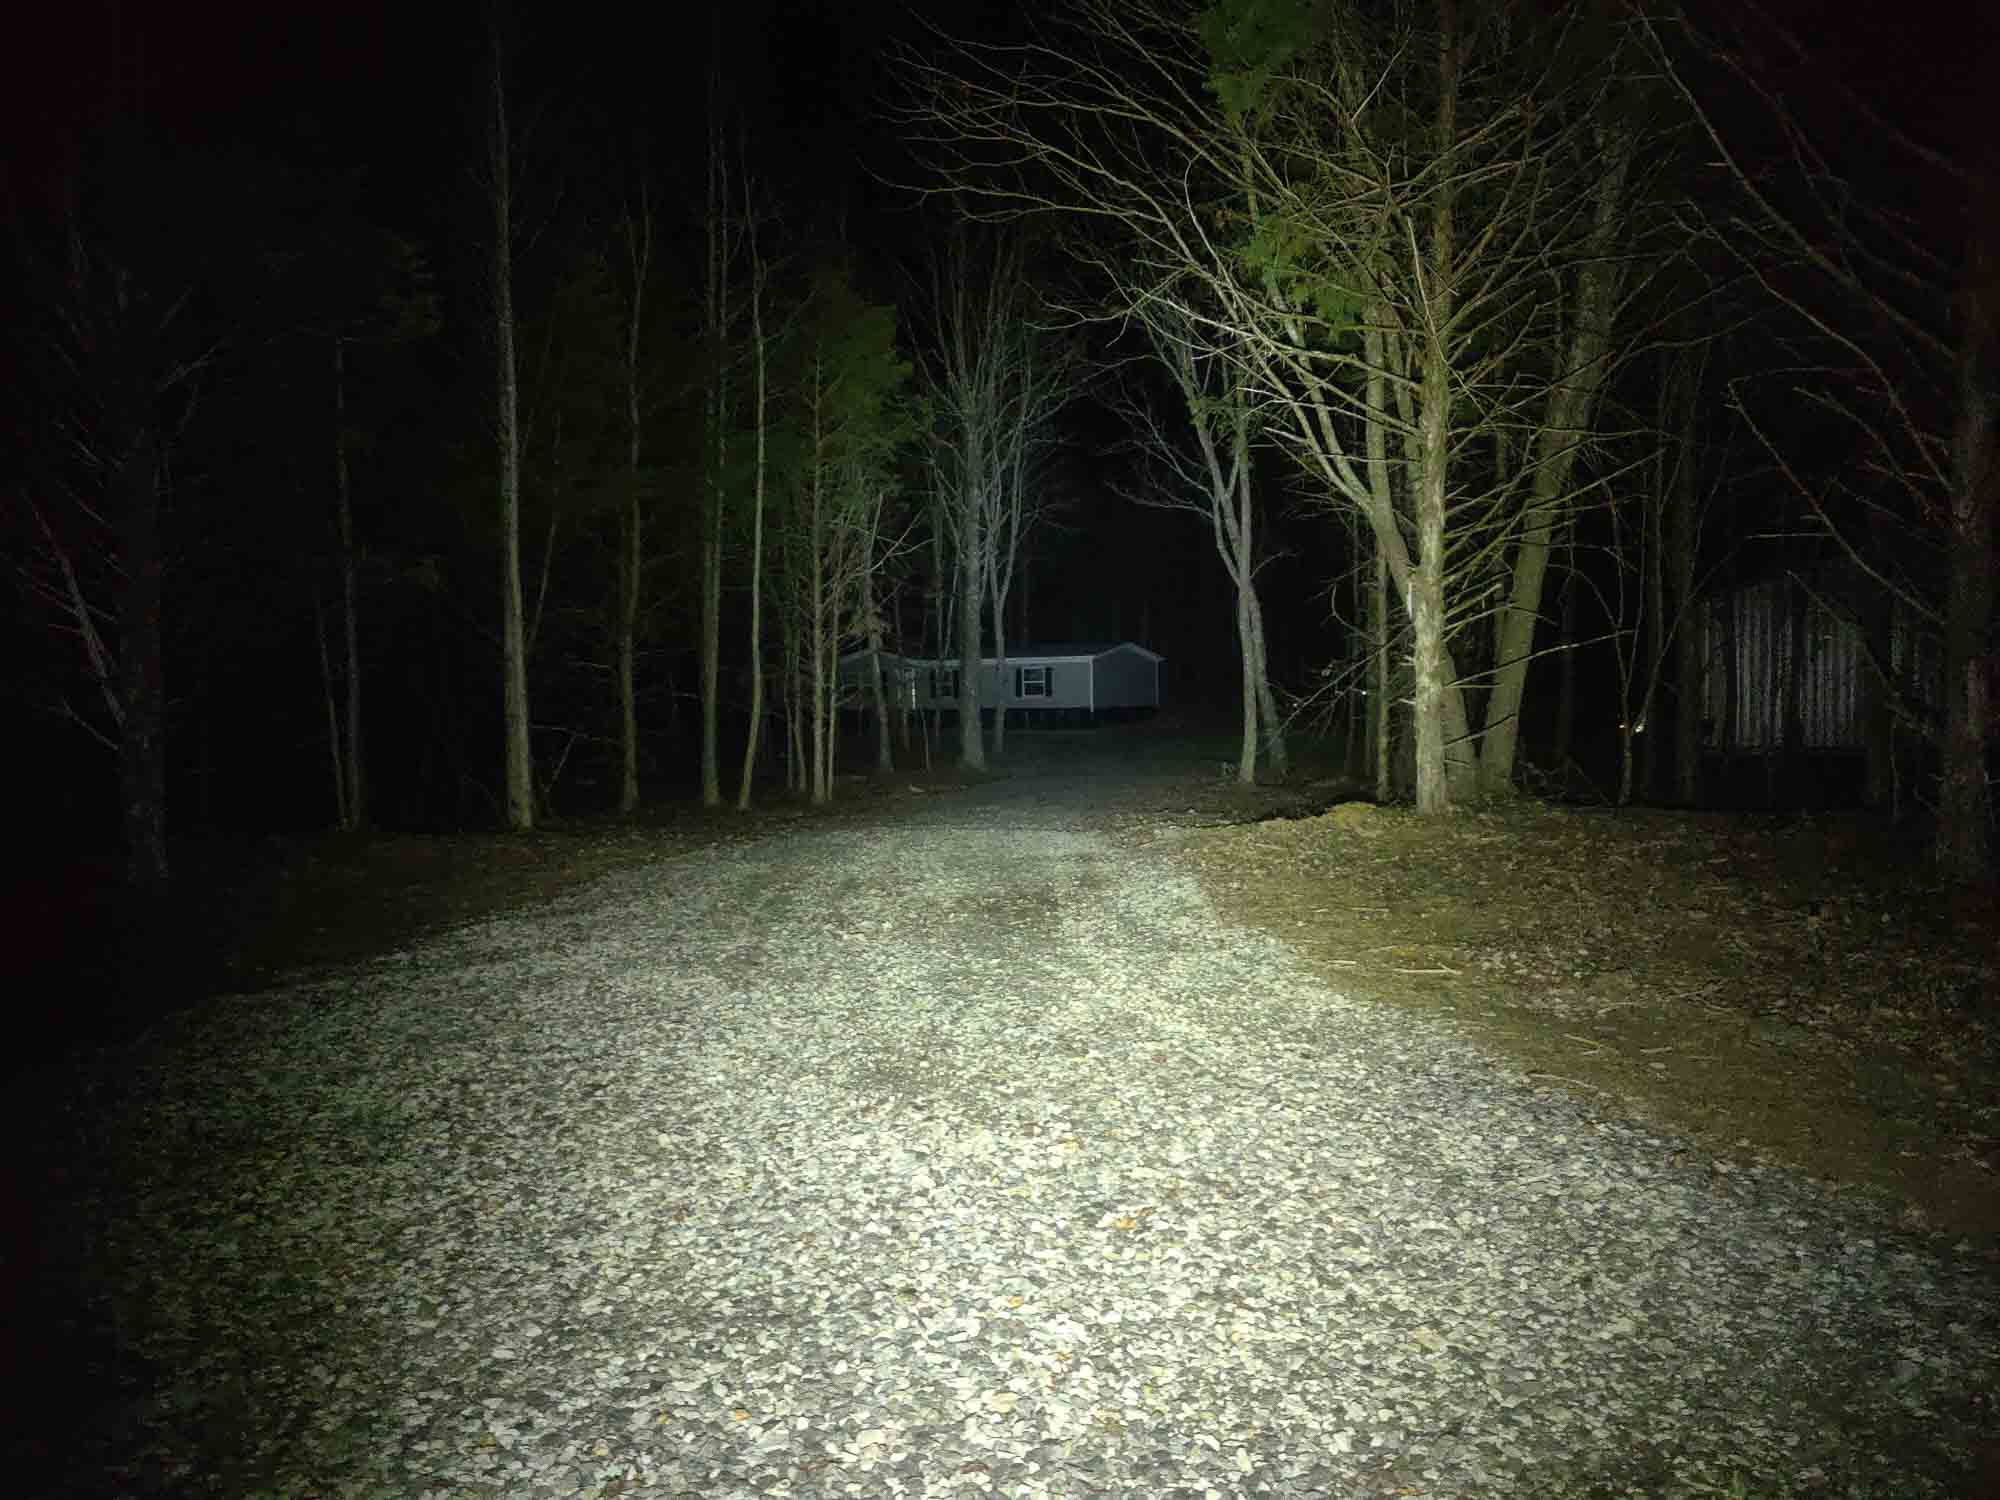
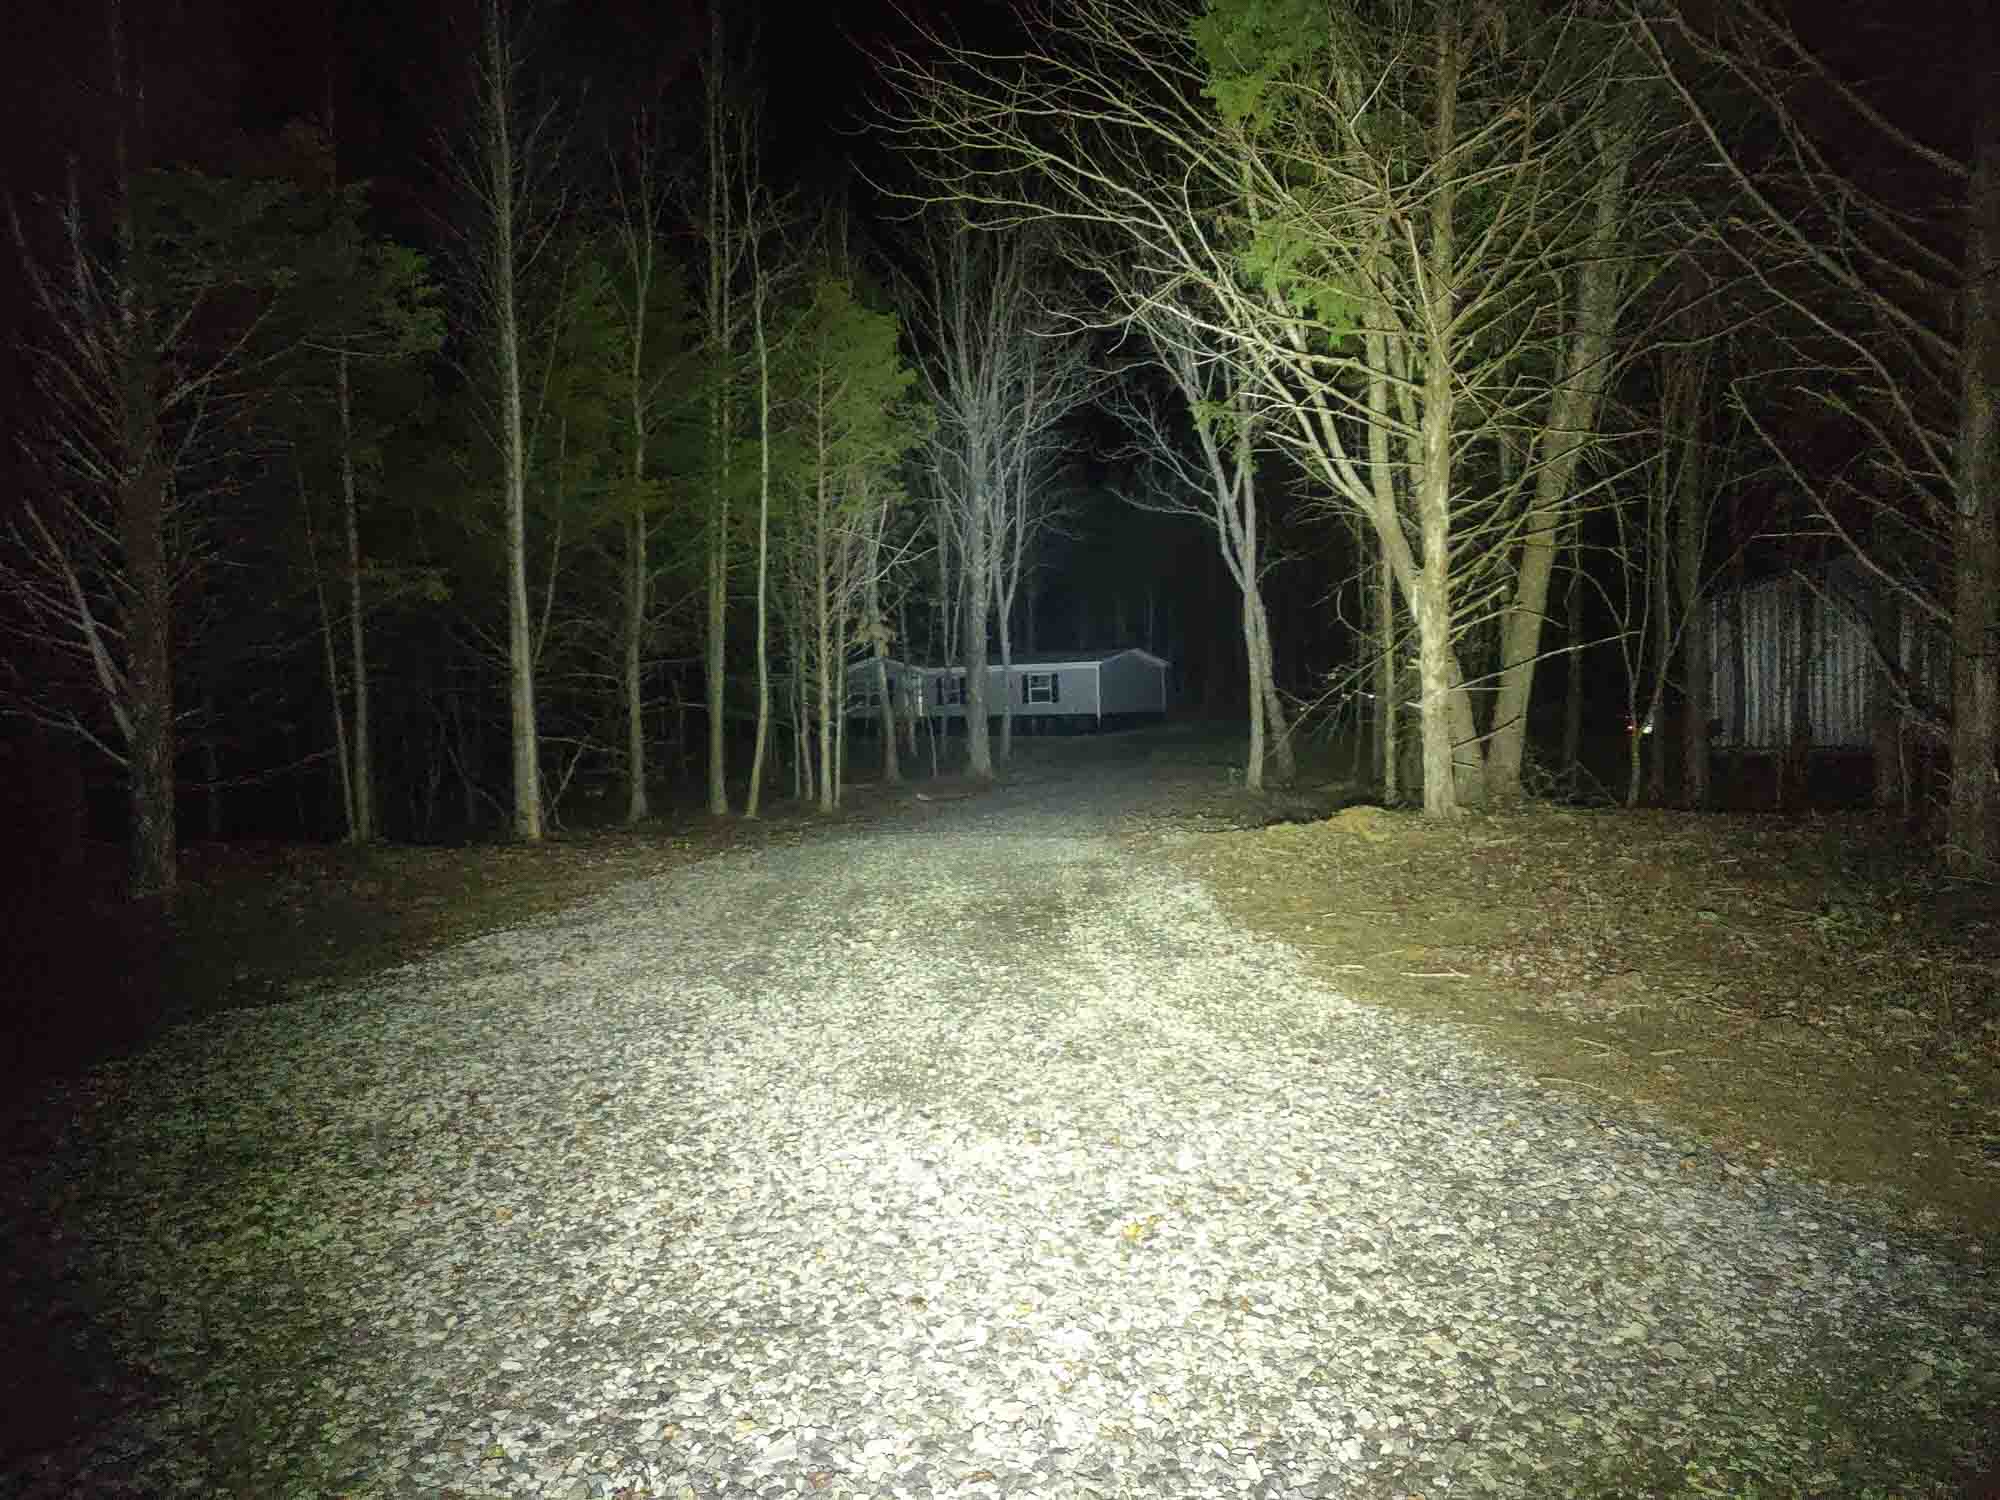
Camera settings and distance: Lumix G7 at 70y. ISO 5000 and ev 0.0
Beamshots of the following flashlights compared:
- Sofirn Q8 Pro
- Olight Marauder Mini
- Wurkkos DL70

Disclaimer: This flashlight was sent to me for review at no cost by Sofirn. I have not been paid to review, nor have I been holding back on problems or defects.
Final Verdict
Pros
- Powerbank feature
- Choice of a ton of output or days of runtime
- Performed above specifications
- Color temperature was not consistent
Cons
- Tripod mount is impeded by cooling fins
- Status leds in switch can be confusing
- Not for the small hands
Explanation on star ratings:
1: Avoid: a match would be a better choice – 2: Poor: significant defect or issues; almost unusable – 3: Average: some defects or issues; but still usable 4: Good: recommended (minor issues) – 5: Great: highly recommended

4.5 stars: ★★★★⋆
The Sofirn Q8 Pro is an unbelievable light that only has a few minor setbacks. It is a soda can light with a plethora of brightness settings and blinky modes thanks to Anduril 2 and quick charging. The inclusion of a powerbank option gives it an edge for carrying it more often than you probably need such a massive light for. It seems like it would be good to keep topped up and have at the ready, should you need to leave in a hurry. All this in a package that can be easily tossed in a bag and is cheap enough to be abused with feeling like you made a terrible financial mistake. Everything in mind, I feel it is perfectly reasonable to give the Sofirn Q8 Pro a solid 4.5 stars.
Buy Sofirn Q8 Pro here
1lumen selects and reviews products personally. We may earn affiliate commissions through our links, which help support our testing.