1lumen selects and reviews products personally. We may earn affiliate commissions through our links, which help support our testing.
Olight Javelot Pro 2 Review
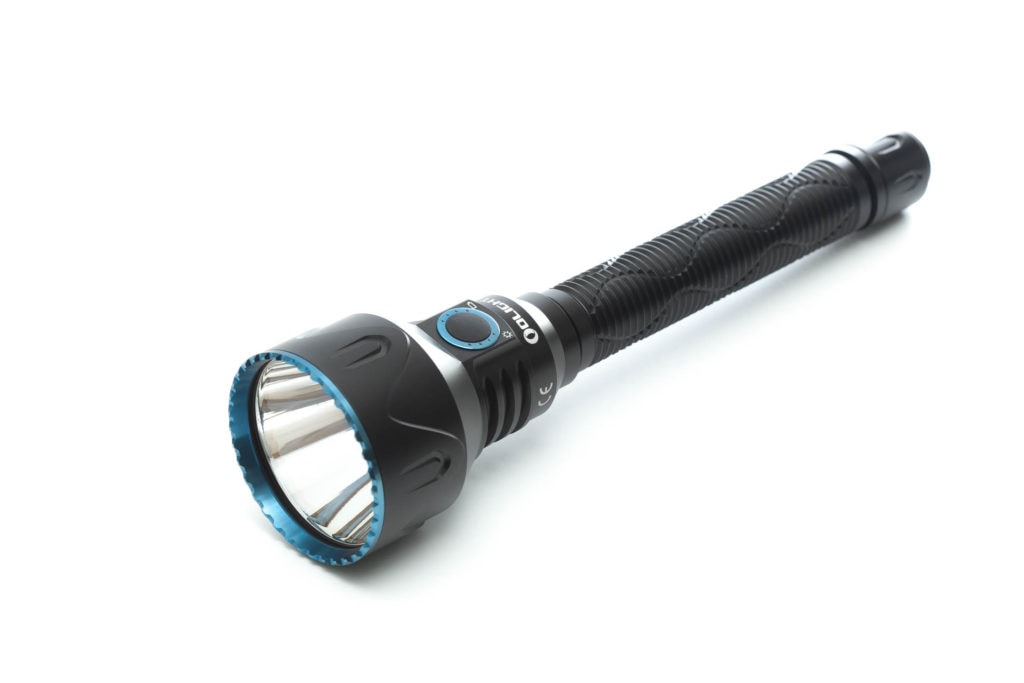
Olight Javelot Pro 2 specifications
| Brand/model | Olight Javelot Pro 2 |
|---|---|
| LED | N/A (It’s a Luminus SFT70) |
| Lumens | 2,500 lm |
| Beam intensity | 271,400 cd |
| Battery config. | Batterypack (2*21700) |
| Material | Aluminum |
| Modes | 4 |
| Blinkies | N/A |
| Reflector | Smooth |
| Waterproof | IPX8 |
| Review date | December 2021 |
Introduction:
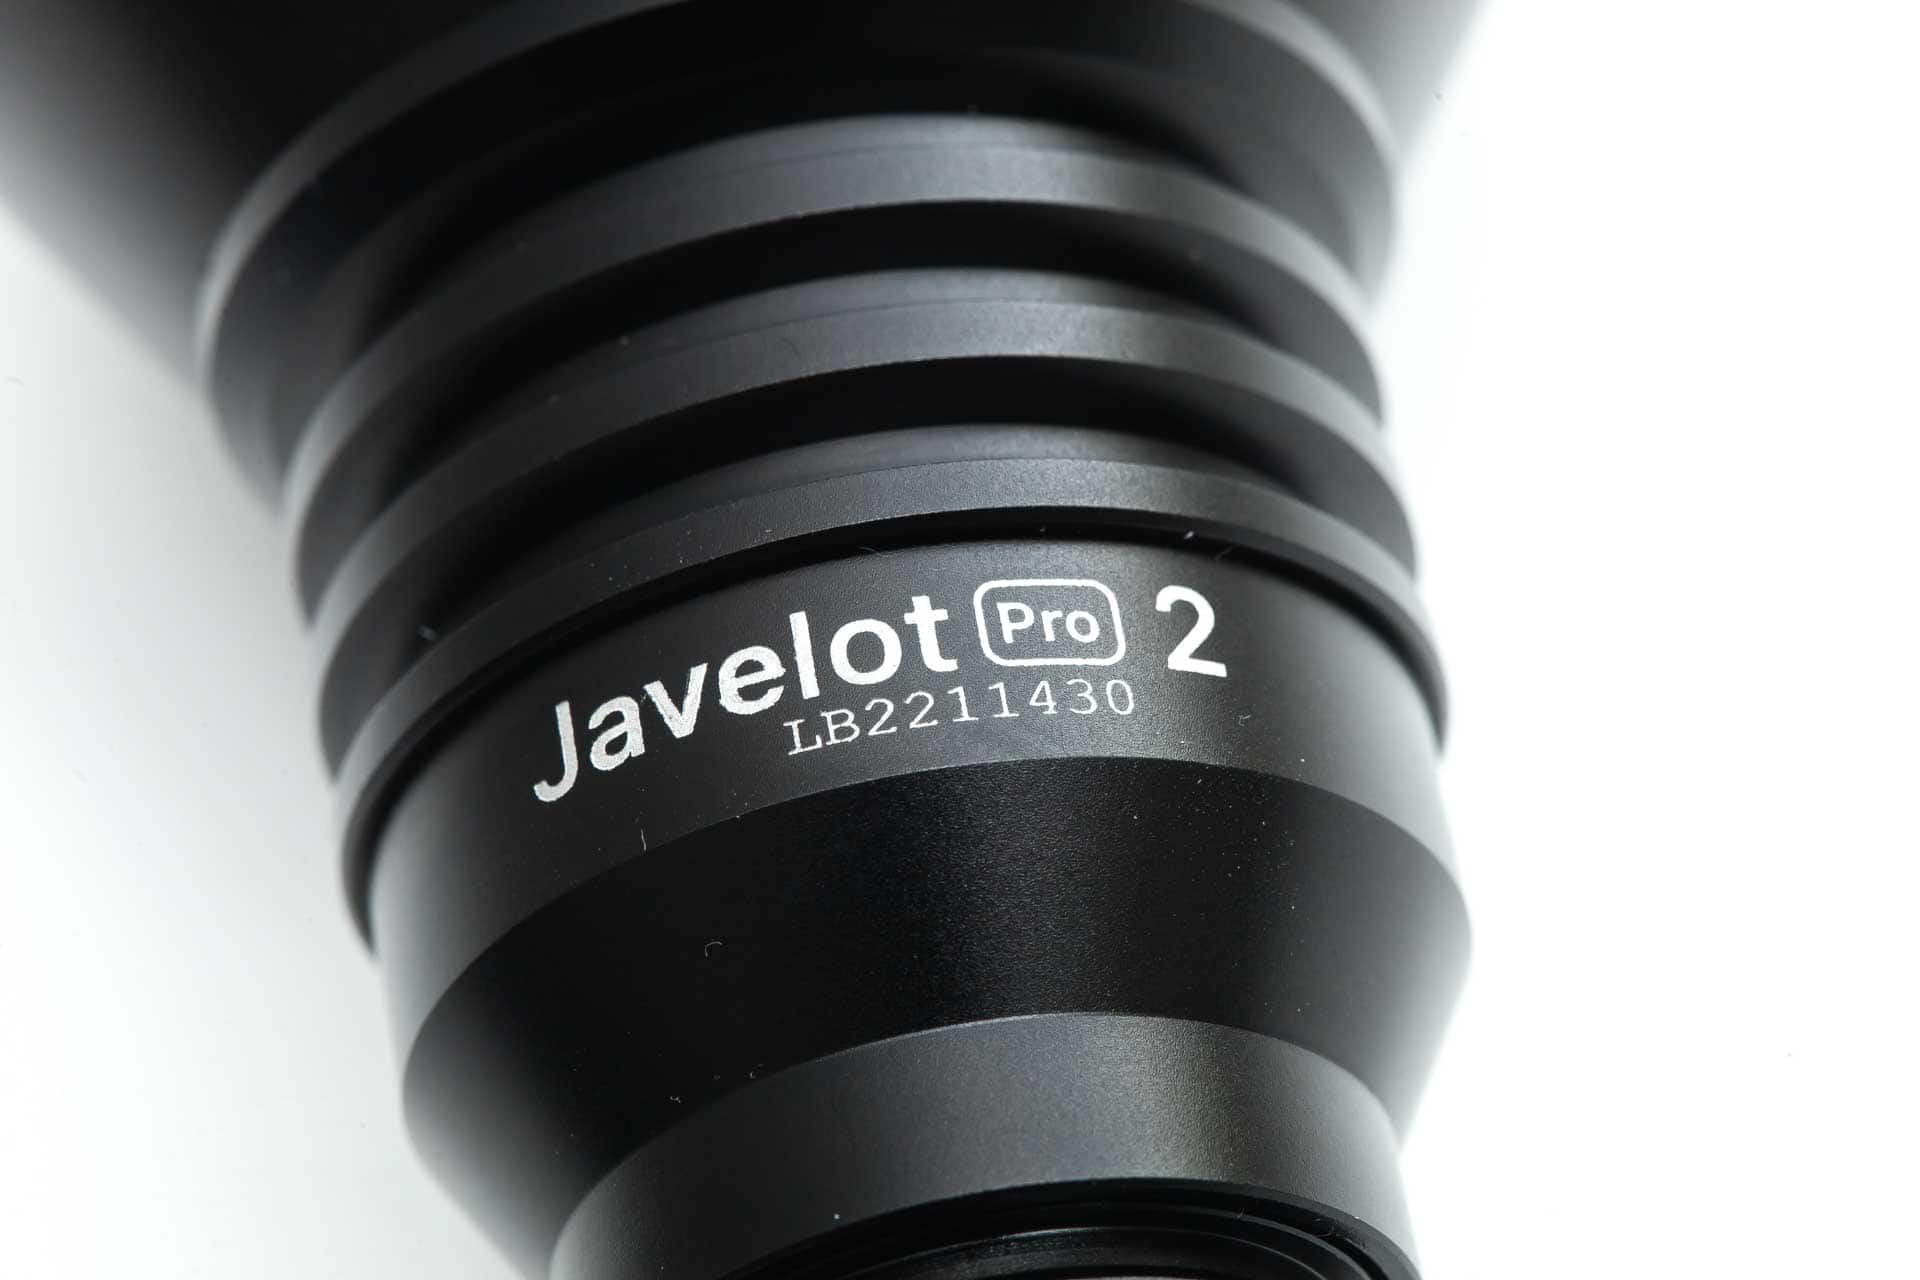
Olight got quite an extensive lineup of flashlights and headlamps. And there are a few flashlights that stood out over time, and one of them was the M3X thrower. It was one of the farthest-reaching LEP flashlights of the past. The M3X series has changed its name and is now called Javelot.
There are currently 2 lights in the Javelot series, namely the Javelot Turbo, and the one we are reviewing here: the Olight Javelot PRO 2. And the biggest differences are the distance and output. The Javelot Turbo has a lumen rating of 1,300, and a distance rating of 1,300 meters, while the Javelot 2 PRO has a lumen rating of 2,500 and a distance rating of 1,050 meters. So the latter has a higher output, but not as much throw.
But compared to the previous Javelot PRO, the differences aren’t that significant. For example, the output increased from 2,100 lumens to 2,500 lumens, and the throw distance from 1,000 meters to 1,050 meters. But those are not the only differences because the runtimes changed and the LED and batteries.
Package quality.
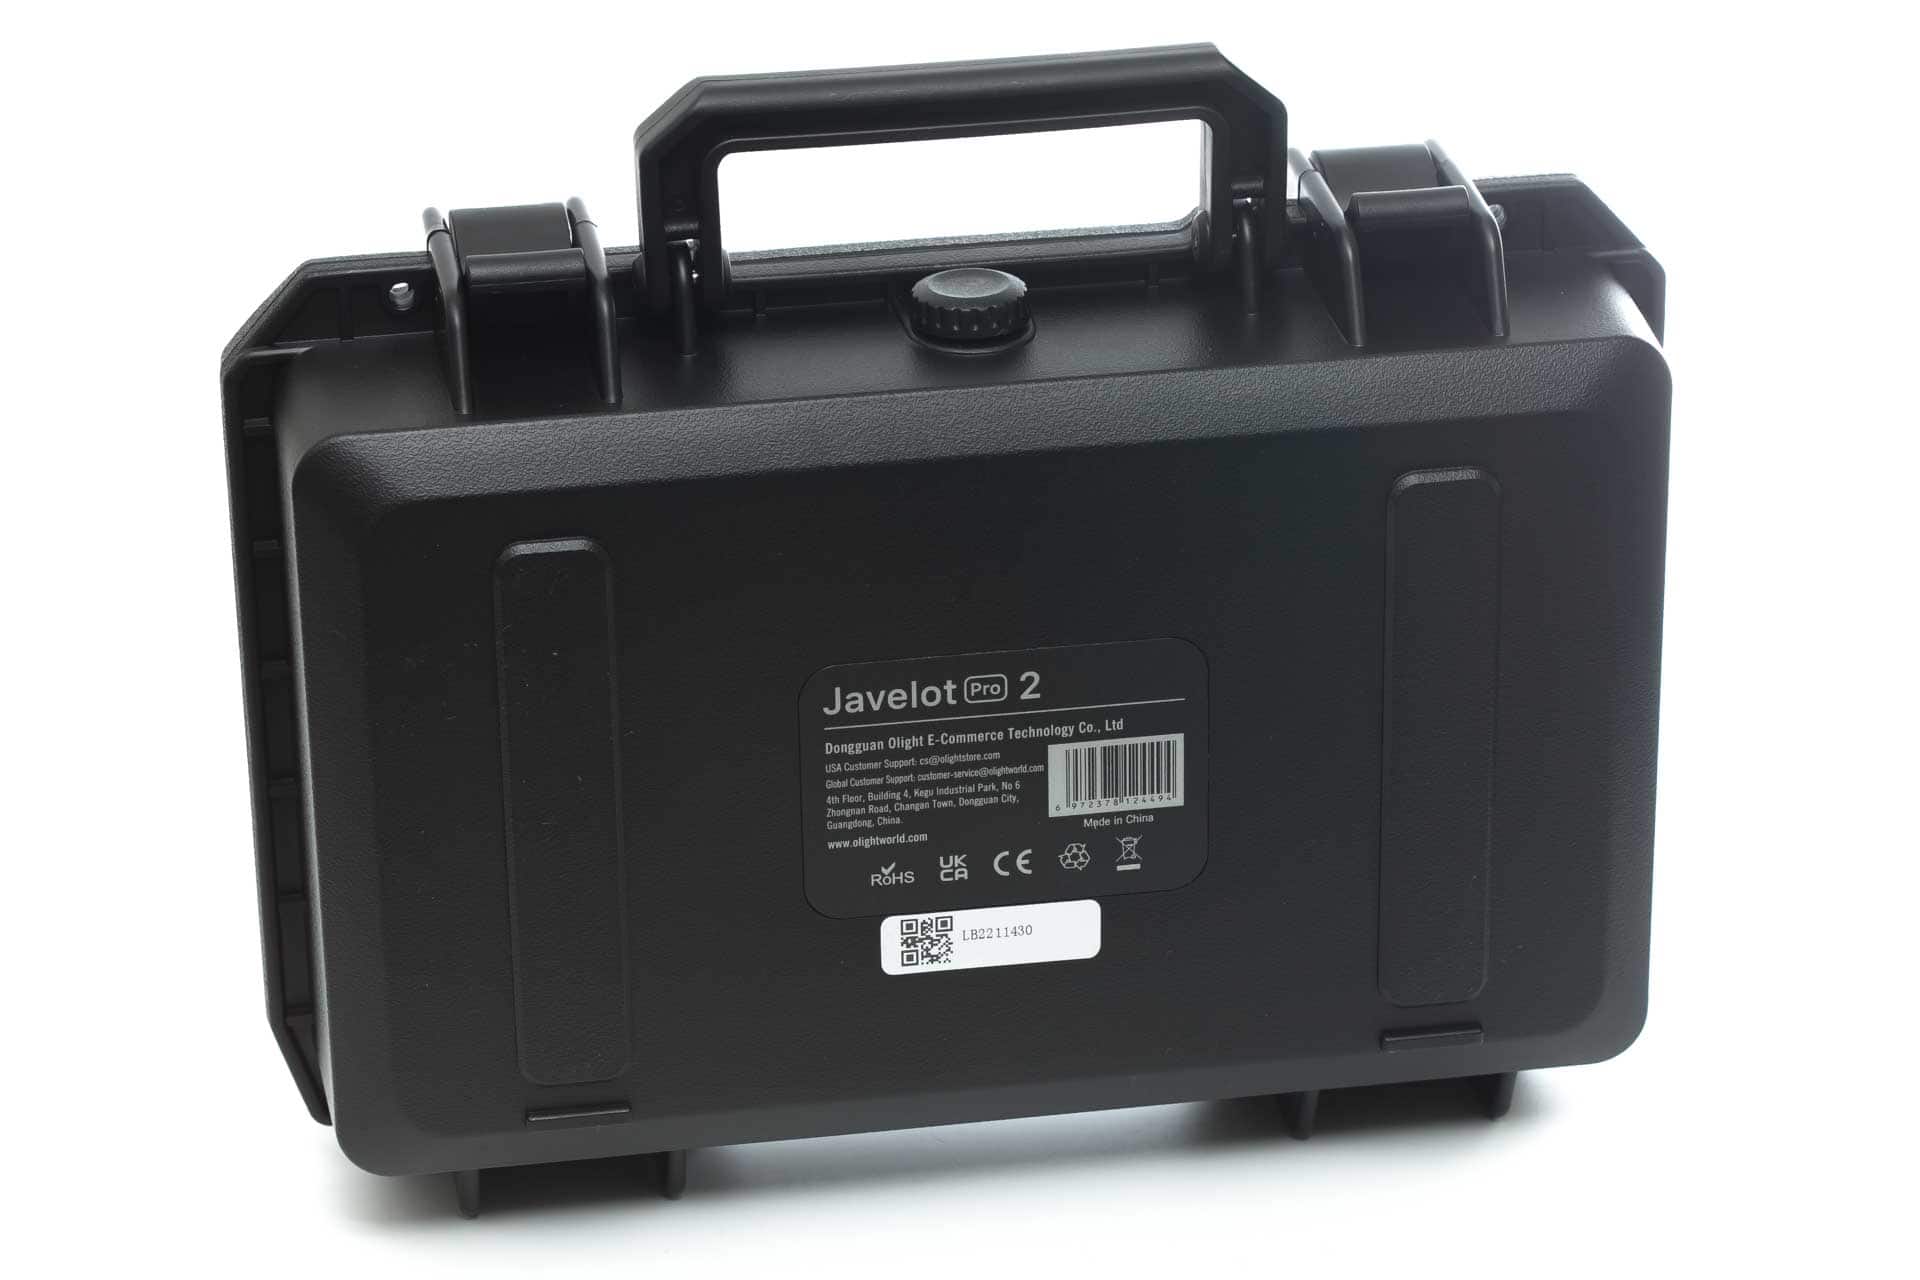
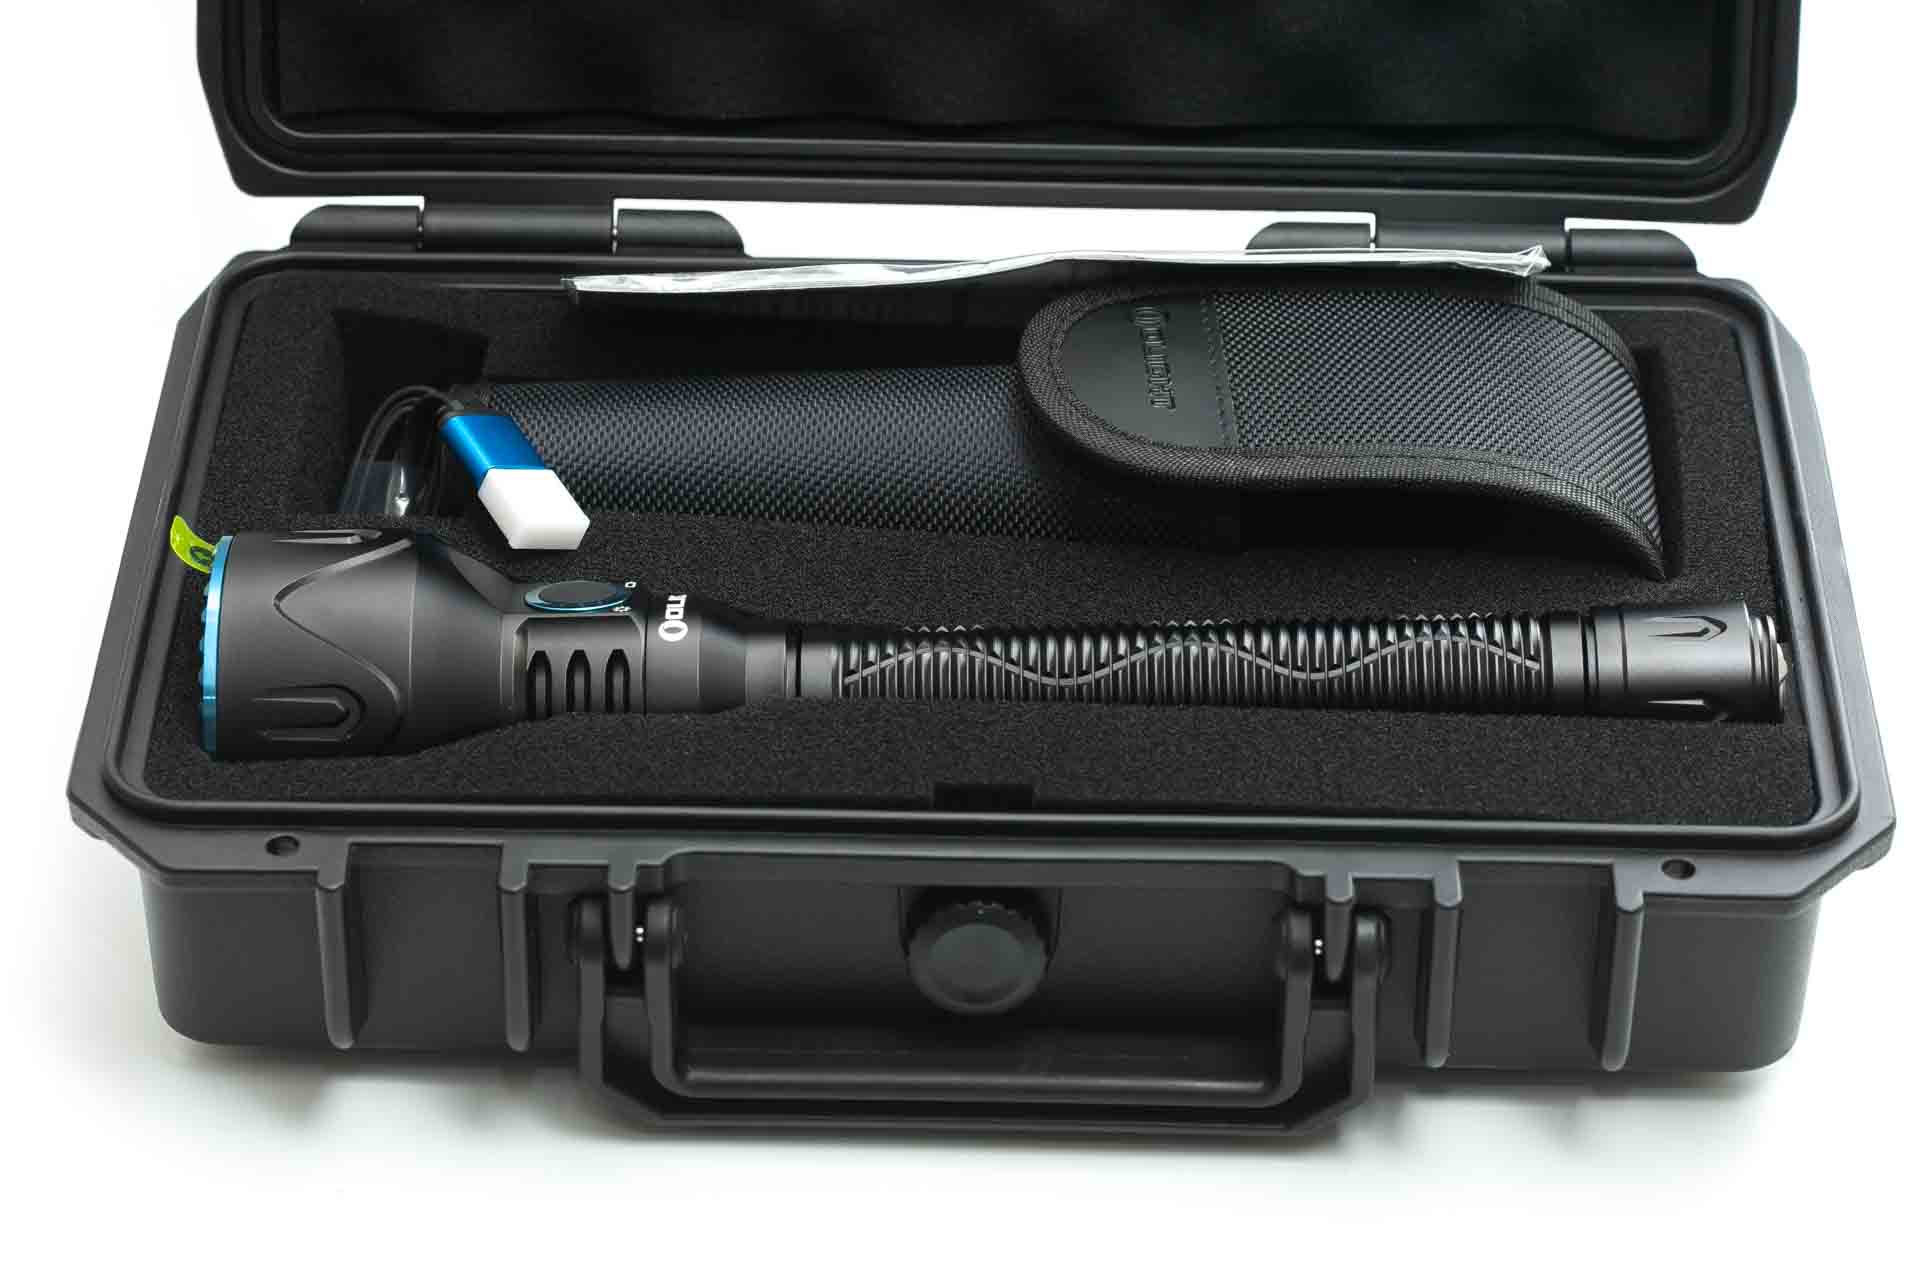
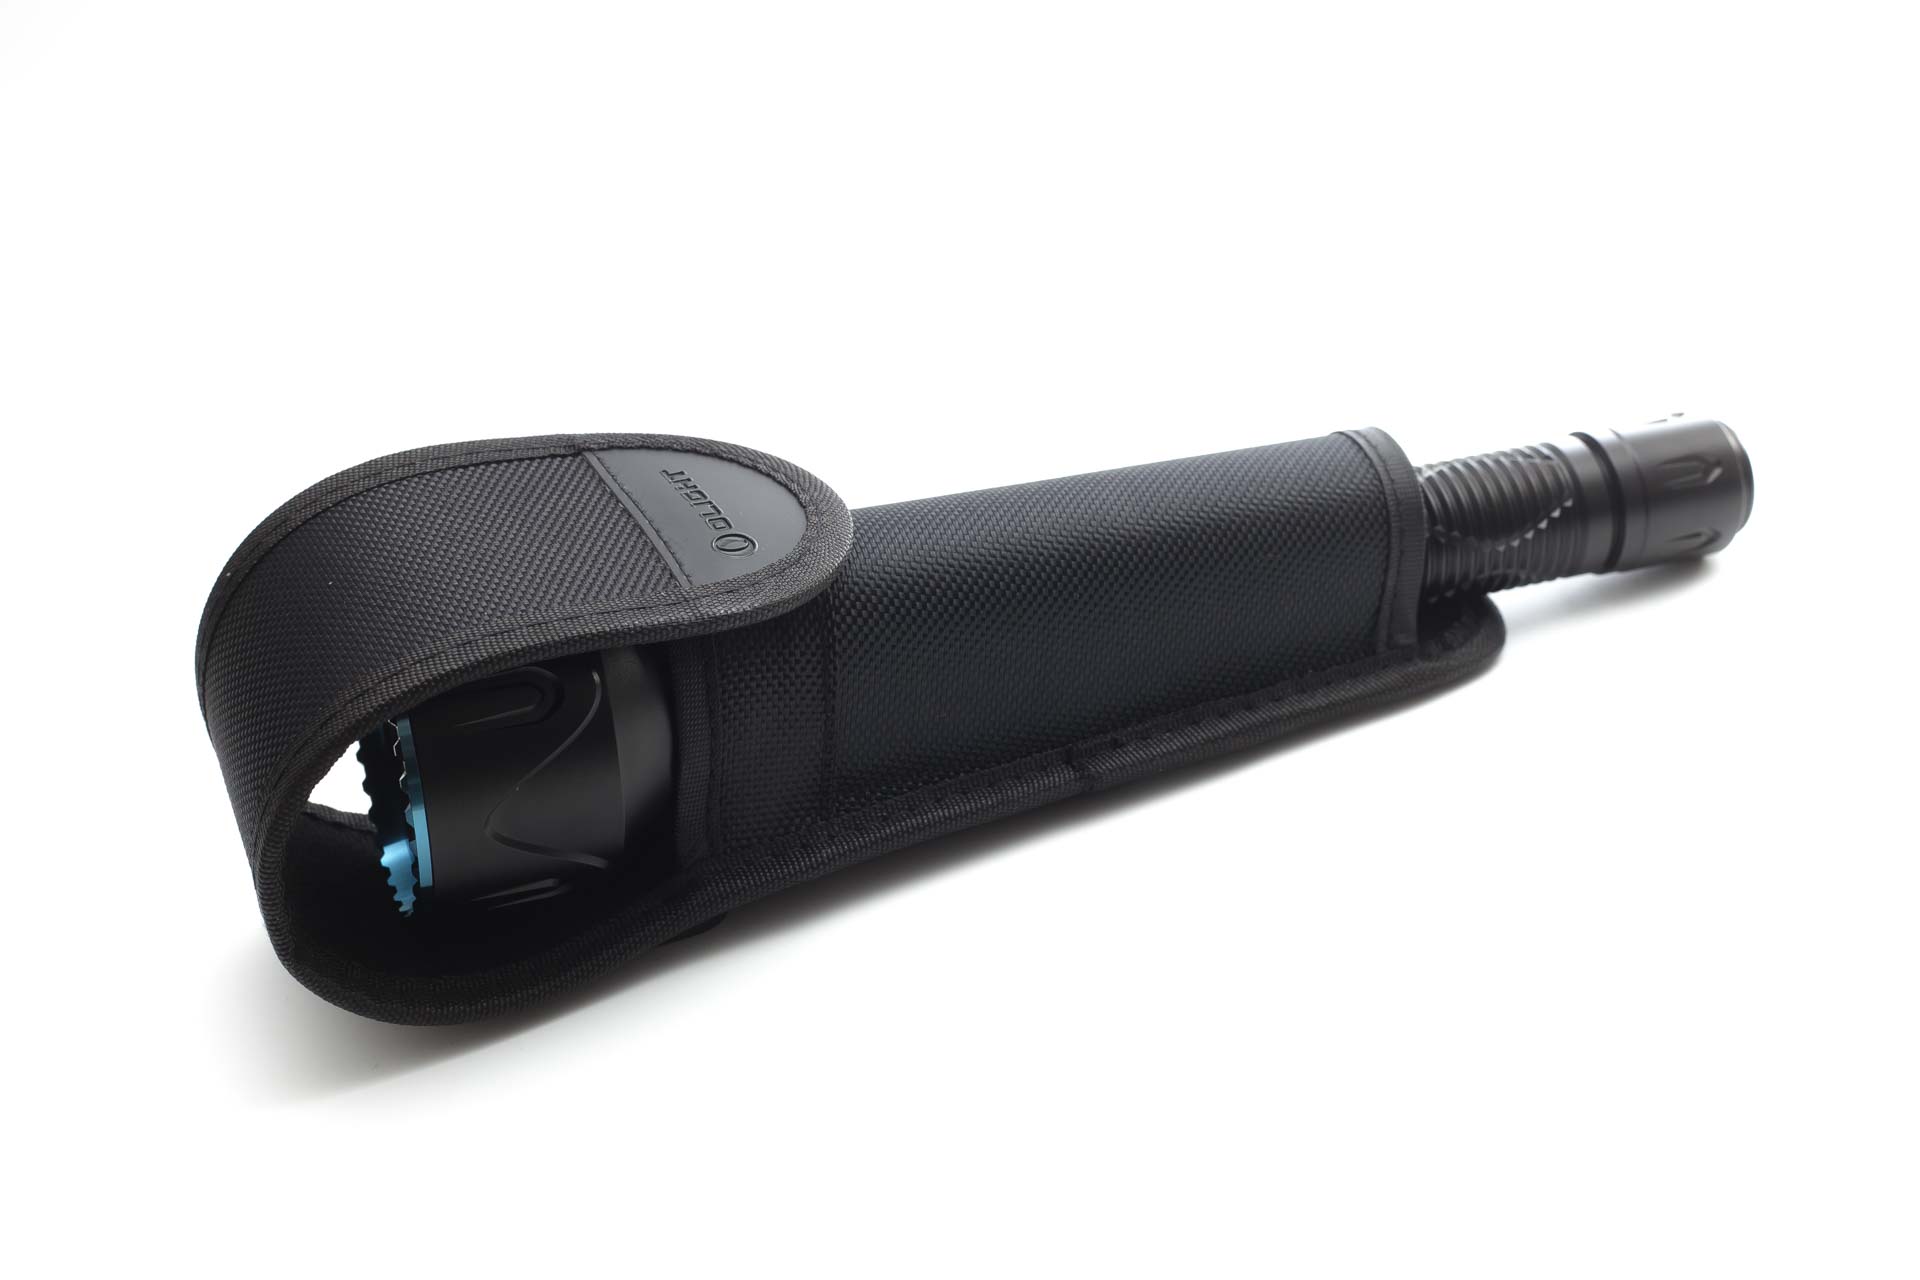
Oh.. yeah… I love Olight’s packaging a lot, and the Javelot 2 PRO didn’t disappoint in this regard either. The flashlight is shipped in a hard plastic case, with beautiful inlay for the flashlight and accessories. It’s not a generic hard case you find with other brands. Instead, it feels like a high-quality case.
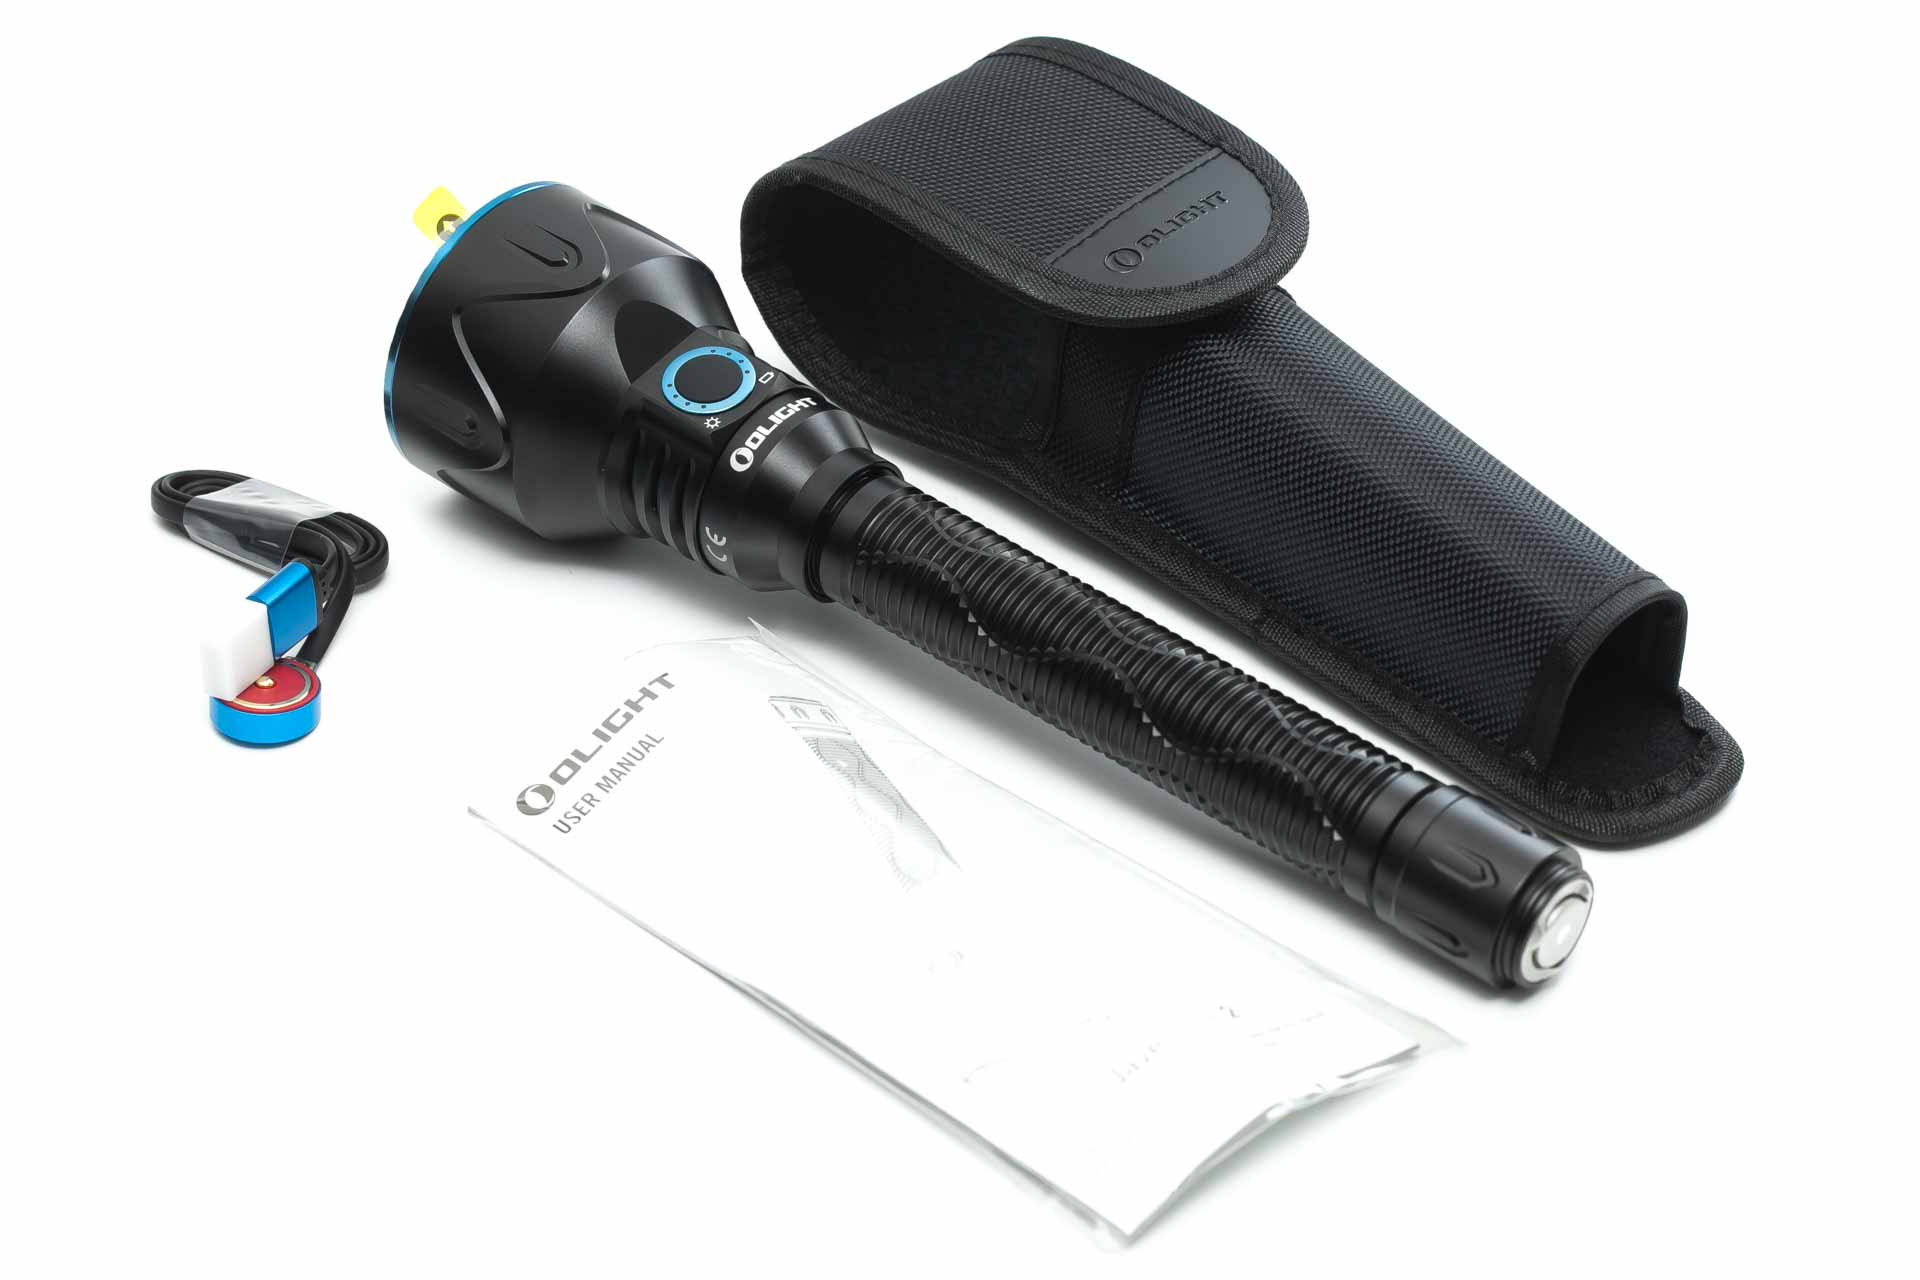
Okay, that is what I got:
- The flashlight: Olight Javelot PRO 2
- Holster
- MCC3 charging cable
- Manual
At the time of review, it wasn’t obvious which optional accessories would fit the Javelot PRO 2, but you can likely get the following accessories:
- Magnetic remote pressure switch
- Weapon mount

Flashlight in use
I admit I don’t own many long flashlights like this, so everything I comment about my relative inexperience with them. I have had a couple of them in the past decade, but I don’t use them often.
Since the light is so long, there is no way of carrying it in your pockets. And Olight included a nice quality holster with the light, so you are ready to go. But, of course, there is no pocket clip.
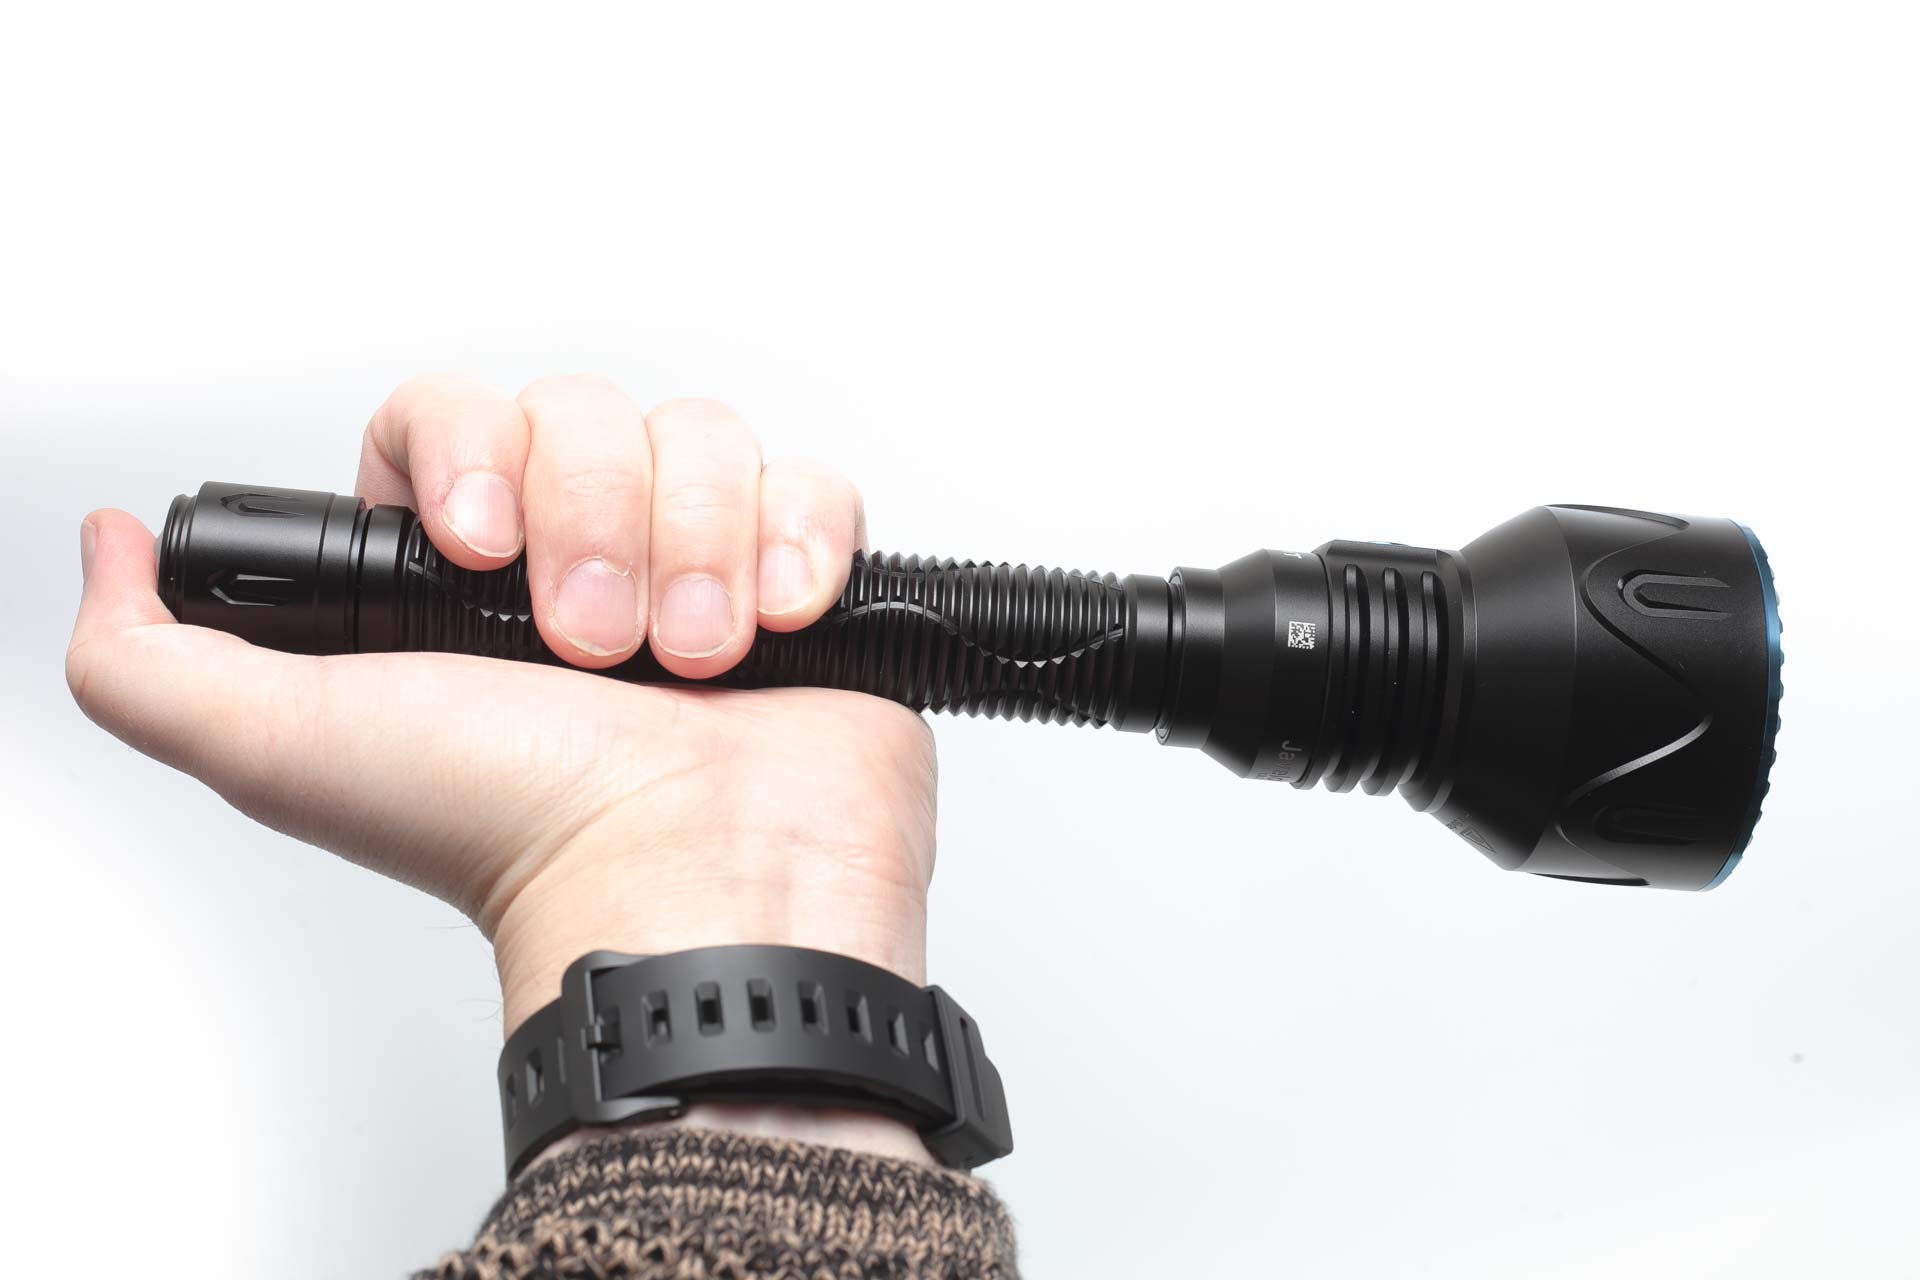
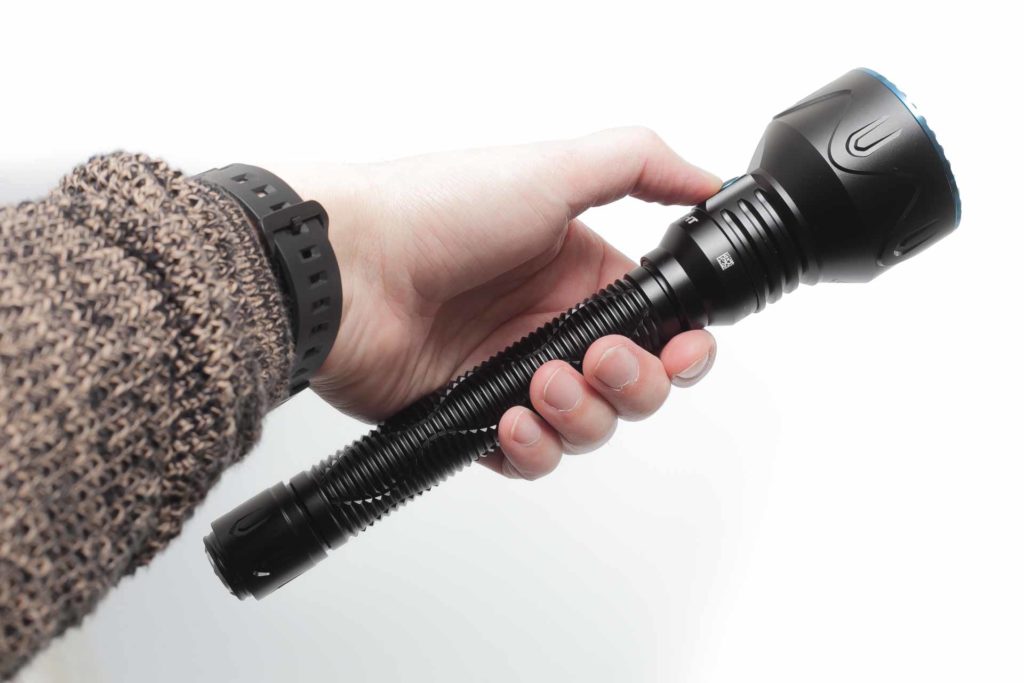
I tried to find the best balance between head and tail by resting the light on one finger at different positions. The tipping point lies about 1 inch from where the battery tube connects to the head. And that’s about the same place as where your index finger will be, (or middle finger, if you wrap your index finger around the driver housing), holding it in the underhand position and your thumb on the side switch. So that’s a perfect position, in my opinion.
The Javelot PRO 2 can also be attached to a rifle with the optional weapon mount. But I neither have a rifle nor the weapon mount.
Then there is also the way to carry it overhand (tactical style), where your thumb rests on the tail switch. That way, the flashlight rests on the palm of your hand and feels a little front-heavy. But not to the point that it’s heavy or anything because the light itself is pretty lightweight.
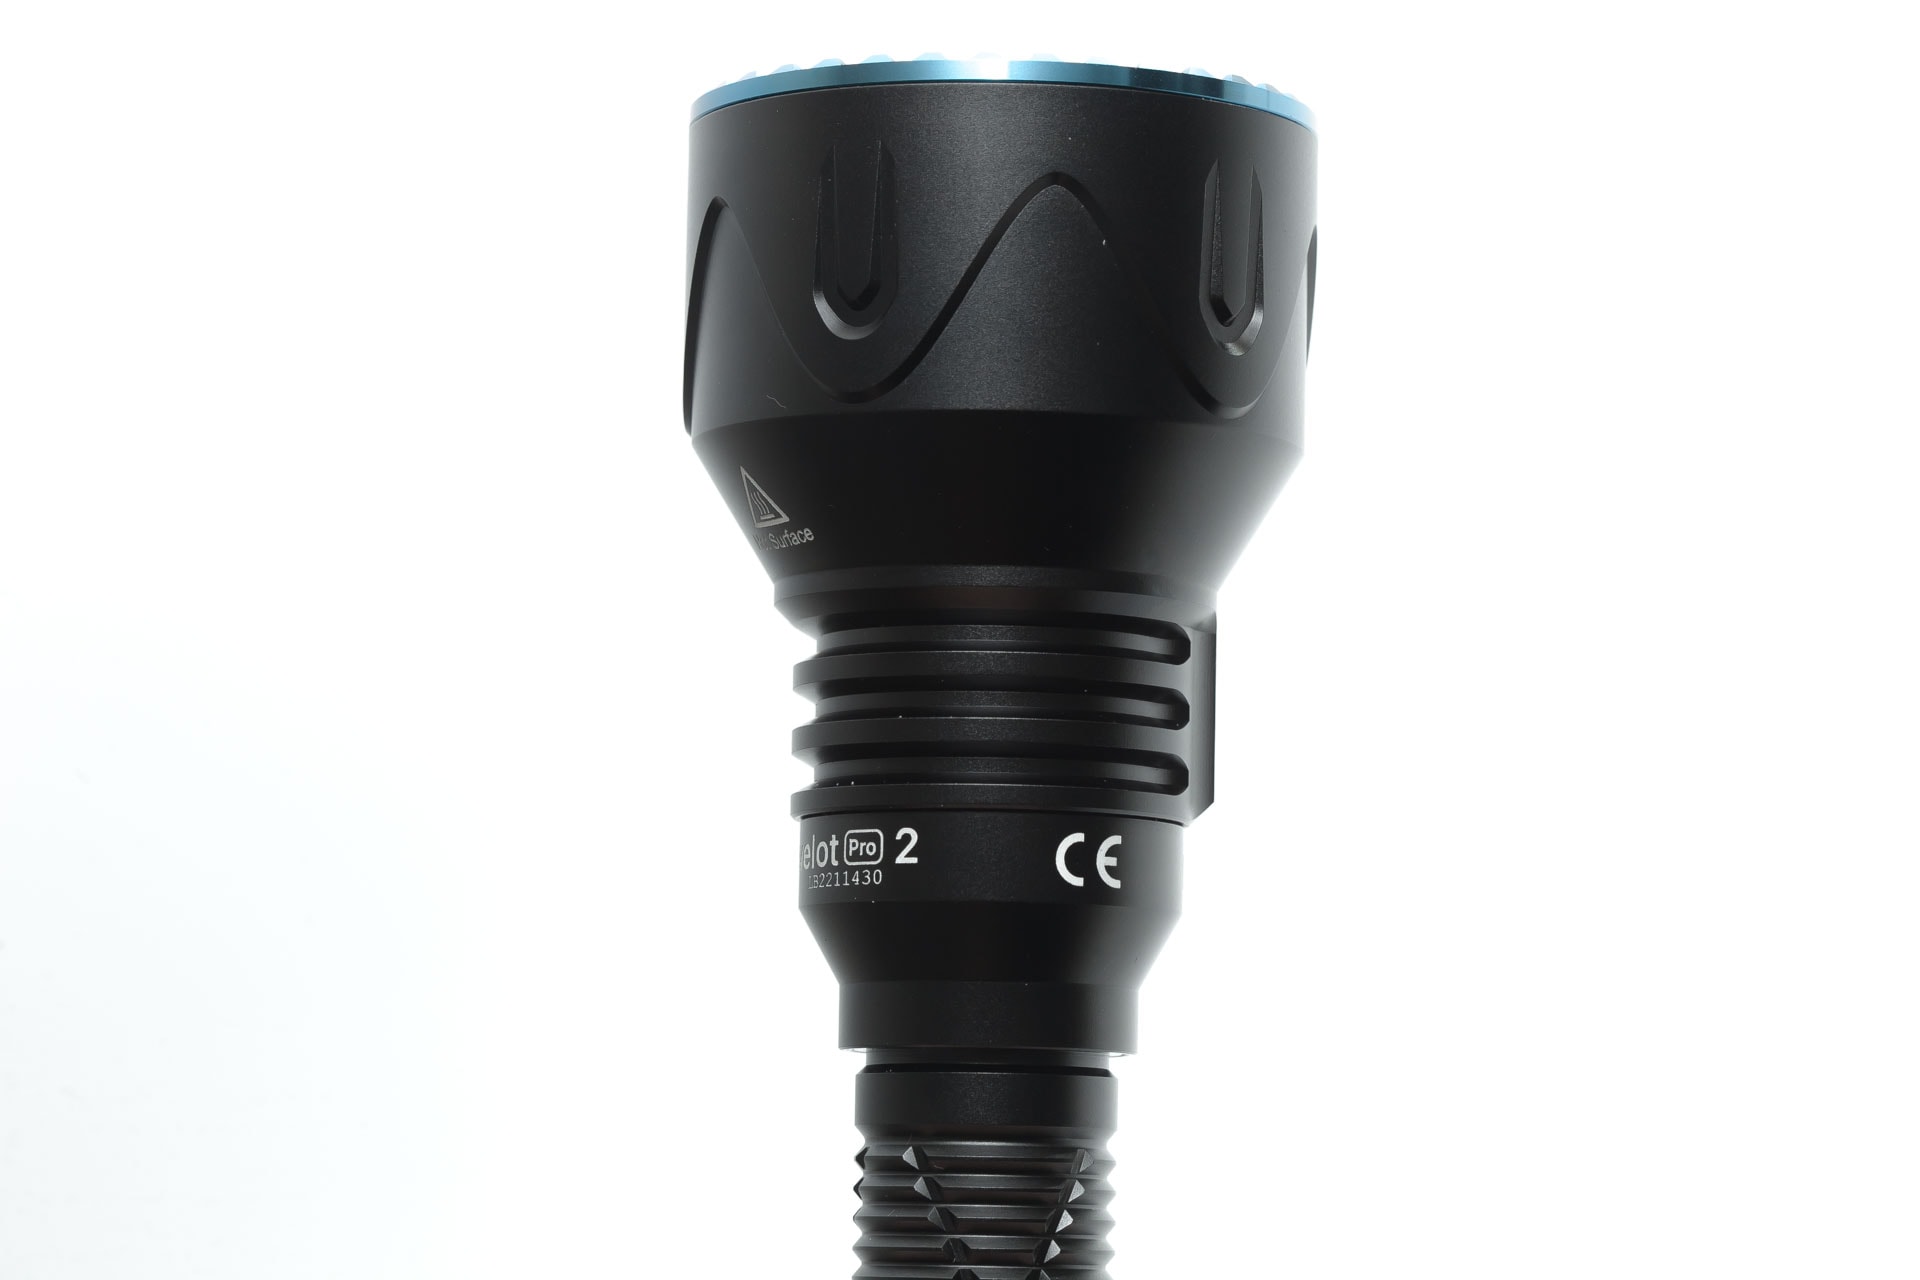
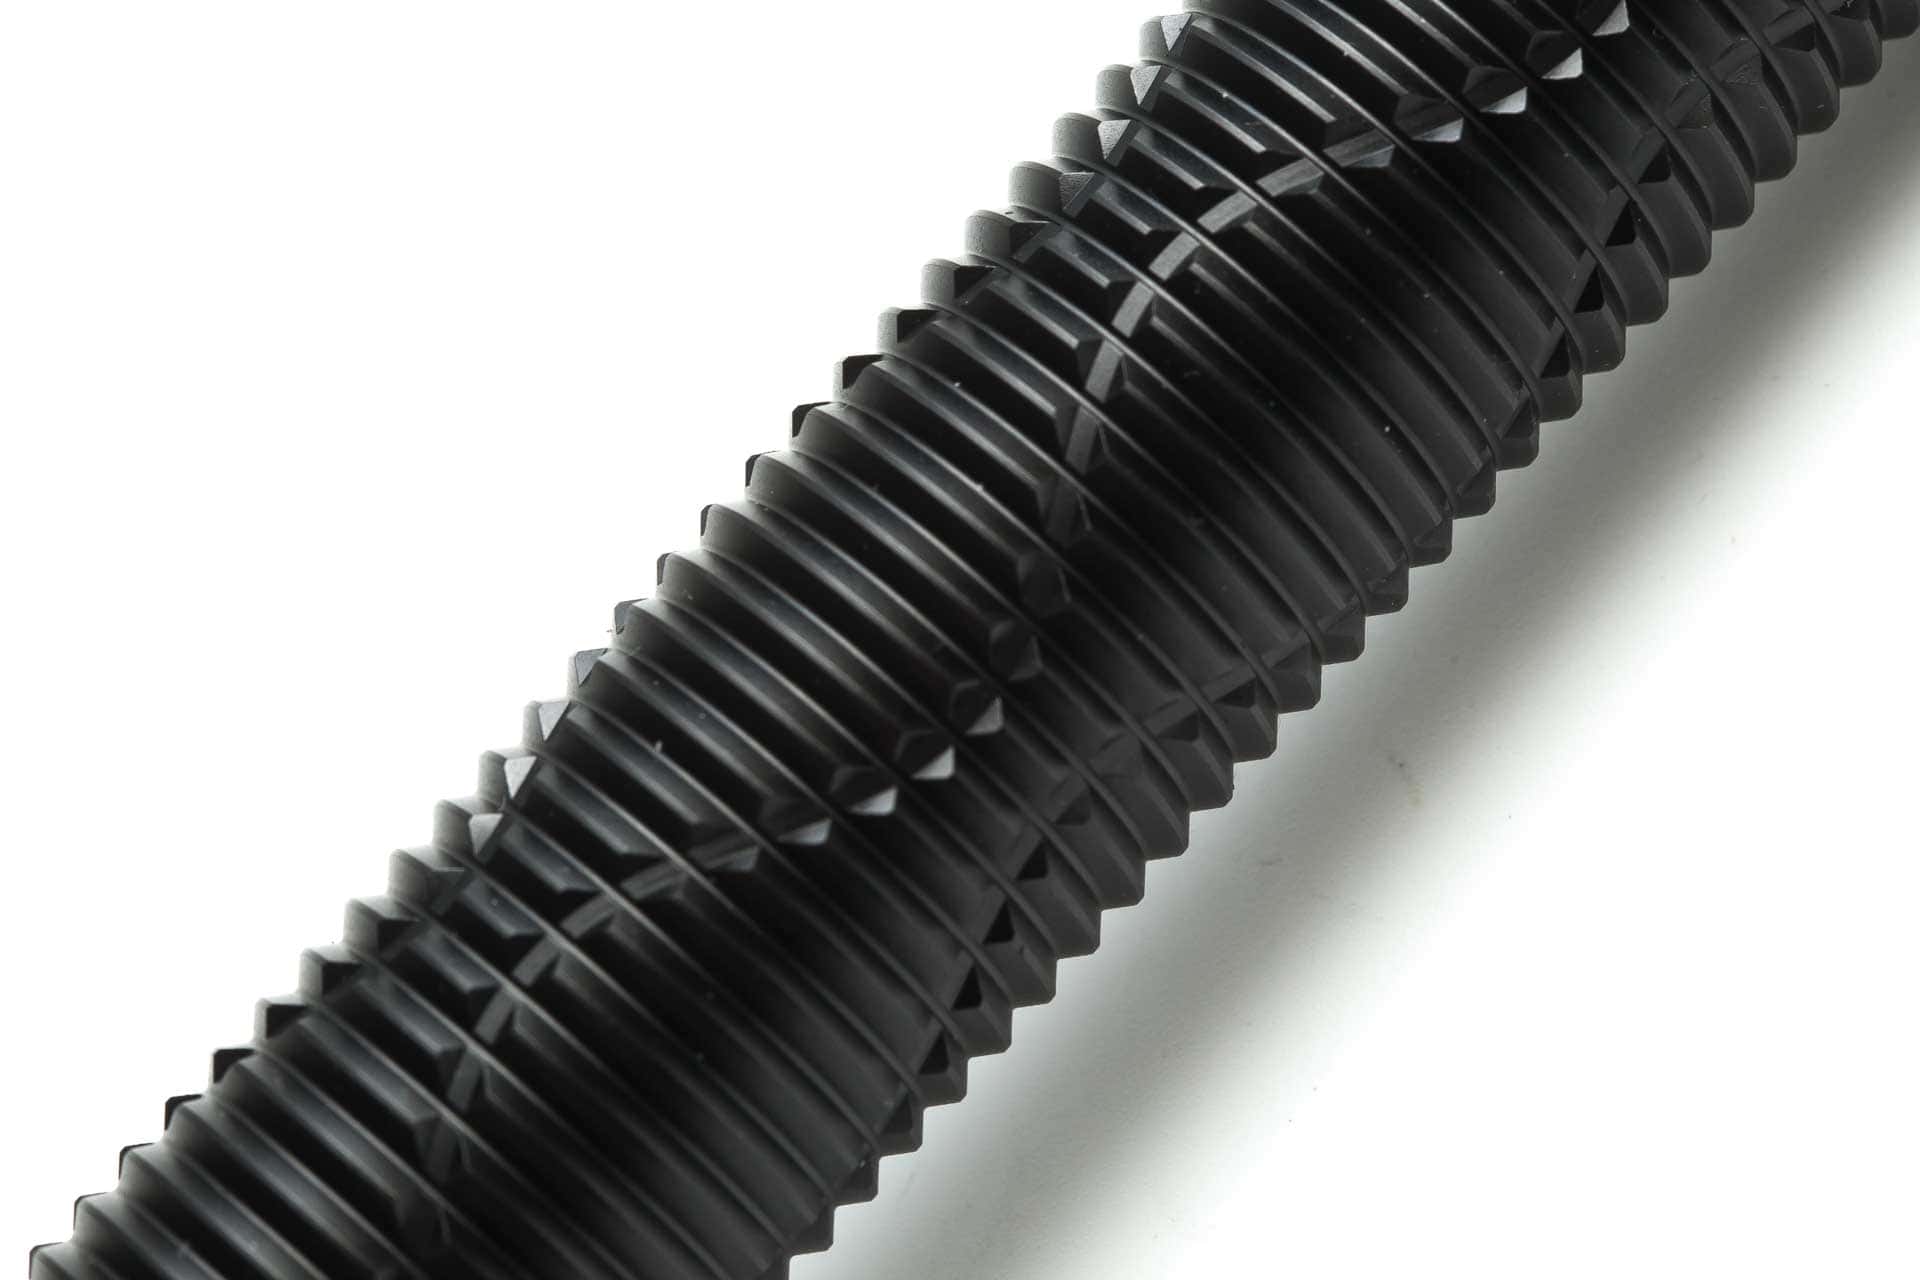
They used the typical reeding found on some of their lights for finishing, but with some extra grooves to make it look better. I’m pretty sure they did that on purpose because that battery tube is rather long, and if you only have that reeding, it will probably look a little awkward.
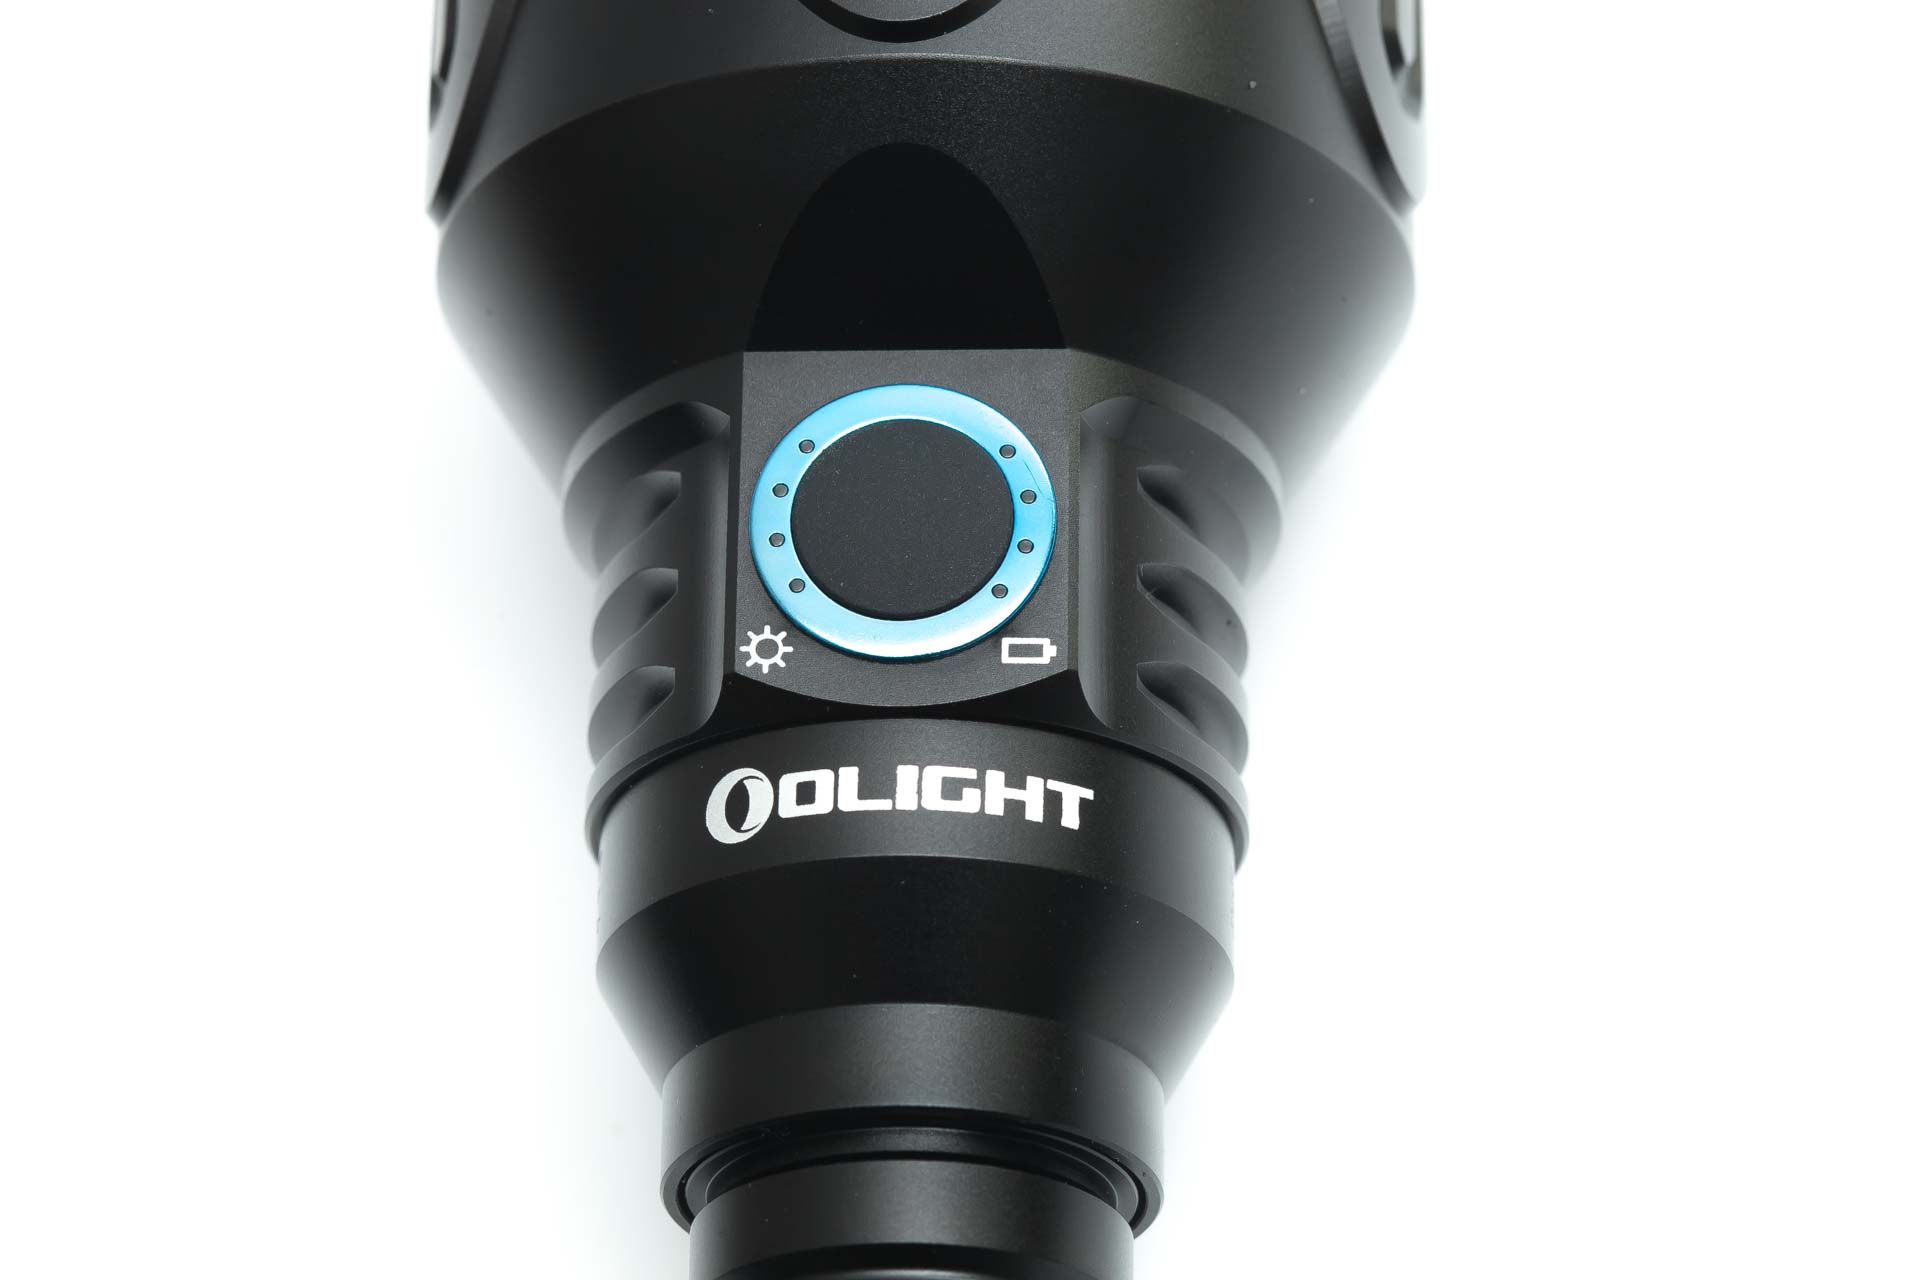
There are two switches: a tail- and a side switch, and you can use them interchangeably. You don’t have to use the tail switch to turn the light on or off. You can use the side switch for that as well. The tail switch has four options: momentary Low, continuous Low, momentary Turbo, and continuous Turbo. The momentary feature activates when you hold the switch longer than 1 second, either fully pressed till you hear a click for Turbo or halfway for Low. If you release the button after 1 second, the light will turn off.
There is no Tactical UI like with the Olight Warriors.


Build Quality, and Warranty
The build quality of Olight is top-notch. And this Olight doesn’t disappoint either.
Olight’s design is always unique for each flashlight they produce. Even a 2nd generation flashlight may look slightly different and has likely different features. This 2nd gen Javelot PRO also looks different from the original one.
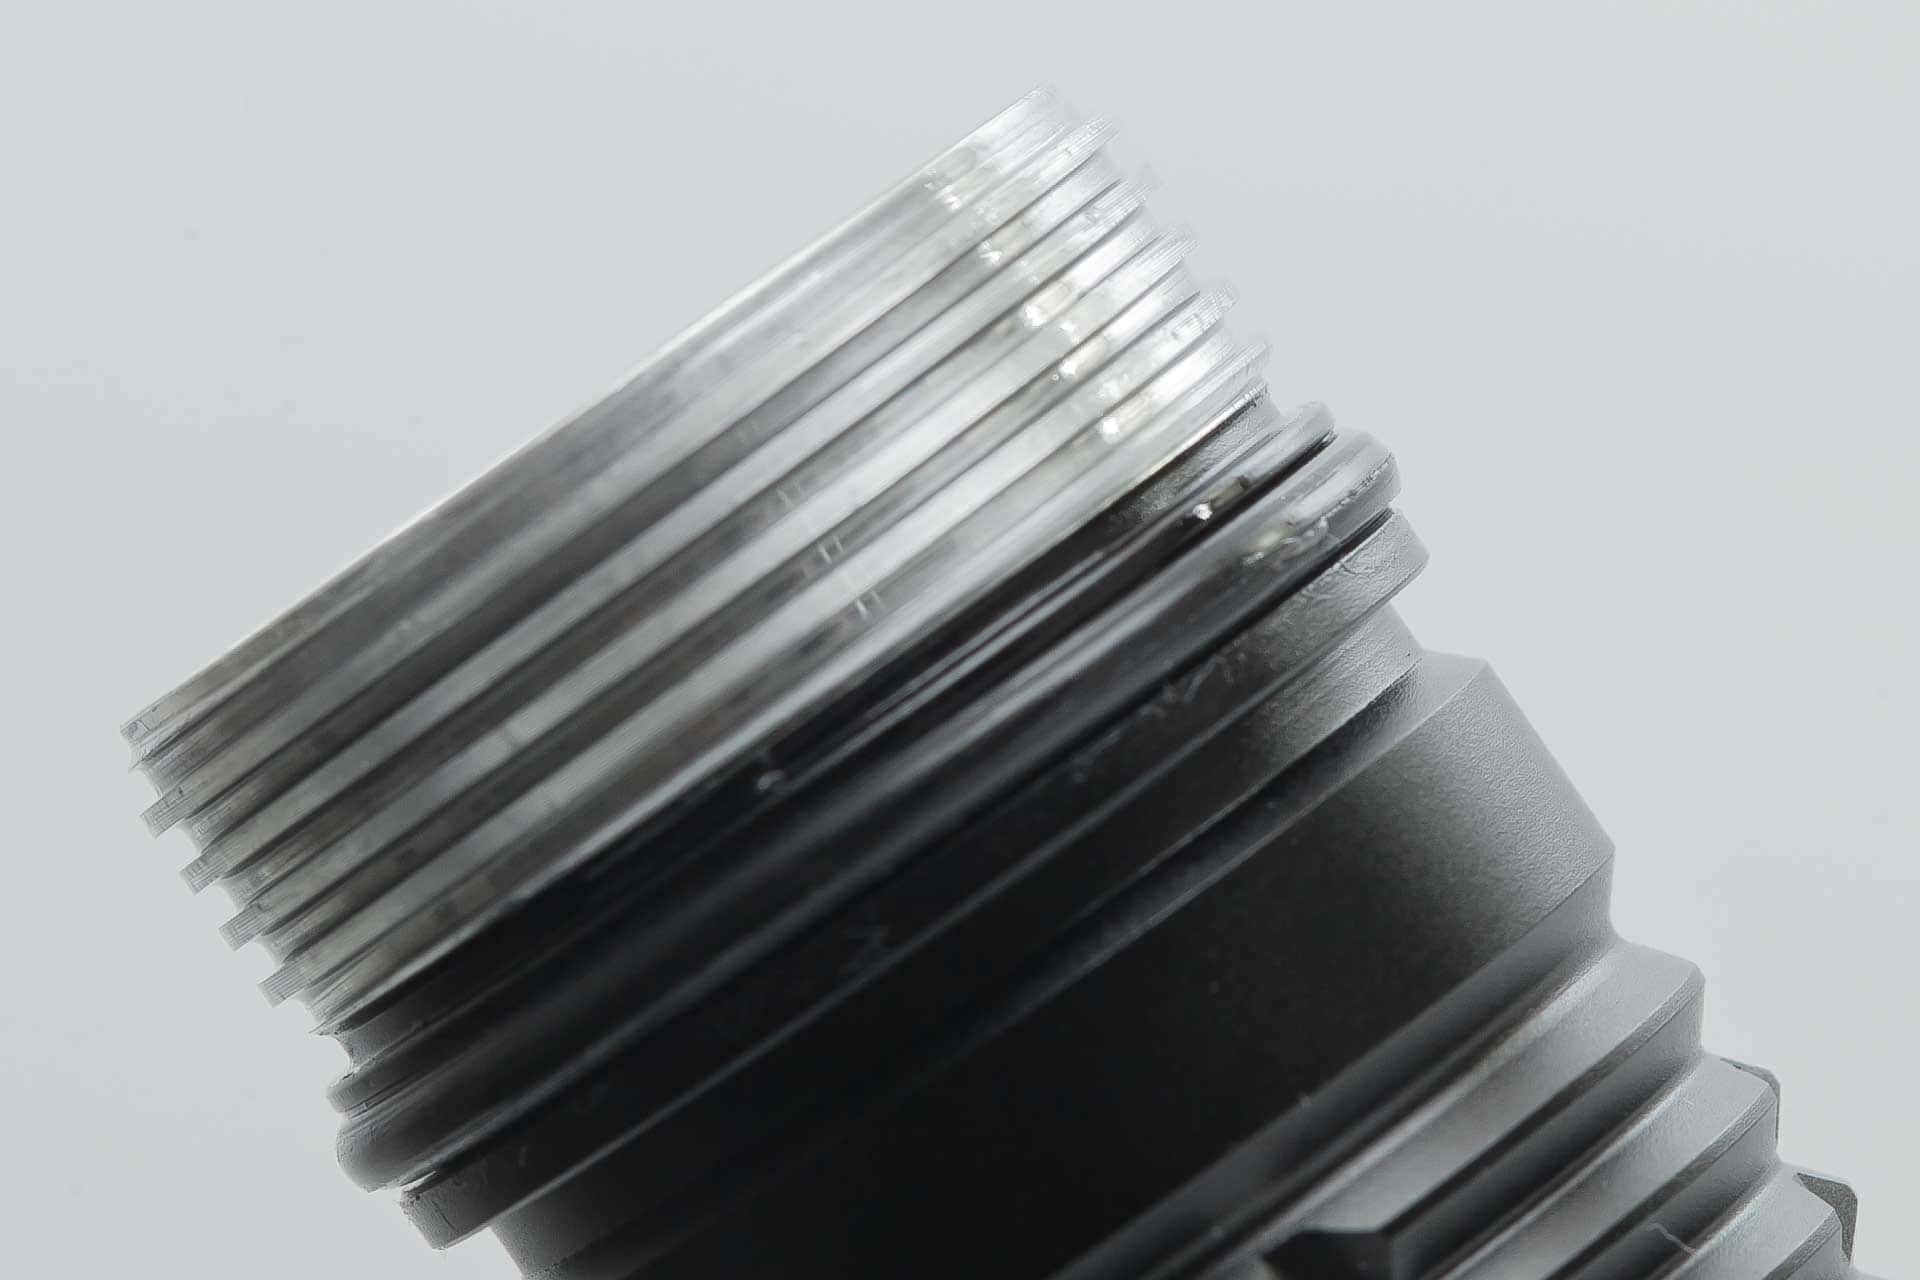
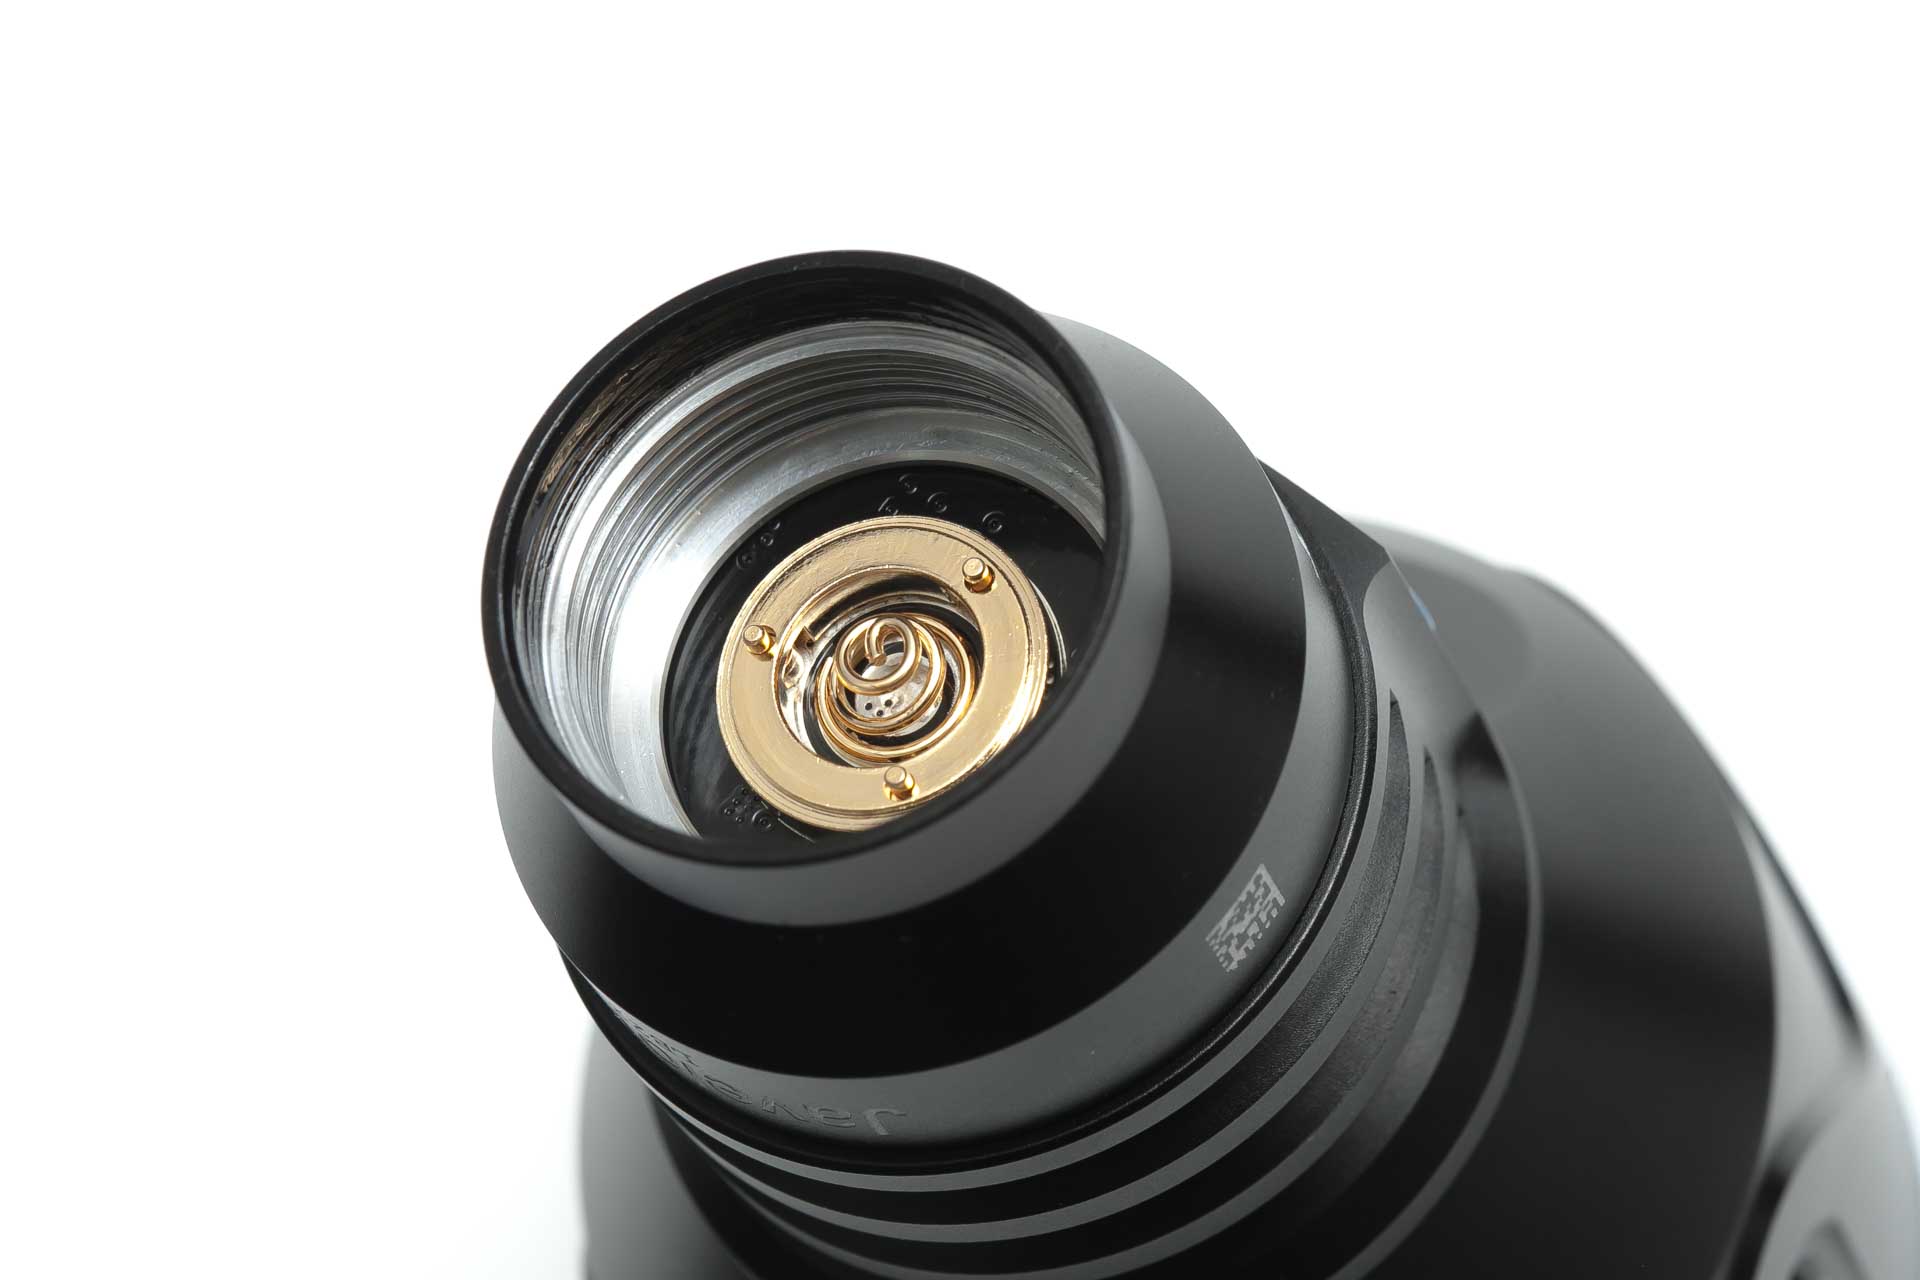
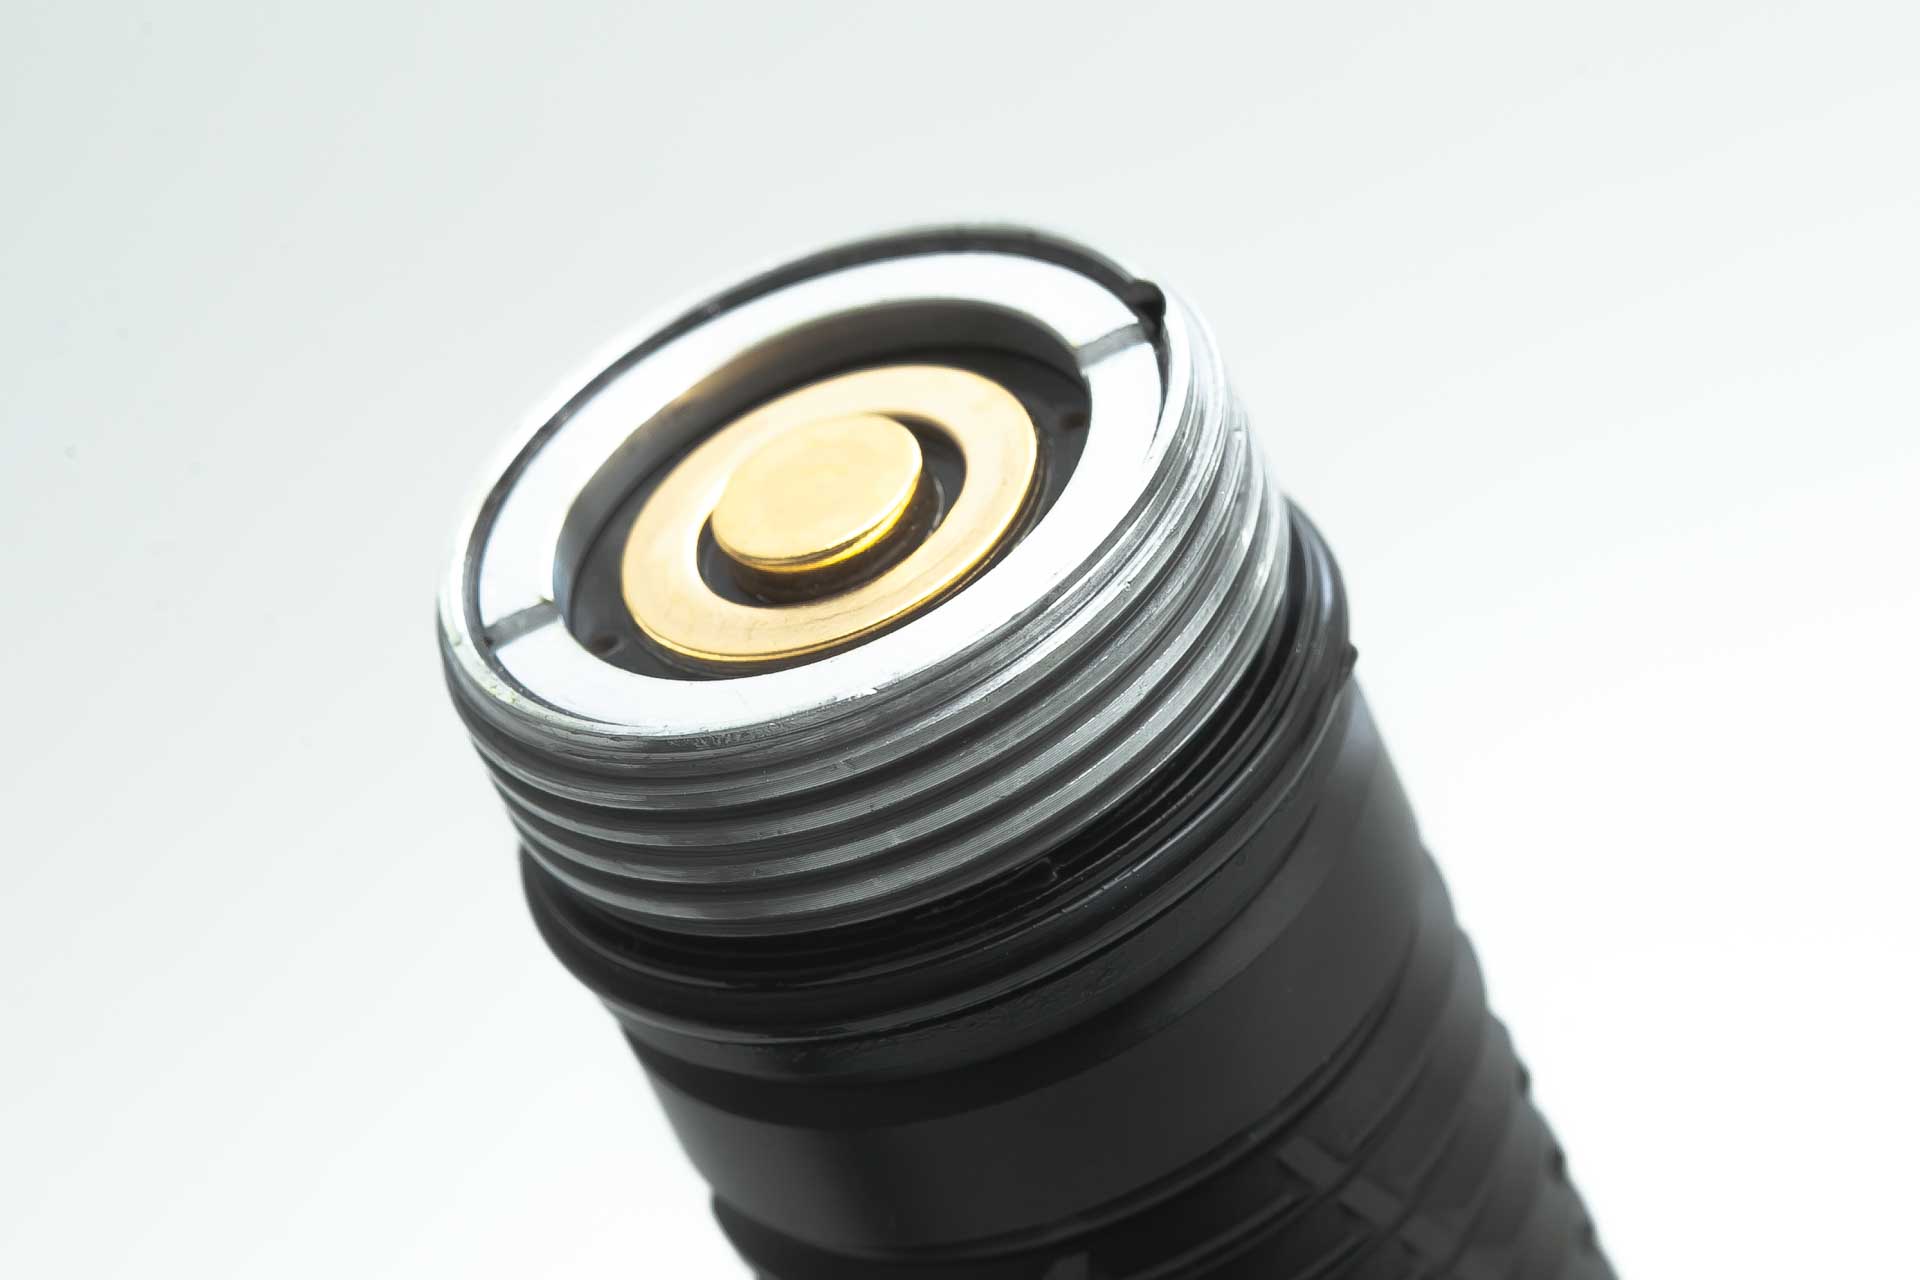
Threads and anodization look excellent and high quality without any scuffs or missing Anno. And although the tailcap is removable, there is no point in doing so. The only reason I see is because of the optional accessories to fit. But in my case, the tailcap can stay on at all times.
There’s an o-ring (well lubed) to keep the water out. And I can imagine that the battery pack also has some waterproofness to it, but I can’t see it.
Olight’s warranty: https://www.olightstore.com/warranty
Orders can be returned for any reason within 30 days from the date the order was received. Returned items must be in the same condition, unworn, and in the original packaging. Once you apply for a refund or replacement, we will send you a return label to return the item to us, no need to pay for the shipping cost. Free or promotional items must be returned along with the original item when being fully refunded.
Once your return is received, a refund will be processed, and a credit will automatically be applied to your original payment method. Please note that it might take 2-5 working days for a refund to show up on any bank statements. For your replacement, we will re-send a new item to you as soon as possible (within two weeks.)
For items purchased from third-party platforms within 30 days, we recommend you contact the original seller first, so they may take care of you. If you have any issues with them, please contact us.
Within 2 or 5 years of purchase: please contact our customer service at [email protected], or visit https://www.olightstore.com/contacts/warranty.html, to apply for the warranty work. We may need your serial number, the date of purchase and a simple description about your issue. If your item needs to be returned for repair or replacement, we will provide you an RMA case number and application form to return the defective light together. You will need to cover the shipping cost, no need to pay for the repair.


LED, Lens, Bezel, Beam, and Reflector
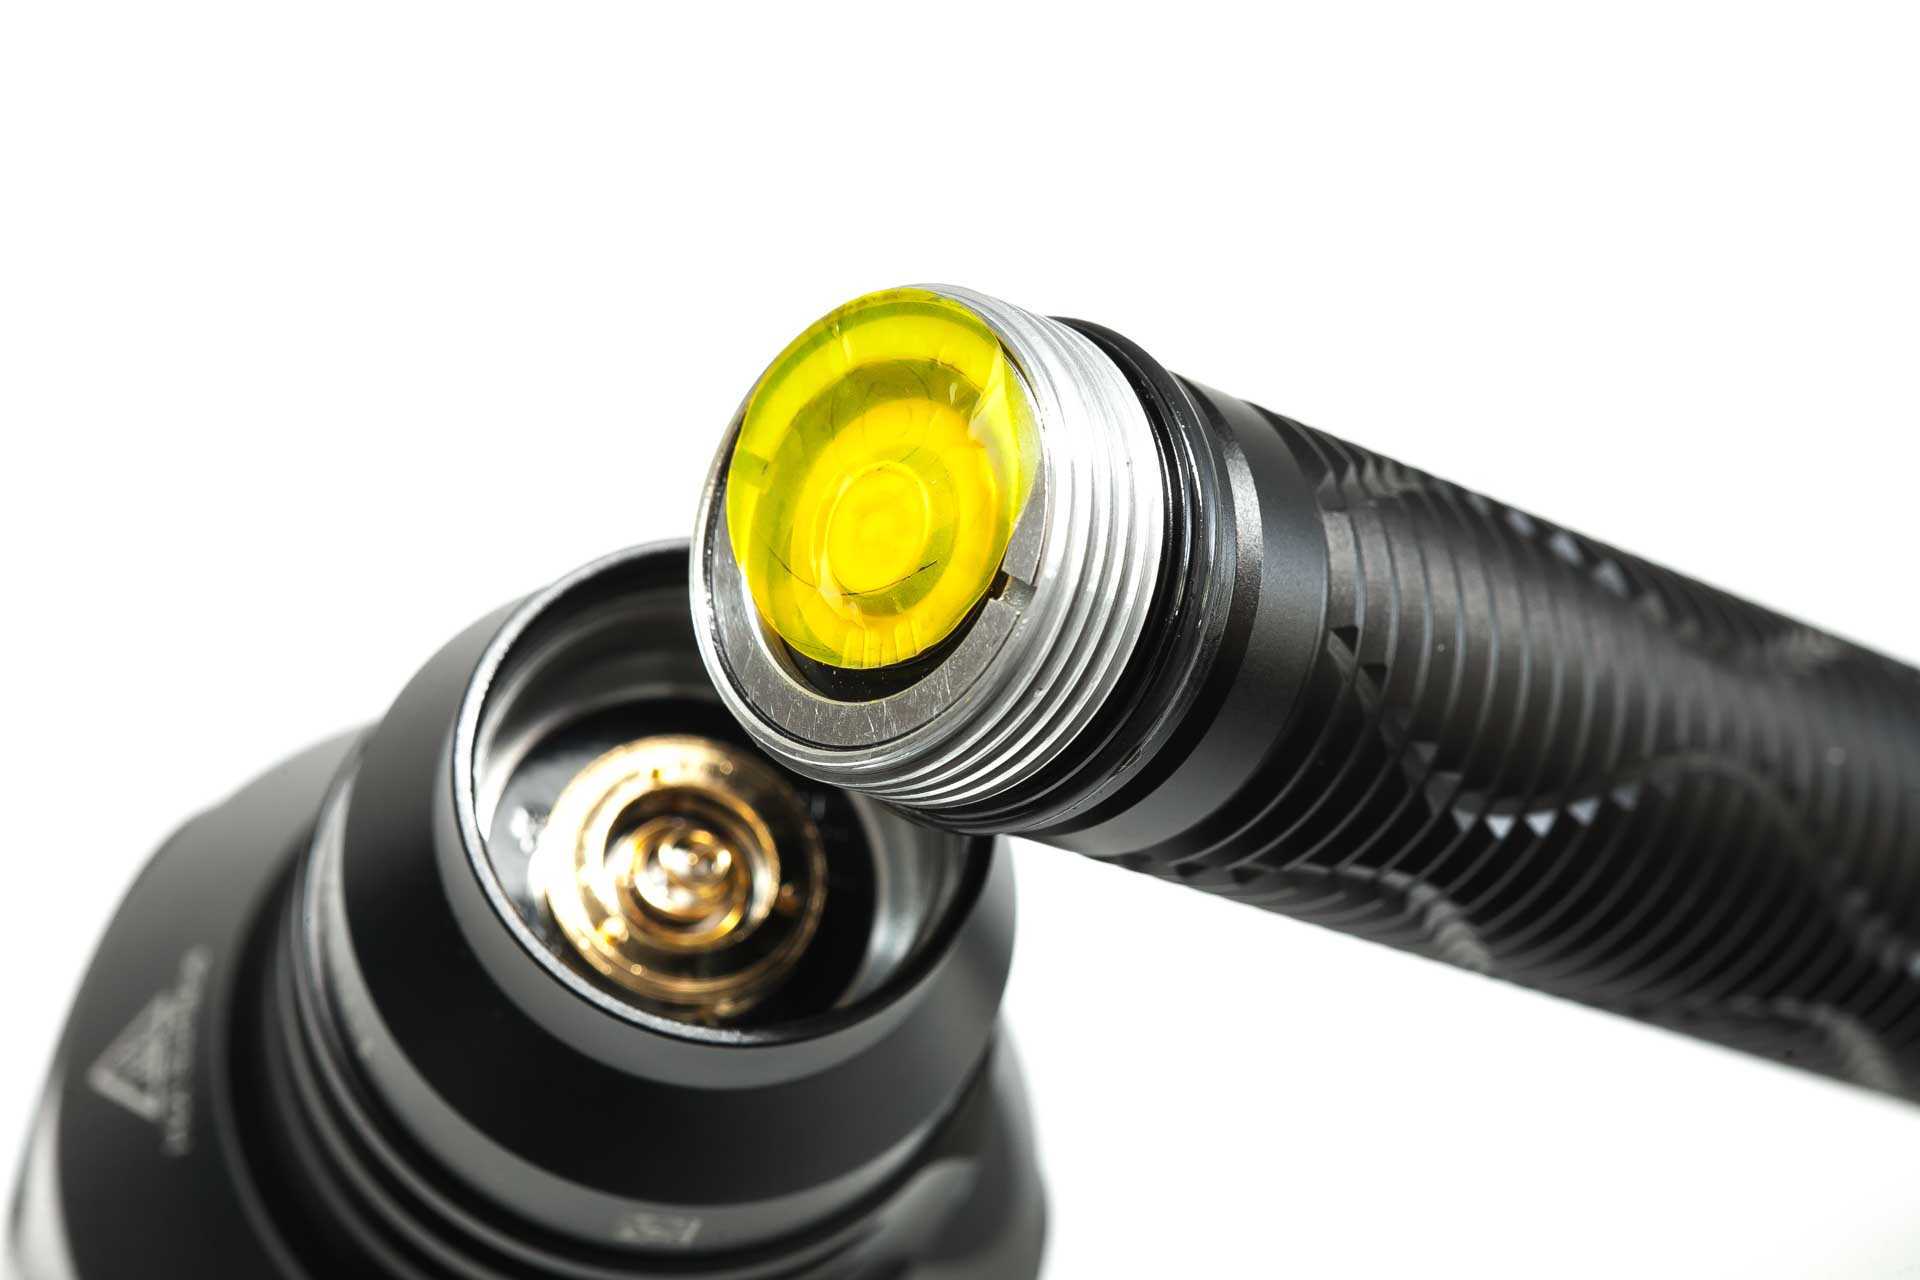
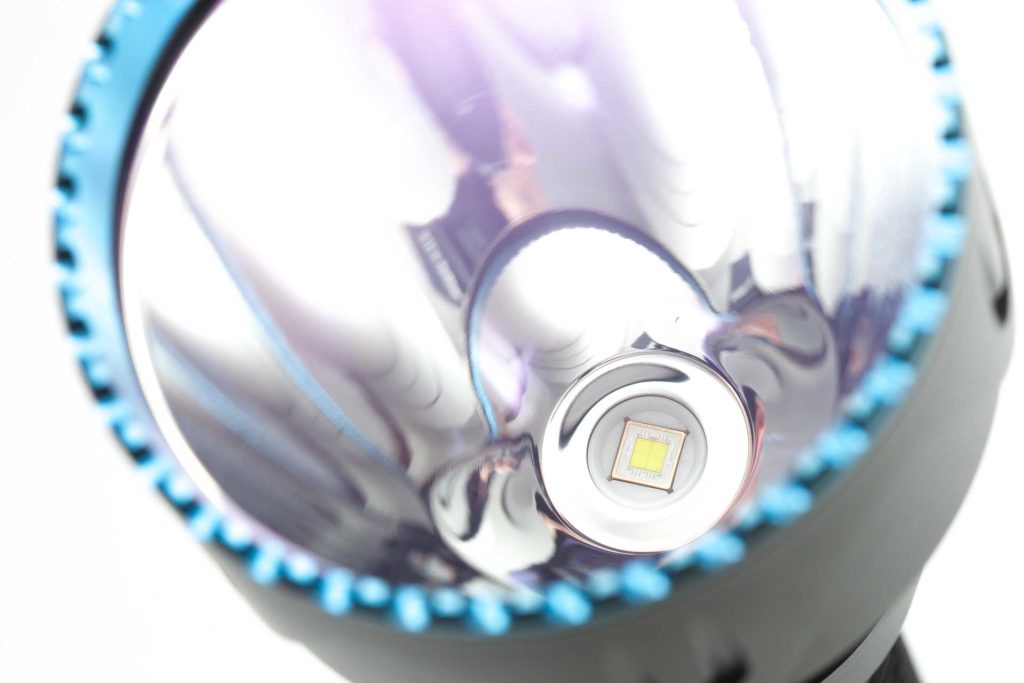
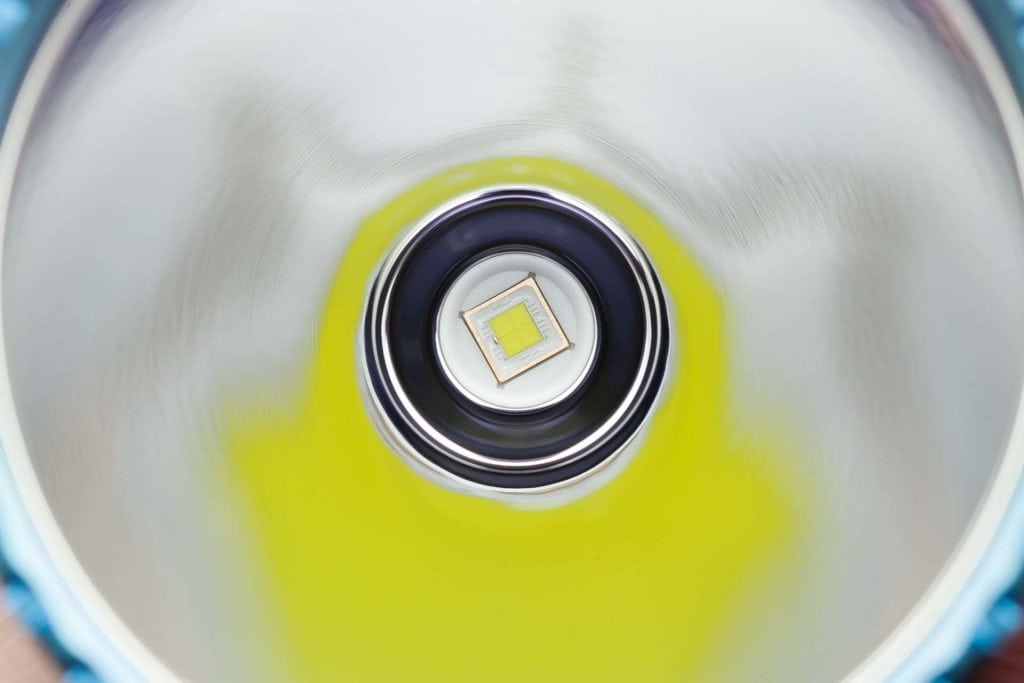
This is interesting because we are looking at possibly the first manufactured flashlight using the Luminus SFT70 LED. This is something unique, and if you’re not into LEDs, you’ll have a tough time figuring out what type of LED this is because there are almost no images on the internet. And the ones that are on the net look just slightly different. I mean, really slightly.
I noticed that it was pretty challenging to find any consistent reading with the Opple Lightmaster III. So here are some measurements I got. Of course, the number changed quite a bit depending on where the device was measuring the hotspot, etc.
- CCT: between 5300 and 5800
- Ra (CRI): between 59 and 65
- DUV: around 0.0066 (above BBL)
But it’s interesting to note that the DUV calculator on the internet shows a different picture than the Opple Lightmaster itself. So take these measurements with a grain of salt.
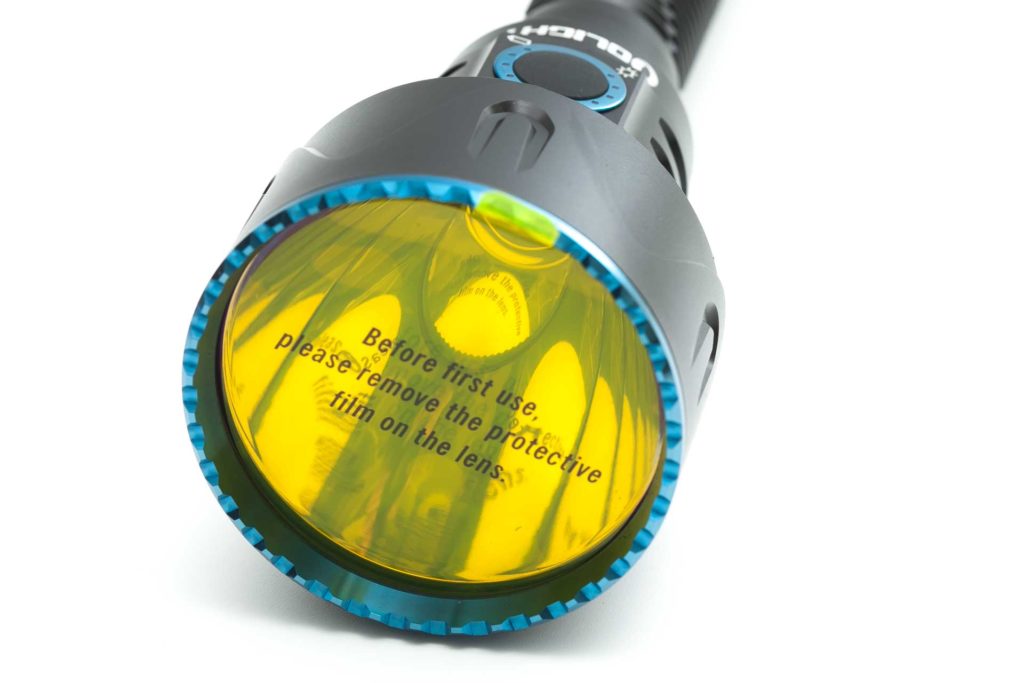
There is the usual donut hole in the middle at a close distance, but that’s gone after about 10 meters. The beam has a clear hotspot (of course, because it’s a thrower), minimal spill. The lower modes are definitely greenish, but that doesn’t seem to be as apparent at higher outputs.

Dimensions and size comparison
- Length: 259 mm / 10.2 ”
- Head diameter: 63 mm / 2.48 ”
- Tailcap diameter: 28.2 mm / 1.1 ”
Weight:
- With battery: 425.9 g / 15.02 oz
Flashlight comparison
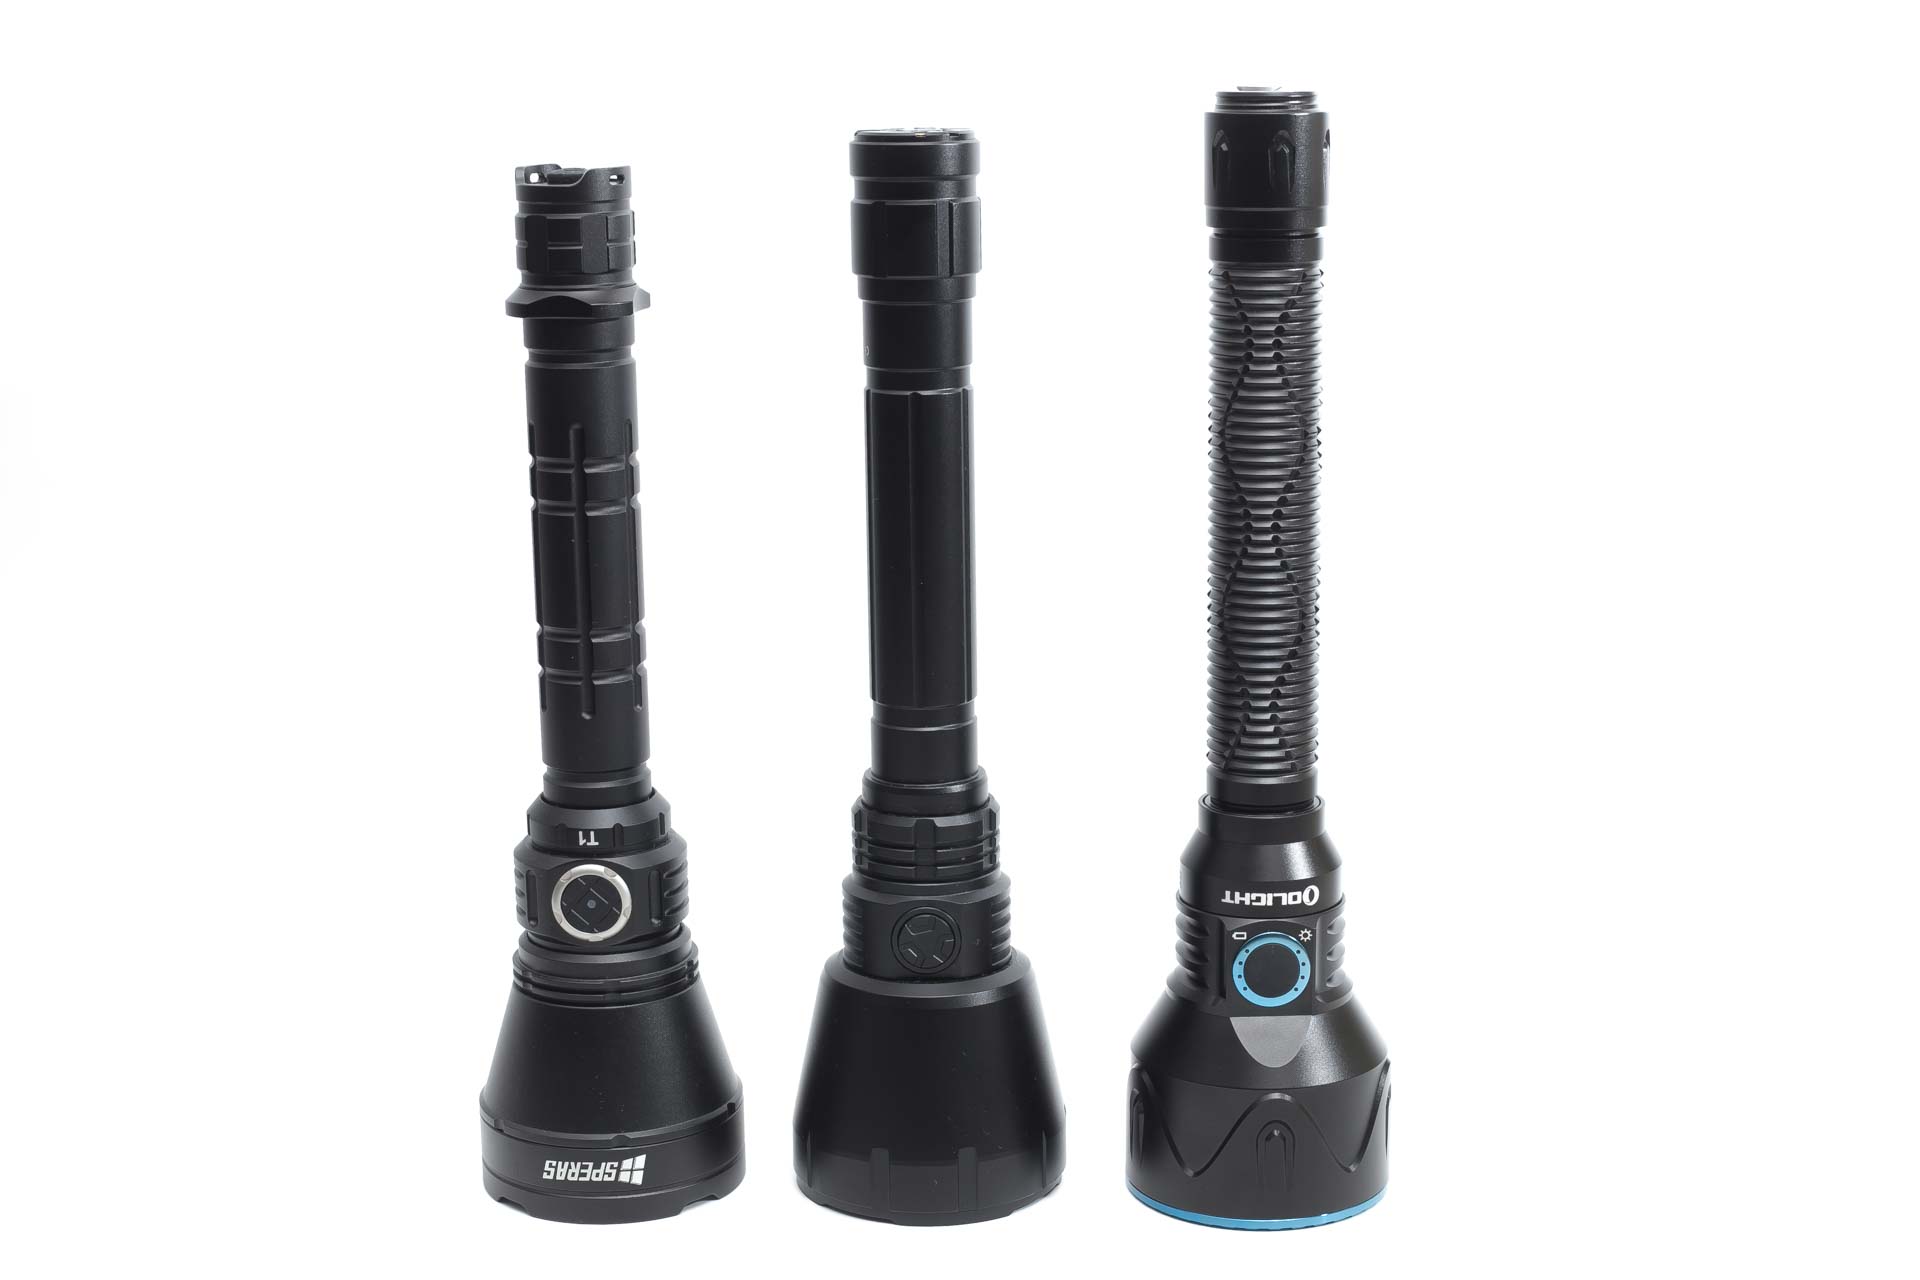
Size compared to other long throw flashlights
Image 1, from left to right: Speras T1, Imalent UT90, Olight Javelot PRO 2
Driver & User Interface:
Both switches can be used interchangeably. So, if you turn the light on with the rear switch, you can use the side switch to turn it off, and vice versa.
Modes tail switch
4 modes: Low (Momentary on), Low (continuous), Turbo (Momentary On), and Turbo (continuous).
- Short half-press: Low (continuous)
- Short full-click: Turbo (continuous)
- Half-press and hold (more than 1 second): Momentary Low (release the button to turn the light off)
- Full-click and hold (more than 1 second): Momentary Turbo (release the button to turn the light off)
Side switch
The side switch has more modes. And keep in mind that you don’t need the tail switch for power.
- Low, Medium, High, and Turbo
Side switch from OFF:
- Single-click: battery check
- Double click: nothing
- 3+ clicks: none
- Press and hold 1 sec: goes to last used mode (it has mode memory, including Turbo)
- Press and hold 2+ sec: nothing
Side switch from ON:
- Single-click: cycle through the modes from low to turbo
- 2+ clicks: just running through the modes
- Press and hold: turn off
Mode memory:
- Yes, including Low and Turbo. This is a great and useful feature.
Blinky modes menu:
- None
Low battery warning:
- There are small LED indicators beside the side switch. It will indicate the following:
- 4 LEDs: 75%+
- 3 LEDs: 50-75%
- 2 LEDs: 25-50%
- 1 LED: 10-25%
Lock-out mode:
- There is an automatic lockout for the side switch, but not for the rear switch. The rear switch needs to be unscrewed to not work!
PWM:
- Not visible
Firmware / UI Additional info:
The UI is great if you don’t mind the long press for power on/off. And there is no Strobe, which is also nice. And unlike the Warrior series, there is no ‘Tactical mode’.
Batteries & Charging
The Javelot PRO 2 has a built-in battery pack consisting of 2*21700’s. And although they look as if they connect in series, they are connected in parallel! So the total capacity is 10,000mAh, which is quite a bit. I measured the voltage of the battery pack, and that was 4.17 after it was fully charged (and left charging long after the green light turned on).
For charging, they included the traditional MCC3 charging cable. This is a charging cable with a USB-A port on 1 end and a magnetic charging pad on the other. This is uniquely designed by and for Olight. Unfortunately, itt doesn’t work on other flashlights, as far as I know.
It is red while charging but turns green at around 4.1V. At this point, it continues charging for several more hours. If you don’t use a USB tester, you won’t be able to notice this.
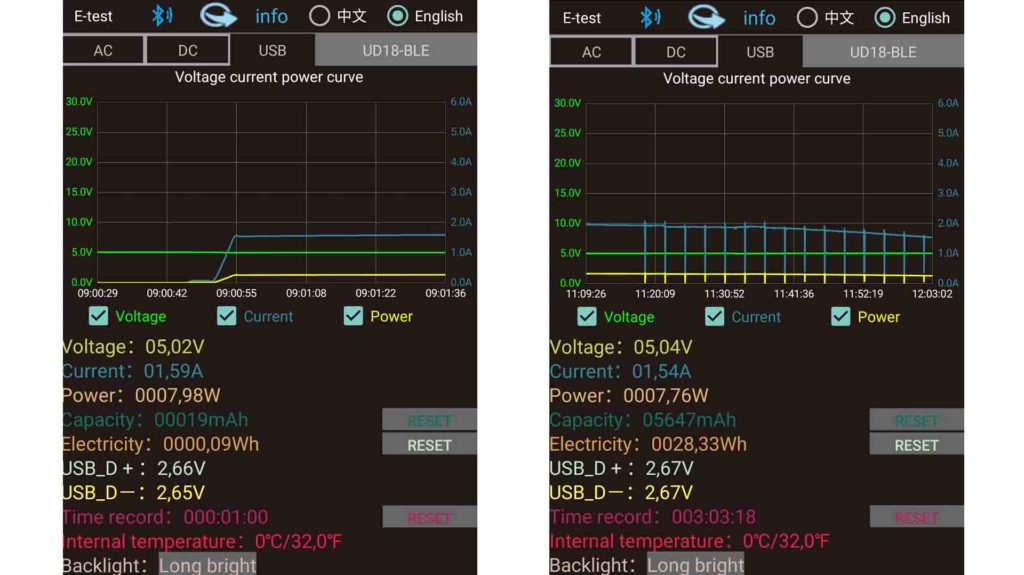
The charger current starts at around 1.5A and ramps slowly up to roughly 1.9A. And what struck me is that the manual mentions a 9.5 hours charge. That’s exceptionally long, and when I first charged it after receiving it, and charge rate was about 1A, and then it made sense 9.5 hours for a 10,000mAh capacity. But if the charge current goes up to 1.9A, why would it need to take 9.5 hours? Shouldn’t that be something like 5-6 hours? (Which is still very long)
But no, after several hours, the charge current reduces constantly. Even when the charge current is only 1A, and you take the charger off, and restart, the onboard charging doesn’t increase the charge current. It just continues at roughly the same charge current as where it was left. The reduction continues till the charge indicating light turns green. But even at that point, the charge current is still 0.3A. And will take a lot more time before it is fully charged.
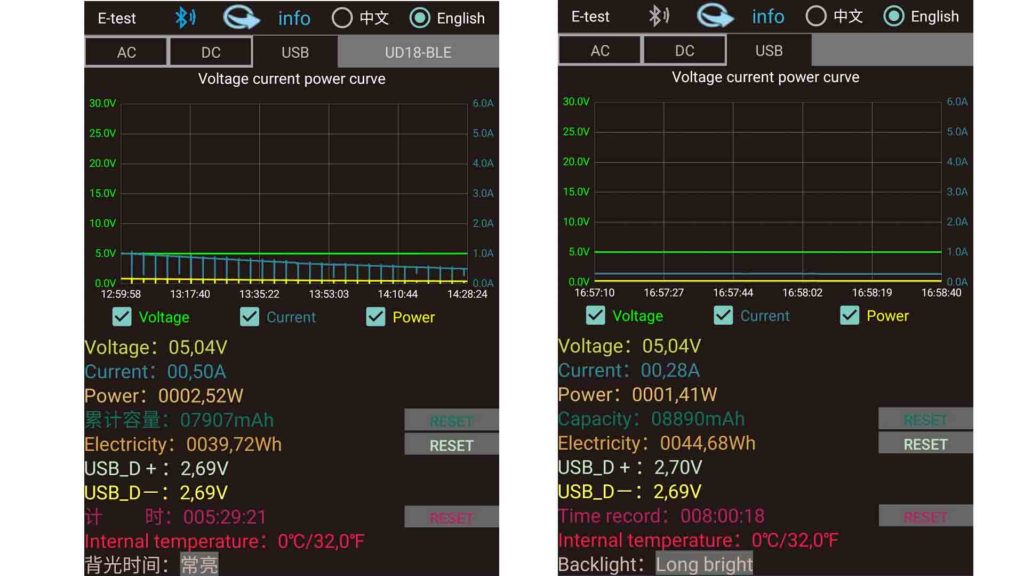
When you look at the images of the USB tester App below, you can see that towards the end of the charge, there is a short break every 3 minutes. After each short break, the charge current is adjusted, and it looks like there is a drop of 100mA every 3 minutes. Take a look at the pictures below
After 7 hours and 27 minutes, the battery indicator LED on the magnetic charging cable turned green. But it’s only at 8230mAh and continues charging. I measured the battery at 4.08V, and after reconnecting again, it didn’t charge at 350mA but at 0.08A, which is about 80mA. If you wait for 1 minute or so, it continues charging at 0.4A and will gradually decrease again over the next few hours. There is no way to let it charge faster, unfortunately. Having a battery at 4.08 V is pretty safe, especially if you consider using 2 batteries. But it won’t have the max runtime. I’ll let them charge till it drops to a really low charge current, so I can get the best runtimes for the review. Not everybody will notice the change from red to green light.
After the runtime test, I measured 2.94V
In the graphs below you can see that it took about 5.5 hours before the charge current went down to 0.5A. At that point it charged about 7900mAh. After another 2.5 hours it was up to 8890. And at around 12 hours it charged up to 9400mAh.
This doesn’t mean that the battery really received so much charge, but that’s what the USB meter measured. So the actual charge is probably less than that… I suppose… since the Voltage is higher than the actual battery Voltage.
Performance
Lumen measurements:
All output numbers are relative to my homemade Integrating Sphere. It is set up with an Extech SDL400 Lux Meter for measurements including a Kenko PRO1D ND-16 filter. The base measurement is done with a Convoy S2+ that has been tested at 255 lumens.
For Amp readings, I use a Fluke 77III DMM. For higher amps, I now use a Fluke 325 True RMS clamp meter. For microamps, I use a cheap DMM with an easy-to-use micro amp setting.
All of my readings were taken from a fully-charged battery. I tried to charge the battery even after the battery indicator turned green on the charging cable.
| Mode | Specs | turn on | 30sec | 10minutes |
|---|---|---|---|---|
| Low | 15 | 18.73 | 18.13 | – |
| Med | 150 | 160 | 159 | 158 |
| High | 600 | 657 | 656 | 649 |
| Turbo | 2500 lm | 2786 | 2713 lm | 1071lm |
Runtime:
The runtime test was done with the 50cm integrating sphere, including the Kenko Pro1D ND-16 filter and Extech SDL400 data logging Lux Meter.
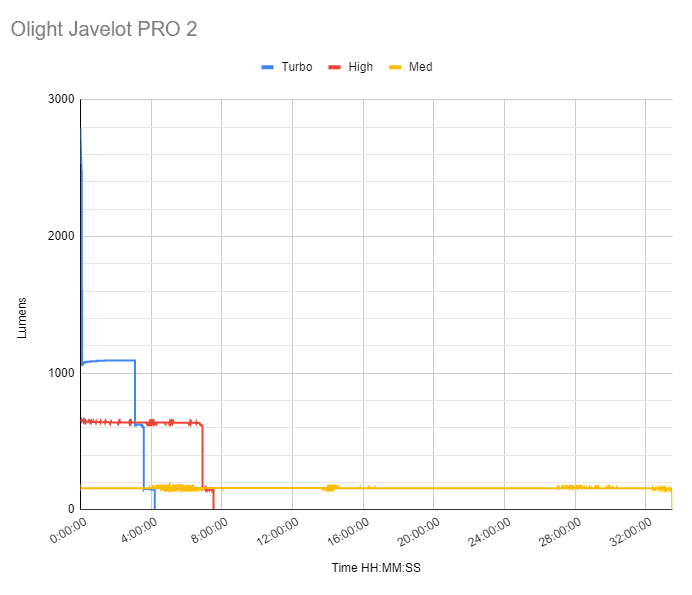
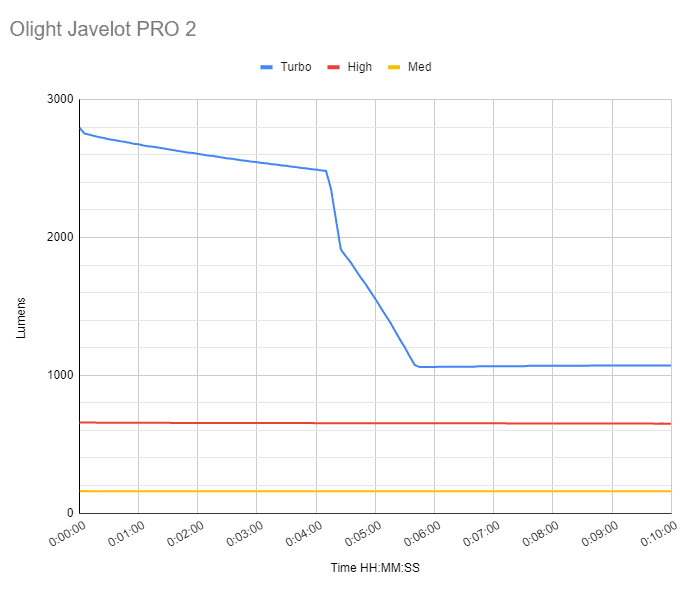
Turbo: started around 2710 lumens and slowly dropped for a little after 4 minutes, when it dropped twice till it reached 1060 lumens. It then increased brightness slightly, but maintained this brightness for 3h5m when it dropped to 616 lumens. At 3h35min it dropped another time to 150 lumens. At 4h12m the light turned off rather abruptly. (Specs: 5+180+27min)
High: started around 657 lumens and sustained this till 6h42m, when it slowly dropped off to about 606 lumens (6h54m) and then dropped to 150 lumens. And at 7h32min the light finally turned off. The last measured output was 144 lumens. (specs: 6h42min)
Med: started at 160 lumens. Only the last hour of the runtime the output lowered from about 158 lumens down to 145lumens, and turned off at the 33h29min point. (Specs:32h30min)
I didn’t test Low, because it is supposed to run for 12 days.
Throw Measurement
Measurements were taken outdoors at 20 meters with a professional Hagner E4-X Lux Meter (after 30 seconds).
| Mode | Specs | measured candela | in Meters | in Yards |
|---|---|---|---|---|
| Low | – (85m) | 2,000 cd | 89m | 98 |
| Med | – (255m) | 16,400 cd | 256m | 280 |
| High | – (510m) | 66,800 cd | 517m | 565 |
| Turbo | 271,400 cd (1,050m) | 288,000 cd | 1073m | 1174 |
Again, the numbers are a little higher than their specifications.
Beamshots
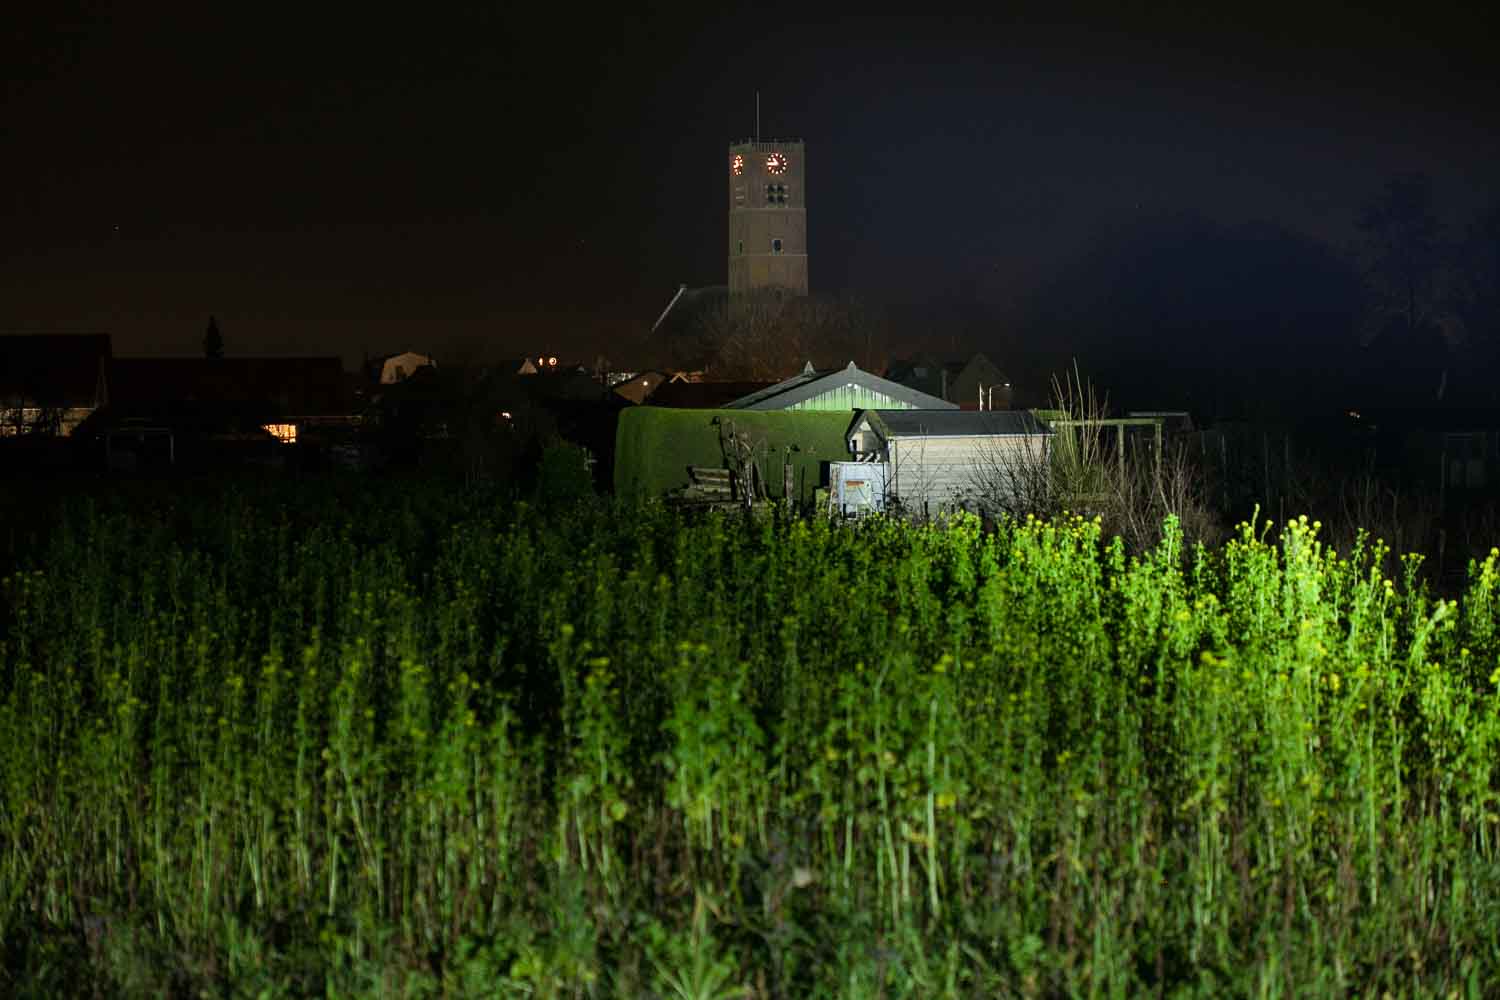
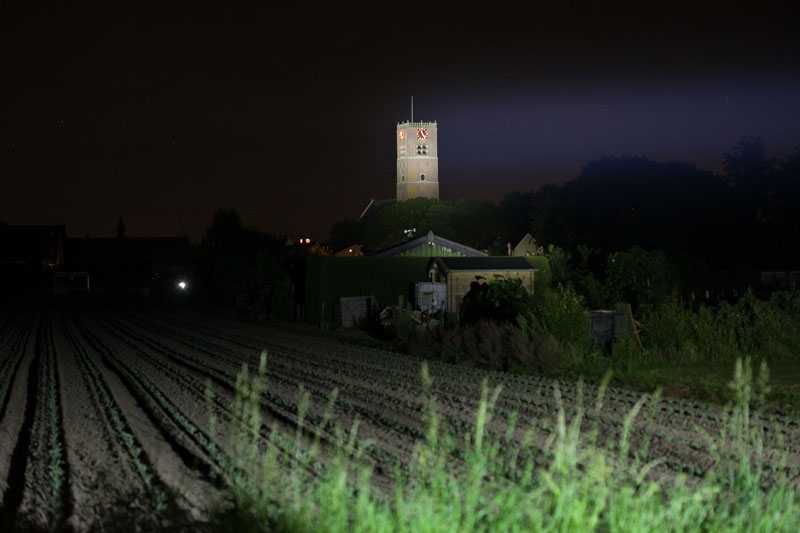
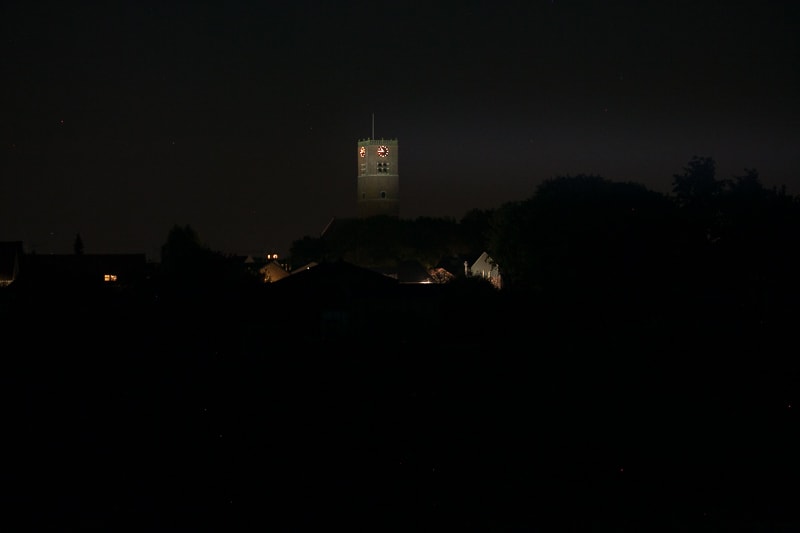
For the following beamshots I used a Canon EOS 5D Mk2 and a 100mm lens. manual settings: ISO1600, .5sec , F4, 5000K
The tower is about 450 meters / 492 yards away.


Disclaimer: This flashlight was sent to me for review at no cost by Olight. I have not been paid to review, nor have I been holding back on problems or defects.
Final Verdict
Pros
- High quality hard case
- Great UI: can use side switch and rear switch interchangeably
- Plenty bright, plenty reach
- Great runtimes
Cons
- Charging is slow
- Slightly greenish beam in lower modes
Explanation on star ratings:
1: Avoid: my phone flashlight would be a better choice – 2: Poor: significant defect or issues; almost unusable – 3: Average: some defects or issues; but still usable 4: Good: recommended (minor issues) – 5: Great: highly recommended

4.5 stars: ★★★★⋆
If you’re into new LEDs and like long flashlights, this might be something to look into. The Javelot PRO 2 is a beautifully machined flashlight with plenty of power and great runtimes.
They’ll include a nice hard case, and there should be accessories ready to mount it to a rifle. This is a great flashlight, and the only real con is the slow charging. You better get another battery pack if you want to use this. But keep in mind that the runtimes are great, and you’re probably only be using it for a couple of hours per night. So you might be okay with charging the battery during the day.
Olight Javelot PRO 2 discount coupon code
Use our exclusive 1lumen discount code to get an extra 10% off anything you order at Olightstore.com (USA). Coupon code: 1lumen
1lumen selects and reviews products personally. We may earn affiliate commissions through our links, which help support our testing.
