1lumen selects and reviews products personally. We may earn affiliate commissions through our links, which help support our testing.
Olight Oclip review
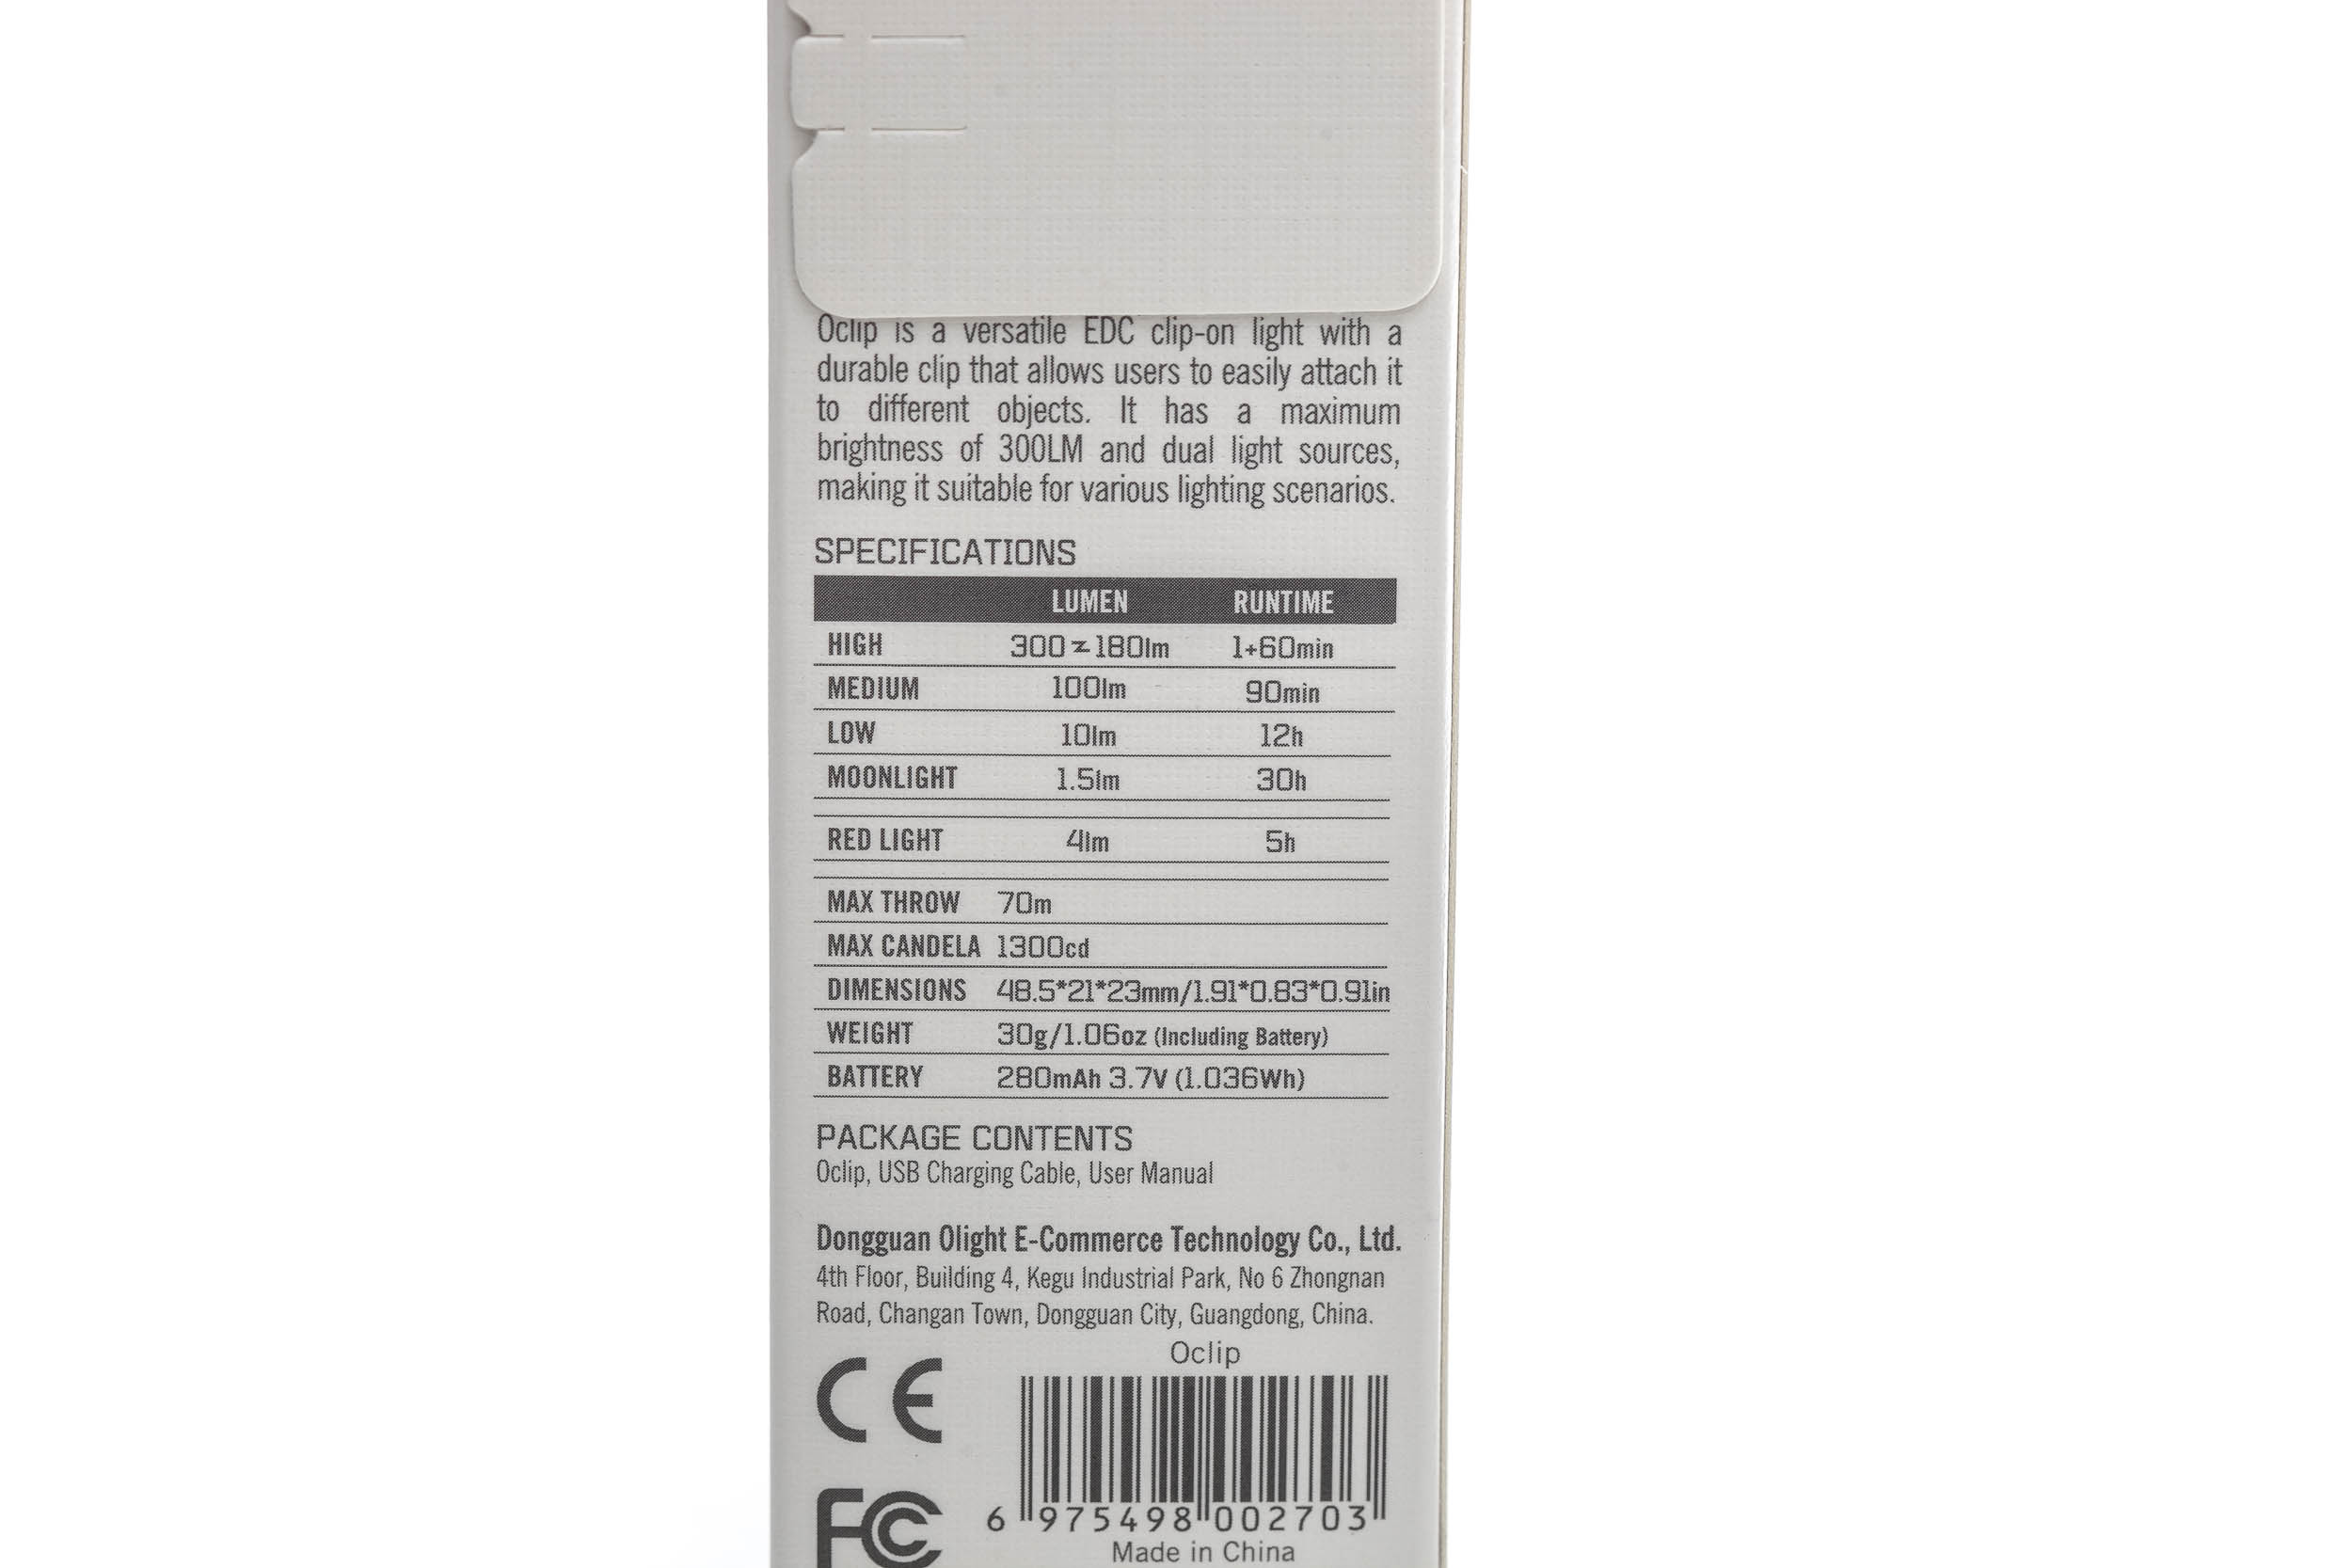
Olight Oclip specifications
| Brand/model | Olight Oclip |
|---|---|
| LED | ? (5700-6500K) |
| Max. Lumens | 300 lm |
| Max. Beam intensity | 1,300 cd |
| Max. Beam distance | 70 meters |
| Battery config. | 280mAh built-in |
| Onboard charging | USB-C |
| Modes | 4 + red |
| Blinkies | Strobe, beacon, Red blinking |
| Reflector | TIR |
| Waterproof | IPX5 |
| Review date | September 2023 |
Introduction:
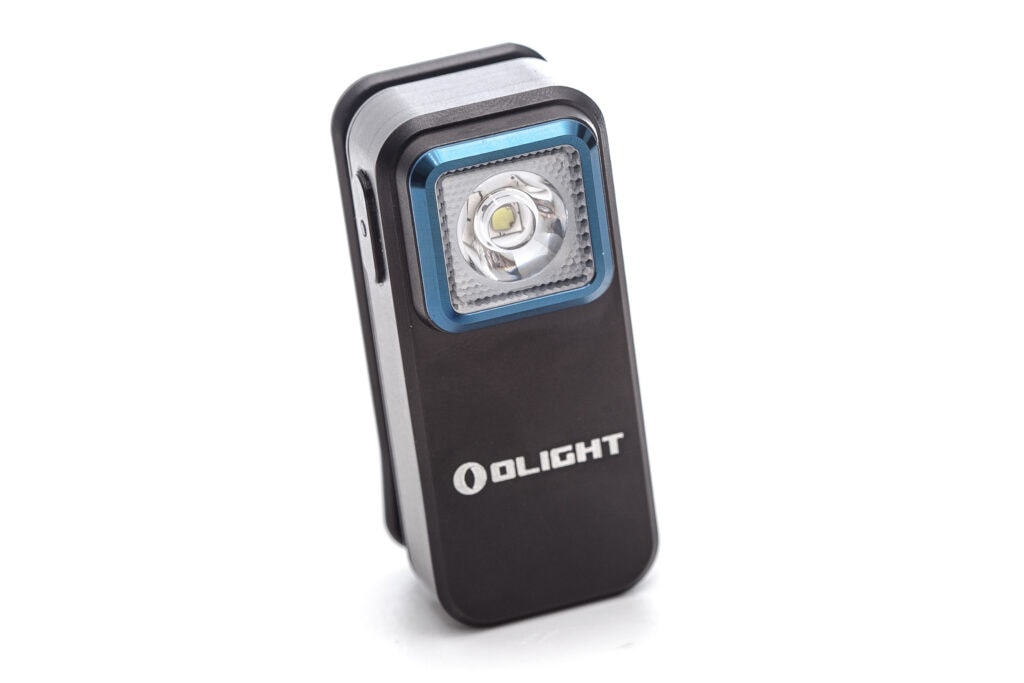
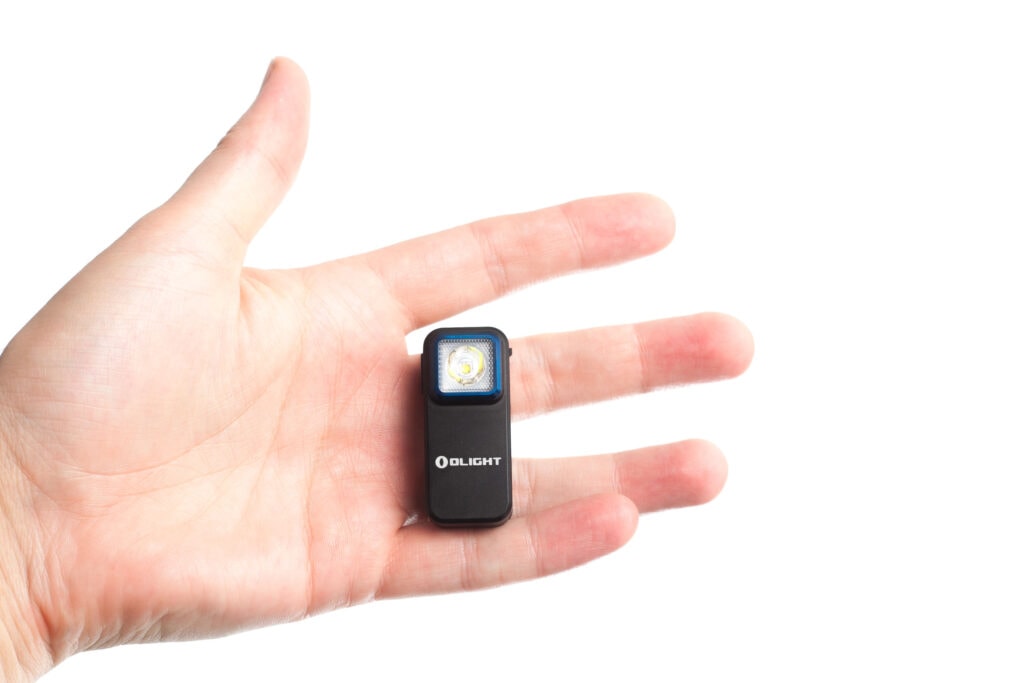
Olight has built so many kinds of lights that it’s hard to keep up at times. This review is about the Olight Oclip light, which is not really a flashlight, but well.. a light that clips onto something.
It’s small, it’s lightweight, it has a clip (which is also magnetic) with 4 main modes, and a red lighting mode, plus a few other hidden modes.
If these features are something you’d be interested in, keep on reading.
Package quality.
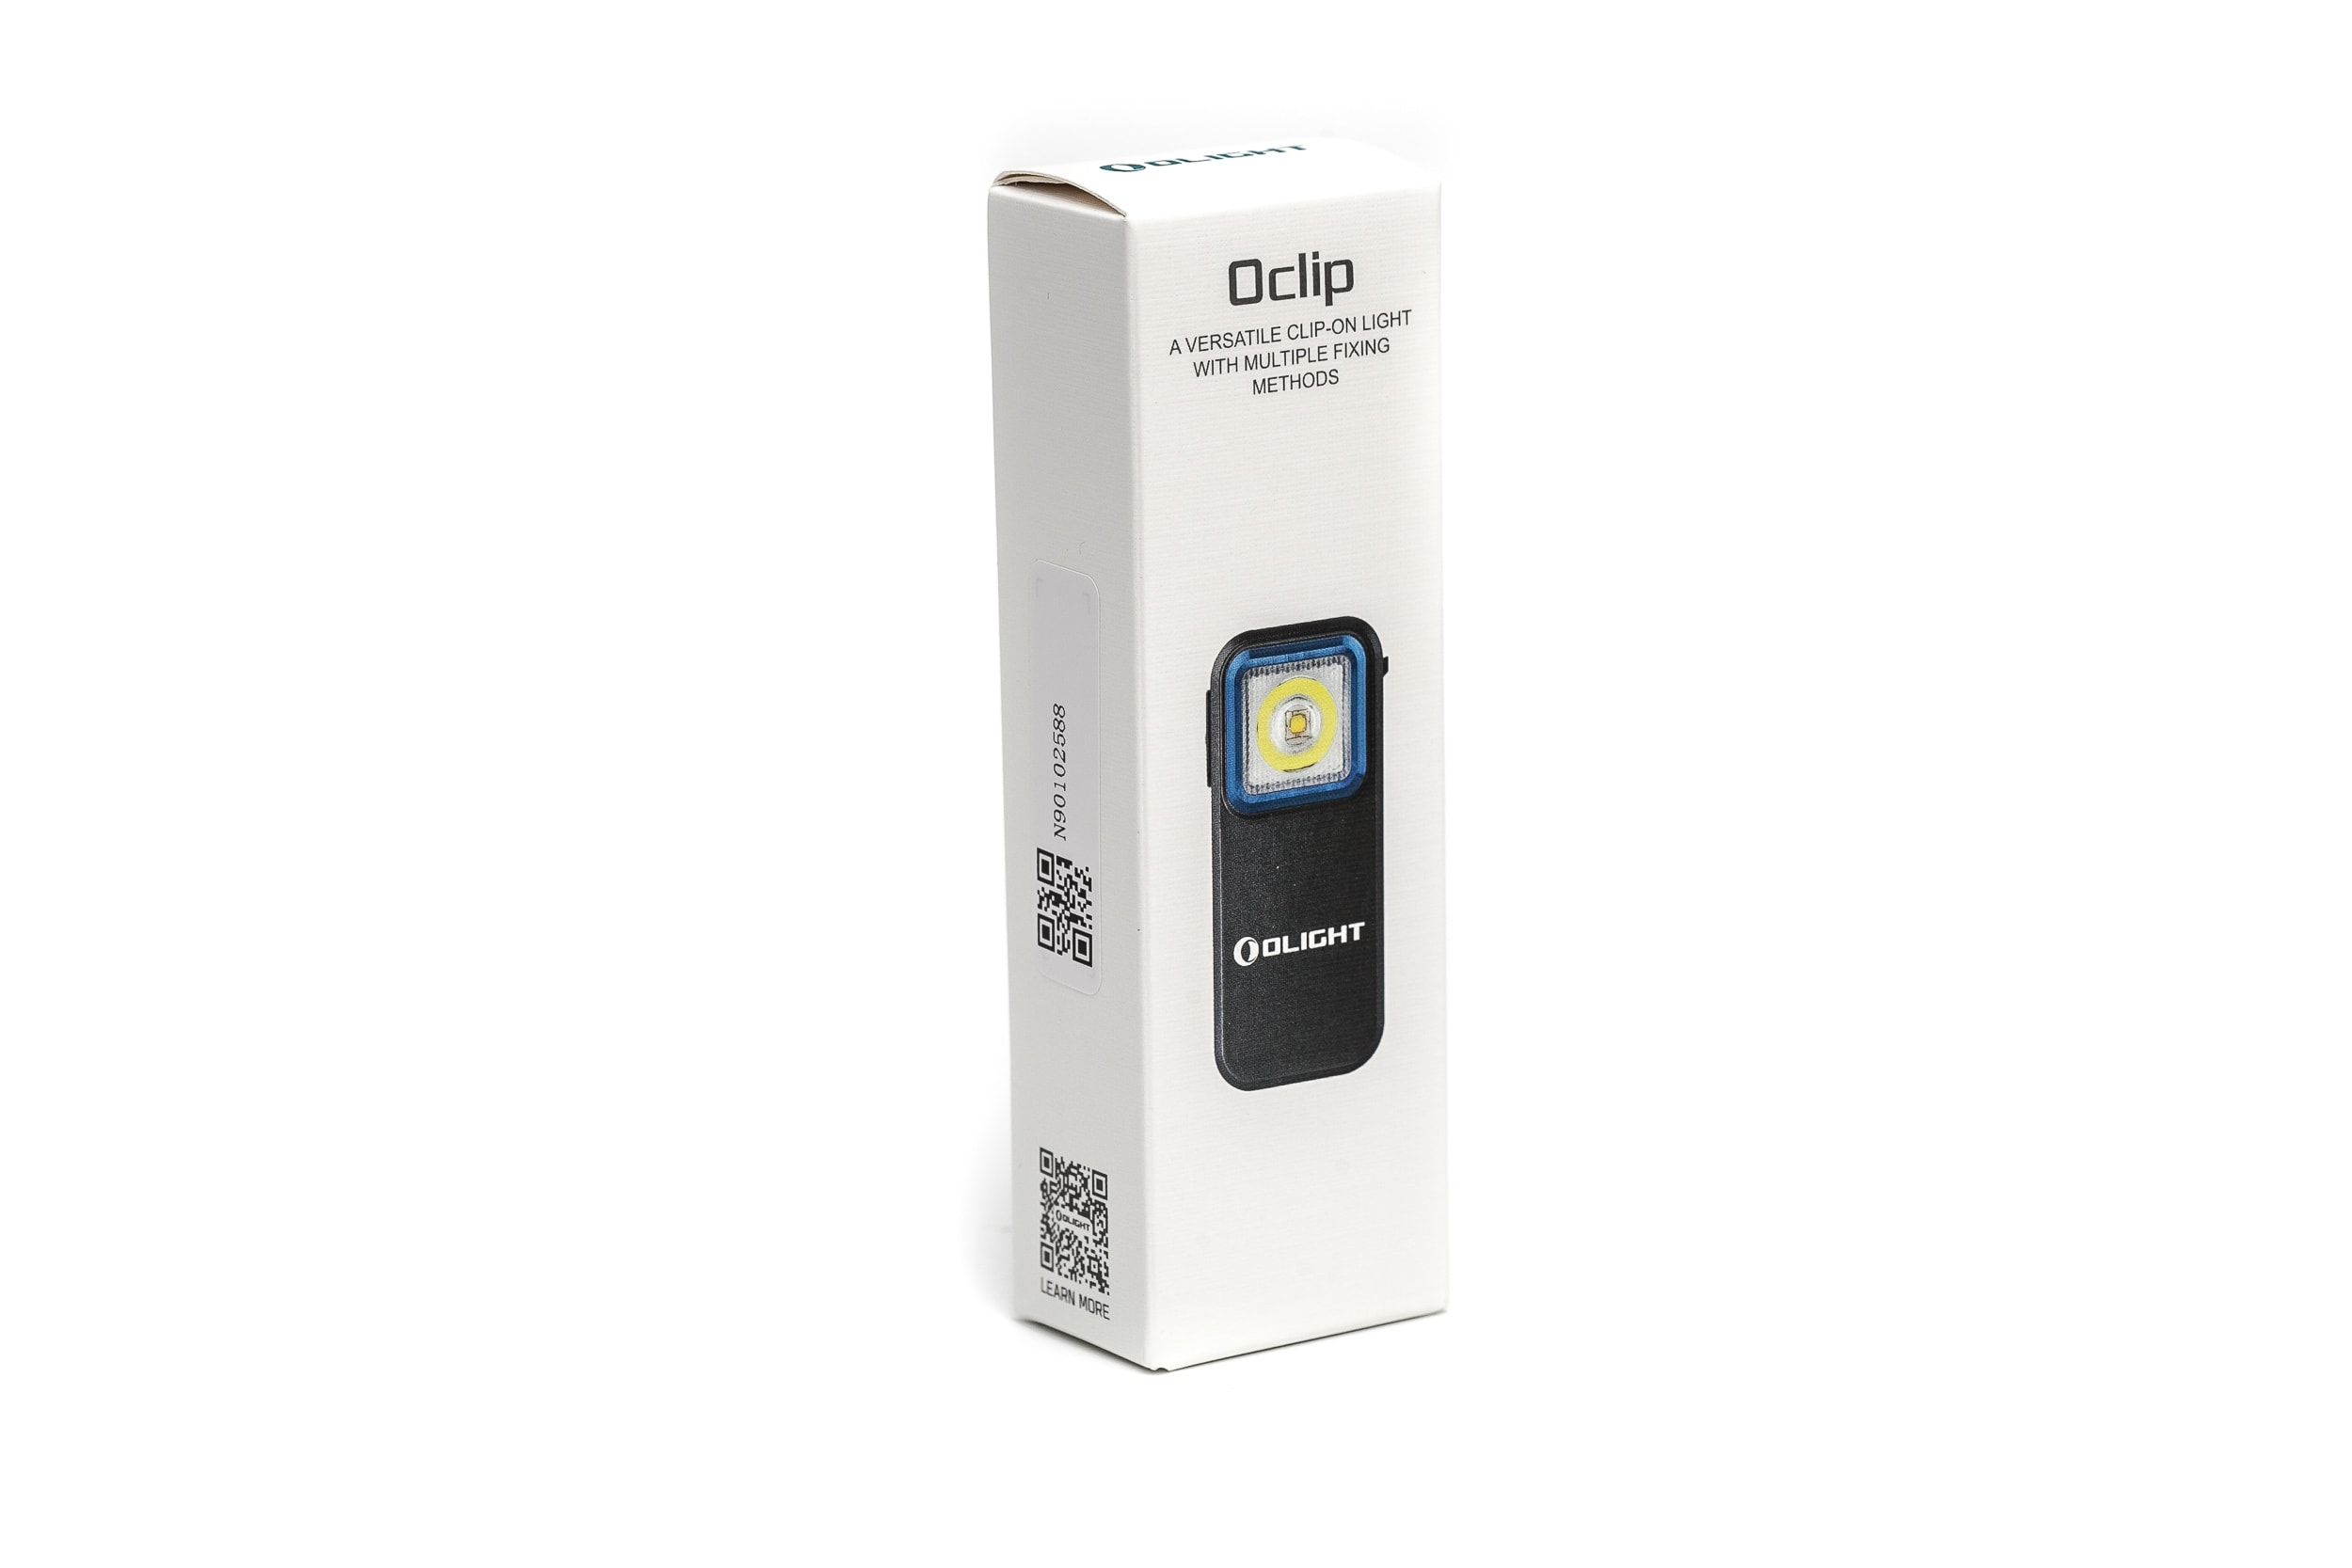
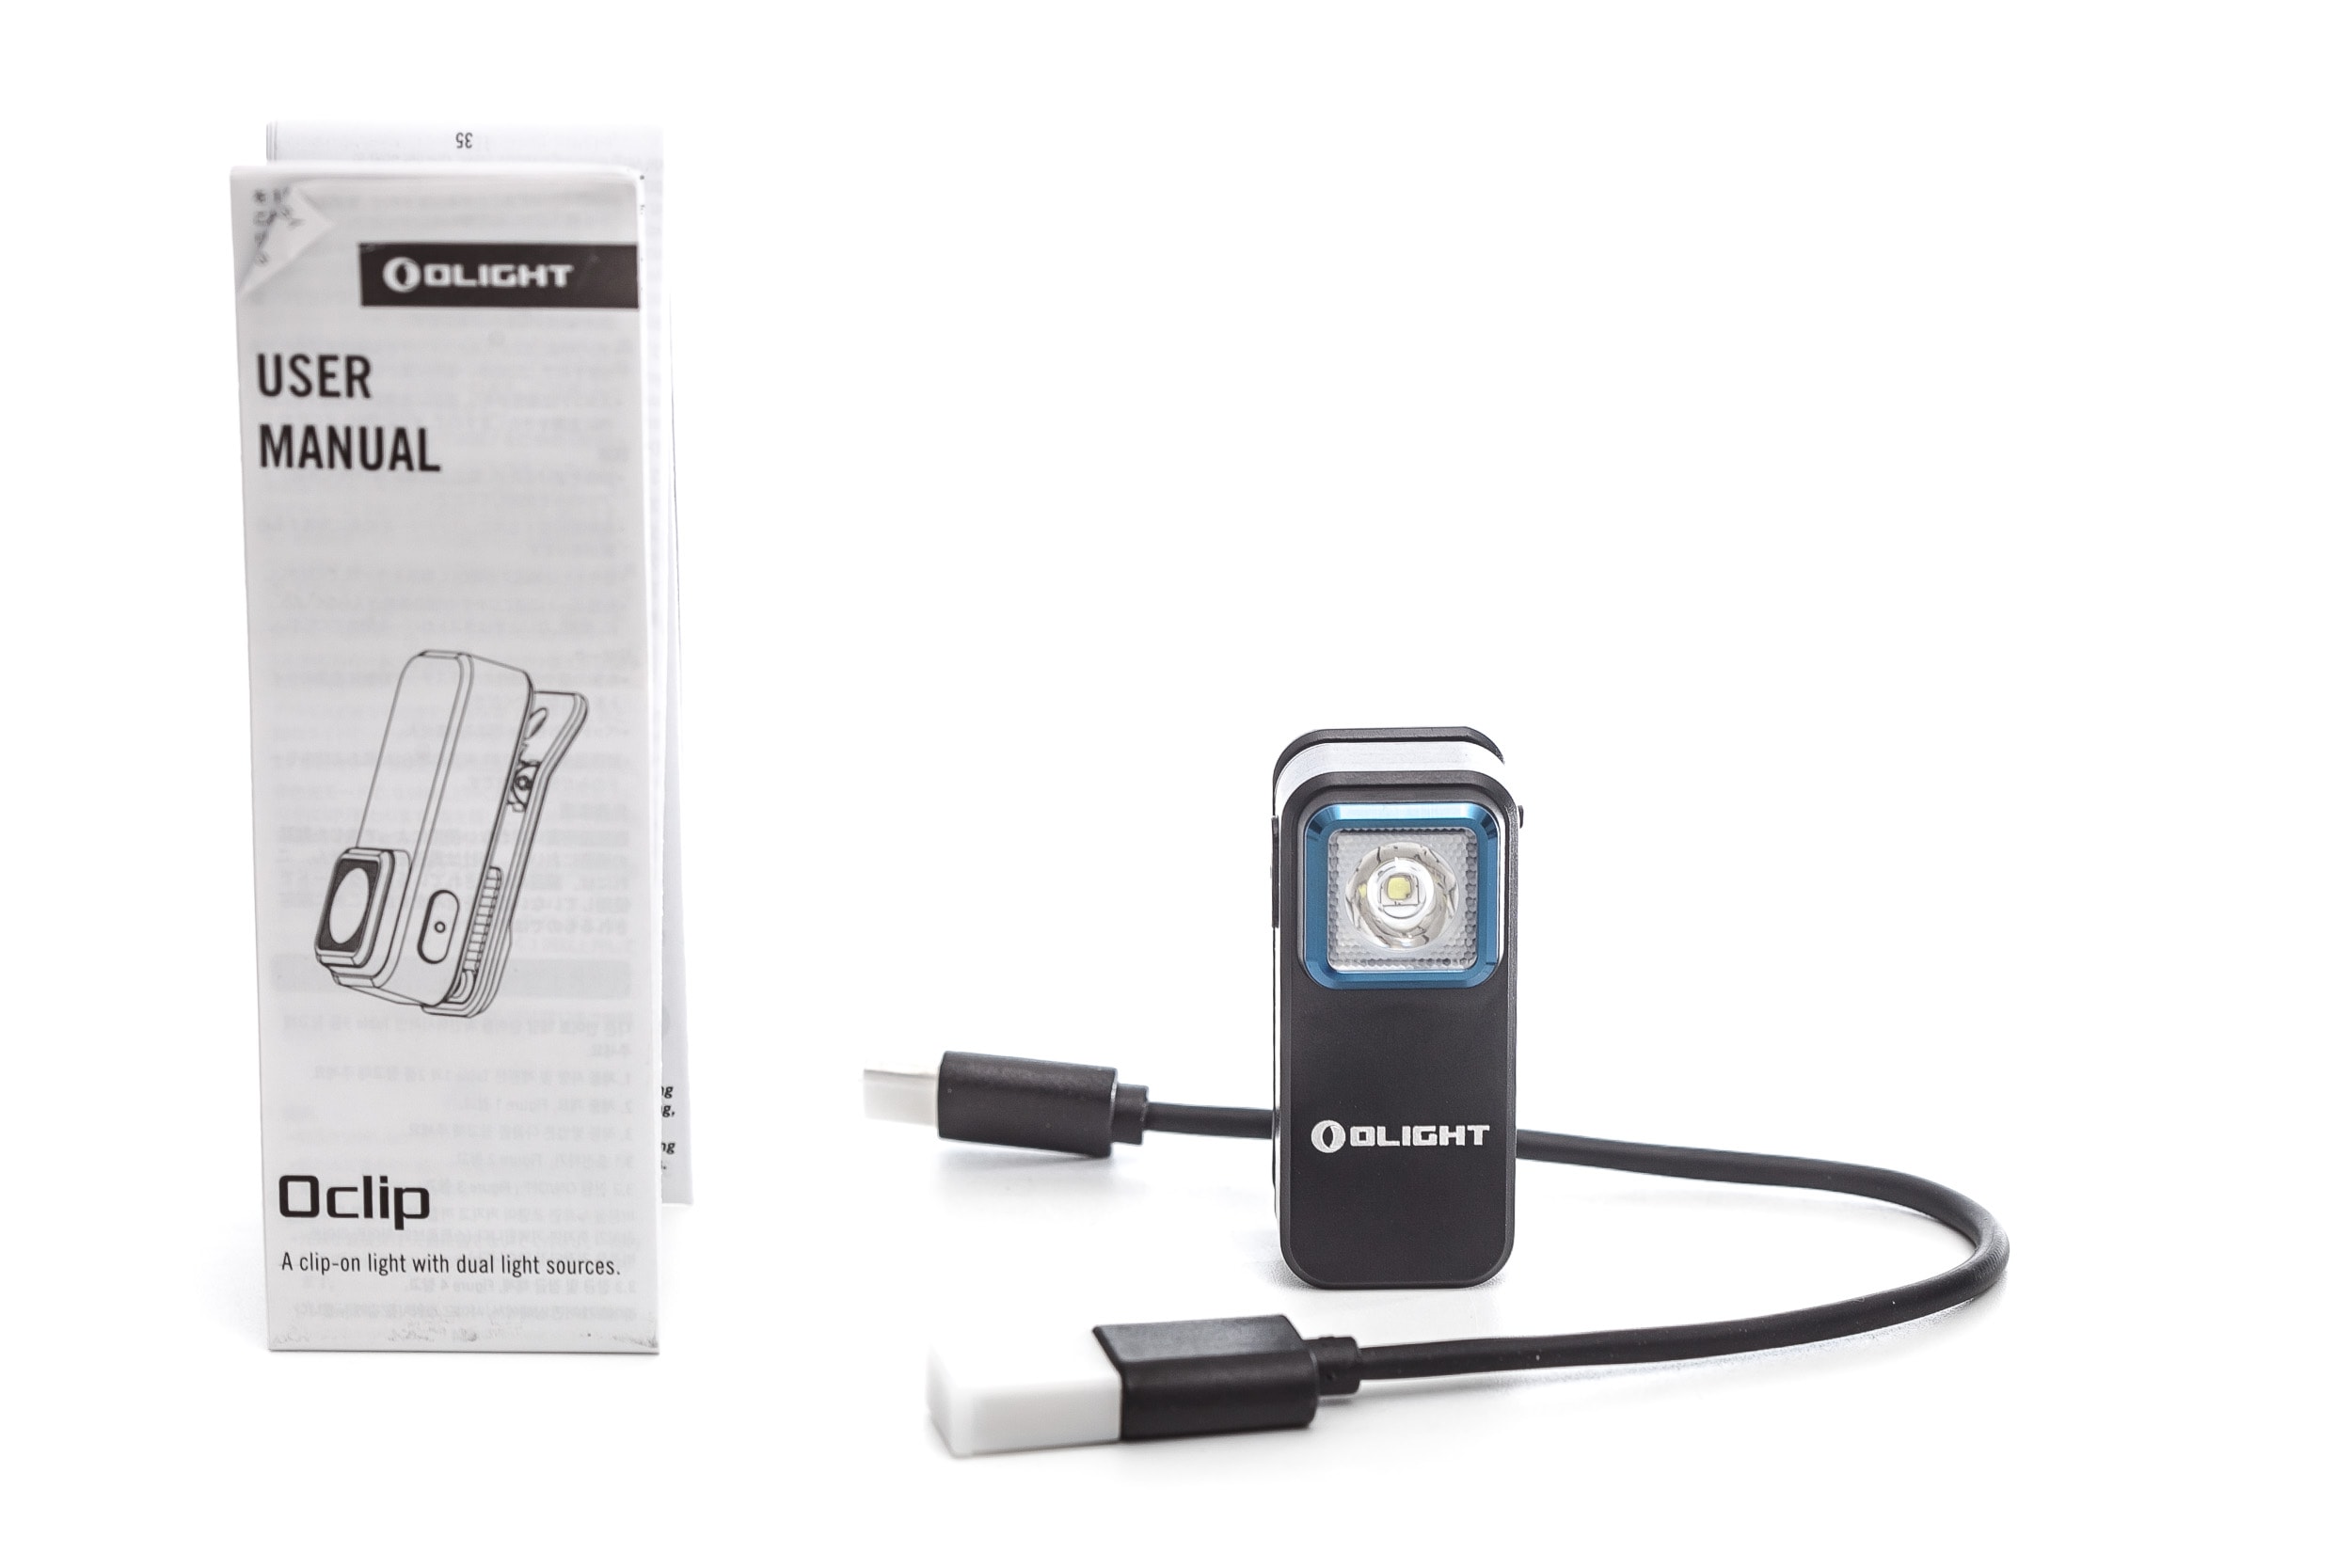
The Oclip comes in a simple, but nice carton board box, similar to the boxes of the cheaper, and smaller Olight flashlights. Inside, you can find the following:
- Olight Oclip flashlight
- USB-C charging cable
- Manual
Flashlight in use
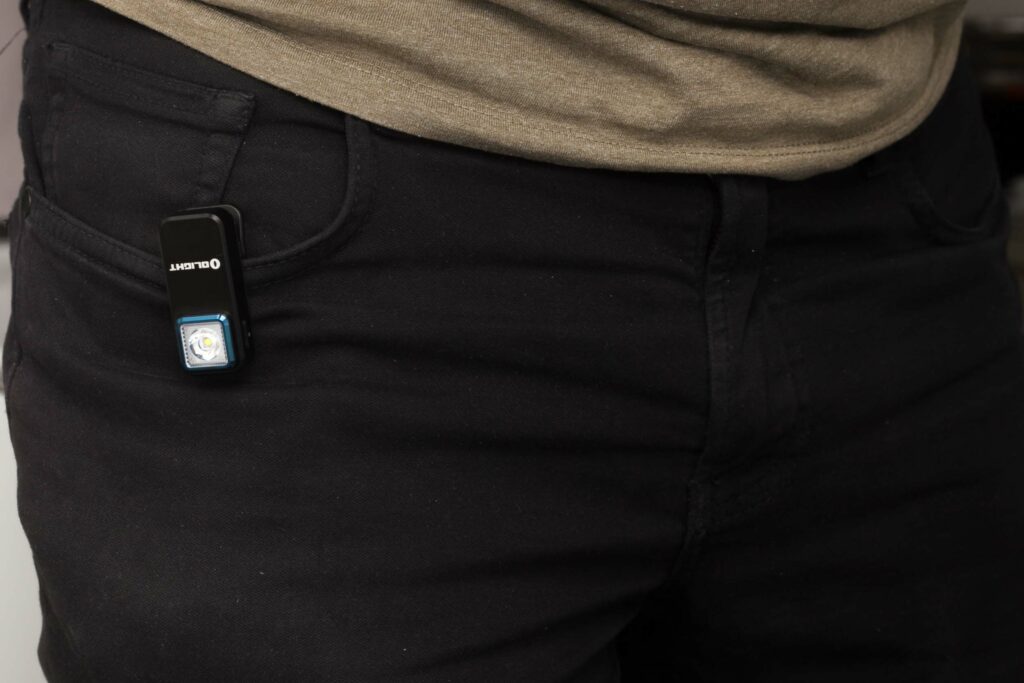
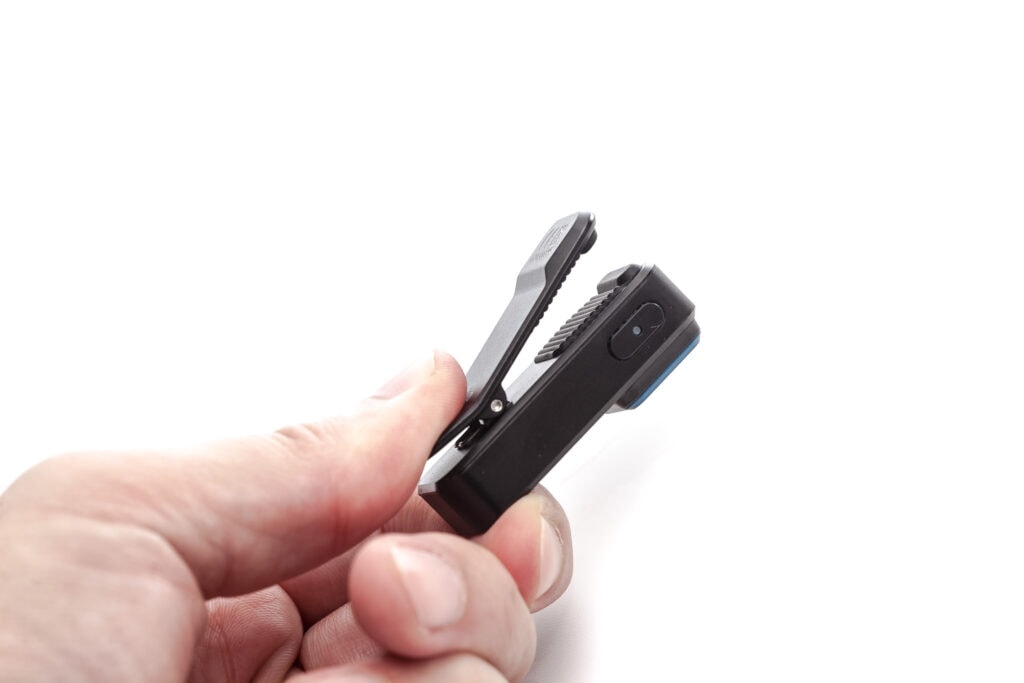
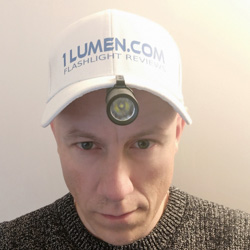
There are several ways to carry the Oclip, but the main one is probably… well.. clipped.
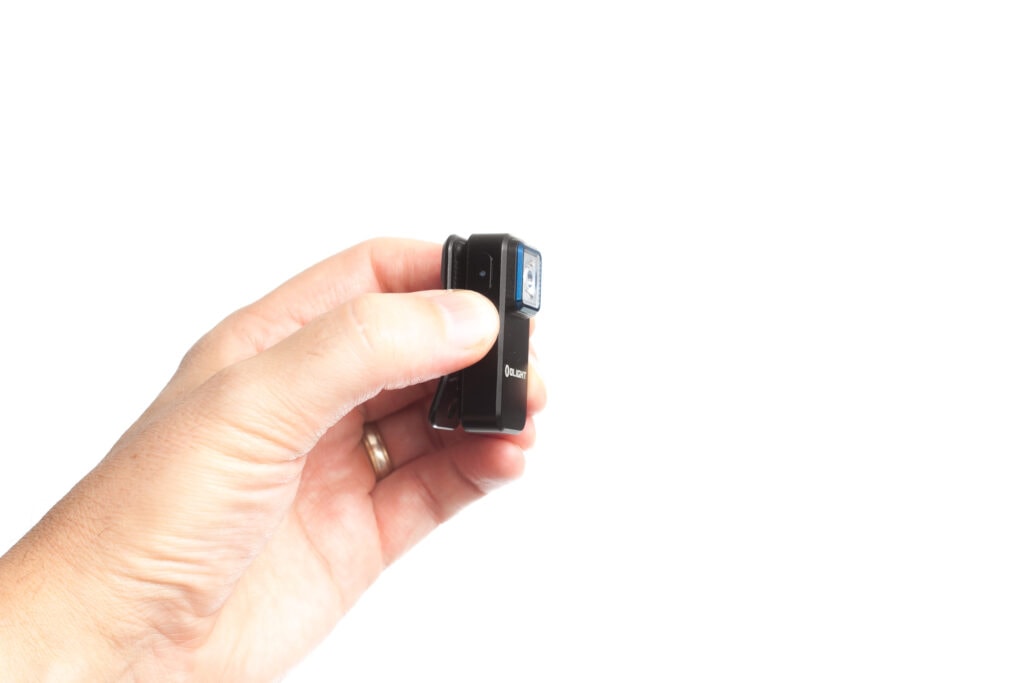
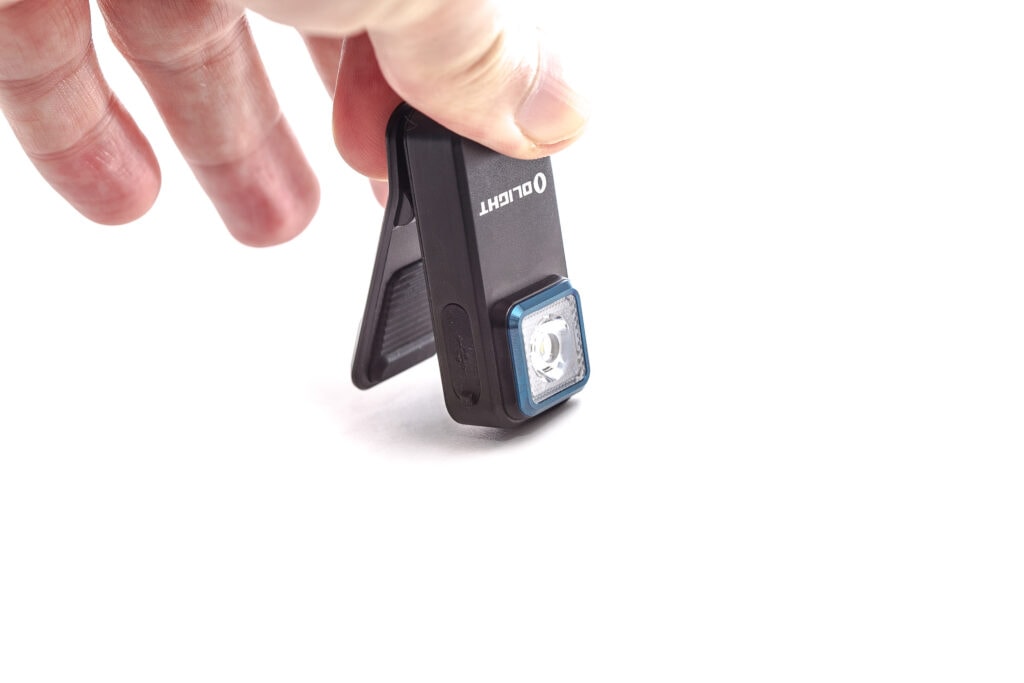
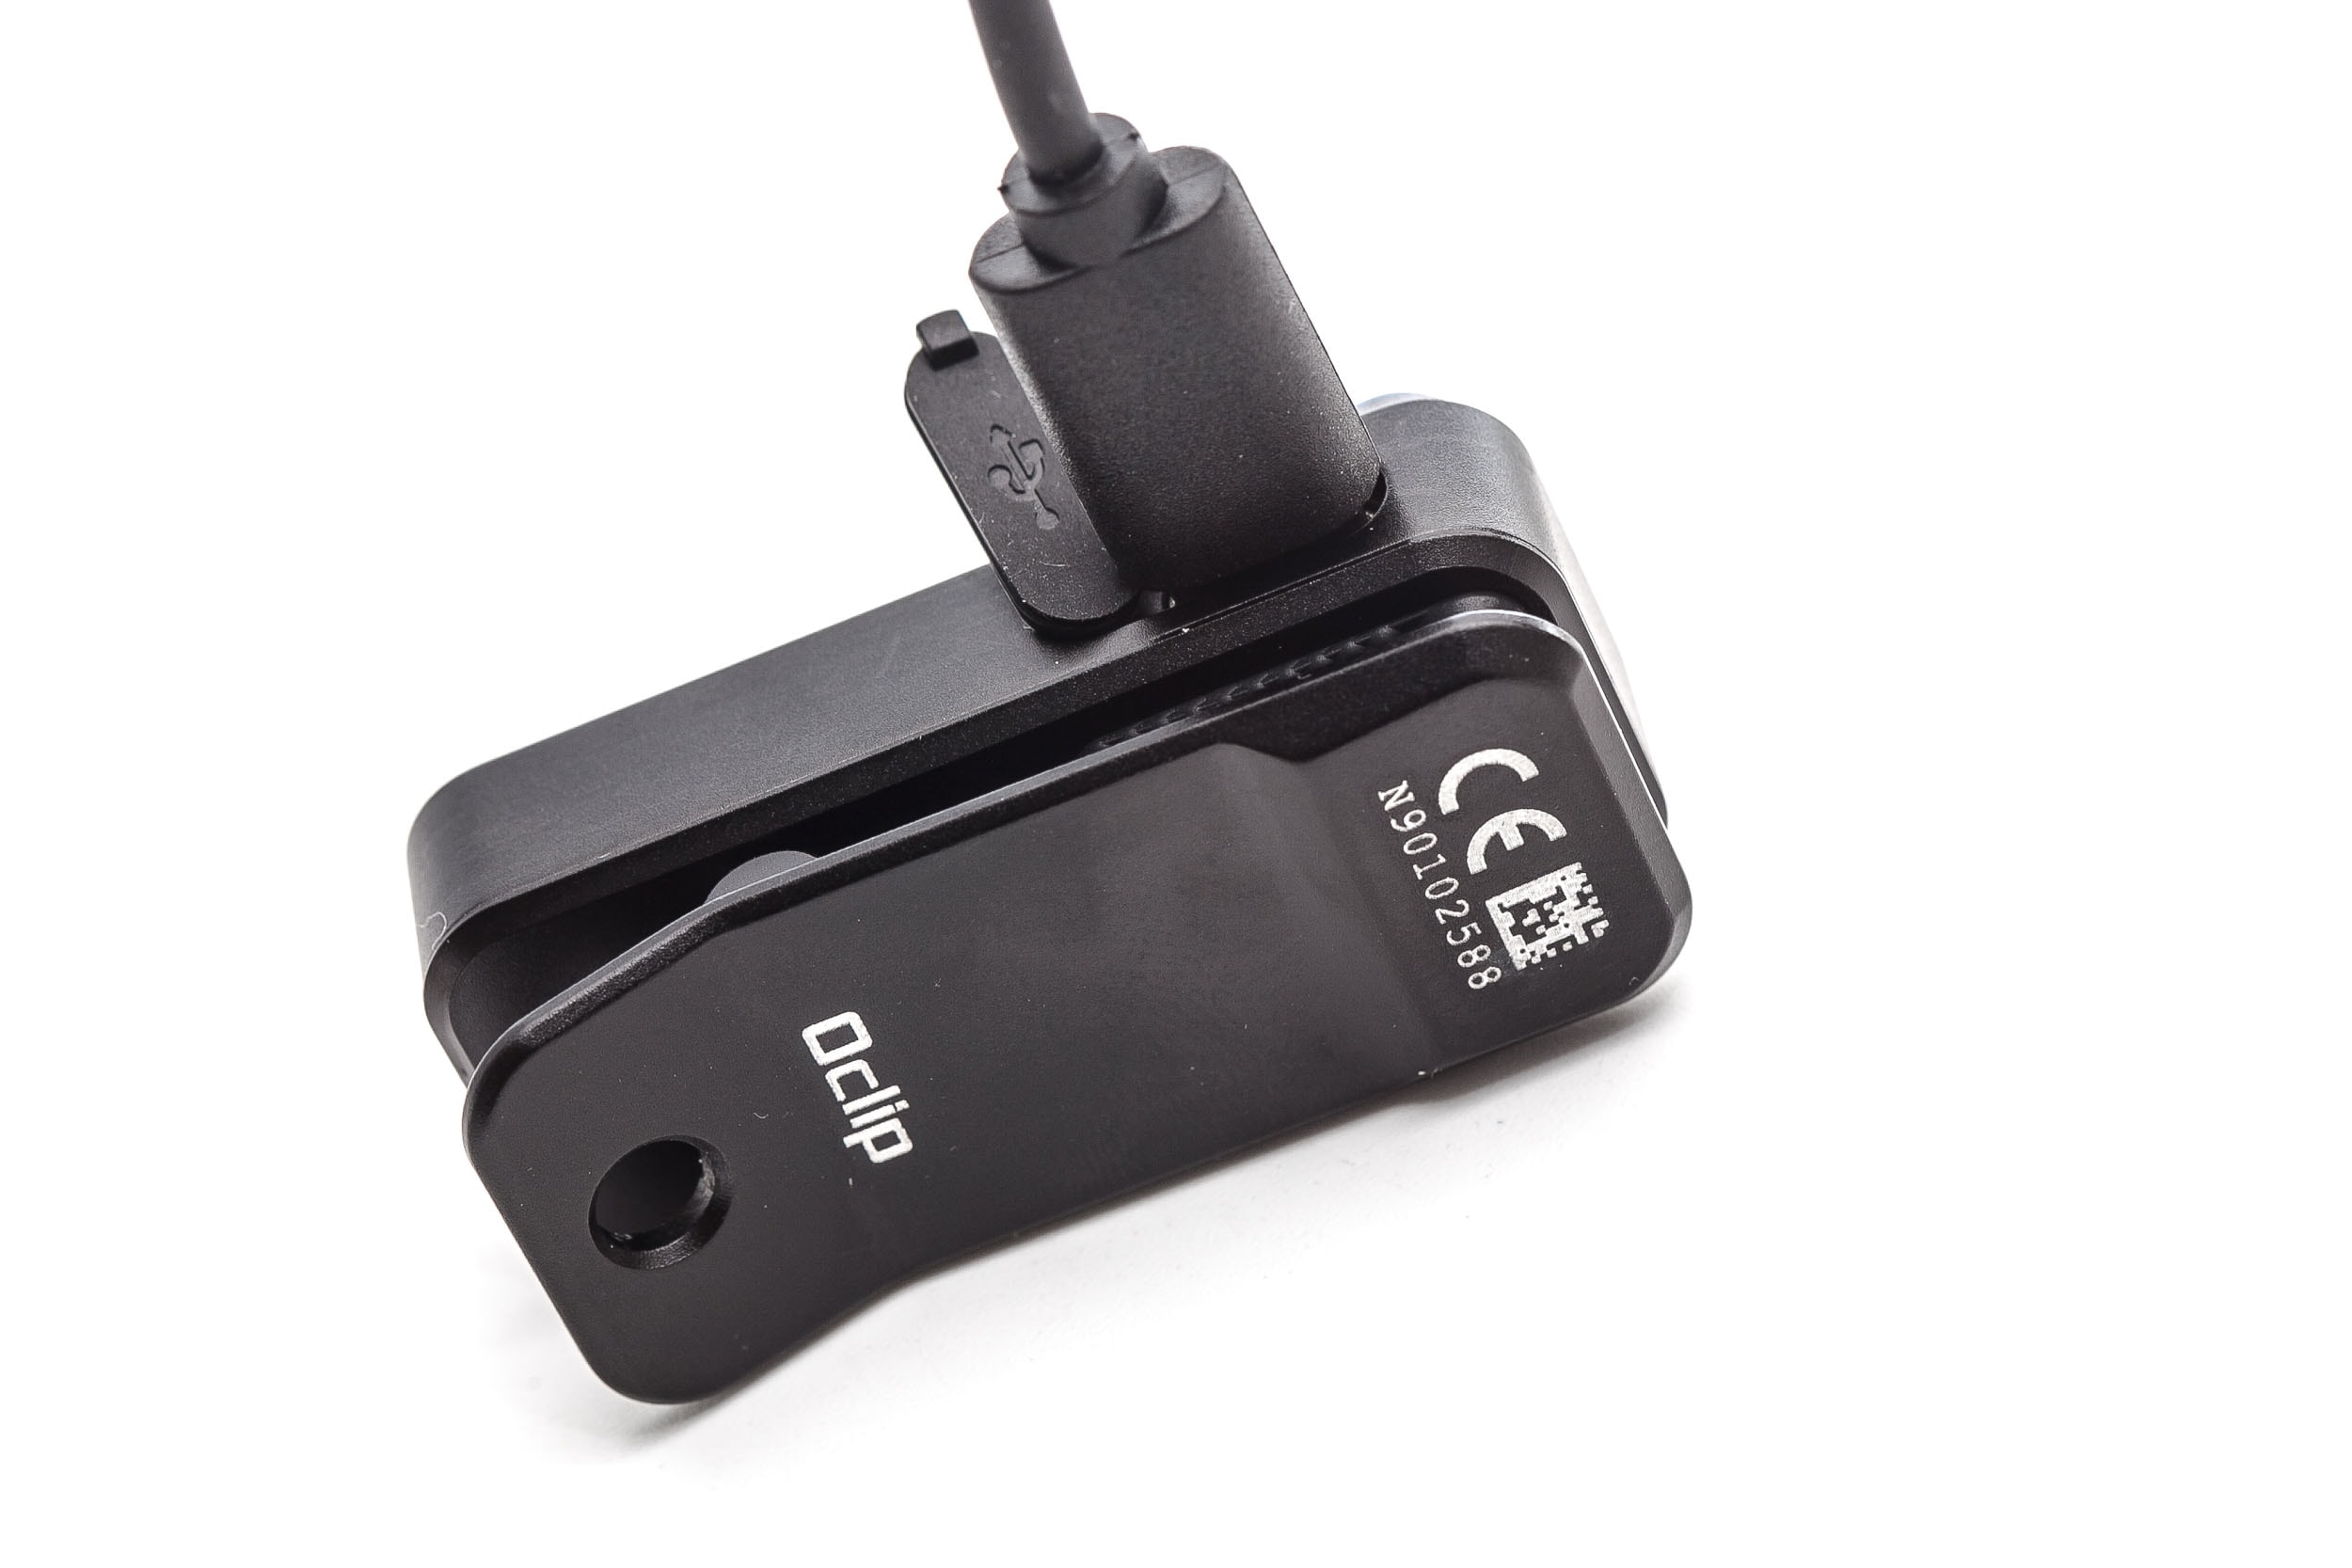
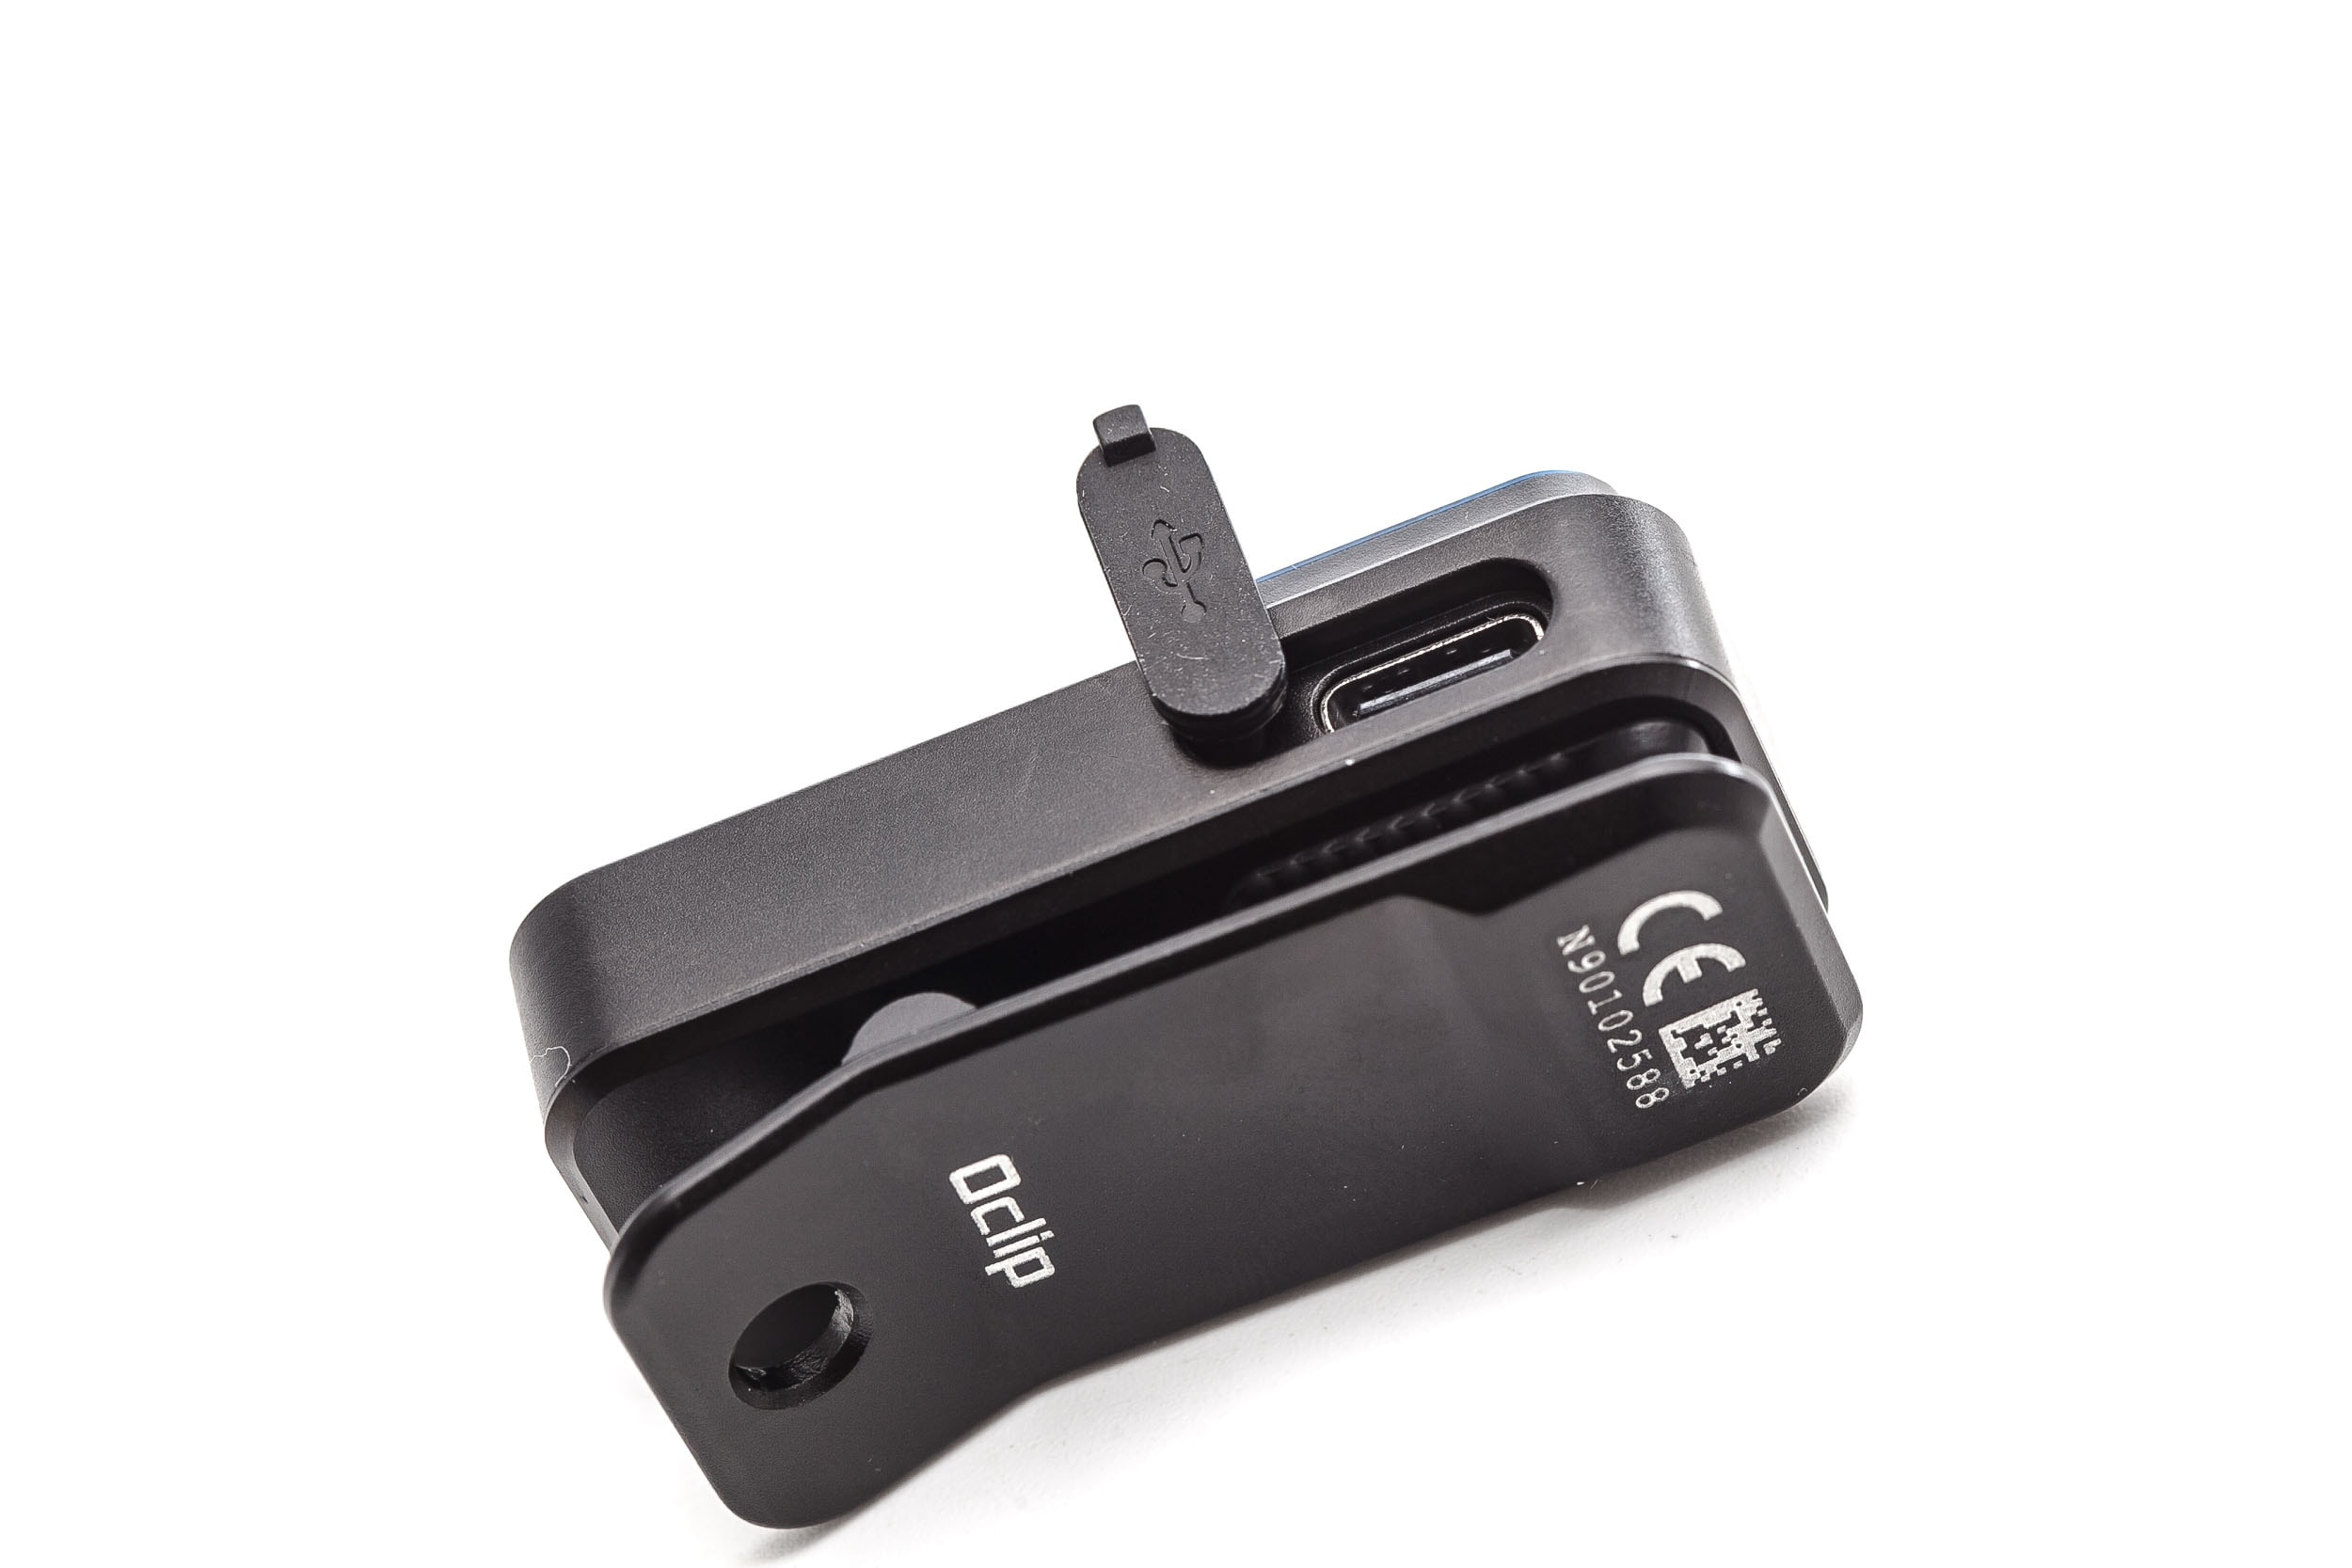
And the maximum thickness it can clip on to something is 14mm, or 1.4cm. This means that you can clip it to so many things, not limited to just a pocket, a bill of a cap, or a belt. And what’s also nice, is the rubber pads on the clip and on the flashlight itself. This reduces the likelihood to damaging the thing you clip it to. So in case you are wearing something expensive, the Oclip will not damage it.
At the end of the clip (where the clip touches the flashlight), there is a small magnet built-in, so you can also attach it to a metal object. So, that is the second way to carry it.
The third, and probably the last way to carry it, is on a lanyard or on a split ring. At the other end of the clip (the place you press), there is a little hole to attach your lanyard or keyring to.
So, this is not just a clip-on light, for clipping onto something, lol.
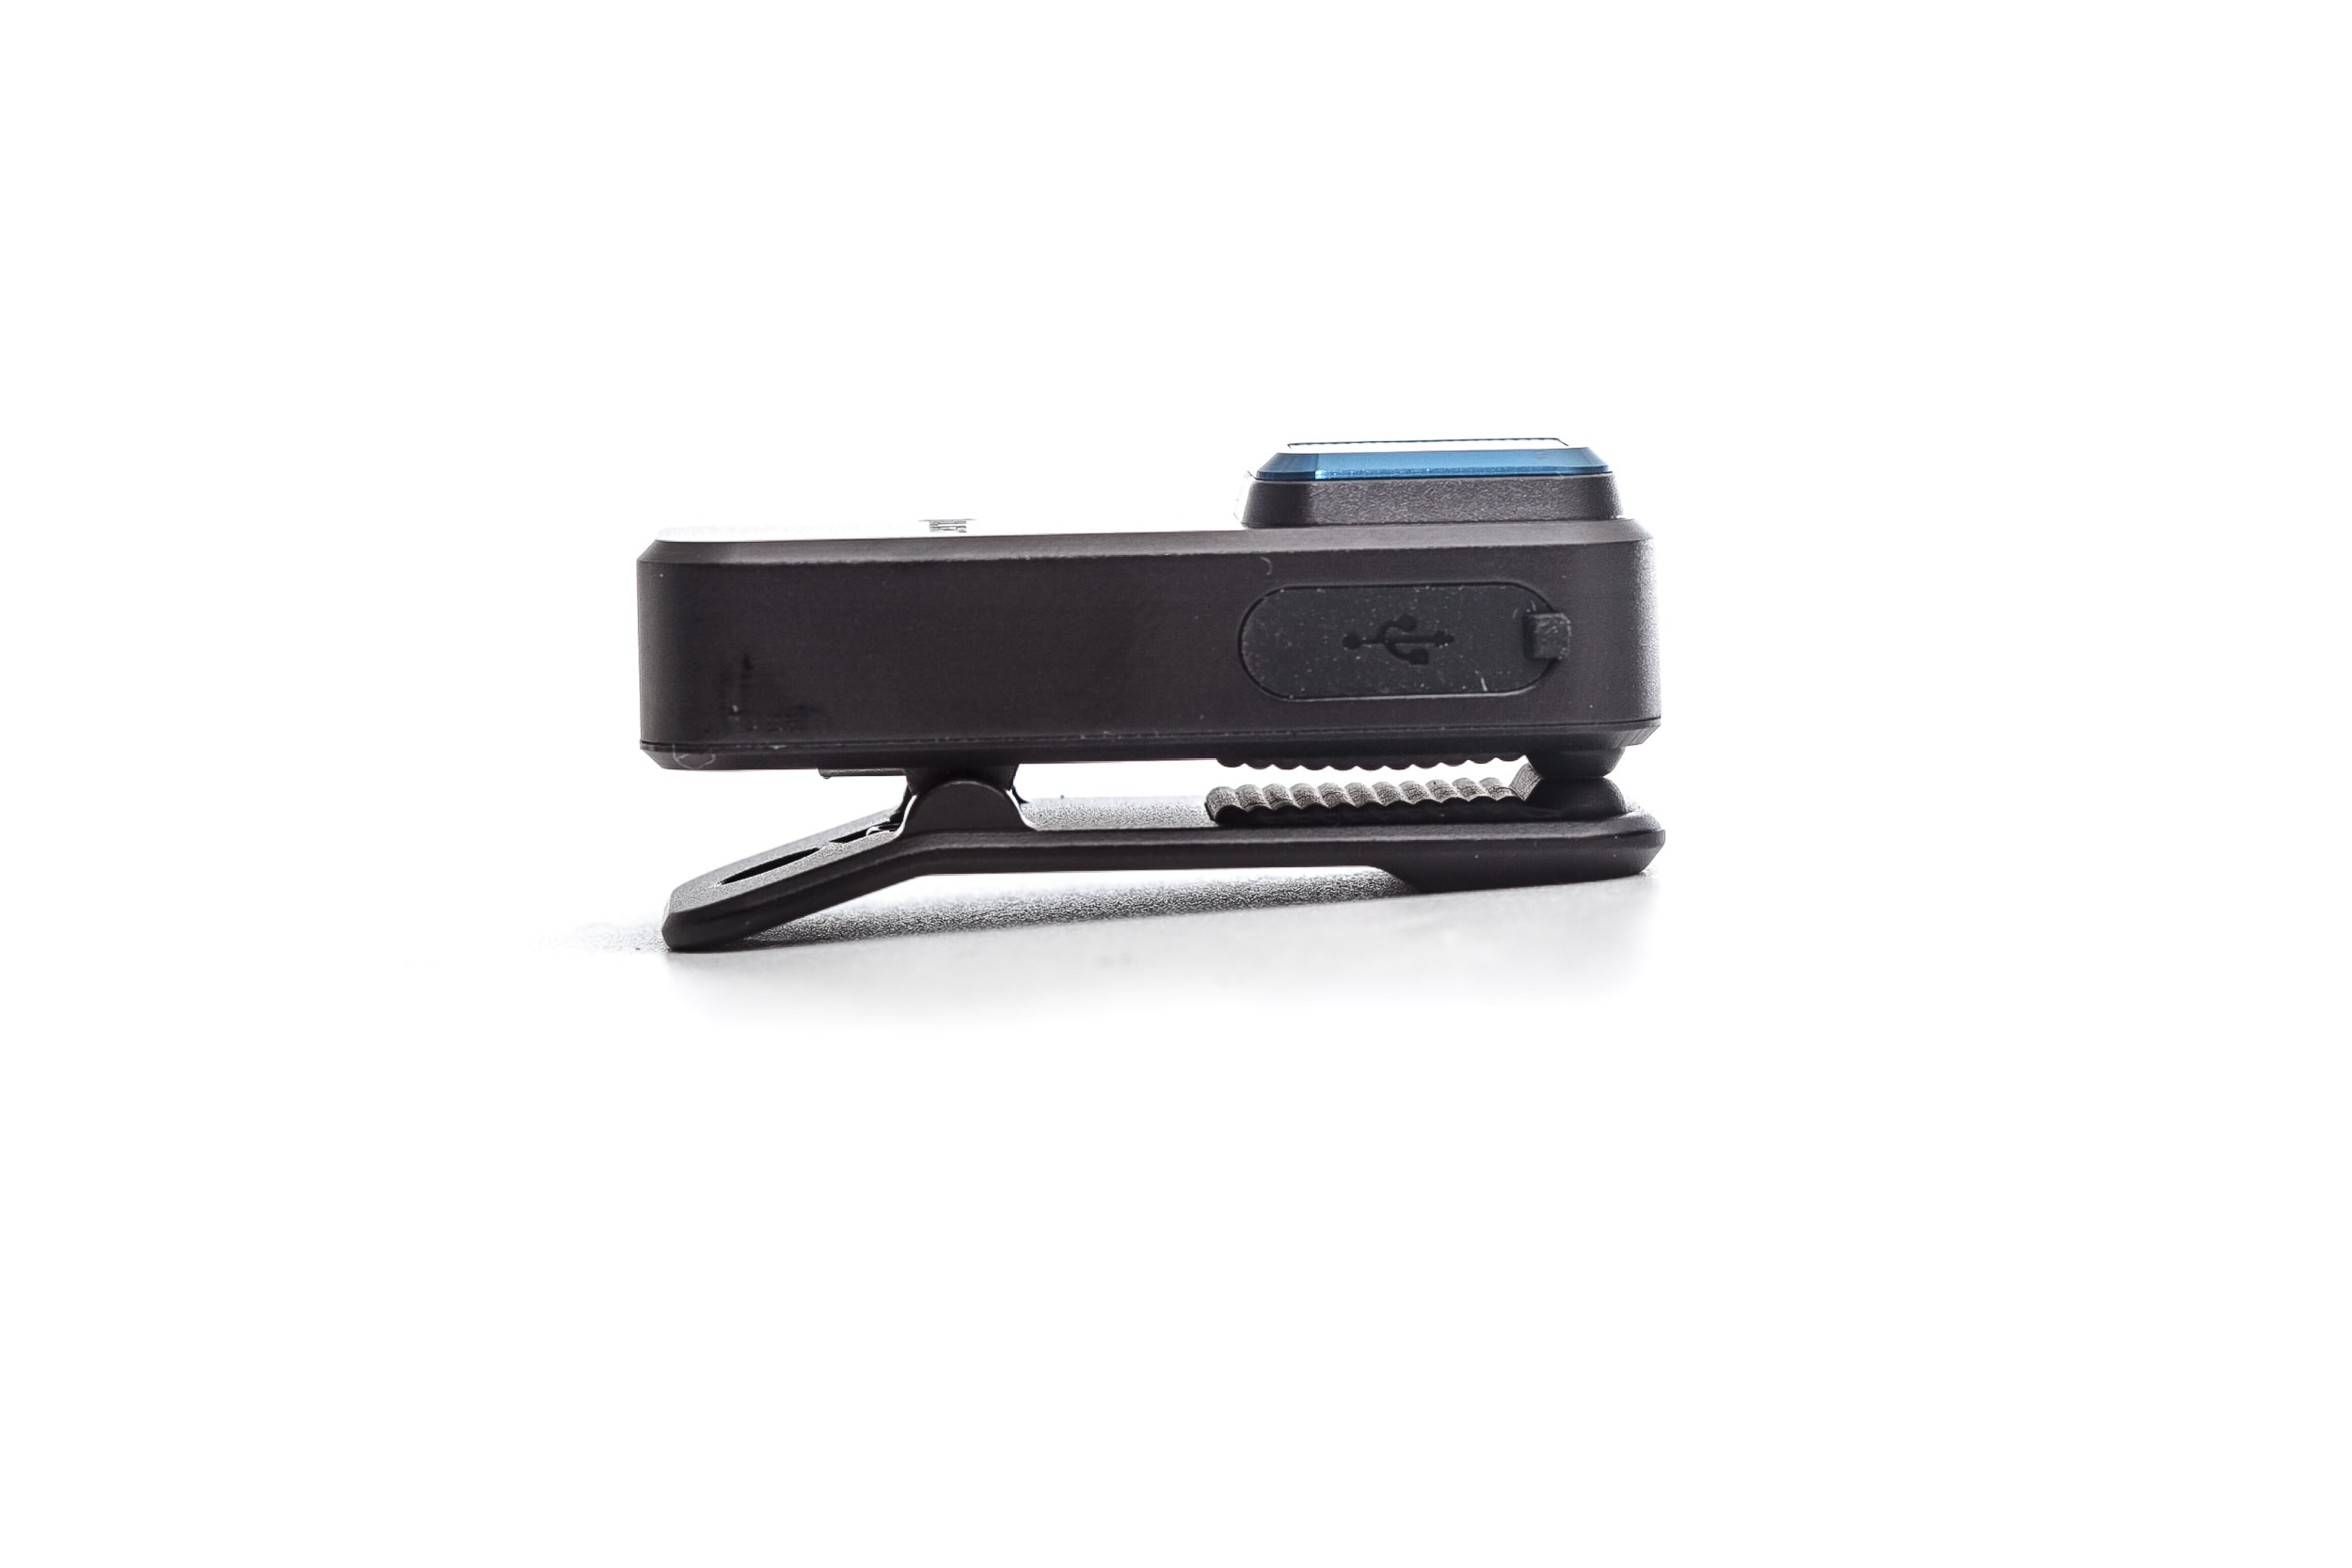
There is a tiny switch located on one side of the Oclip, and a USB-C charging port on the other. The swich is very small, with a rubber boot, and has a distinct click and feel to it.
So, what are the main applications for carrying this light?
I guess that depends on the person, but I can easily the usefulness of it. It’s great to clip onto your backpack while hiking, or using it on your back to have a red light on the rear while biking. The beacon mode can be perfect for a night hike, and to use as a locator. But the light is also bright enough to keep in the car, on your keys, or as a backup flashlight. It’s probably not a light I would recommend to use as your main flashlight, though.
Build Quality, and Warranty
Nothing on the Oclip can be removed, except for the USB-C port cover. But there is nothing on it, that would make it look cheap. It feels pretty robust for such a small light, and all edges are smooth and chamfered.
There are no sharp edges, or things to hurt yourself.
Also, the anodization is done very well, and at the moment the only color available is black. But I do expect this to change and Olight adding several other colors, and perhaps a different emitter even in the future.
Warranty according to the manual:
If you purchased an Olight® product from Australia, China, France, Germany or the USA after January 1st, 2023, the local service centers in these countries will honor your LIFETIME WARRANTY for your purchase. If your Olight® product (including its structure, built-in battery, LED, or lens) ever experiences any issues, we promise to take care of it. If we are unable to repair your product, we will promptly replace it with a product in perfect working condition, which will be of equal or better physical condition. If your purchase is a limited or discontinued edition of Olight® product, we will repair or replace it with another Olight® product of the same or higher value.
LED, Lens, Bezel, Beam, and Reflector
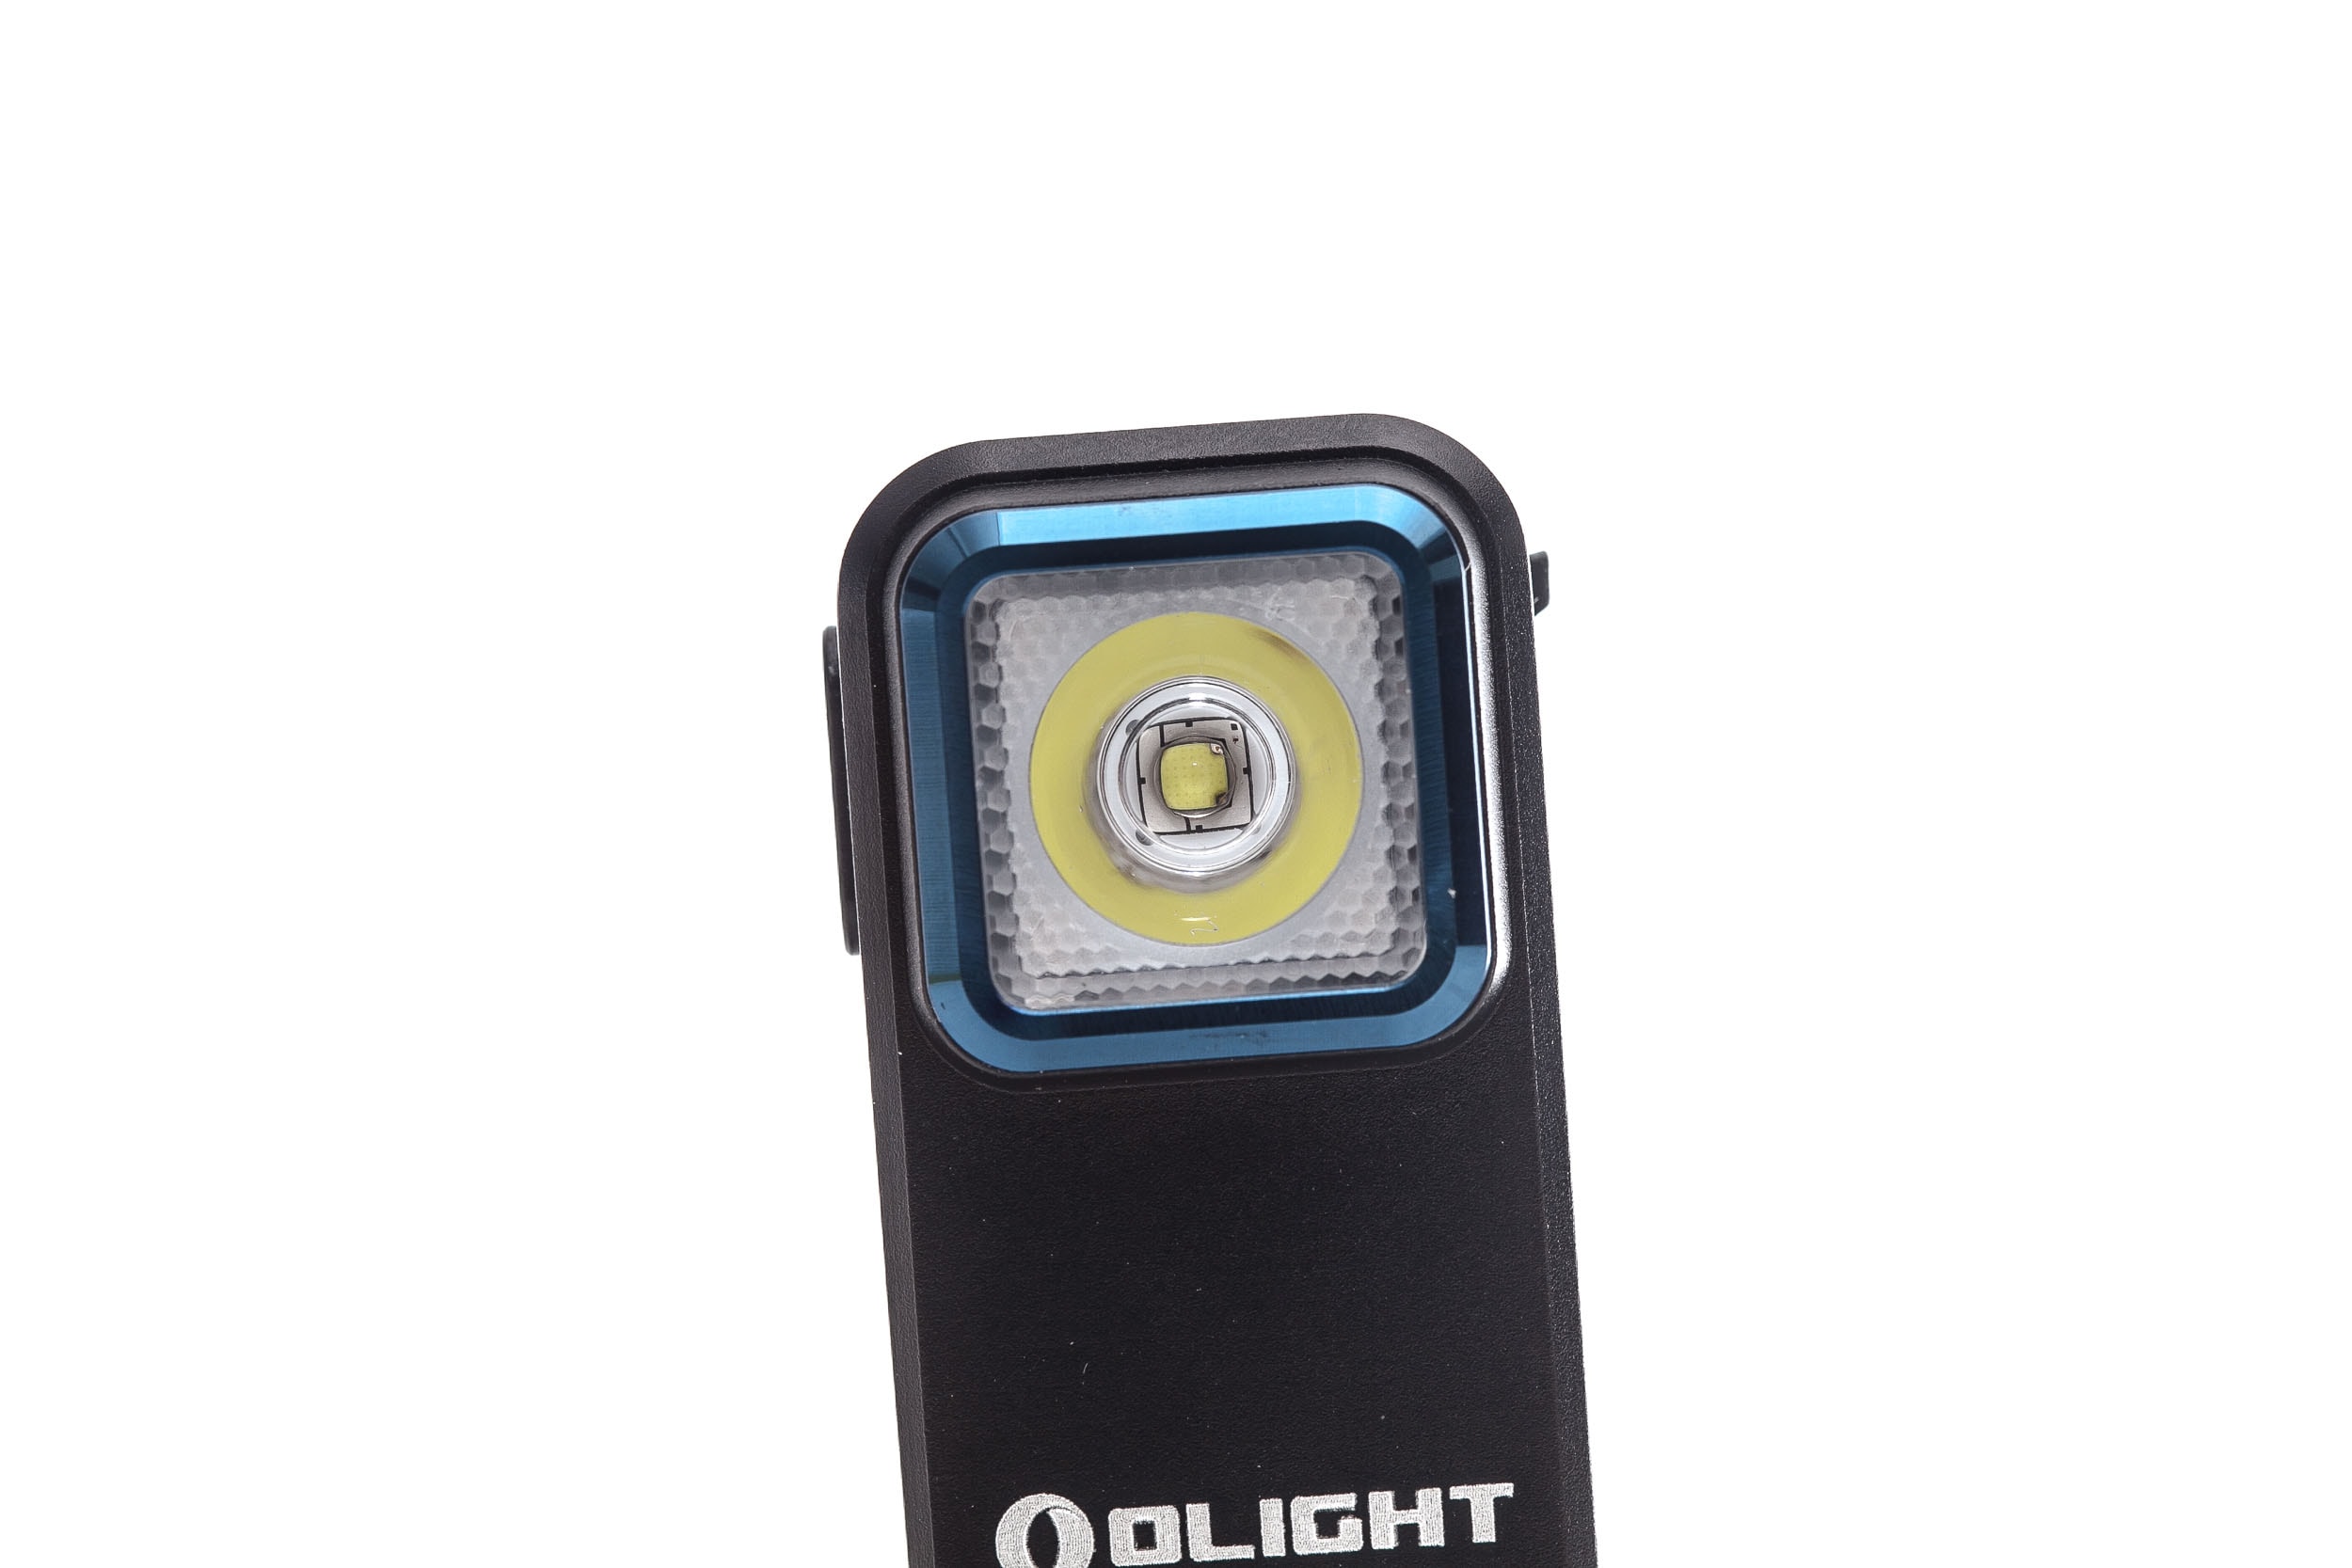
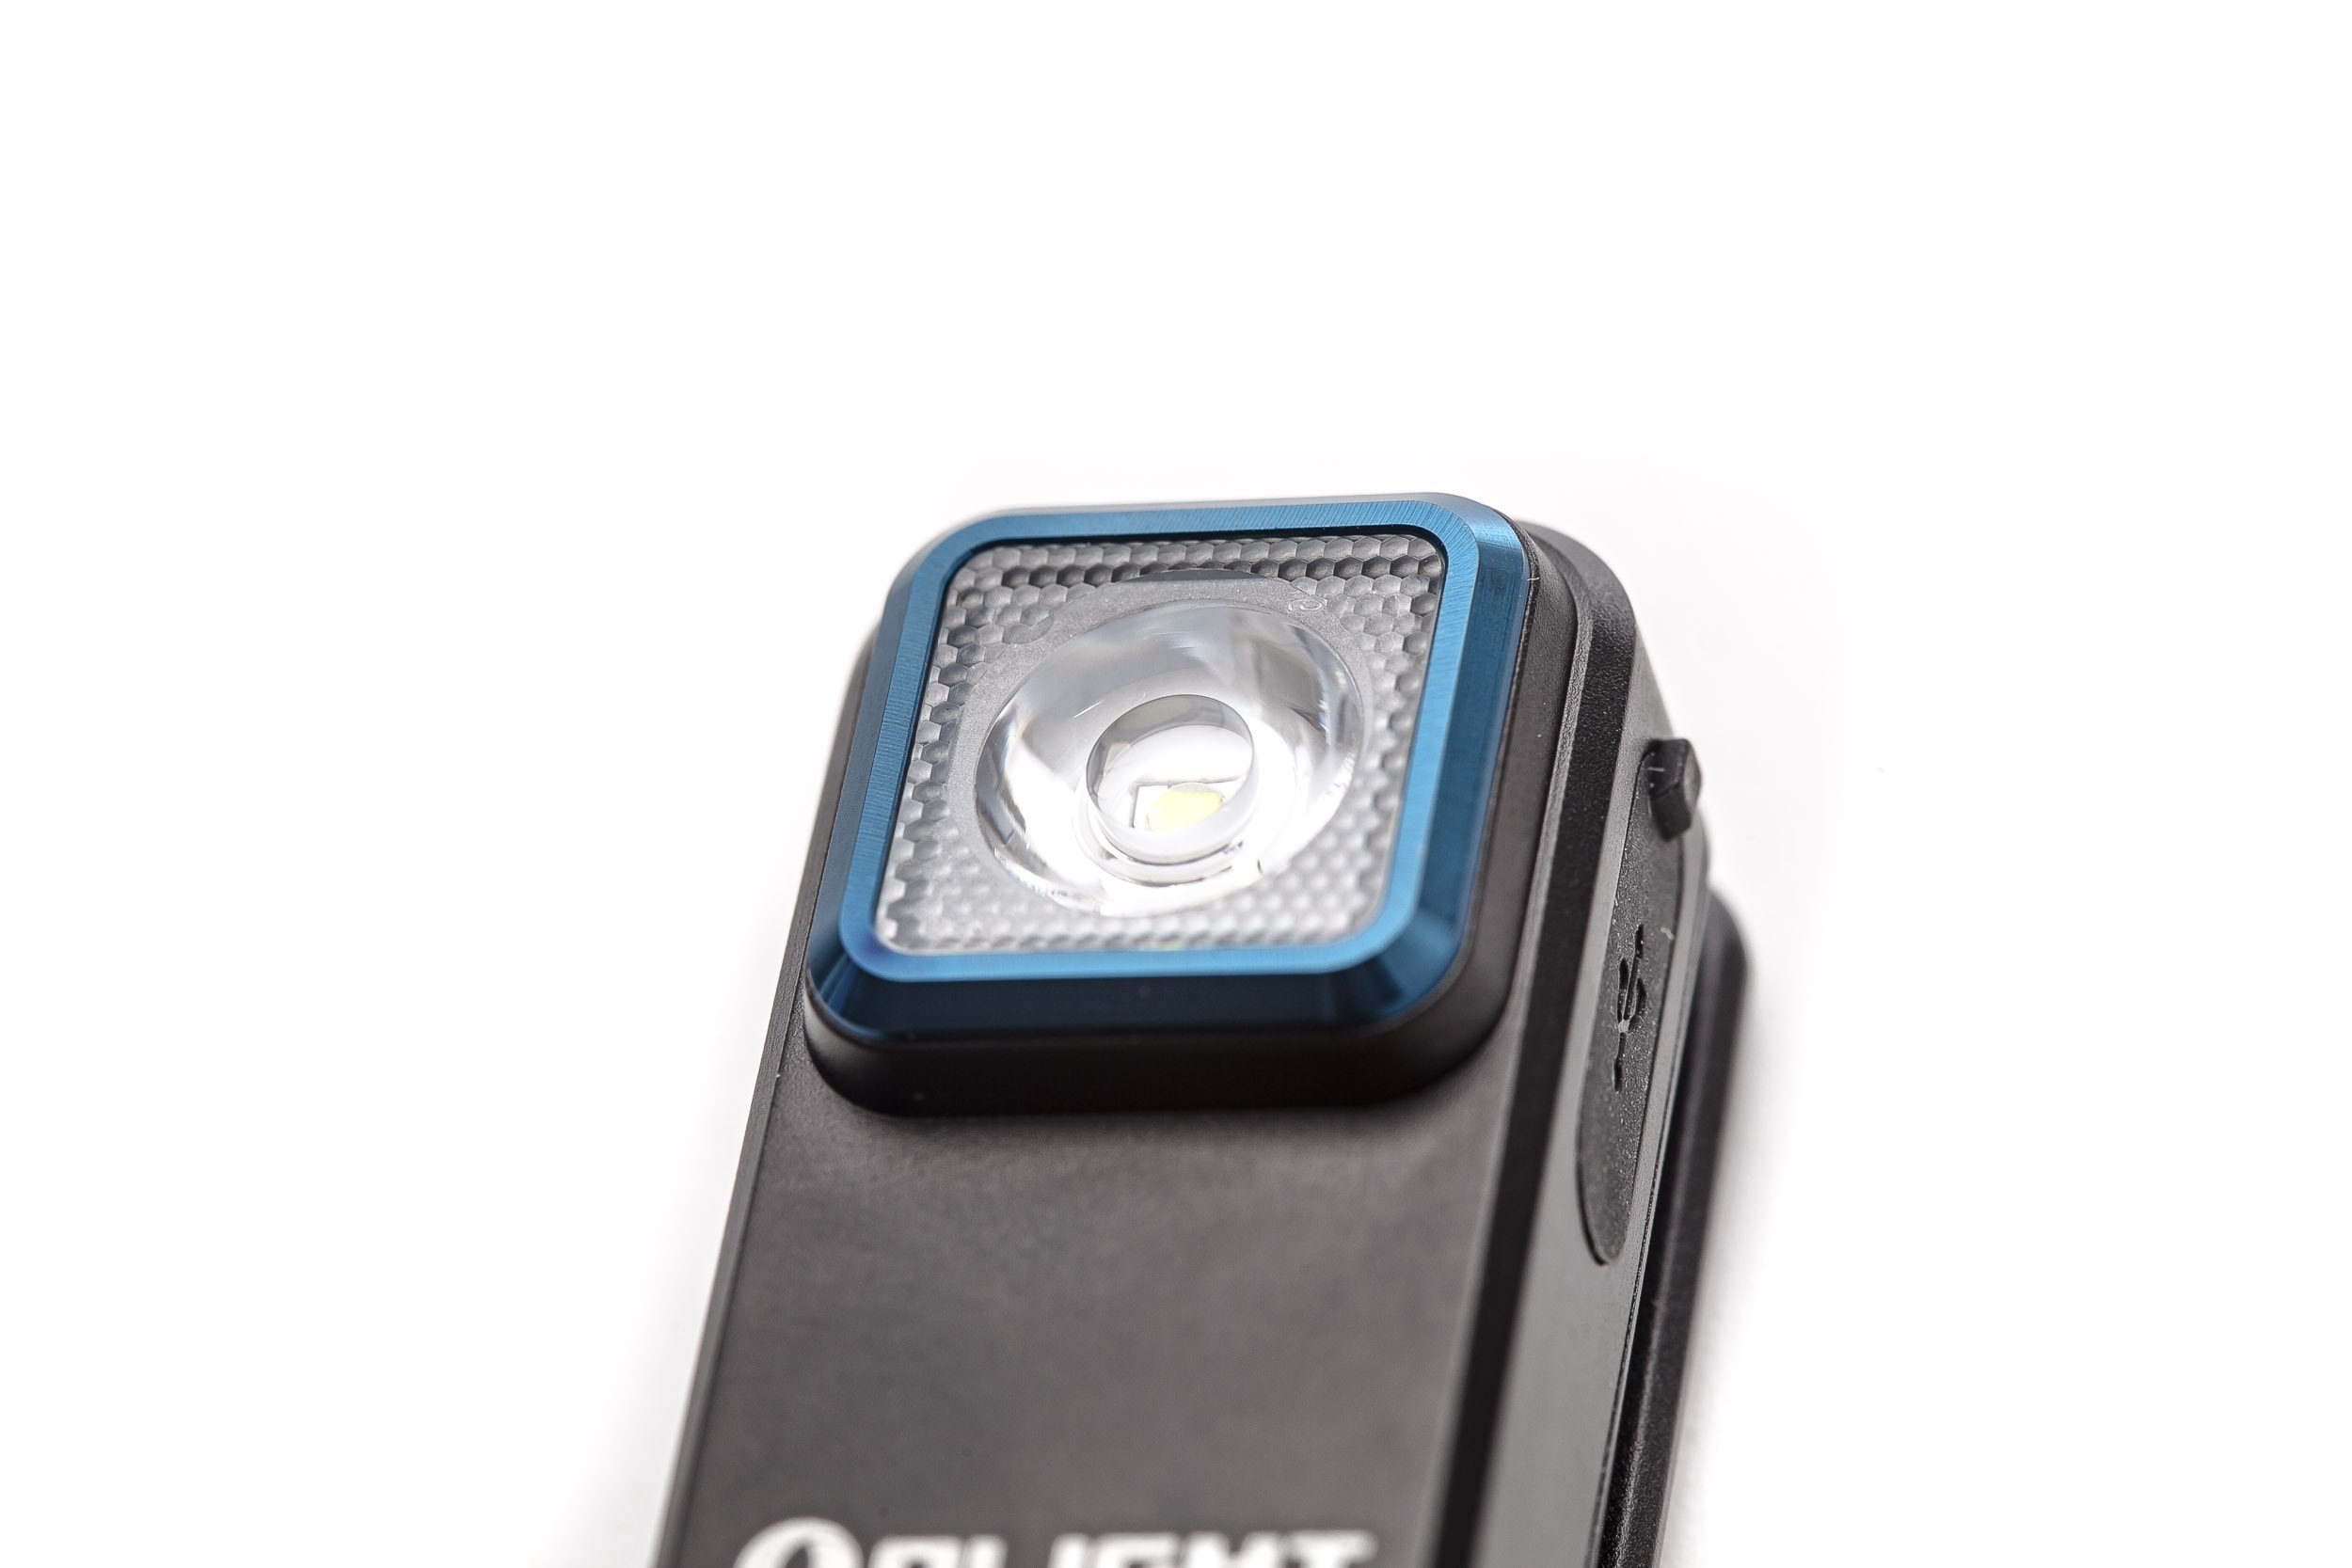
Although Olight doesn’t tell the exact make and model of a specific LED used in its lights, they now do share more information.
For the Olight Oclip, they share the following: CCT 5700-6500K, and CRI 70. At least, that tells us right off the bat, that it’s a cool white LED, with a standard CRI. In the flashlight world we call this Low CRI, but it’s just standard CRI for LEDs.
The beam itself does look a bit greenish, and when I look inside the optic, I can see a familar looking LED, and it’s likely a Luminus SST20.
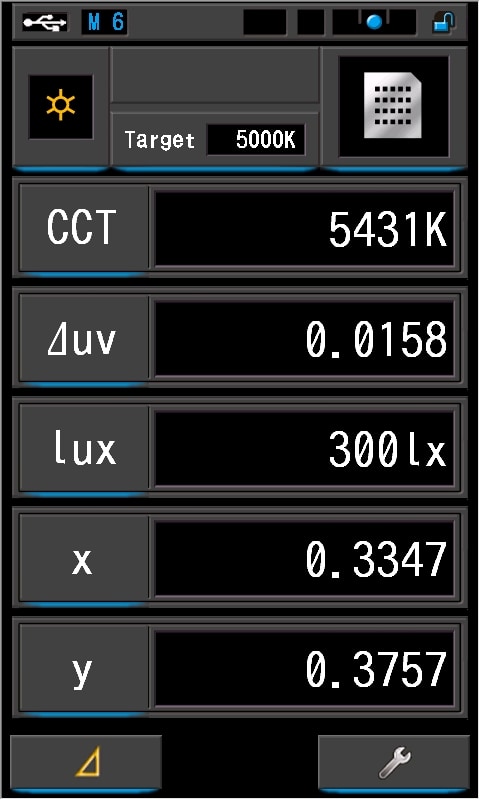
So, instead of guessing the beam temperature, tint, and duv, we will just go ahead and measure it with a Sekonic C800 Spectromaster.
The following measurements were taken at about 1.5-2meters distance from the flashlight.
- CCT: 5431K
- Ra (CRI): 65.7
- duv: 0.0158
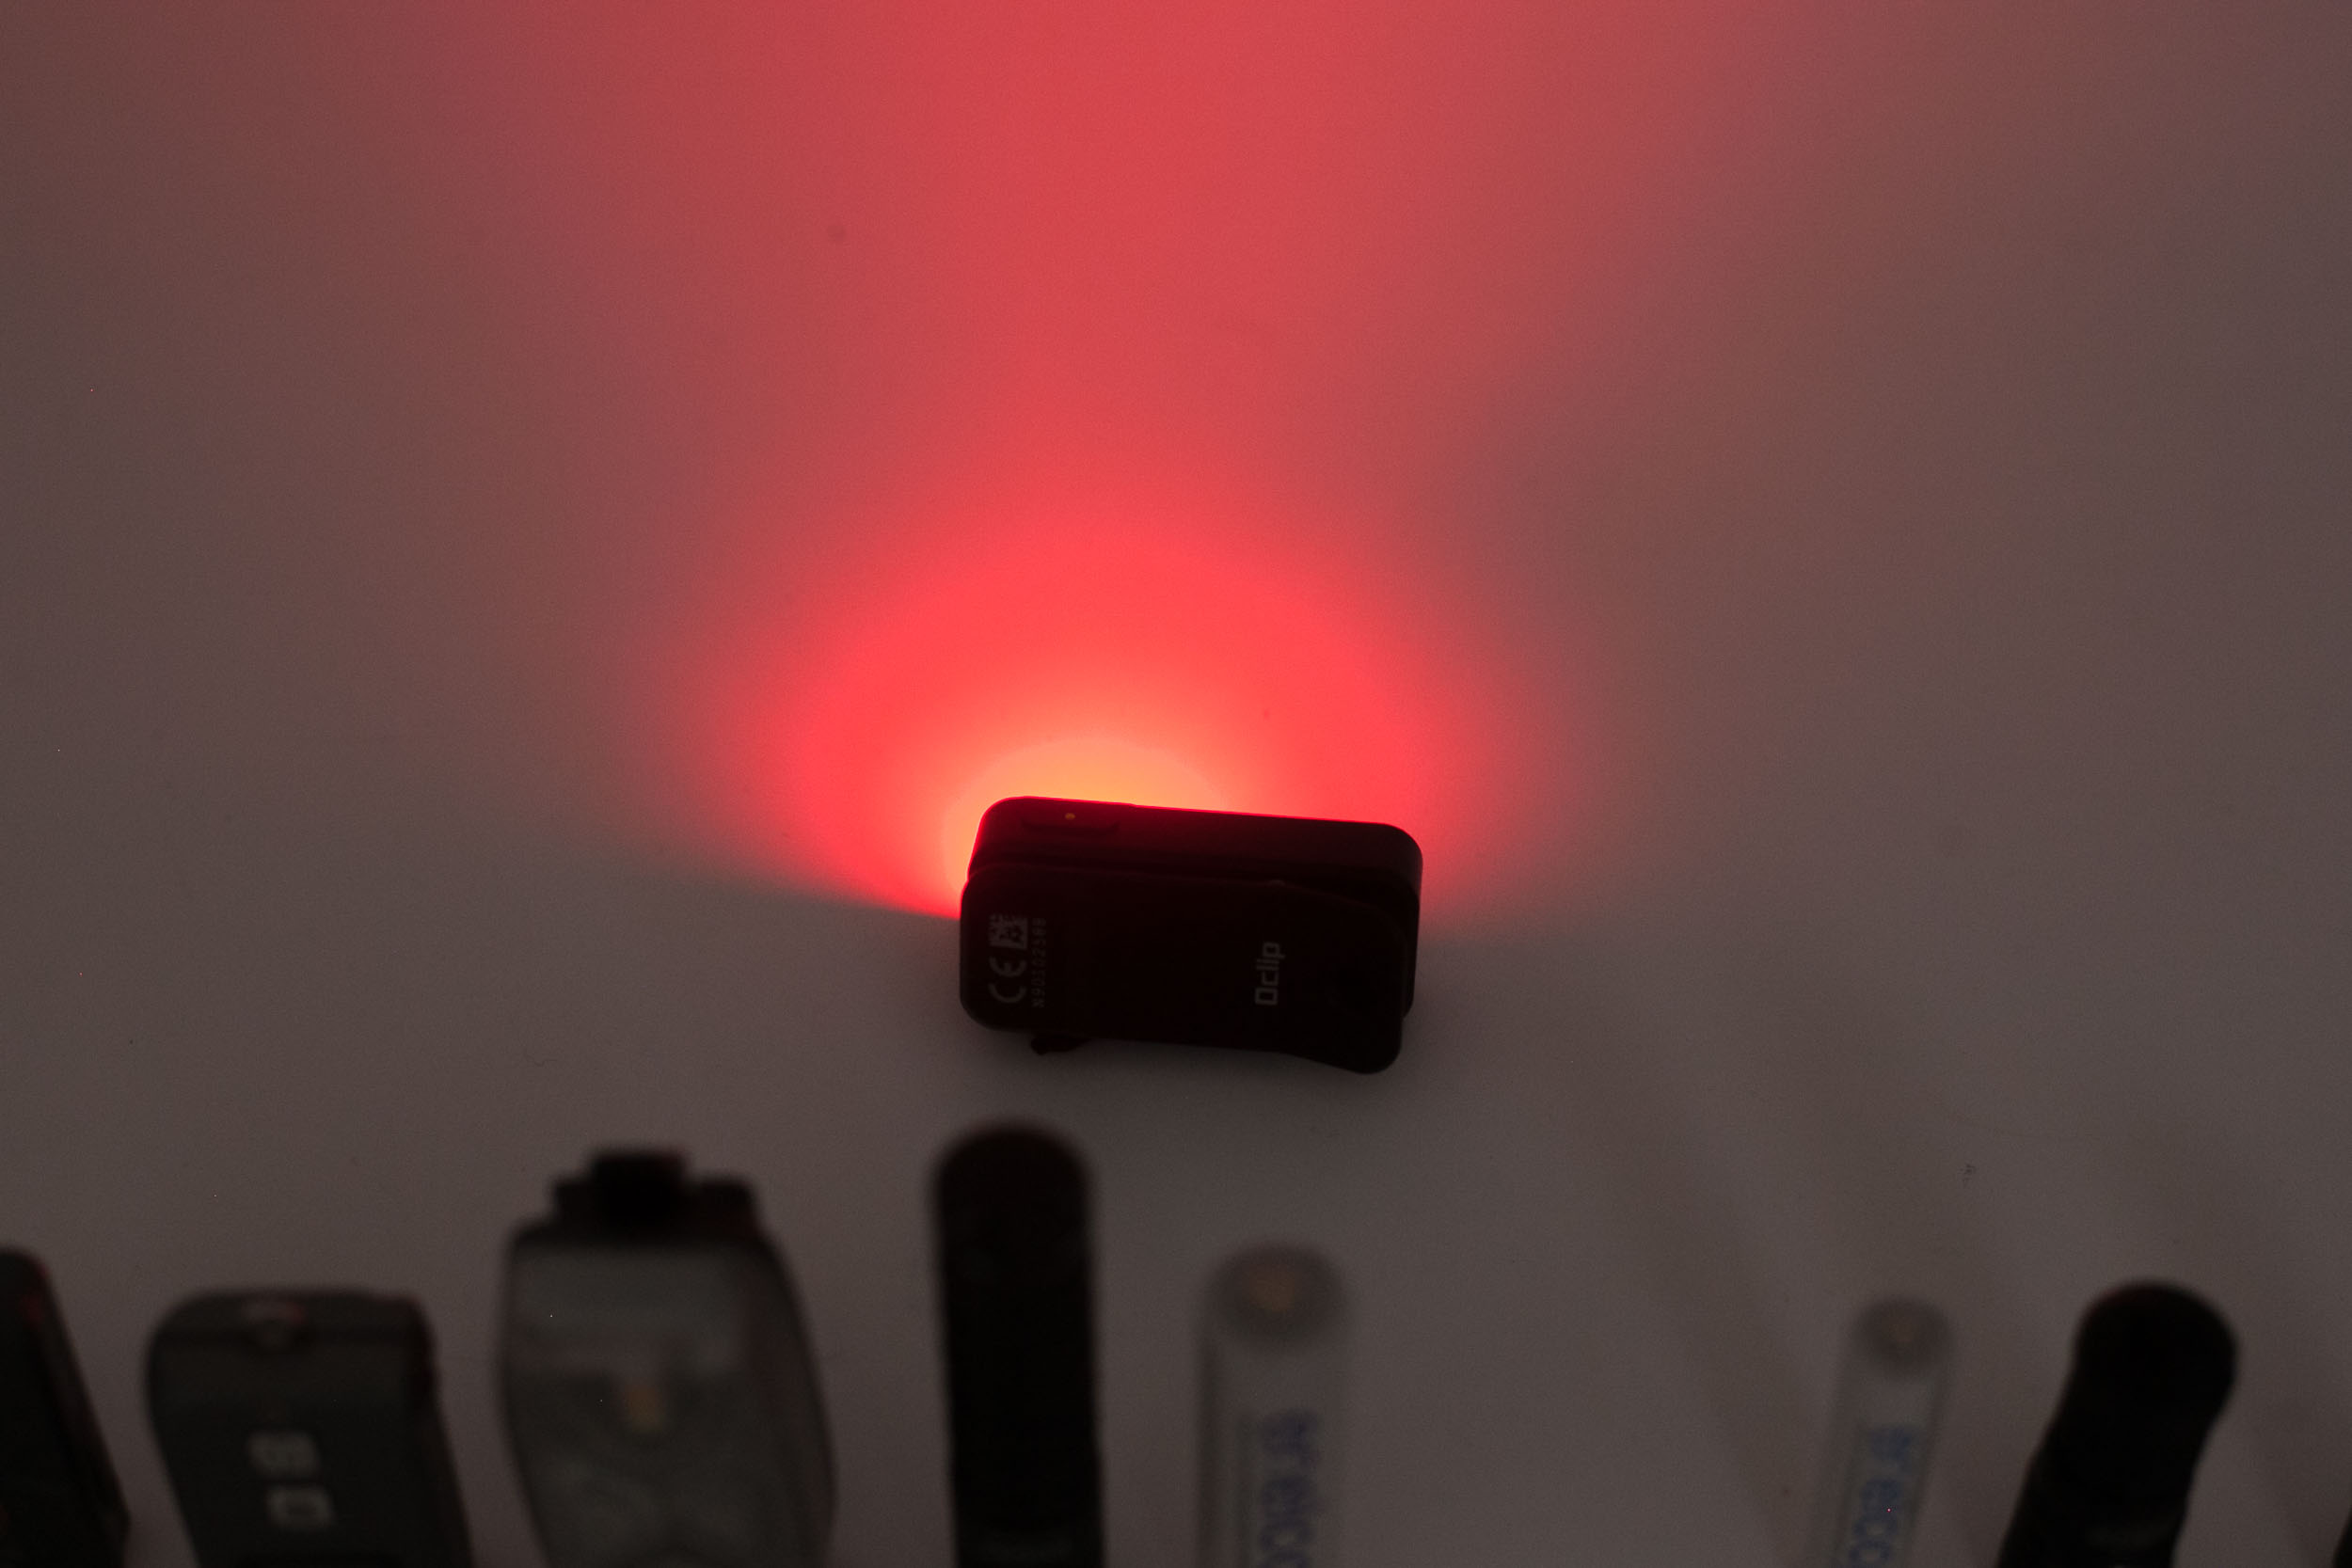
Red is good to see from a distance. But you can’t see far when usint it. Even at 5 meters distance, it’s hard to see anything…
Dimensions and size comparison
Dimensions:
| Olight Oclip | Millimeters | Inches |
|---|---|---|
| Length | 48 mm | 1.9 in |
| Width | 22 mm | 0.9 in |
| Thickness with clip near head | 20 mm | 0.8 in |
Weight:
| Olight OClip | Weight in grams | Weight in Oz. |
|---|---|---|
| Weight: | 28 grams | 1.0 oz. |
Mini Flashlights comparison
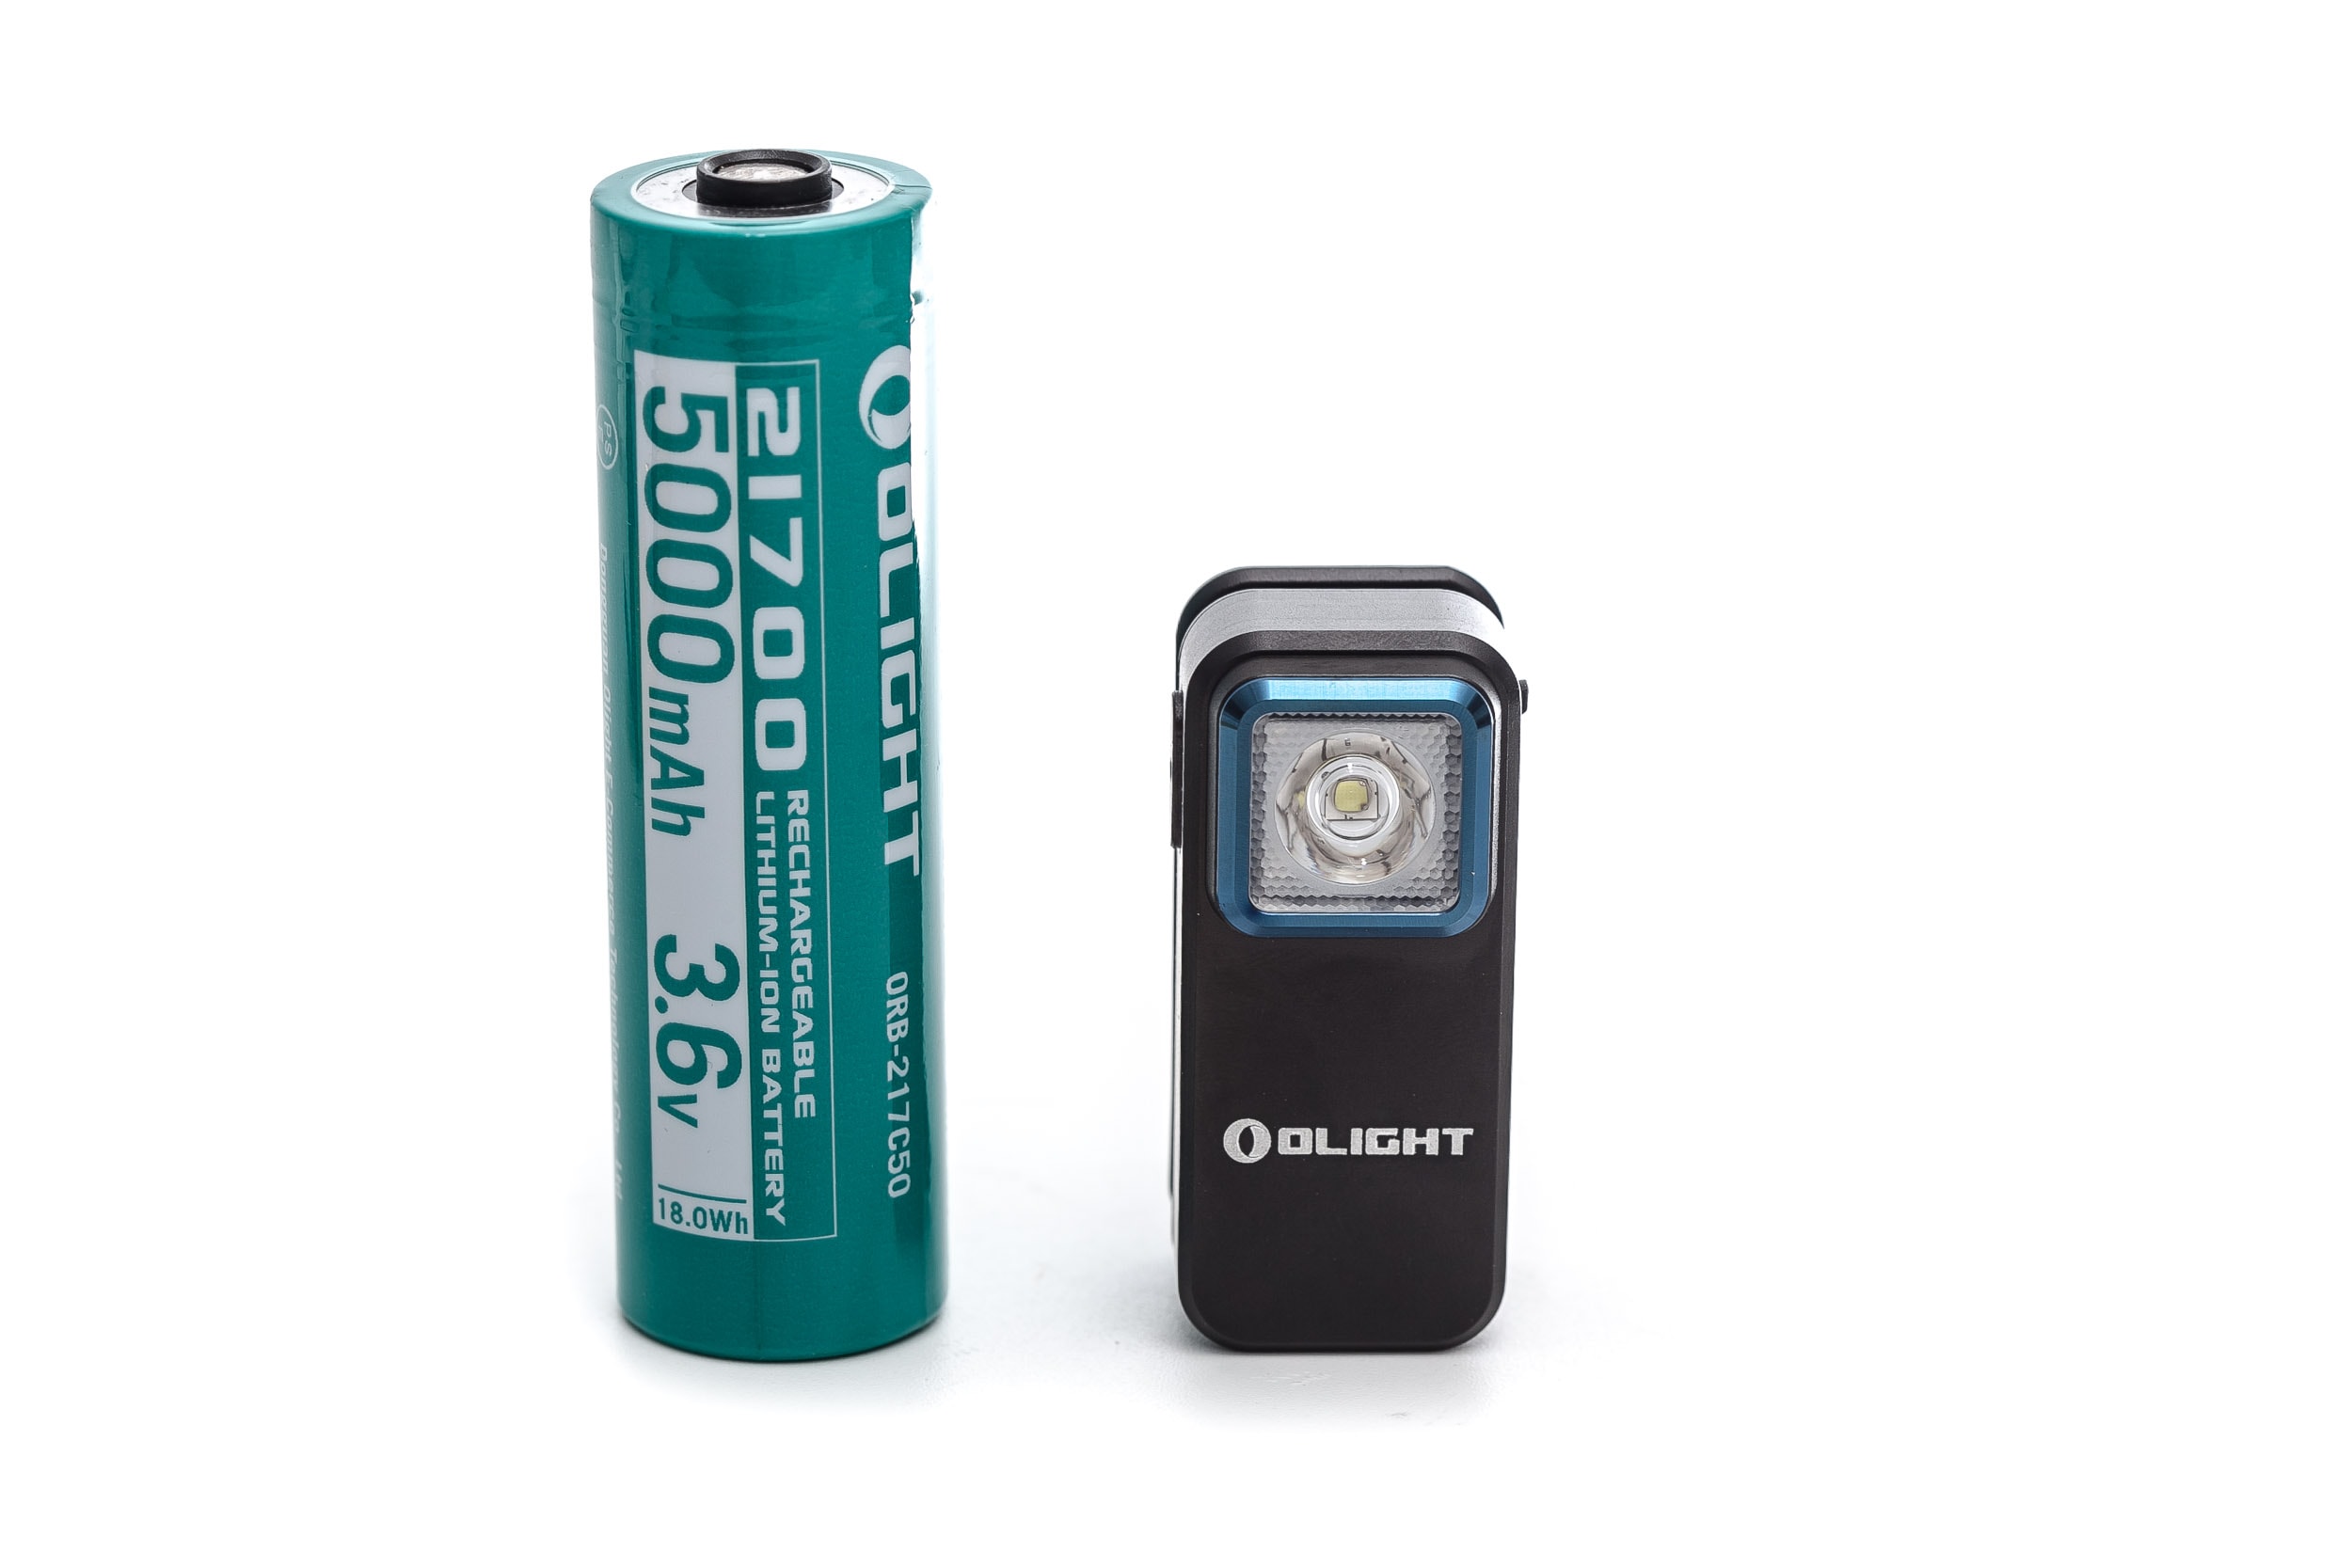
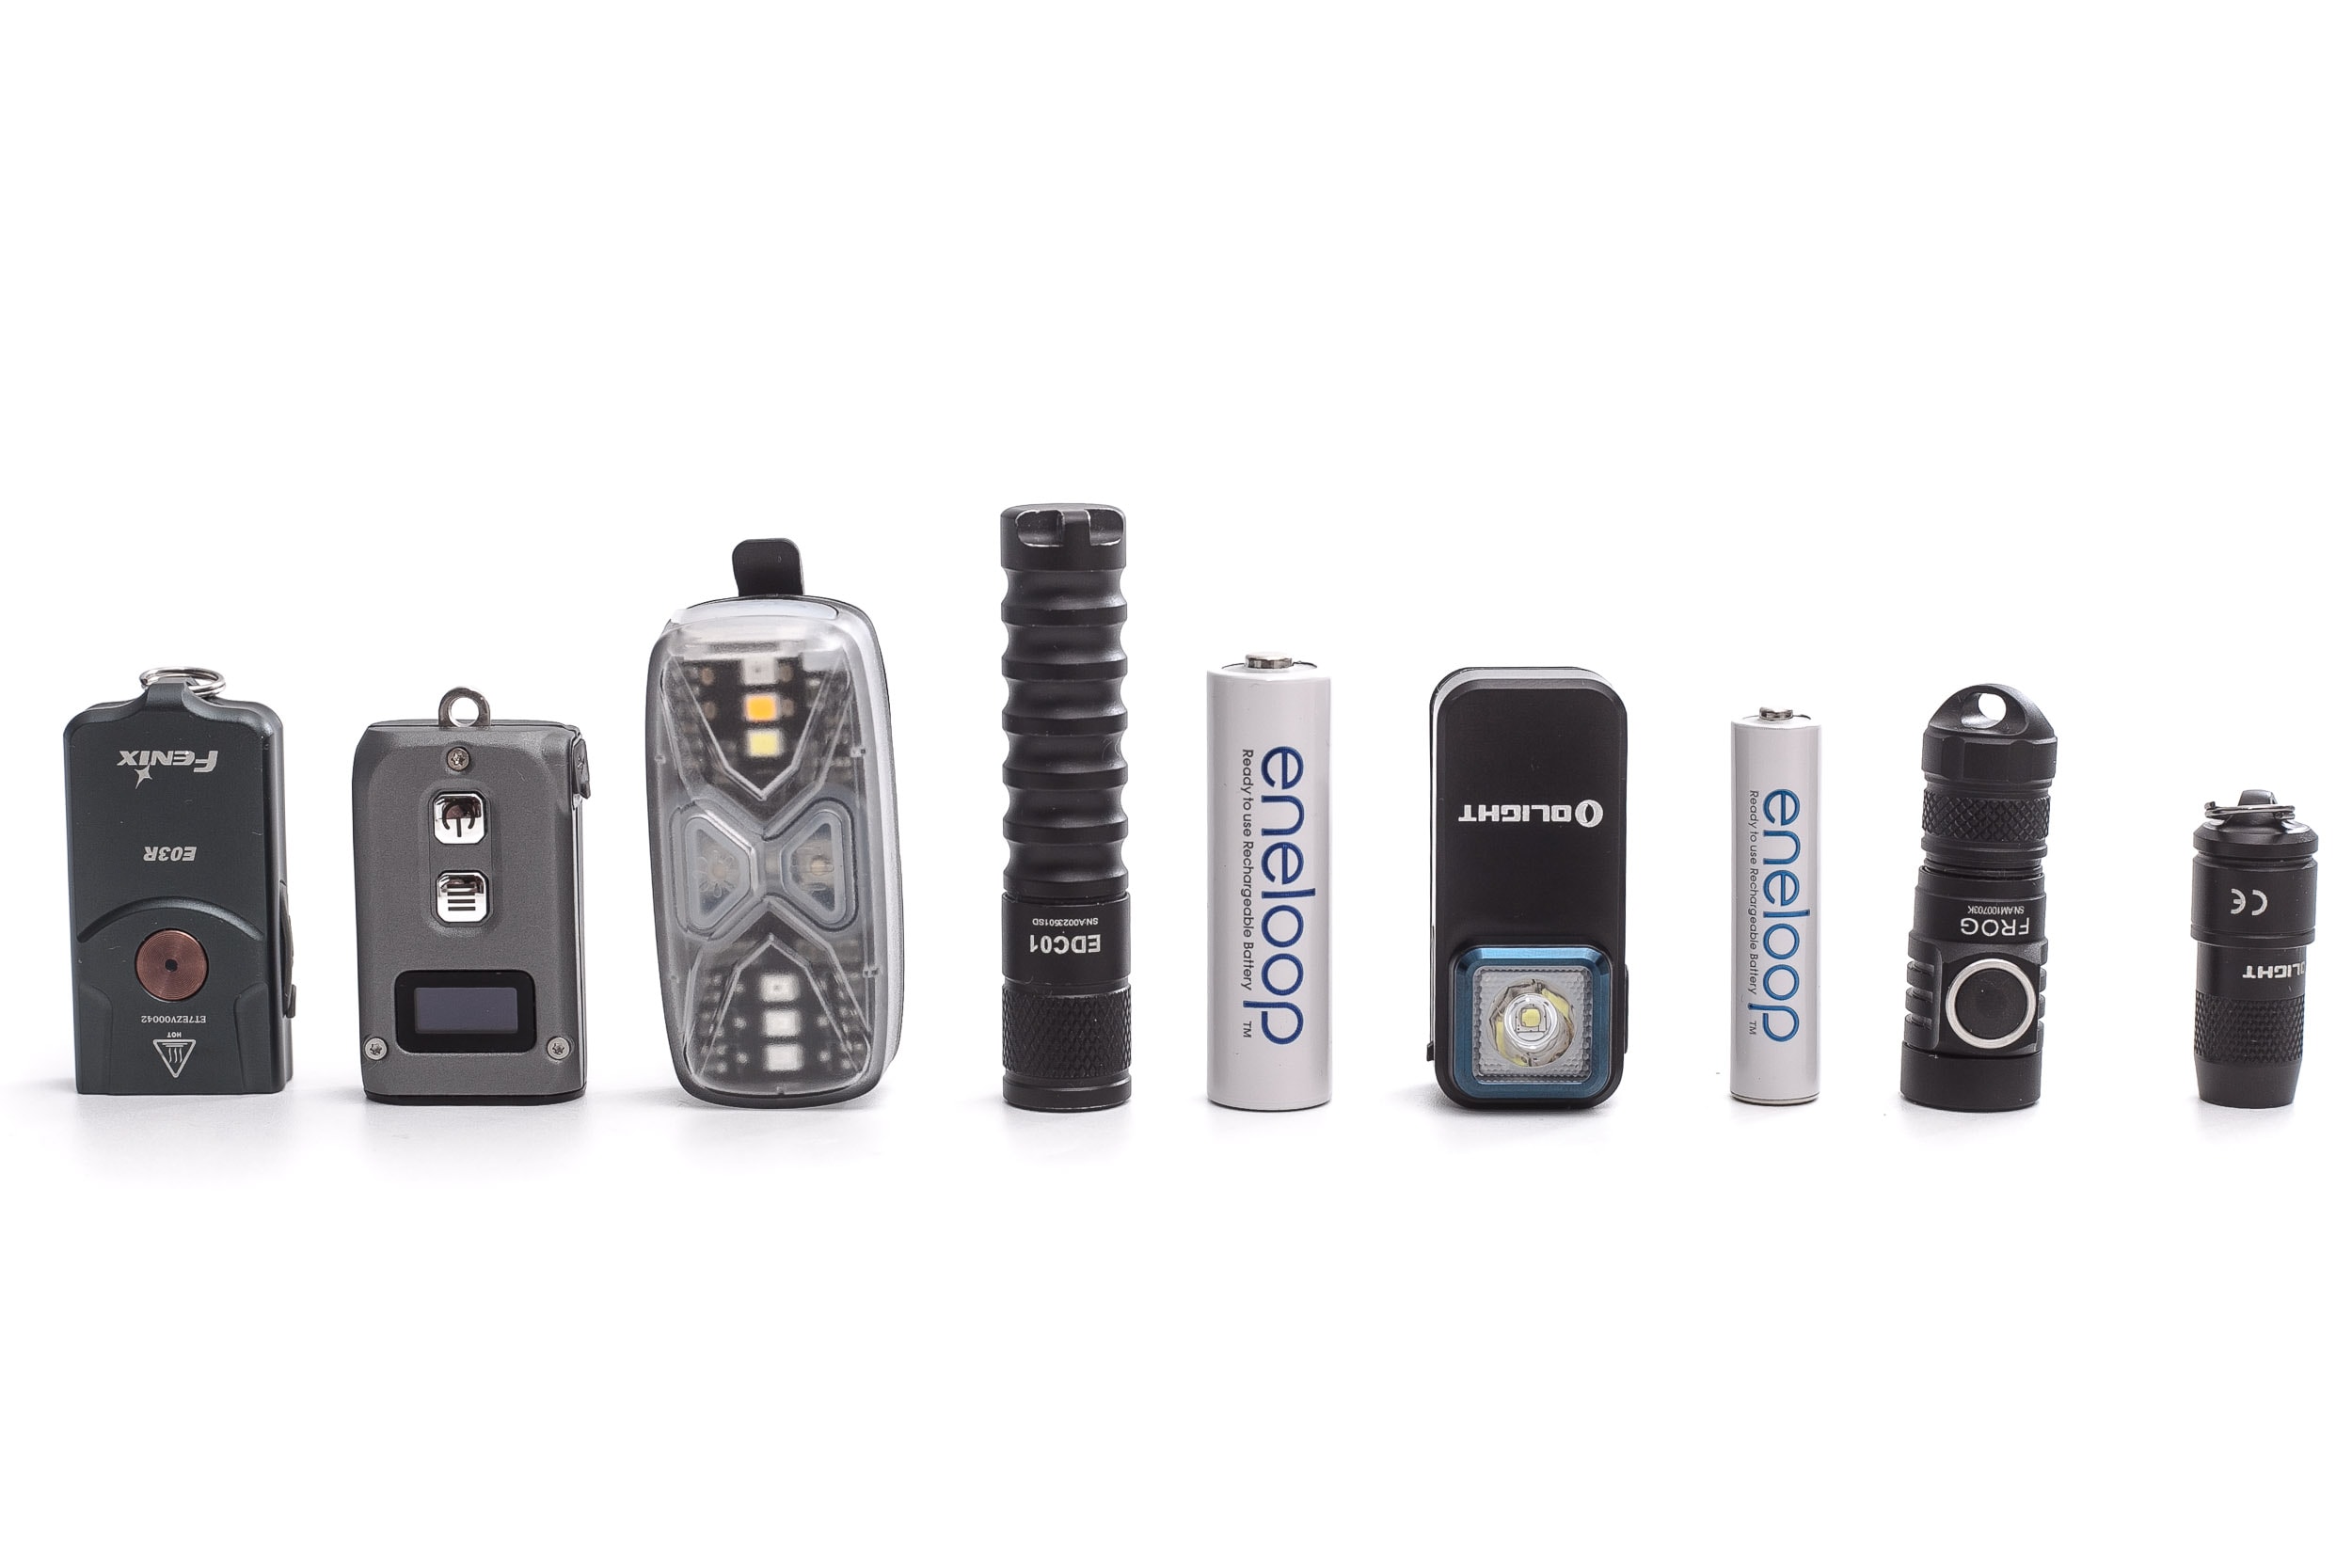
Size compared to other small flashlights
Group 1, Fenix E03R, Nitecore Tini, NEXTORCH UT41, Lumintop EDC01, Eneloop AA battery, Olight Oclip, Eneloop AAA battery, Lumintop Frog, Olight Imini.
Driver & User Interface:
The available main modes:
- Moon, Low, Medium, High
The available special modes (blinkies):
- Red, Red blinking
- White beacon mode, and strobe
How the UI works when the flashlight is still turned OFF:
- Single-click: to last used mode, mode memory
- Double click: red
- Triple-click: strobe
- Press and hold 2sec: moon mode
- Press and hold 4+sec: lockout (repeat to unlock)
How the UI works when the flashlight is turned ON:
- Press and hold: Cycle through the menu from Low to High
- Single-click: turns off
- Double click: red
- Triple-click: beacon mode
Shortcuts within the UI:
- To Turbo: none
- To Moon: long press from off
- To Strobe: triple click from off
- To beacon mode: triple click from on
- To red: double click from Off and On
Mode memory:
- Yes, main modes, including Moon
Blinky modes:
- Yes, there is strobe (3 clicks from off), and there is beacon mode (3 clicks from on)
Low battery warning:
- Yes, there is a tiny indicator light in the switch, but it’s kind of weak to really use. Green is 60-100%, orange 30-60%, red 0-30%
Lock-out mode:
- Press and hold the switch from OFF for 5 seconds. It will turn on in Moon mode first, and then into lockout.
PWM:
- Not visible by eye
Firmware / UI Conclusion:
- I live the way this little light works. I would have liked a double click to go to High mode, but it’s pretty easy to get used to it.
Batteries & Charging
According to Olight, there is a small li-ion battery built into this light, with a total capacity of 280mAh. This is not a lot, but if you see how small it is, 280mAh is not bad at all.
They included a very short USB-A to USB-C charging cable in the box, that connects to any USB device, with power out.
The USB port is hidden underneath a rubber cap, on the opposite side of the switch.
When charging starts, a little red light in the switch can be seen, which turns green when the charge has finished. The total charging time was measured 2 times, and both times the exact charge time was 1 hours and 33 minutes. And the highest possible charging current was 290mA, at 5 volts.
If you loose the cable, and you only have a USB-C to USB-C cable, you are also good. Because the Oclip also charges with this type of cable.
Performance test
This is the gear I use for testing:
| Gear | Purpose | Link to buy |
|---|---|---|
| Hagner E4-X | Measuring beam intensity (throw) | Inquire at Hagner.se |
| 2* Extech SDL400 | Lumens and logging runtimes | Amazon.com, Amazon.co.uk, |
| Leica Disto D2 | Distance for throw measurements | Amazon.com, Amazon.co.uk, |
| Sekonic C-800 | Spectrometer for LED measurements | Amazon.com, Amazon.co.uk |
| Uni-T UTi260B | Thermal Image camera | Amazon.com, |
Lumen measurements:
How Lumens are Measured: Understanding ANSI FL1 Standards How Lumens are Measured: Understanding ANSI FL1 Standards: The ANSI FL1 standards specify that output in lumens should be measured 30 seconds after turning on, as this is the standardized time for measuring brightness according to the industry standard. This is why we focus on this part in our measurements. The ANSI FL1 standards require an ambient temperature of 22 ± 3°C. We record the ambient the ambient temperature to identify potential reasons for any observed discrepancies.The output measurements in this review are based on my homemade integrating spheres, each equipped with an Extech SDL400 Lux Meter. For consistency and accuracy, a calibration light (Convoy S2+ with 249lm and a Convoy S2+ with 261lm) is measured prior to each set of lumen measurements.
For high-output lights, one of the lux meters uses an ND camera filter to prevent the lux meter to max out. This is either the Kenko PRO1D ND16 up till about 80,000 lumens or Gobe ND32 for anything above.
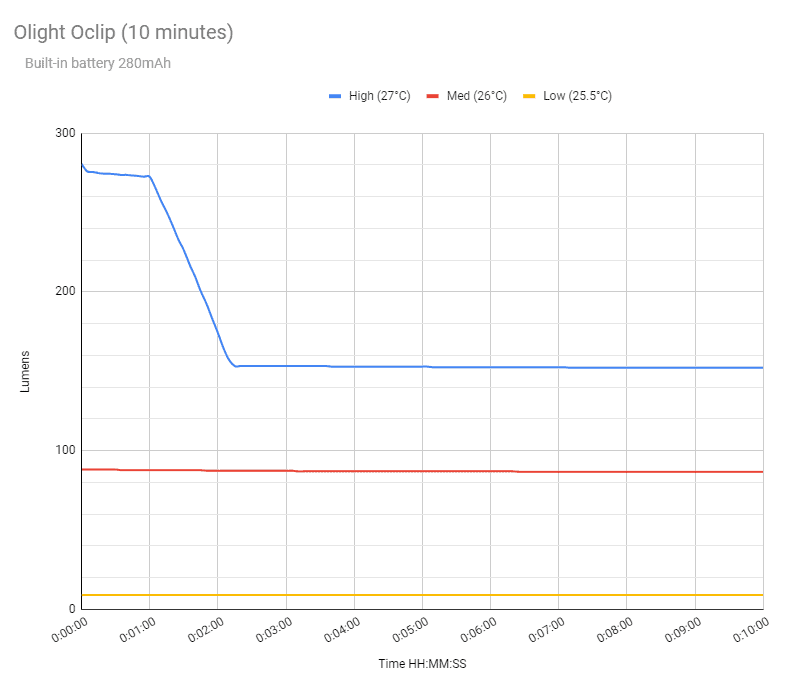
The measurements were taken manually at turn on and 30 seconds. The 10 minute numbers are taken from the runtime graph.
| Mode | Specified | At turn on | 30 sec. | 10 minutes |
|---|---|---|---|---|
| Moon | 1.5 lm | 1.8 lm | 1.8 lm | – |
| Low | 10 lm | 9 lm | 9 lm | 9 lm |
| Med | 100 lm | 89 lm | 88 lm | 87 lm |
| High | 300 lm | 279 lm | 274 lm | 152 lm |
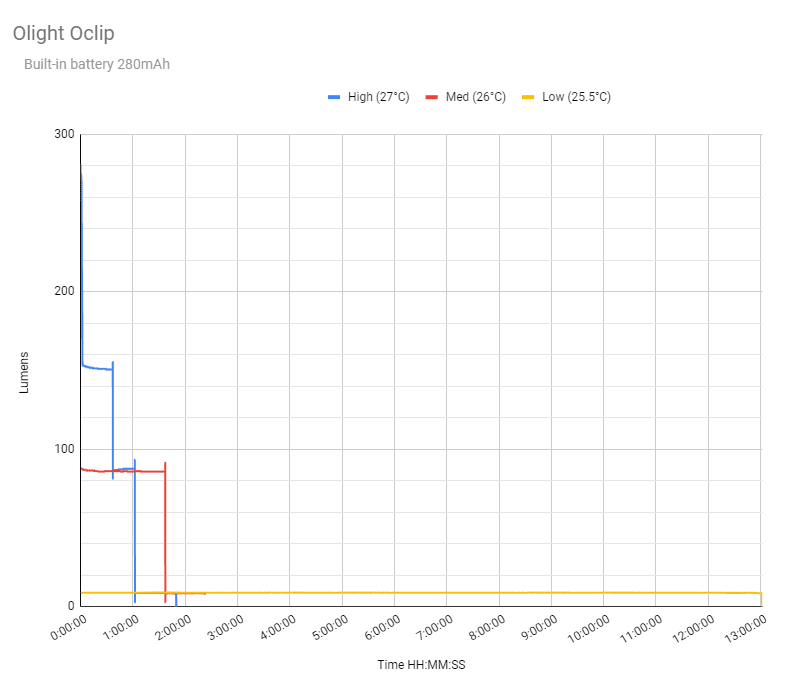
Runtime: Battery life
How Runtimes are Measured: Understanding ANSI FL1 Standards About ANSI FL1 runtime standards: The runtime is measured until the light drops to 10% of its initial output (30 seconds after turning on). This does not mean that the flashlight is not usable anymore. The last column shows how long the light actually works till it shuts off. If there is a + symbol, it means that the test was stopped at that particular point, but the light was actually still running. This happens on certain occasions, with certain drivers, firmware, or batteries.The runtime test was done with the 50cm integrating sphere, including the Extech SDL400 data logging Lux Meter.
| Mode | Specified runtime | Measured runtime (ANSI FL1) | Time till shut off |
|---|---|---|---|
| Moon | 30h | – | |
| Low | 12h | 13h 01min | 13h 01min |
| Med | 1h 30min | 2h 22min | 2h 25min |
| High | 1h 01min | 1h 02min | 1h 49min |
Interesting to see that Medium ran so much longer than specified. And High ran right on point, but still ran longer at a low output.. before it turned off.
Throw Measurement: Peak beam intensity and beam distance
About Peak beam intensity: Understanding ANSI FL1 Standards About peak beam intensity The calculated value of distance in meters at which the flashlight produces a light intensity of 0.25 lux. (0.25 lux is about the brightness of a full moon shining on an object). This means that the intensity has decreased so much, it becomes difficult to see darker objects, or objects that don’t reflect light. The columns ‘Meters’ and ‘Yards’ use rounded numbers.Measurements were taken indoors with a Hagner E4-X Lux Meter, at 2 meters, soon after turn on.
| Mode | Specified | Candelas | Meters | Yards |
|---|---|---|---|---|
| Moon | – | 12 cd | 7 m | 8 yd |
| Low | – | 56 cd | 15 m | 16 yd |
| Med | – | 600 cd | 49 m | 54 yd |
| High | 1,300 cd | 1,748 cd | 84 m | 91 yd |
Beamshots
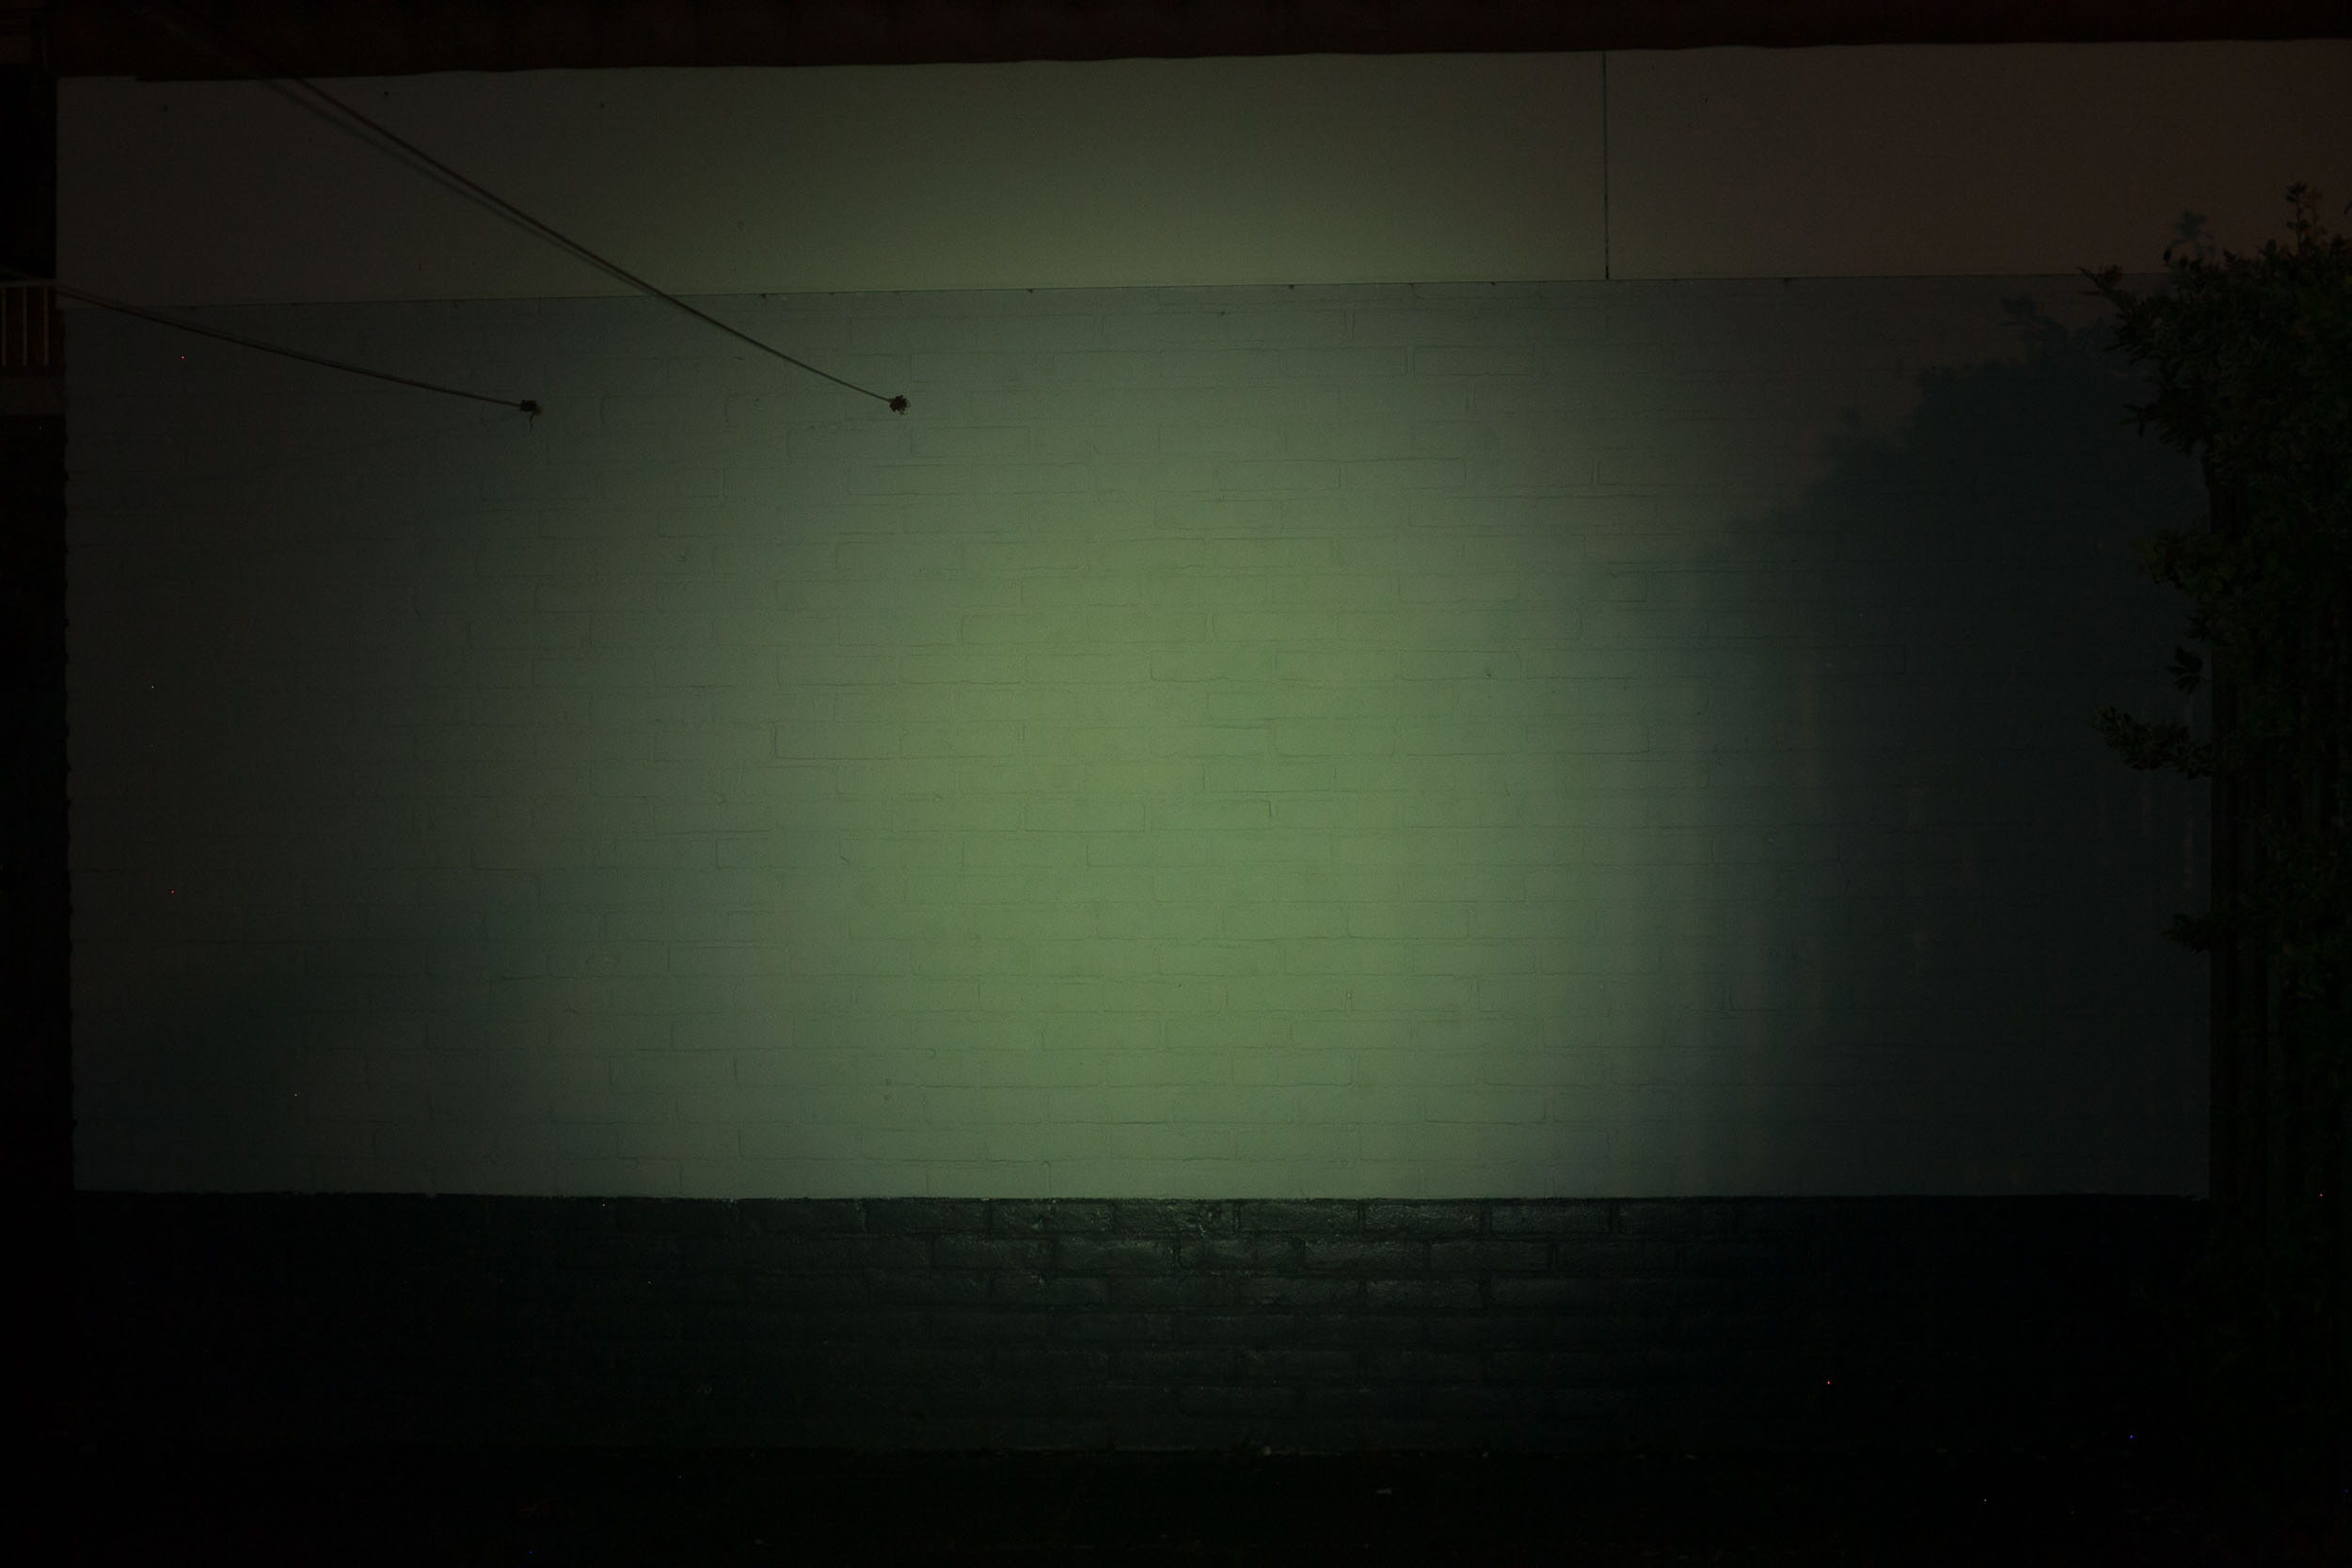
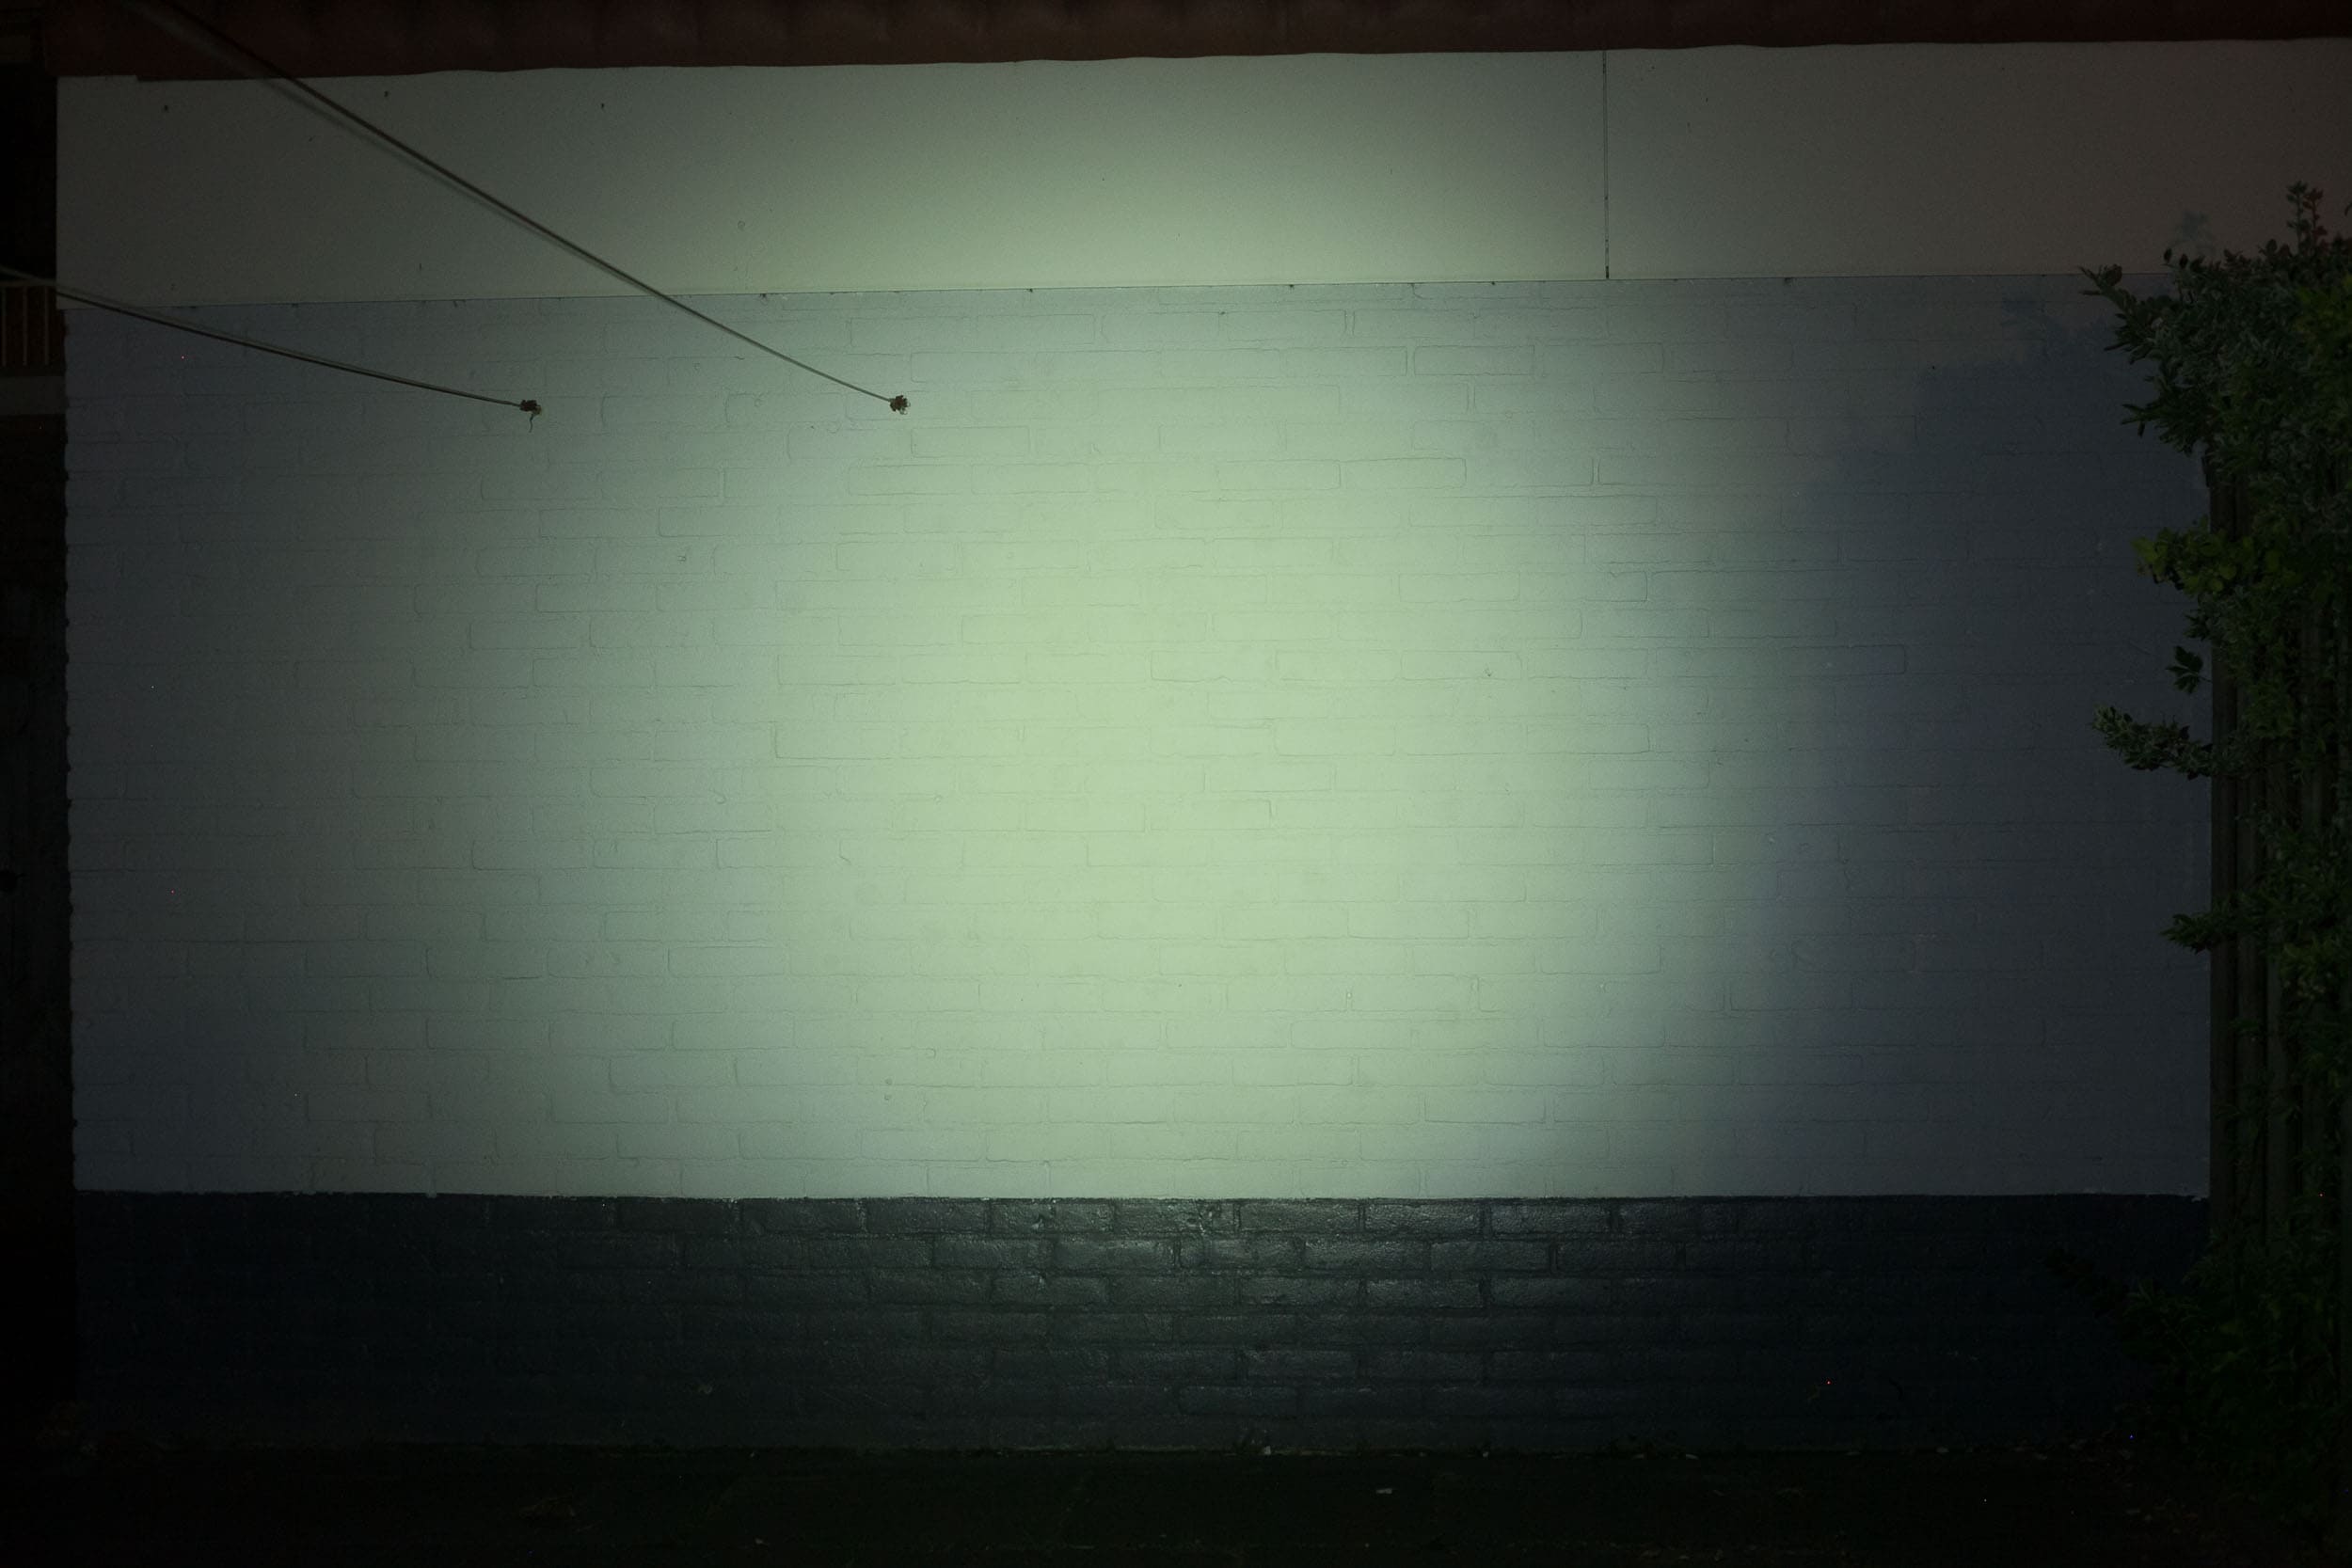
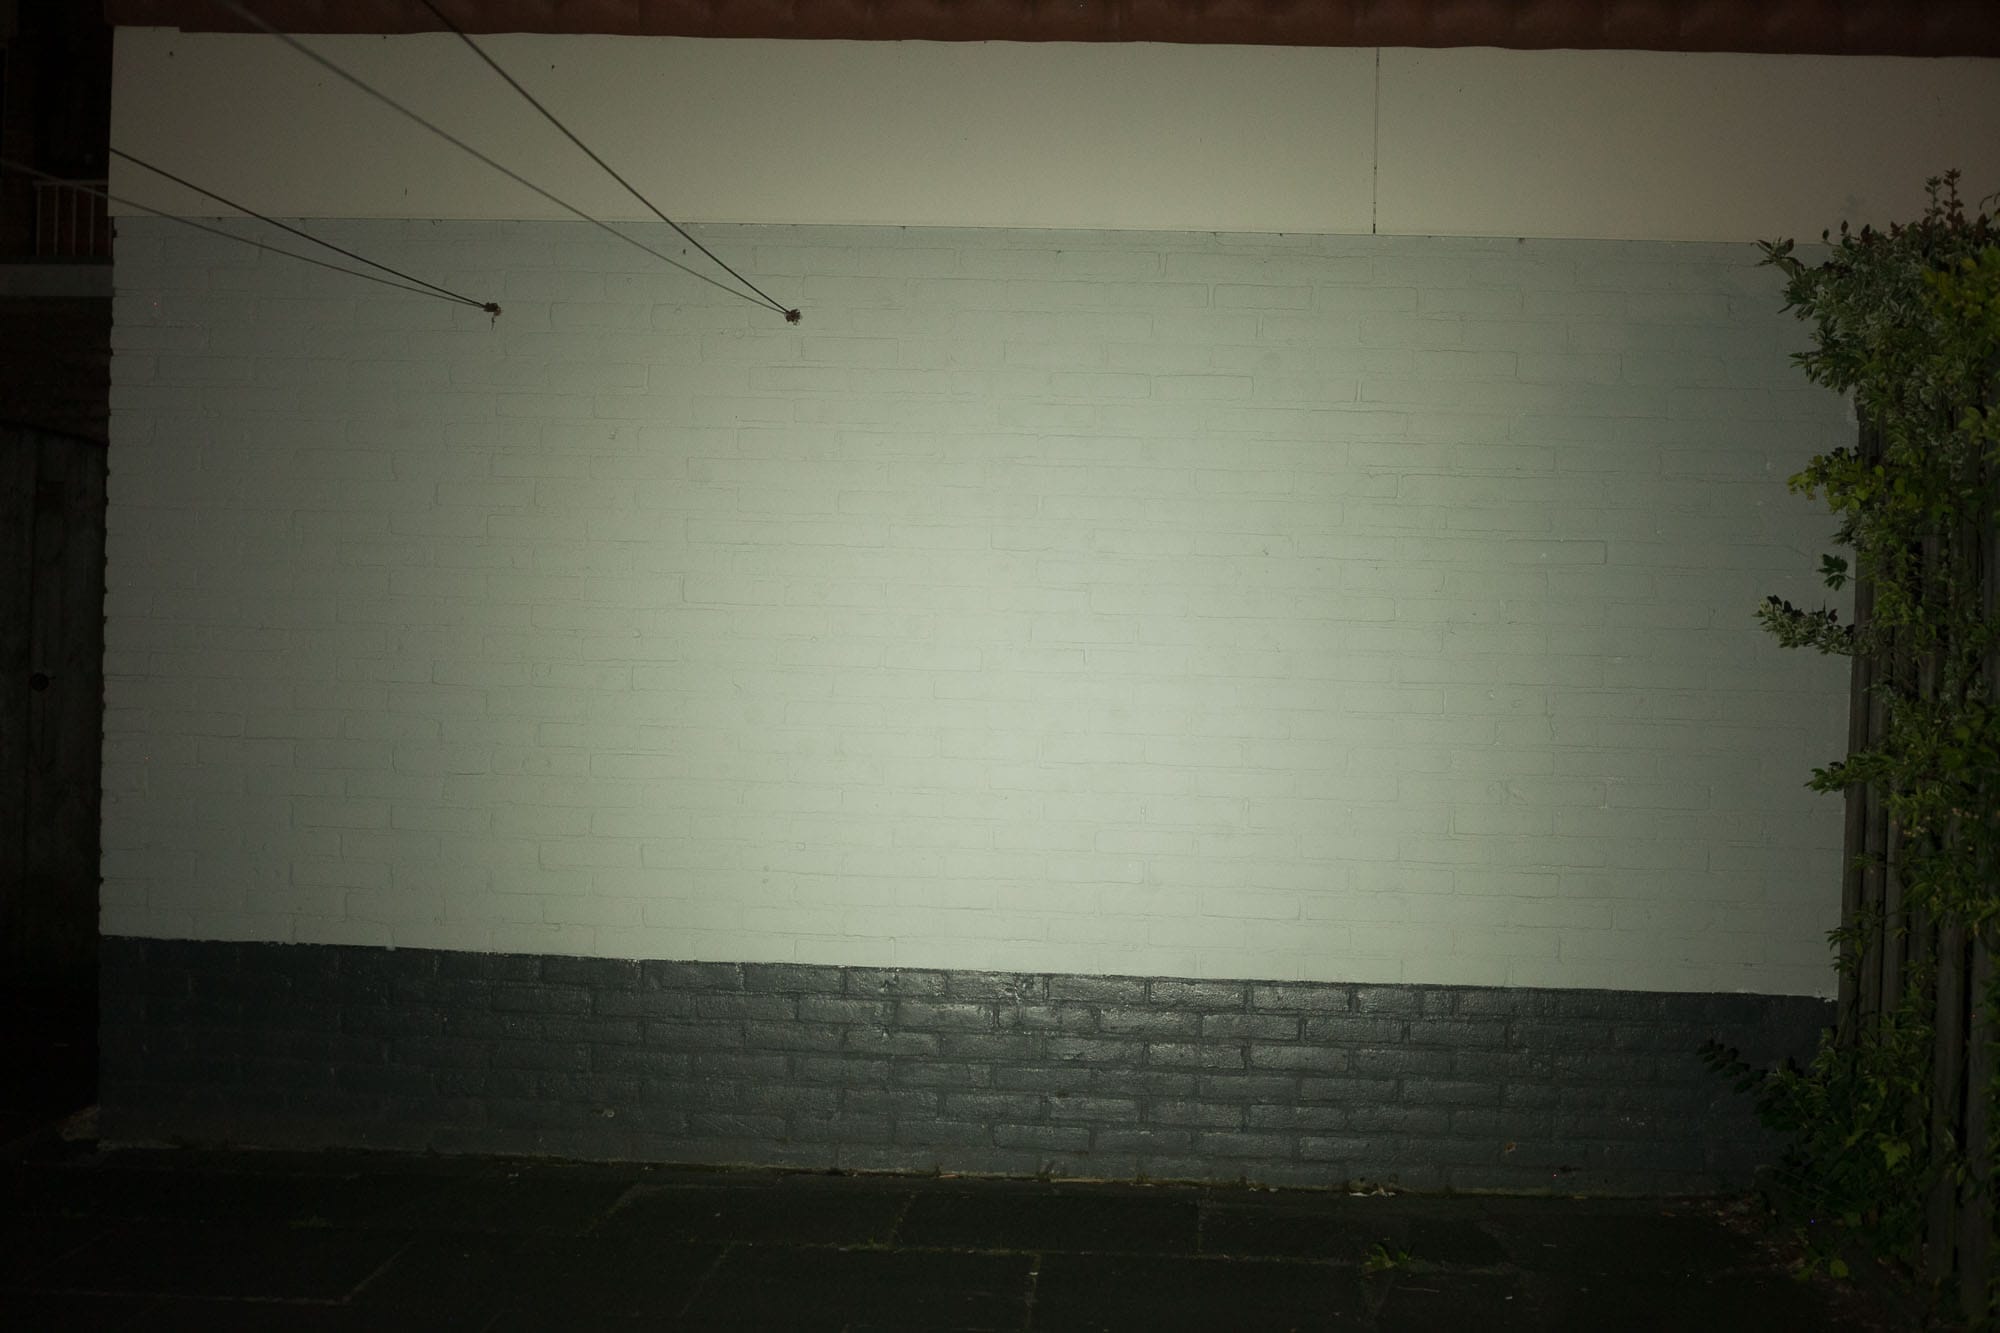
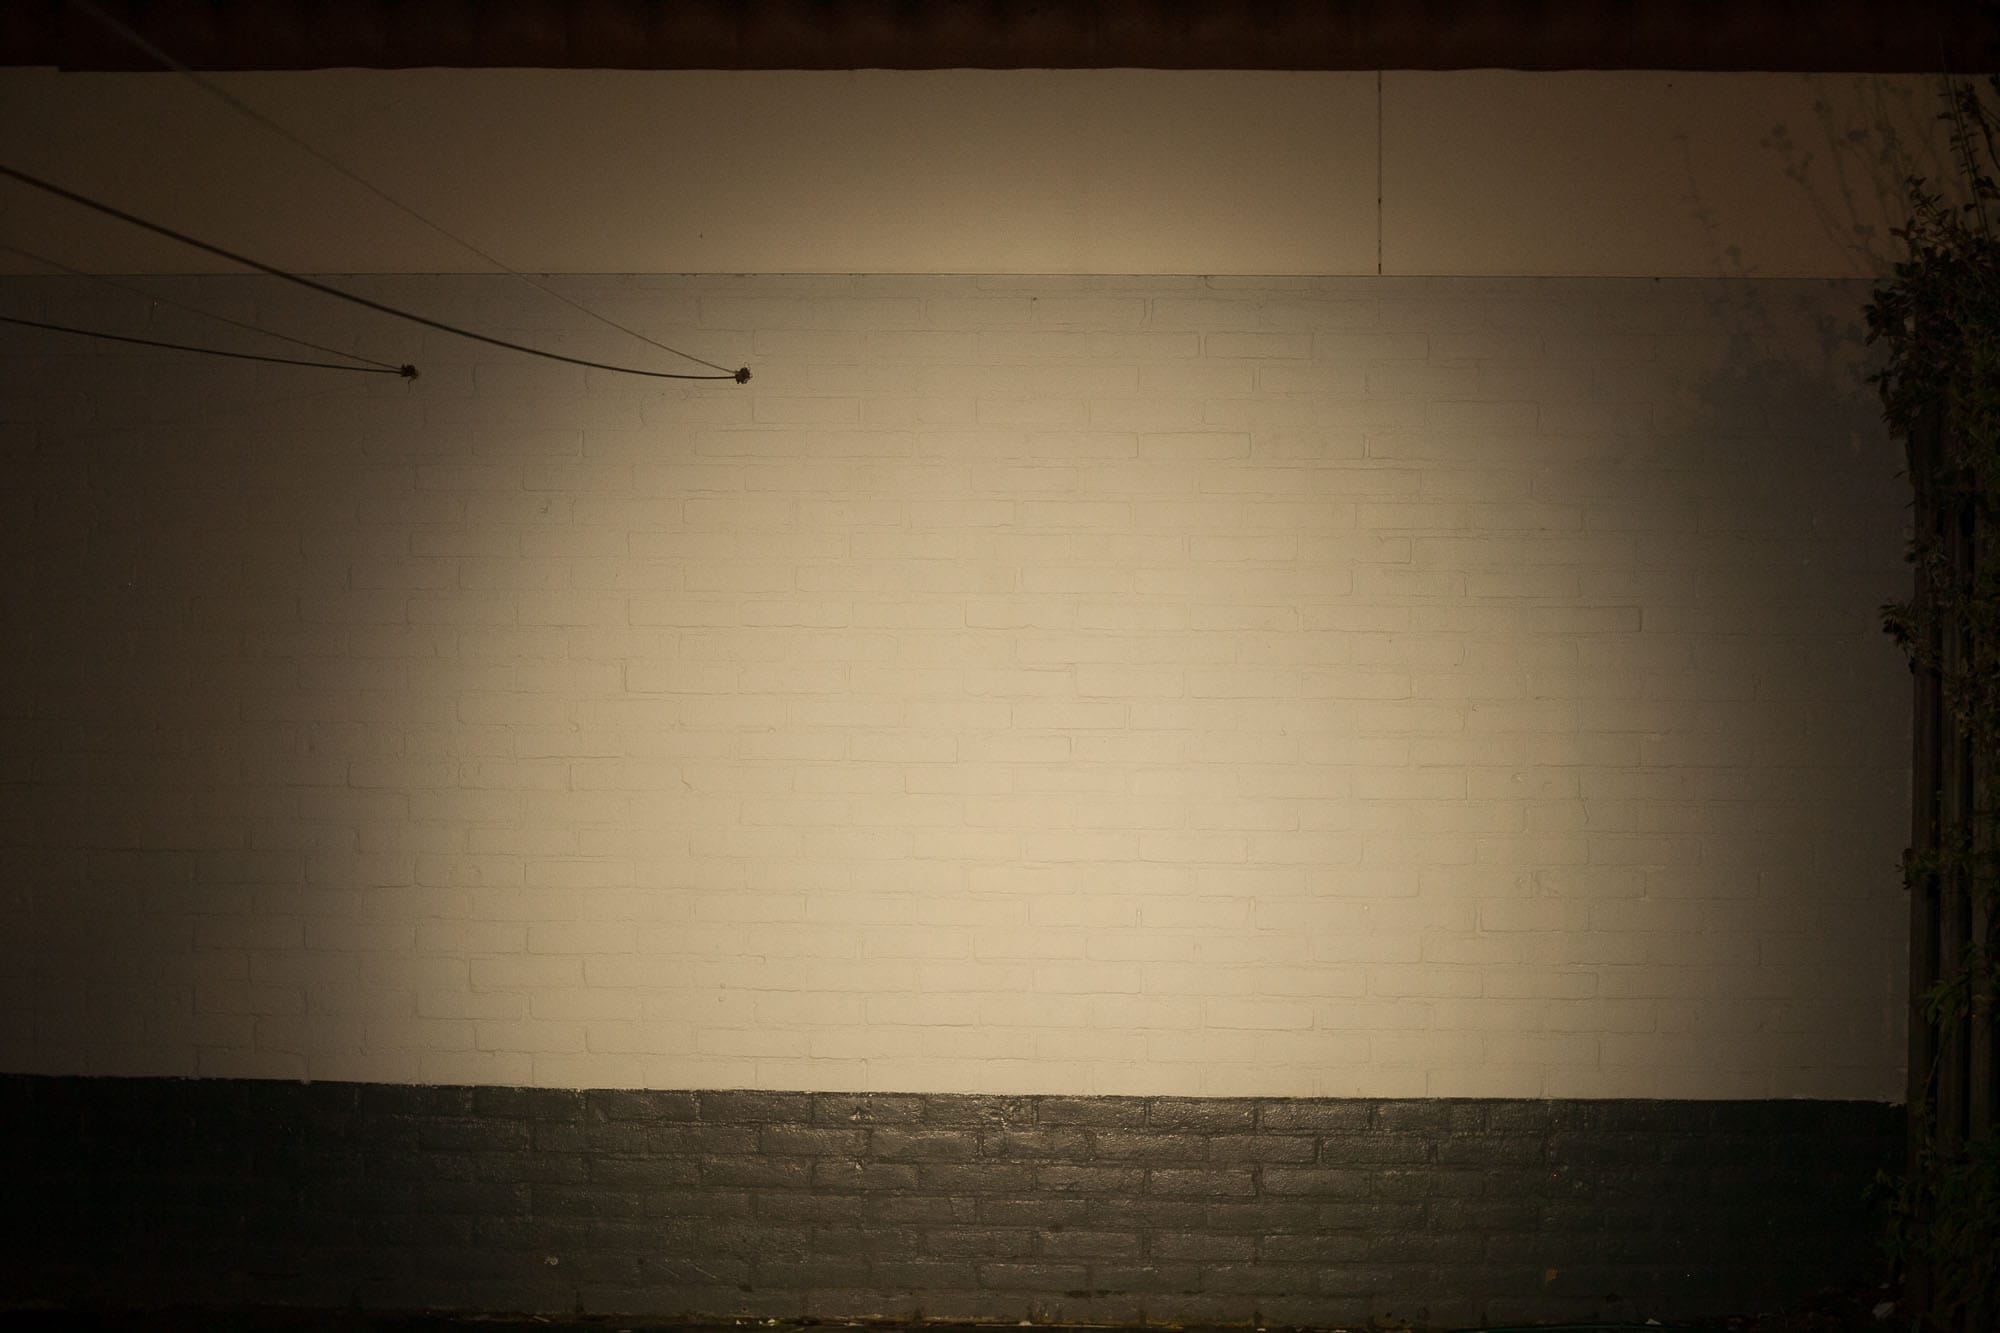
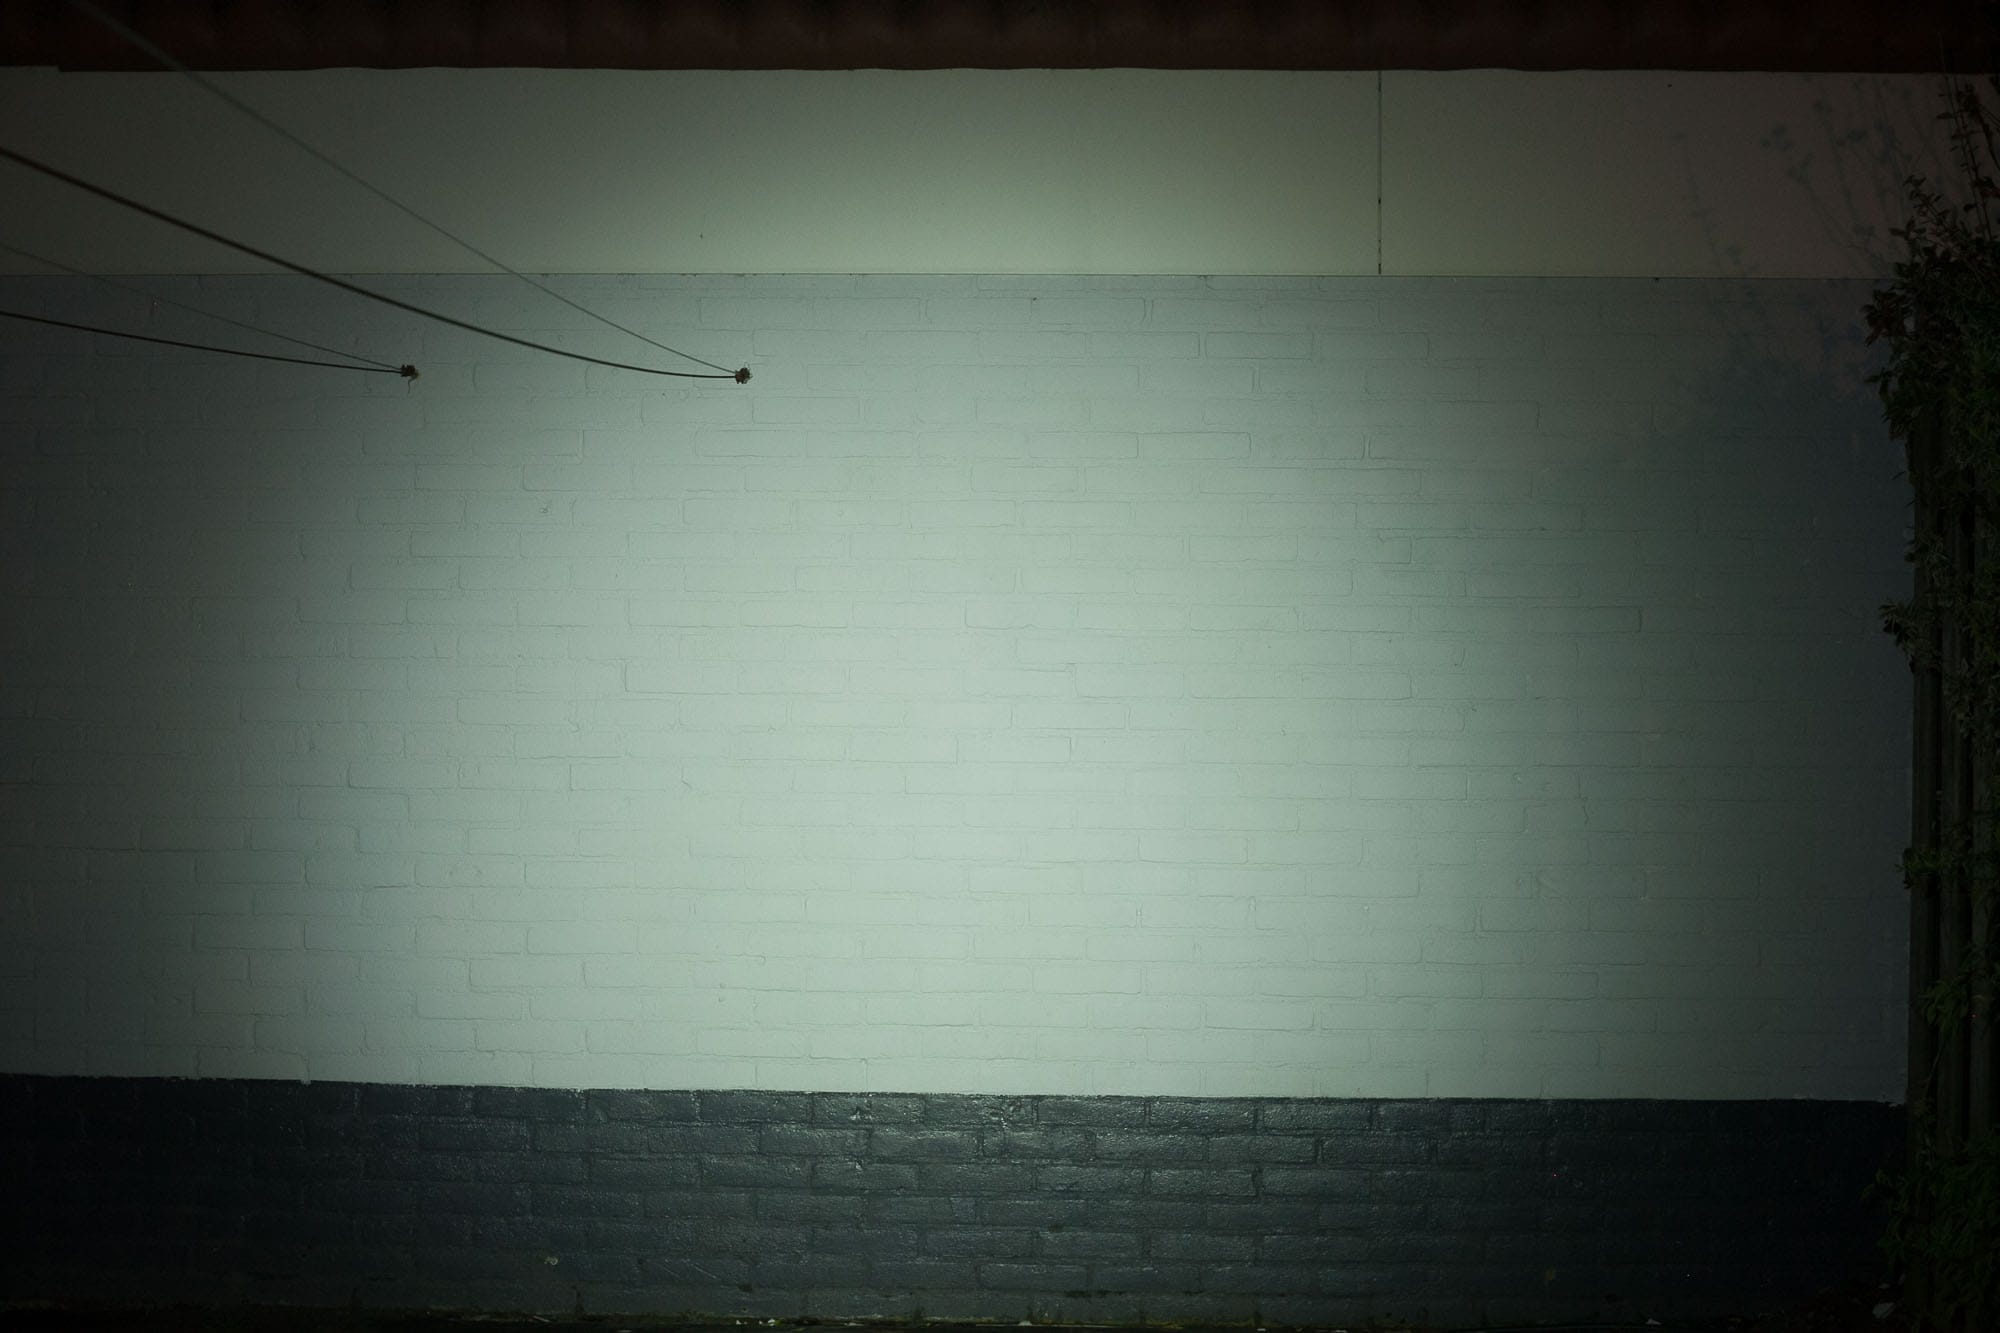
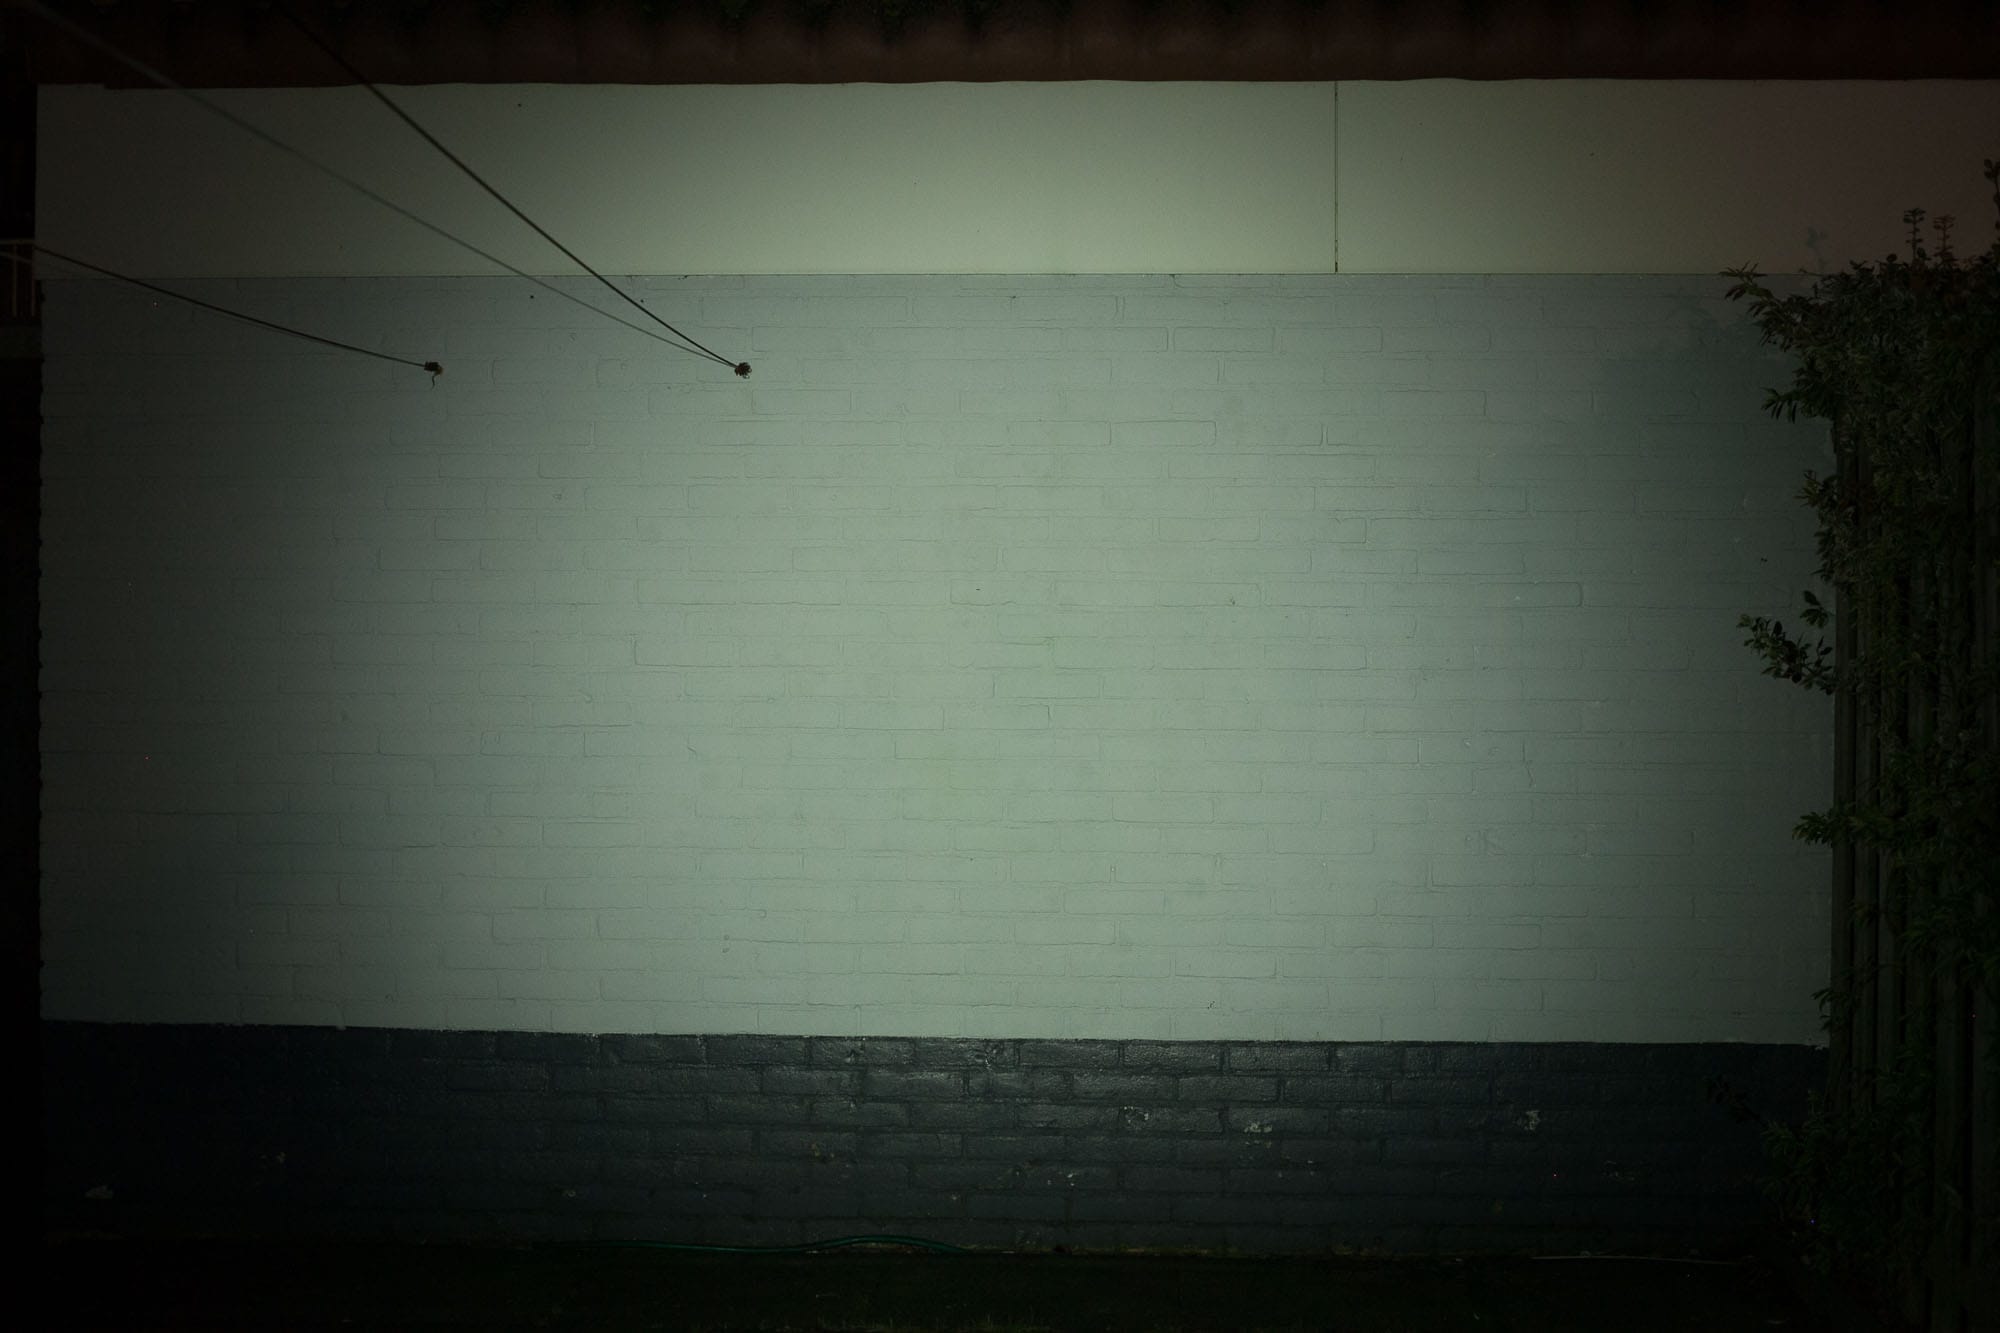
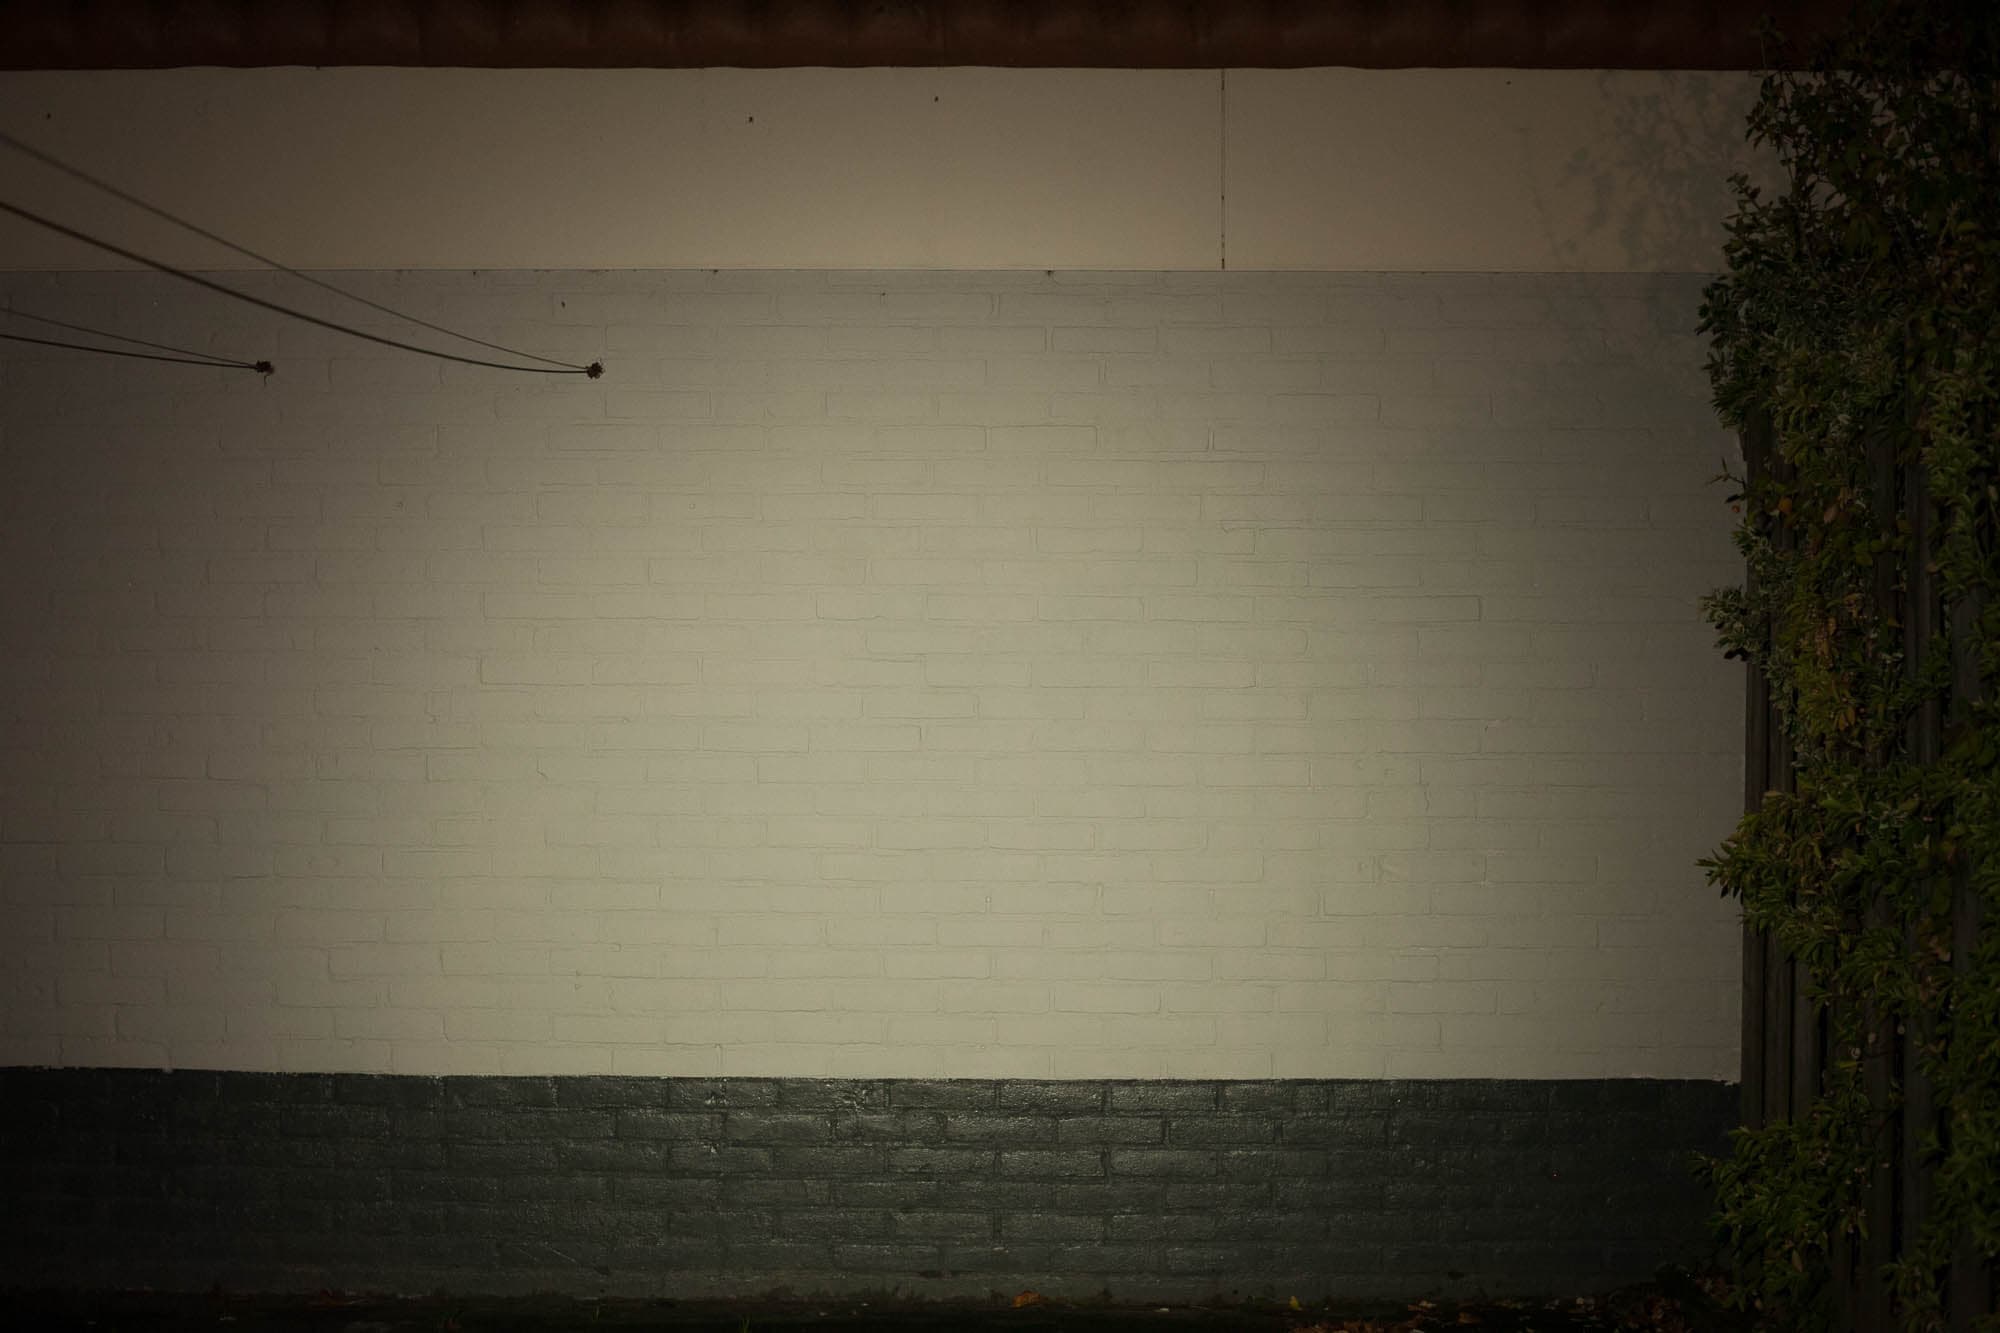
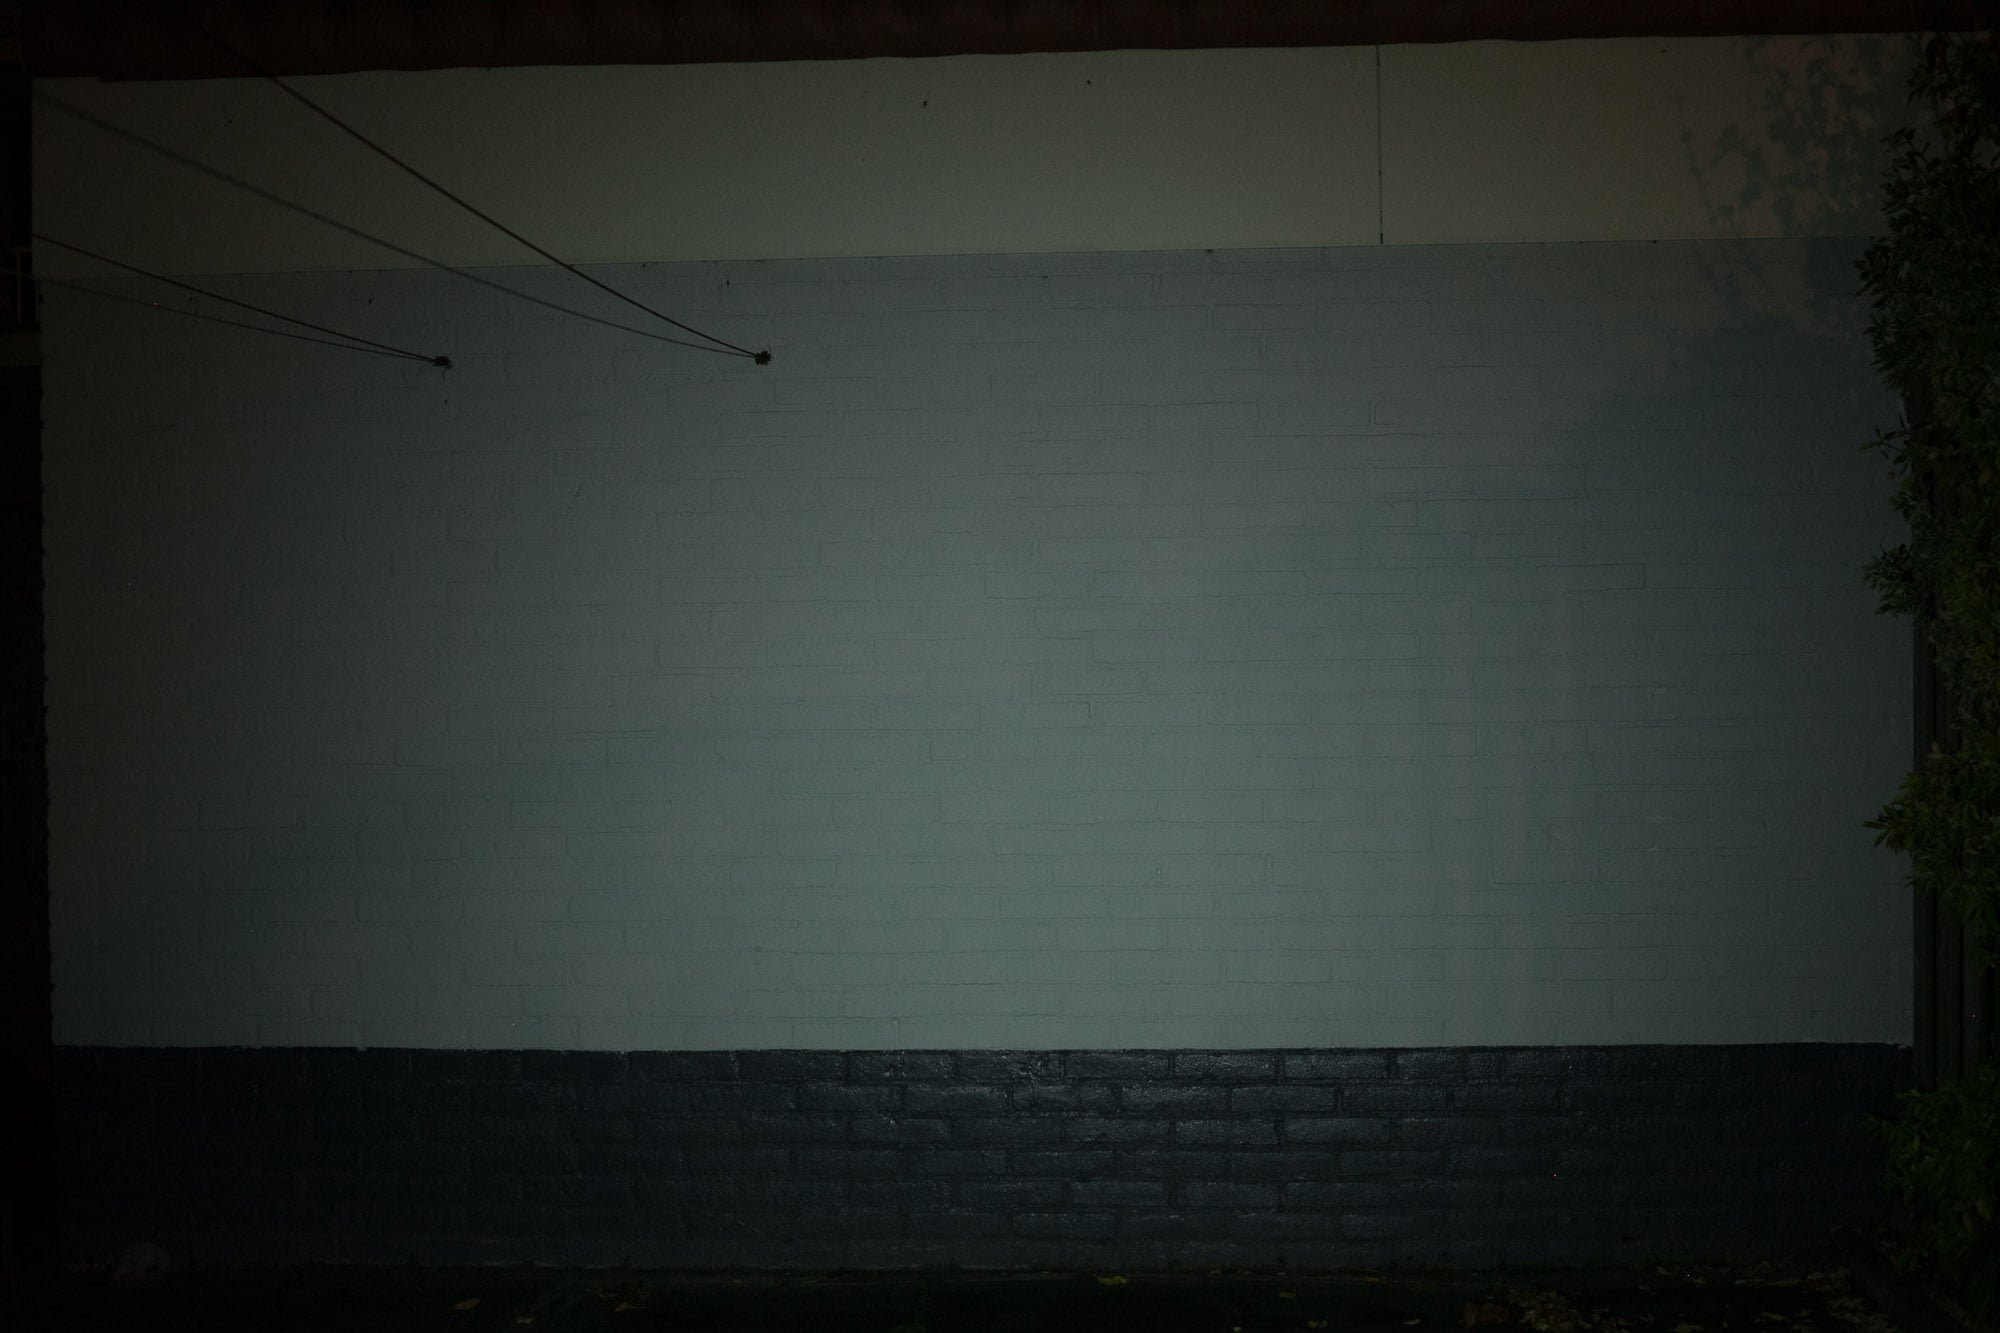
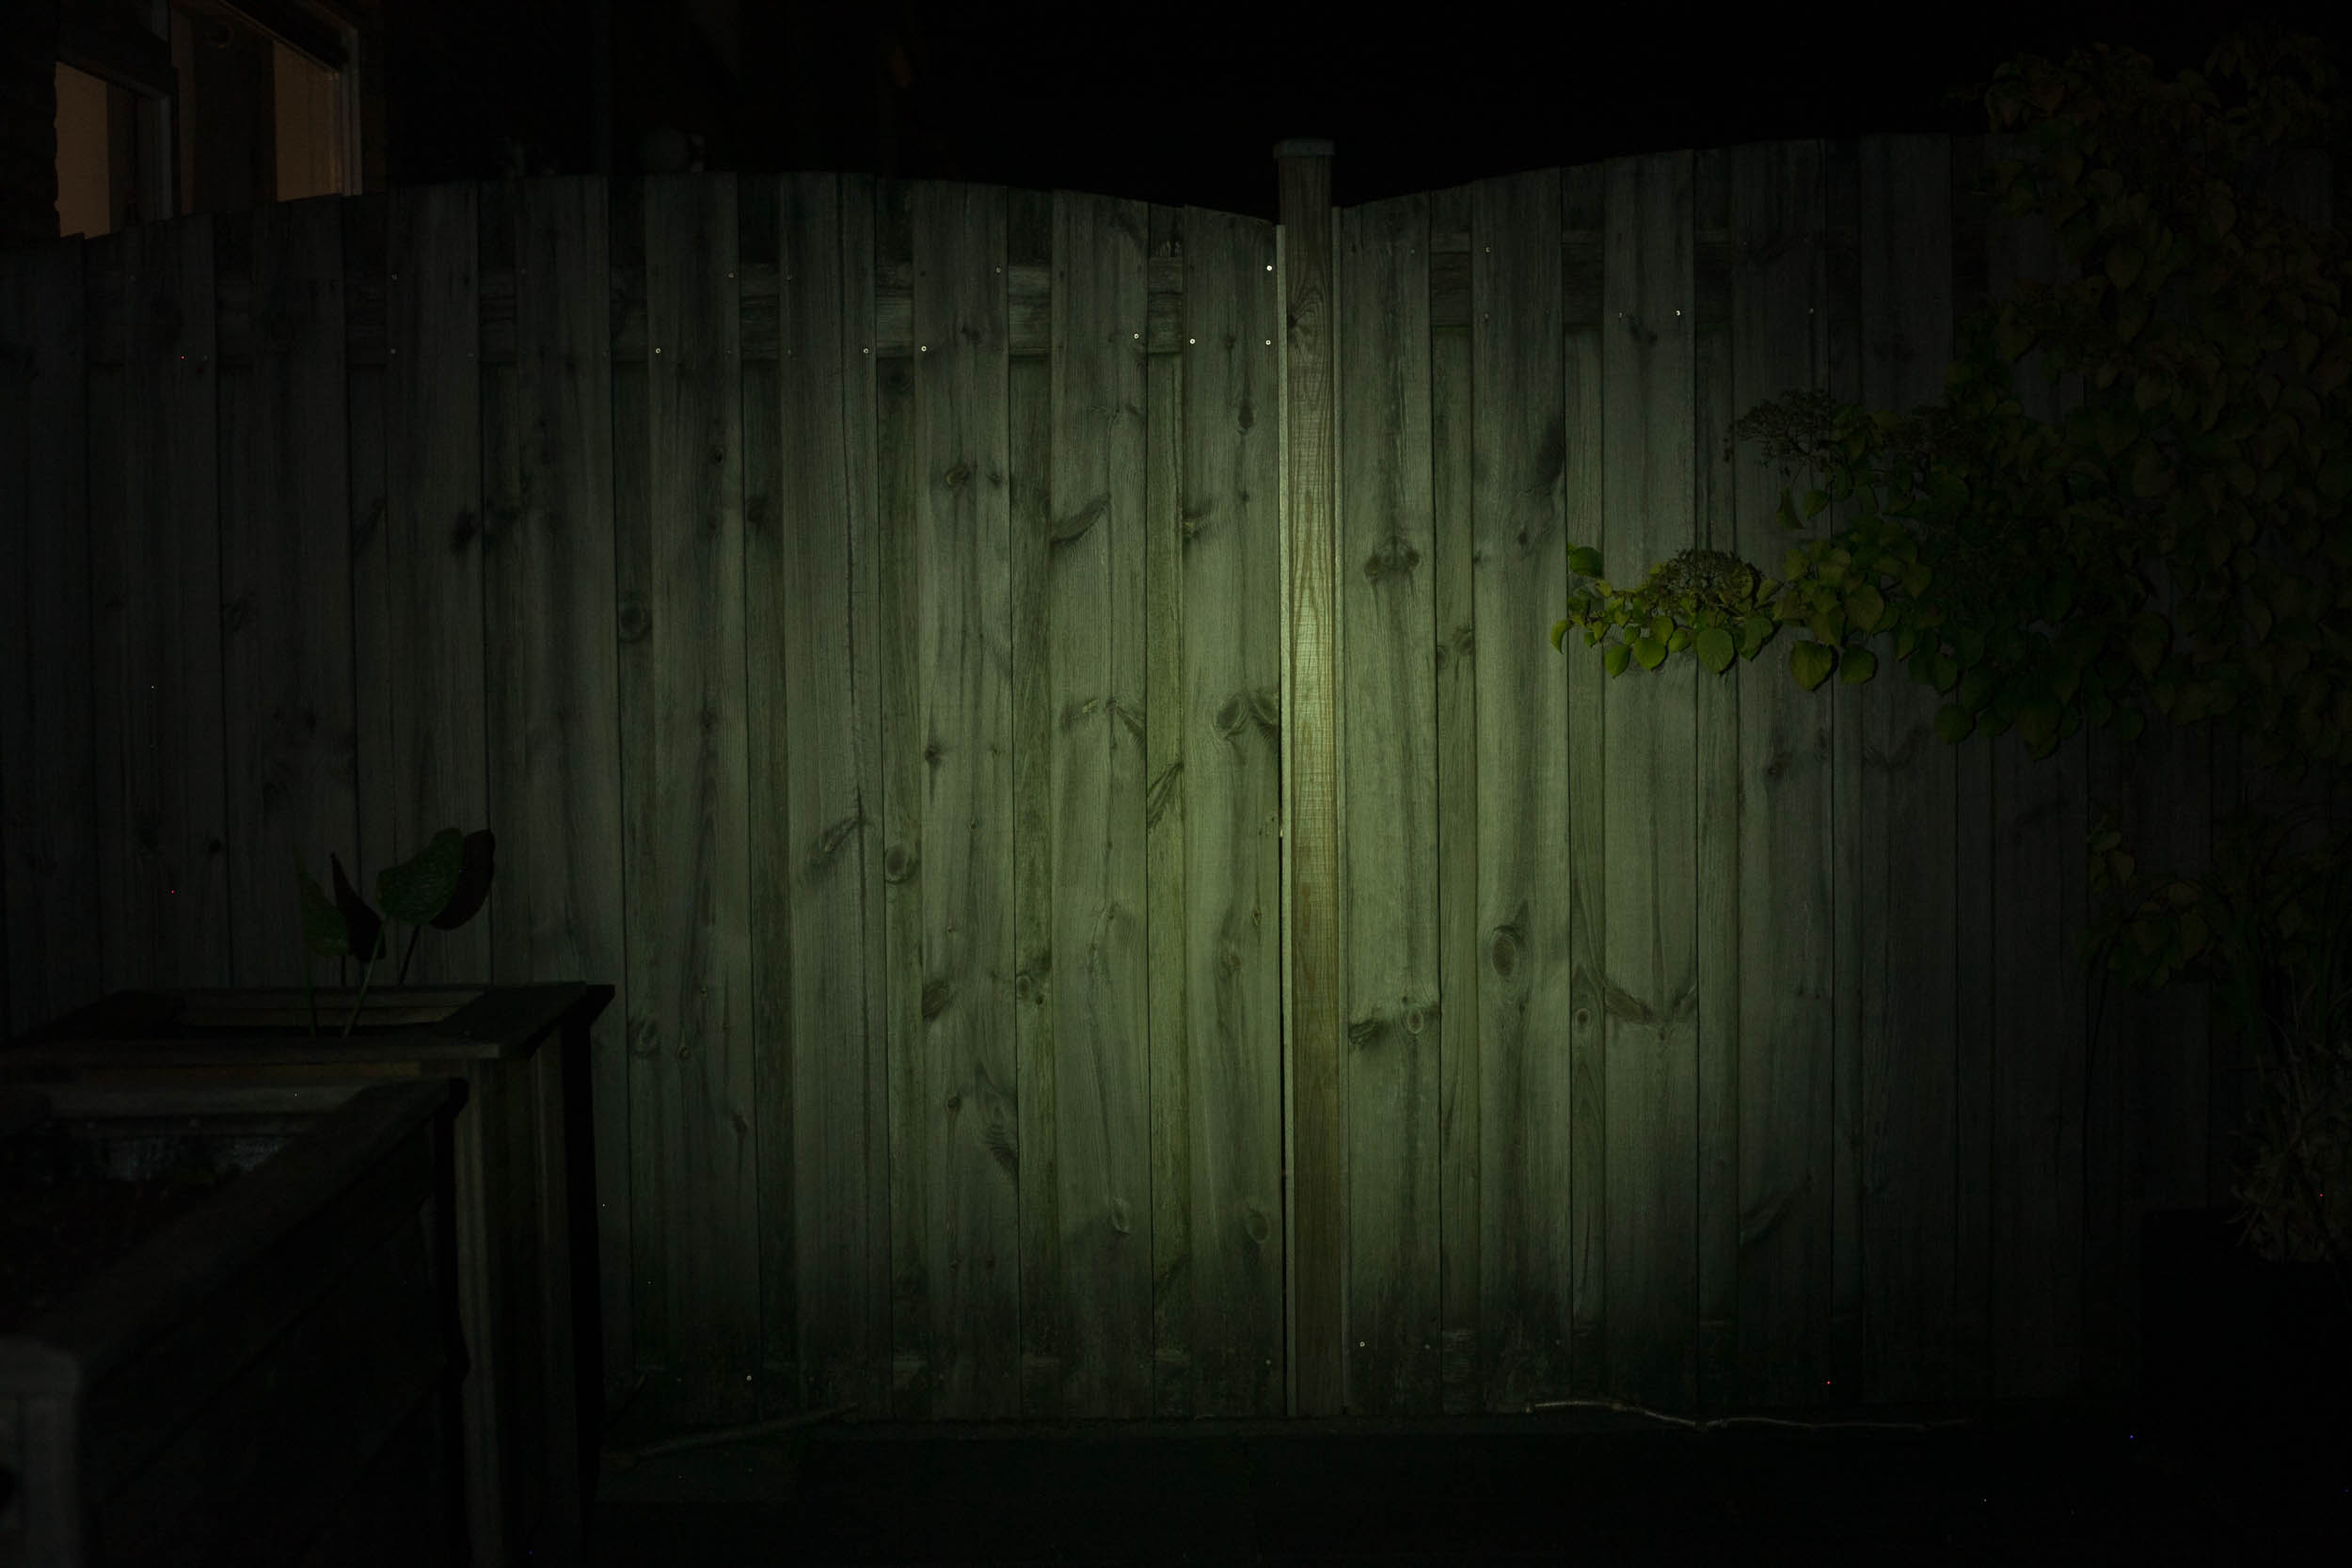
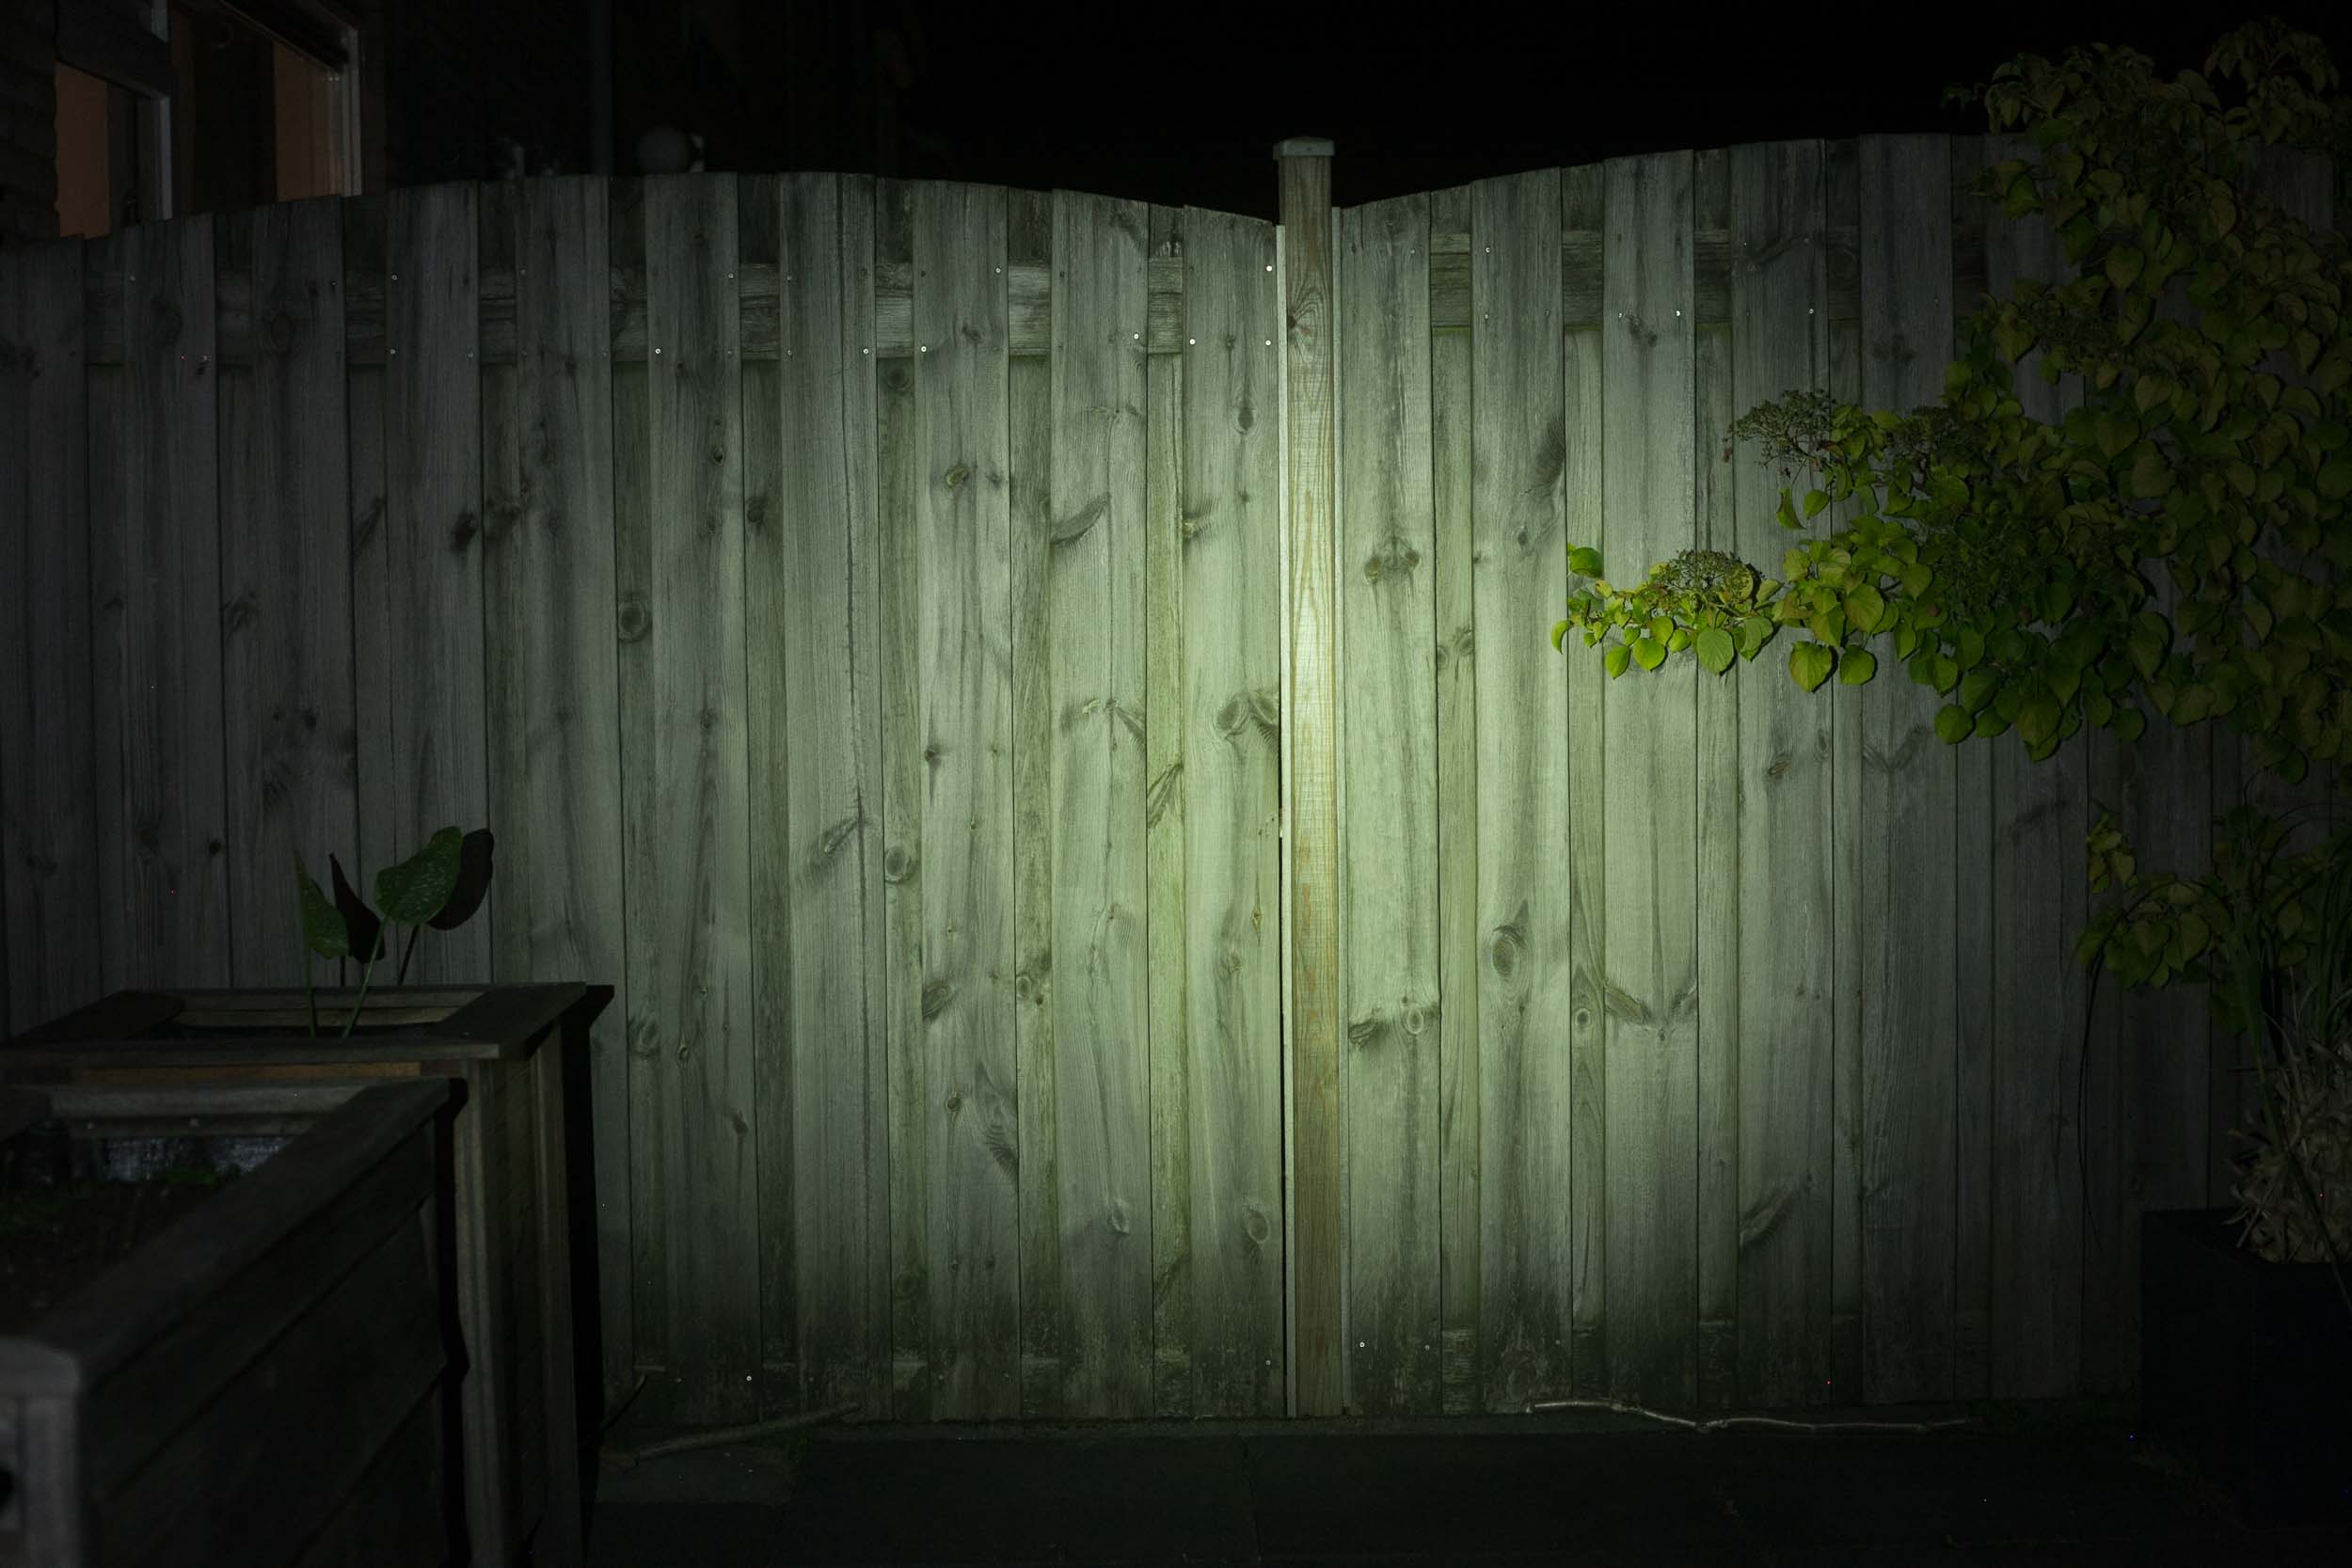
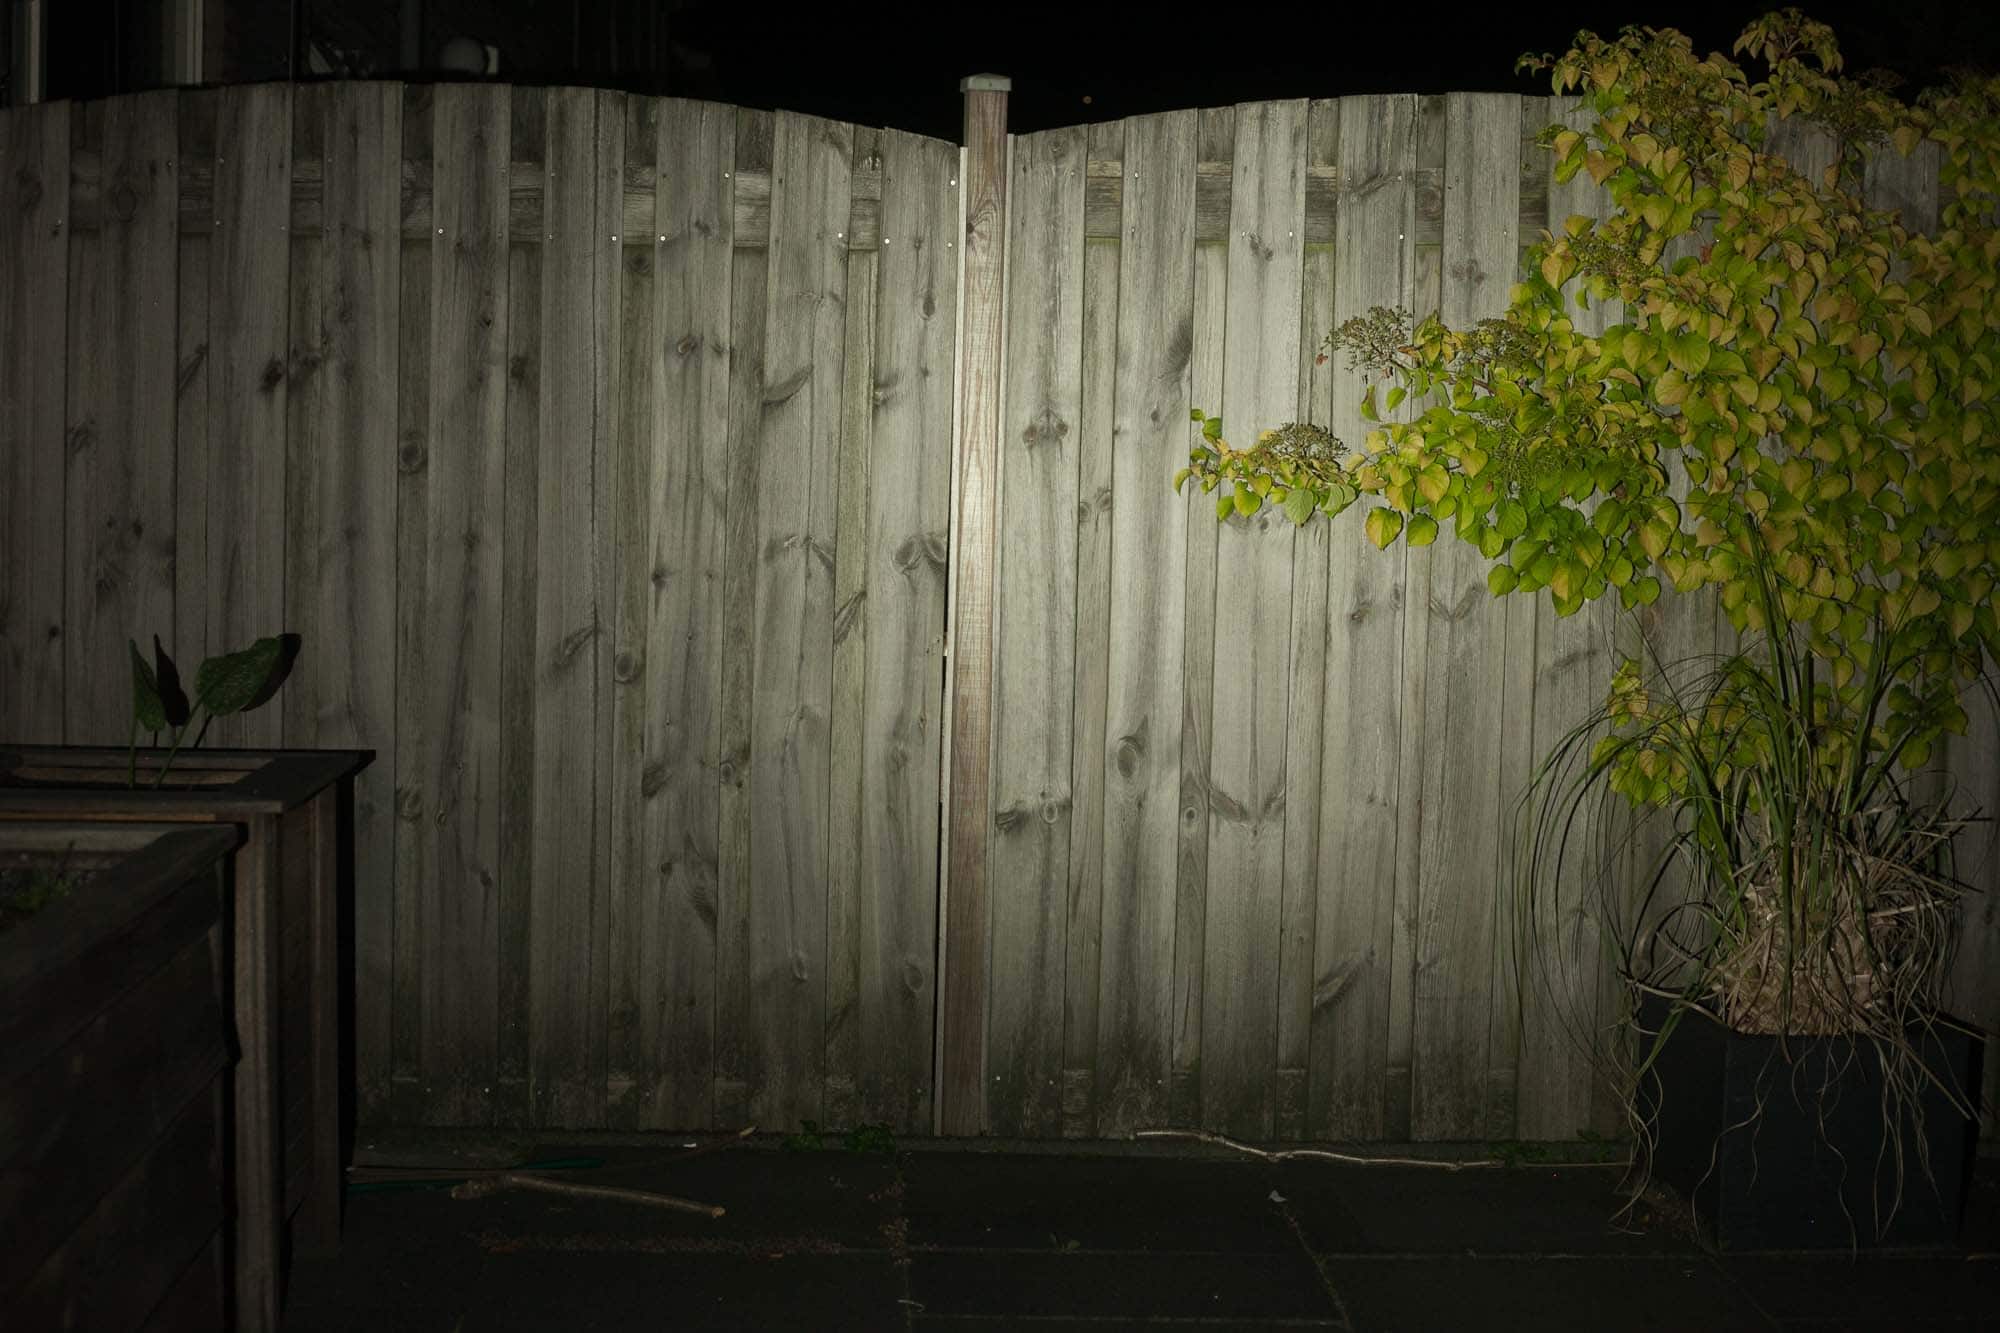
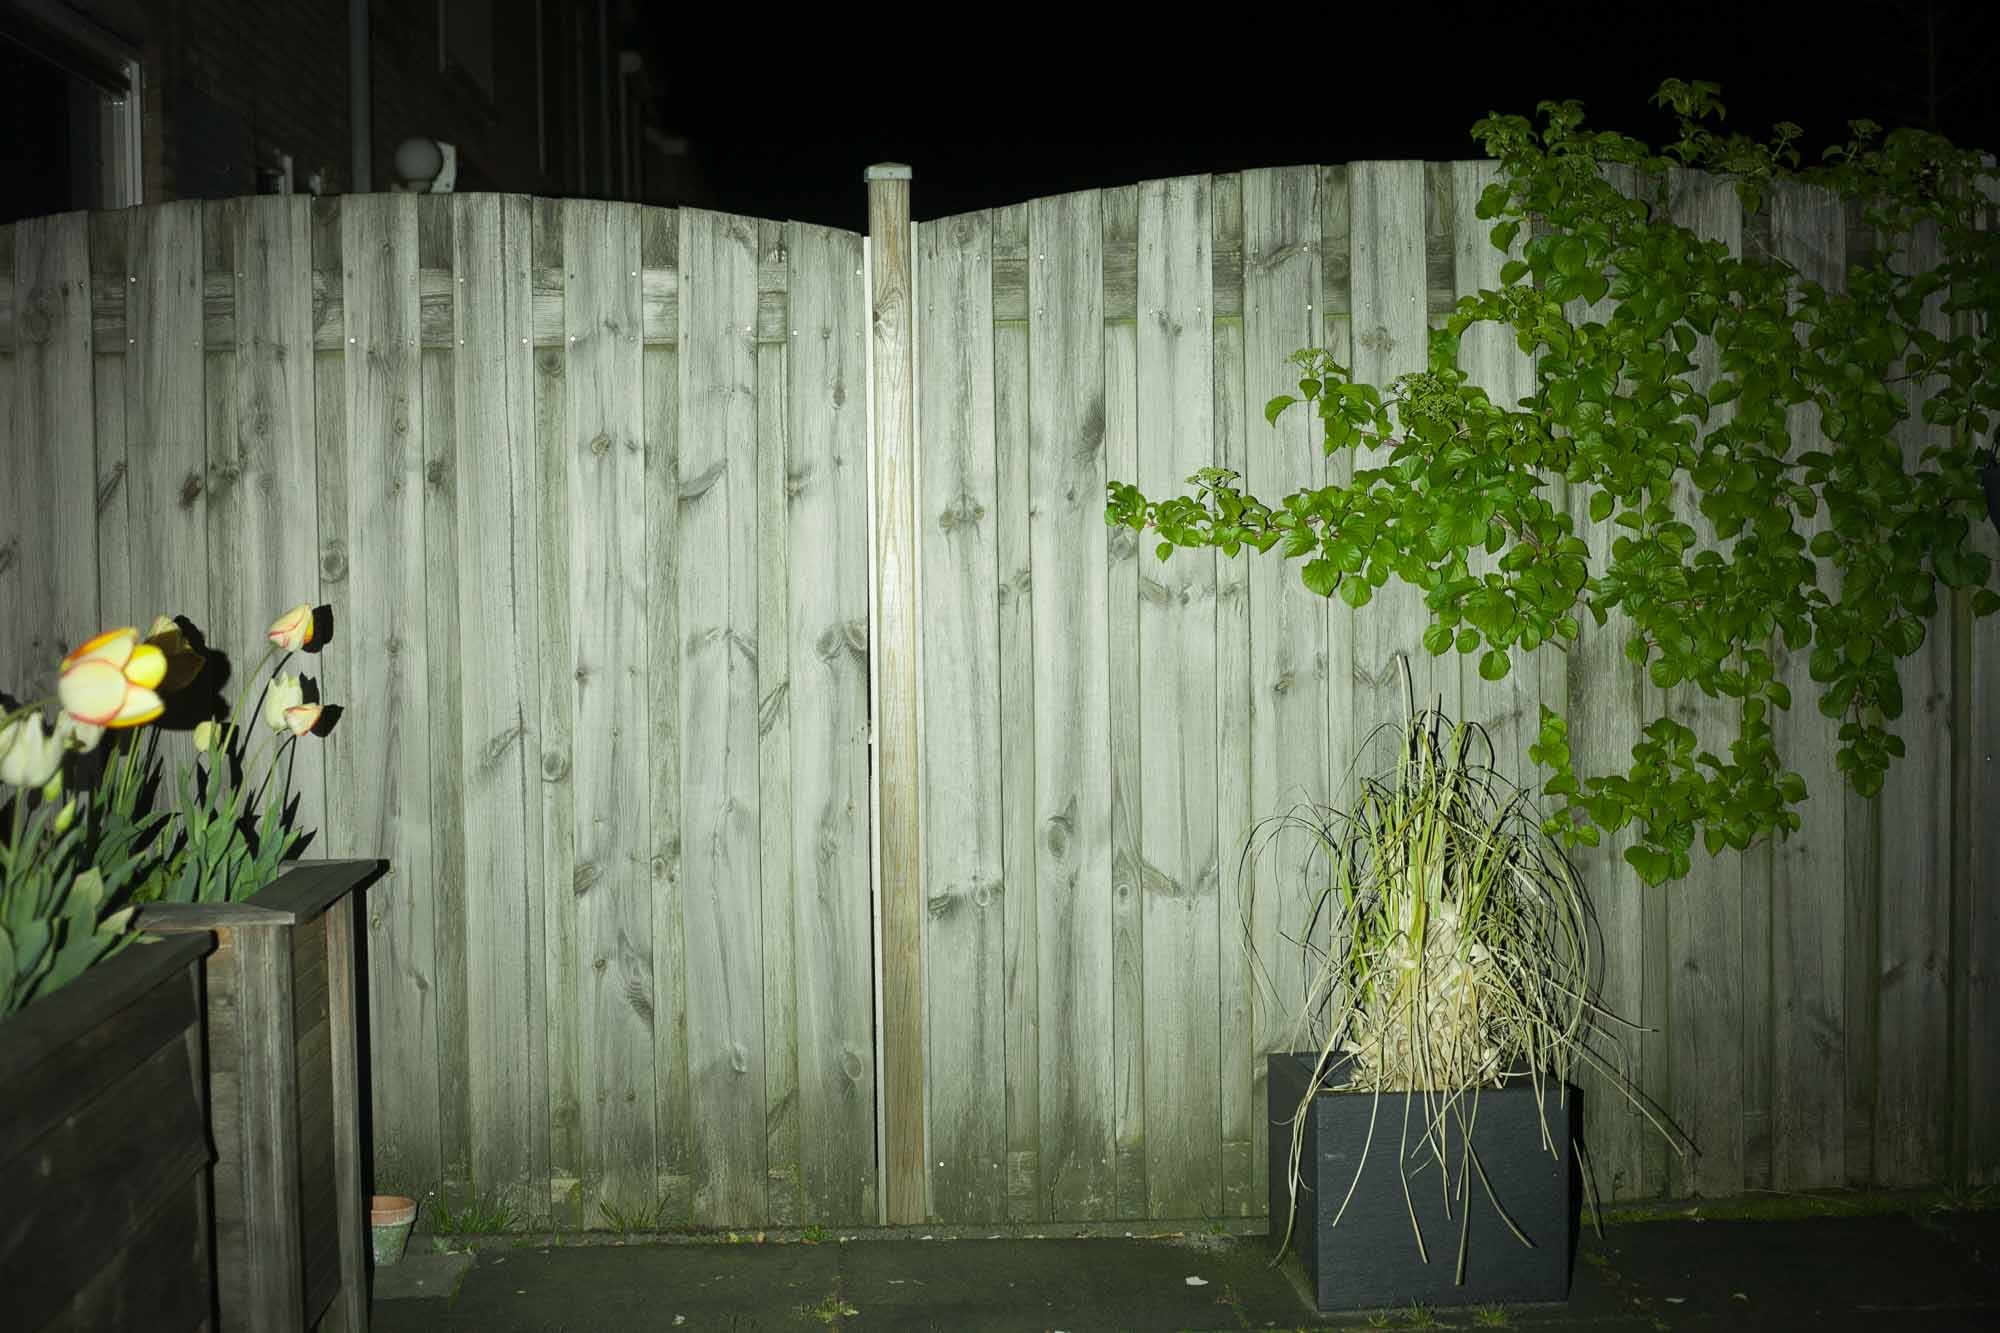
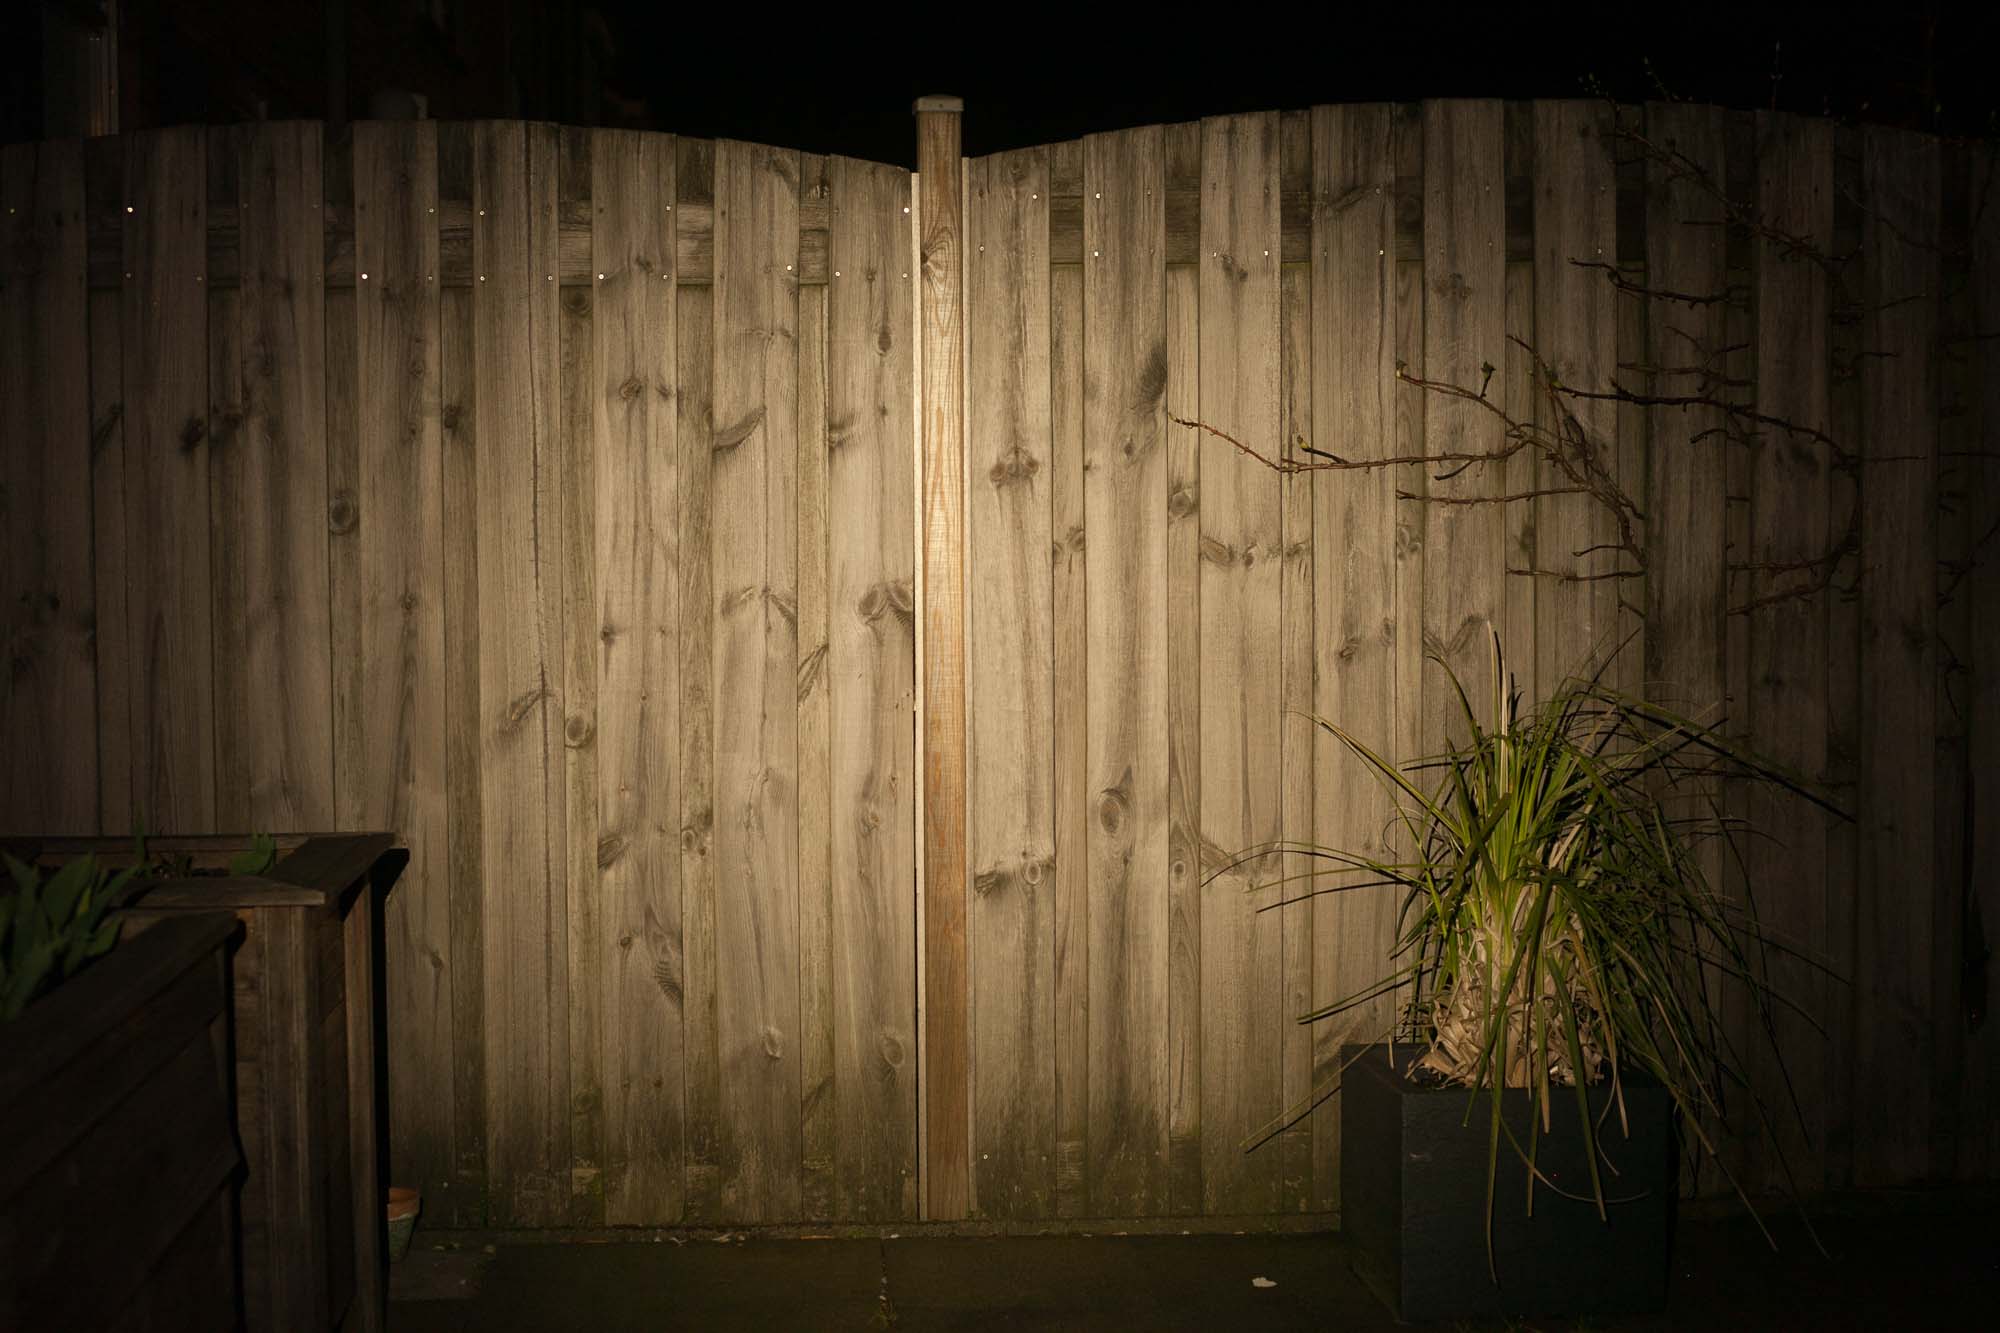
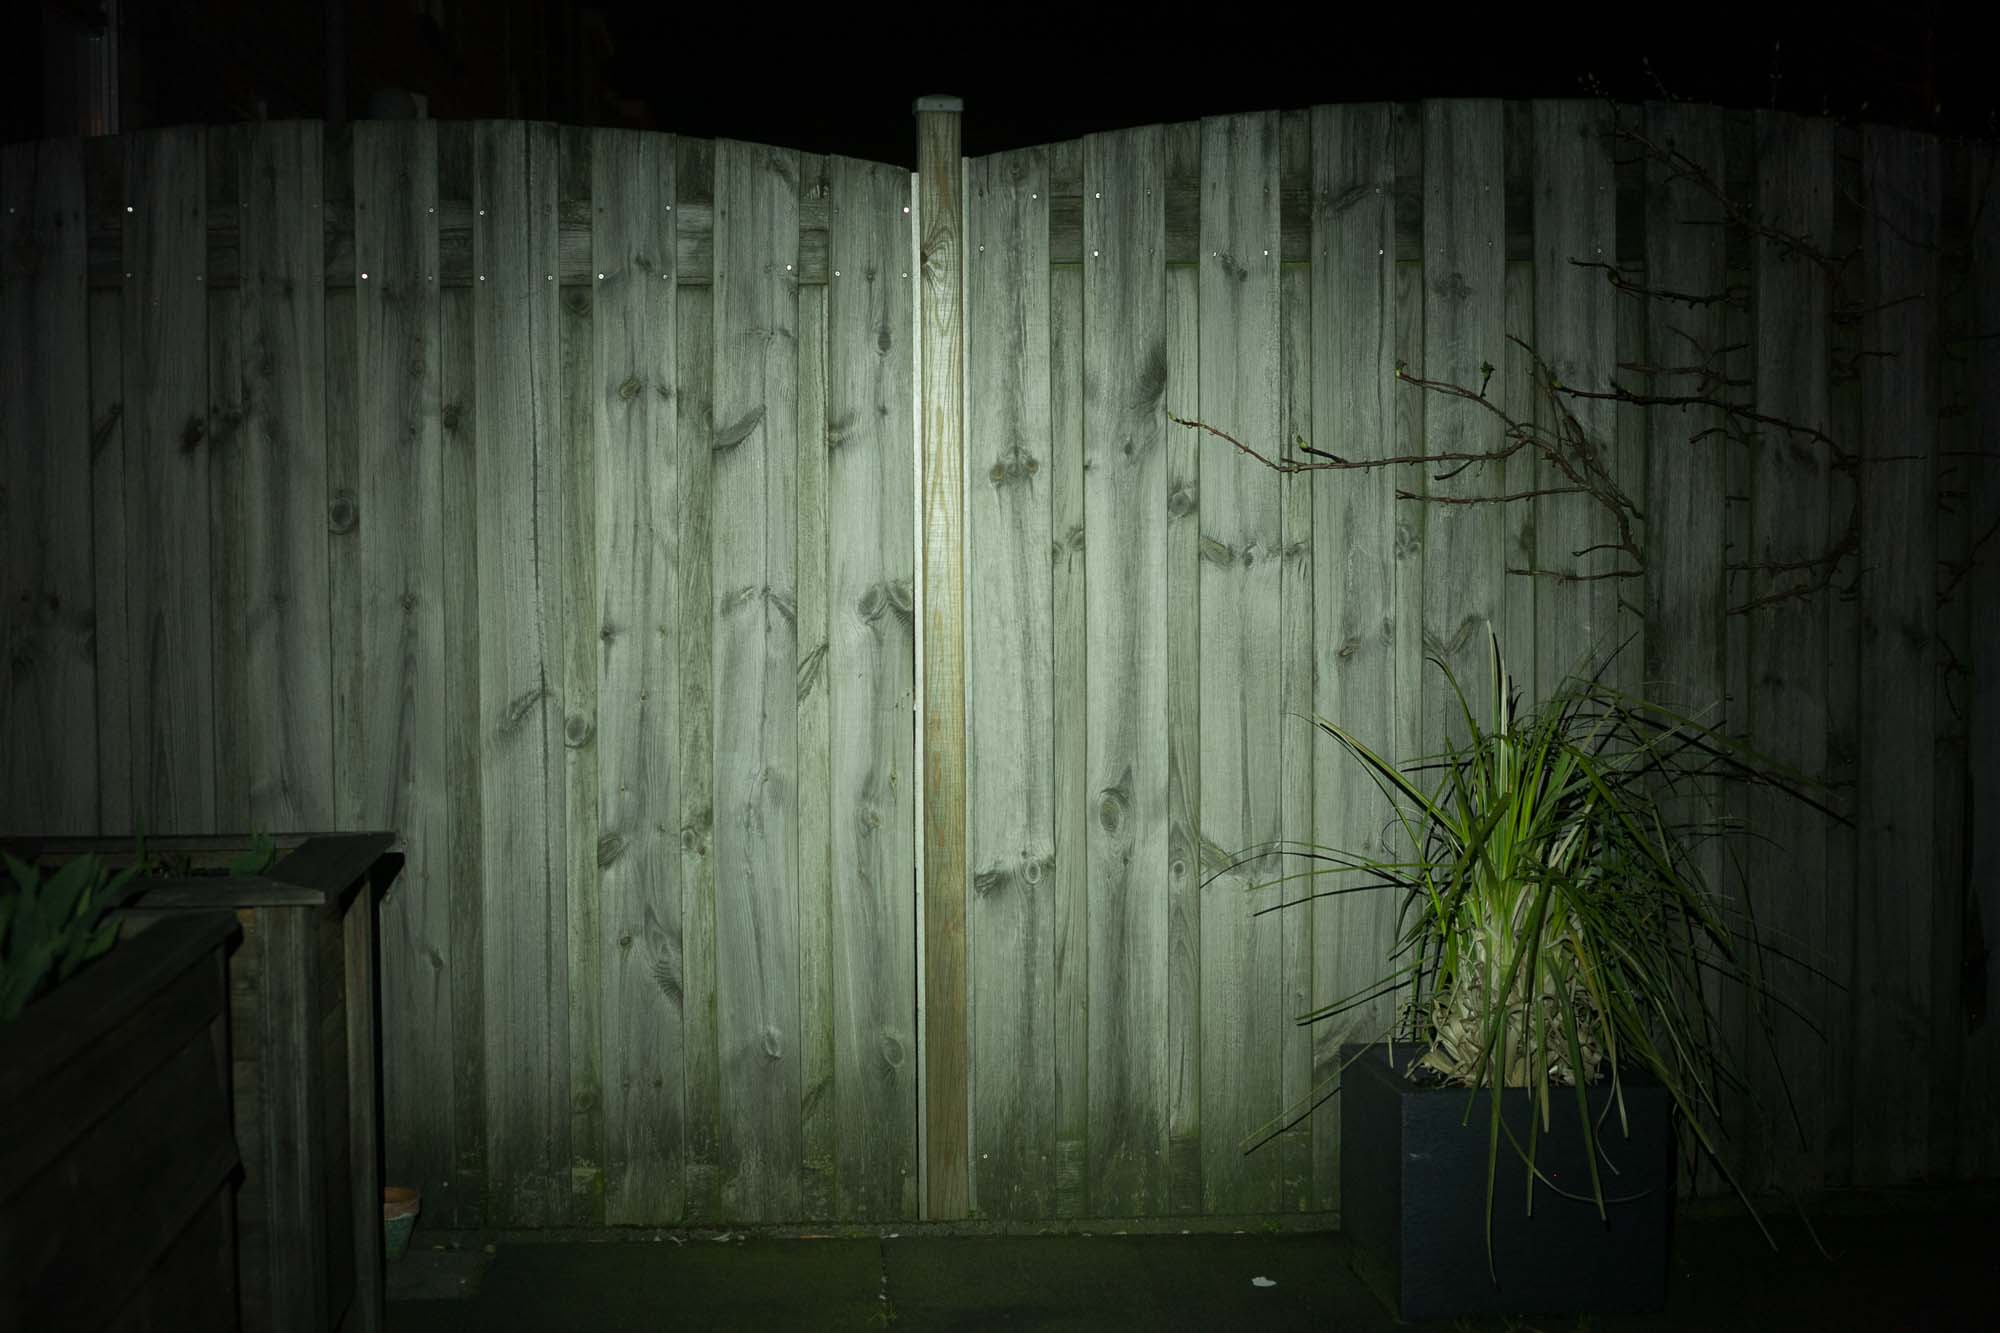
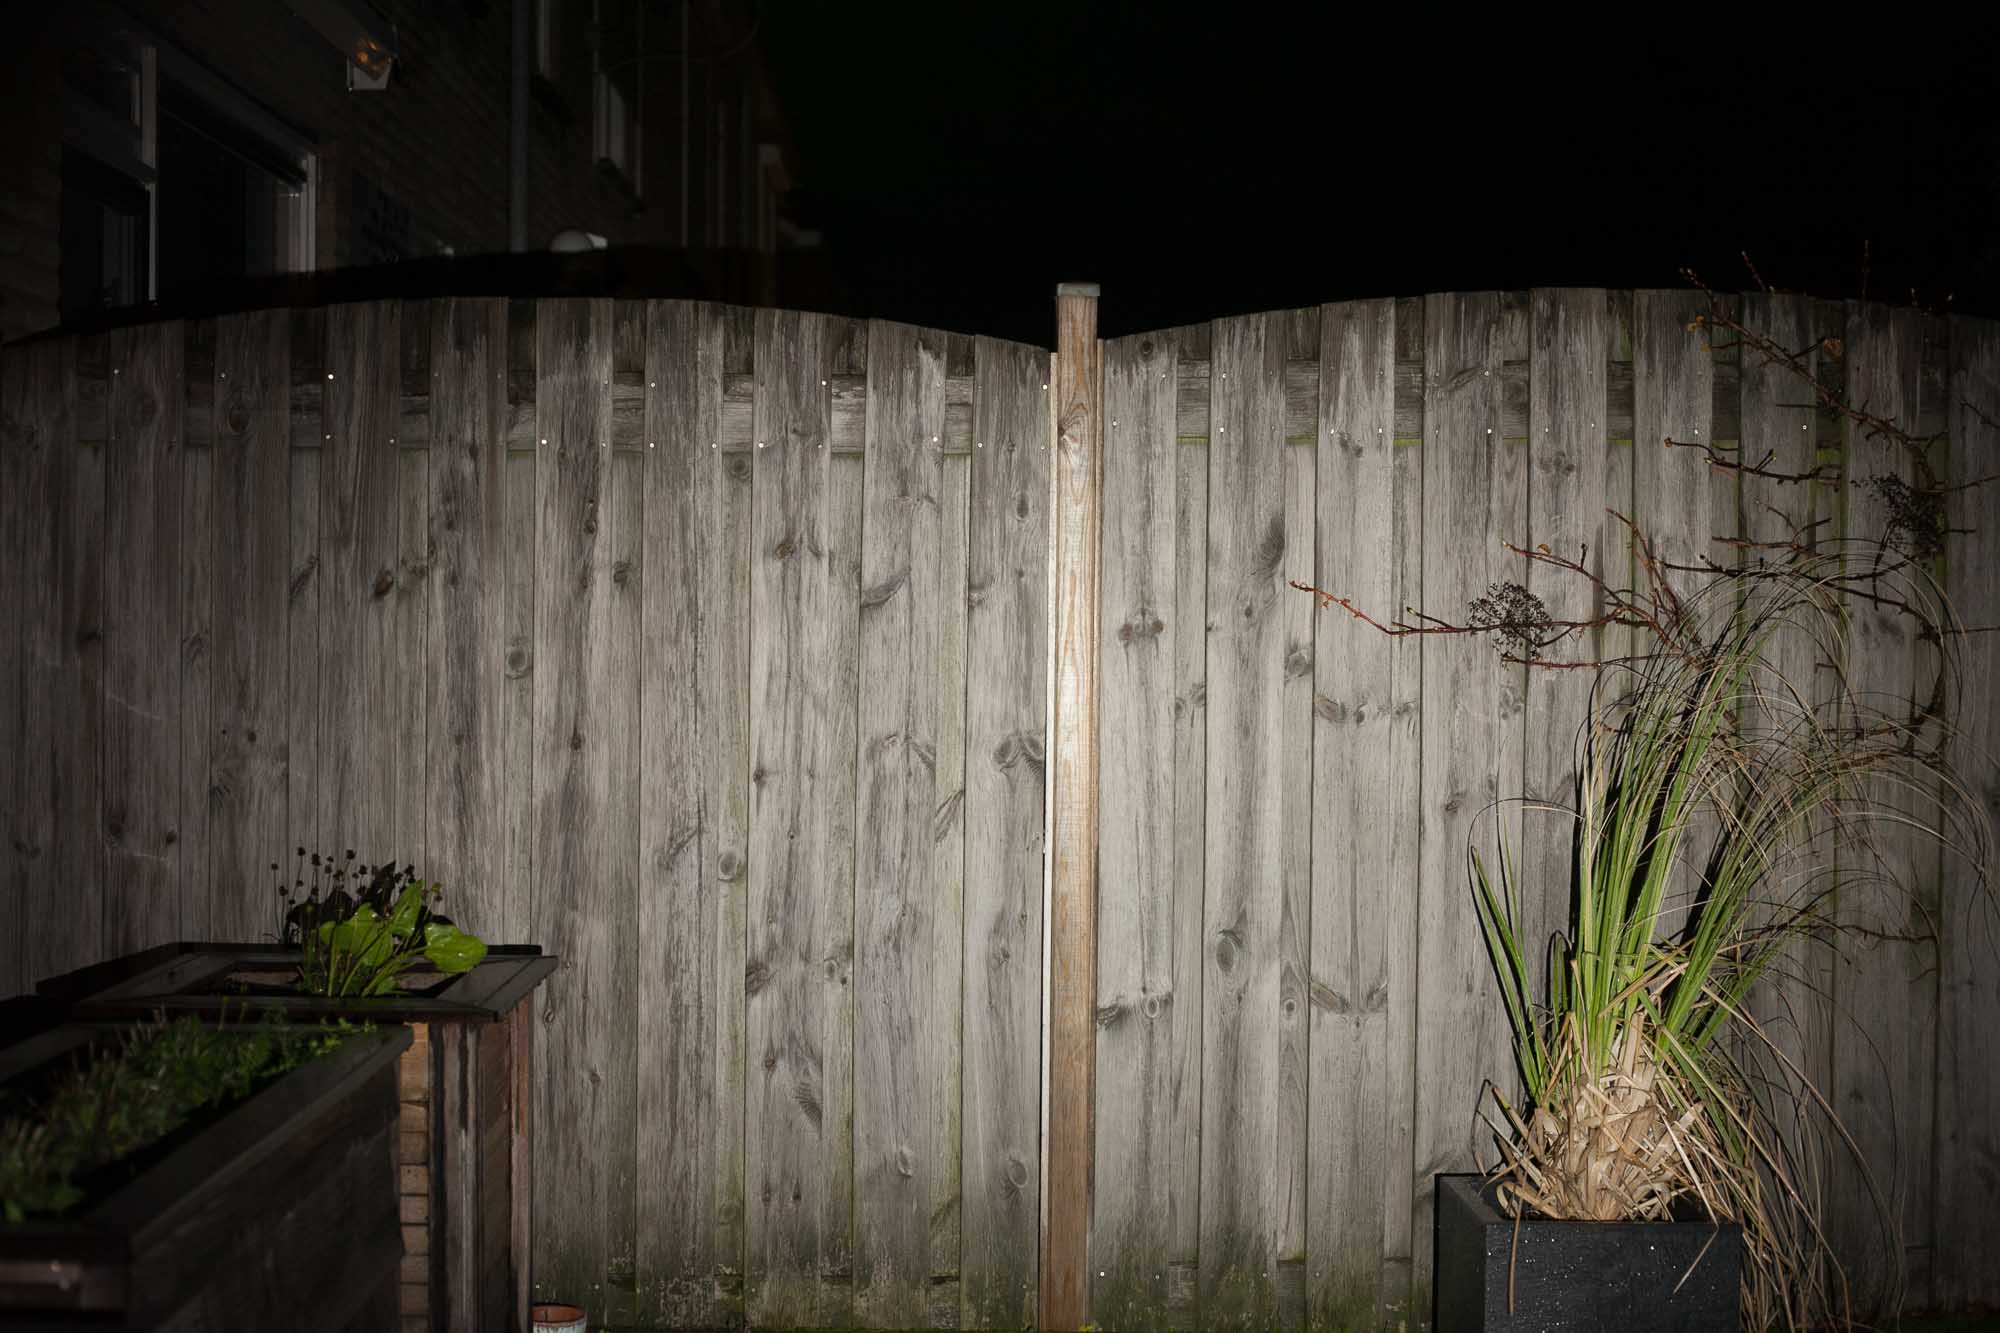
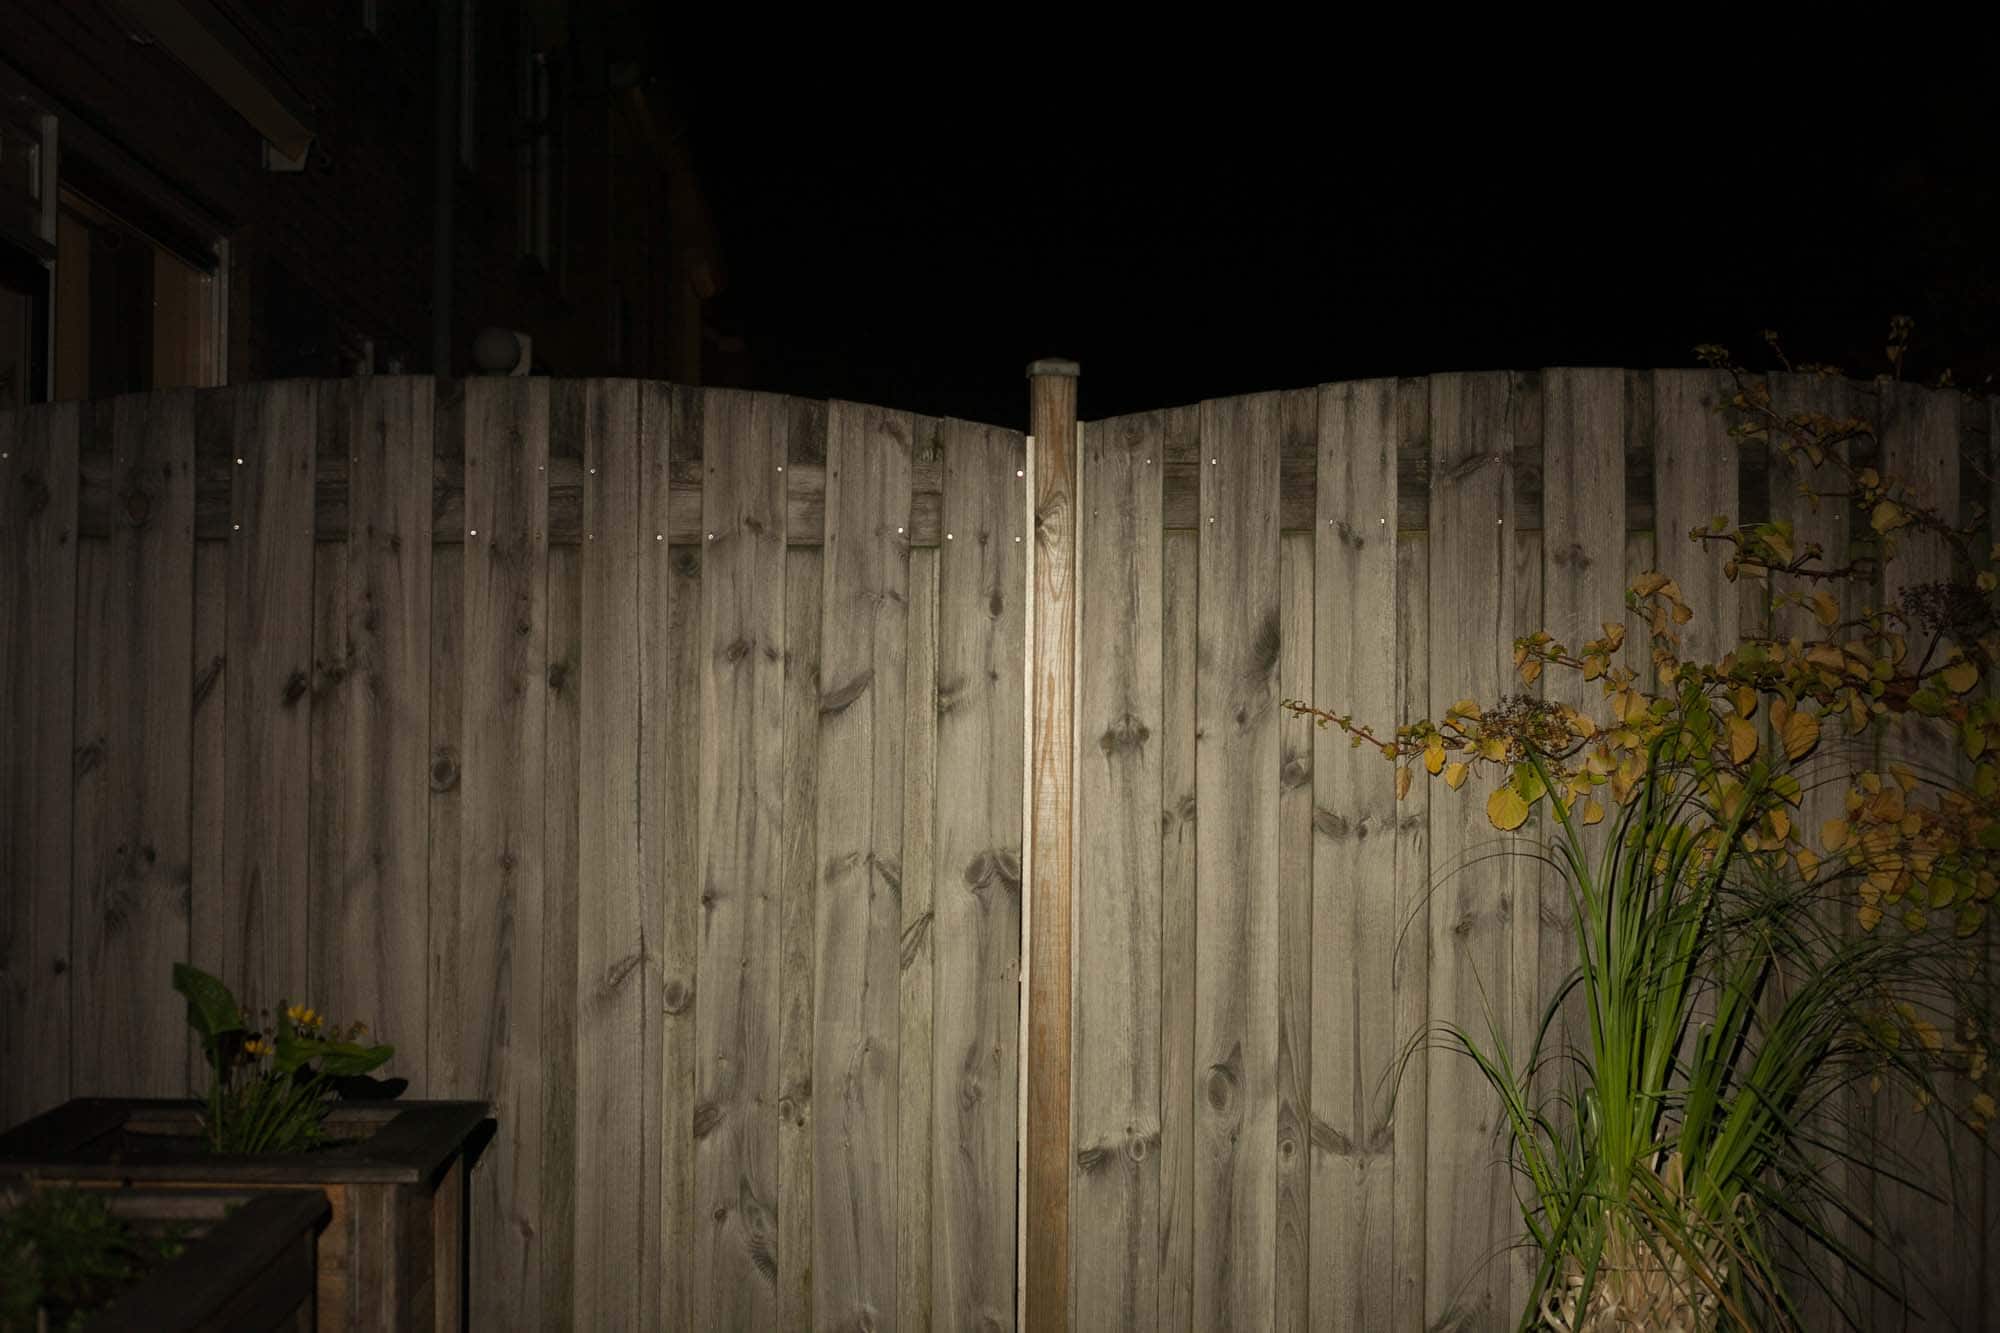
For the following beamshots I used a Canon EOS 5D Mk2 and a 50mm lens. manual settings: ISO1600, 1/30sec , F4, 5000K.
The white wall is about 5 meters away, and the fence about 4 meters.
The following flashlights are compared:
- Olight Oclip
- Wuben X3
- Speras M10 Plus
- Olight i3T EOS
- Olight i5R HCRI 2.4V
- Lumintop EDC01
Disclaimer: This flashlight was sent to me for review at no cost by Olight. I have not been paid to review, nor have I been holding back on problems or defects.
Final Verdict
Pros
- Very handy little clip light
- Clip can be attached to many things, up to 13mm thickness
- 3-ways of carrying
- Good runtimes
- Stable output throughout runtimes
- Includes a built-in battery, and charging cable so you don’t need to buy a charger
Cons
- Built-in batteries will eventually die, and it looks impossible to open
- UI needs just a little getting used to, but still easy to understand
- Not reaching claimed output
Explanation on star ratings:
1: Avoid: my phone flashlight would be a better choice – 2: Poor: significant defect or issues; almost unusable – 3: Average: some defects or issues; but still usable 4: Good: recommended (minor issues) – 5: Great: highly recommended
4.5 stars: ★★★★⋆
For the scenarios this light was built for, I think it does a pretty good job, with some pretty good performance results.
The red light is a nice way to be seen by other people, behind you in traffic for example. But it’s not bright enough to see anything more than a map.
However, the white light is plenty bright at almost 280 lumens at turn on, and for such a small light, that’s not bad at all. And even after it drops, it runs for a good number of minutes. But it didn’t meet the specified output in my testing.
But as a clip-on light, this is pretty cool. Now I’m waiting for Olight to make a reading light next.
Buy your Olight Oclip with a discoun
Use our exclusive 1lumen discount code to get an extra 10% off anything you order at Olightstore.com (USA). Coupon code: 1lumen
1lumen selects and reviews products personally. We may earn affiliate commissions through our links, which help support our testing.
