1lumen selects and reviews products personally. We may earn affiliate commissions through our links, which help support our testing.
Olight Warrior Mini 3 review
Olight Warrior Mini 3 specifications
| Brand/model | Olight Warrior Mini 3 |
|---|---|
| Flashlight category | EDC / tactical |
| LED | N/A (high performance LED 5700-6700K) |
| Max. output | 1,750 Lumens |
| Max. beam distance | 240 meters |
| Max. beam intensity | 14,400 cd |
| Battery config. | 1*18650 |
| Onboard charging | Proprietary Magnetic charging |
| Modes | 5 |
| Blinkies | N/A |
| Waterproof | IPX8 |
| Review date | July 2023 |
Review intro:
Olight is a well know flashlight manufacturer with lots and lots of different kinds of flashlights in their arsenal.
The Warrior series is very popular, and the one we are reviewing today is the 3rd edition of the very popular Olight Warrior Mini series.
It was sold originally as a short tactical flashlight, but it seems like it has become more of a mix between an EDC flashlight and Tactical flashlight.
While the 2nd generation upgraded its maximum lumen output from 1,500 lumens to 1,750 lumens, the 3rd edition doesn’t have an increase in output. Instead, it reduced its size a bit, and included an upgraded proximity sensor. This is added for safety reasons, so you don’t burn your pants, when activating the Warrior Mini by accident.
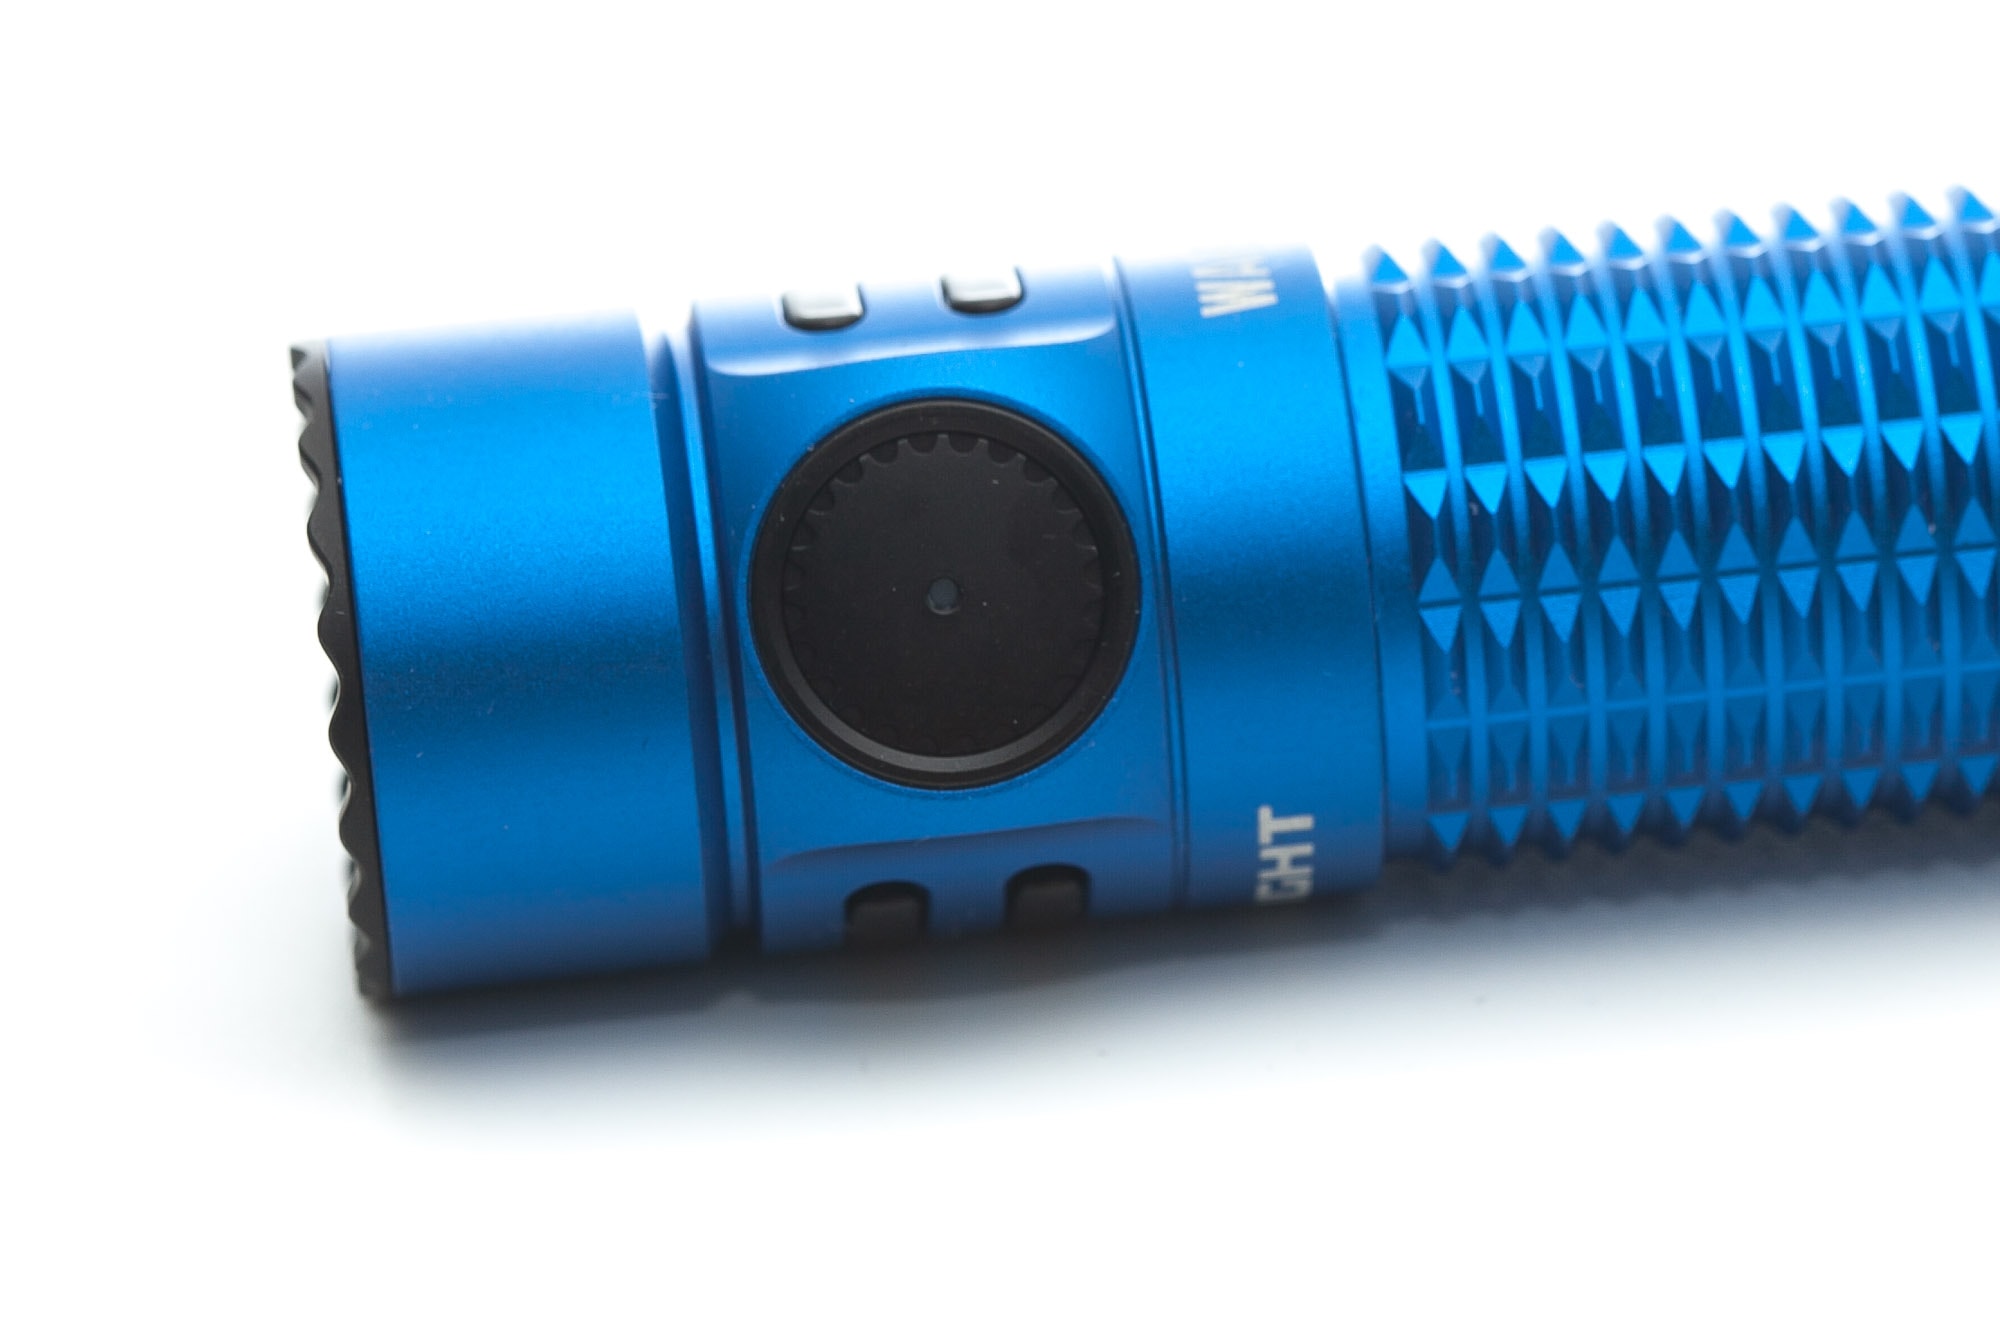
And on top of that, the magnetic tail-switch received an update with new ‘Nano molding technology’ so removing any metal dust will be easier. The other upgrade is a bigger side switch.
But is that all worth the upgrade?
Let’s find out!
Package quality.
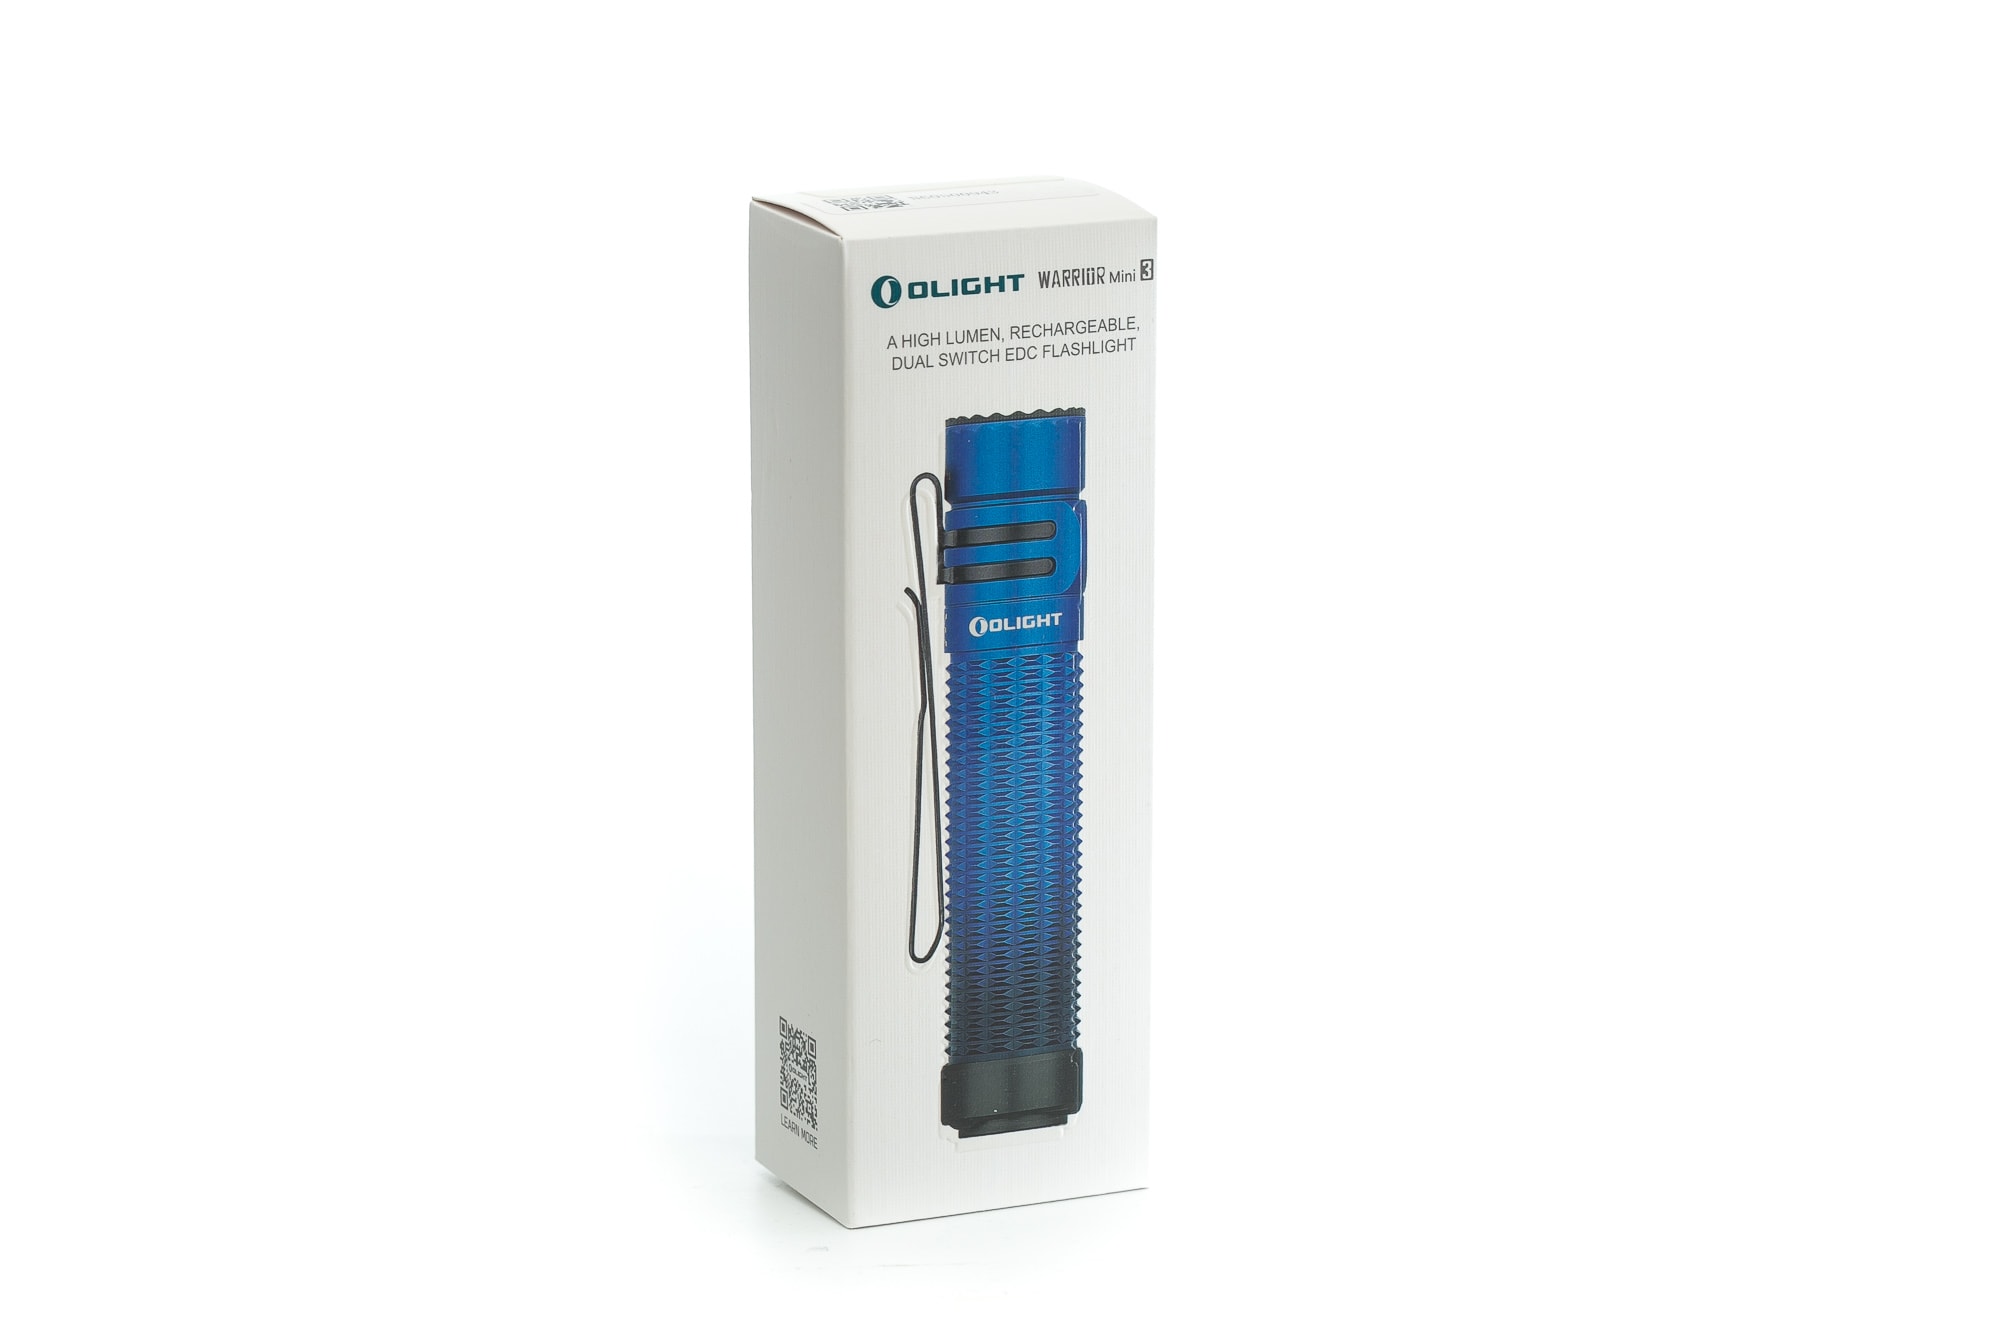
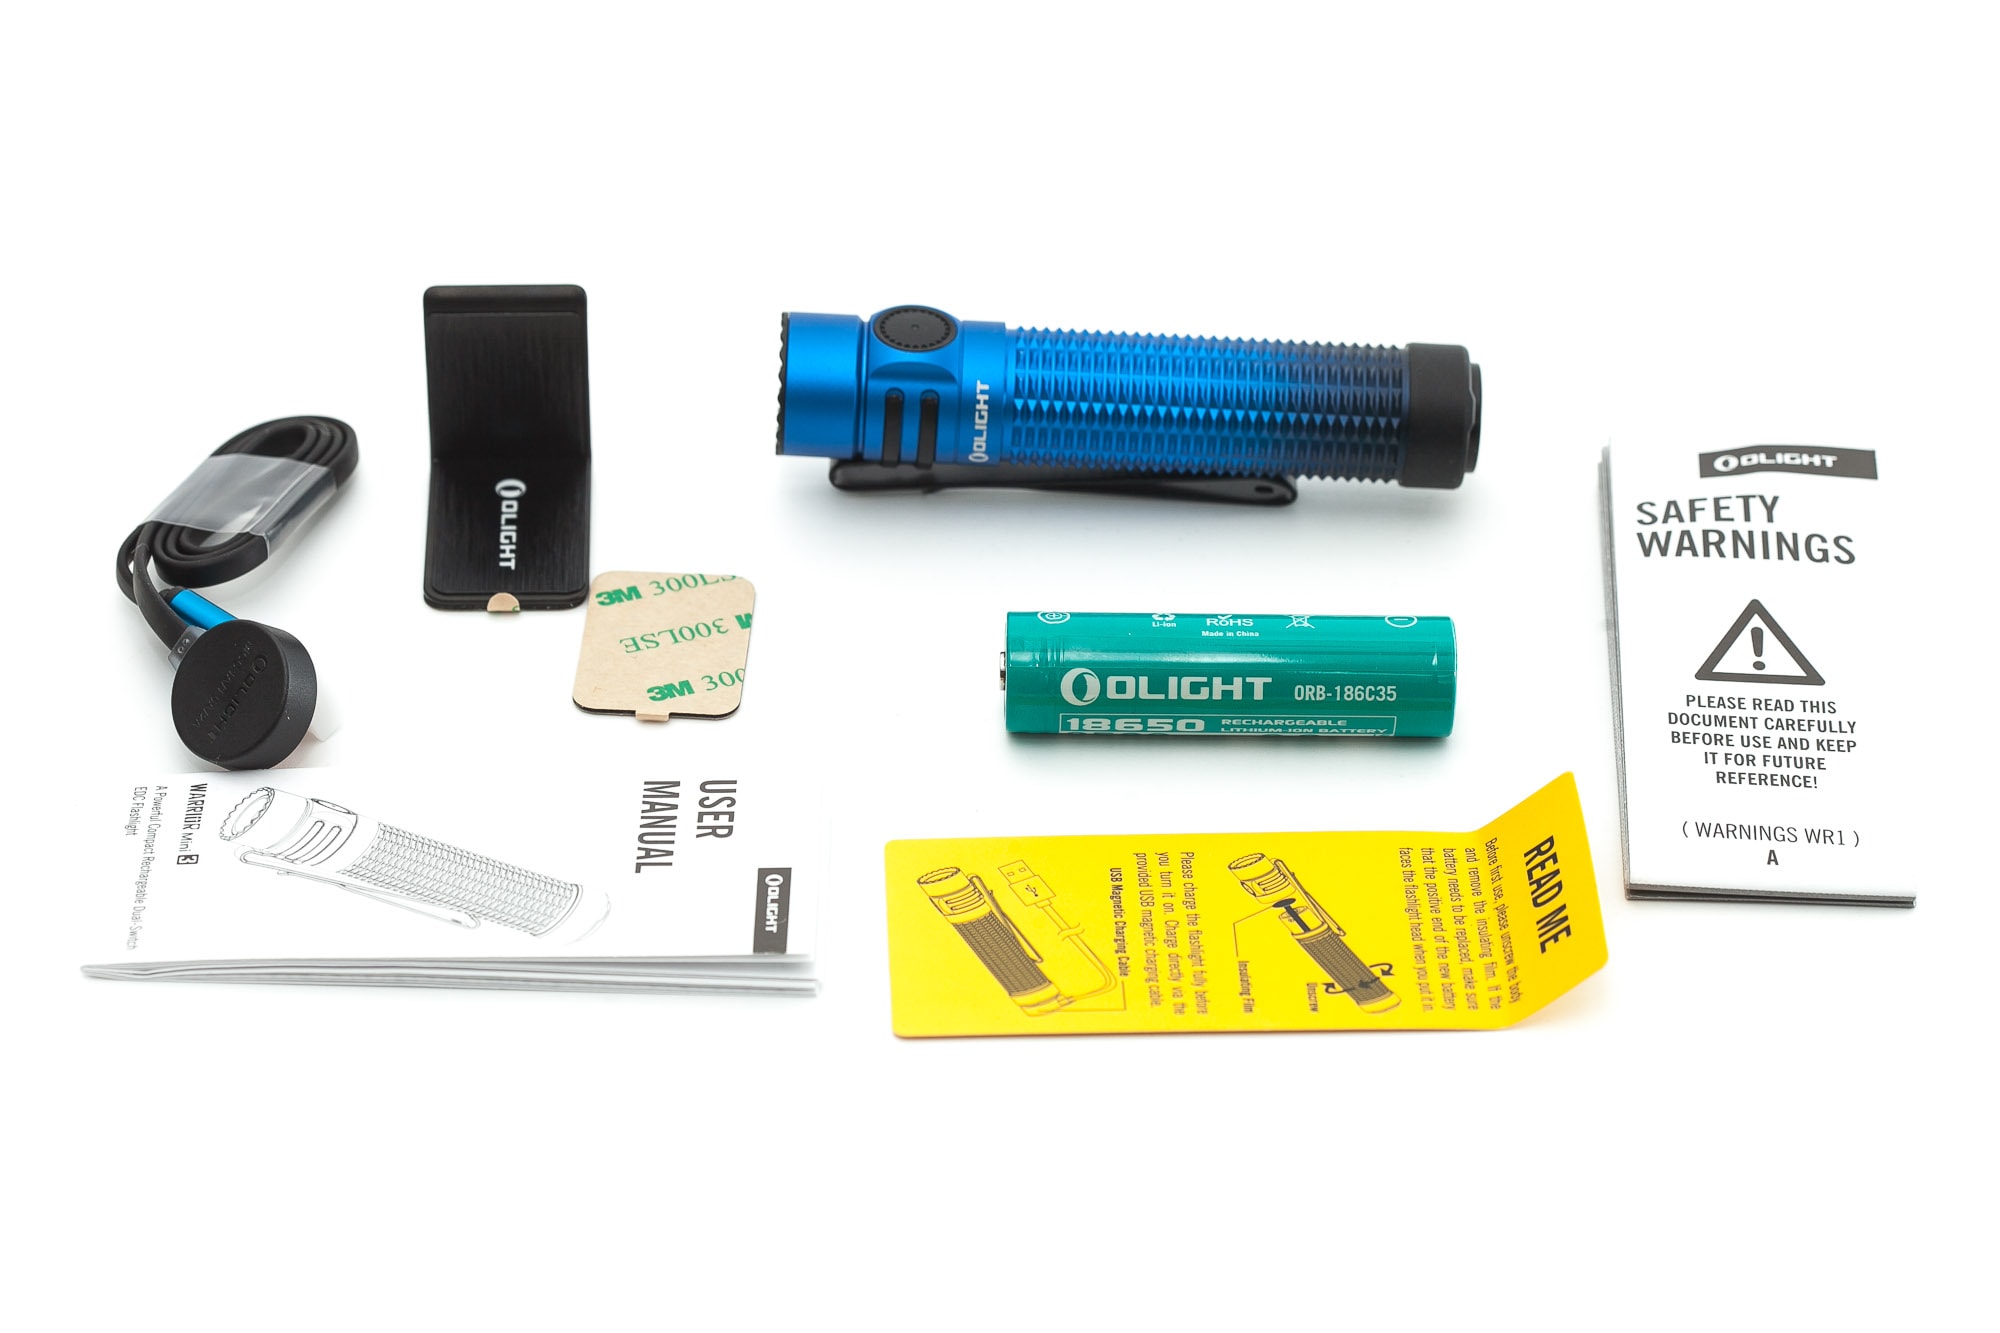
When it comes to packaging, Olight never really disappoints, even with their cheapest products. The presentation of the Warrior Mini 3 is no exception. You’ll find the following in the box:
- Olight Warrior Mini 3
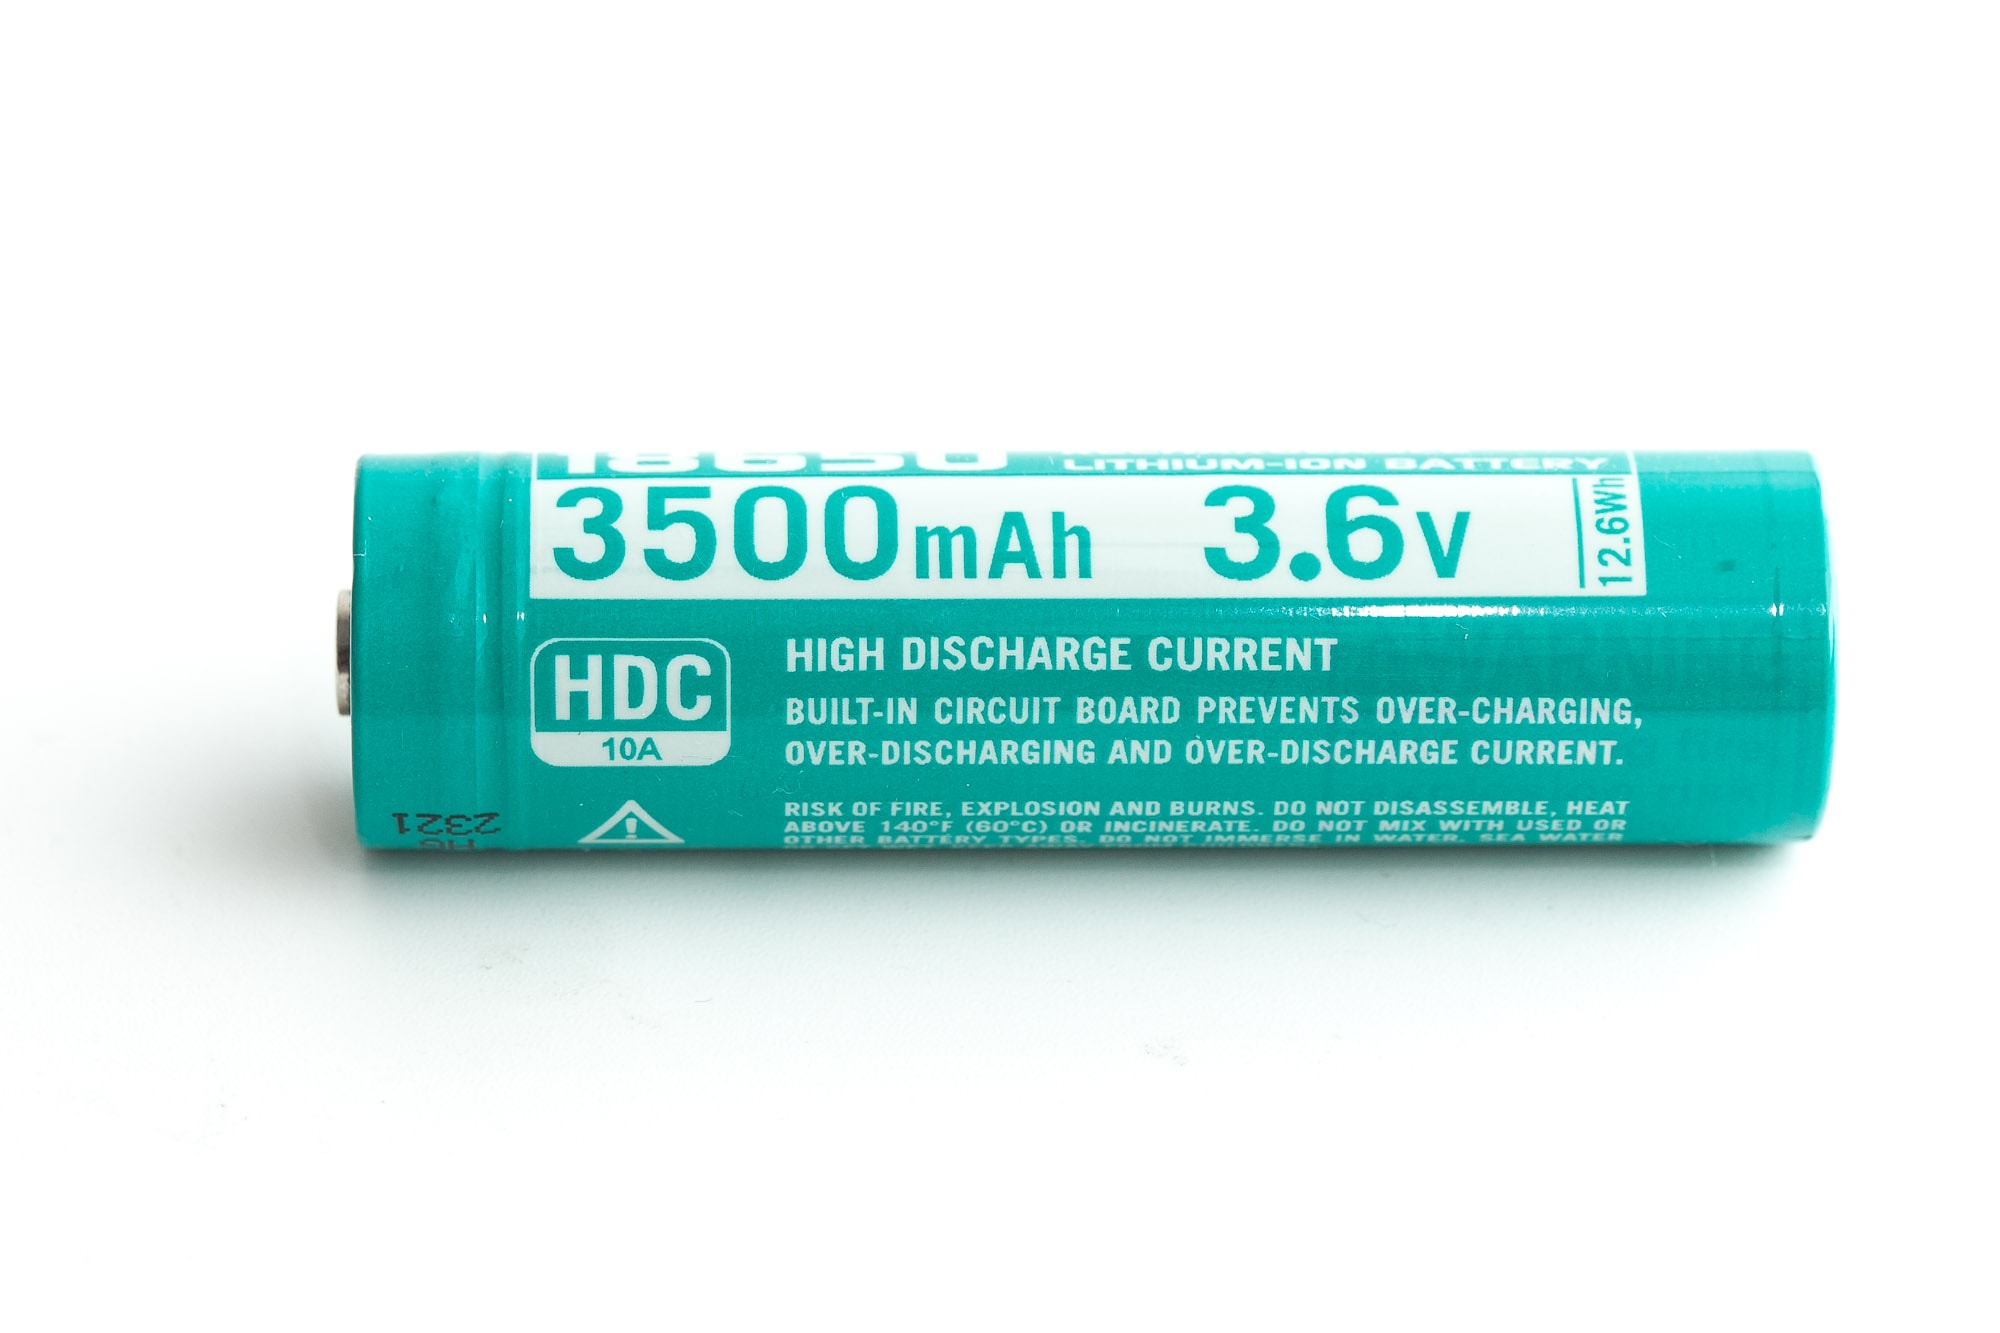
- 3500mAh 18650 battery (loaded in the flashlight)
- Pocket clip (pre-attached)
- MCC3 charging adapter
- L-bracket
- Manual in many languages
Flashlight in use
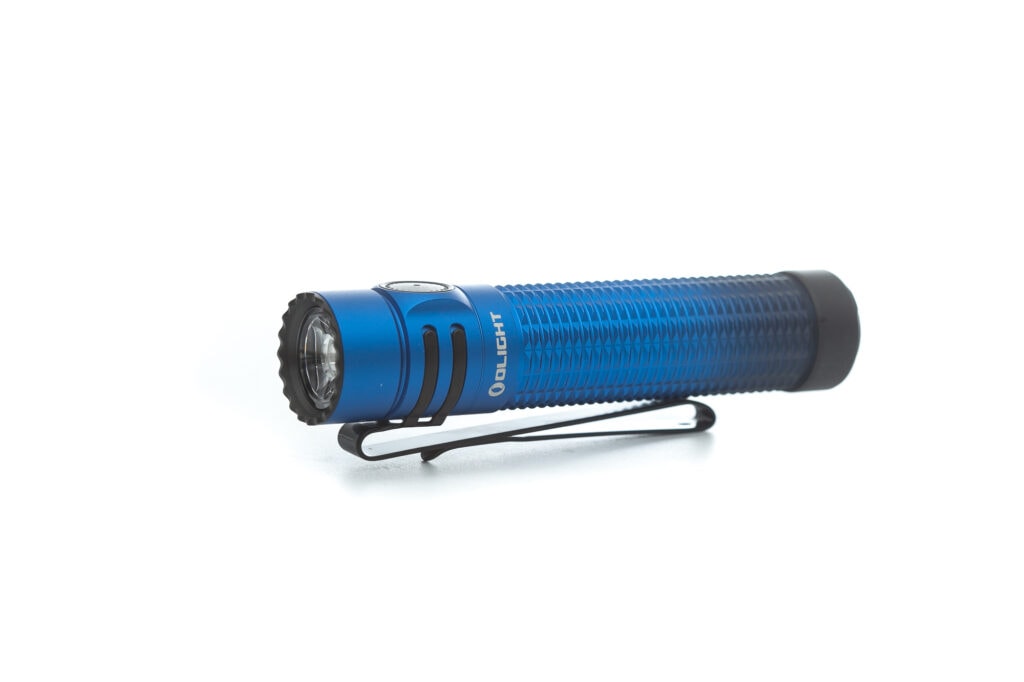
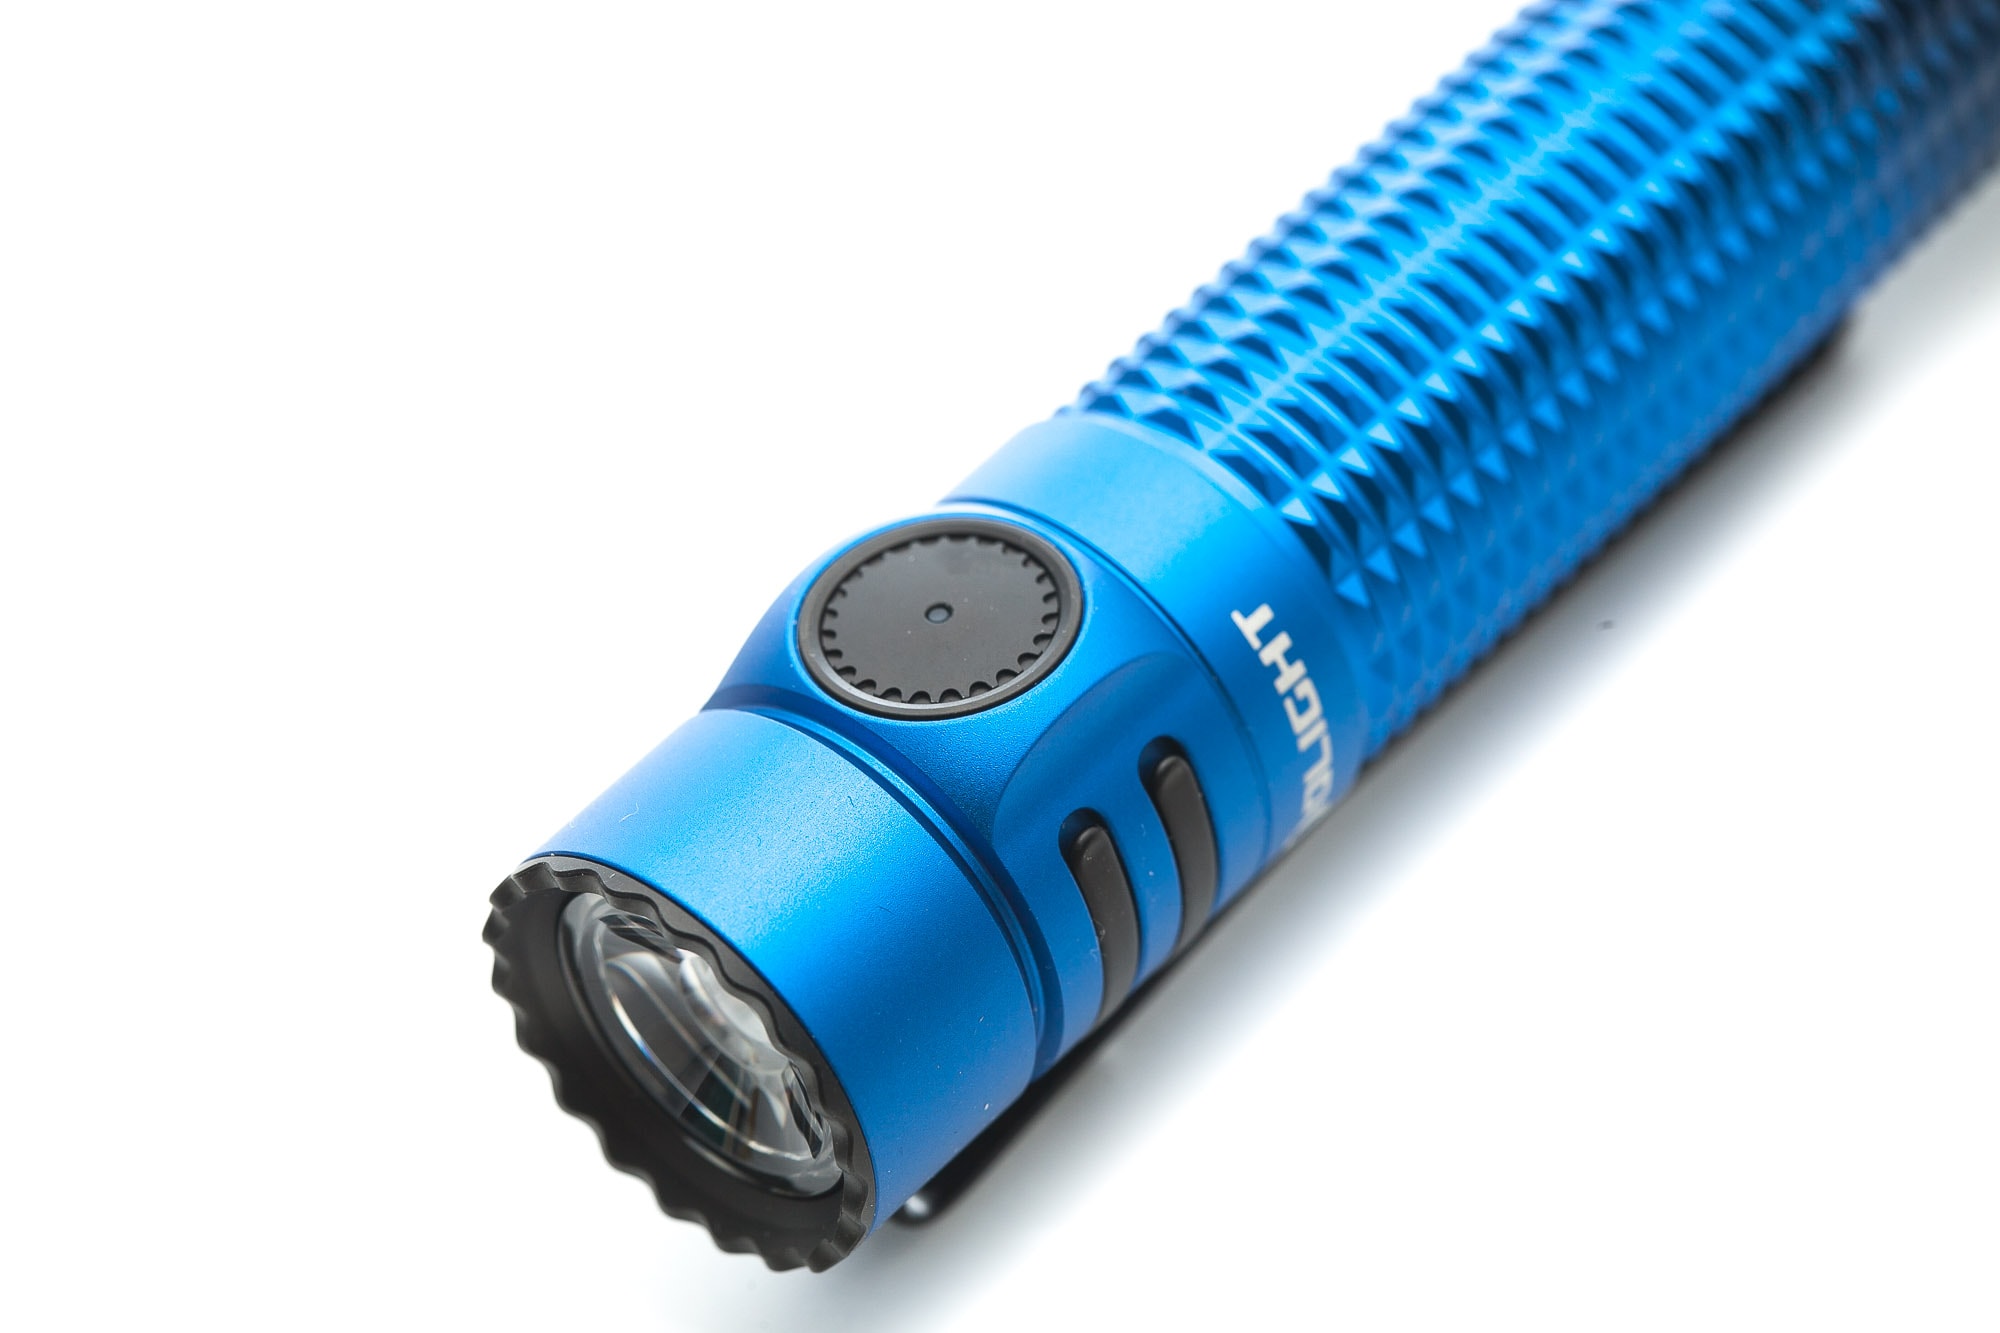
A new generation flashlight usually looke quite similar to its previous model, but that’s definitely not always the case. But the v3 looks relatively close to the v2, except for a few small details like its head.
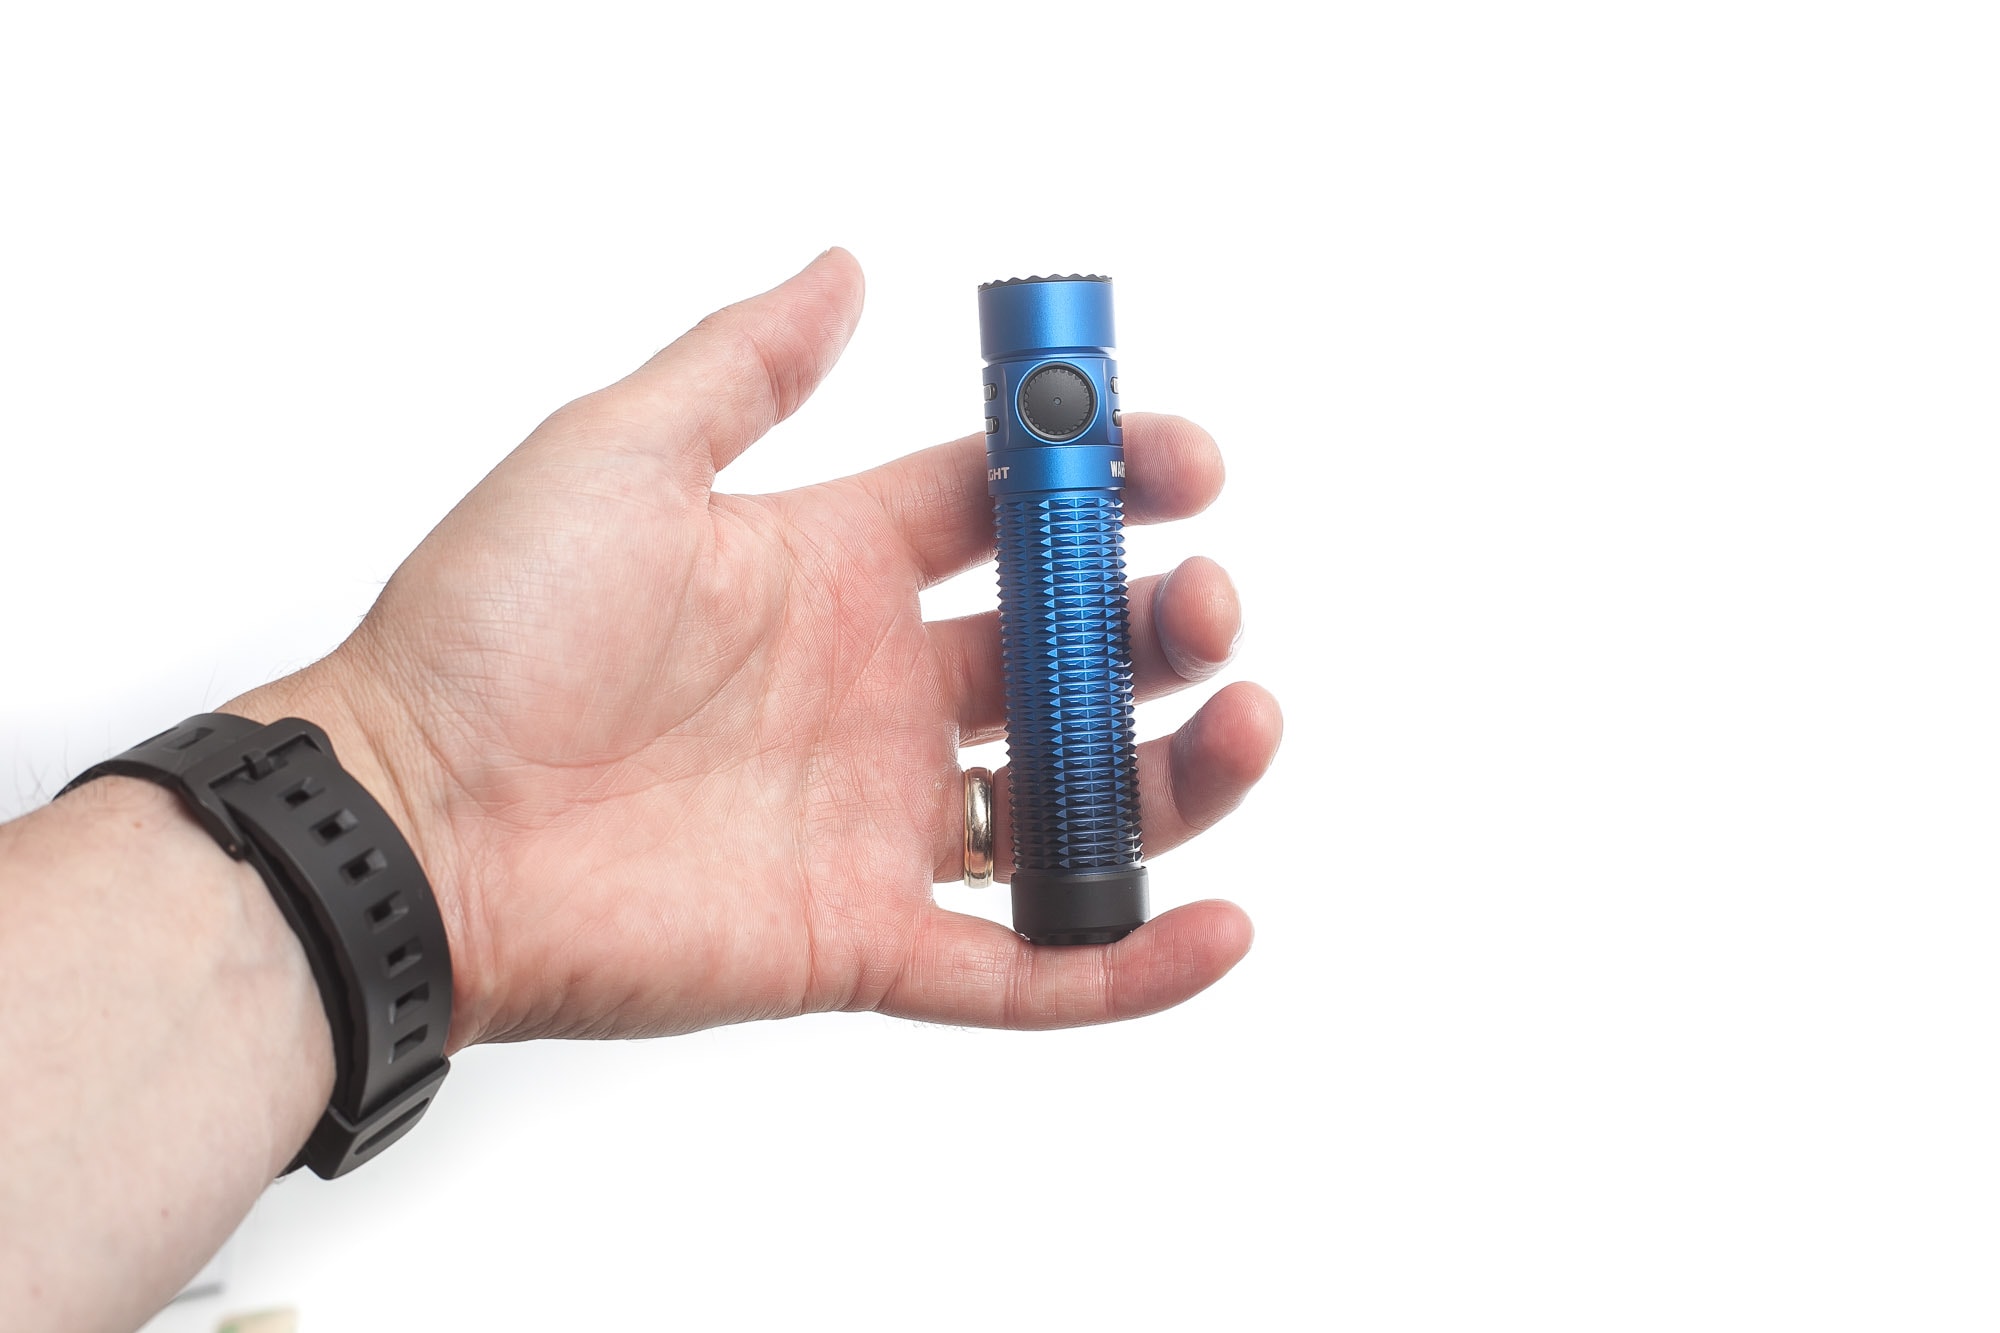
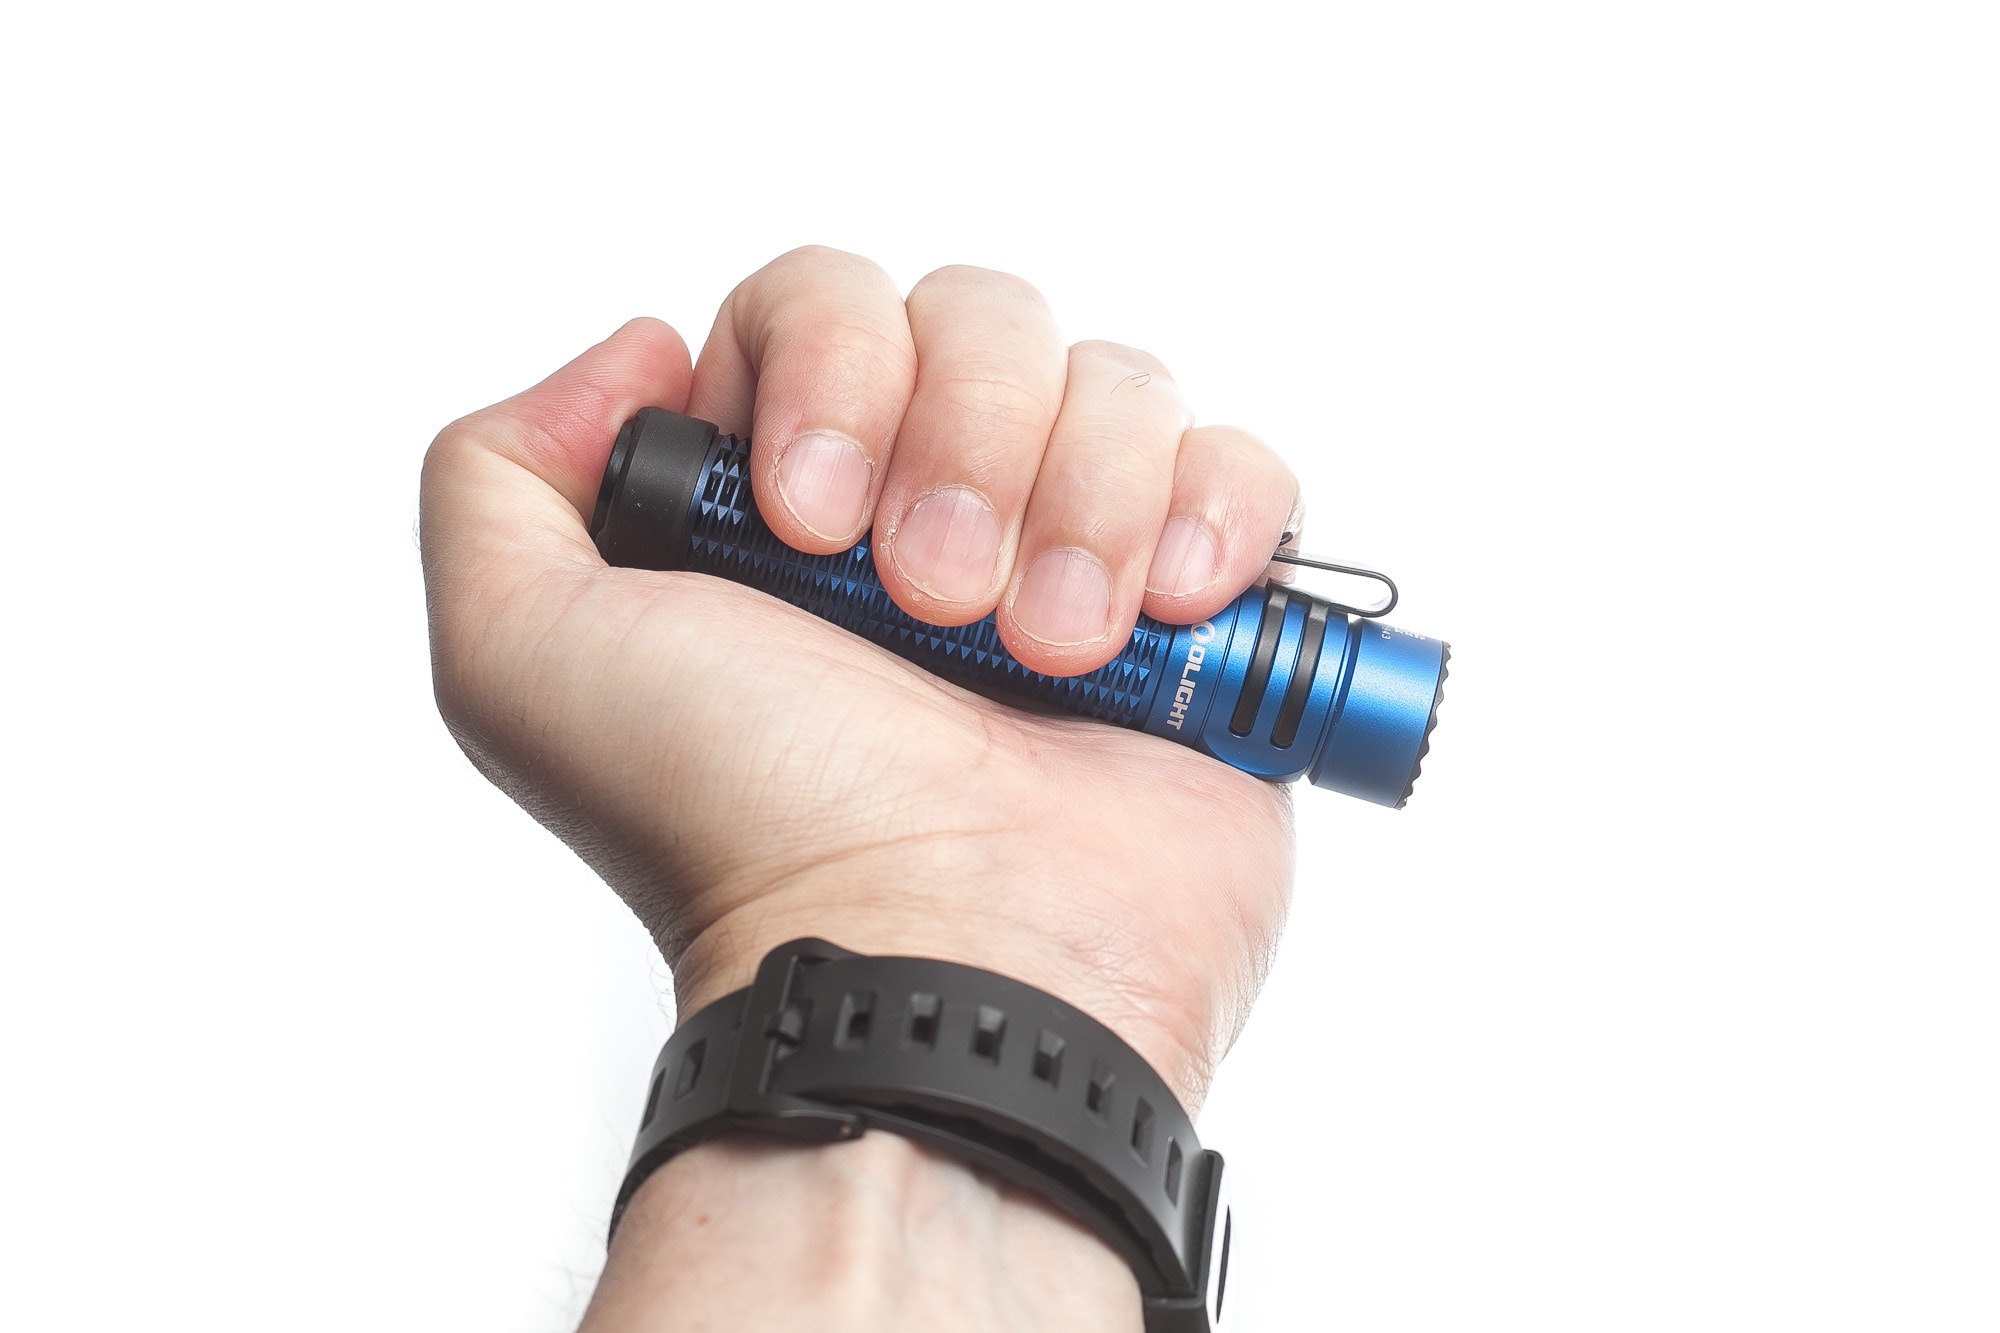
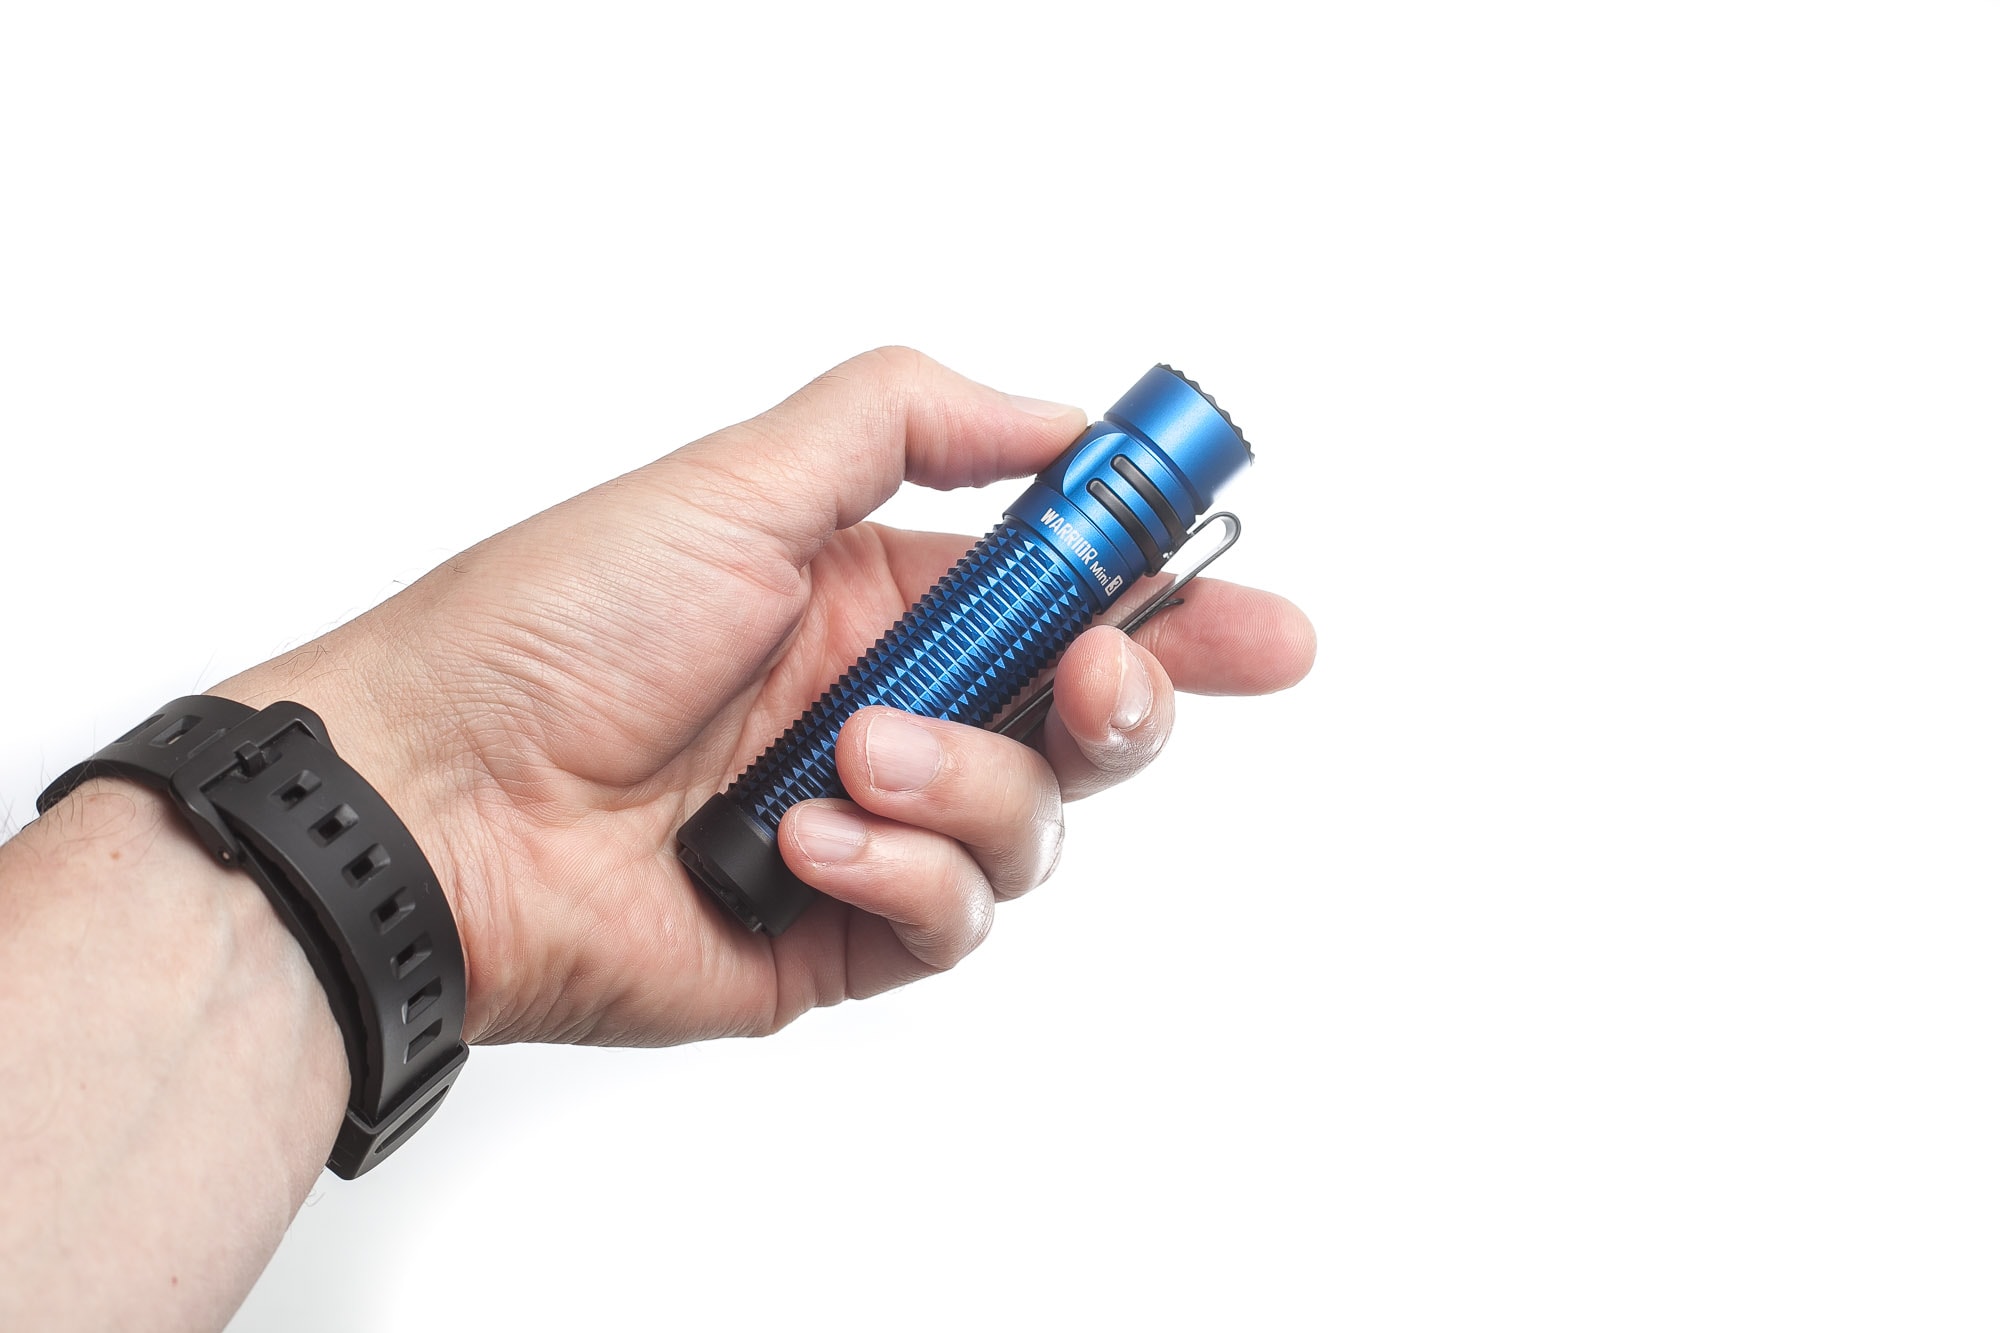
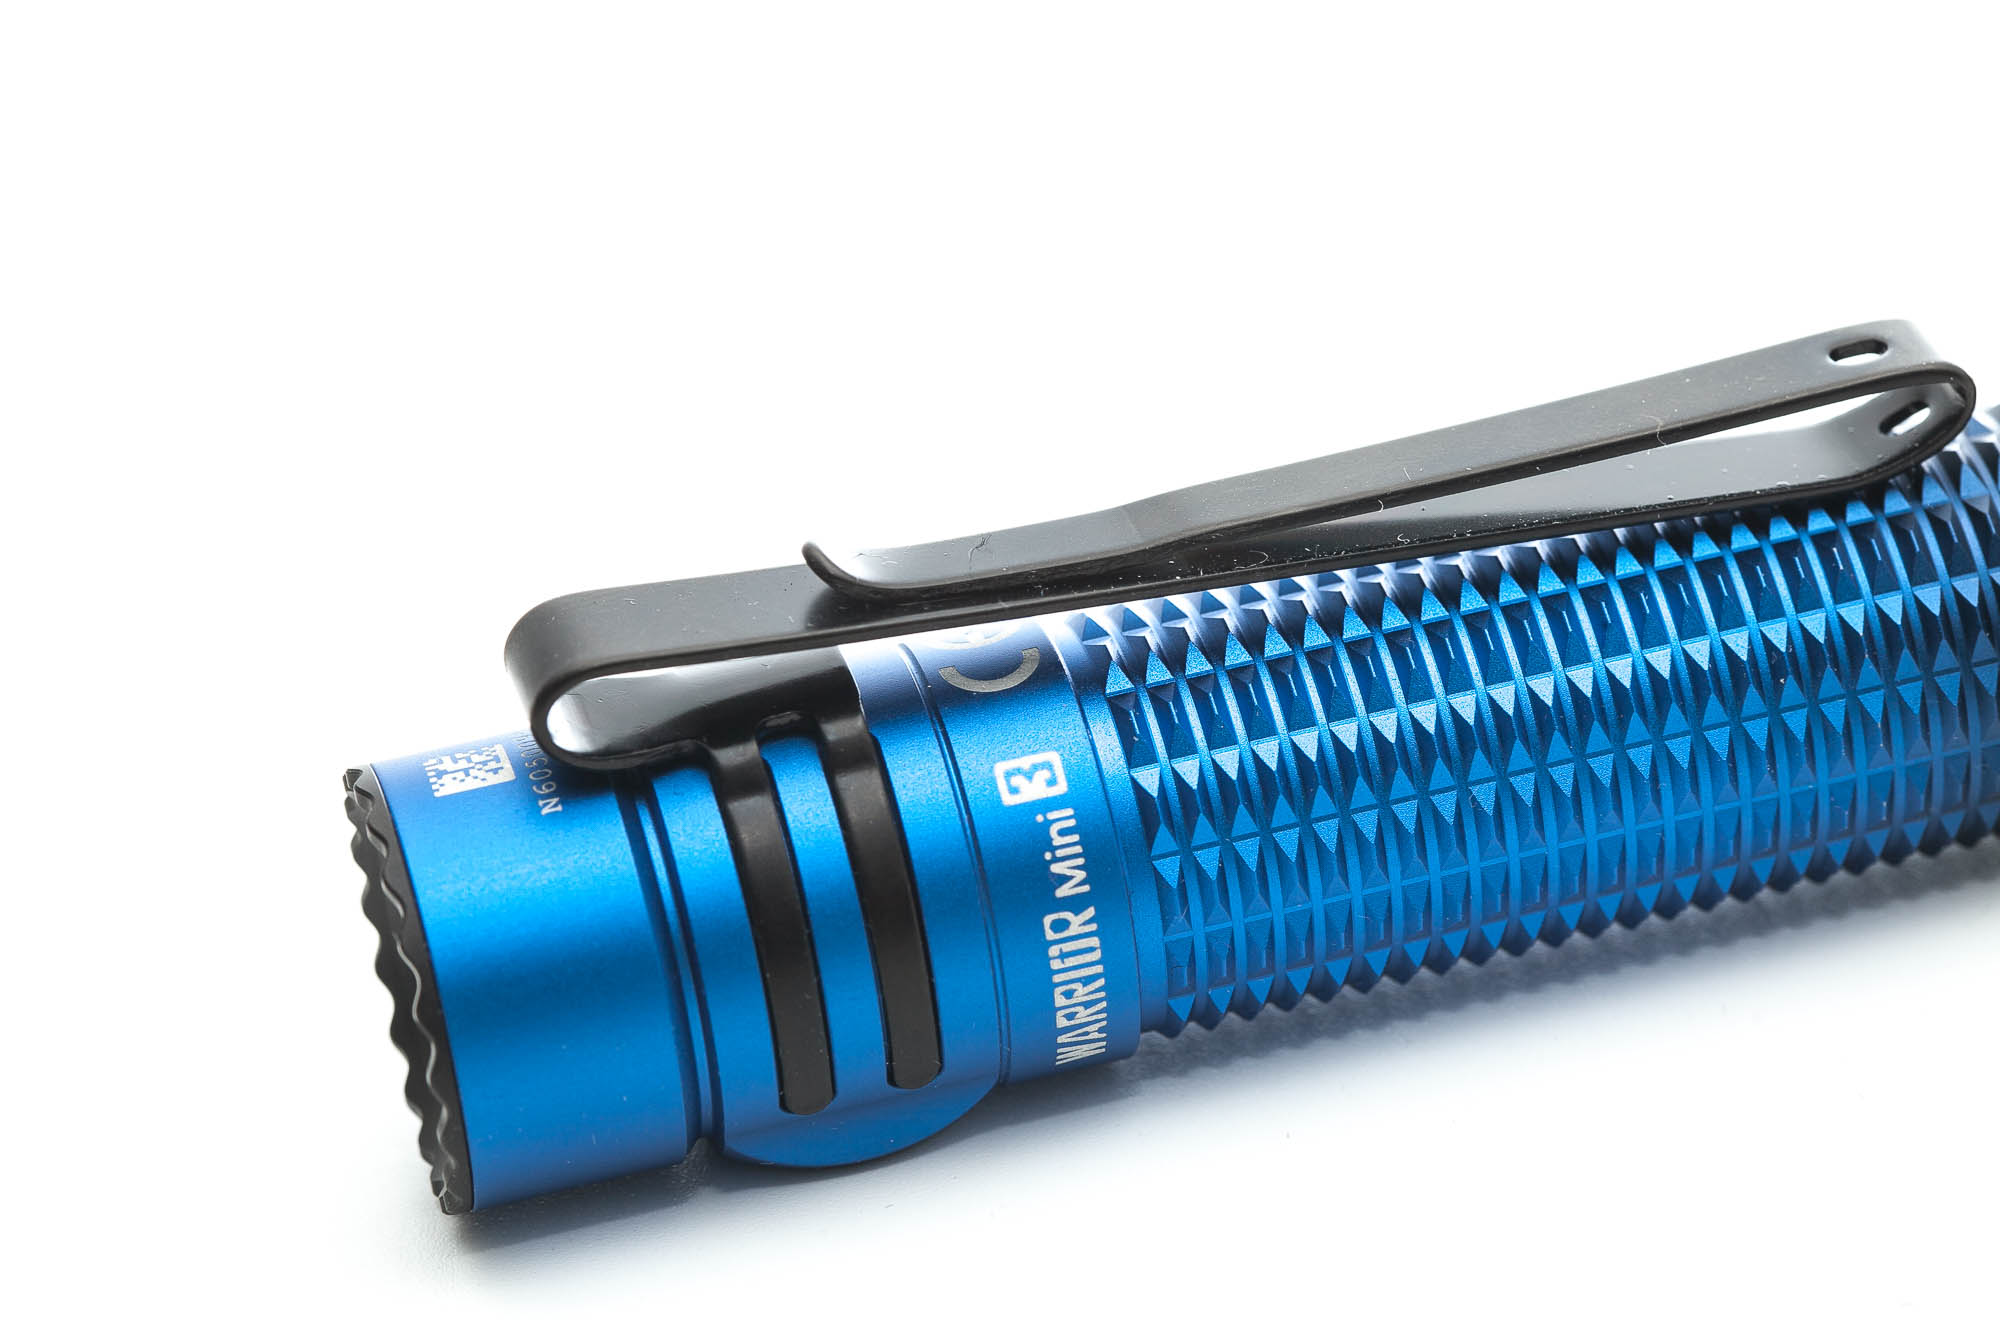
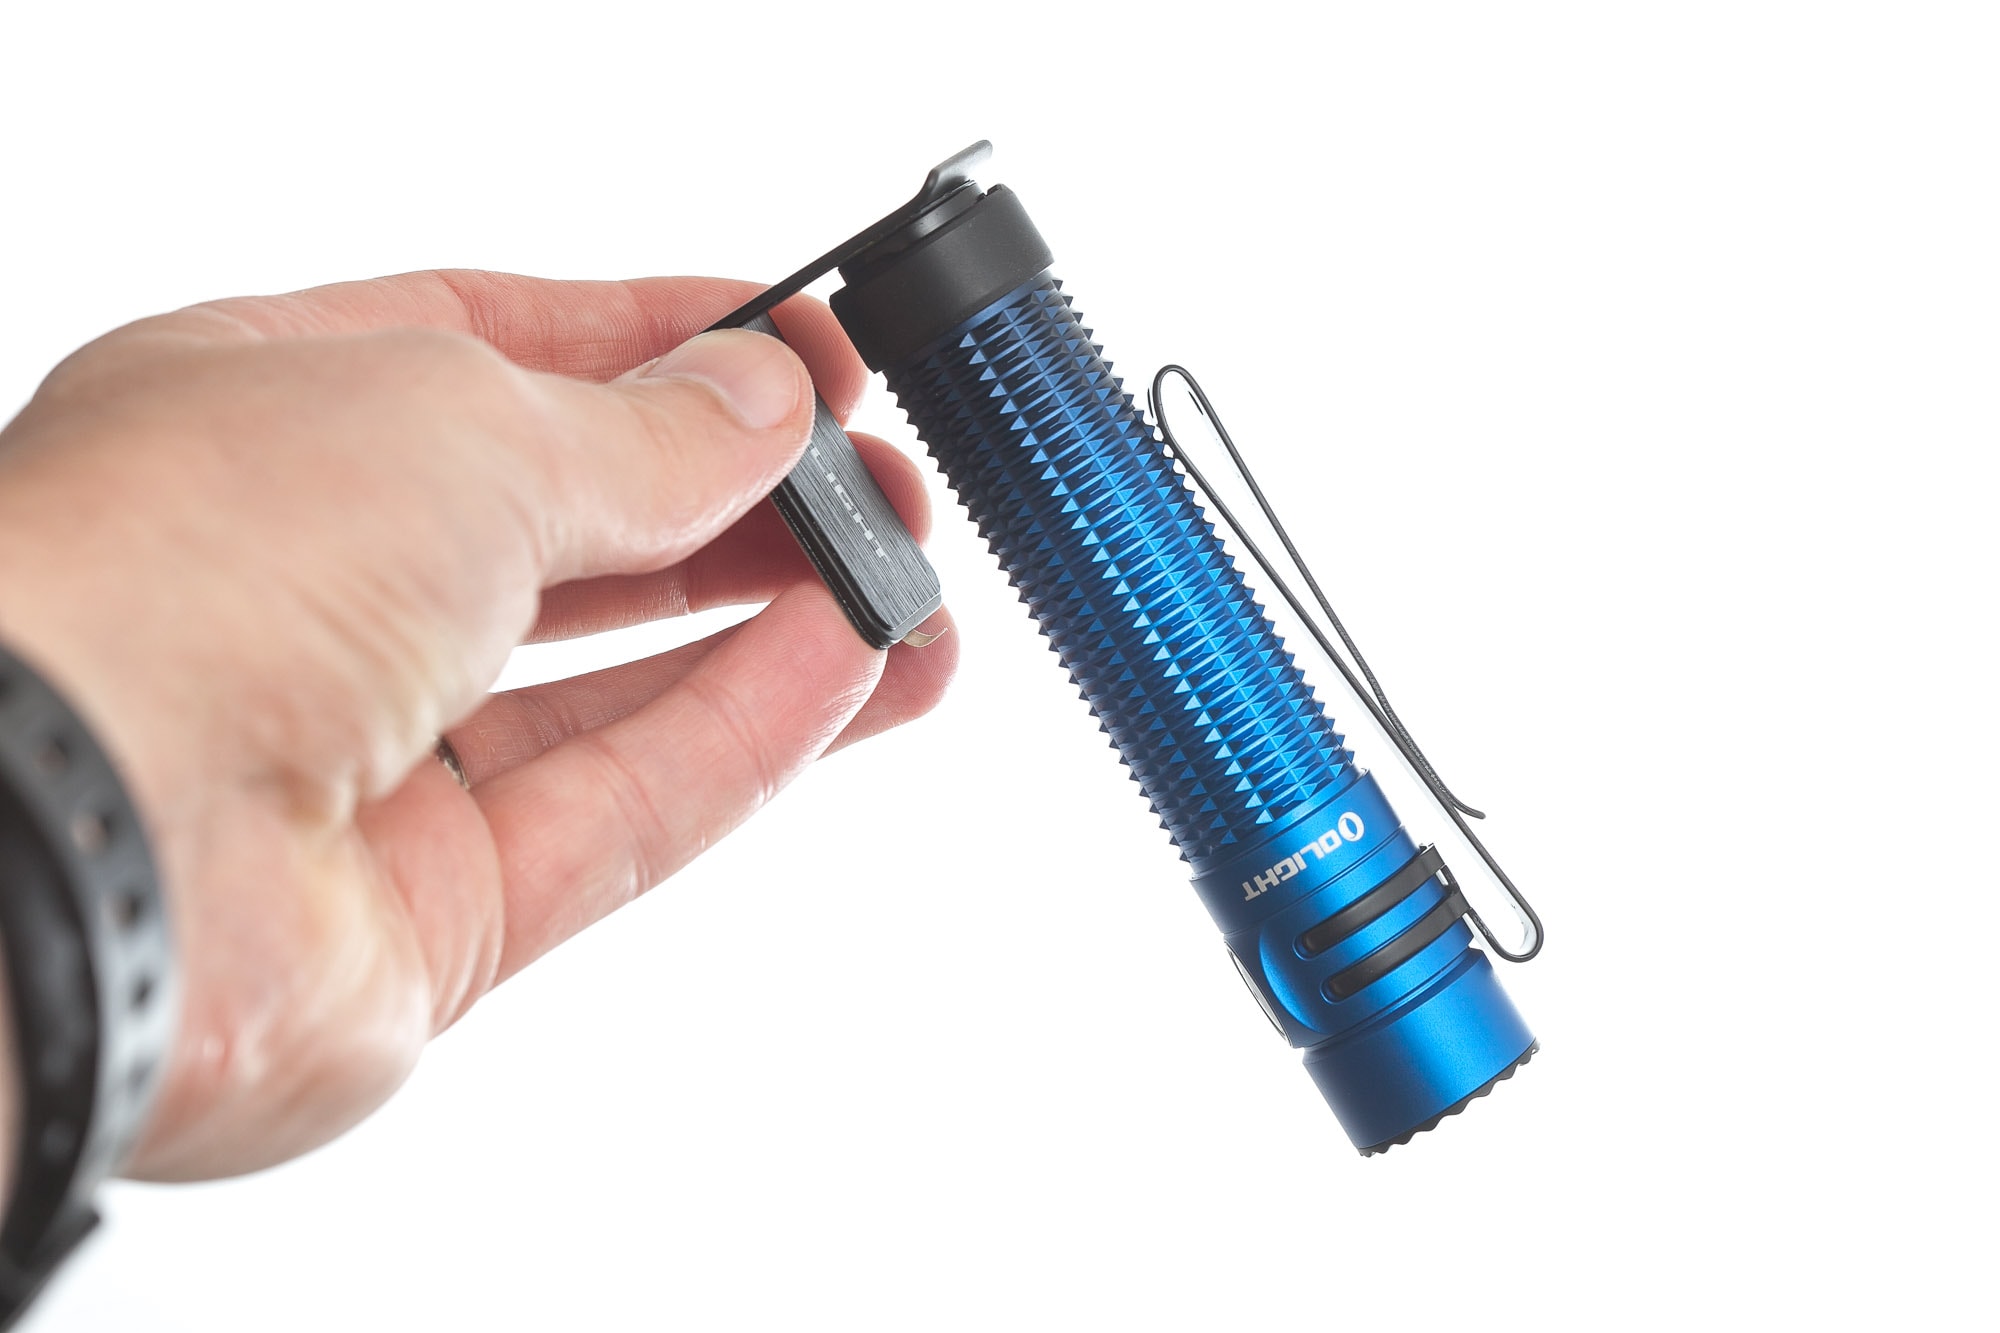
When you grip it, the flashlight has a solid and non-slippery feel. The 2-way pocket clip feels sturdy but it removable. Keep in mind that this could leave some marks on the anodizing. The pocket clip is reversible, allowing for both upward and downward carry positions.
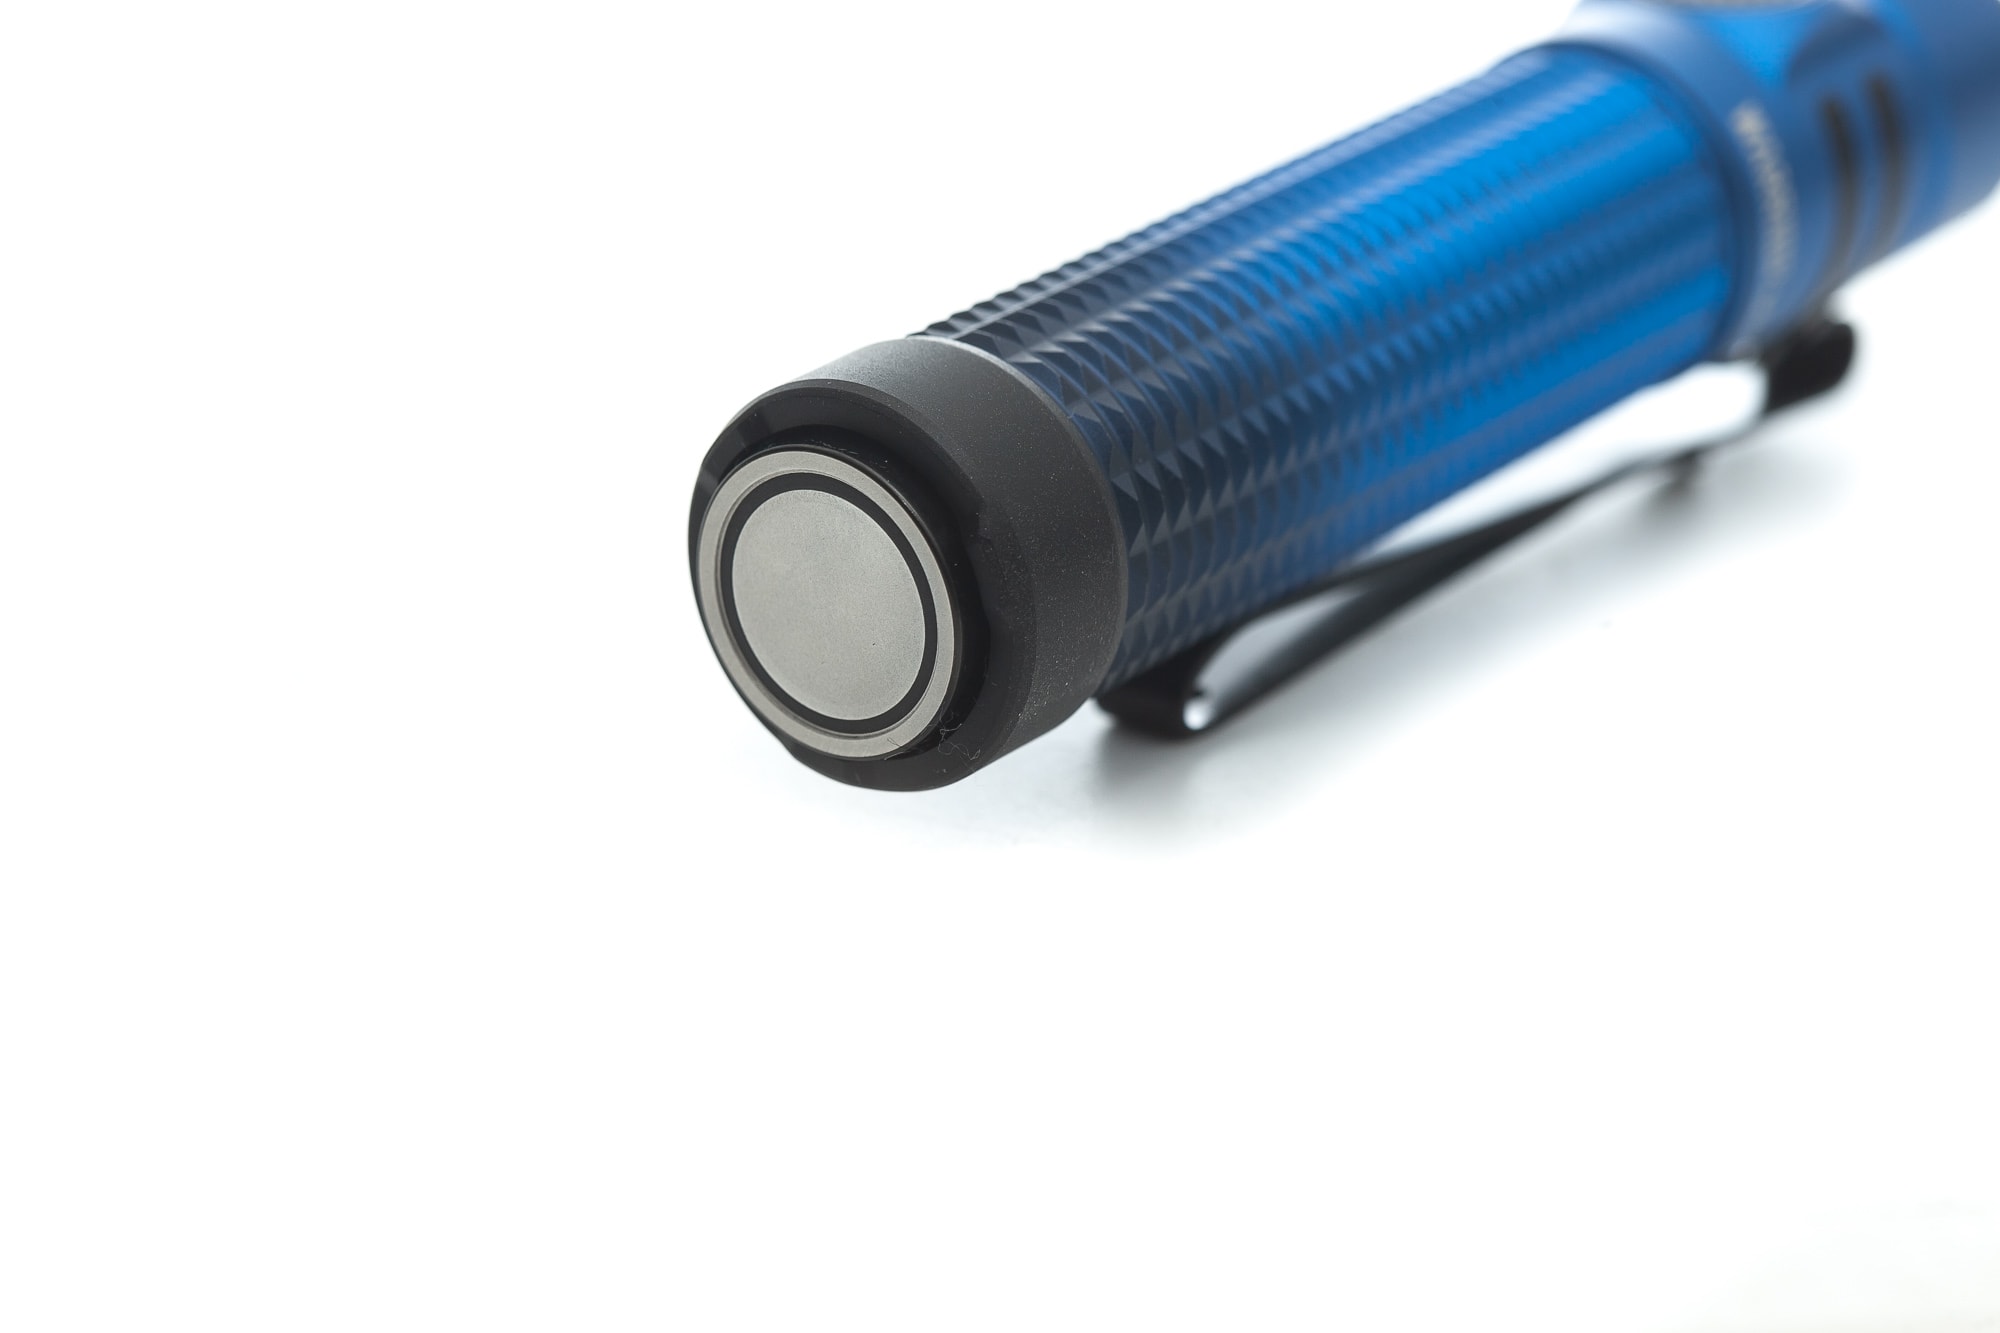
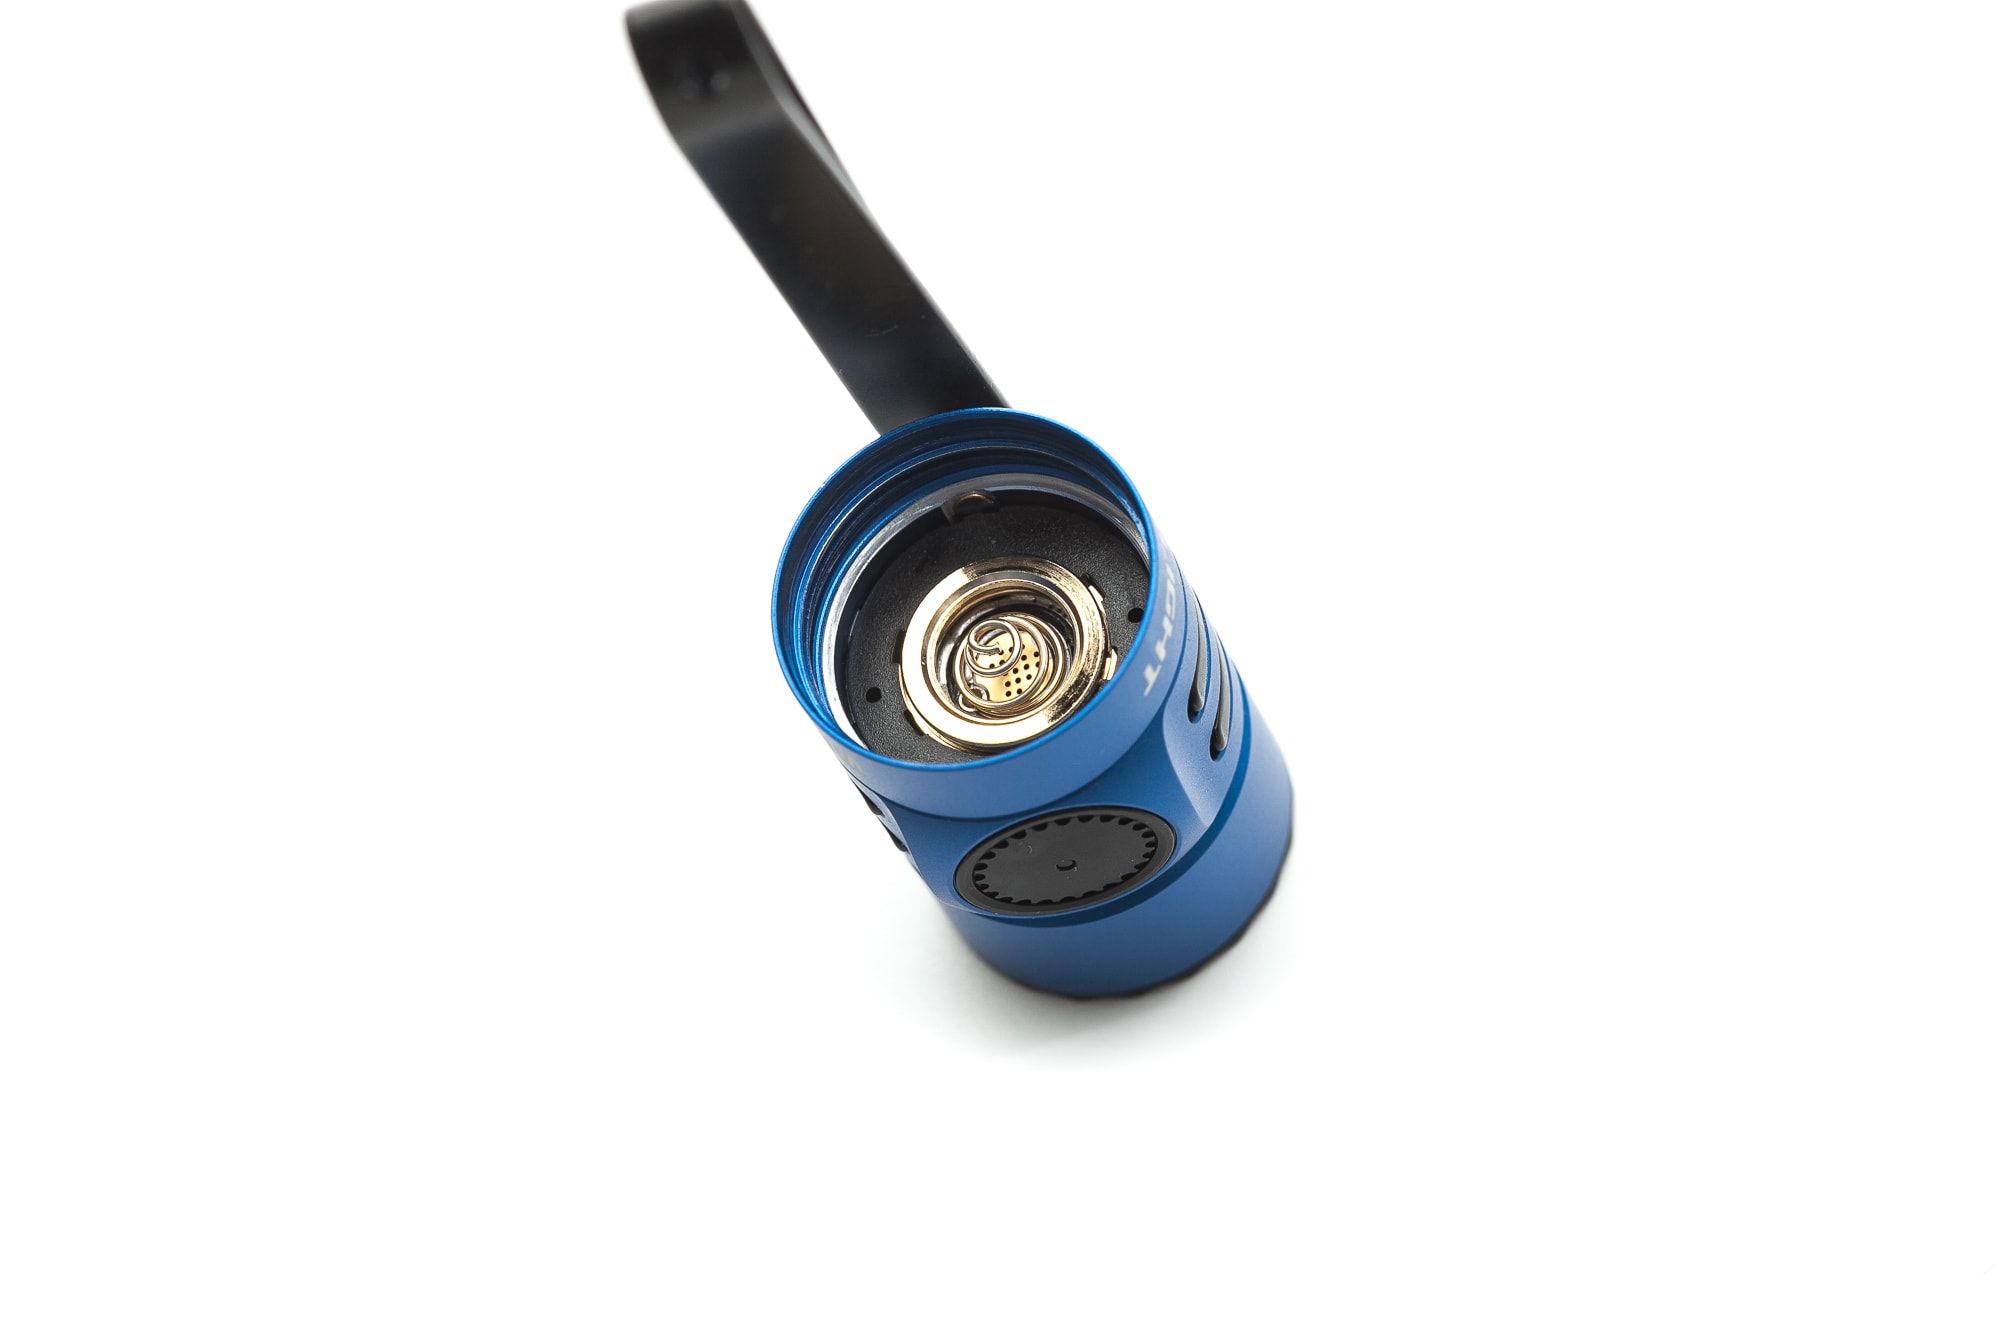
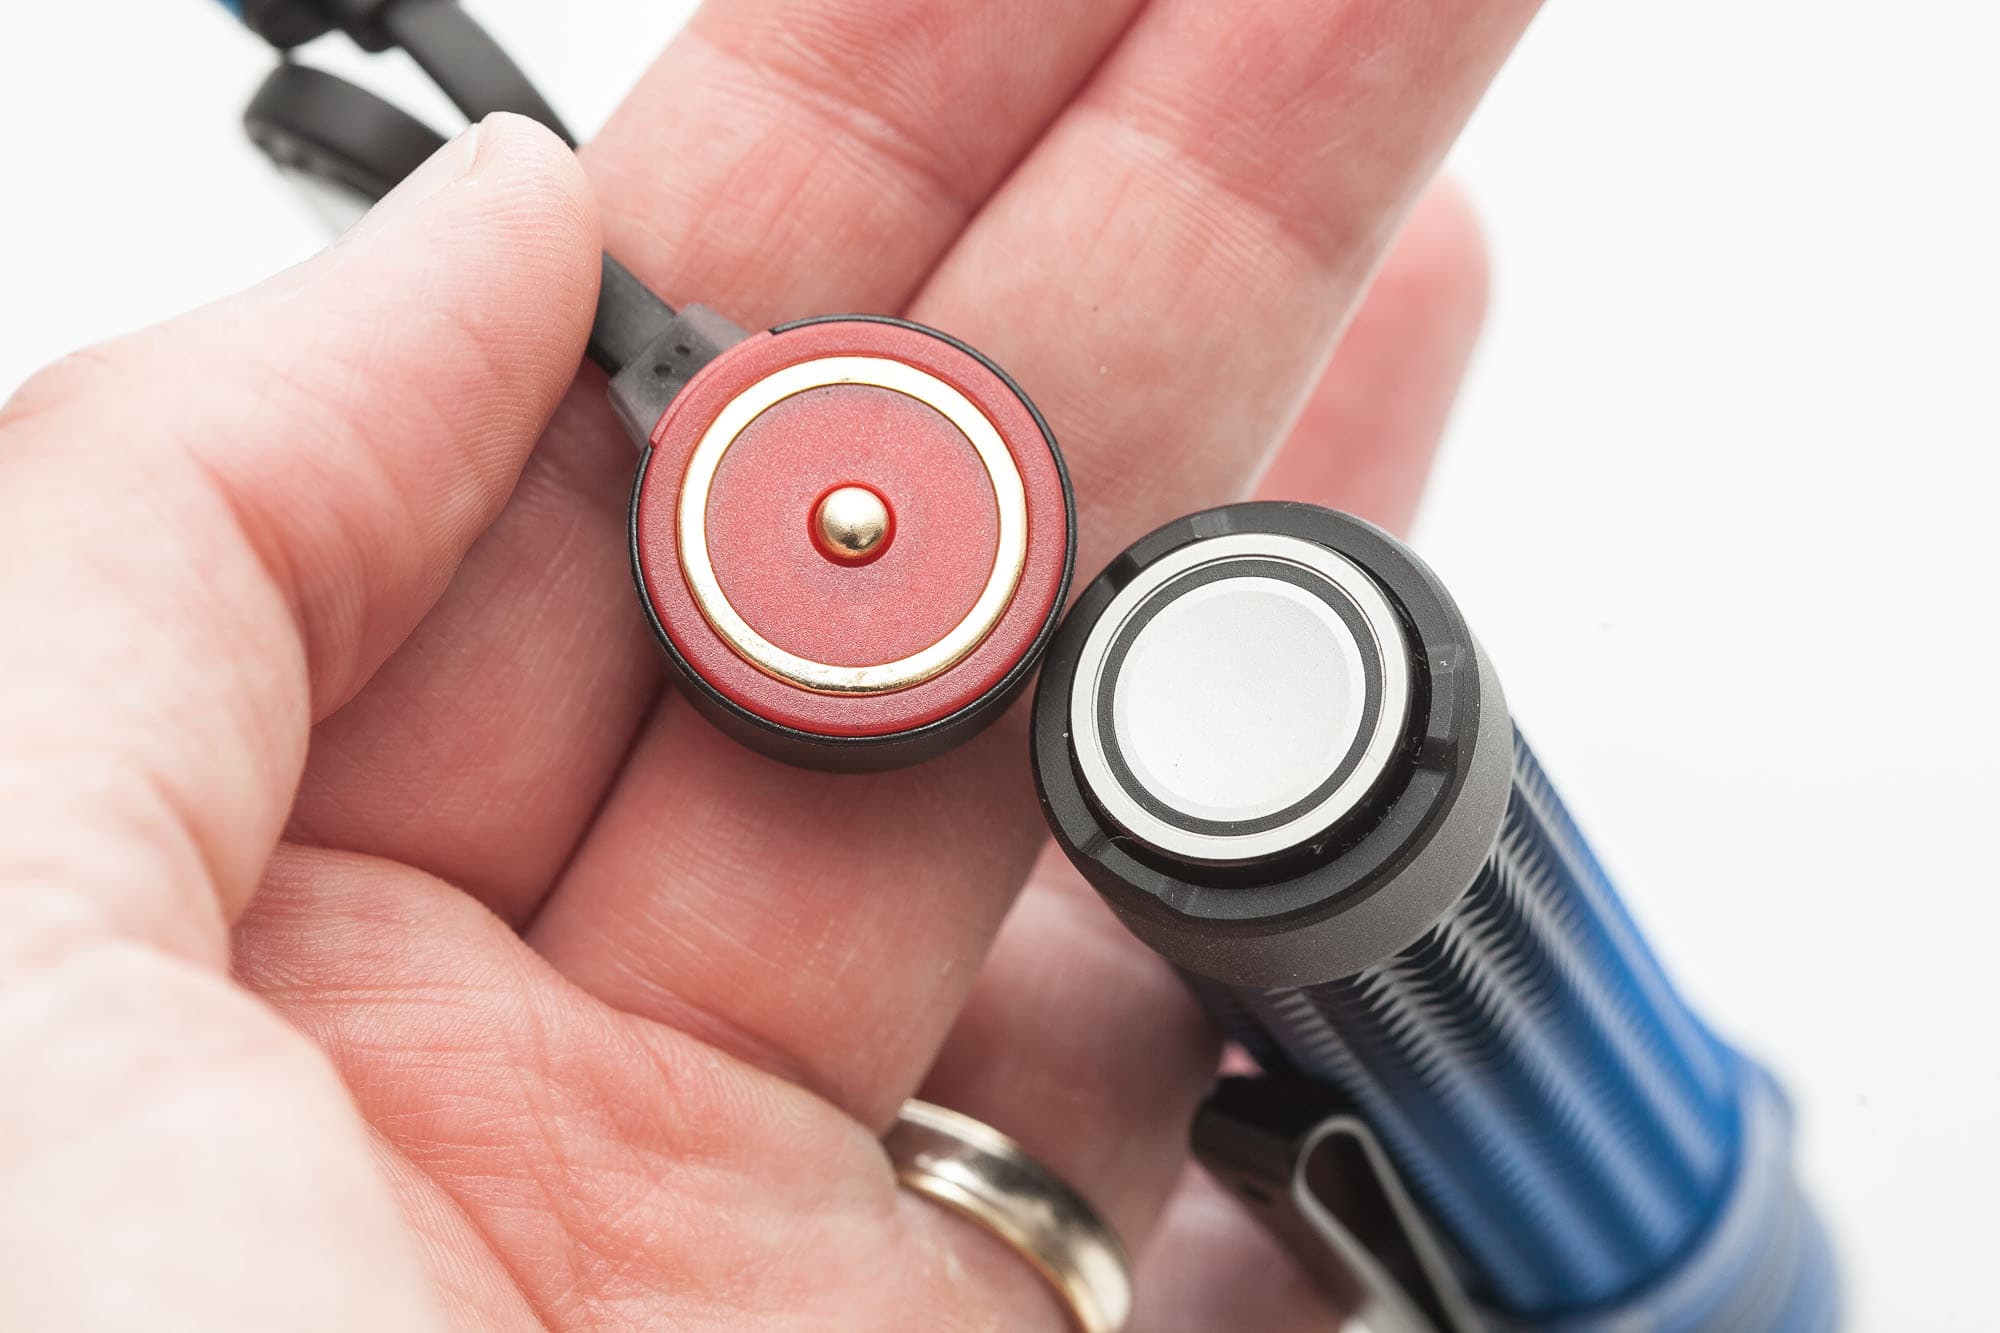
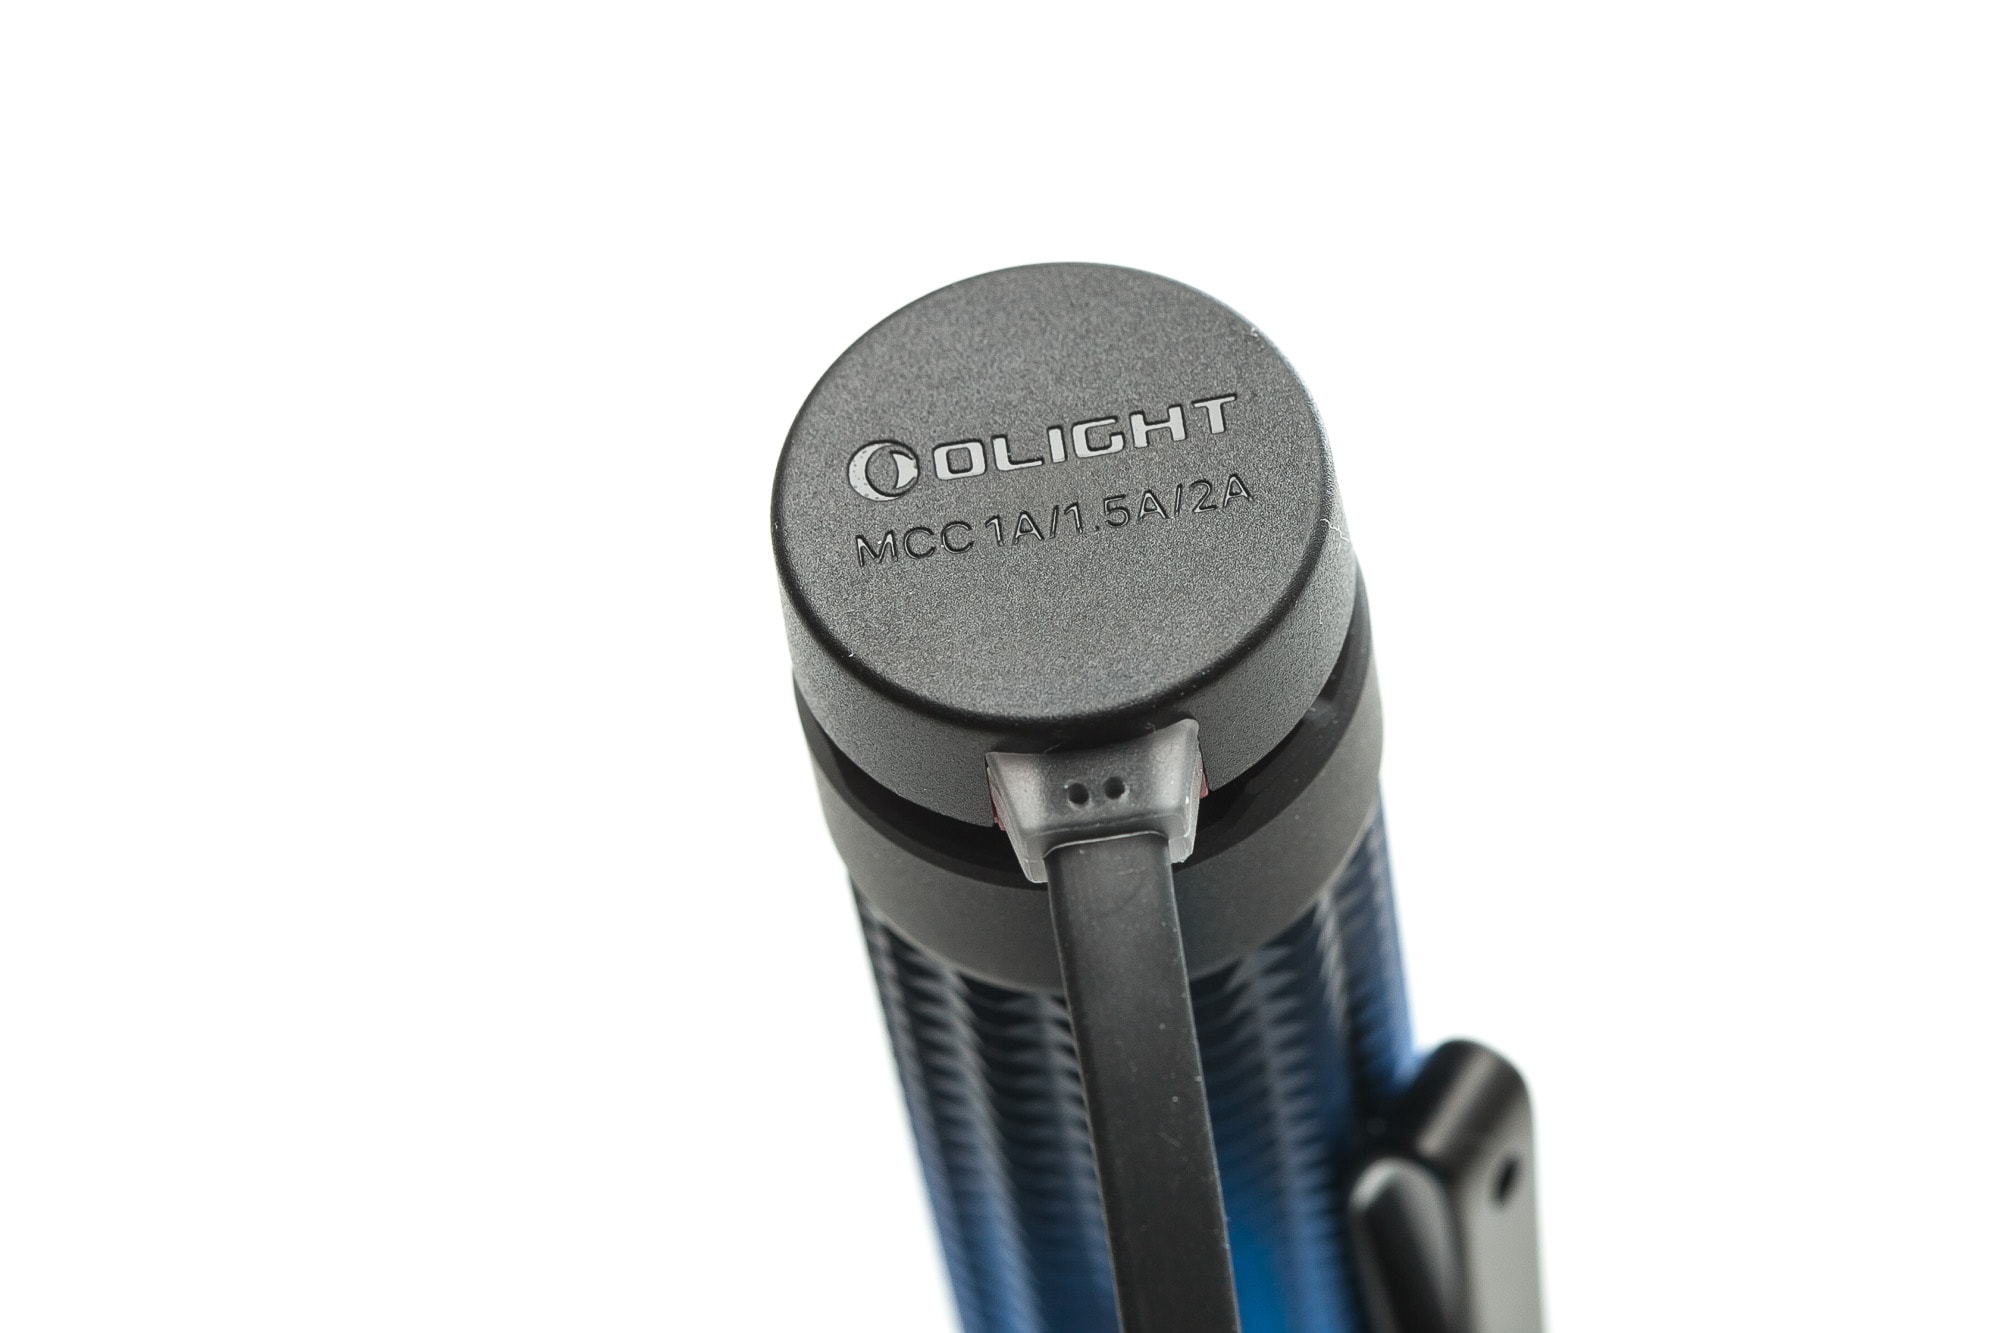
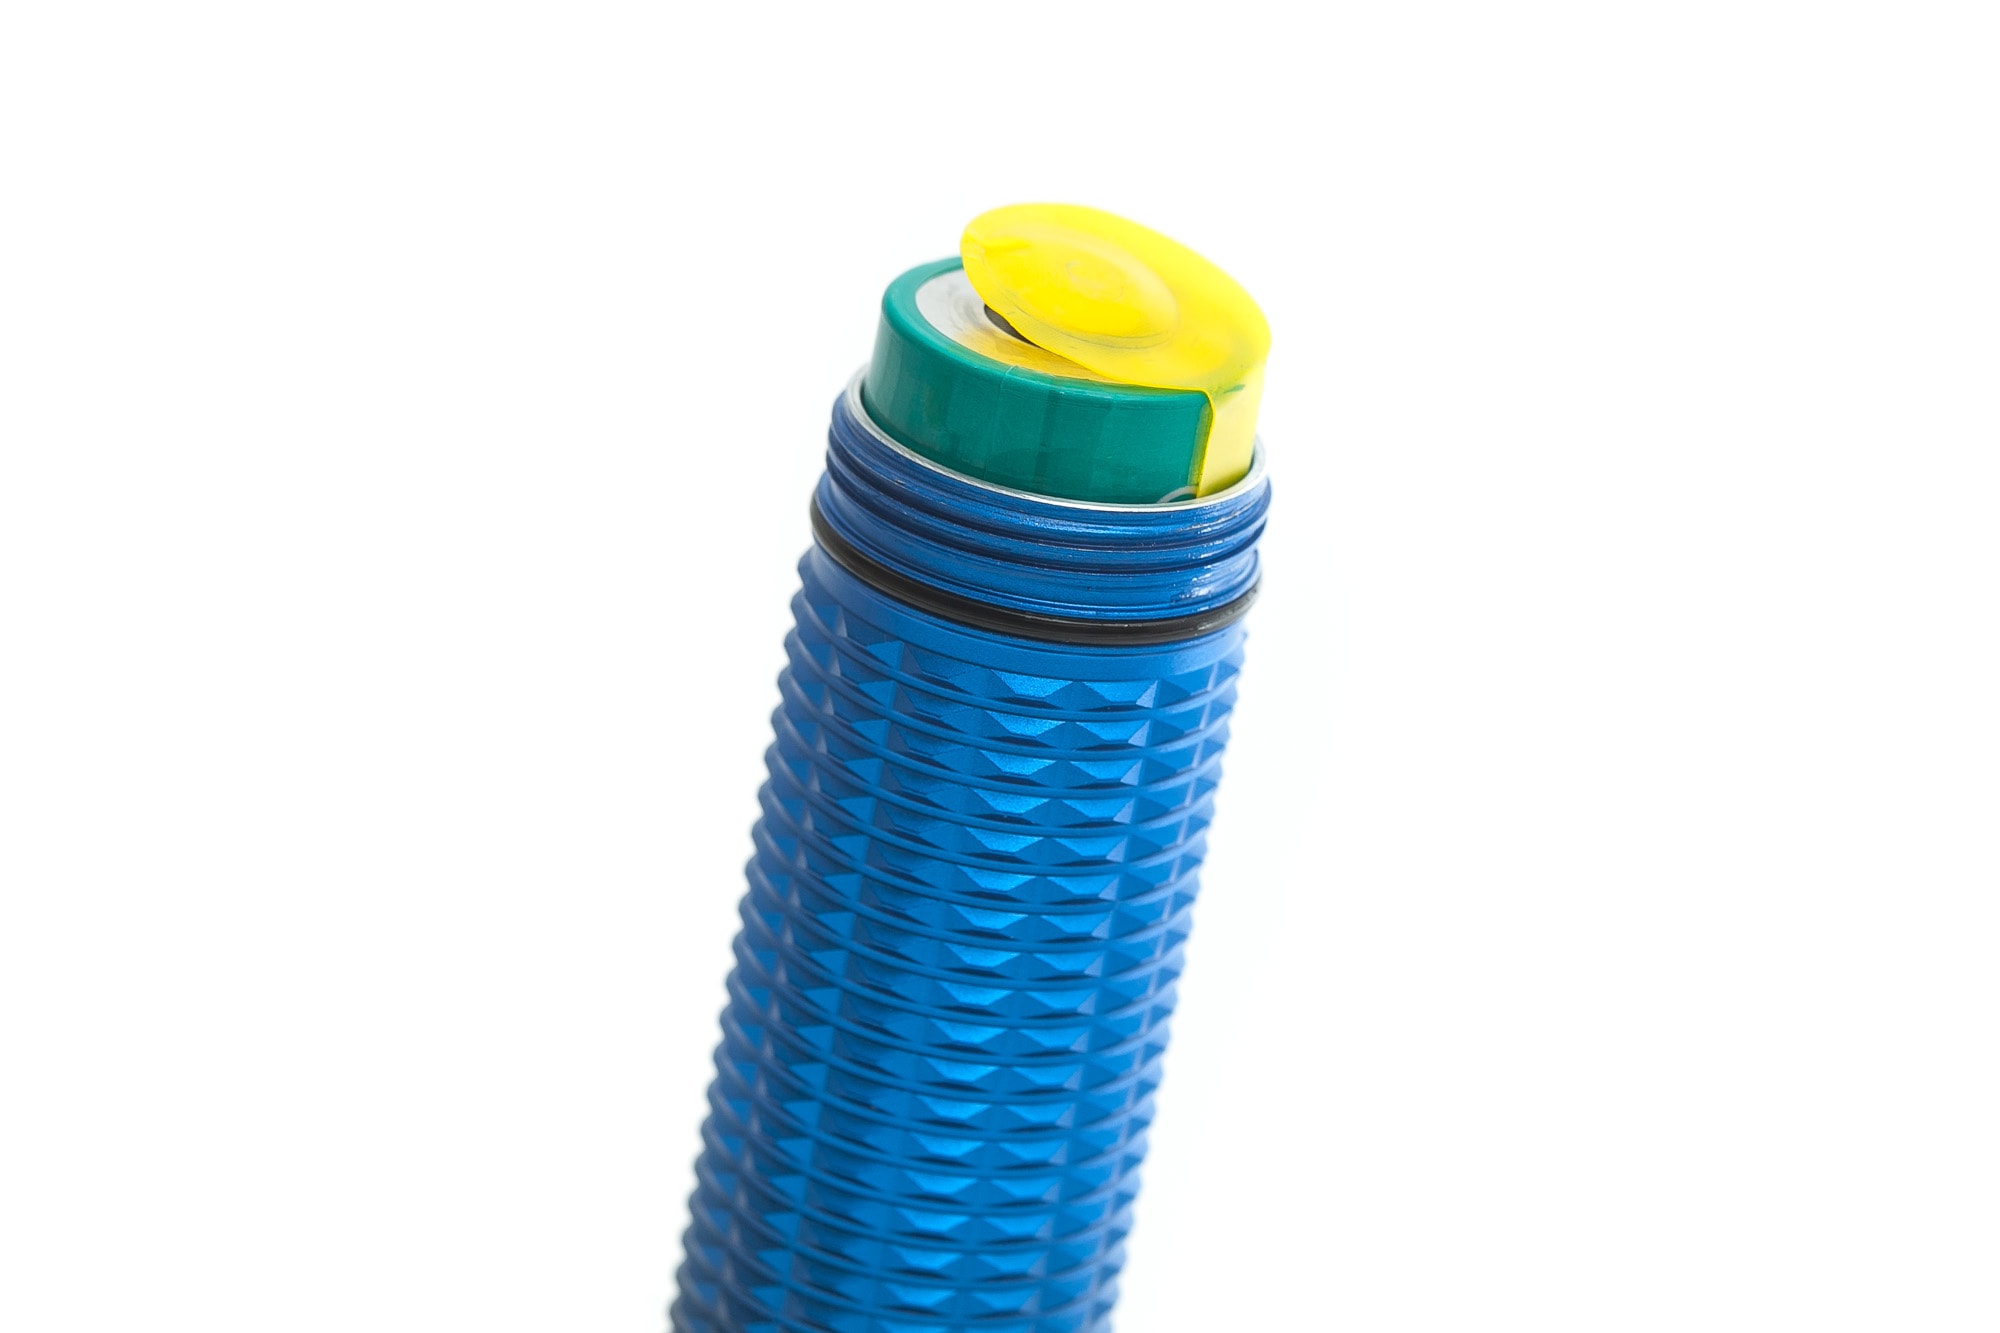
The Warrior Mini 3 doesn’t feature a traditional tailcap. Instead, the body can be unscrewed near the head to access the battery. The switch is integrated into the body and cannot be removed without tools. Additionally, the tailcap incorporates a magnet, which serves of attaching the MCC3 (magnetic charging cable) but can also be utilized to secure the flashlight to a metal surface.
The Warrior Mini 3 is equipped with two switches: a tail switch and a side switch. Both switches can be used interchangeably to control the light. It is not necessary to use the tail switch for power; the side switch can also do this.
However, the tail switch is a bit special, and gives you four options: momentary Medium, continuous Medium, momentary Turbo, and continuous Turbo. This is great for tactical use, in the overhand position. That way, you get rid of the Moon and low mode, which are useless in a tactical situation.
The momentary feature activates when you hold the switch for longer than 1 second, either fully pressed for Turbo or halfway pressed for Medium. Releasing the button after 1 second will turn the light off. It’s important to note that these options apply to the regular mode, as there is also a Tactical mode which will be discussed in the User Interface section.
Note: I recommend to use the LOCKOUT mode whenever carrying it in your pocket.
Tailstanding: this has improved over the previous models, because the tail has more contact area.
The use cases? EDC / Tactical use. But you could easily use it walking the dog, do errands around the house, but it’s more than just that.
Build Quality and Warranty
If you’re familiar with Olight, you already know their exceptional build quality. Their flashlights are top-notch, with great attention to detail.
Olight always presents a unique design for each flashlight they create. They also try to change the design just slightly between different generations.
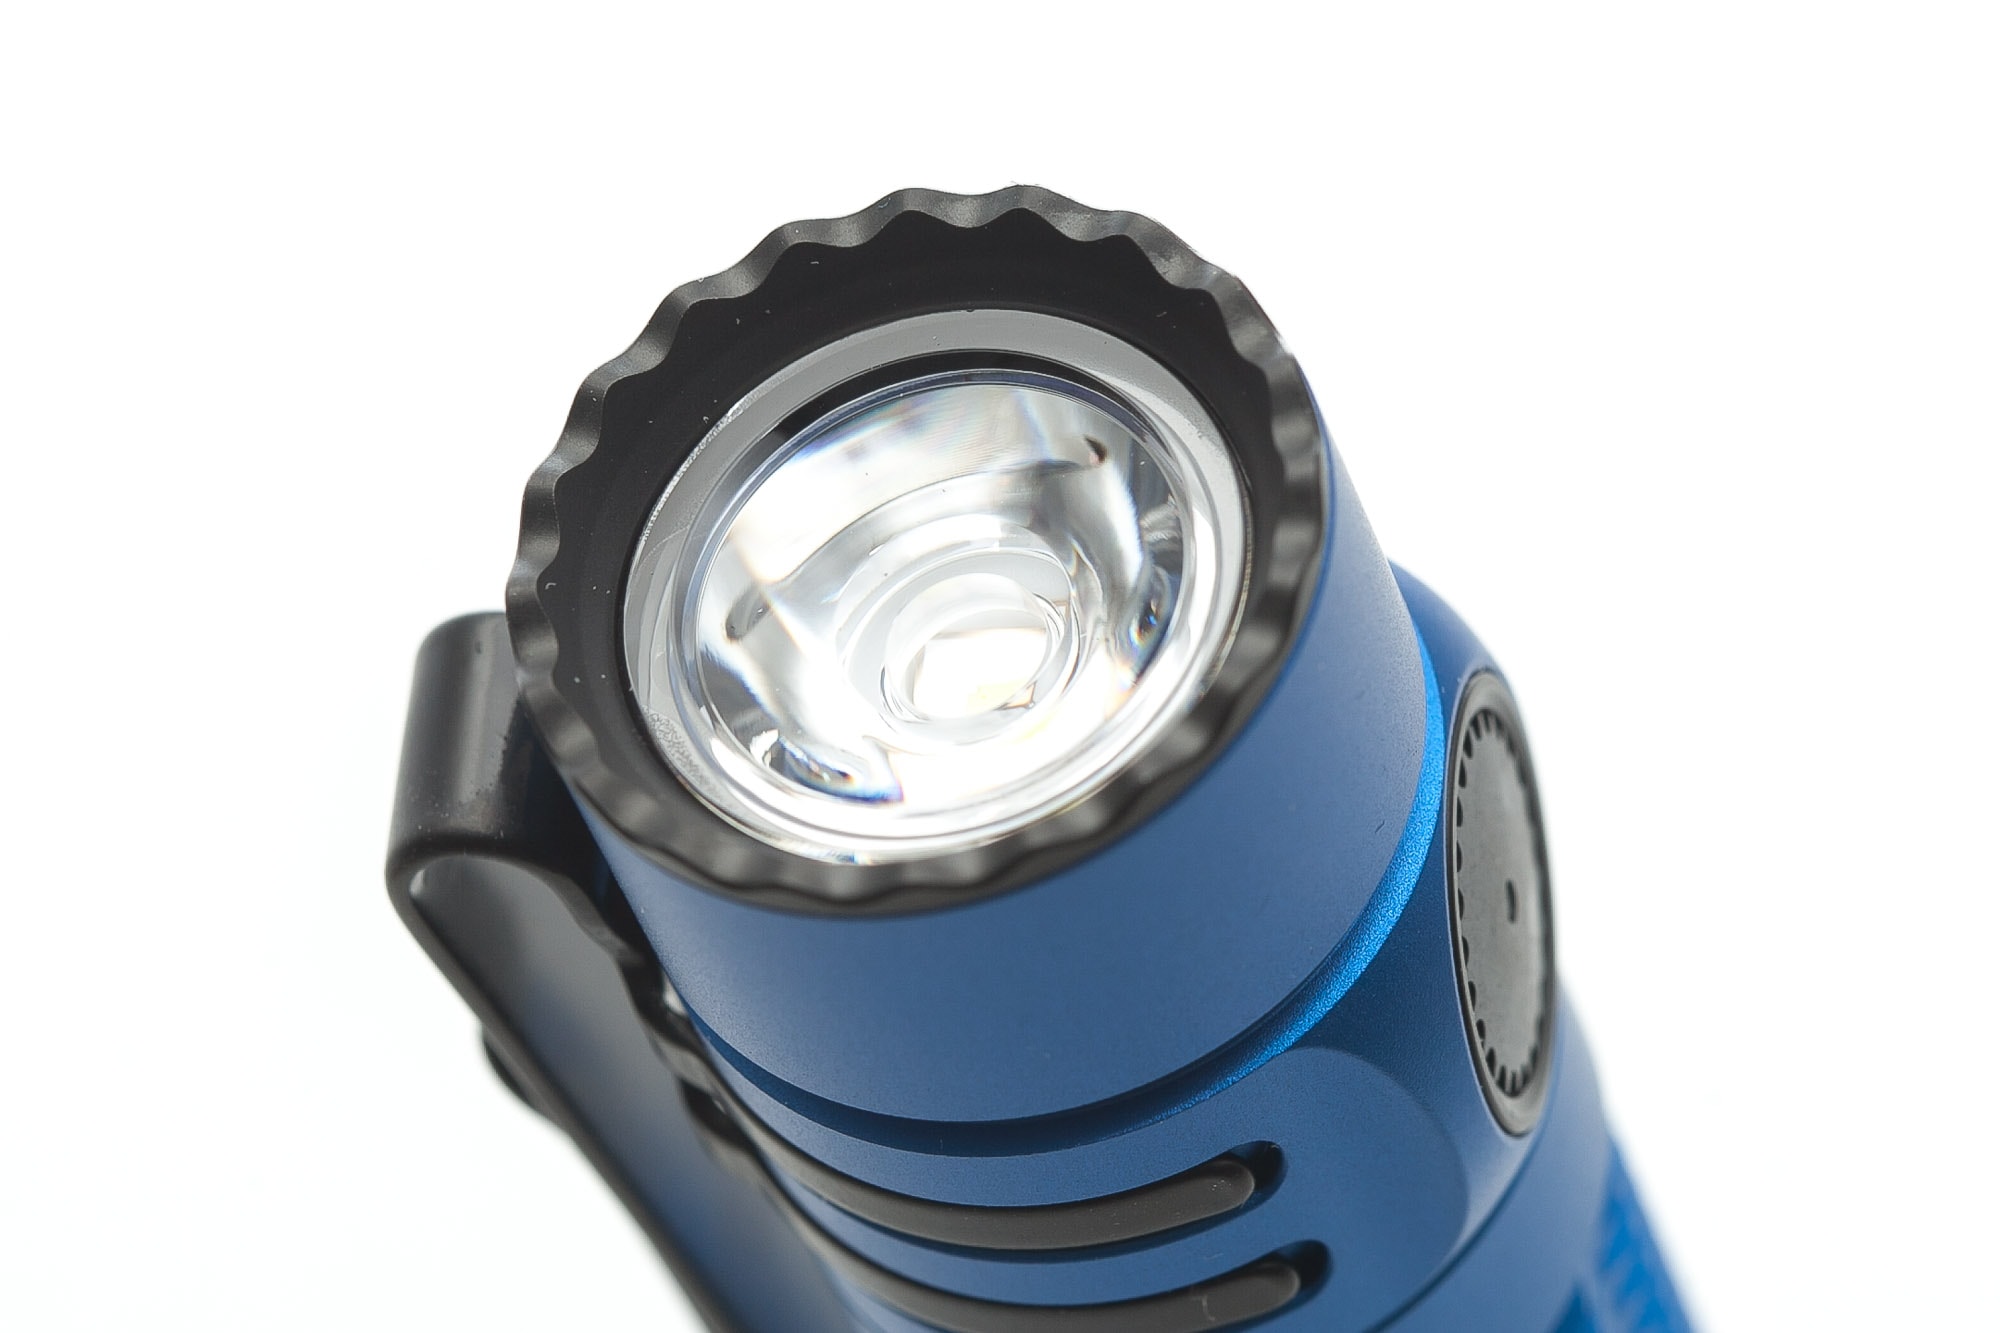
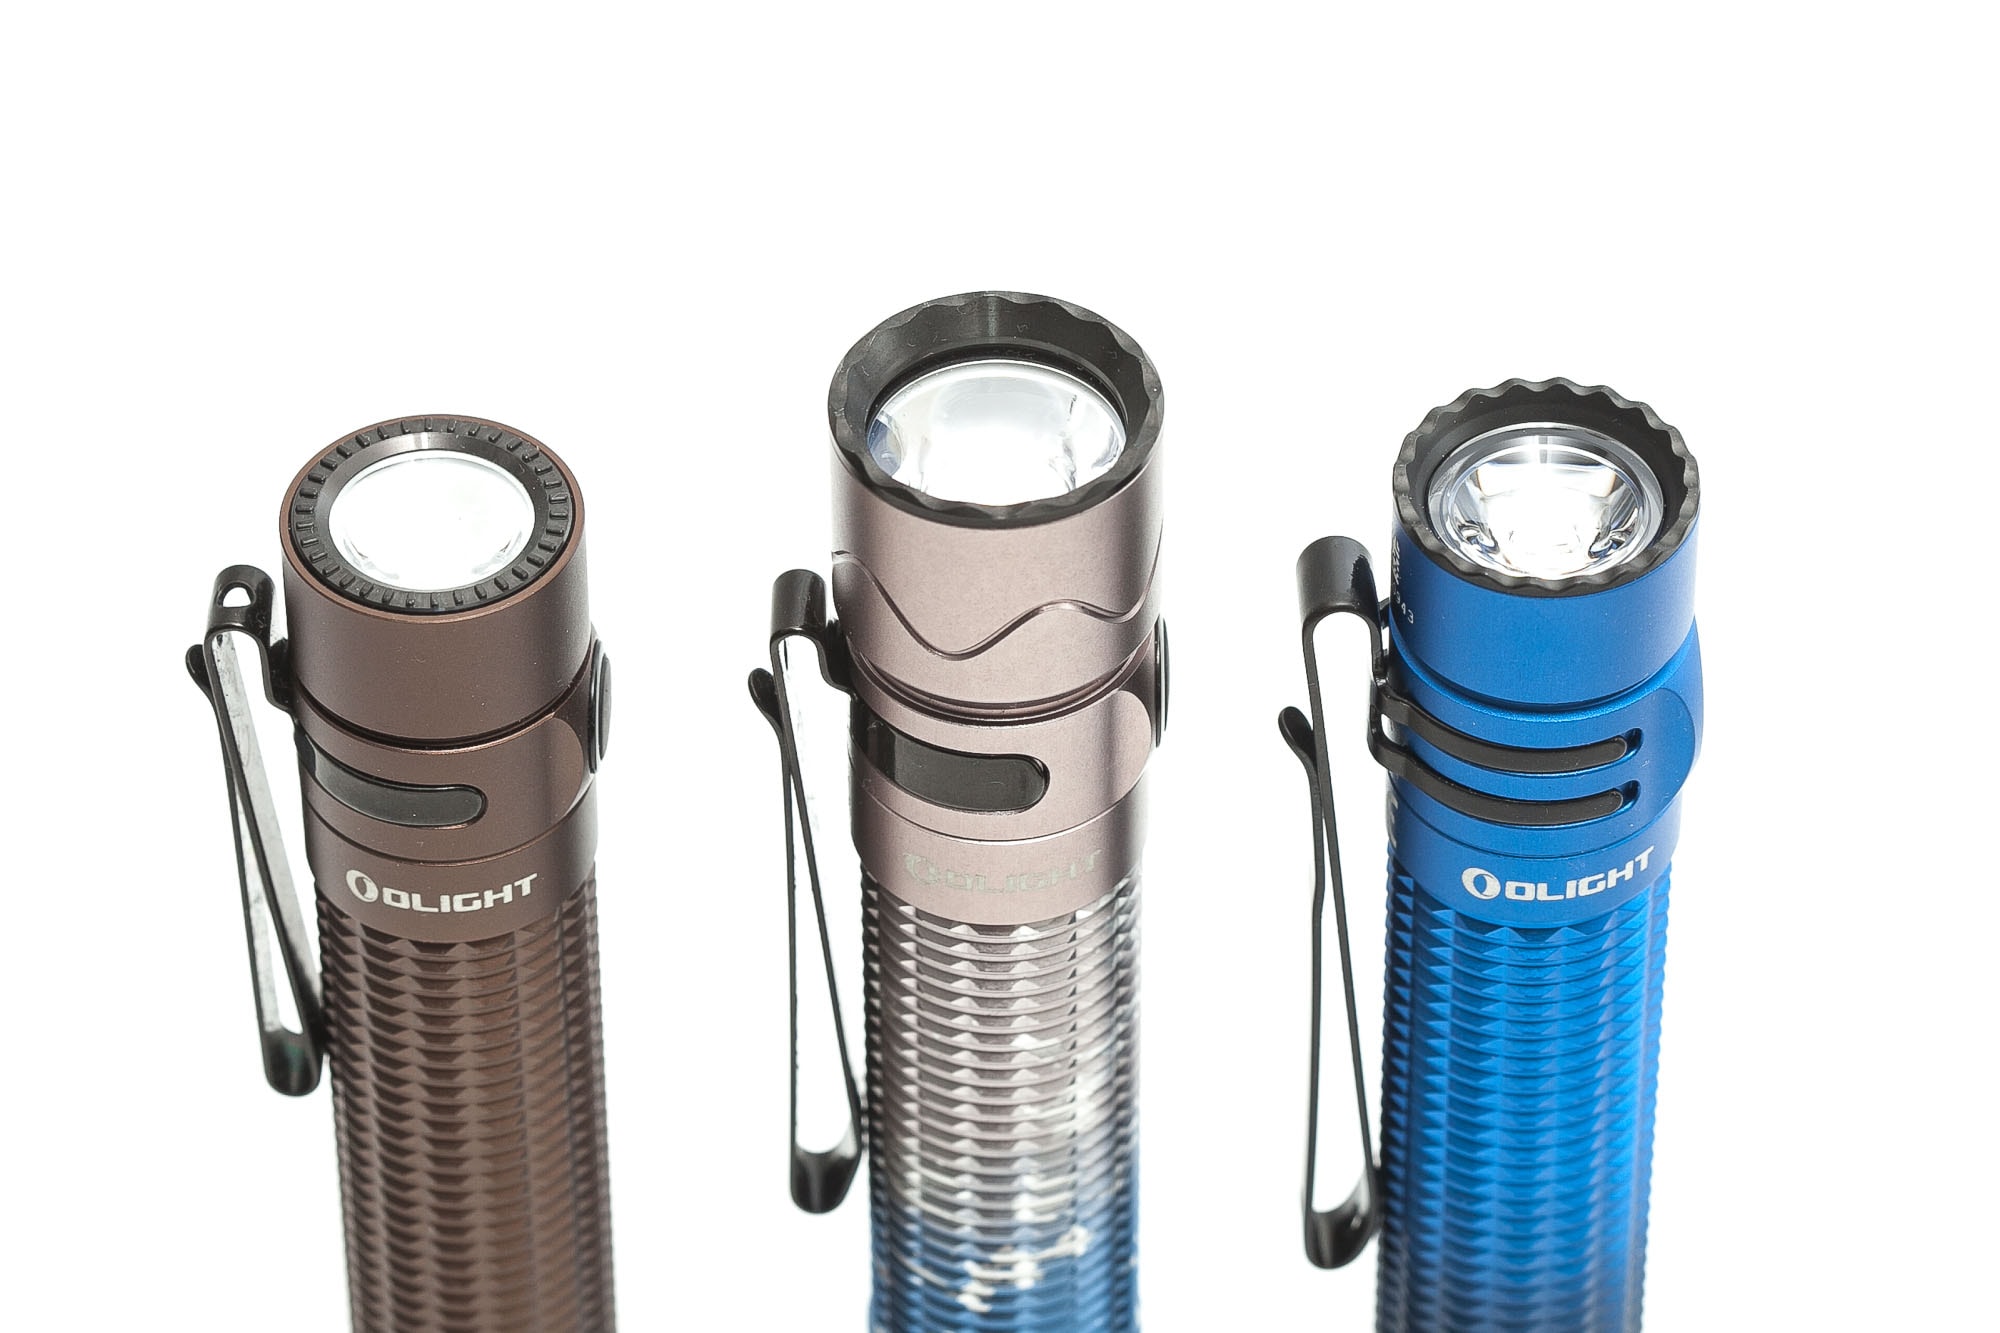
The visible difference is mainly the head and the tailcap.
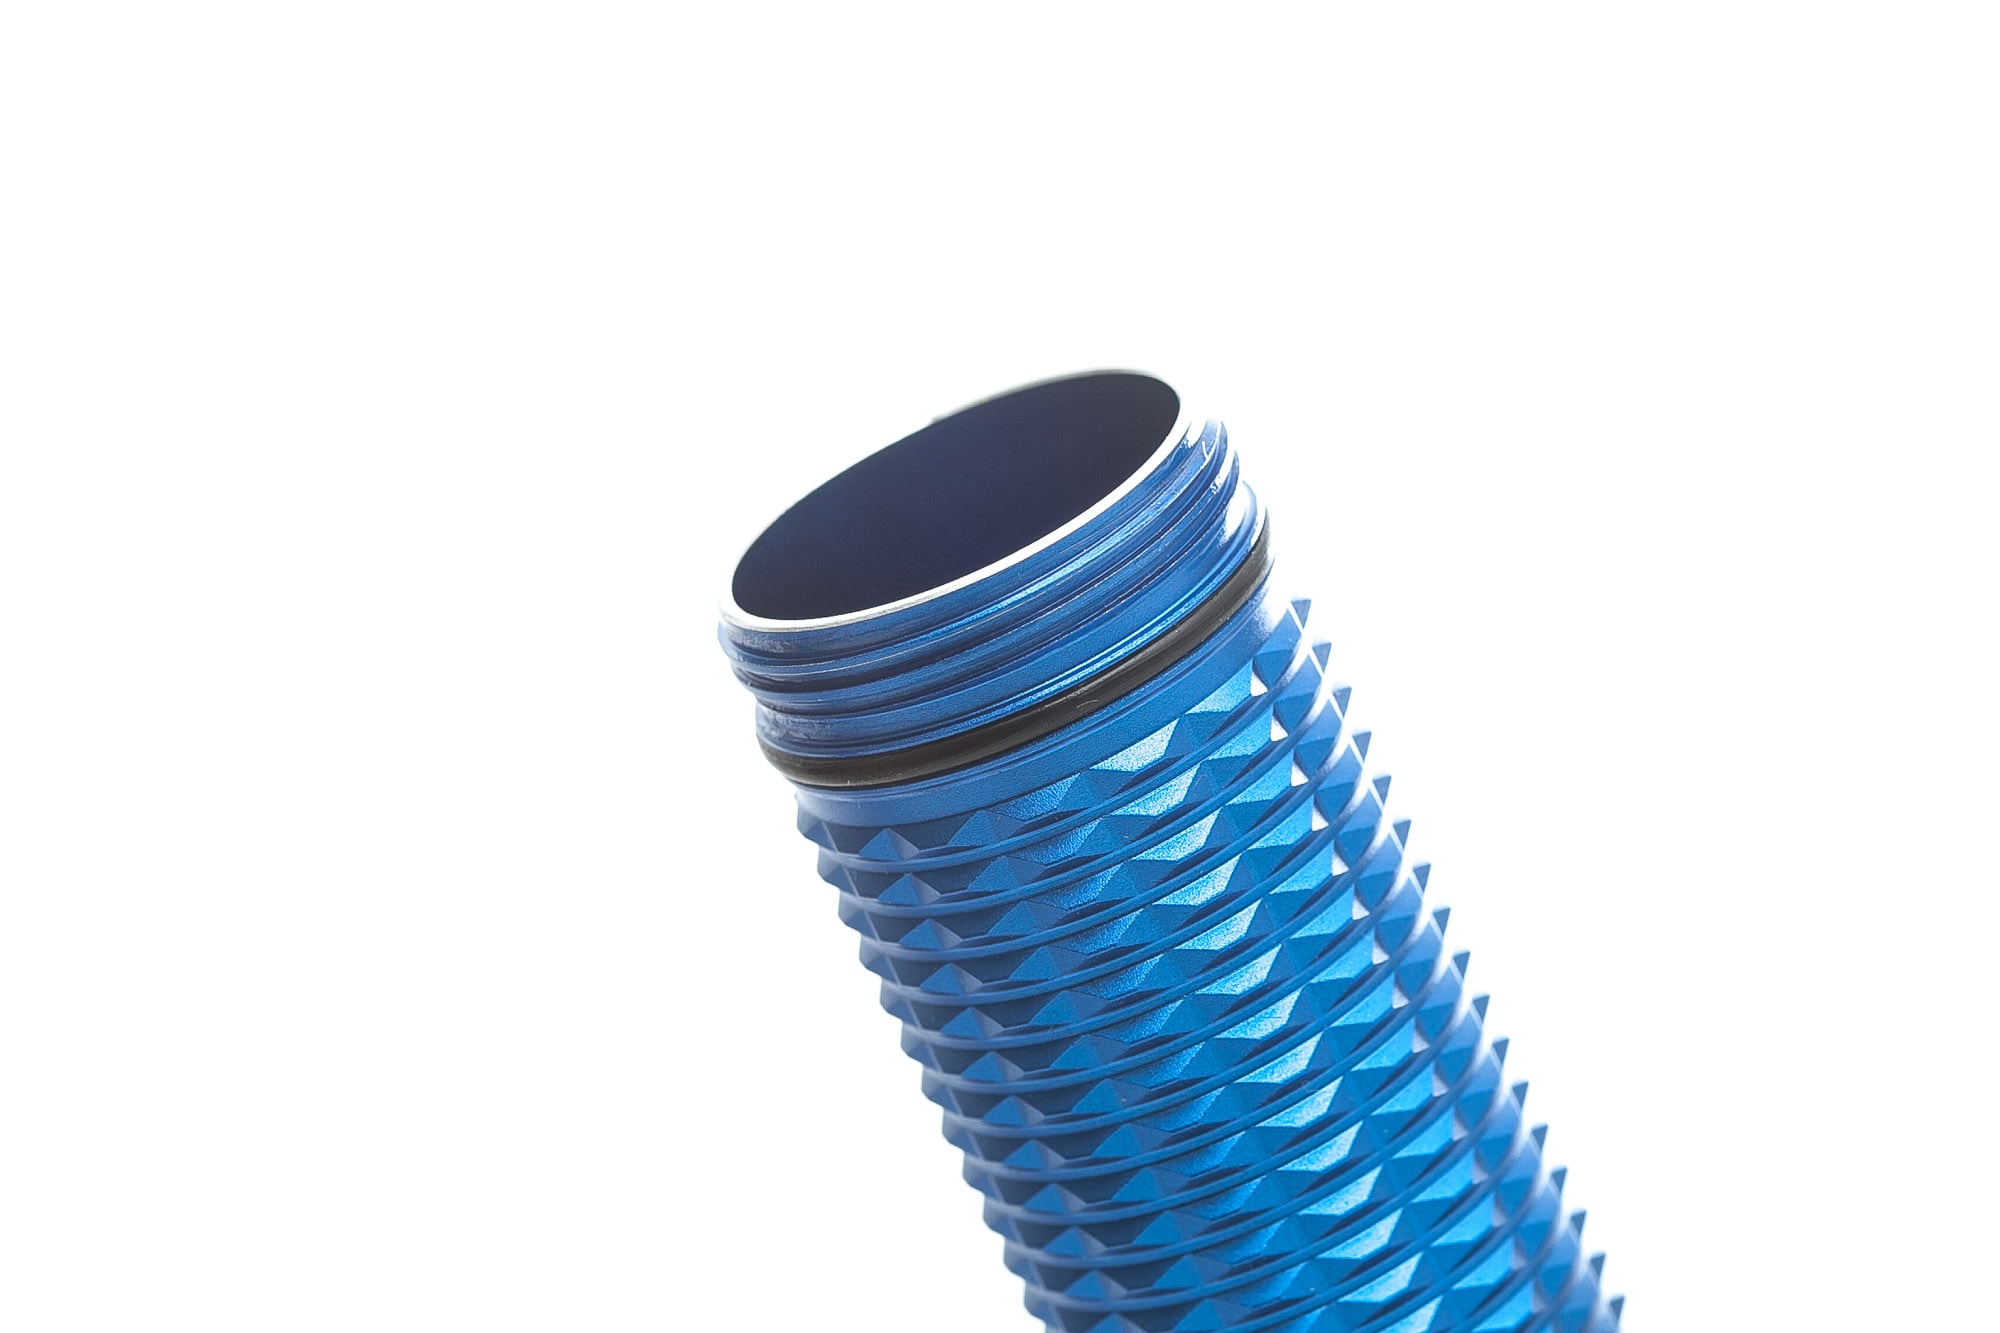
The threads are pretty short, and it only takes 2.5 turns to remove the battery tube from the head. This is likely enough to stay put! Plus, they are anodized.
Overal, the Mini 3 has a high quality finish with a beautiful matte coating on my version. It is and will be available in multiple colors, so if your favorite color is not available, wait a bit longer, and they are likely adding a few new colors, and perhaps even materials (like copper or titanium).
The threads and anodization on the flashlight have beautiful finishing, free from any scuffs or imperfections. However, the coating doesn’t seem to be as durable as others. When you unscrew the battery tube (without removing the pocket clip) the clip will damage the coating where it touches the body. I recommend pulling the pocket clip away from the body when unscrewing it.
Another way is by using a straw, and stick it around the pocket clip while unscrewing.
Olight’s warranty:
At Olight, we always care about your experience as a customer and want to ensure you have no concerns regarding after-sales service. On September 16th, 2023, we sincerely make the following important promise:
If you purchased an Olight® product from Australia, China, France, Germany or the USA after January 1st, 2023, the local service centers in these countries will honor your LIFETIME WARRANTY for your purchase. If your Olight® product (including its structure, built-in battery, LED, or lens) ever experiences any issues, we promise to take care of it. If we are unable to repair your product, we will promptly replace it with a product in perfect working condition, which will be of equal or better physical condition. If your purchase is a limited or discontinued edition of Olight® product, we will repair or replace it with another Olight® product of the same or higher value.
LED, Lens, Bezel, Beam, and Reflector
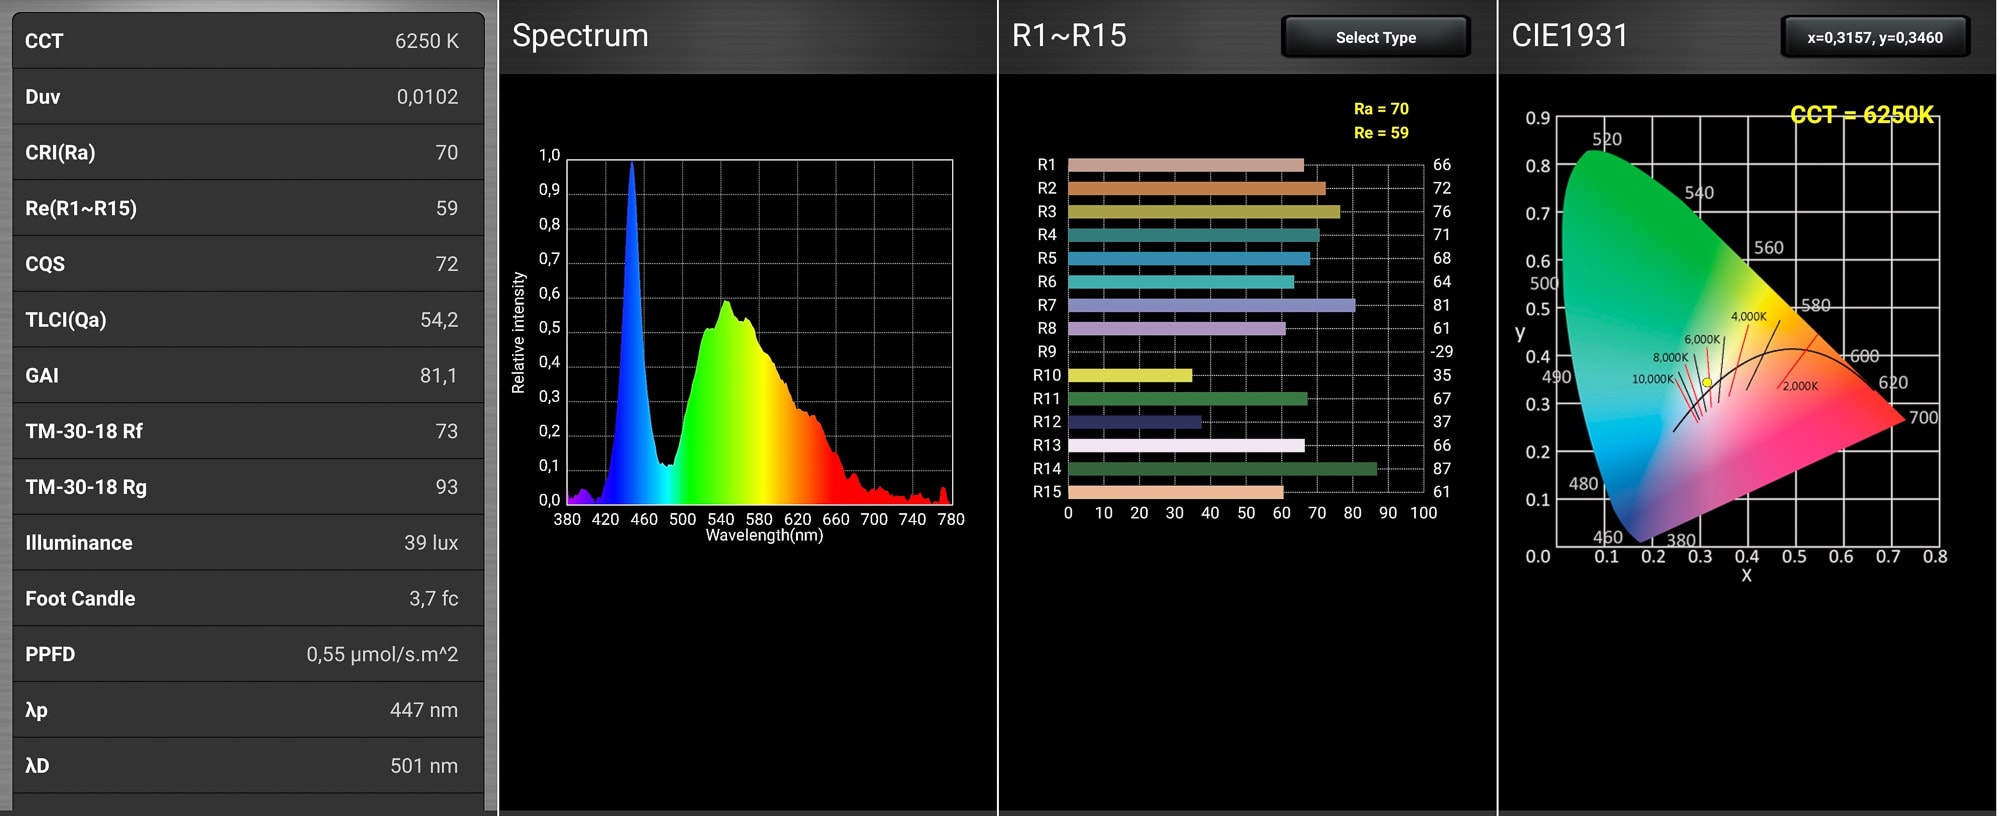
Olight has a reputation for not disclosing details about the LEDs they use. So, you usually don’t get information on the CCT (Correlated Color Temperature), bin, or tint. But recently, they are including the CCT more often. And the Mini 3’s specifications menion a CCT: 5700~6700K, and CRI: 70. There is no mention of the LED brand or model.
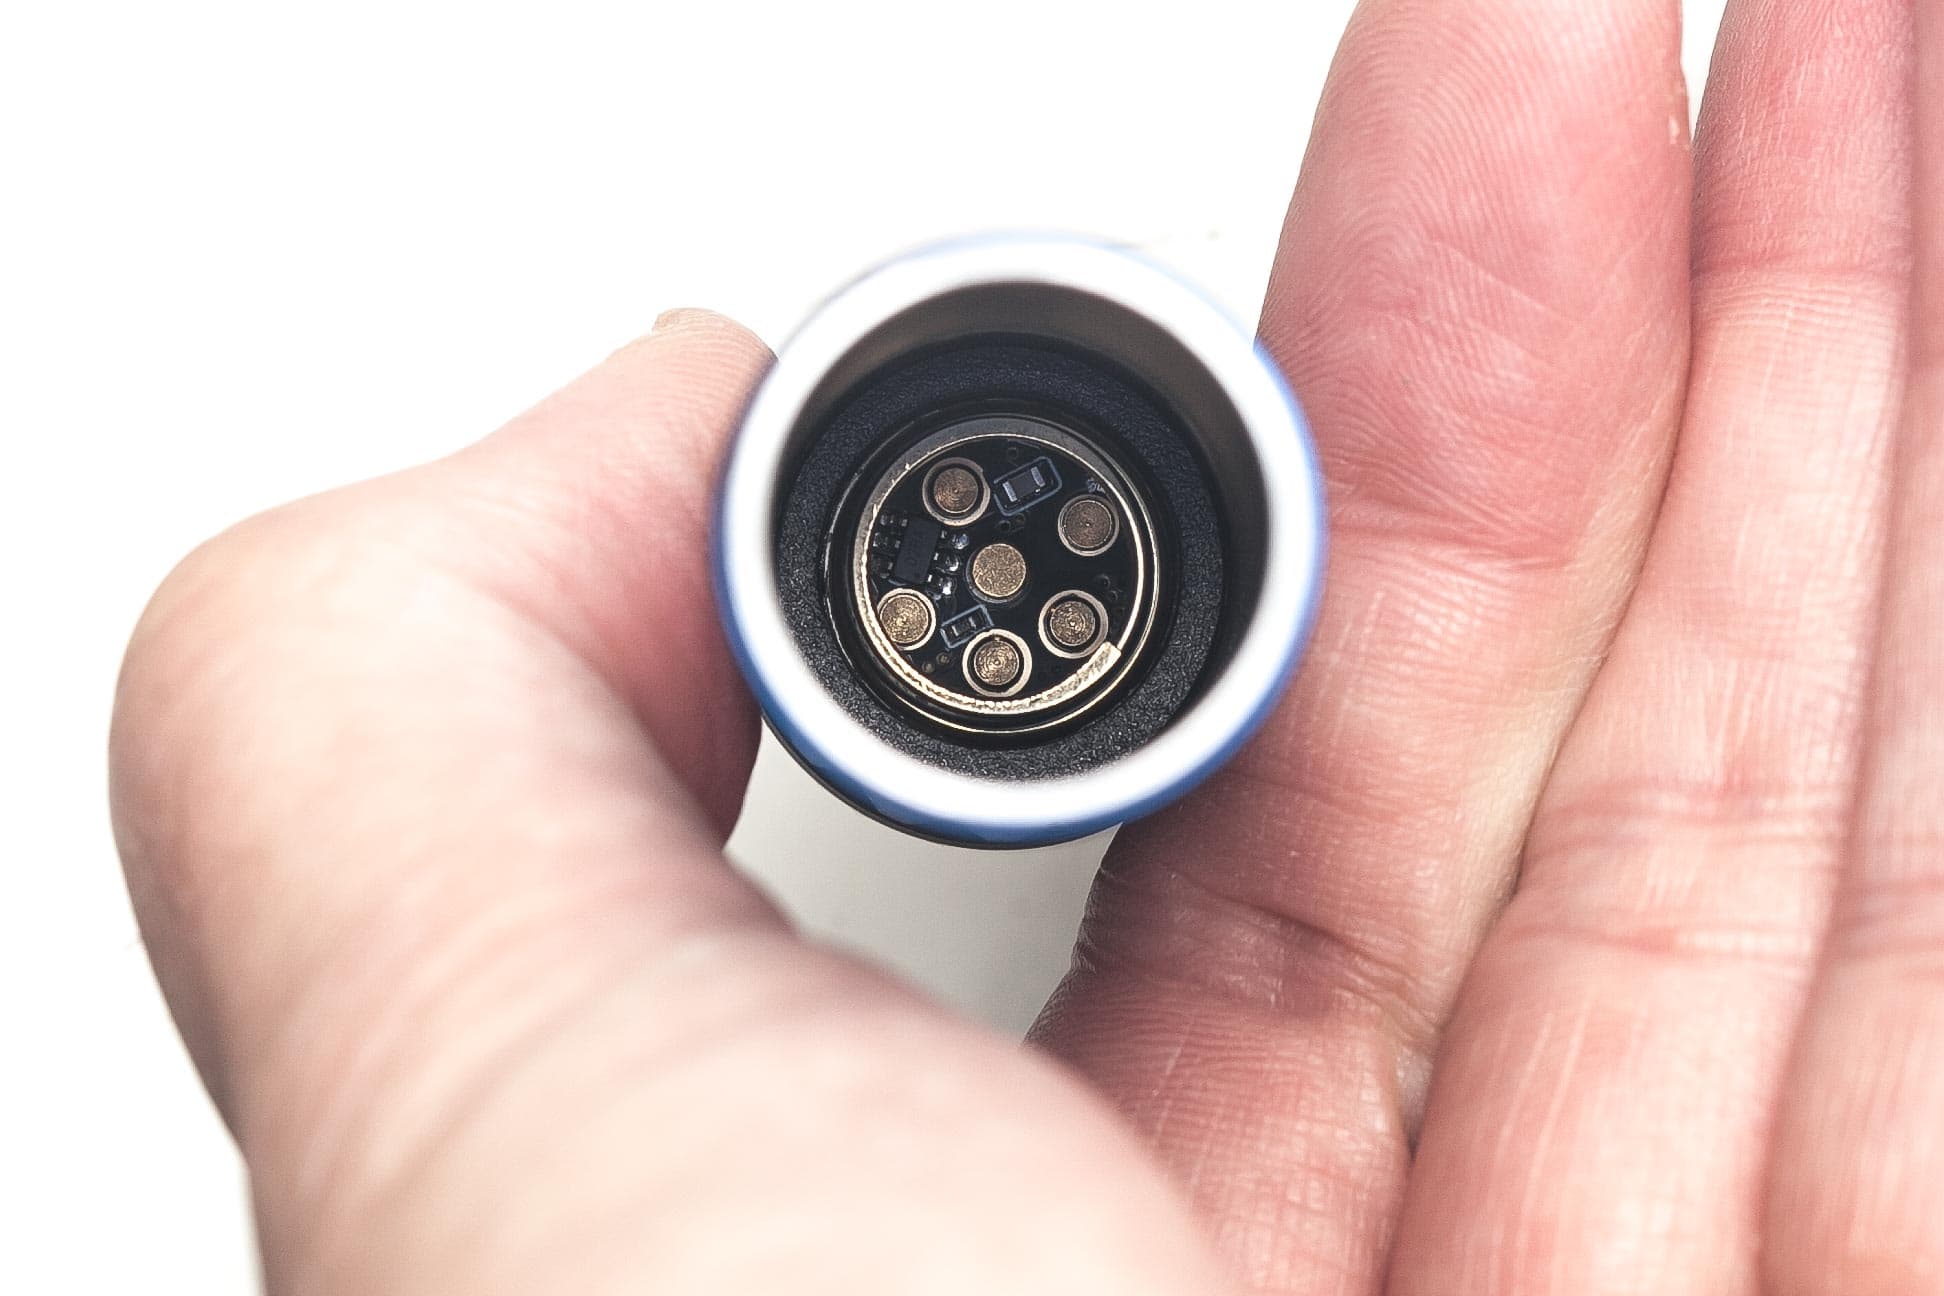
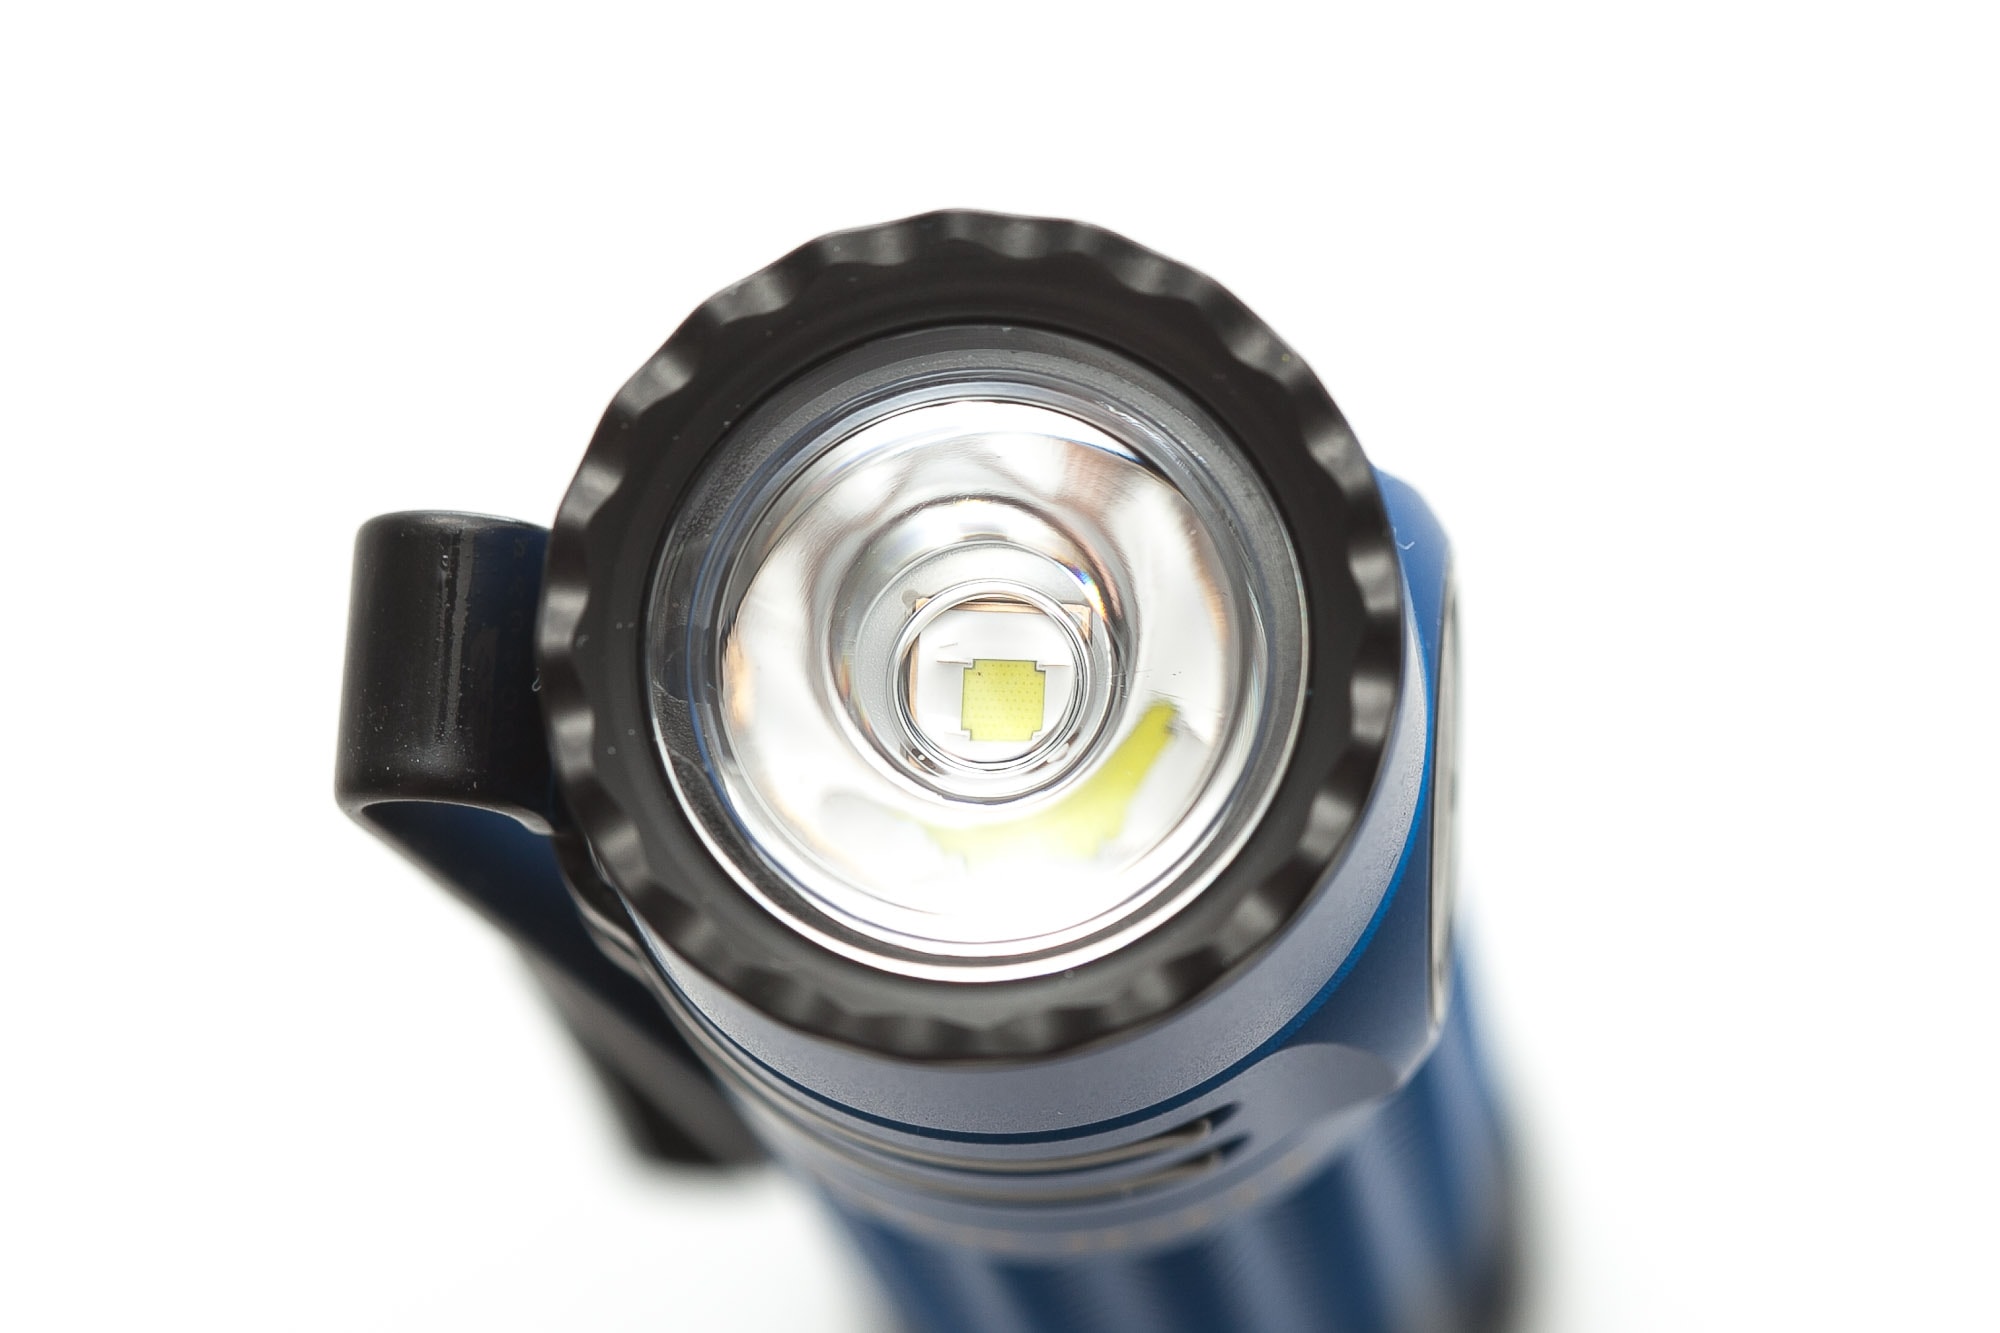
But when I look into the barrel of the Warrior Mini 3, I notice a well-known LED, namely a Luminus SFT40. It sits inside a TIR optic, which is not protected by a glass lens. For some this is not a problem, but for some it is. I can easily tell, because the lens/optic is not flat. And glass protection lenses are always flat. I have never seen a glass lens that isn’t flat.
The beam color is cool, without being blue or purple. The Mini 3’s bezel has some crenellations like the Mini 2.
One of the main ‘improvements’ over the Mini 2 is the new proximity sensor. The proximity sensor detects the reflection of the light and registers that as ‘something close’, and reduces the output within the first 2 seconds of power. This means it won’t reduce output when you hold it close to something after 3 seconds or even 3 minutes. It’s only focusing on the first 2 seconds, even though the specification try to say it is the first 5 seconds.
While the Warrior mini 2 reduced the output at anytime during use, and shuts off after 60 seconds, the Mini 3 does not do that. It will continue running in Medium mode, so you will still get warm pants. I’m not sure whether this was a good move?
This time, the proximity sensor is hard to see through the front, so adding a piece of tape doesn’t do the trick anymore.
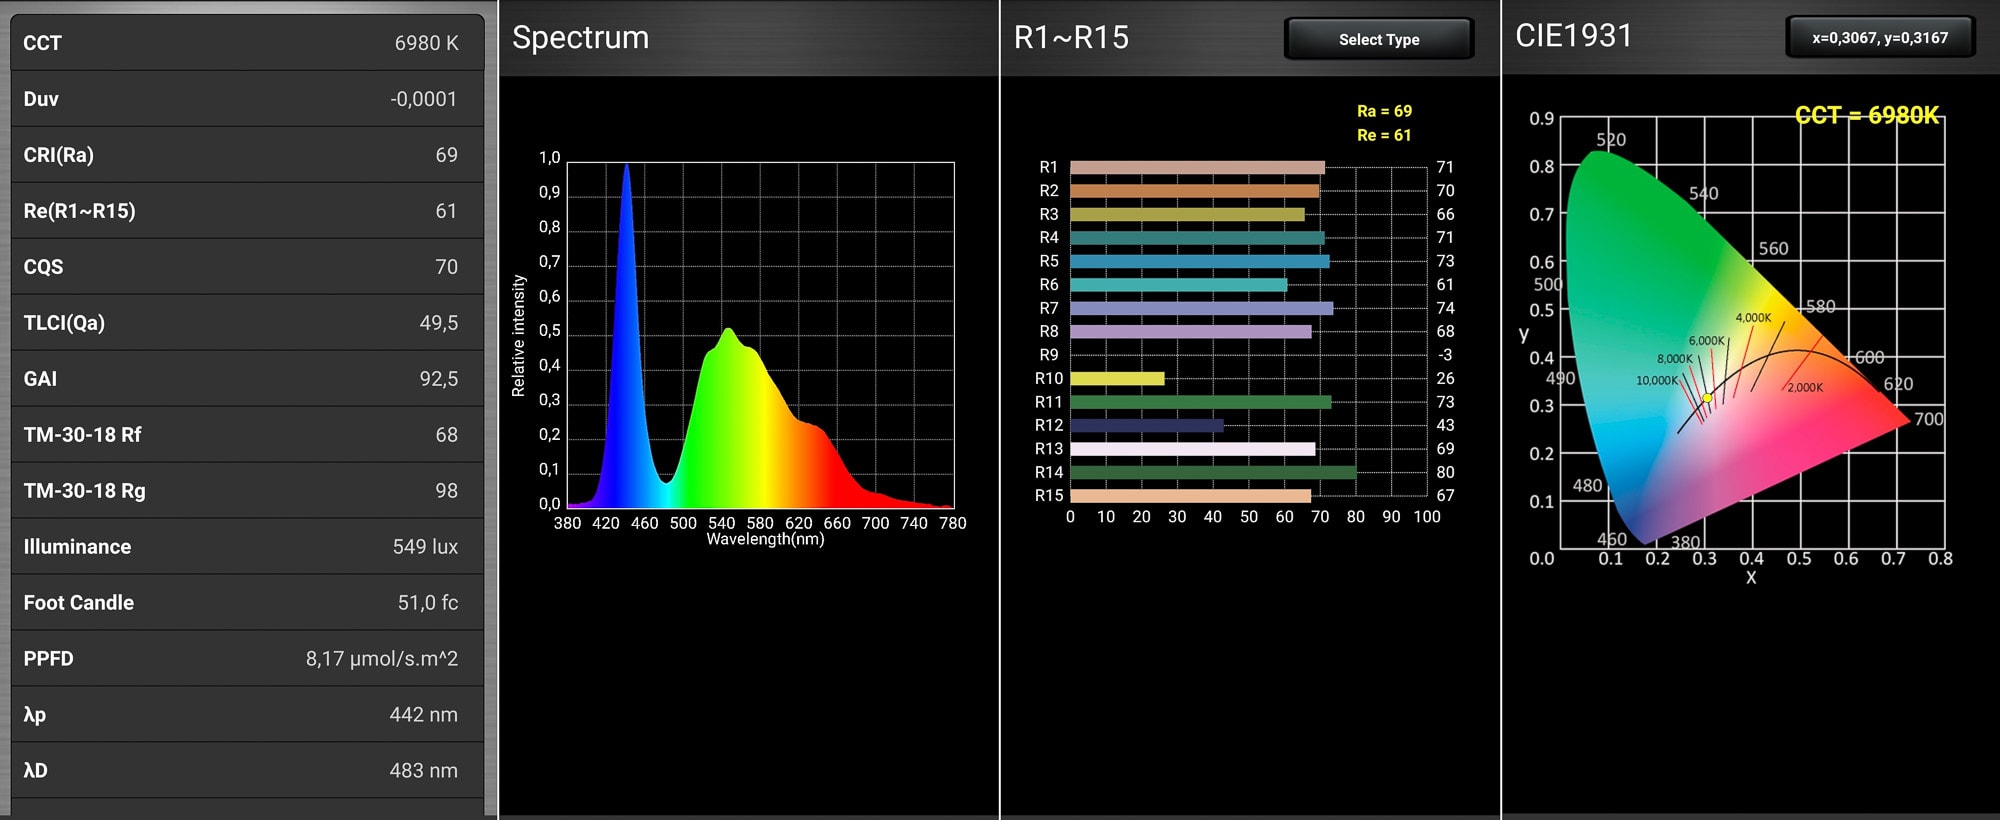
Here’s what my Asensetek Lighting Passport Pro Standard measured in Turbo mode:
- CCT: 6980K
- CRI Ra: 69
- DUV: -0.001
Medium mode has different measurements, and I got the message again: hard to measure accurately with the current brightness. This usually happens when it is either too bright or too dim
Dimensions and its competition
Dimensions:
| Olight Warrior Mini 3 | Millimeters | Inches |
|---|---|---|
| Length | 111 mm | 4.4 in |
| Head diameter | 23 mm | 0.9 in |
| Body diameter | 22mm | 0.9 in |
Dimensions are rounded to the nearest millimeter, and to the nearest tenth of an Inch.
Weight:
| Olight Warrior Mini 3 | Weight in grams | Weight in oz. |
|---|---|---|
| Without battery: | 71.8 g | 2.5 oz |
| With battery | 121 g | 4.3 oz |
Weight is rounded to the nearest gram, and to the nearest tenth of an Oz.
Olight Warrior Mini 3 Flashlight comparison
Size compared to other Olight, and EDC flashlights
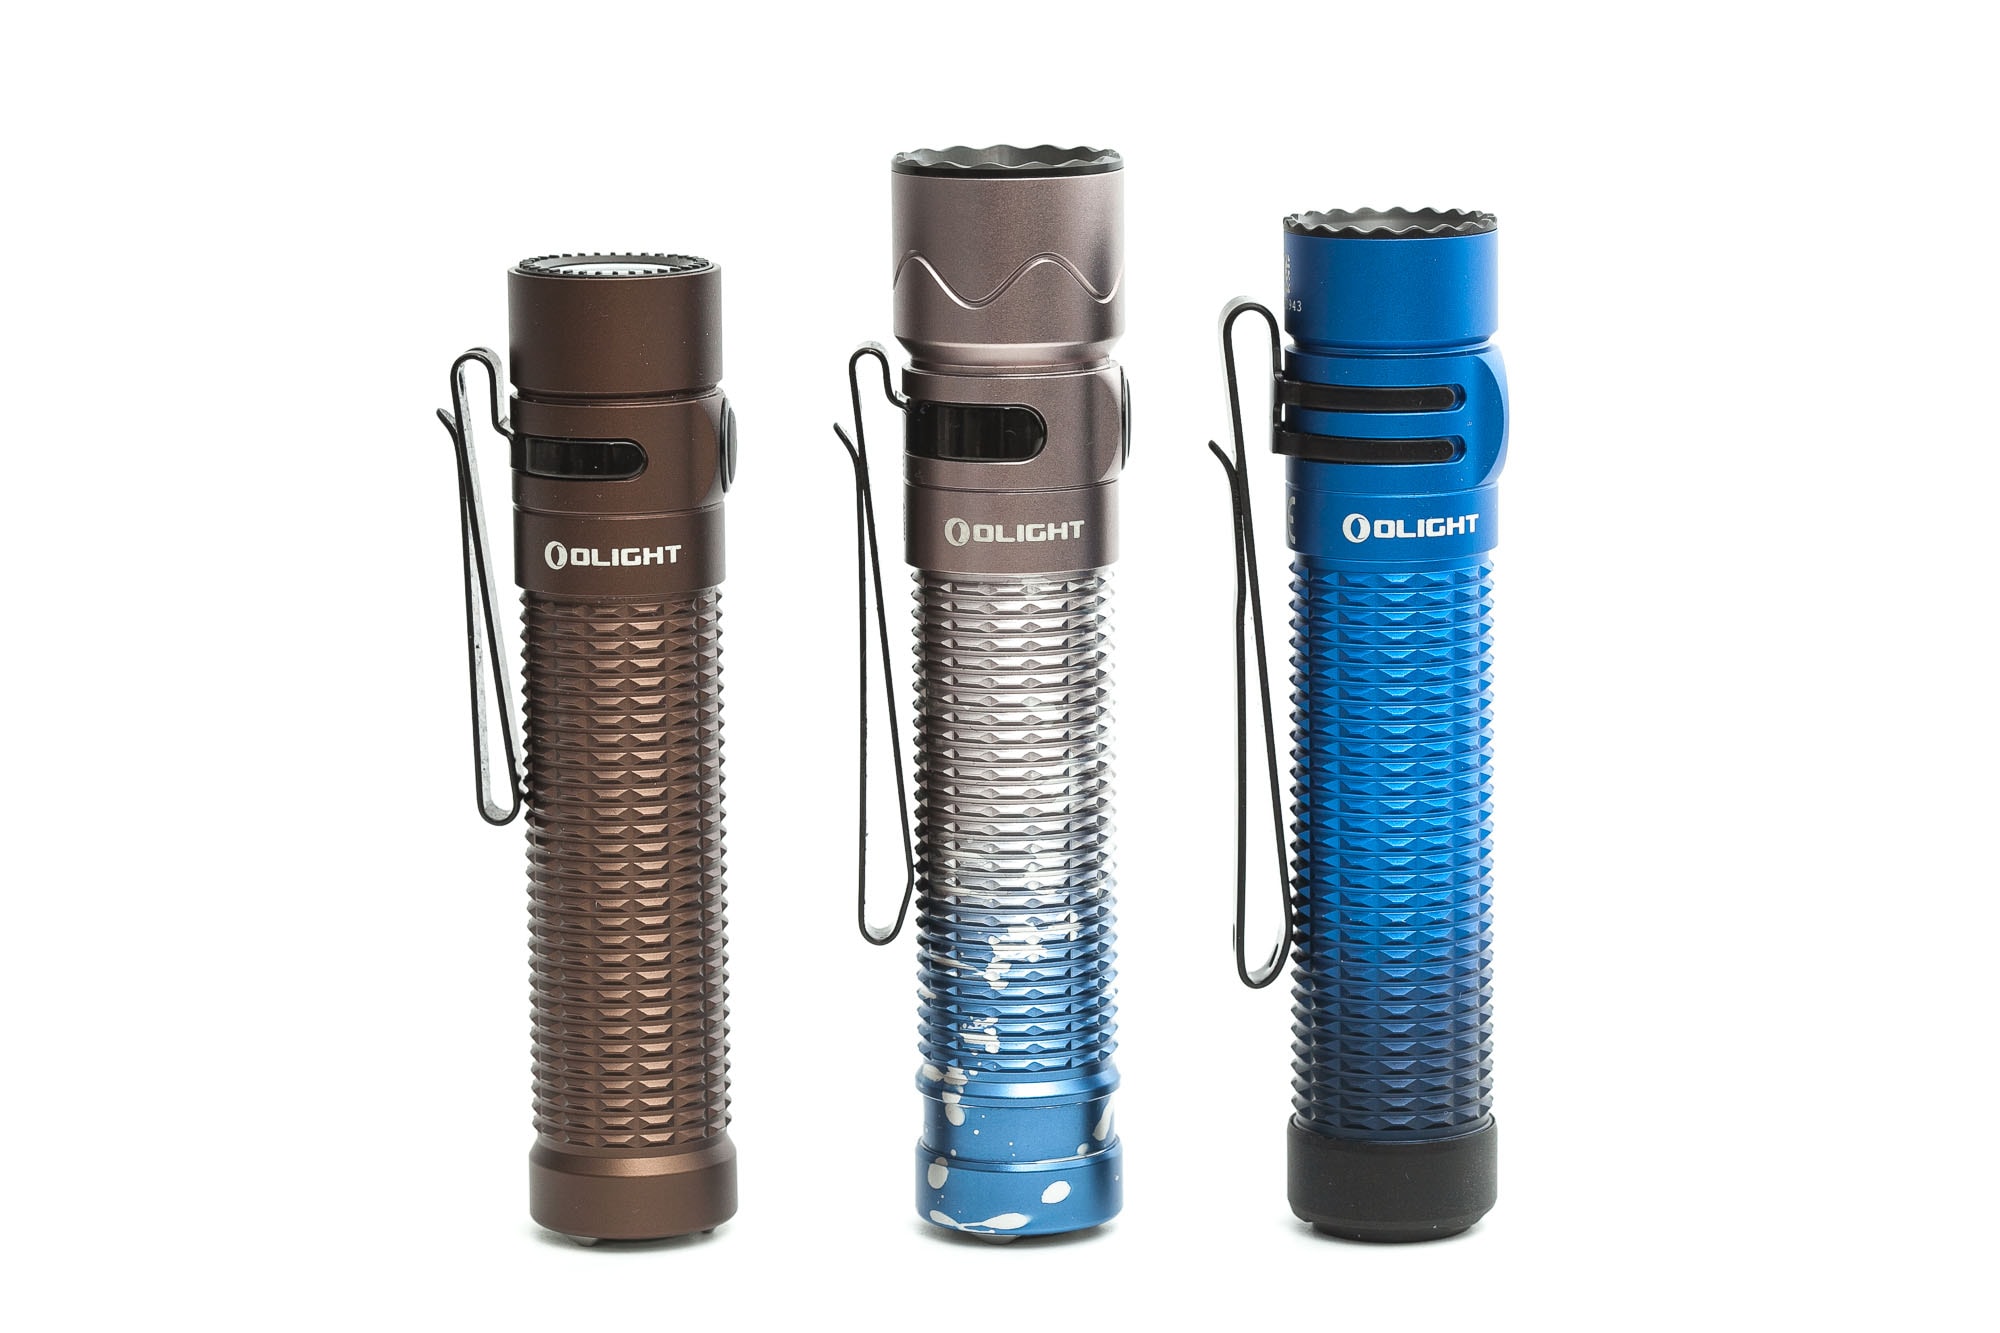
Group 1, from left to right: Olight Warrior Mini 1, Olight Warrior Mini 2, Olight Warrior Mini 3
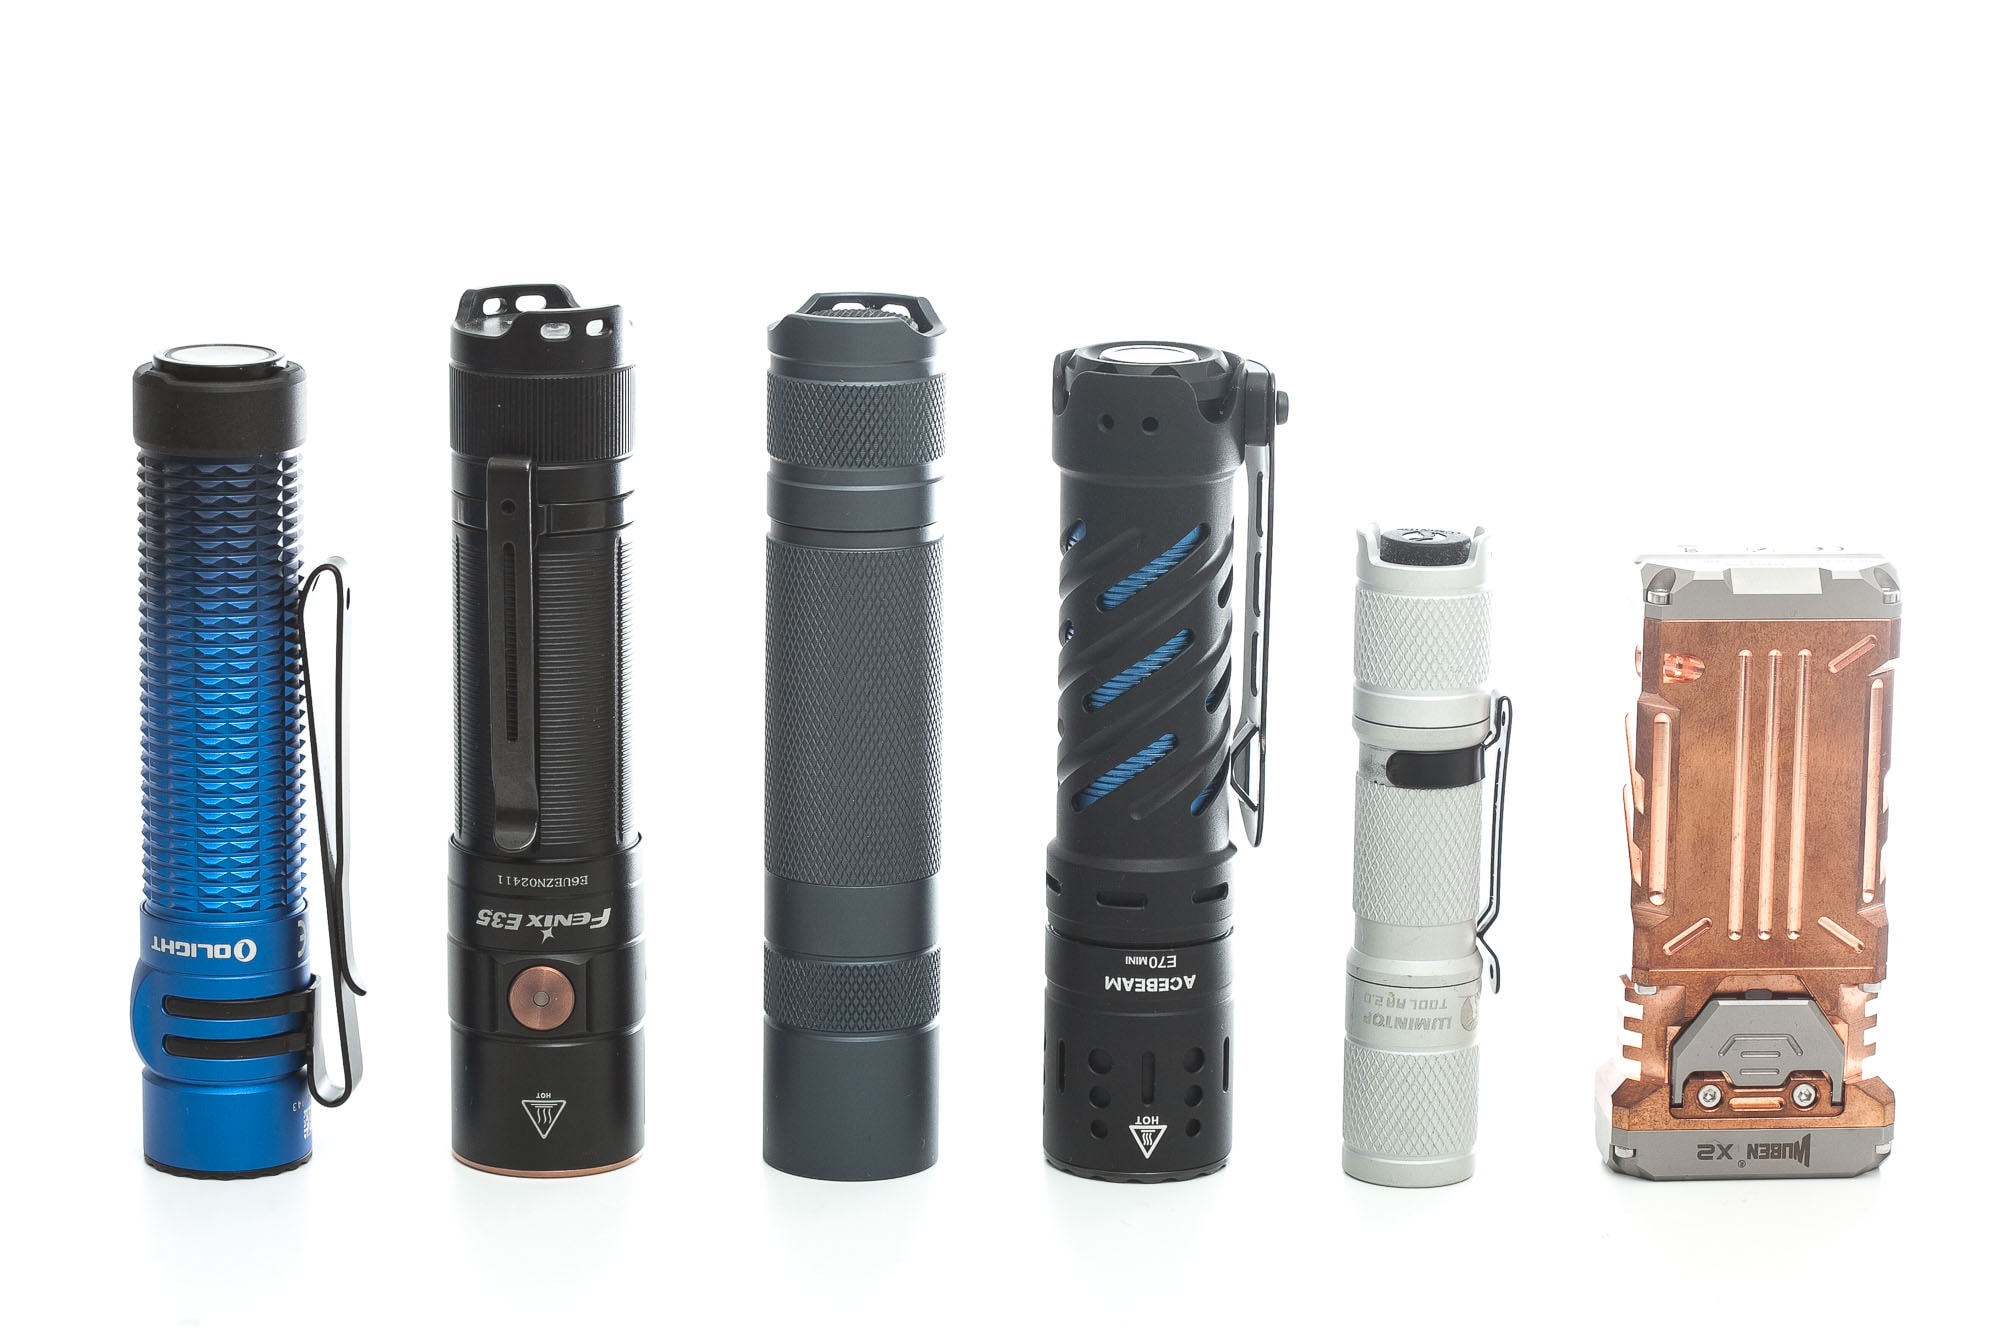
Group 2, EDC flashlights: Olight Warrior Mini 3, Fenix E35, Convoy S2+, Acebeam E70 Mini, Lumintop Tool AA 2.0, and Wuben X2.
Olight Warrior Mini 3 UI : User interface and driver
The Warrior Mini 3 makes use of 2 switches, with 1 located in the rear, and 1 on the side, near the head. Both switches can be used interchangeably. For example: If you turn the light on with the rear switch, you can use the side switch to turn it off, and vice versa.
The rear (tail) switch has 2 menu configurations. You can switch between these 2 settings by doing the following: Press and hold the tail switch and while holding the tail switch, you simply click the side switch just 1 time. There’s no time limit, you can do it slowly or as quickly as you want. Just remember to keep pressing the tail switch. (Changing this setting doesn’t influence the functionality of the side switch)
2 Tail Switch configurations
Tail Switch Configuration 1 (default configuration, everyday use)
The default configuration has 4 options. Medium (Momentary on), Medium (continuous), Turbo (Momentary On), and Turbo (continuous).
- Short half-press: Medium (continuous)
- Short full-click: Turbo (continuous)
- Half-press and hold (more than 1 second): Momentary Medium (release the button to turn the light off)
- Full-click and hold (more than 1 second): Momentary Turbo (release the button to turn the light off)
Tail Switch Configuration 2: Tactical mode: Momentary Medium and momentary Strobe only
- Half-press: momentary Medium
- Ful-click: momentary Strobe
There is no continuous mode with this Tactical configuration. A fast click doesn’t do anything, nor does a short half-press.
Side switch
The side switch can access more modes. And keep in mind that you don’t need the tail switch for power.
Available modes:
- Moon, Low, Medium, High, and Turbo
- (Moon and Turbo are not part of the default menu cycle)
Side switch from OFF:
- Single-click: goes to last used mode (it has mode memory, including Moon)
- Double click: Turbo (not working with mode memory, unlike Moon and the default mode group)
- Triple-click: Strobe
- Press and hold 1 sec: Moon
- Press and hold 2+ sec: Lockout
Side switch from ON:
- Single-click: Off
- Double click: Turbo
- Triple-click: Strobe
- Press and hold: cycle through the modes from low to high and back to low again.
Side Switch Shortcuts:
- To Turbo: Double-click side switch from either On or Off
- To Moon: from off: press and hold
- To Strobe: Triple-click from on or off
Mode memory:
- Yes, including Moon even when Moon is not part of the normal cycle. This is a great and useful feature for some, but unnecessary for others. Because if it only remembered low medium or high, you could have shortcuts to more modes.
- Turbo won’t be memorized
- High will only be memorized for 10 minutes, and will then revert back to Medium mode
Blinky modes menu:
- Yes, Strobe.. a triple click with the side switch from either On or Off / or a fully press the tail switch when in Tail Configuration mode 2.
Low battery warning:
- There is a small LED indicator inside the side switch. It will indicate the following:
- Solid green: 60%+
- Orange: 10-60%
- Red: ~10%
- Red blinking: ~5%
Keep in mind that the flashlight will not turn off until the battery reaches a certain Voltage. The low voltage warning doesn’t always mean Low Voltage Protection. After the runtime tests I measured between 2.76V and 2.9V
Lock-out mode:
- You can activate the electronic lockout mode by pressing the side switch for more than 2 seconds. It will briefly turn on in Moon and then locks out. Repeat this to unlock. I recommend carrying it always in the locked-out position.
PWM:
- It almost looks like there is some PWM in the lowest mode, but if there is, it’s negligible, or not even present. It
Proximity sensor
The proximity sensor received an update. The main difference is that it is only activated during the first 2 seconds of power on. So if you use it for more than a couple seconds, the proximity doesn’t reduce the output.
Firmware / UI Additional info:
The UI is great if you don’t mind the single click for off and Press-and-hold for mode changing. but you have direct access to Moon, Turbo, and Strobe. And if you use Low or Medium, you have access to that mode within 1 click as well. I think this is a great and useful UI.
On top of that, the proximity sensor will detect any close obstacles and reduce the output that way. This is a great safety feature, and it also helps you reduce the risk to get blinded when accidentally pointing to something reflective up close.
Olight Warrior Mini 3 Charging and batteries
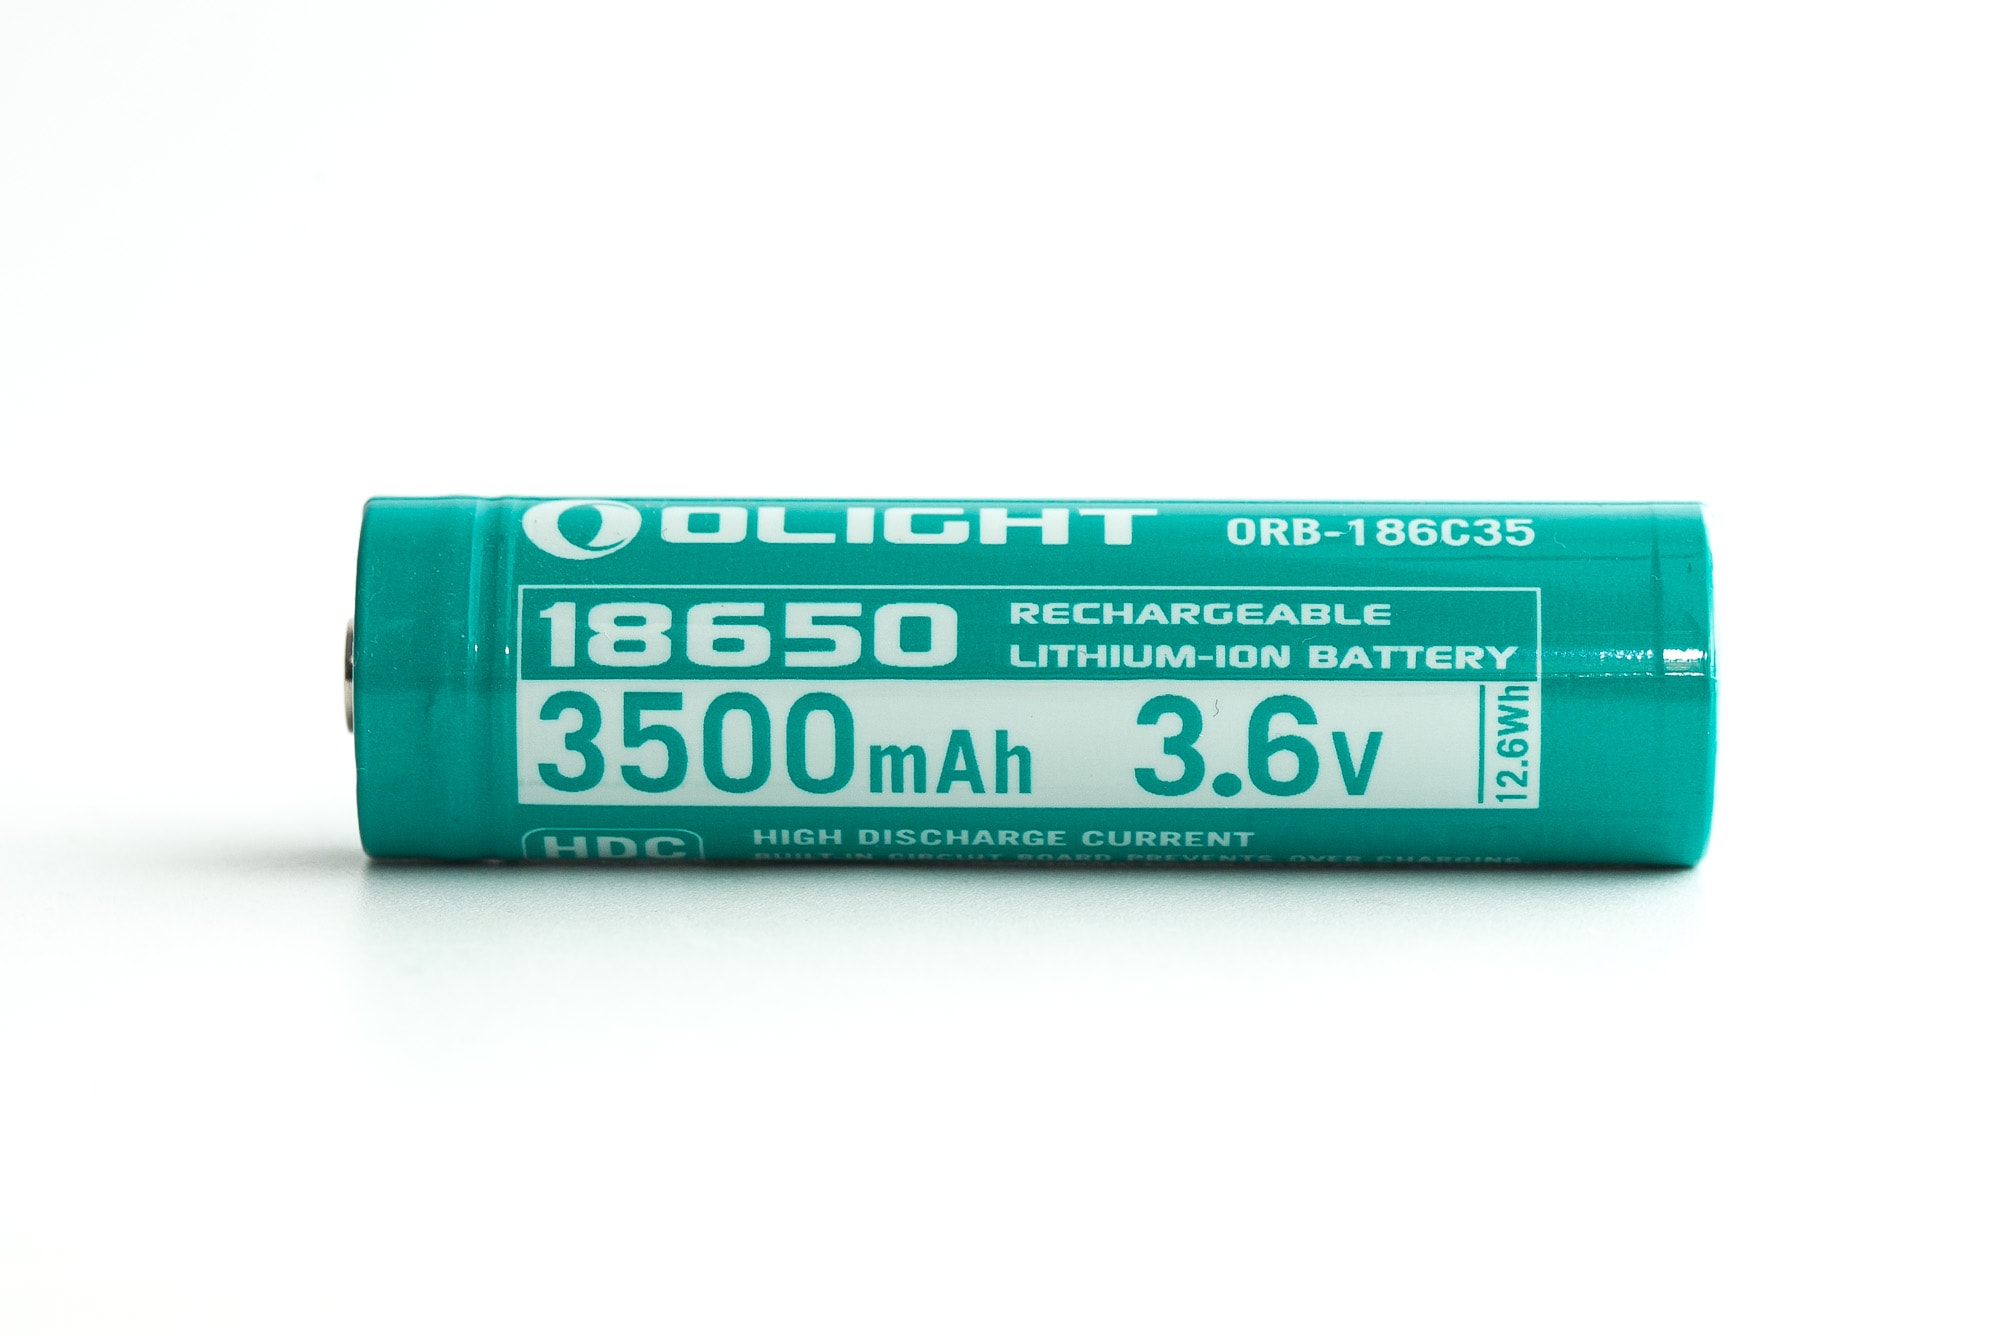
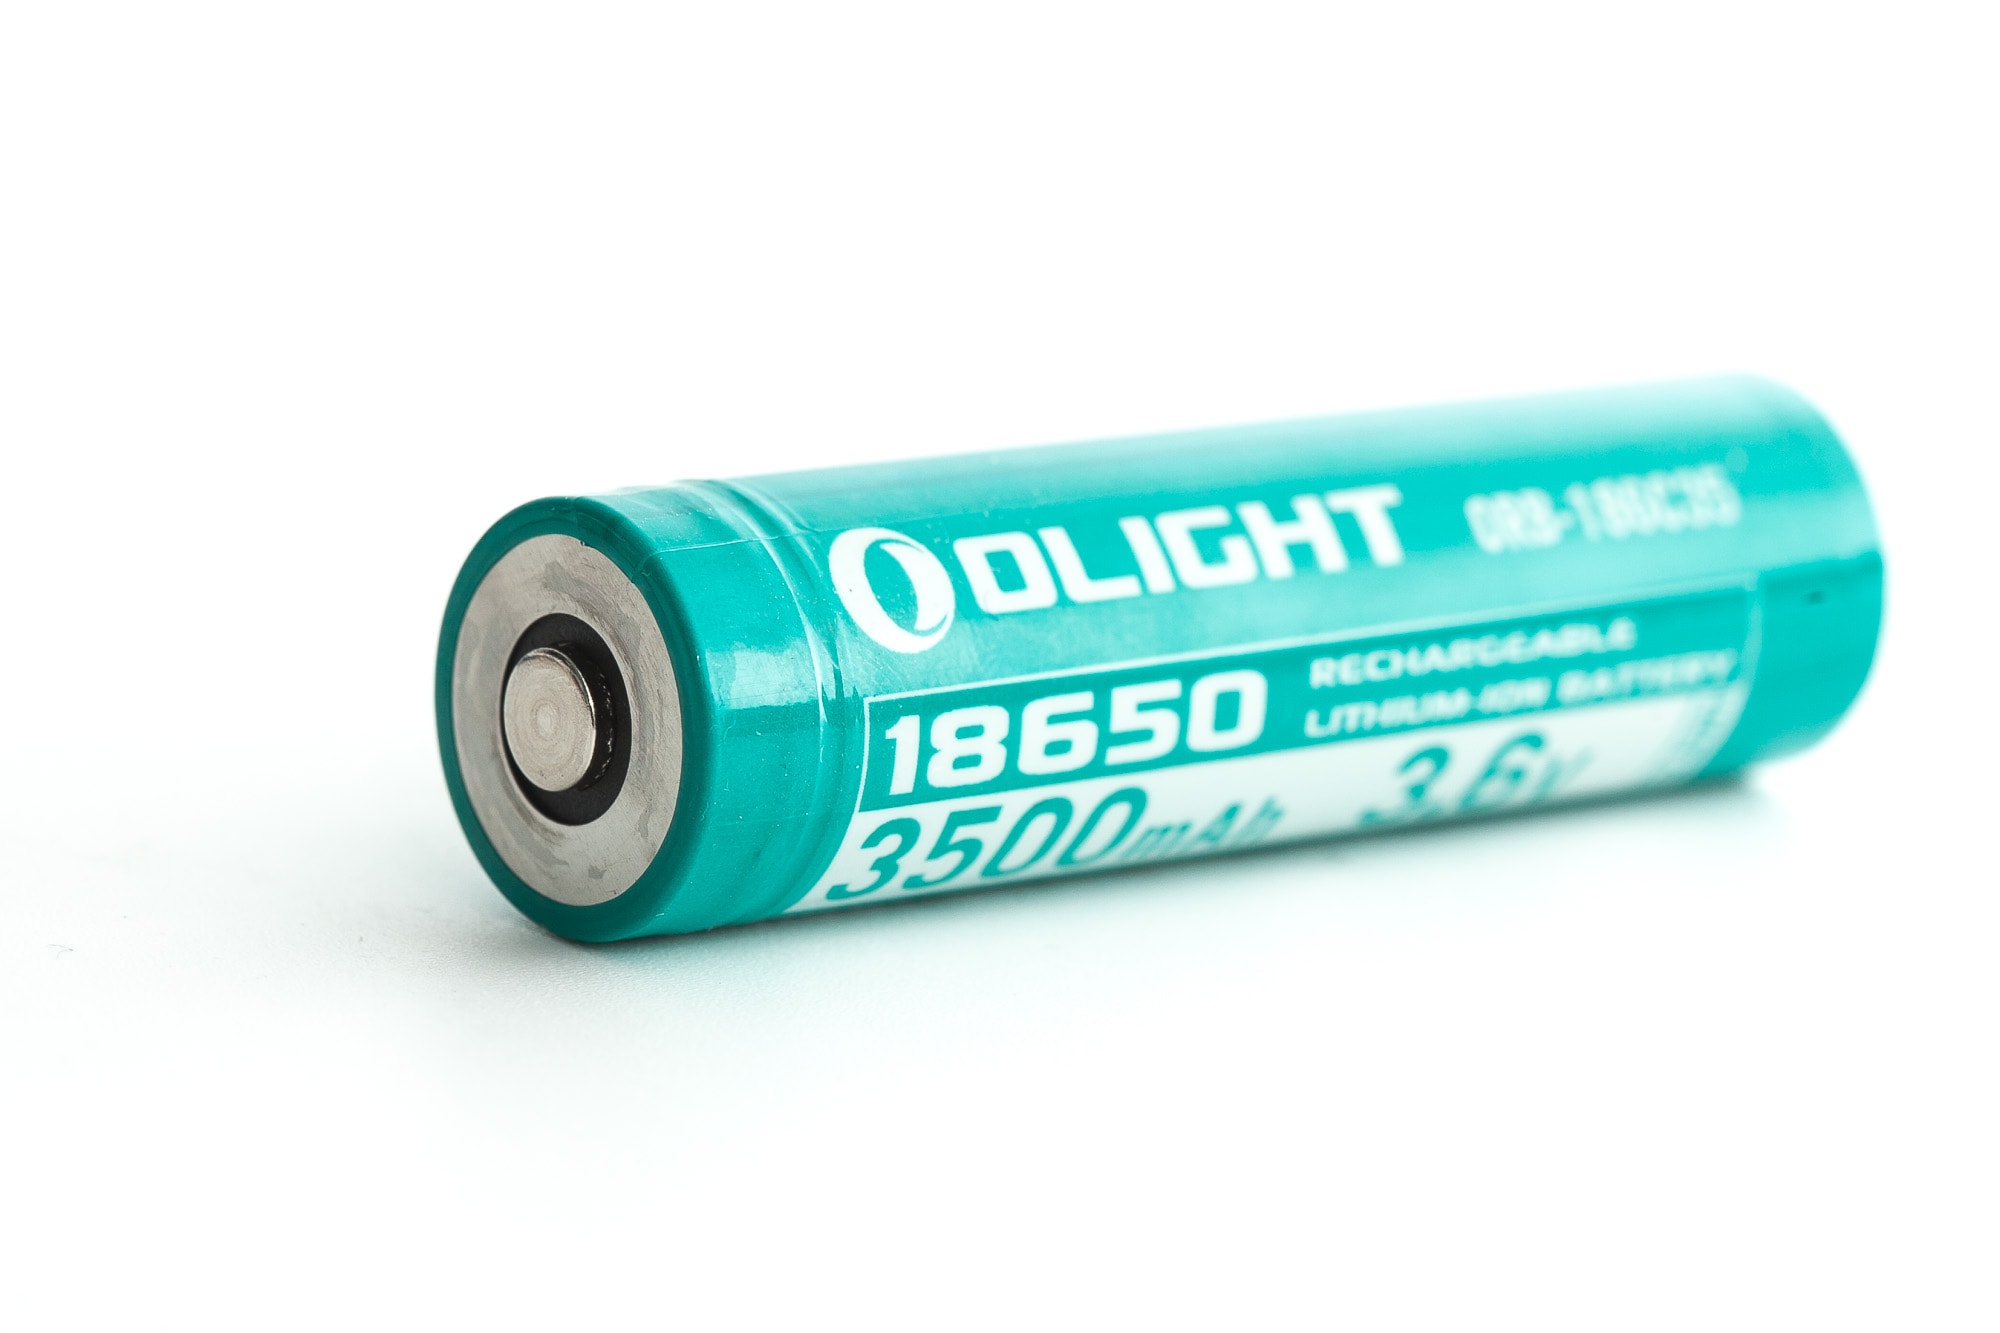
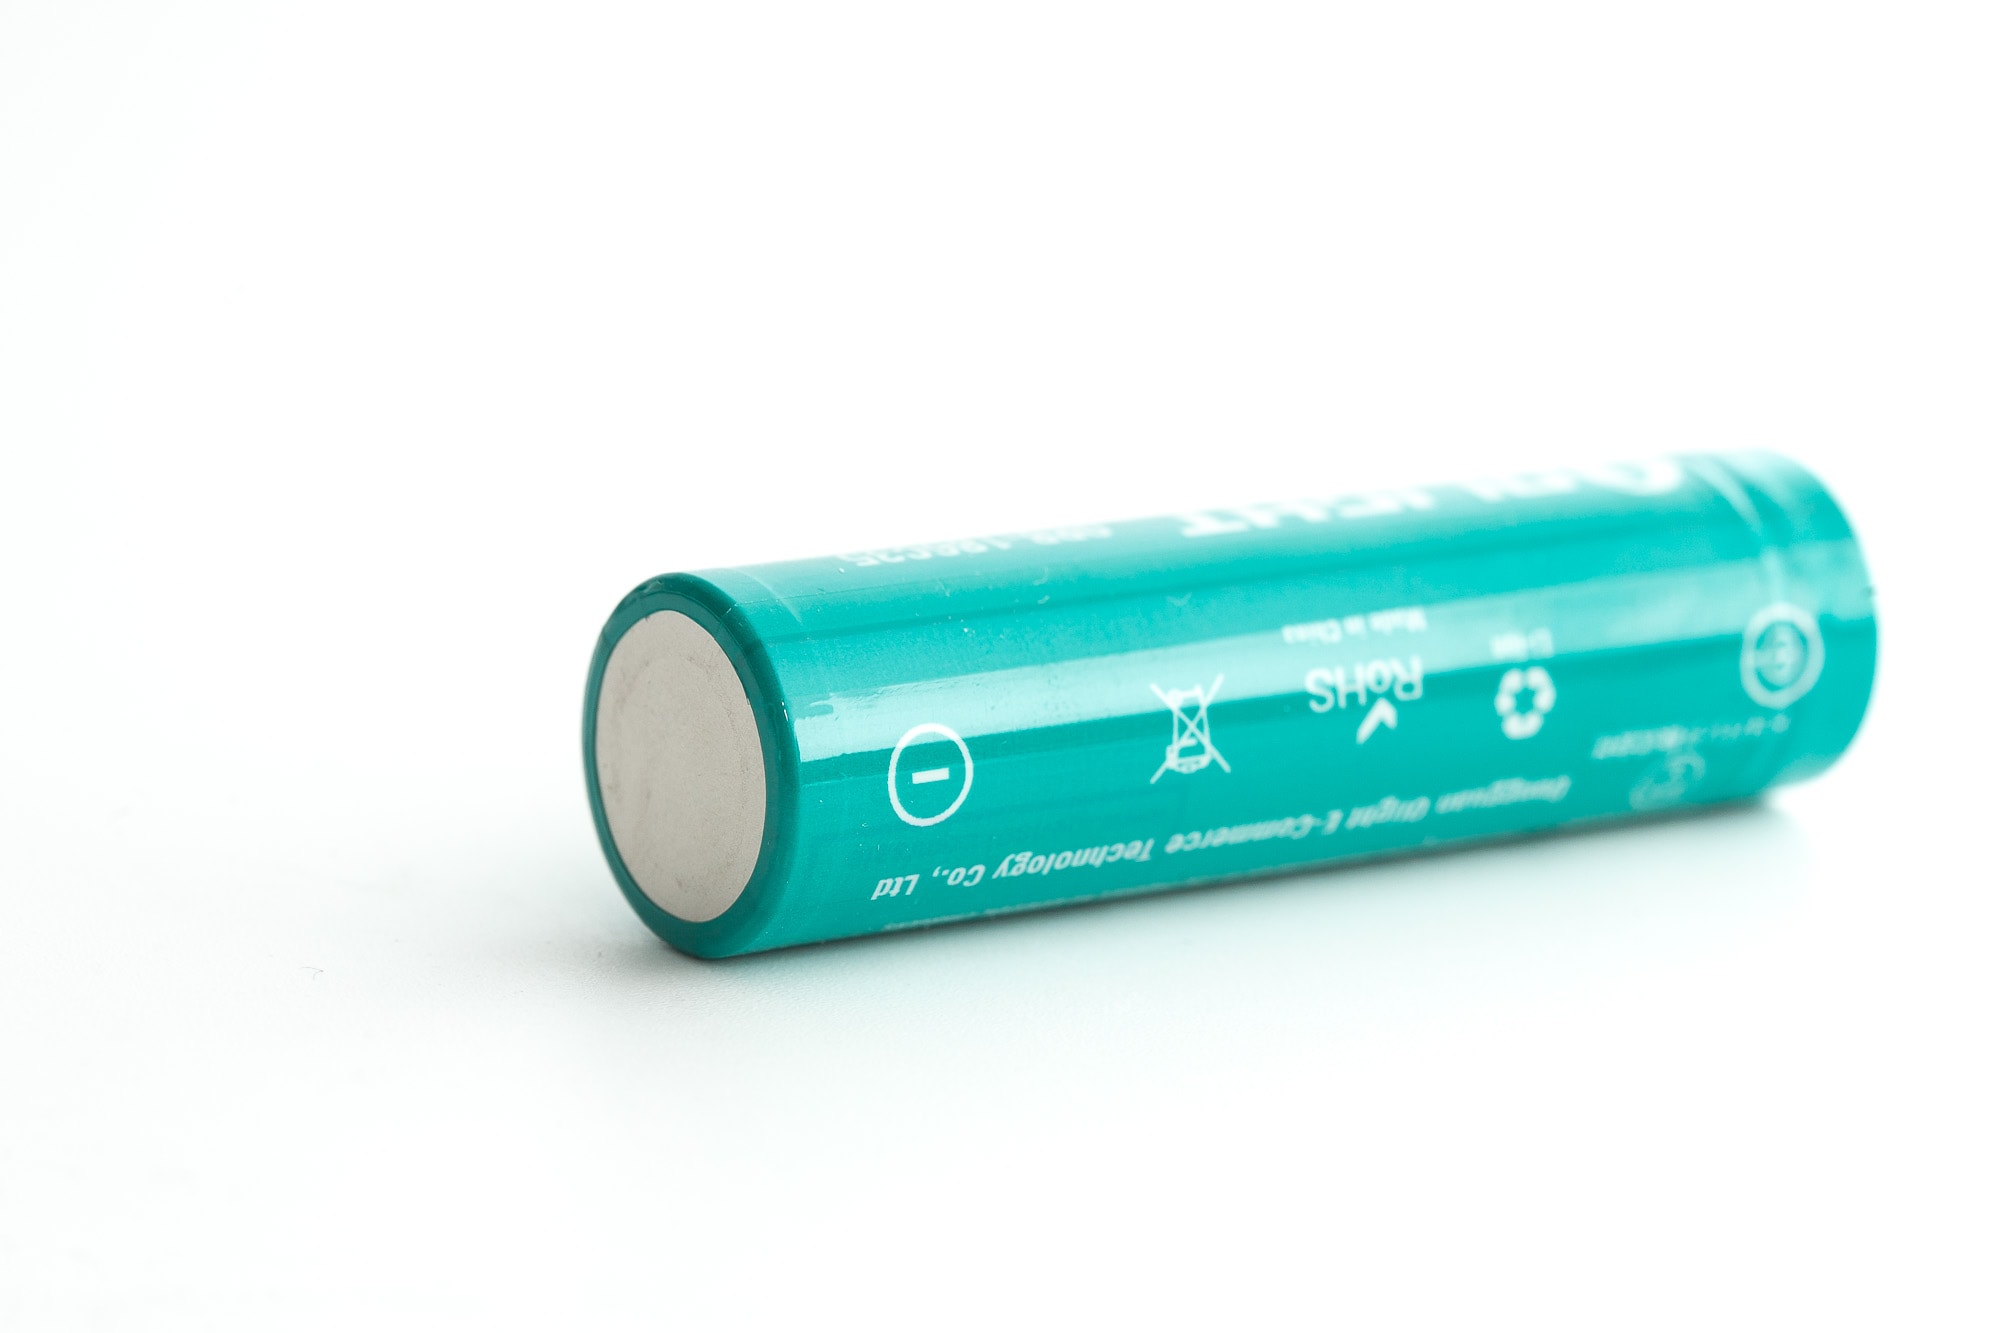
Olight added a 3500mAh 18650 Olight rechargeable lithium-ion battery in the package. The battery is coded: Olight ORB186C35 and arrived at 3.65 volts. The wrapper mentions 10A, which I assume, means a maximum discharge current of up to 10A. Olight adds high-quality batteries with probably all of their lights these days. That way they can guarantee good-performing flashlights to all users.
Olight ORB186C35 is a proprietary battery, which means you can only use this battery inside the Olight. You can’t use a regular 18650 battery. The Warrior Mini 3 has a built-in charge system that uses a magnetic attachment. The cable has a normal USB-A port on 1 end, and a magnetic adapter that will attach itself to the tail switch, on the other end.
However, you can still charge the battery in a normal 18650 charger.
I like the fact that Olight provides you with this ready-to-use package. That way, you can even gift it as a high-quality rechargeable flashlight to people who are not very technical and don’t know anything about Lithium-Ion batteries.
The max charge current is around 1.3A, but throughout most of its charge it’s lower. It starts at a lower current and also finishes with a lower current. During charging a red indicator LED is visible on the end of the charging cable near the magnet. When the battery is at 95% charge, the LED will turn green. However, this doesn’t mean means the battery is fully charged yet. If you have a USB tester, you can see that the battery continues charging when the light is green. The charge current reduces the closer it gets to a full charge.
I measured the battery charge for 3 hours and 17 minutes when the charge current drops below 100mA. This is good enough for 90% of the battery charge, if not 95%. But you can leave it charging after the green light is lit, and make it charge to 100%. After leaving it charging for a long time, the battery charged up to 4.2V
Performance test
This is the gear I use for testing:
| Gear | Purpose | Link to buy |
|---|---|---|
| Hagner E4-X | Measuring beam intensity (throw) | Inquire at Hagner.se |
| Extech SLD400 | Lumens and logging runtimes | Amazon.com, Amazon.co.uk, |
| Leica Disto D2 | Distance for throw measurements | Amazon.com, Amazon.co.uk, |
| Asensetek Lighting Passport Pro Standard | Spectrometer for LED measurements | – |
Lumen measurements:
How Lumens are Measured: Understanding ANSI FL1 Standards How Lumens are Measured: Understanding ANSI FL1 Standards: The ANSI FL1 standards specify that output in lumens should be measured 30 seconds after turning on, as this is the standardized time for measuring brightness according to the industry standard. This is why we focus on this part in our measurements. The ANSI FL1 standards require an ambient temperature of 22 ± 3°C. We record the ambient the ambient temperature to identify potential reasons for any observed discrepancies.The output measurements in this review are based on my homemade integrating spheres, each equipped with an Extech SDL400 Lux Meter. For consistency and accuracy, a calibration light (Convoy S2+ with 249lm and a Convoy S2+ with 261lm) is measured prior to each set of lumen measurements.
For high-output lights, one of the lux meters uses an ND camera filter to prevent the lux meter to max out. This is either the Kenko PRO1D ND16 up till about 80,000 lumens or Gobe ND32 for anything above.
All of my readings were taken from a fully-charged Olight battery.
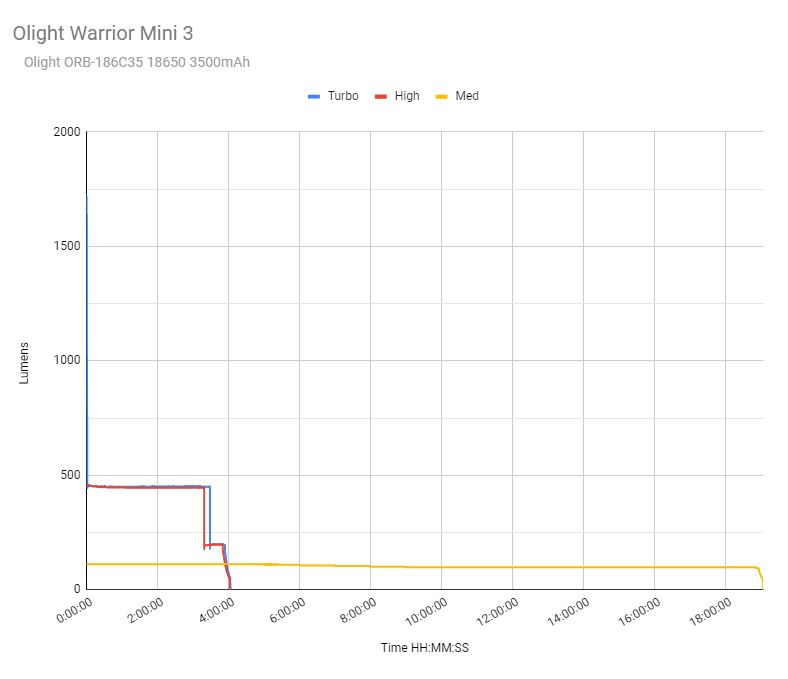
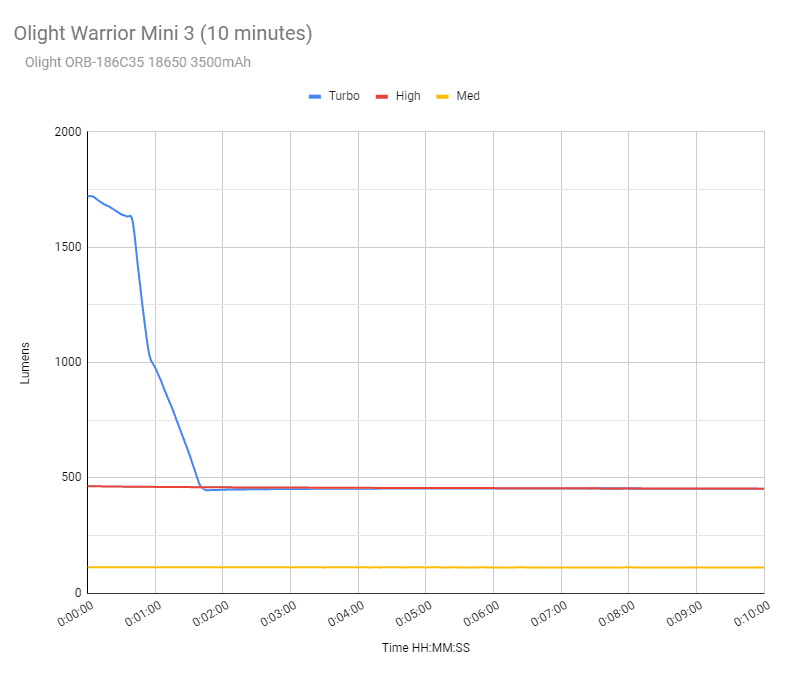
The measurements were taken manually at turn on and 30 seconds. The 10 minute numbers are taken from the runtime graph. Keep in mind that High and Turbo aren’t exactly measured at turn on, but after about 2 seconds. This is because of the way the proximity sensor works.
| Mode | Specs | Turn on | 30sec | 10 minutes |
|---|---|---|---|---|
| Moon | 0.5 lm | 0.2lm | 0.2lm | – |
| Low | 15 lm | 12lm | 12lm | – |
| Med | 120 lm | 112lm | 112lm | 112 lm |
| High | 500 lm | 464lm | 462 lm | 453 lm |
| Turbo | 1750 lm | 1724 lm | 1643 lm | 453 lm |
I try to use rounded lumen numbers, except for maybe Low or Moonlight/Firefly modes.
Olight Warrior Mini 3 Battery life and runtime
How Runtimes are Measured: Understanding ANSI FL1 Standards About ANSI FL1 runtime standards: The runtime is measured until the light drops to 10% of its initial output (30 seconds after turning on). This does not mean that the flashlight is not usable anymore. The last column shows how long the light actually works till it shuts off. If there is a + symbol, it means that the test was stopped at that particular point, but the light was actually still running. This happens on certain occasions, with certain drivers, firmware, or batteries.The runtime test was done with the 50cm home made integrating sphere, combined with the Extech SDL400 data logging Lux Meter.
I didn’t measure Low and Moon, because they are supposed to run for 165 hours and 100 days respectively.
| Mode | Specified runtime | Measured runtime (ANSI FL1) | Time till shut off |
|---|---|---|---|
| Moon | 100 days | – | – |
| Low) | 165 h | – | – |
| Med | 18 h | 19h 03min | 19h 03min |
| High | 215min+30 min | 4h 02min | 4h 02min |
| Turbo* | 2min+210+30 min | 3h 53min | 4h 03min |
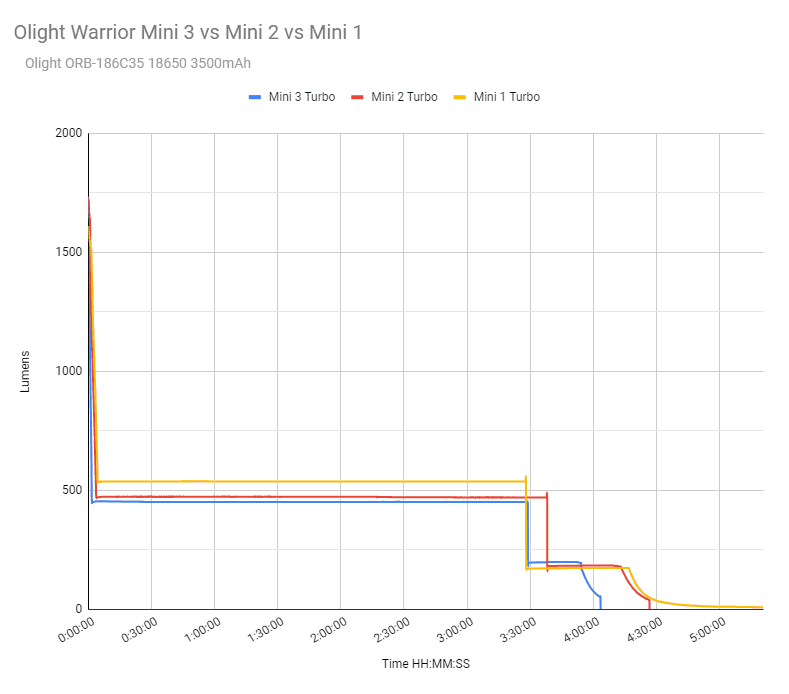
I then also compared it to the Mini 2 and the Mini 1
The Mini 3 performs slightly lower than the Mini 2 and Mini 1
Olight Warrior Mini 3 Peak beam intensity and beam distance measurements
About Peak beam intensity: Understanding ANSI FL1 Standards About peak beam intensity The calculated value of distance in meters at which the flashlight produces a light intensity of 0.25 lux. (0.25 lux is about the brightness of a full moon shining on an object). This means that the intensity has decreased so much, it becomes difficult to see darker objects, or objects that don’t reflect light. The columns ‘Meters’ and ‘Yards’ use rounded numbers.Measurements were taken indoors with a Hagner E4-X Lux Meter, at 5 meters distance. They were recorded 30 seconds after turn on.
| Mode | Specs | Measured candelas | Meters | Yards |
|---|---|---|---|---|
| Moon | – | 0 | 0 | 0 |
| Low | – | 100 cd | 20 | 22 |
| Med | – | 925 cd | 61 | 67 |
| high | – | 3,950 cd | 126 | 137 |
| Turbo | 14,400 cd | 14,075 cd | 237 | 259 |
Moon was too low to measure at 5 meters distance.
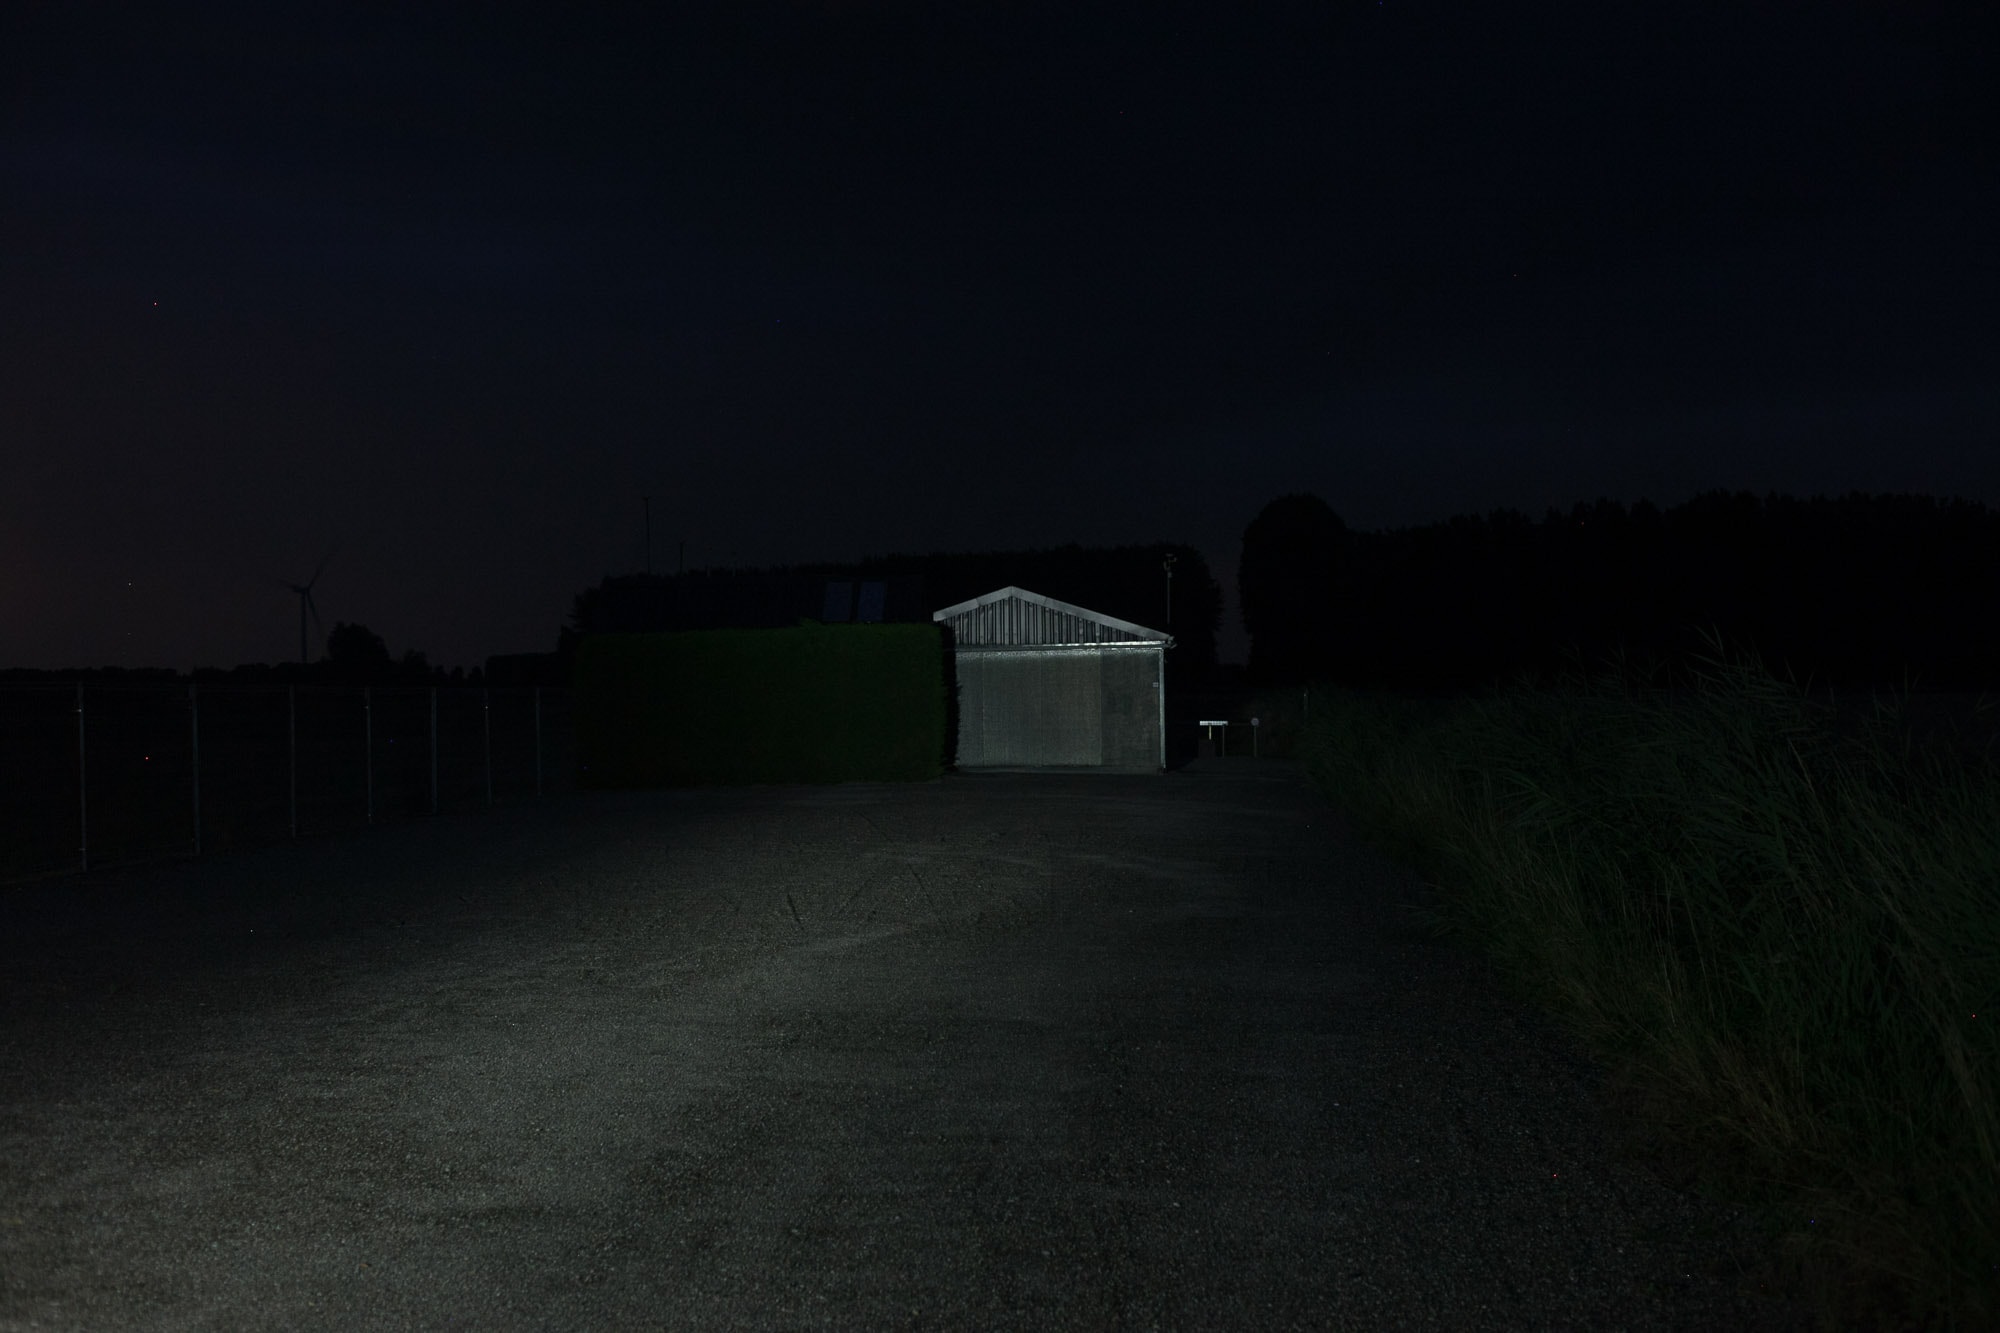
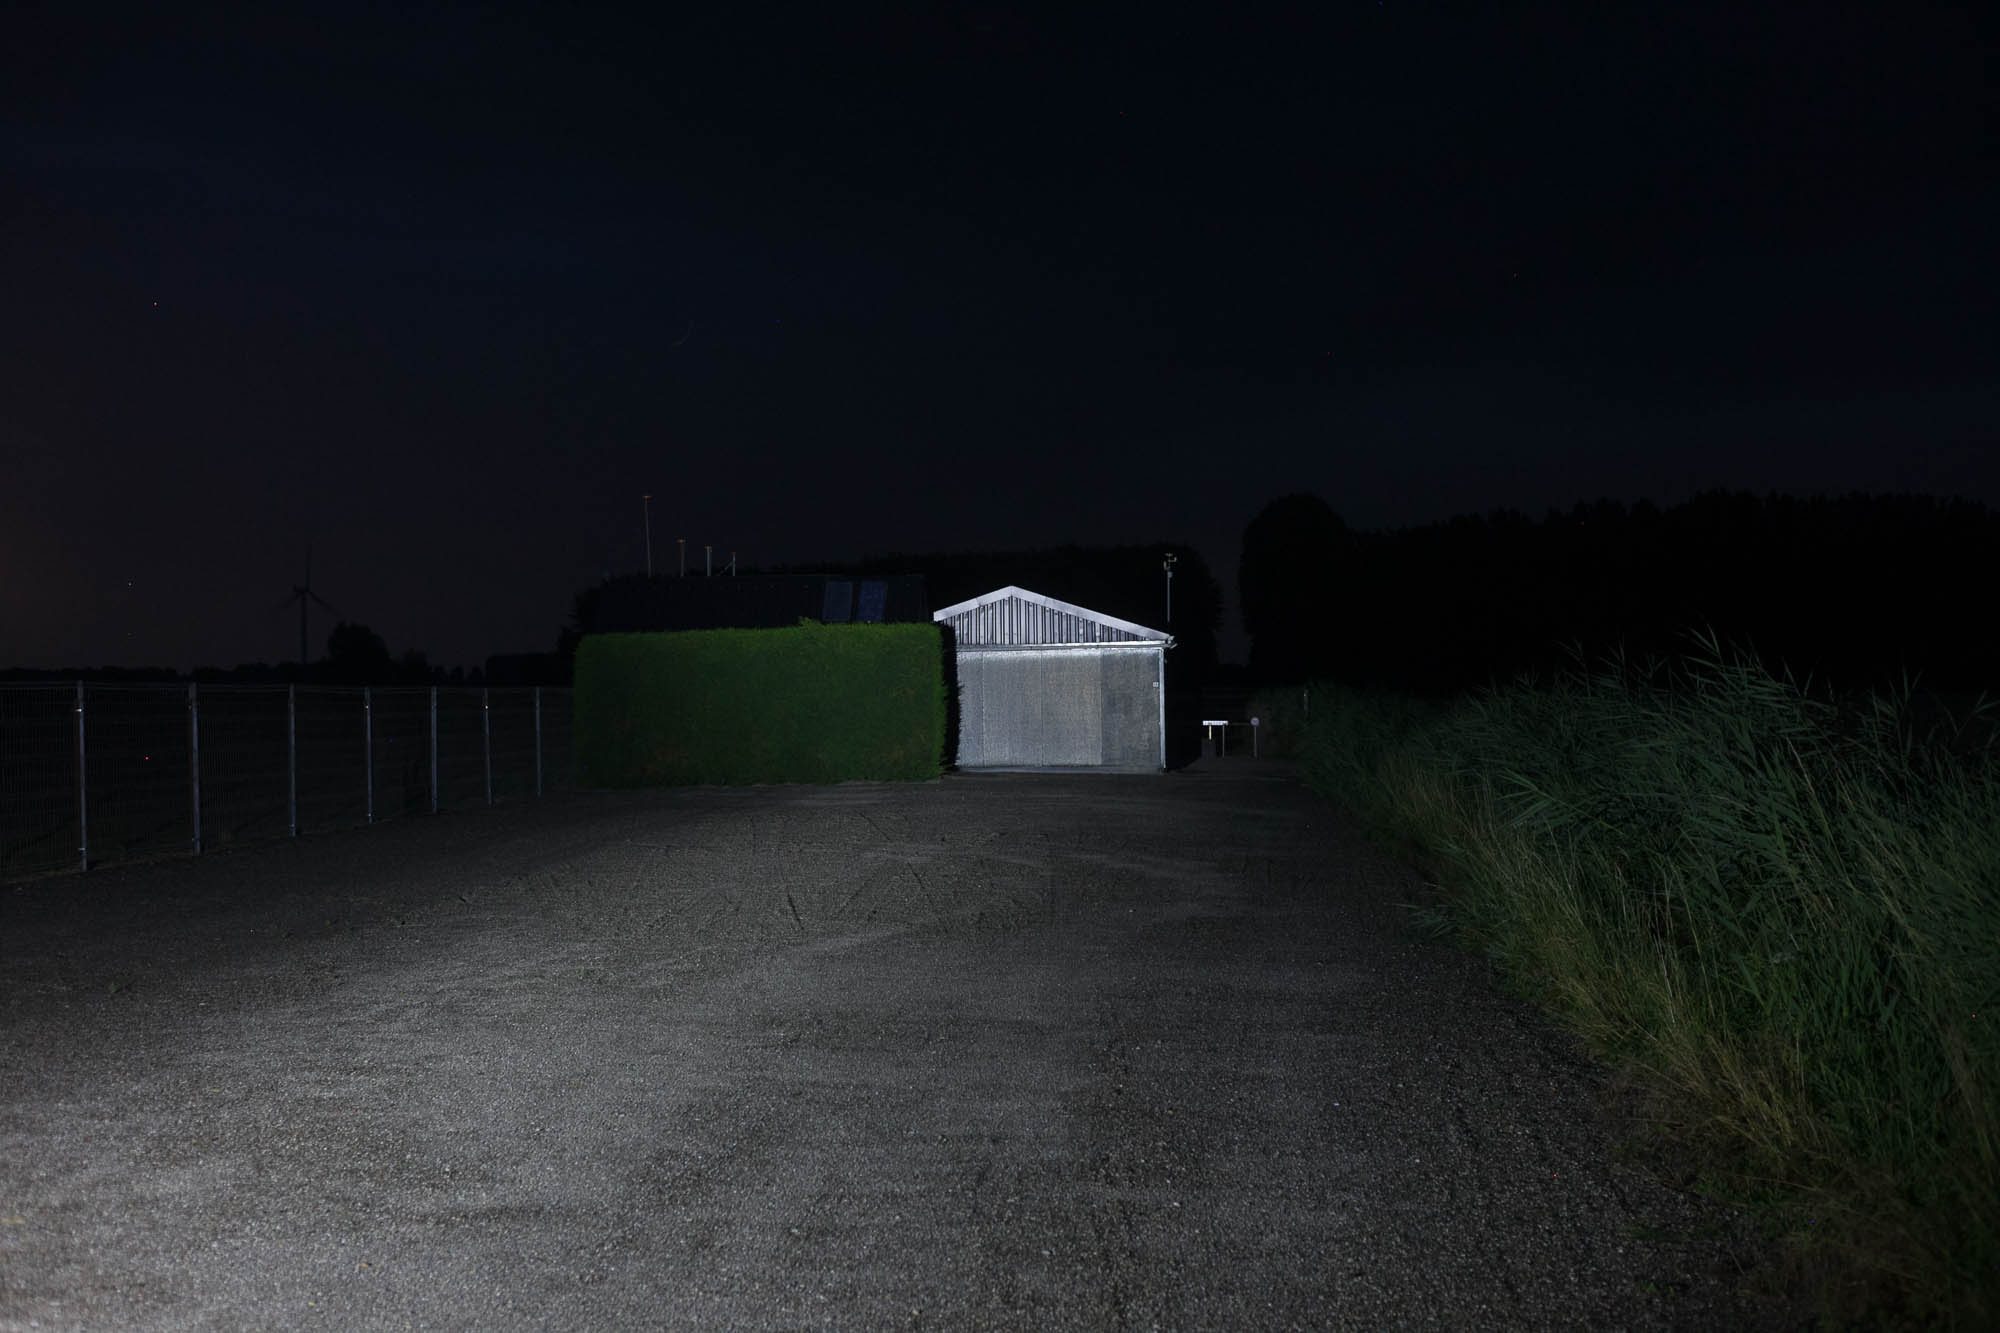
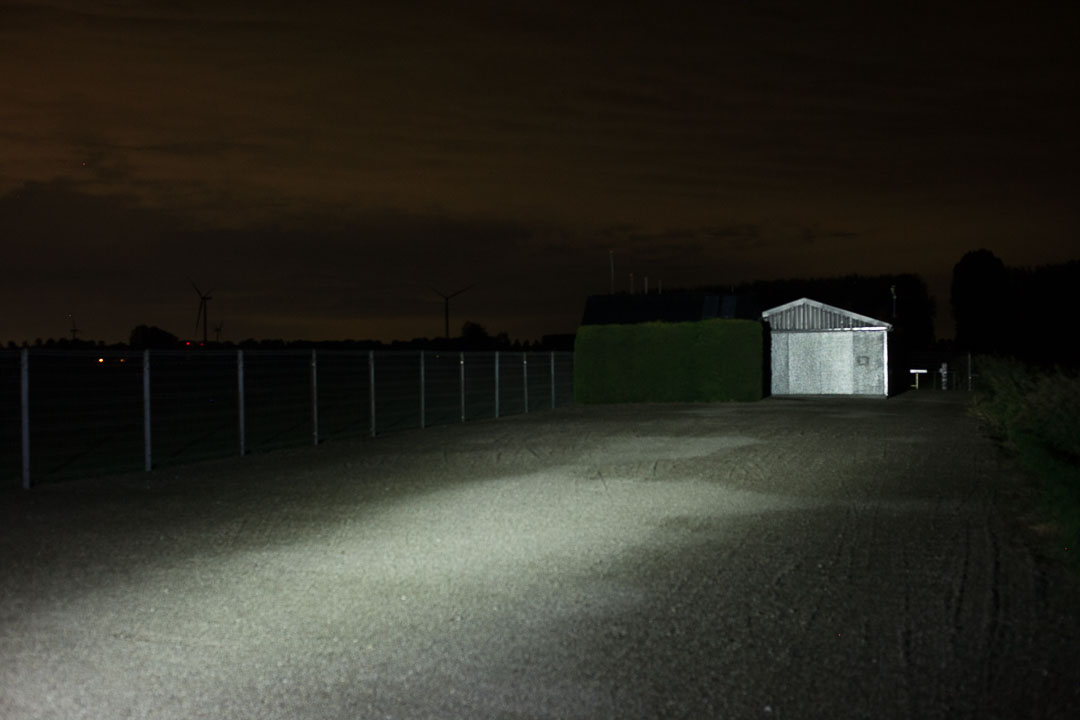
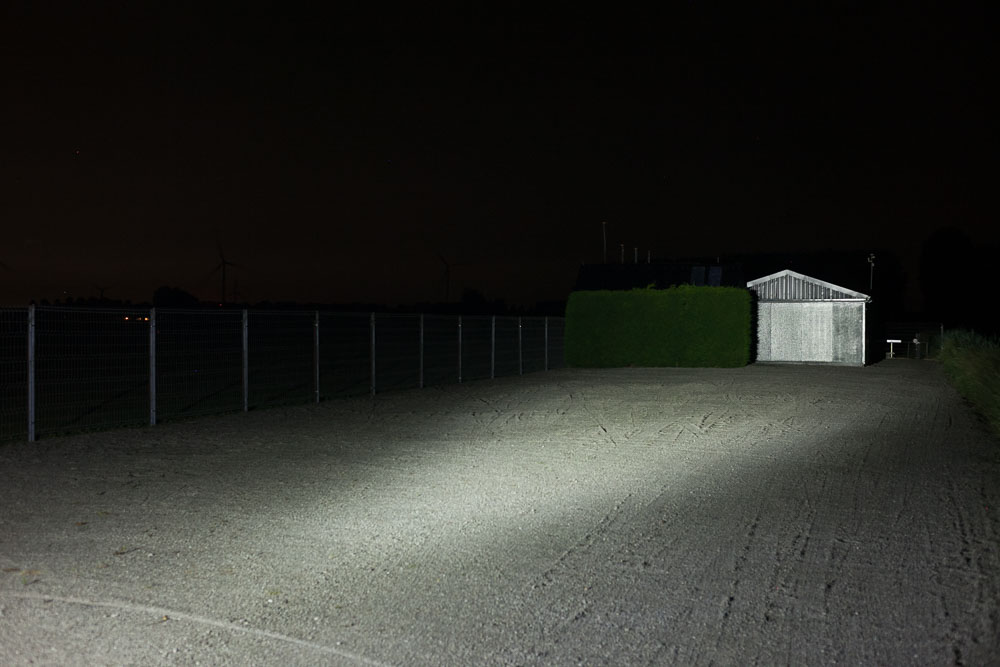
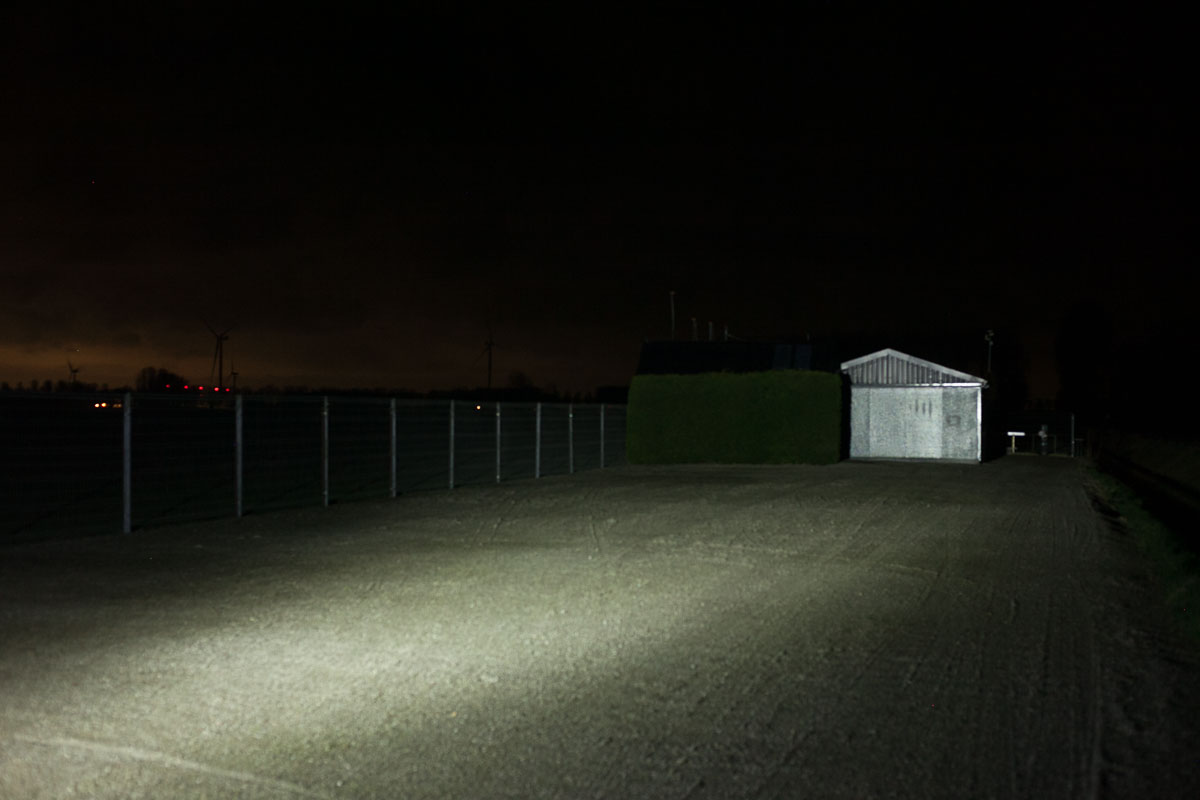
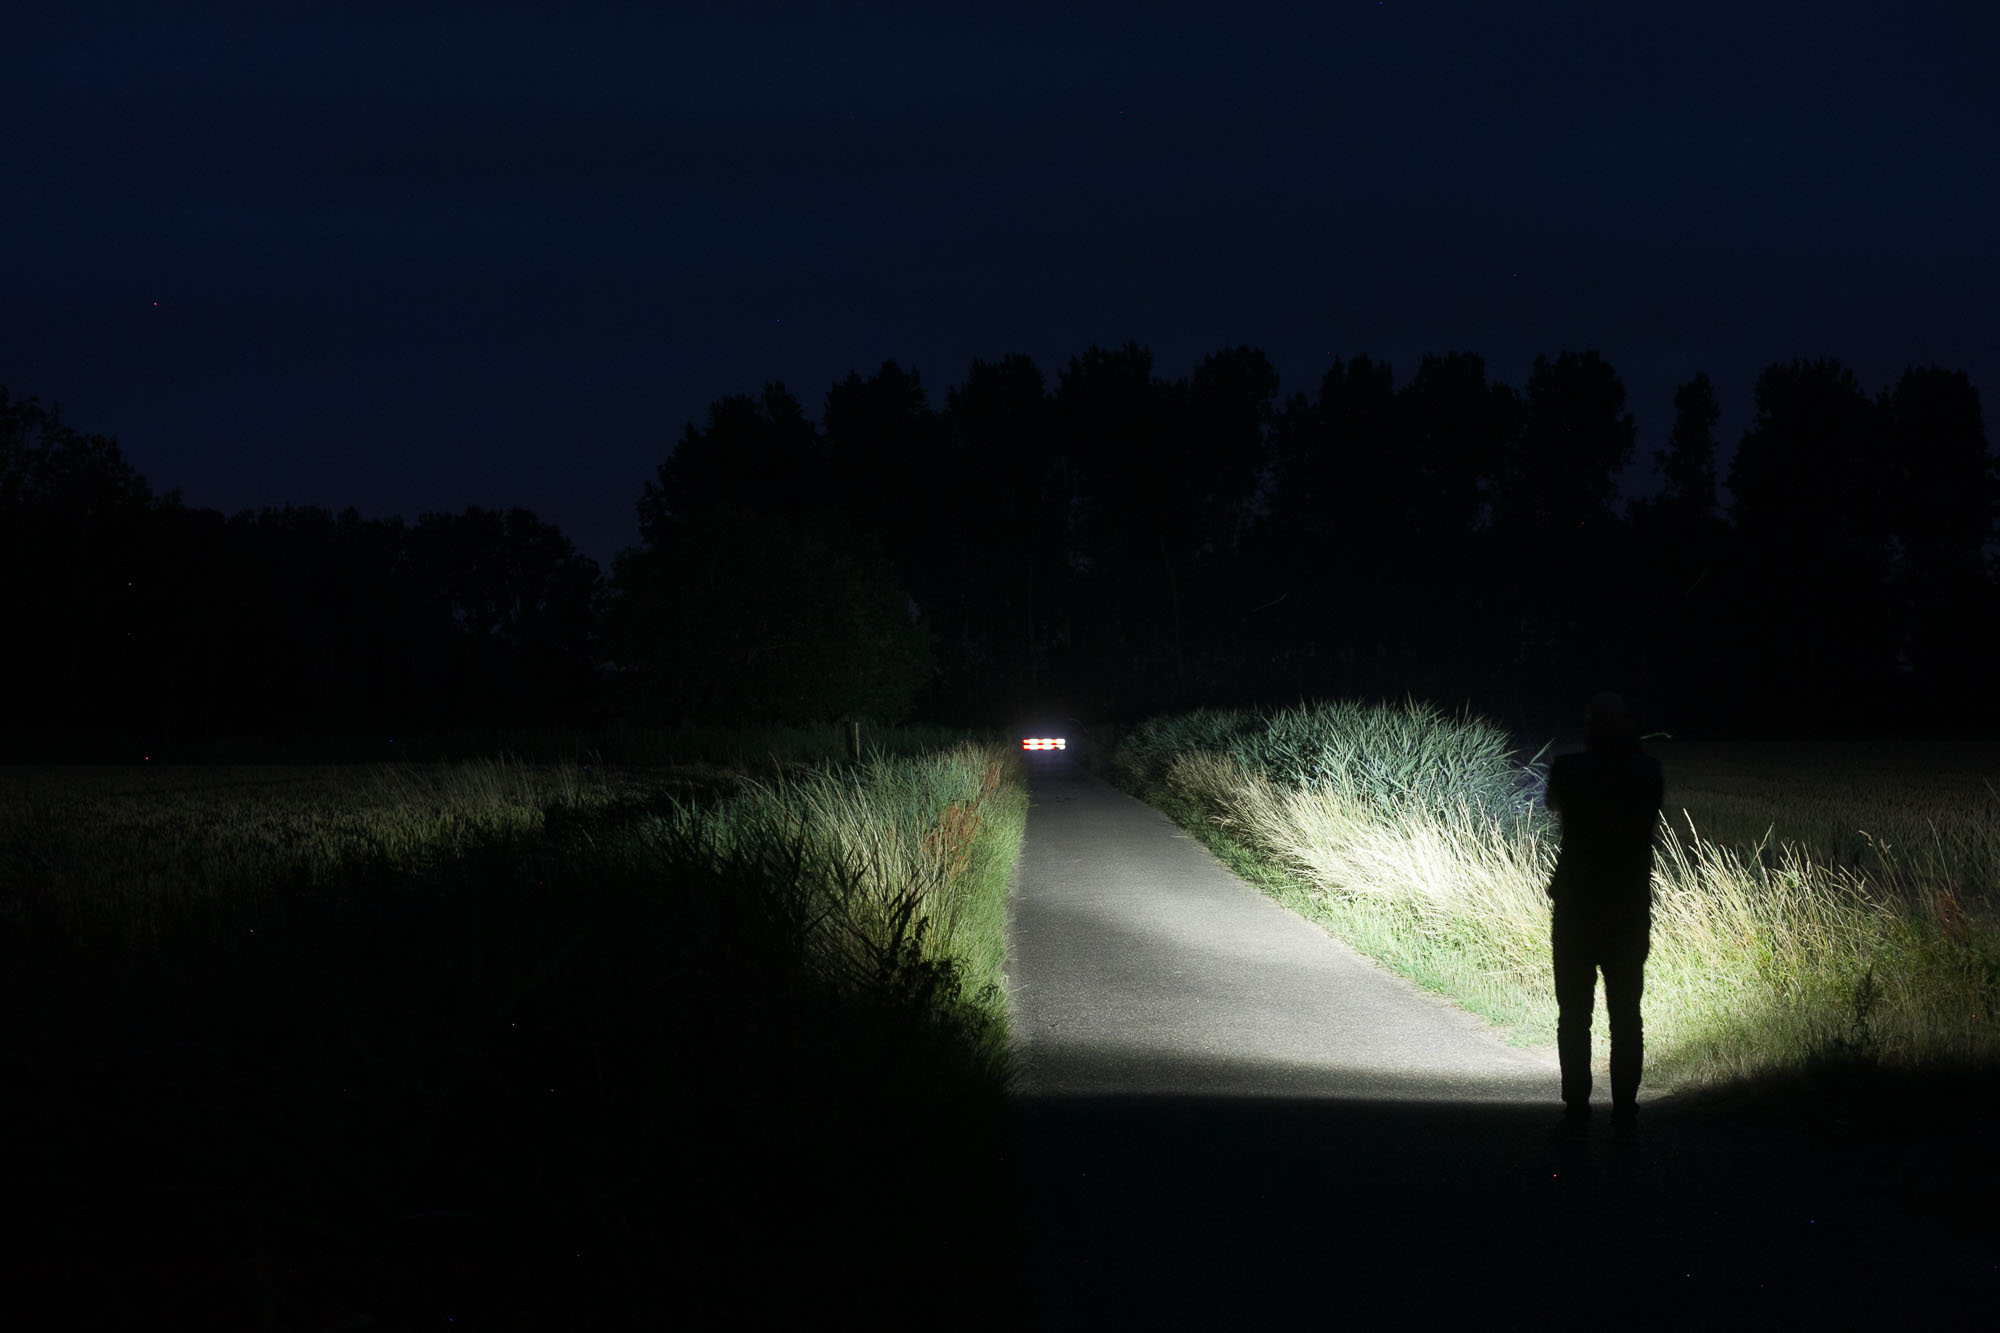
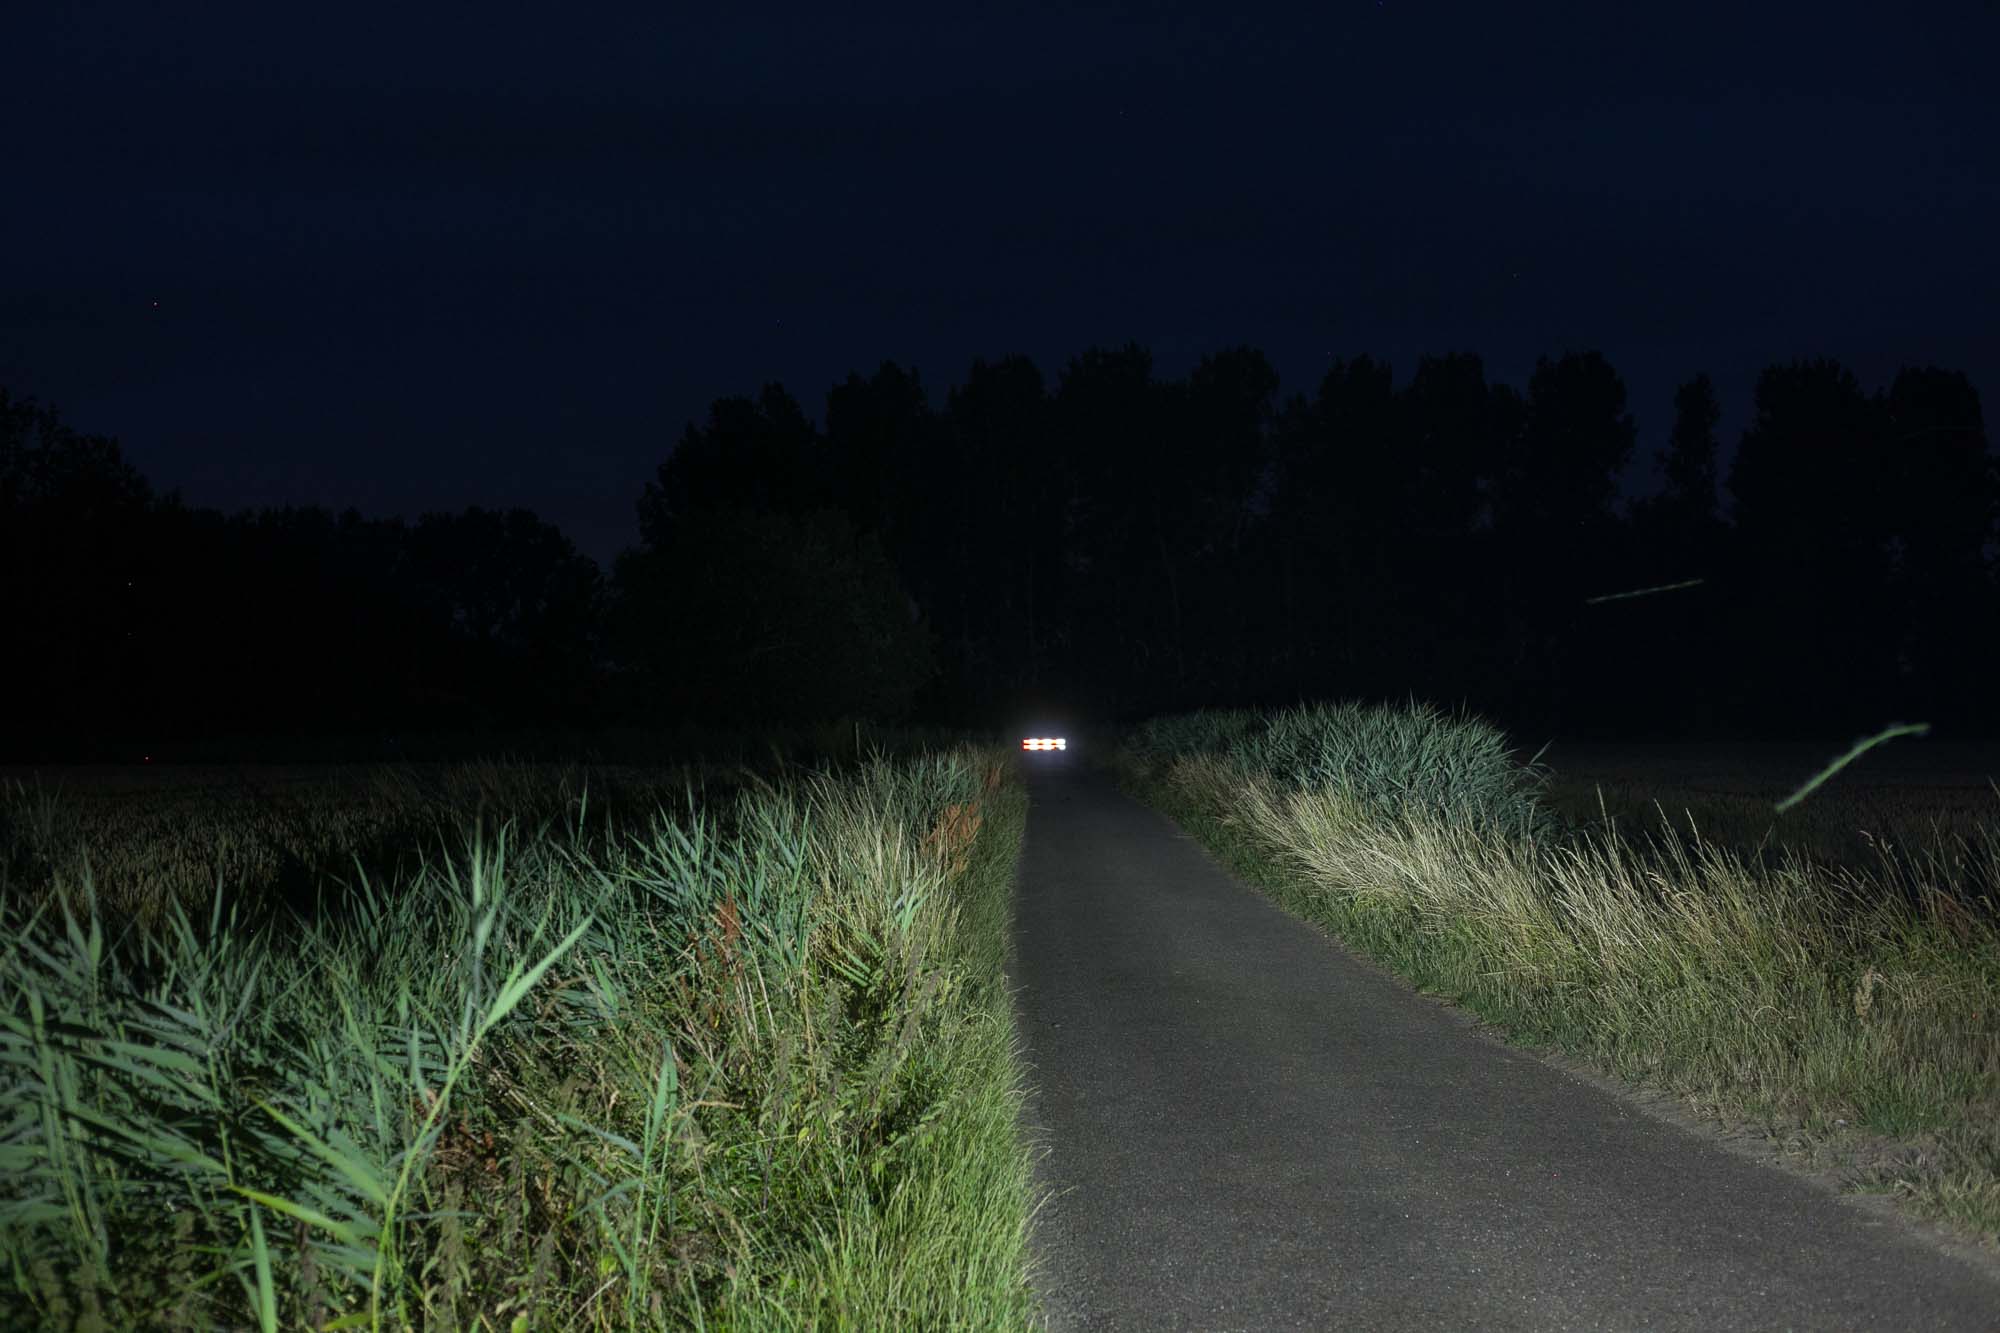
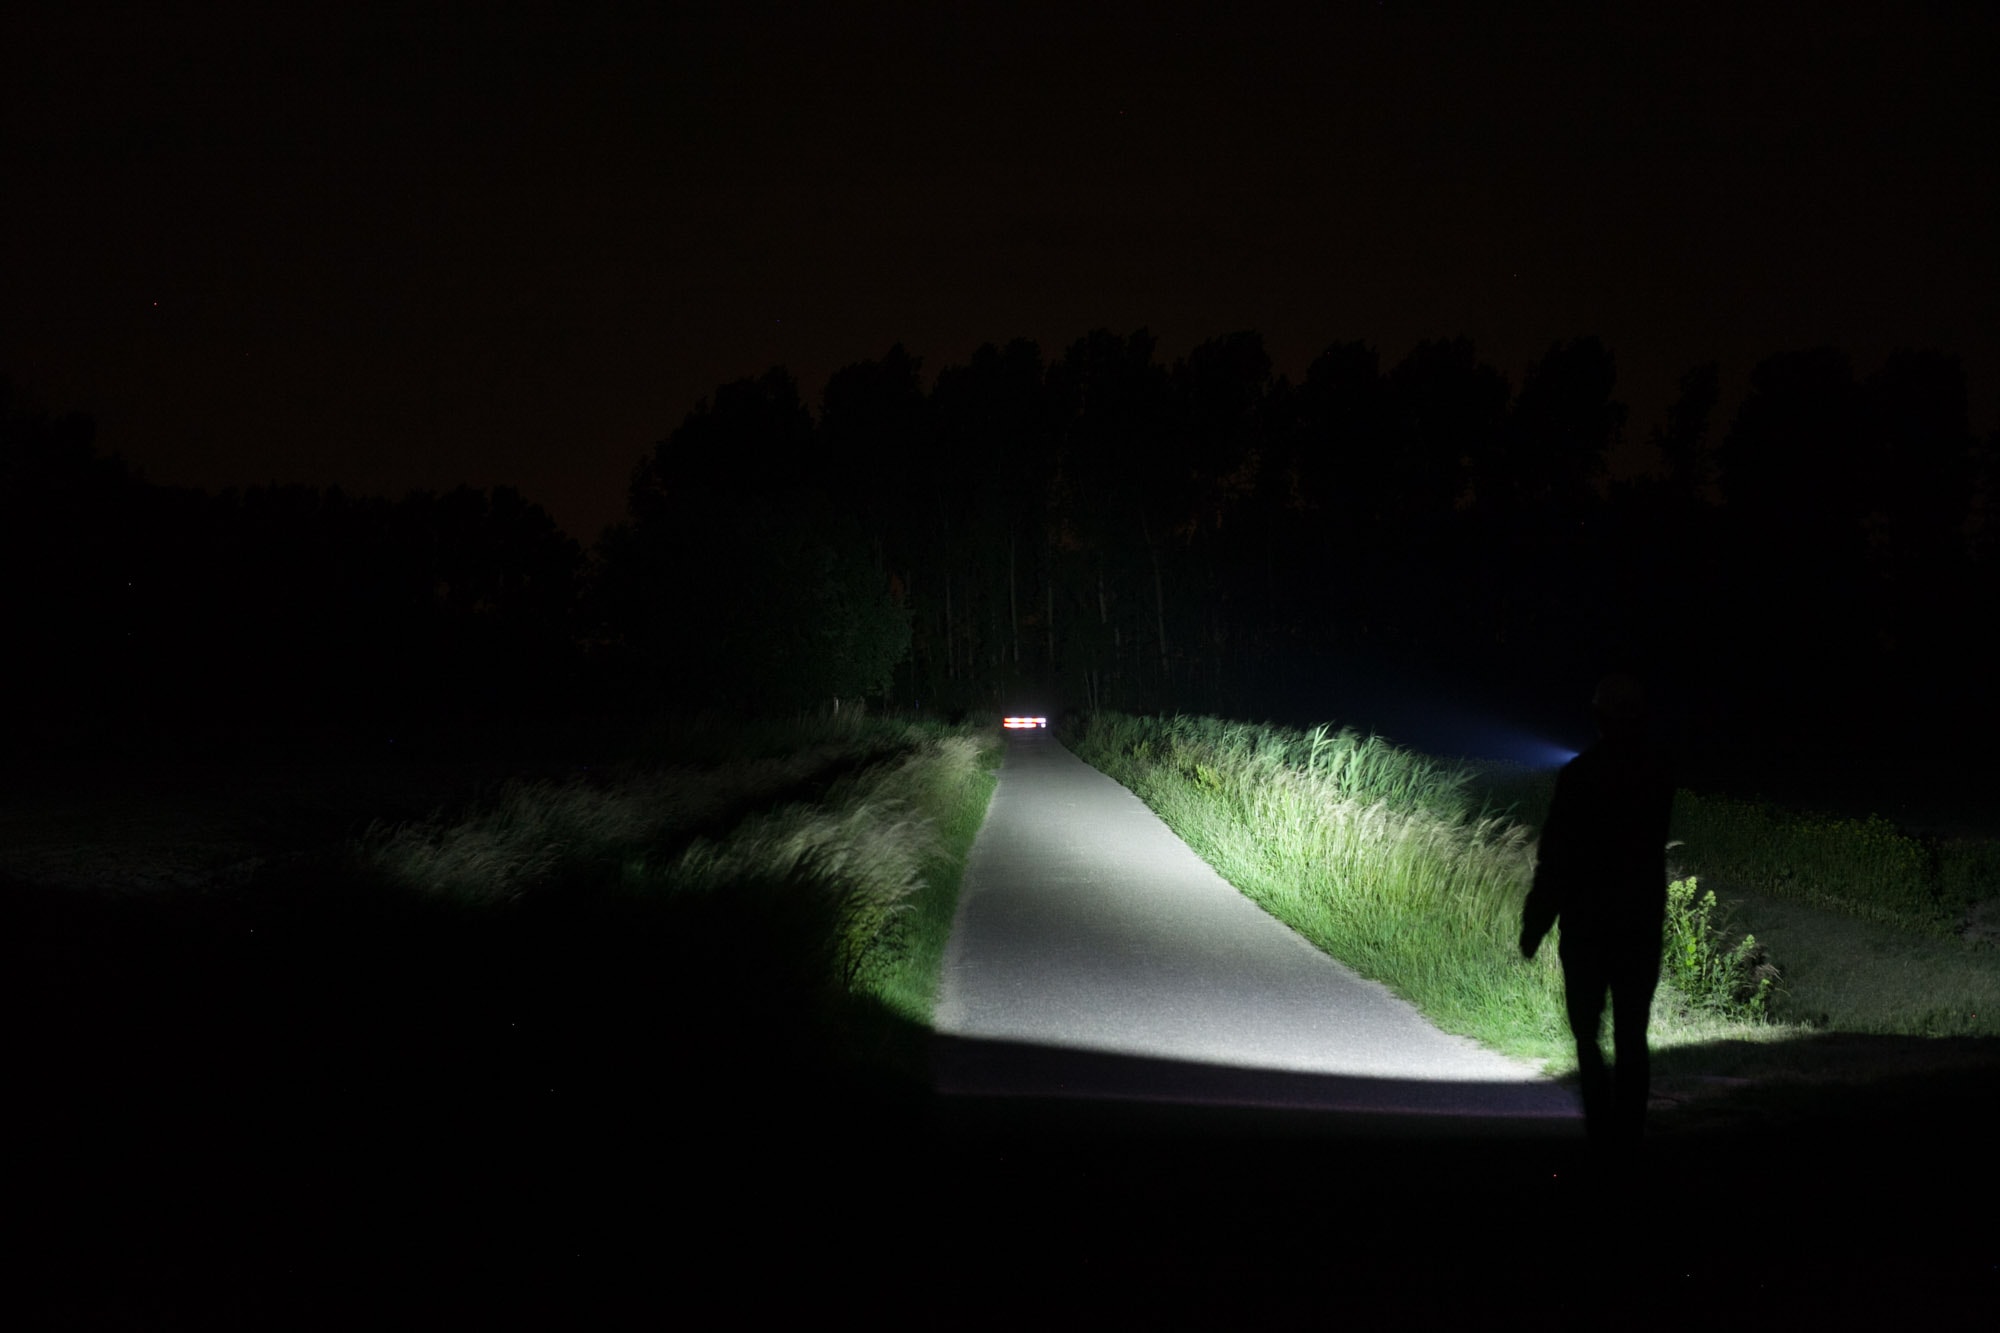
Beamshots
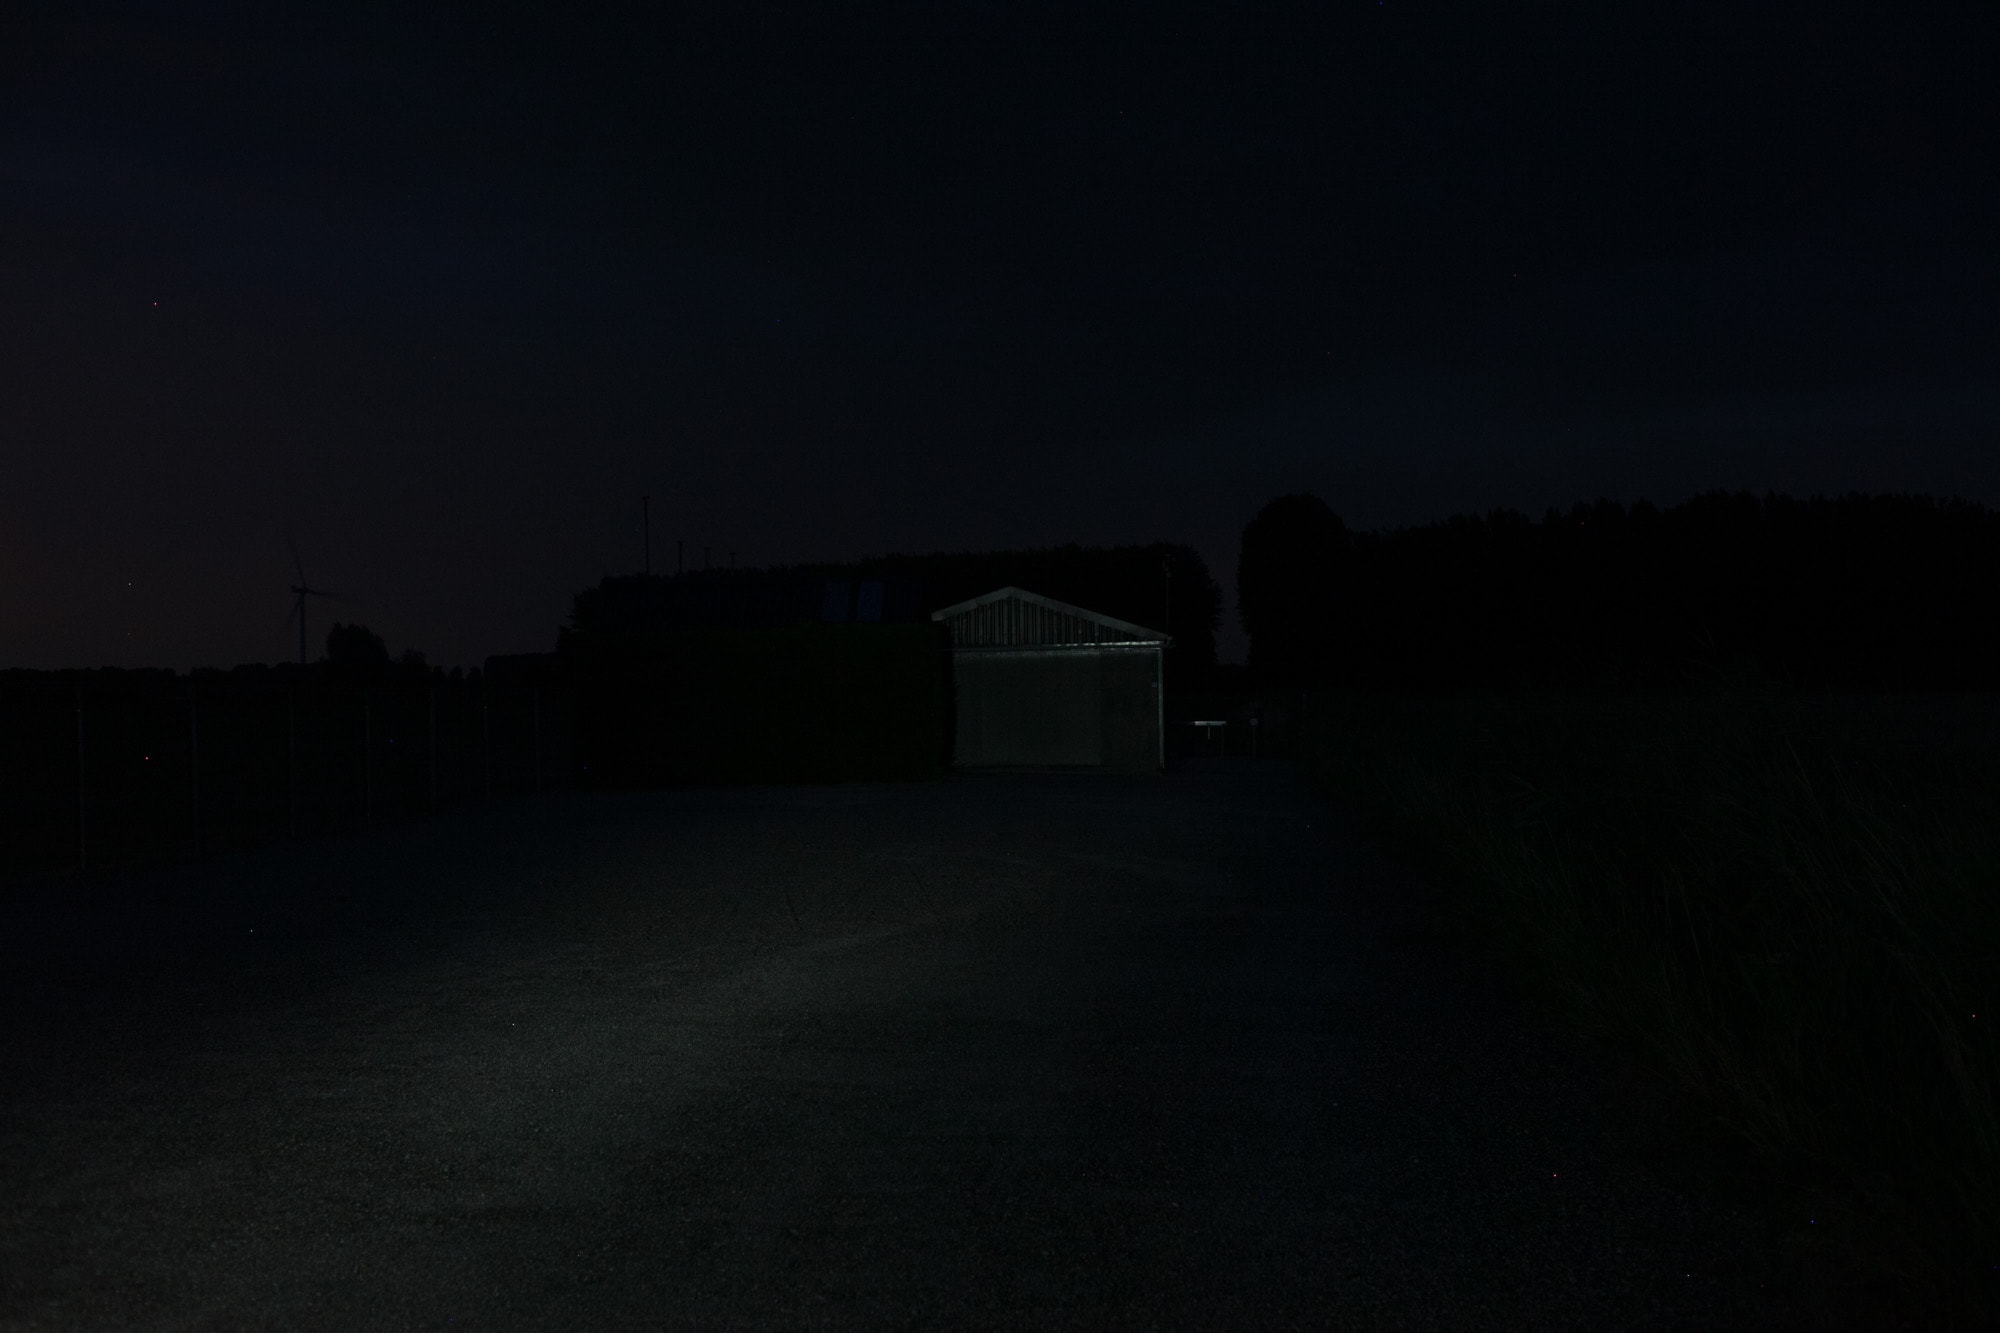
For the following beamshots, I used a Canon EOS 5D Mk2 with a 50mm lens. Manual settings: ISO1600, 1/4sec, F4, 5000K
The shed is about 65 meters / 71 yards away, and the reflective fence about 200 meters.
Compared to the following flashlights:
- Olight Warrior Mini
- Olight Warrior Mini 2
- Olight Warrior Mini 3
- Olight S1R
- Weltool T2R
Disclaimer: This flashlight was sent to me for review at no cost by Olight. I have not been paid to review, nor have I been holding back on problems or defects.
Final Verdict
Pros
- Interesting updated
- New proximity sensor only works at turn on (so it can save your pockets)
- User-ready with battery and charging adapter included in the package
- Shorter than the Warrior Mini 2
- Tailswitch has 2 mode configurations
- Runtimes in Low and moon mode are extremely long
Cons
- Special anodization is a little sensitive
- Proximity sensor doesn’t turn the light off after 60seconds of detecting in close proximity
- Has slightly lower output that the Mini 2 and the Mini 1
Explanation on star ratings:
1: Avoid: my phone flashlight would be a better choice – 2: Poor: significant defect or issues; almost unusable – 3: Average: some defects or issues; but still usable 4: Good: recommended (minor issues) – 5: Great: highly recommended
4.5 stars: ★★★★⋆
While our star rating provides a reliable indicator, we encourage you to read the full review to make an informed decision based on your own needs and preferences.
I like the fact that the Warrior Mini 3 still has its tactical features, where you have instant access to strobe or turbo. And the fact that the proximity sensor is only activated for the first 2 seconds after turn on. Which means it is less likely to burn your pants, but you can still walk through high grass or bushes without activating the sensor.
Unfortunately, the anodizing on these nicely looking lights are a bit sensitive. Mine shows marks when unscrewing the body, while the clip was still touching it.
The runtime is very interesting and promising as well. It does 18 hours at more than 100 lumens, and Low (165 hours) and Moon (100 days) should give you light for many days to come.
Olight Warrior Mini 3 discount coupon code
Use our exclusive 1lumen discount code to get an extra 10% off anything you order at Olightstore.com (USA). Coupon code: 1lumen
1lumen selects and reviews products personally. We may earn affiliate commissions through our links, which help support our testing.
