Manker U22 II review

Specifications
| Brand / Model | Manker U22-ii |
|---|---|
| LED | Osram KW CSLNM1.TG |
| Lumens | 850 Lm |
| Beam intensity | 260,000cd |
| Battery config. | 1*21700 |
| Material | Aluminum |
| Modes | 5 |
| Blinkies | 3 |
| Reflector | Smooth |
| Waterproof | IPX-8 |
| Review date | June 2020 |
Introduction:
This review is about the second-generation Manker U22. Since somebody recommended it, I wanted to make sure I won’t miss any of the best flashlight throwers in the world, so I took the plunge and ordered the Manker U22 II.
Manker upgraded the CREE XHP35 HI for a high-intensity Osram mini LED. The White Flats (as they are called in the community) are 1 of the best LEDs for long-range flashlights. The only downside is the pencil-shaped beam. Or is it?
Note: check out the successor’s review: Manker U22 III
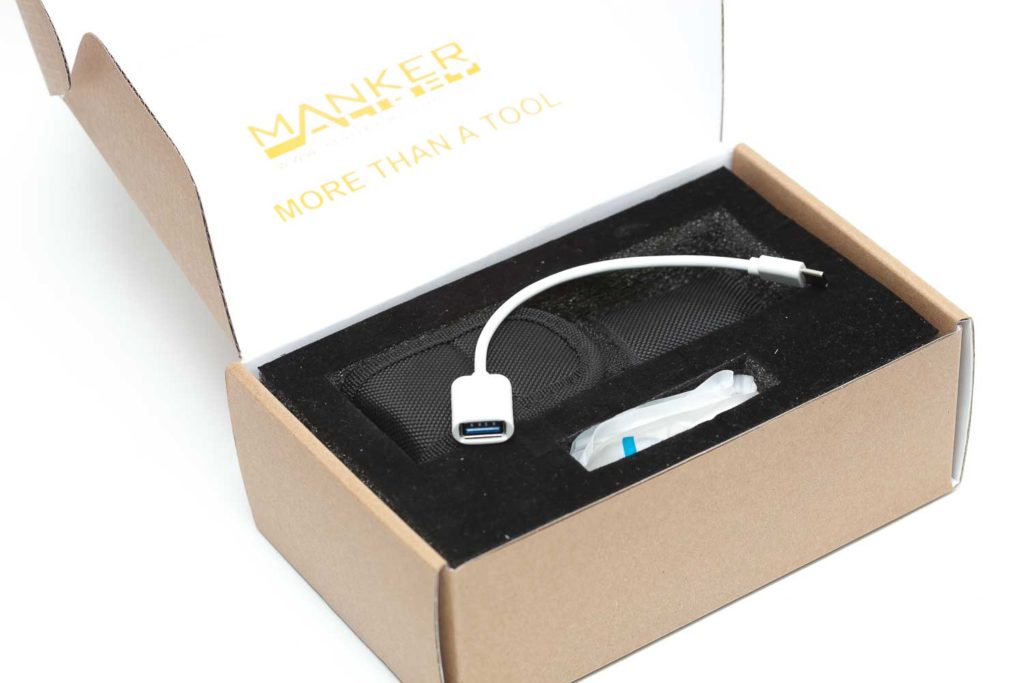
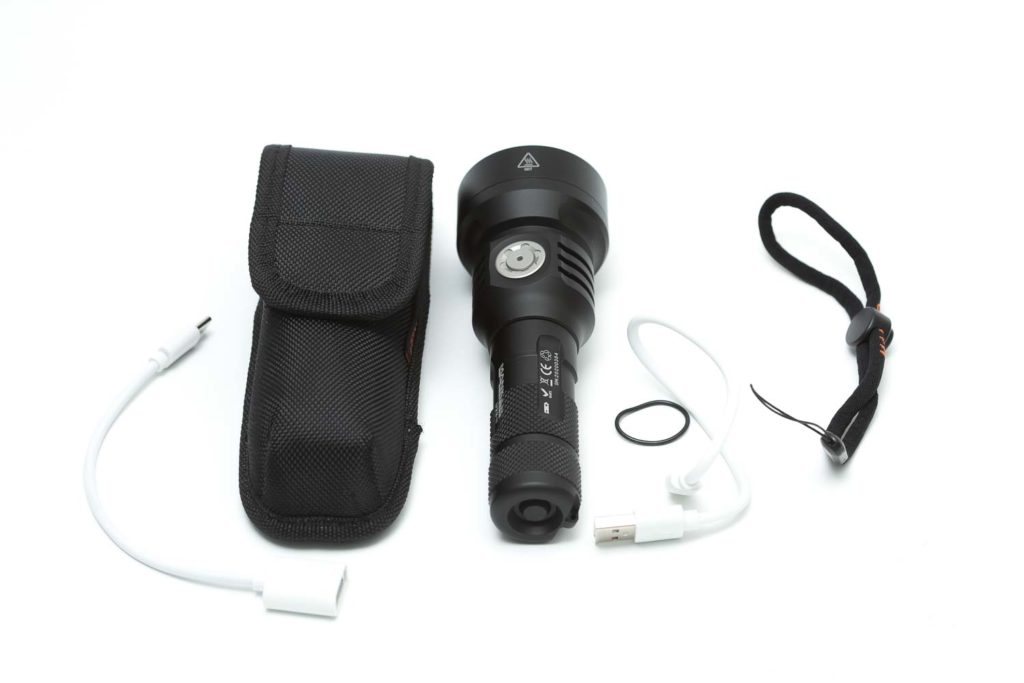
What you’ll get:
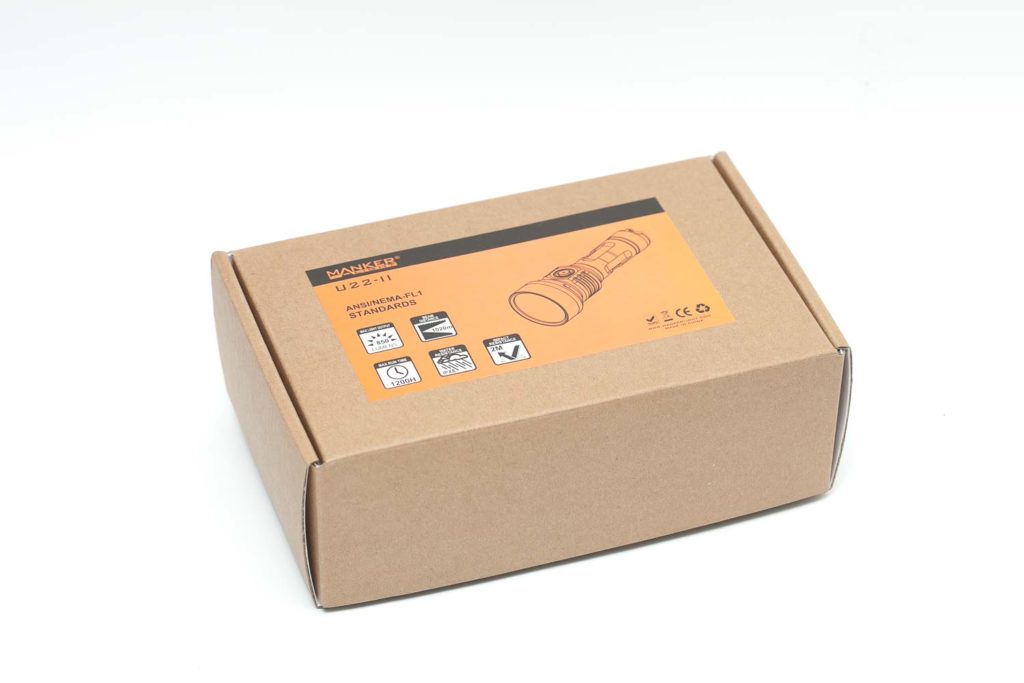
Manker uses a standard brown carton box with some nice accessories. BTW you can also order the Manker U22 II with a 21700 battery.
- The Manker U22 II
- Lanyard
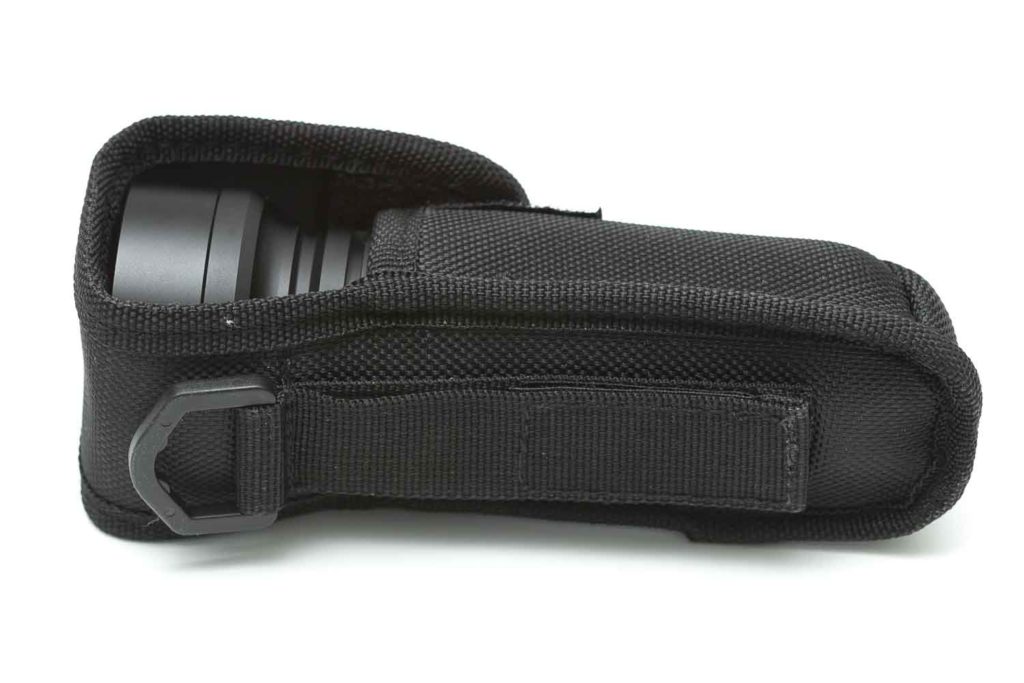
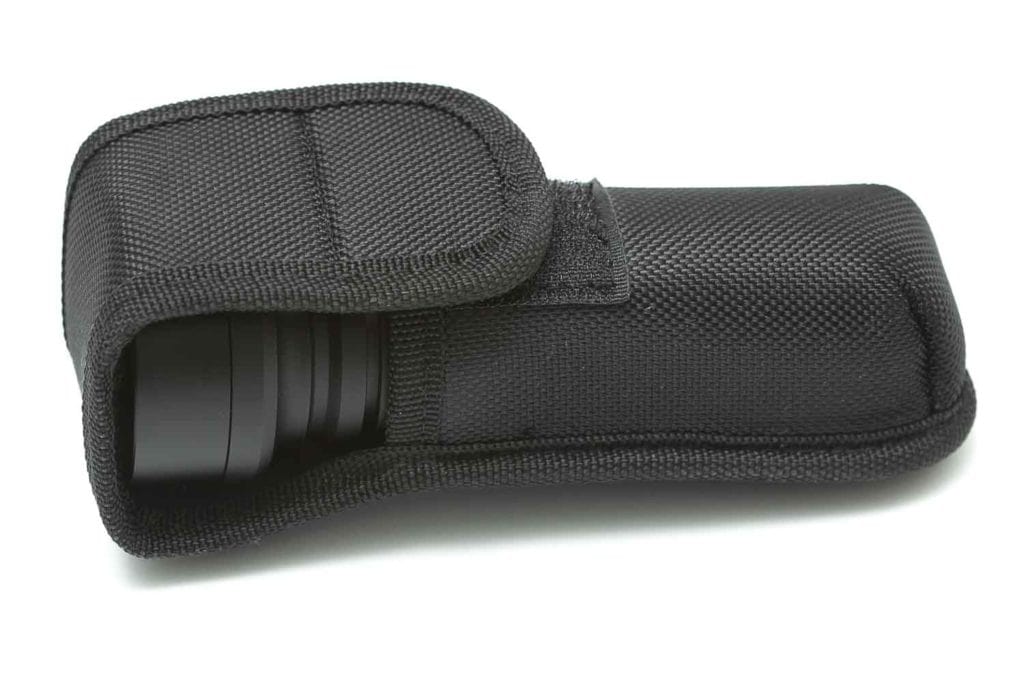
- Holster
- O-rings
- USB-C charge cable
- USB-C OTG Cable (so the light can be used as a powerbank)
- Warranty card
Handling of the light
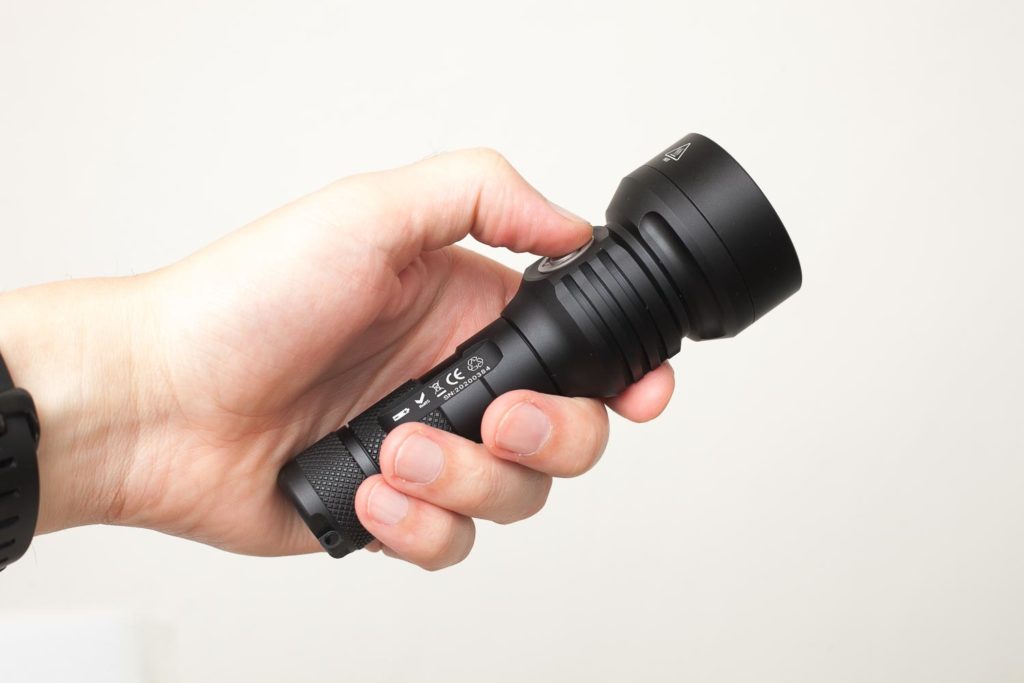
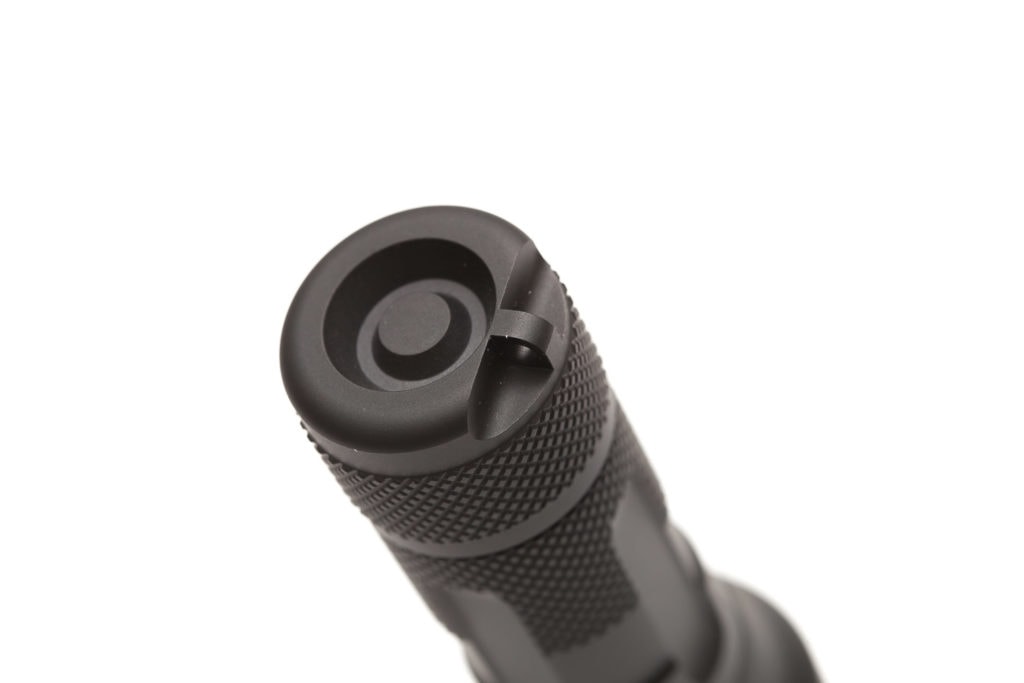
The Manker U22-II uses 1 e-switch button for power and mode switching. This means that the UI includes long and short presses, otherwise you wouldn’t be able to power it on, or change modes.
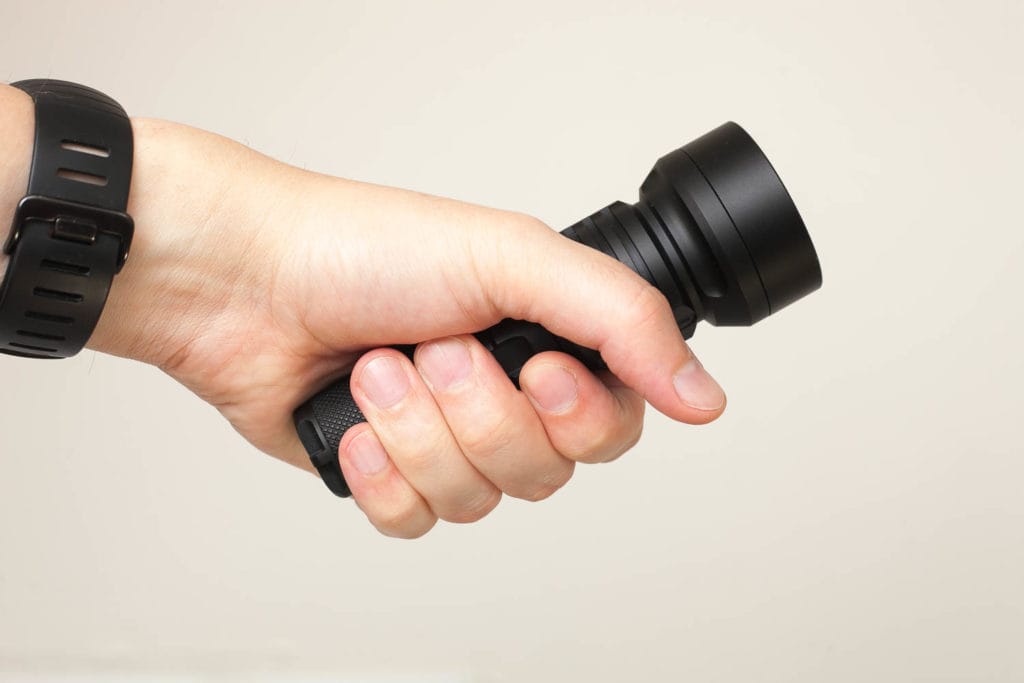
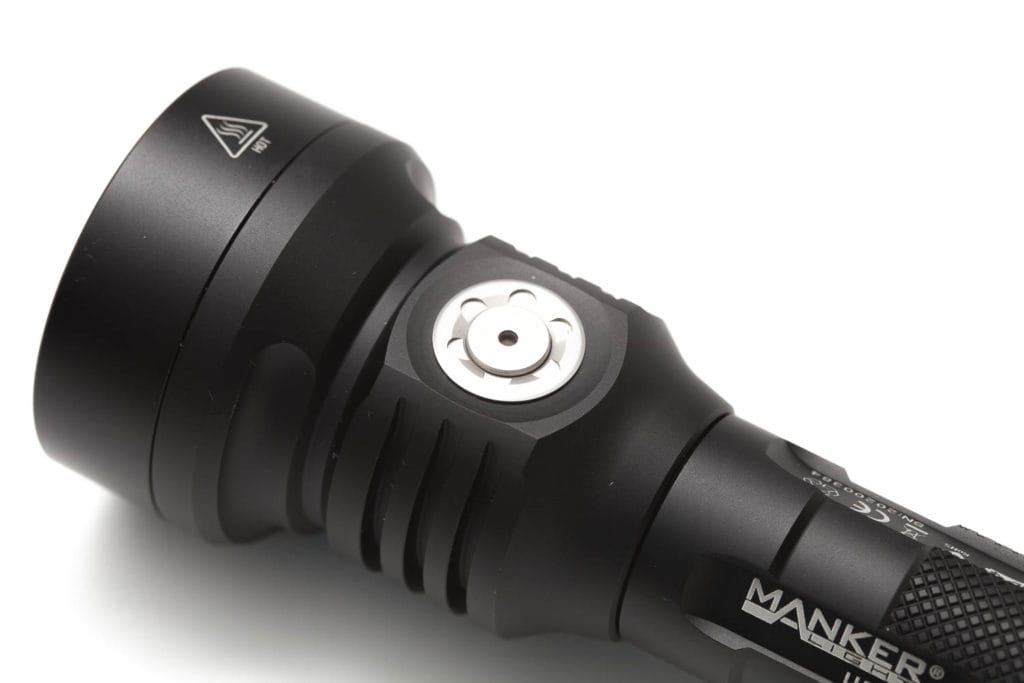
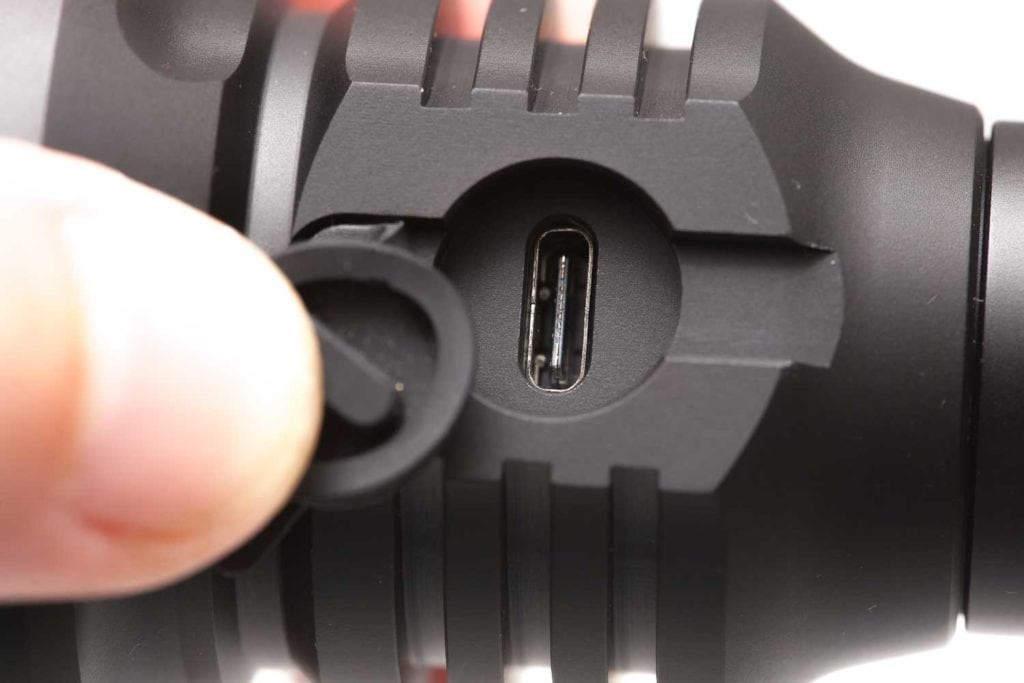
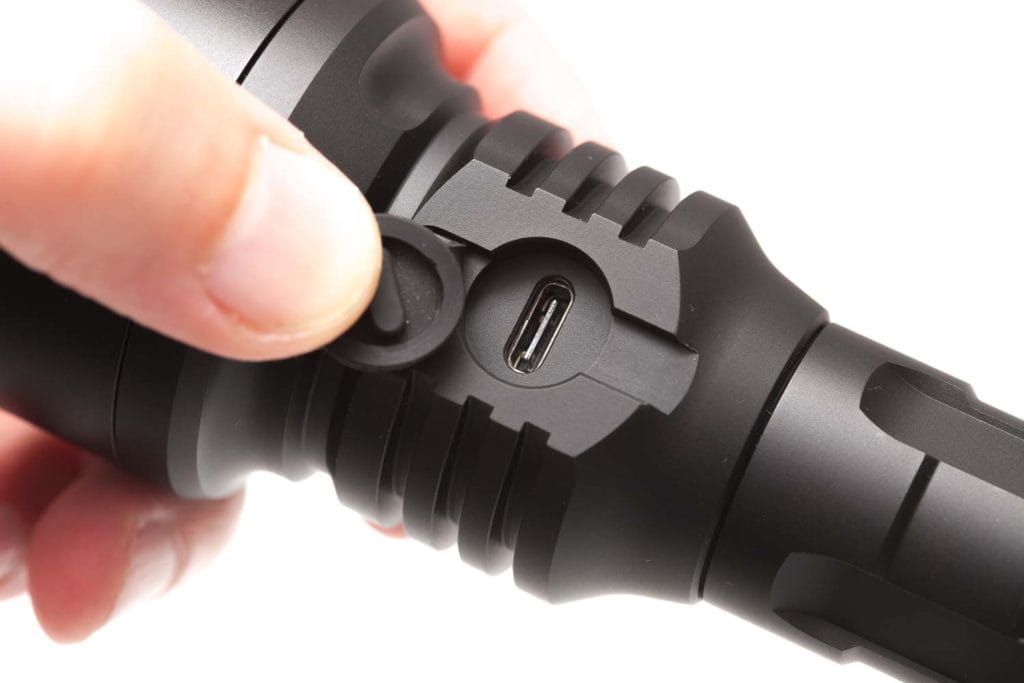
The body has many dents and cutouts, making it very easy to hold and will not slip out of your hands. The switch sits on a flat surface on the opposite side of the USB-C charge port, making it a little easier to find in the darkness. Although there is a battery indicator LED in the middle of the switch, it is only lit when turned on.
In case you are wondering whether the Manker U22-II can fit your pocket: probably not. The head is larger than most other flashlights, and that’s why it’s so good at throwing. But don’t worry, Manker includes a lanyard as well as a holster. If you look at the comparison pictures below, you can see that the length and with of its head isn’t much different from the Lumintop GT Mini.
And yes, the light can tail-stand, but I wouldn’t recommend doing it. It’s just a bit too wobbly.

Build Quality, knurling, threads, and anodization
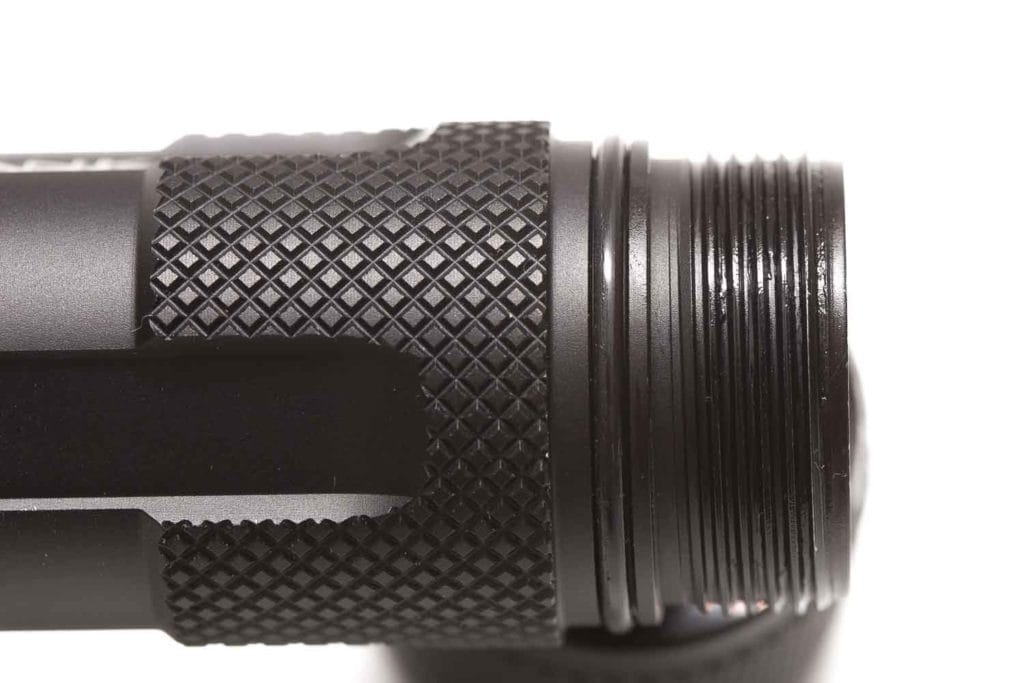
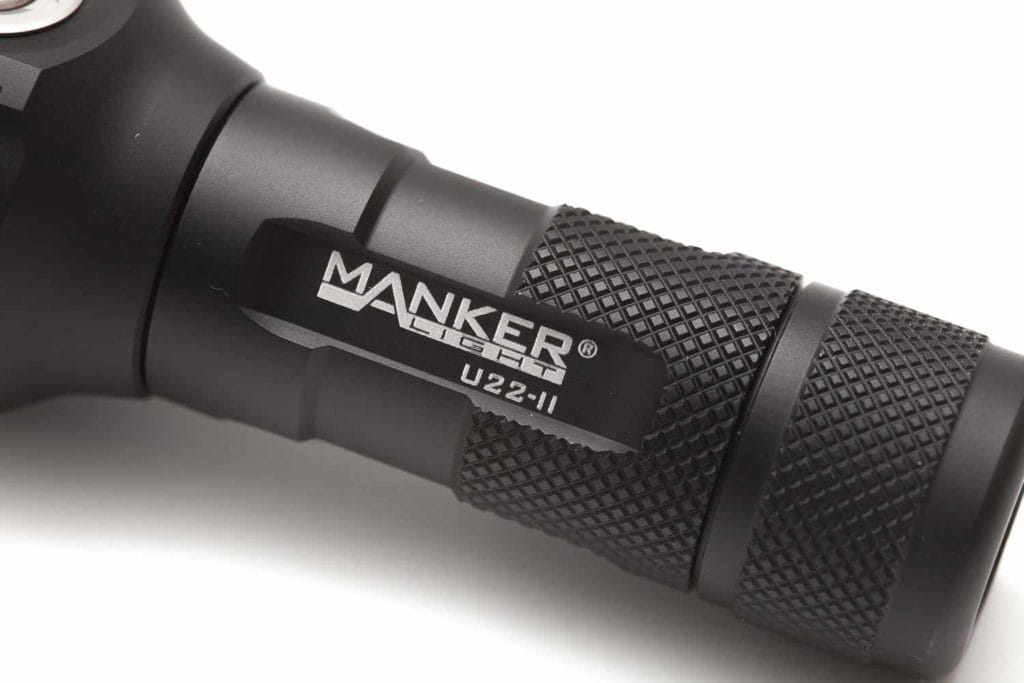
As I mentioned before, the machining is fairly rough, with different horizontal and vertical cut-outs. The tailcap and the lower part of the battery tube have knurling. This helps to unscrew the tailcap and adds some grip. The machining on this flashlight seems to be more aggressive than all the other flashlights I currently own.
The only thing I noticed was the difference in coating between the bezel and the rest of the light. The bezel looks slightly darker. It’s not a big difference, but you can definitely differentiate the 2. For the rest, there isn’t anything bad to say about the machining nor the anodization.
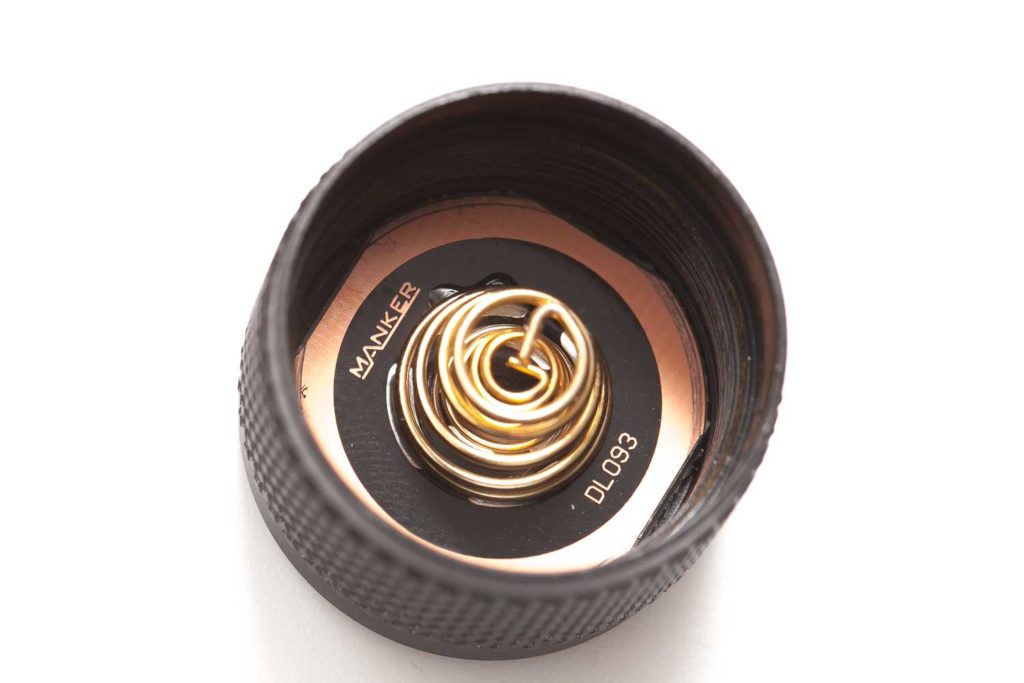
Manker lubed the threads as well as the single O-ring. Removing and attaching the tailcap is therefore a breeze. Anyway, it’s recommended to unscrew the tailcap when in storage. Why? Something about parasitic drain. I’ll explain that in the battery section.
Both the holster and lanyard seem to be of good quality. The holster is stiffer than the Fenix holsters, but less sturdy as the Olight holsters. It’s somewhere in between these 2 brands.
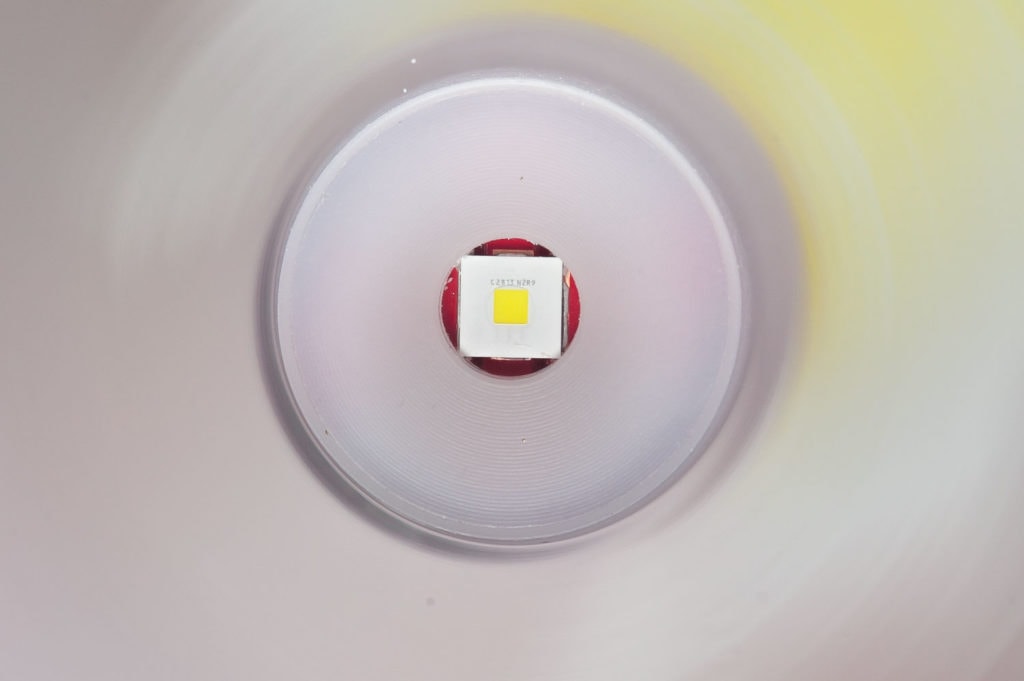
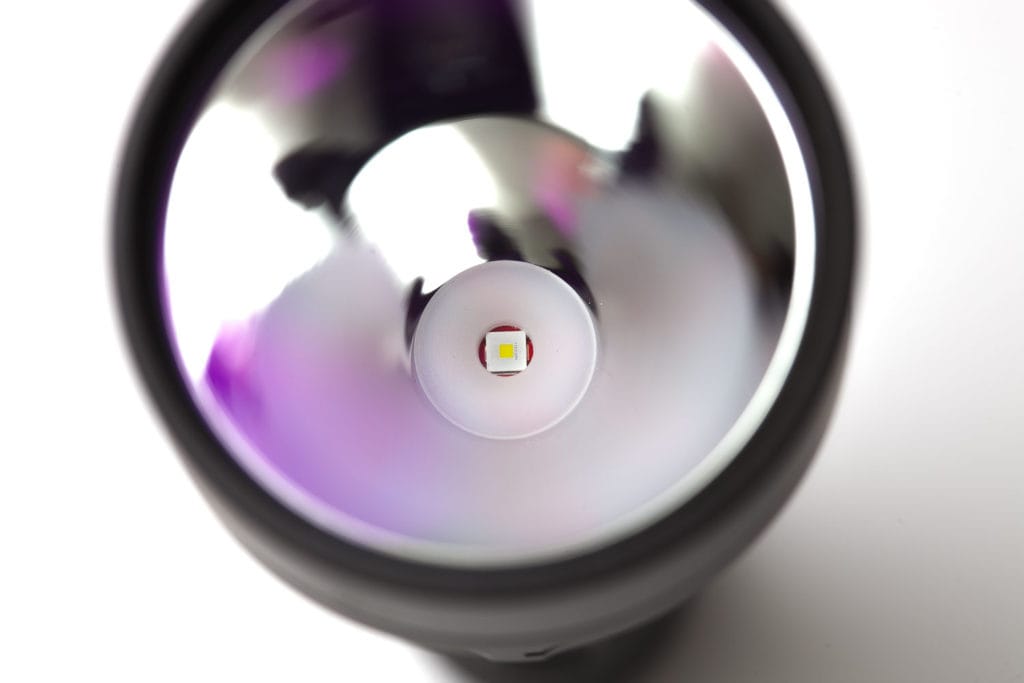
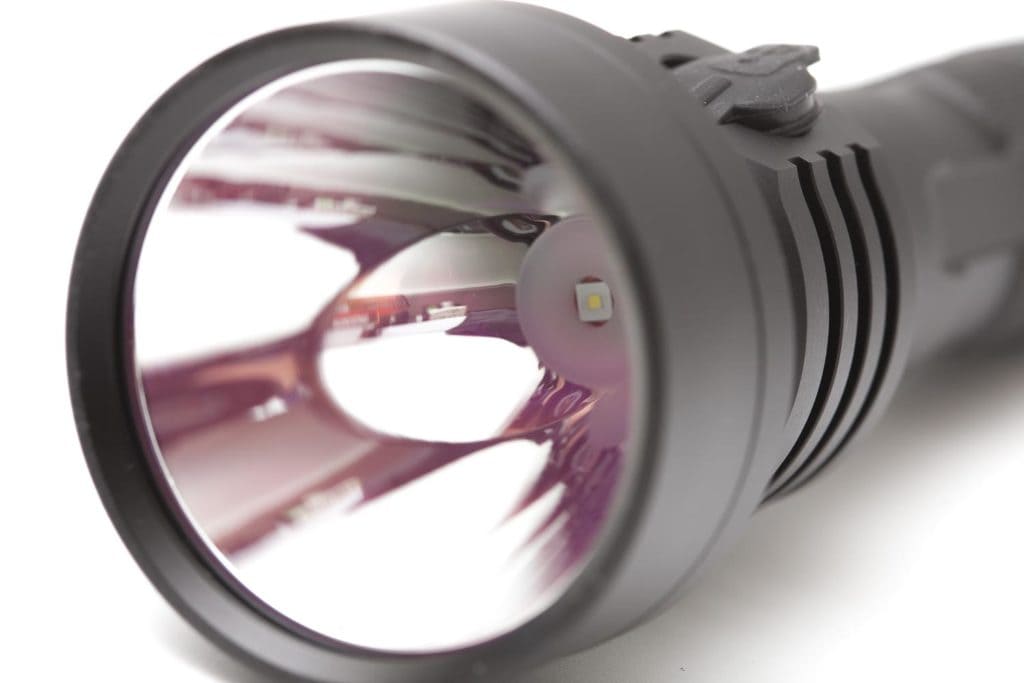
LEDs, Lens, Bezel, and Reflector
Most people who are interested in throwers care about the LED choice.
While the first version of the Manker U22 used a Cree LED, in the second generation, they included an Osram LED. This time it’s an Osram KW CSLNM1.TG. This is basically an LED with 1 square millimeter. This is extremely small and therefore excellent for long-distance flashlights. Whether you find the narrow beam useful is something you have to decide. Take a look at the beamshots below to help you decide.
The LED is centered very well inside a white centering ring, deep inside a smooth reflector. To achieve maximum performance, the reflector is protected by an AR (anti-reflection) coating lens. I would have liked it if Manker had decided to add a stainless steel bezel, but maybe that’s something for the U22-III. Who knows?
Dimensions:
- Length: 141 mm ( 5.54”)
- Head diameter: 51 mm ( 2”)
- Reflector diameter: 45 mm (1.75″)
- Tailcap diameter: 29 mm ( 1.14”)
Weight:
- Empty: 186.3 g ( 6.57oz)
- With Samsung 40T battery: 253.6g ( 8.94oz)
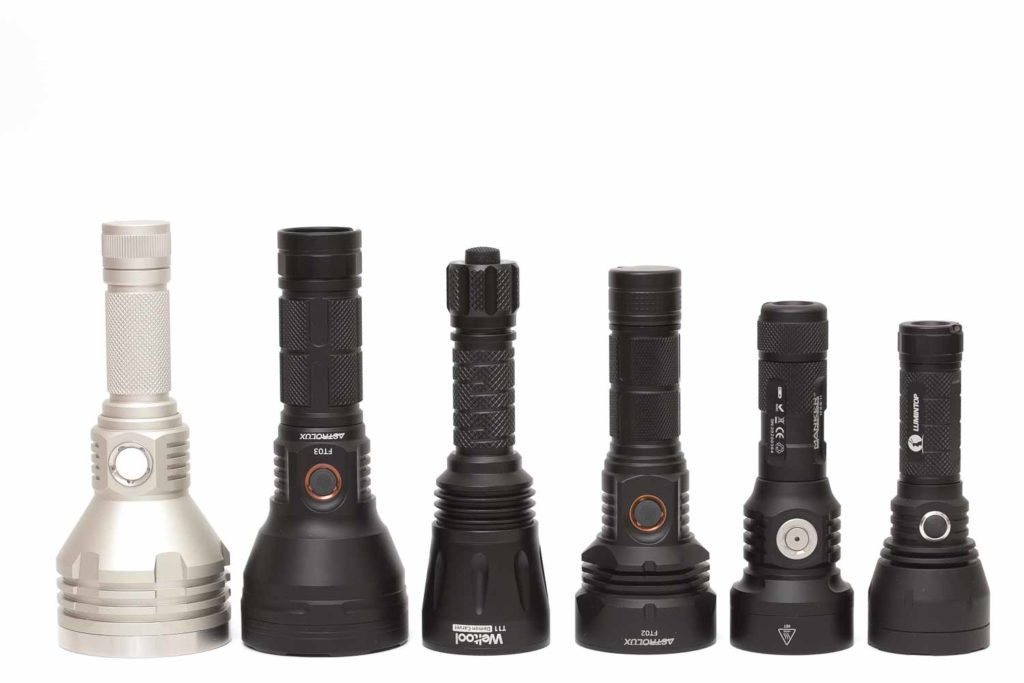
Flashlight throwers comparison
Size compared to other well know throwers.
From left to right: Noctigon K1, Astrolux FT03, Weltool T11, Astrolux FT02, Manker U22-II, and last but not least Lumintop GT Mini.

Driver & User Interface:
The user interface is not unimportant for a flashlight. If you use a flashlight in an emergency situation, you really want to know how to use it. If you’re looking for a flashlight to use in a self-defense situation, this is not the one you want.
If you’re looking for a thrower with a relatively simple UI, consider the Manker U22-II.
Available modes:
- Moon, Low, Medium, High, Turbo
- Strobe, SOS, Beacon
The light cycles through the UI from moon to high and backward. Other flashlight UIs usually go to High and jump back to the lowest mode, but not this light. After High, it will go back to Medium—low—moonlight.
From OFF:
- Long-press .5 sec: Last used mode (mode memory)
- Long-press 4 seconds: Lock-out (blue side light turns on)
- Single-click: Moonlight
- Double-click: Turbo
- 4-clicks: Program-mode for Moonlight
From ON:
- Long press: flashlight turns off
- Single-click: cycle through modes, from moonlight to high and backward.
- Double click: Turbo
- 4-clicks: Program-mode for Moonlight
Program-mode for Moonlight:
The funny thing is that the lowest mode on a flashlight is usually the dealbreaker. Too high and some flashoholics ignore the light. Too low, and some flashoholics ignore the light. Manker came up with a nice solution. You can set your lowest mode yourself from anywhere between 0.1Lm to 10 lumens.
You just need to set the desired output in program mode. You enter this mode with four clicks from either On or Off. When you enter program mode, you simply do short clicks to run through the 9 different output levels. Stop at the desired output level for Moonlight and record it by a long press. The light will turn off, and your ‘moonlight’ is set.
In reality, 10 lumens can’t really be called moonlight, so therefore the apostrophes.
So, if you care about the lowest mode, this one has you covered. Either way!
Low Battery Warning:
In the middle of the switch is a small indicator LED. The LED will change colors depending on the SOC (state of charge) of the battery.
- Blue= 50-100%
- Purple= 20-50%
- Red= less than 20%
The light will quickly turn off when the battery is low, so you better keep a spare battery with you. Unfortunately, only the last three runtime tests I’ve done were good enough. The timer was set to 1 minute instead of 5 seconds, so I can’t really say what the last minute of its battery life looks like.
Blinky modes:
The U22-II has 3 blinky modes. You can only enter the blinky modes from Turbo. I don’t like this part of the UI!
You need to do a double click to enter Turbo, and then a single click to go to Strobe, another single click to SOS, at last Beacon. If you are in beacon and click again, you return back to High! I know it’s always a trade-off to have a single switch and so many features. This part of the UI is a fail IMHO.
You can double-click to return to the regular menu while in Turbo.
Lock-out mode:
- Hold the switch for about 4-5 seconds to activate the lock-out feature
- You can do this from both the On and Off position
- When the light is turned off and you hold the switch for 5 seconds you will briefly enter Moonlight mode before activating the Lock-out.
- When the light is turned off and you hold the switch for 5 seconds, you won’t enter moonlight and directly go to the lock-out mode.
PWM:
- Again, not visible by eye, and that is what counts in my opinion.
Firmware / UI Conclusion:
I wished I liked the UI, but I don’t. I have a few dozen of flashlights and this one is a little odd. I guess if you only need 1 thrower, this UI might not be a problem but the more lights I get the more I dislike the odd ones ;–)
Batteries and charging:
You can choose to order the Manker U22 II with and without a 21700 battery. In my case, I have enough 21700 batteries and therefore bought it without a battery.
To compare the quality of the light, including lumen and runtime, I normally use the Samsung 4000mAh 40T. This is a pretty short battery compared to protected 21700 batteries. Even with the size, it fits perfectly without any rattling or moving back and forth.
Just to help you guys out, I also tried a Fenix-protected battery (ARB-L21-5000) and an Acebeam 21700-protected battery (IMR21700NP-510A with USB port), and both fit fine. The Acebeam battery is really long because it also includes a Micro USB port for charging. But the Manker U22 II had no problems accepting it.
One thing that I didn’t like so much is the parasitic drain when the light is turned off. I measured 2.7mA, which is a lot. Supposedly you had a 4000mAh battery and you leave the flashlight unattended, the battery would be empty in roughly 1480 hours. 1480 hours is about 61 days (or 2 months). I would advise everybody to unscrew the tailcap when the light is not in use. Nothing is so annoying as grabbing a flashlight with an empty battery.
The maximum charge speed with the USB-C charger is 3A. Unfortunately, my most powerful USB charger only goes up to 2A. When using the USB OTG cable, you are able to use the U22-II as a power bank. It discharges at a maximum rate of 2A.
Even though it has built-in charging, I do recommend getting a good 21700 battery charger, so you don’t need to charge the battery inside the flashlight.
Performance:
Lumen measurements:
All output numbers are relative to my homemade Integrating Sphere. It is set up with an Extech SDL400 Lux Meter for measurements including a Kenko PRO1D ND-16 filter. The base measurement is done with a Convoy S2+ that has been tested at 137 lumens.
All of my readings were taken from a fully-charged Samsung 40T.
Amps were measured with a Fluke 77III, at the tailcap.
| Mode | Amp | Specs | My measurements |
|---|---|---|---|
| Moonlight | 3 mA? | 1-10 | 0.00 |
| Low | 0.23 A | 35 | 79 Lm |
| Med | 0.62 A | 160 | 207 Lm |
| High | 1.43 A | 380 | 416 Lm |
| Turbo | 4.00 A | 850 | 811 Lm |
My measurements didn’t reflect the specs. My measurements were much higher than specs, except for Turbo.
Since I am using an ND filter in front of the sensor I can’t really measure low lumen outputs. I could test it with another meter, but that could screw my other measurements again.
Runtime:
The runtime test was done with the 50cm integrating sphere, including the Kenko Pro1D ND-16 filter and Extech SDL400 data logging Lux Meter. The battery used is the Samsung 4000mAh 40T.
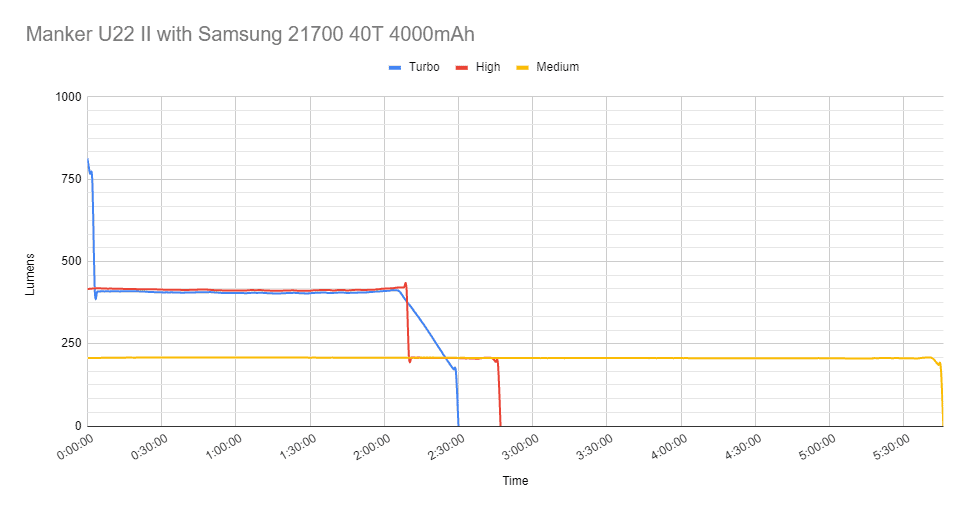
All 3 runtime tests were done with 1-minute intervals. This means that it’s hard to really see the output drops. But the total runtime is definitely clear enough.
Turbo drops to about 400 lumens within the first 3 minutes. The output remains stable for up to 2 hours and 7 minutes. At this point, the output drops gradually till about 208 lumens and runs out of battery at 2 hours and 30 minutes.
High mode is very stable at 400 lumens for the first 2 hours and 10 minutes. At that point, it drops to about 208 lumens and continues until it turns off at 2 hours and 46 minutes.
Medium mode is also very stable for 5 hours and 44 minutes at 208 lumens.
Throw measurement:
Measurements were taken both indoors and outdoors with a professional Hagner E4-X Lux Meter.
Measured indoors at 5 meters:
| Mode | Measured intensity | in meters | in feet |
|---|---|---|---|
| Low | 30,500 cd | 349 m | 1146 ft |
| Med | 74,250 cd | 545 m | 1788 ft |
| High | 150,000 cd | 775 m | 2541 ft |
| Turbo | 274,750 cd | 1048 m | 3439 ft |
Unfortunately, the professional Lux Meter is currently being re-calibrated by the manufacturer in Sweden. Hopefully, I get it back soon to continue taking measurements. I didn’t take the time yet to go outside and do the measurements. Therefore I only have the ones taken indoors.
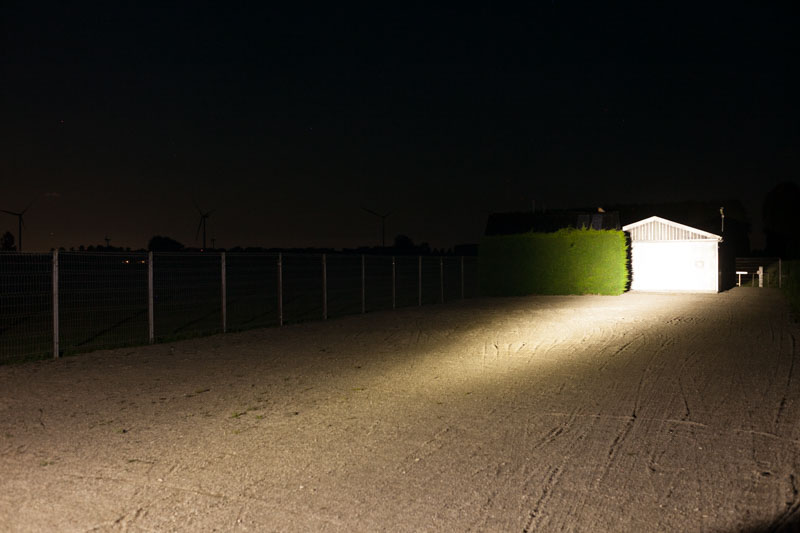
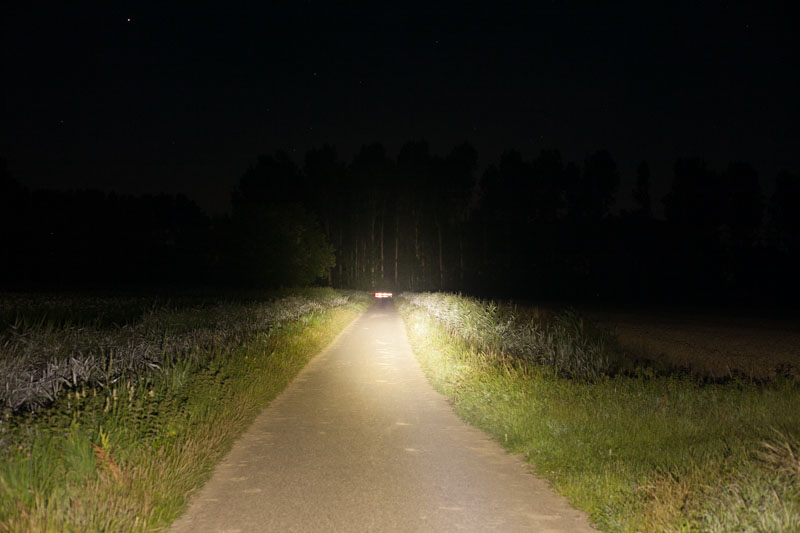
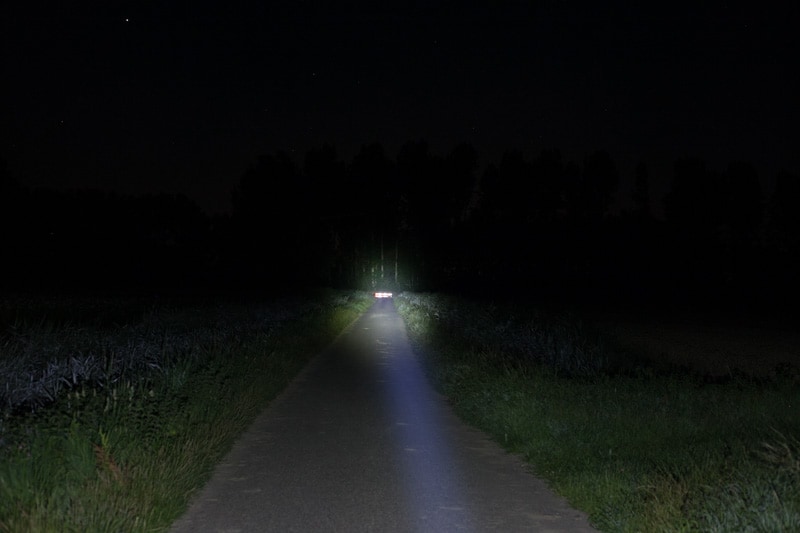
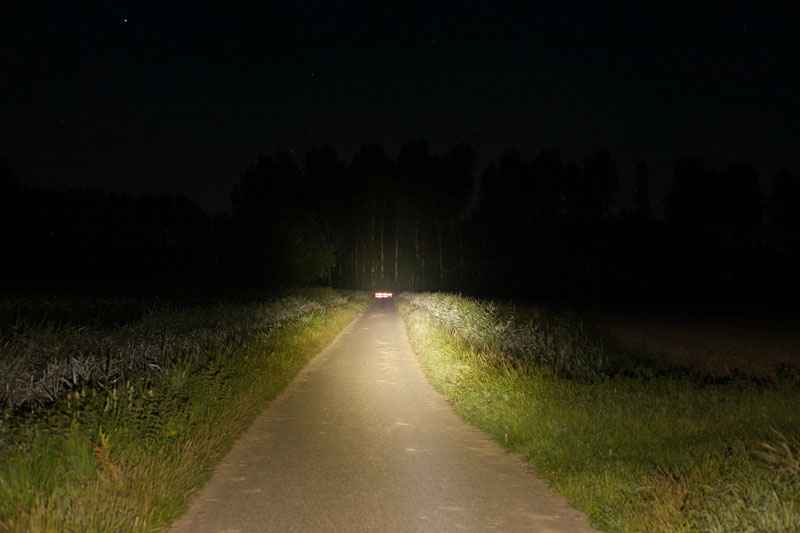
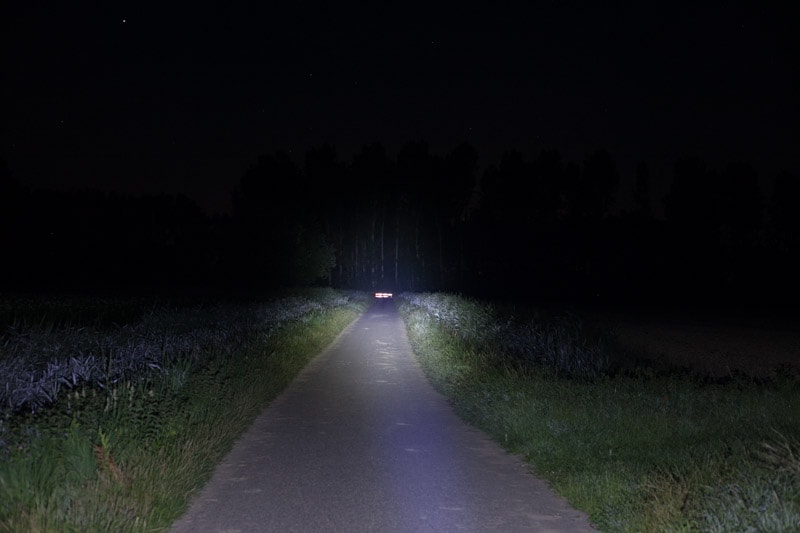
Beamshots
For the following beamshots, I used a Canon EOS 5D Mk2 and a 50mm lens. manual settings: ISO1600, 1/4sec , F4, 5000K
The shed is about 65 meters / 71 yards and the reflecting screen at the end of the road at about 200+ meters.


Disclaimer: This flashlight was bought with my own money. I have not been paid to review, nor have I been holding back on problems or defects.
Overall conclusion
Pros:
- Throws really far
- Relatively small
- No PWM!
- High-quality accessories
- Fast USB-C charging
- Can be used as a power bank
- Programmable moon-mode
Cons
- The UI

Rating: 3 stars ★★★
The performance of the Manker U22 II surprised me a bit. It can easily beat the bigger brands in terms of beam intensity and ‘throw’. Quality-wise, there is nothing really to complain about. The only little problem I could find is the UI. This is why I give it 4 stars. If you don’t mind the UI, I would give it 5 stars. Edit: during the holidays I tried to use it for a few minutes when it broke. I’m not sure if it’s just me, or if I was unlucky. 1 star taken off, it’s probably worth 3 stars if yours works well.
Manker U22 II for sale
The Manker U22 III has replaced the Manker U22 II. Check out its review.
1lumen selects and reviews products personally. We may earn affiliate commissions through our links, which help support our testing.