1lumen selects and reviews products personally. We may earn affiliate commissions through our links, which help support our testing.
Nitecore P30i Review

Nitecore P30i specifications
| Brand/model | Nitecore P30i |
|---|---|
| LED | CREE XHP35 HI |
| Lumens | 2,000 lm |
| Beam intensity | 250,000 cd |
| Battery config. | 1*21700/18650 – 2*CR123A |
| Material | Aluminum |
| Modes | 5 |
| Blinkies | Beacon, SOS (Strobe) |
| Reflector | Smooth |
| Waterproof | IP68 |
| Review date | March 2021 |
Introduction:
We’ve tested many Nitecore flashlights, but most of them were military flashlights (tactical flashlights). This time, however, it’s a real thrower, named Nitecore P30i. A single cell thrower with a large diameter reflector that is supposed to throw up to 1 kilometer and with a light intensity of 250,000cd. The flashlight also comes with a remote switch for a gun.
From the looks of it, I trust it should be able to achieve that. But we need to test it. There is just too much fluff on the internet, and most of the time with good intentions, but when you ask the person if they tested it, the answer is usually NO. It usually goes like this: This flashlight doesn’t step down in brightness throughout the runtime…. and in reality, it steps down quite a bit. So don’t trust people ‘on the internet without actual proof. And here is the proof for the Nitecore P30i.
Package quality.
The Nitecore P30i arrived in a good-looking, black box, with a magnetic lid. Inside the box is a custom-cut foam insert for the flashlight and a carton box with accessories. All the accessories included are:
- The flashlight: Nitecore P30i
- 21700 battery (NL2150HPi)
- USB-C charge cord
- RSW2i USB-C Remote Switch
- Battery adapter for 18650 batteries
- Pocket clip
- Holster
- O-rin
- Manual
To be honest, I like this amount of accessories a lot. The extra remote switch is really cool as well since it has a standard USB-C connector and not some sort of proprietary connector like other brands do.


Flashlight in use
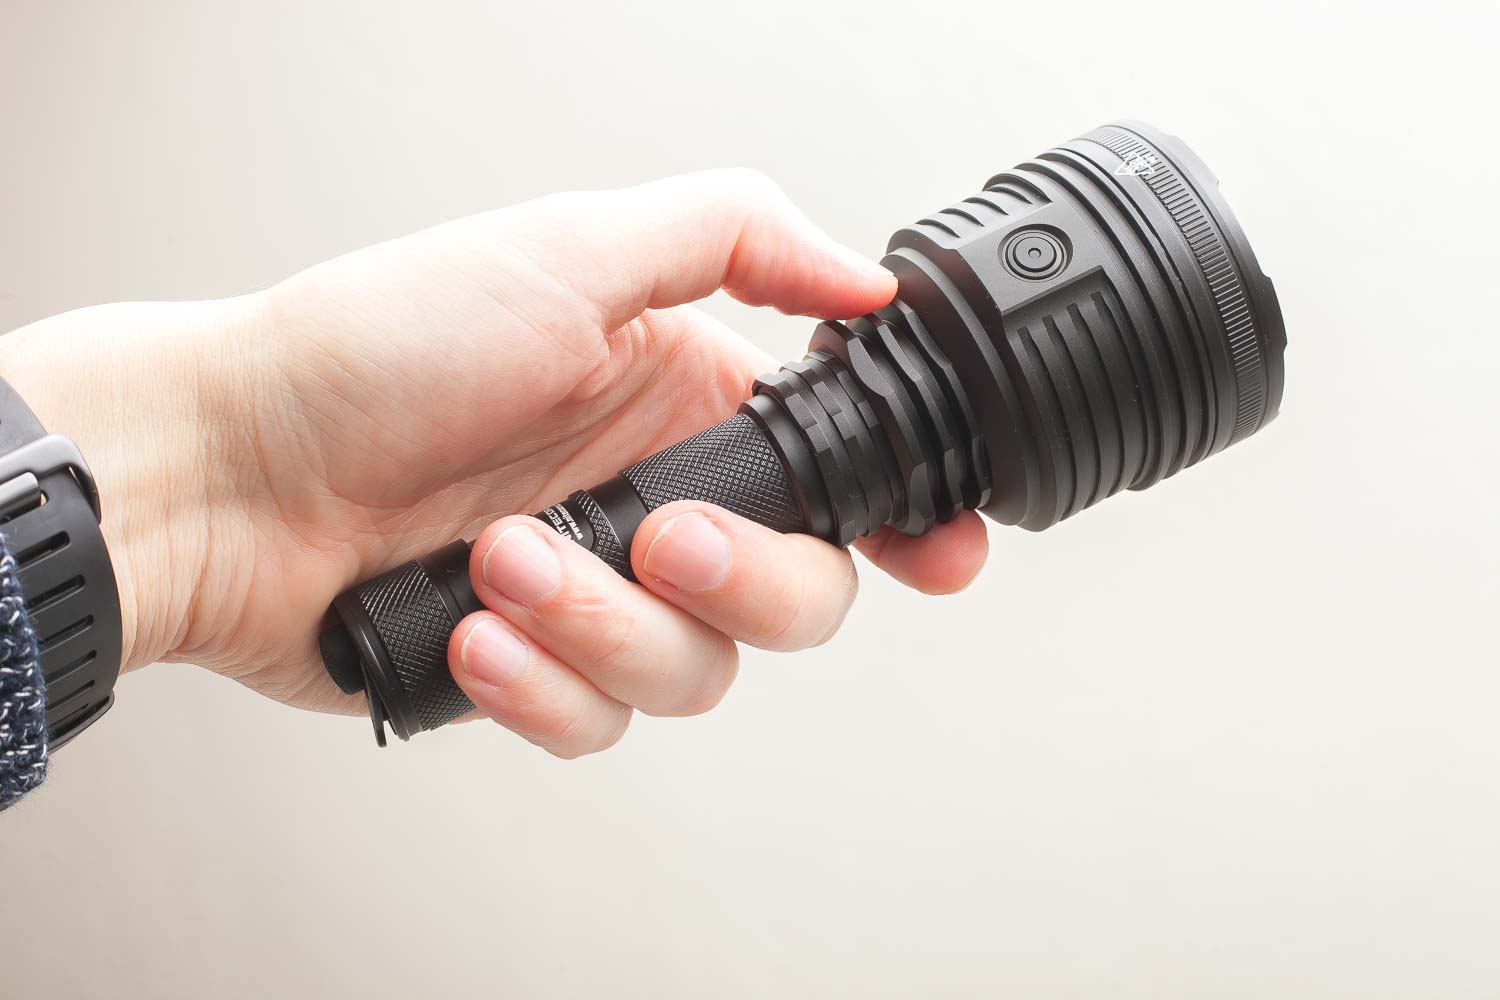
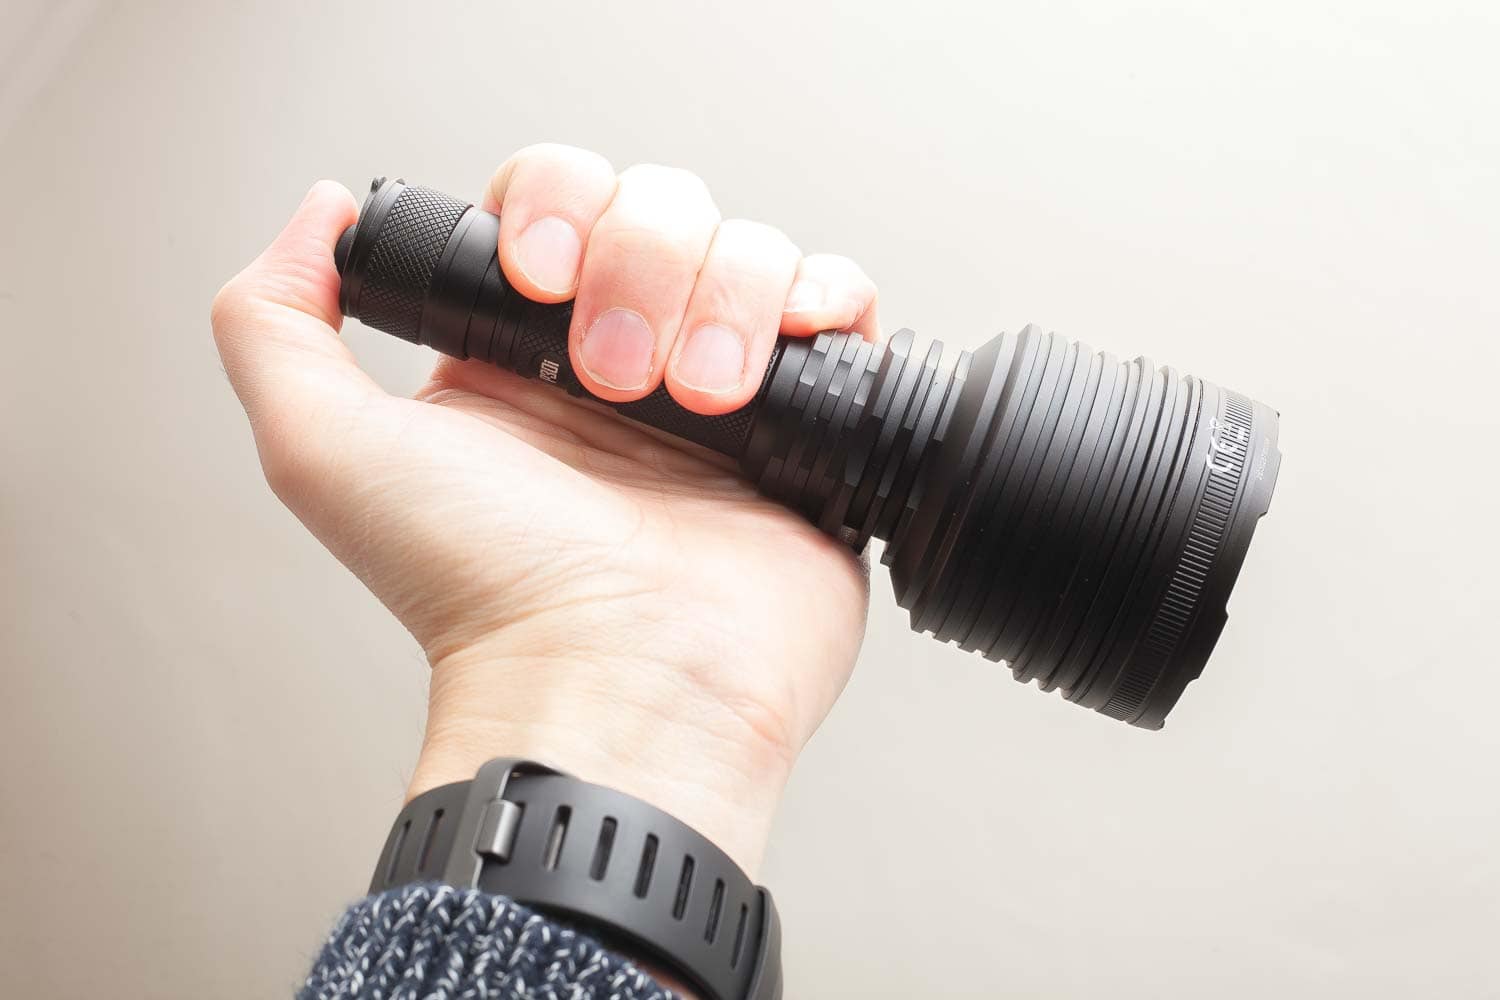
If you’re not into flashlights, you might think its design is a little weird with a much larger head than the flashlight body. But if you’re into flashlights, you directly think: wow, that thing must throw like crazy. And that’s the reason why the head is so large in diameter. Because it houses a large and deep smooth reflector.
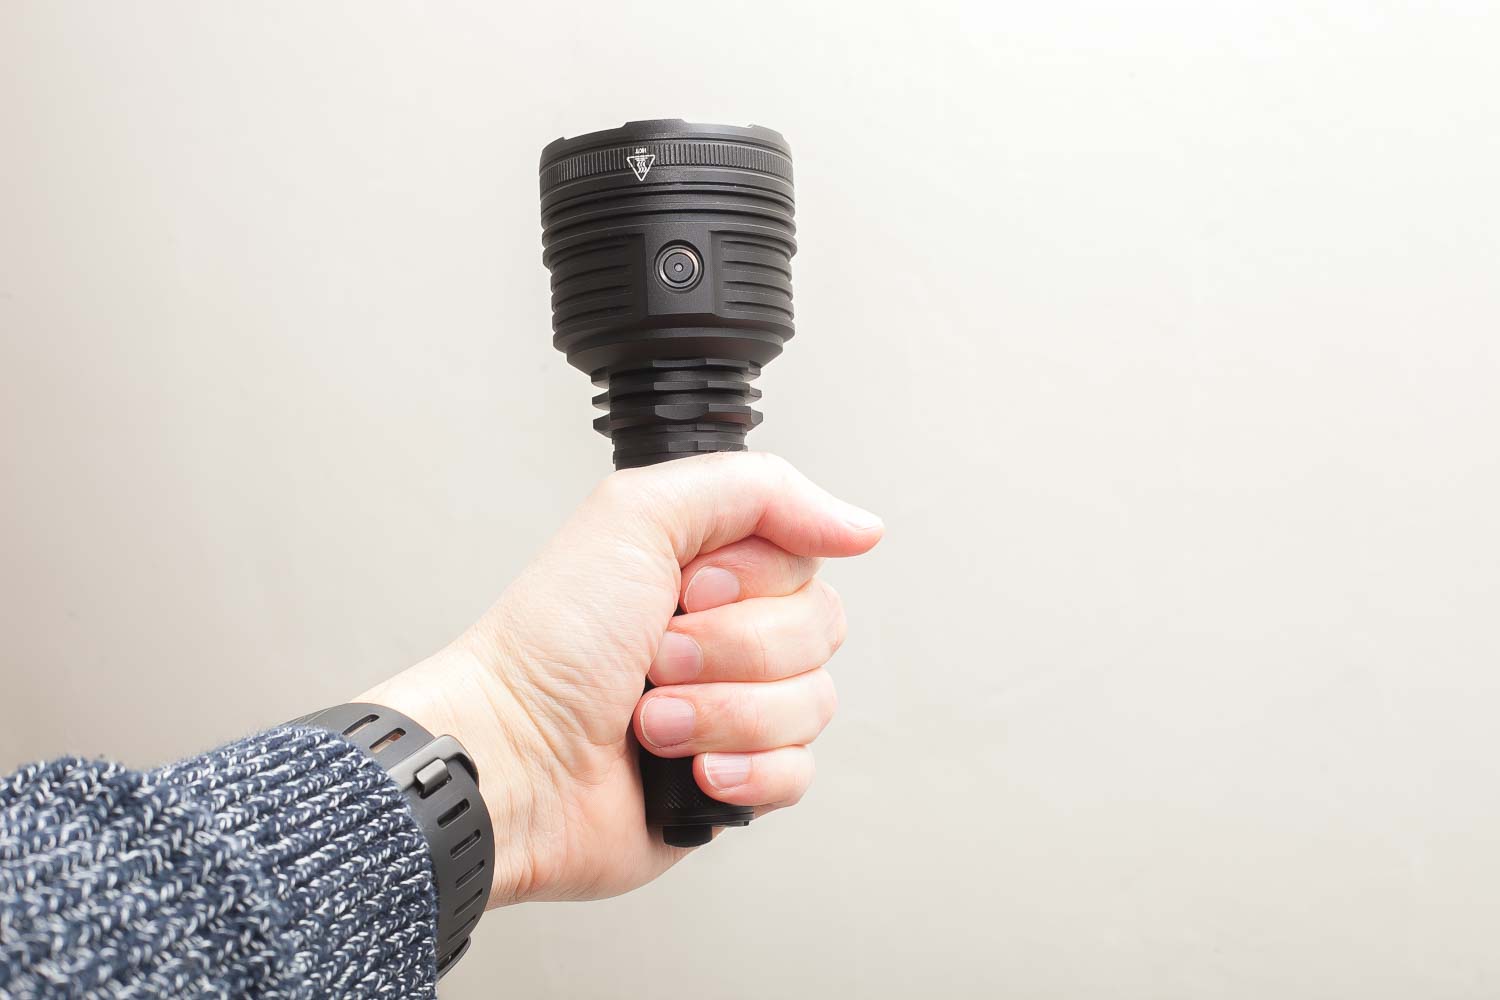
The P30i uses 2 different switches; 1 mechanical at the rear, and 1 electronic on the side. The rear switch is just for continuous power and it’s a forward clicky switch. This means you can do morse- coding, and signaling without changing modes. (Momentary-On). The side switch is used to change modes and is positioned on the head, rather than on the neck. I would have preferred to have it in a more natural position for my thumb to rest on, but I guess there was no space. The surrounding area of the switch does work like an anti-roll feature. But you can use it for momentary-on as well, but not for signaling because you need to continuously press the switch to have it on. More on this in the UI section below.
The side switch is lit while the flashlight is on. But since you need to use the rear switch for power anyway, this is not a problem at all.
Since there is enough knurling and different thicknesses, you shouldn’t have any problems with grip. In case you’d like to use the pocket clip, you can use it either way, pointing up, or down.
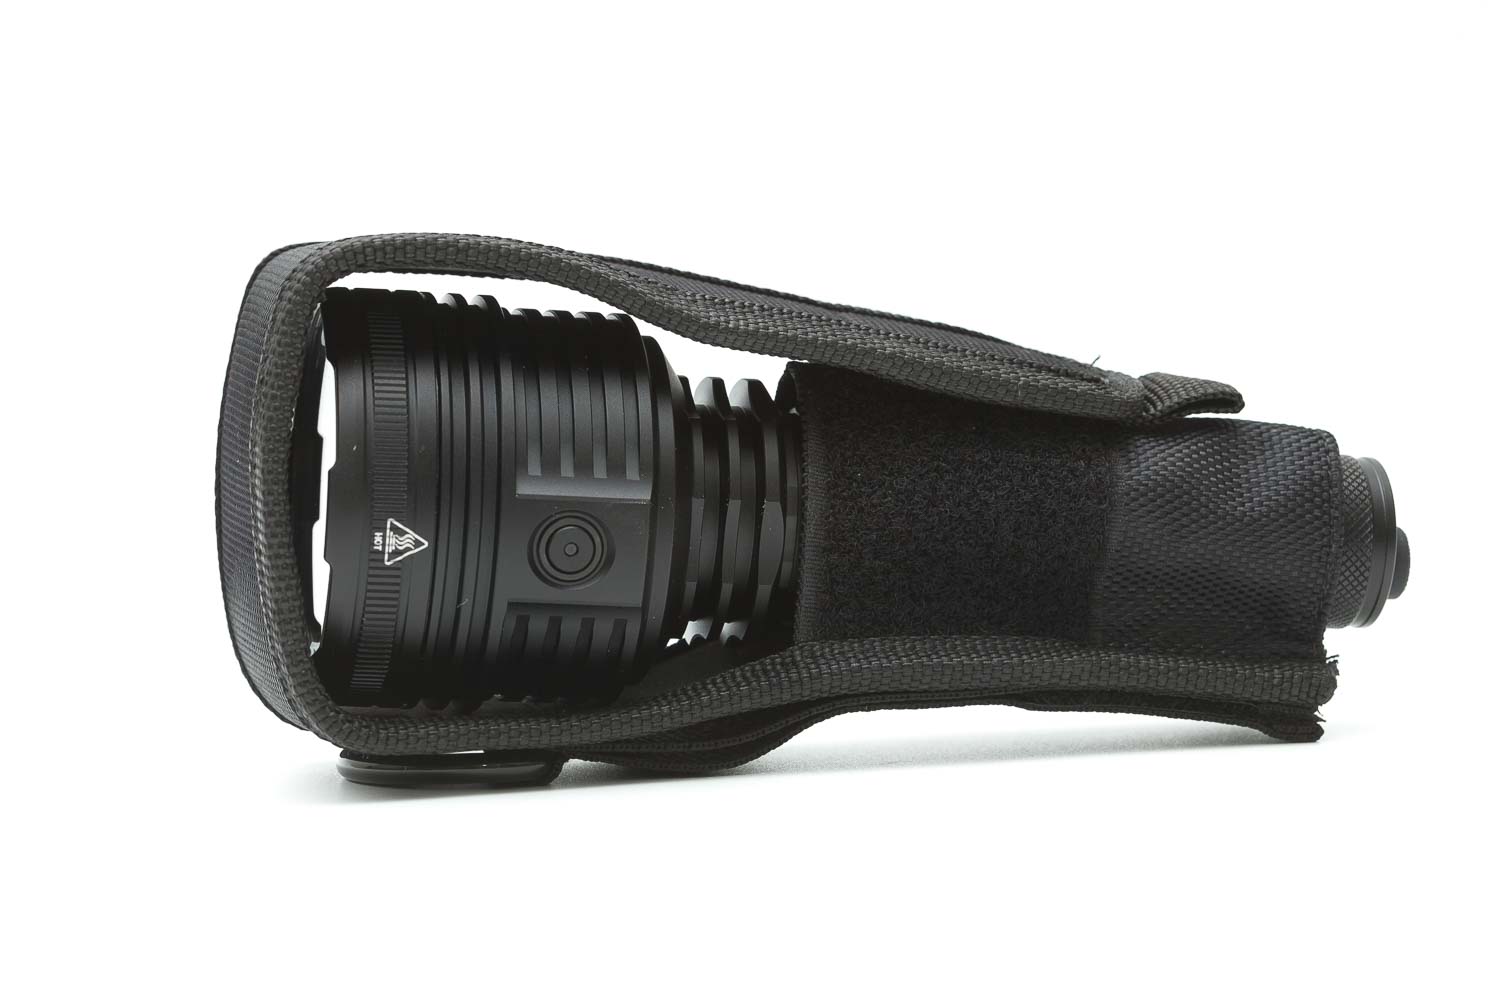
Besides using the pocket clip, you can also use the holster for carrying. It has a Velcro flap that makes it really easy to attach it to your belt, without having to remove the belt. You can also use the metal ring to attach it to a carabiner.
Although no gun mount is included, they did include a remote switch with 4 buttons. Please read the details in the UI section.
Notice:
I have to add this to the review: while I was outside, doing the beamshots, I had difficulty changing modes, and I don’t know how that came, because it only happened that 1 time. When I pressed the side switch, it didn’t change modes. I turned it off and back on again to change modes. This happened a few times in a row. But only that time, not during the earlier beamshots, or the throw testing. Maybe it had to do with the ambient temperature, or because I was pointing it to the sky?
Build Quality, and Warranty
The quality of the machining, as well as the coating, looks good at first sight. The coating has a shiny finish, but not too shiny.
The battery tube and tailcap have plenty of knurling, albeit not very rough. This means that although there is enough knurling, the knurling doesn’t help improve your grip much. There are cutouts around the flashlight (for the pocket clip and for the brand and model name), that do give you a bit more grip. You can also attach the pocket clip to improve your grip even more.
But when it comes to the threads, I’m not very happy. If you look at the following pictures, you should be able to notice some spots on the threads’ coating, that look like white spots. Those spots are actually missing anodization. This was already present the first time I unscrewed the tailcap. So much for that quality.
Since its head is so large, I don’t really understand why people would use a pocket clip, but at least Nitecore added one to its accessories, just in case. I would prefer to have a lanyard or a holster instead. Although I’m not a holster user, generally speaking, I can totally see the benefit of having one, if you need to carry the flashlight on you for a long time. Although they didn’t include a lanyard, you can still attach any lanyard to the pocket clip.
Nitecore has a 60 month (5 years) warranty, that includes malfunctioning/defective products, with a free repair. After 60 months, there is a limited warranty, covering the cost of labor and maintenance, but not the cost of accessories or replacement parts.


LED, Lens, Bezel, and Reflector
Nitecore’s choice for the XHP35 Hi as its LED isn’t a bad choice. The XHP35 Hi is a 12V LED so it needs a boost driver in order to reach 12V from a single battery, and on top of that, the battery needs to be able to provide enough power. The included battery has a rated discharge rate of up to 15A. That should be enough, but I’m really curious about what output we are talking about and how long it can maintain its brightness.
The beam has a very clear and pretty narrow hotspot, and if you point it to a wall it has the typical thrower-donut hole in the middle, which is non-present at a larger distance. This type of beam is very normal for long-range flashlights.
When you go white wall hunting, you’ll notice that the beam has some rings around the hotspot, but outdoors, you won’t notice that. That’s why I’m not a big fan of white wall hunters who like to complain about details you won’t notice when in use.
The bezel isn’t flat but has some crenelation but they aren’t sharp or pointy. I guess it could still be called a strike bezel though.


Dimensions and size comparison
- Length: 175 mm / 6.89 ”
- Head diameter: 65 mm / 2.56 ”
- Reflector diamter: 59 mm / 2.3 “
- Body diameter: 25.55 mm / 1”
Weight:
- Empty: 255.6g / 9.02 oz
- With battery: 331.1 g / 11.68 oz
Thrower Flashlight comparison
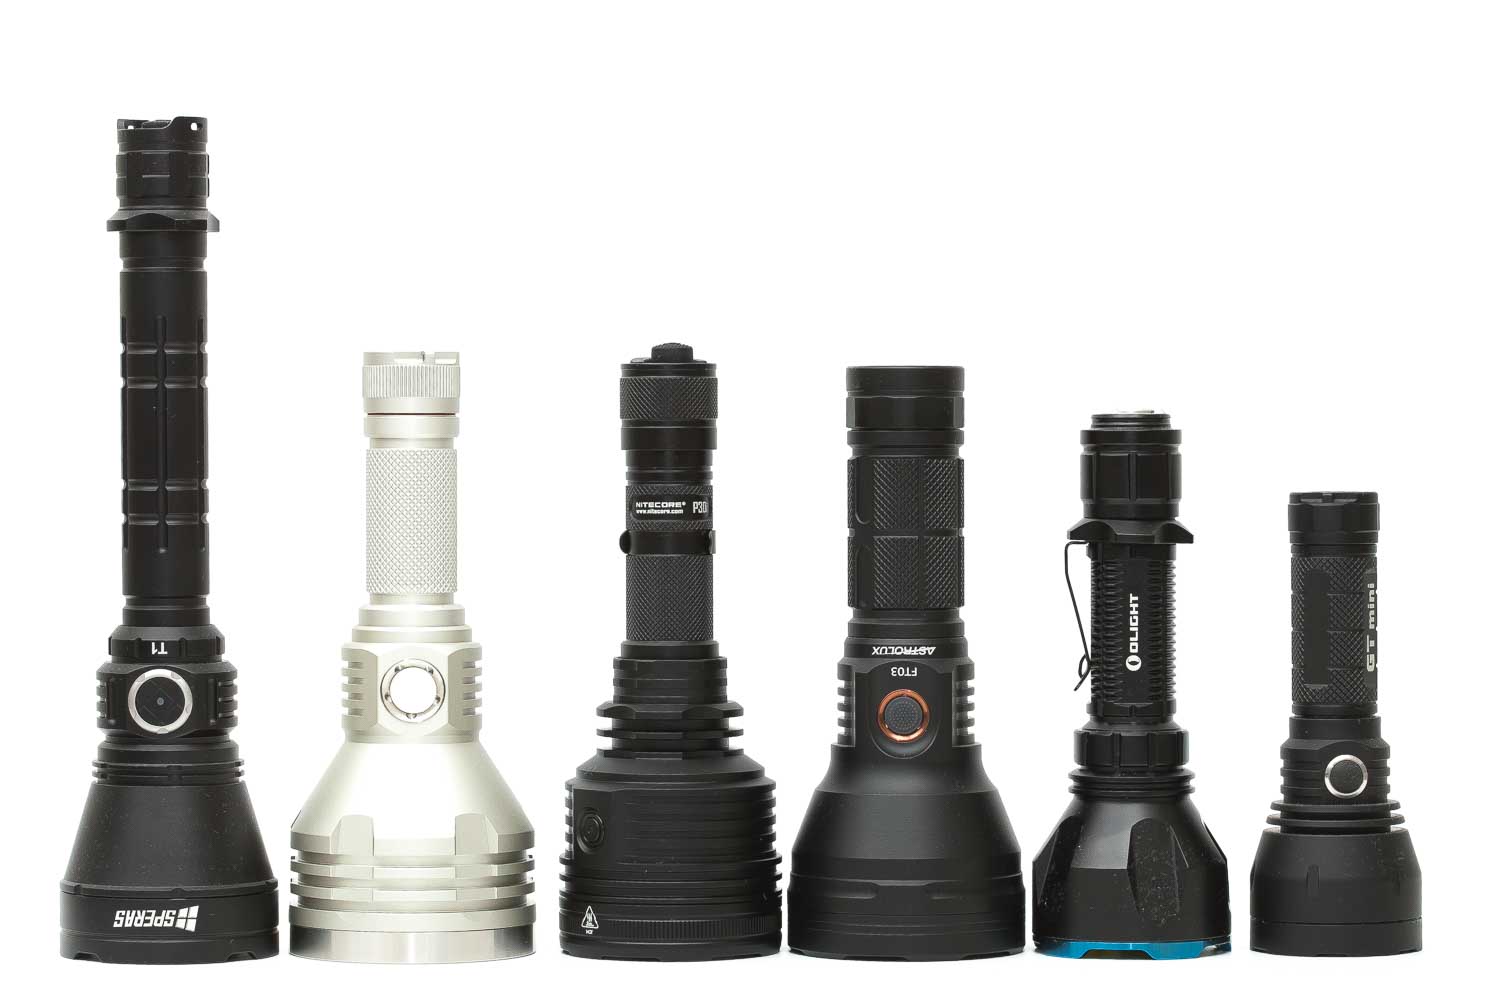
Size compared to other great throw flashlights.
Image 1, from left to right: Speras T1, Noctigon K1, Nitecore P30i, Astrolux FT03, Olight Warrior X Turbo, Lumintop GT Mini.

Driver & User Interface:
The rear switch is used for power, and the side switch to change modes. Well, that is not completely true because the P30i has some hidden features, including quick access to Beacon mode and Turbo.
Available modes:
- Ultra Low, Low, Medium, High, Turbo
- Strobe, SOS, and Beacon
REAR switch from OFF:
- Half-press: Momentary-On (signaling) using the output of the last used mode
- Single-click: to last used mode, mode memory
REAR switch from ON:
- Single-click: flashlight turns off
SIDE switch from OFF:
- Press and hold more than 1 second: Momentary Turbo
- 1 click: nothing
- 2 clicks: nothing
- 3 clicks: Beacon mode (in beacon mode, press and hold the switch for 2 seconds to change to SOS mode)
SIDE switch from ON:
- 1 click: cycle through the modes from Ultra low – high
- Press and hold: Turbo
Remote switch
The remote switch has 4 buttons. The 3 buttons (Button B) at the top have 2 functions: 1 for changing modes when the flashlight is ON, and momentary use when the flashlight is turned OFF. The bottom 1 (Button A) is for power. Strobe mode is only accessible using the remote switch by press-and-hold Button A for over 2 seconds.
Sometimes these types of remote switches use magnets to attach them to the gun, but this one doesn’t. It uses a USB-C cable (just like the charging cable) and has a little hook that hooks onto the tailcap of the flashlight. That way it stays connected and doesn’t come off easily.
Shortcuts:
- To Turbo: press and hold the side switch from OFF or ON
- To Strobe: only accessible with the remote switch
Mode memory:
- Yes, by default
Blinky modes menu:
- Beacon is accessible by 3 clicks (side switch) from Off. SOS can only be activated through Beacon mode by pressing the side switch for 2 seconds to toggle between SOS and Beacon.
Low battery warning:
- The switch indicator LED will start blinking at a battery level below 50%
- It will flash quickly when below 10%
Lock-out mode:
- No, not really necessary with a rear switch
PWM:
- not visible by eye.
Nitecore NL2150HPi Battery & Charging
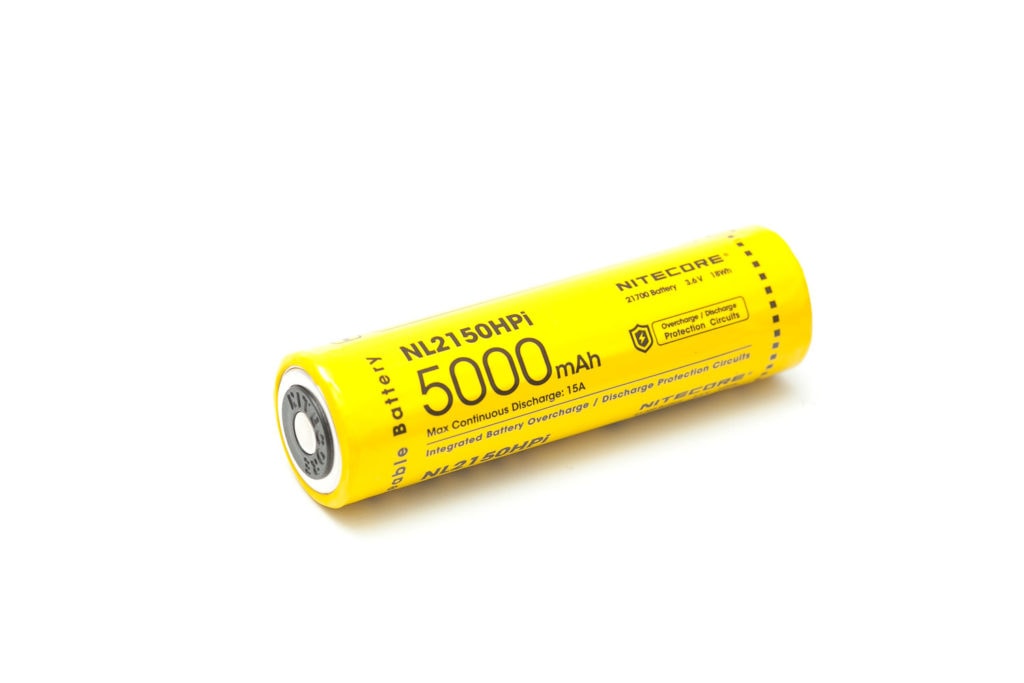
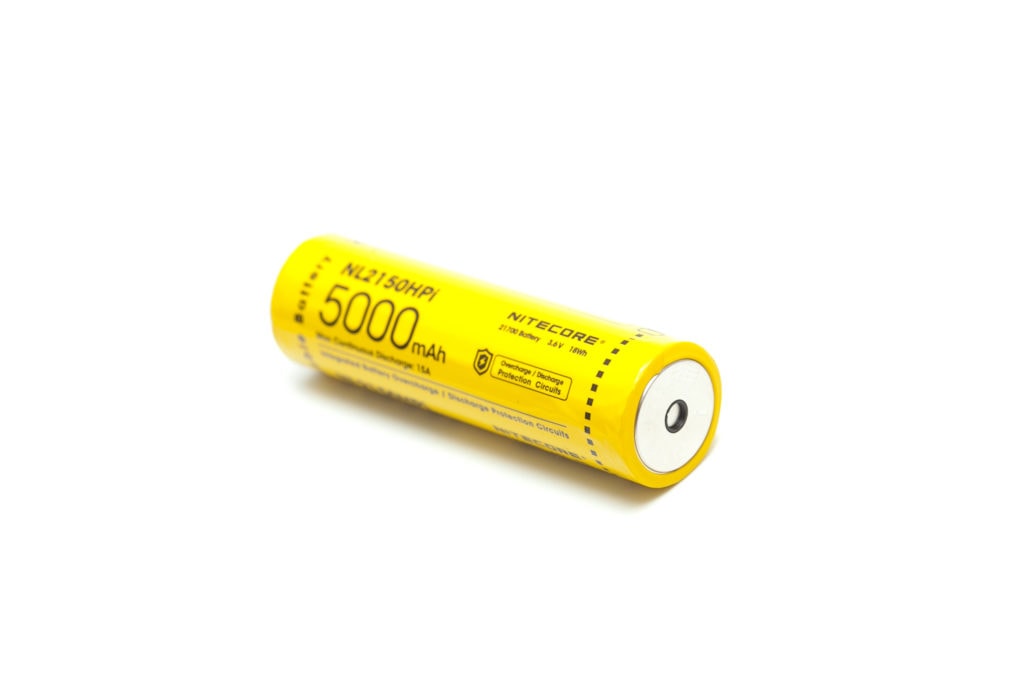
Nitecore includes a proprietary 21700-type battery with a capacity of 5000mAh. Without this battery, the flashlight does not work. If you look at the pictures, you can see that the negative side looks different. Any other type of battery won’t work.
The model name of this battery is Nitecore NL2150HPi. I tried to use this battery in the Nitecore MH25S and it works, but the NL2150 from the MH25S does not work in this flashlight. This probably has to do with the remote switch system. The positive side has a positive and negative pole.
Charging can still be done with a normal 21700 battery charger, as well as inside the flashlight with a USB-C charging cable. The charging current according to my USB meter was around 1.95A, and a small blue LED light blinks during charge. When charging is finished, the LED is lit continuously.


Performance
Lumen measurements:
All output numbers are relative to my homemade Integrating Sphere. It is set up with an Extech SDL400 Lux Meter for measurements including a Kenko PRO1D ND-16 filter. The base measurement is done with a Convoy S2+ that has been tested at 255 lumens.
| Mode | Advertised | At 0 sec | 30 sec | 10 min |
|---|---|---|---|---|
| Ultra low | 6 lm | 6.63 lm | 6.63 lm | – |
| Low | 85 lm | 92 lm | 92 lm | 92 lm |
| Med | 385 lm | 400 lm | 400 lm | 395 lm |
| High | 1000 lm | 1091 lm | 1078 lm | 1035 lm |
| Turbo | 2000 lm | 2001 lm | 1875 lm | 634 lm |
Even Turbo is doing really well, and at the start actually reaching 2000 lumens. After 30 seconds it’s still 1875 lumens, according to my measurements. You should have a look at the runtime test below to understand why Turbo has a lower output than High after 10 minutes.
Runtime:
The runtime test was done with the 50cm integrating sphere, including the Kenko Pro1D ND-16 filter and Extech SDL400 data logging Lux Meter.


It’s interesting to observe the differences between Turbo and High. Turbo obviously starts at a much higher output, but when it drops within 5 minutes to 625 lumens, High maintains a much higher output, above 1000 lumens. After about 30 minutes the difference is hard to notice in person.
Medium is very stable at around 390 lumens, at which it stays for 4 hours and 36 minutes when it drops to roughly 90 lumens, and then drops at 4 hours and 47 minutes to about 6 lumens. You better replace/recharge your battery at the first drop.
Low has a very stable output for 21 hours and 20 minutes at roughly 90 lumens. It then drops to around 6 lumens and runs for another 30 minutes before it shuts off.
The battery voltage after shutting off is just below 3V.
Throw Measurement
Measurements were taken outdoors at 20 meters distance after 30 seconds with a professional Hagner E4-X Lux Meter.
| Mode | advertised | Candela measured | Meters | Yards |
|---|---|---|---|---|
| Turbo | 250,000 cd | 266,000 cd | 1032 | 1128.07 |
| High | 130,500 cd | 144,400 cd | 760 | 831.15 |
My measurements were higher than advertised, which is nice to see.
Beamshots
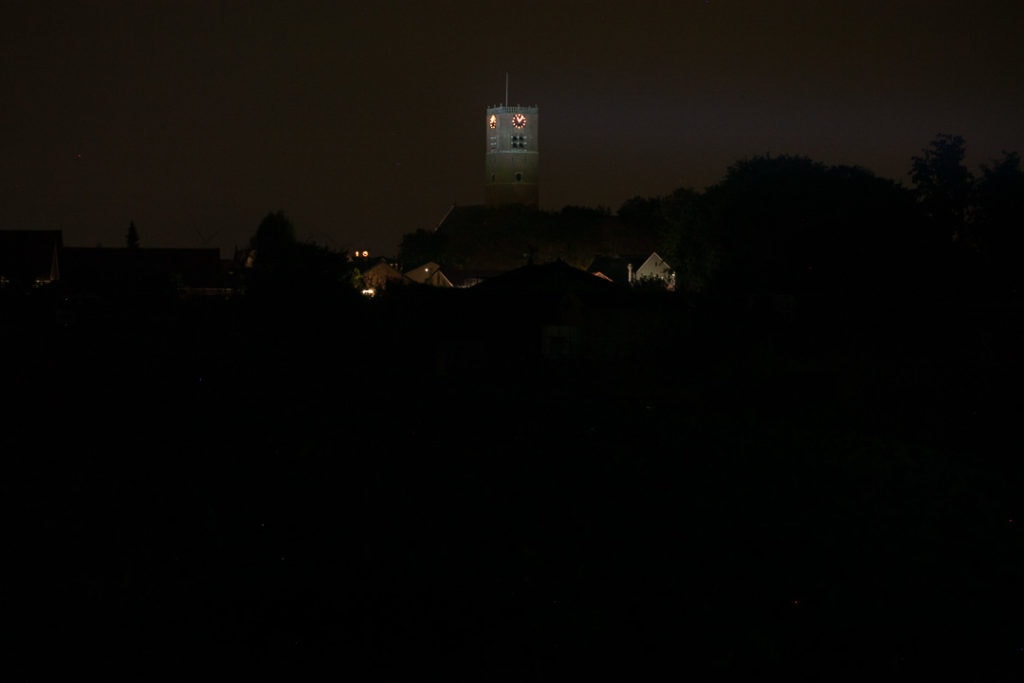
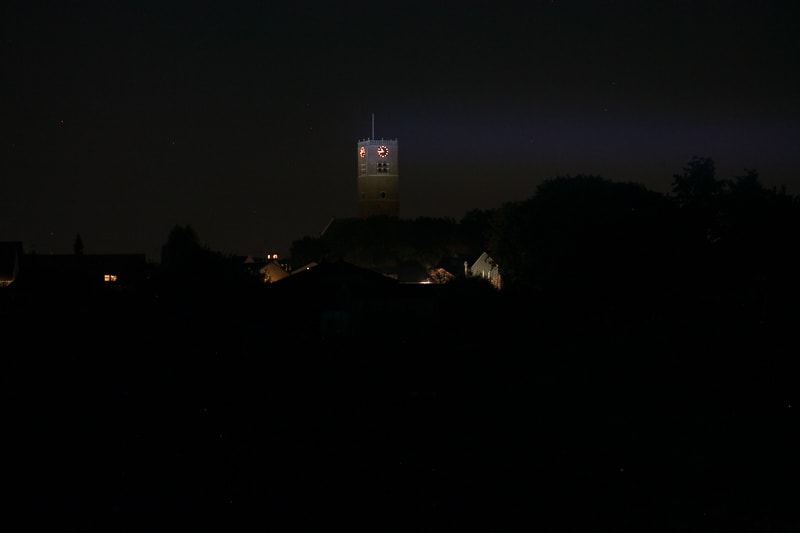
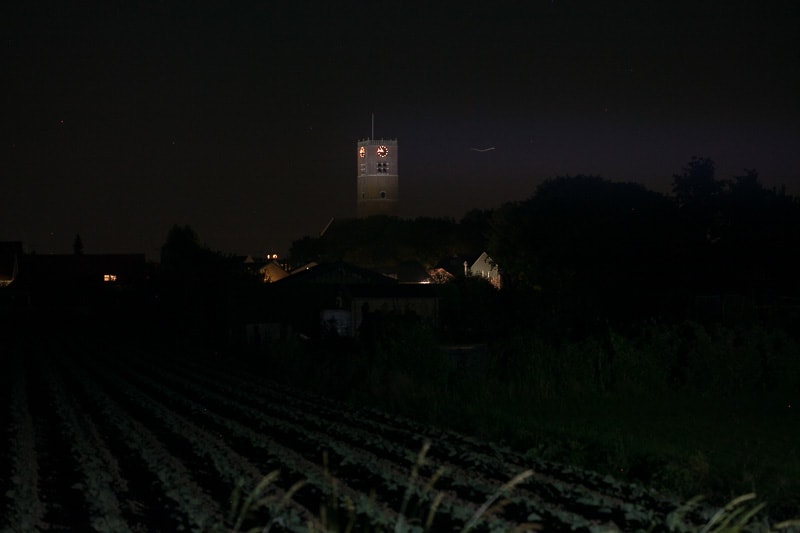
The tower is 650 meters / 710 yards away, the second tower is about 450 meters / 492 yards away; Canon EOS 5D Mk2 and a 100mm lens. manual settings: ISO1600, .5sec , F4, 5000K
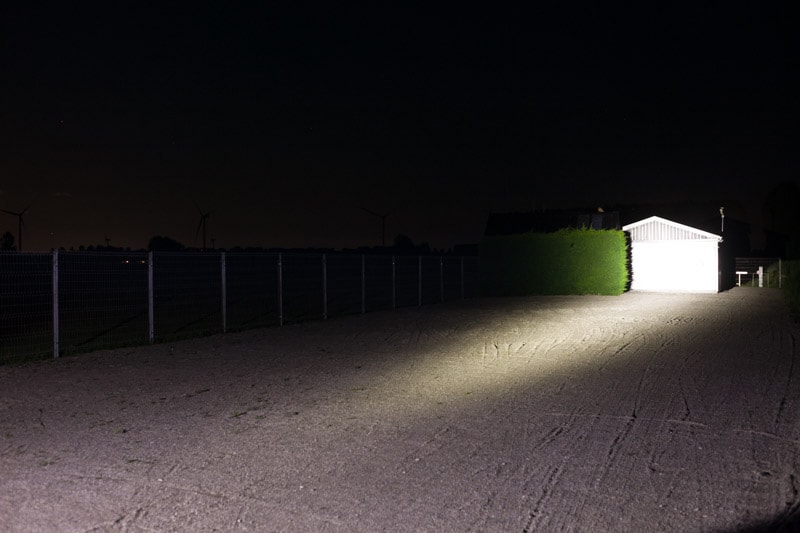
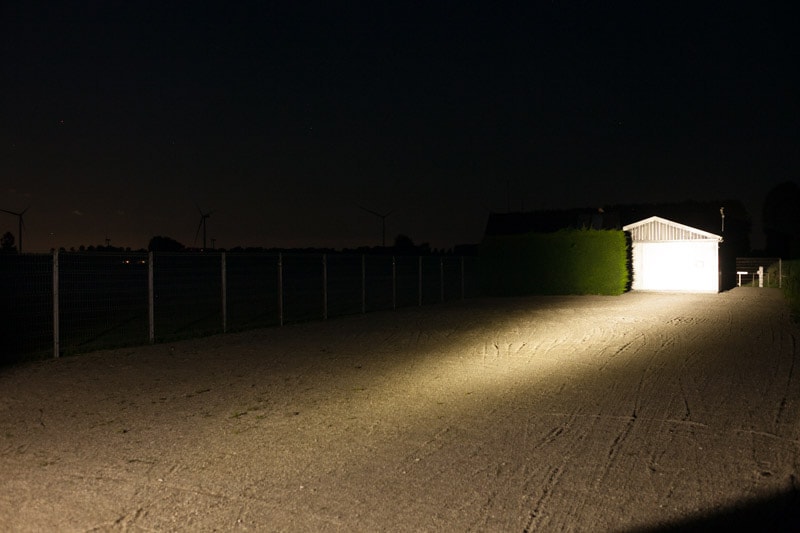
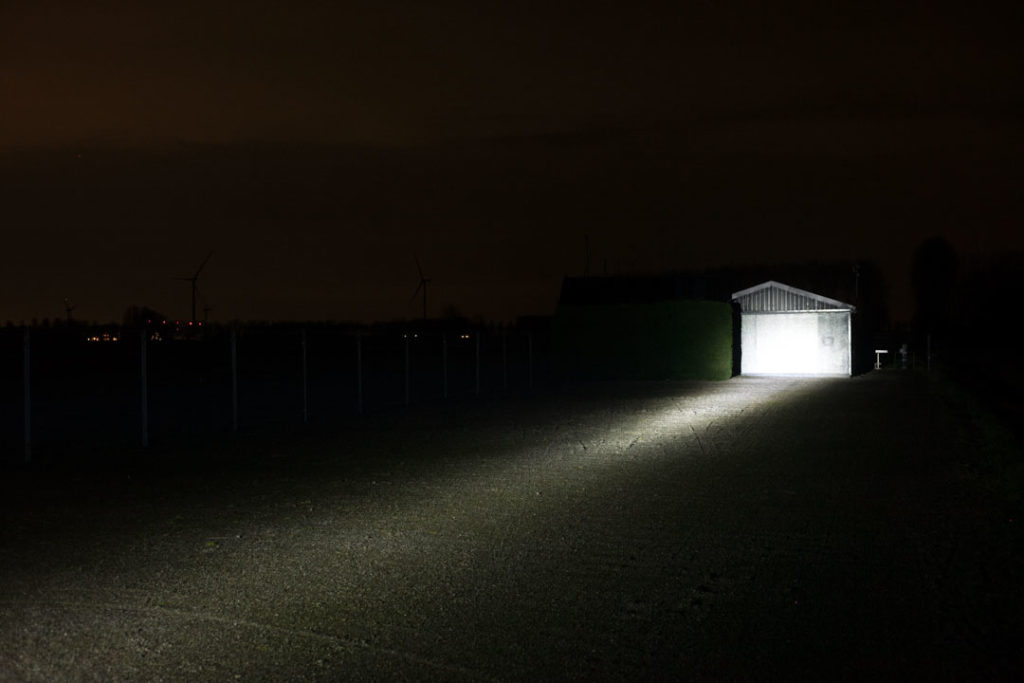
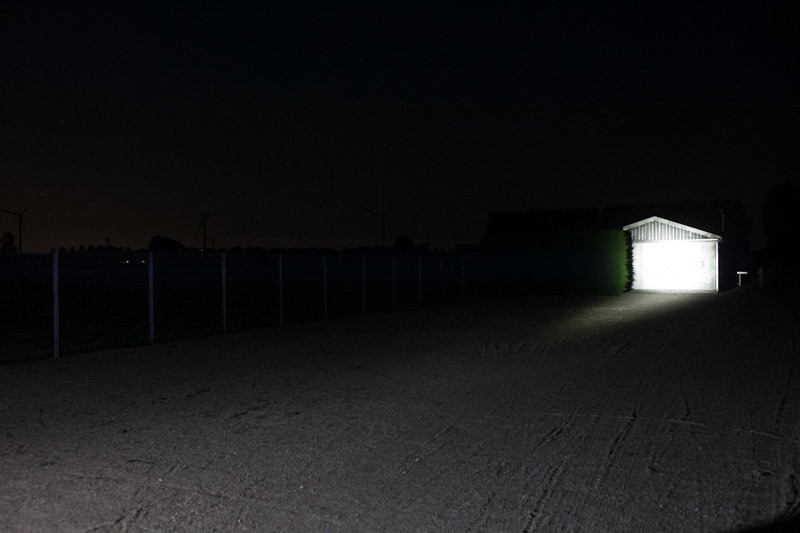
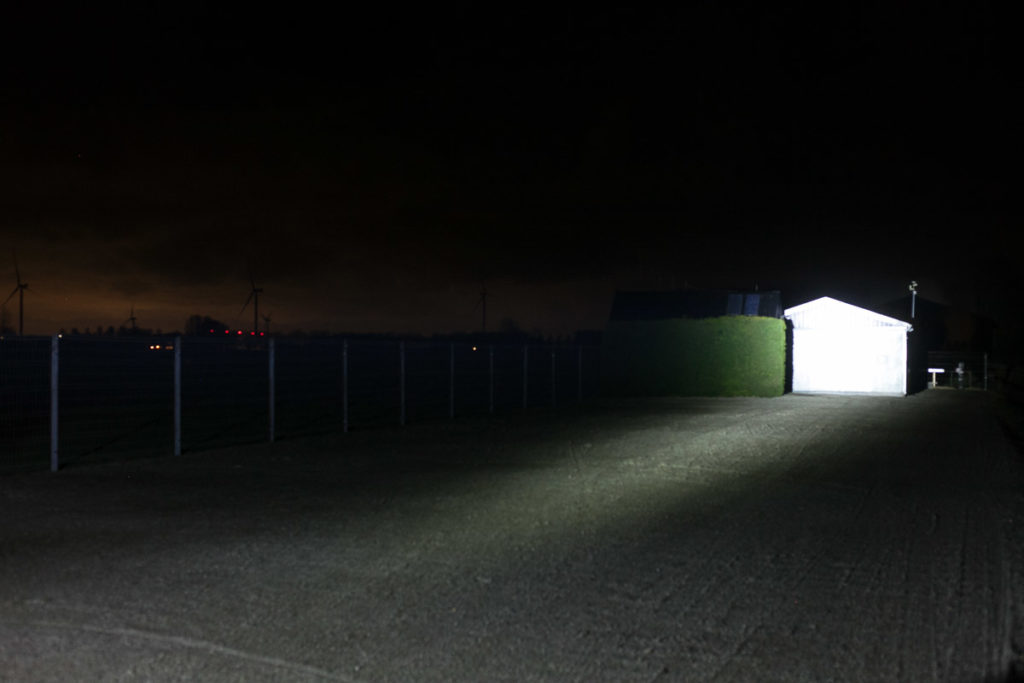
The shed is about 65 meters / 71 yards away: Canon EOS 5D Mk2 and a 50mm lens. manual settings: ISO1600, 1/4sec , F4, 5000K.



Disclaimer: This flashlight was sent to me for review at no cost by Nitecore. I have not been paid to review, nor have I been holding back on problems or defects.
Final Verdict
Pros
- Very bright at the start
- Good performance
- No PWM
- Includes a lot of nice accessories including a remote switch
Cons
- Damaged anodization on the threads
- Had difficulty with changing modes while outdoors at 1 moment

3.5 stars: ★★★⋆
There are a few things I need to highlight. The missing anno on the threads is of lesser concern. Besides this, the 1 instance I had where the P30i didn’t switch modes is a little concerning. And mainly because of that, I can’t grade it higher than 3.5 stars, otherwise, it would have been a solid 4-4.5 stars.
Because in terms of its performance, and the number of accessories it’s pretty good, with a nice amount of lumens combined with a nice amount of throw, especially in High mode.
Nitecore P30i discount coupon
Get 15% off by using discount code 15OFF on orders above $75. Below $75, use our unique coupon code 1Lumen to get 10% off.
1lumen selects and reviews products personally. We may earn affiliate commissions through our links, which help support our testing.