1lumen selects and reviews products personally. We may earn affiliate commissions through our links, which help support our testing.
NlightD T90 review
Table of contents
Specifications
| Brand/model | NlightD T90 |
|---|---|
| LED | Luminus SBT90.2 |
| Lumens | 6,500 lm |
| Beam intensity | 207,025cd |
| Battery config. | 1*21700 |
| Material | Aluminum |
| Modes | Anduril UI: Many modes |
| Blinkies | Multiple |
| Reflector | Smooth |
| Waterproof | IPX7 |
| Review date | December 2020 |
INTRODUCTION:
Most people in the flashlight communities know about Nealsgadgets store. It’s Neal’s own store that he has run for a few years now. He sells all kinds of flashlights made by different brands, but the NlightD is Neal’s own brand. This is actually his first flashlight, and it’s named NlightD T90. Nlight probably refers to Neals Light.. not sure what the D stands for, though.
Since Neal has been in the flashlight industry for many years, he knows what flashoholics like you and me like. He also knows what is currently popular in the community. That’s why he chose to build his first flashlight with the Luminus SBT90.2, a very popular high power LED, combined with Anduril firmware.
Package quality.
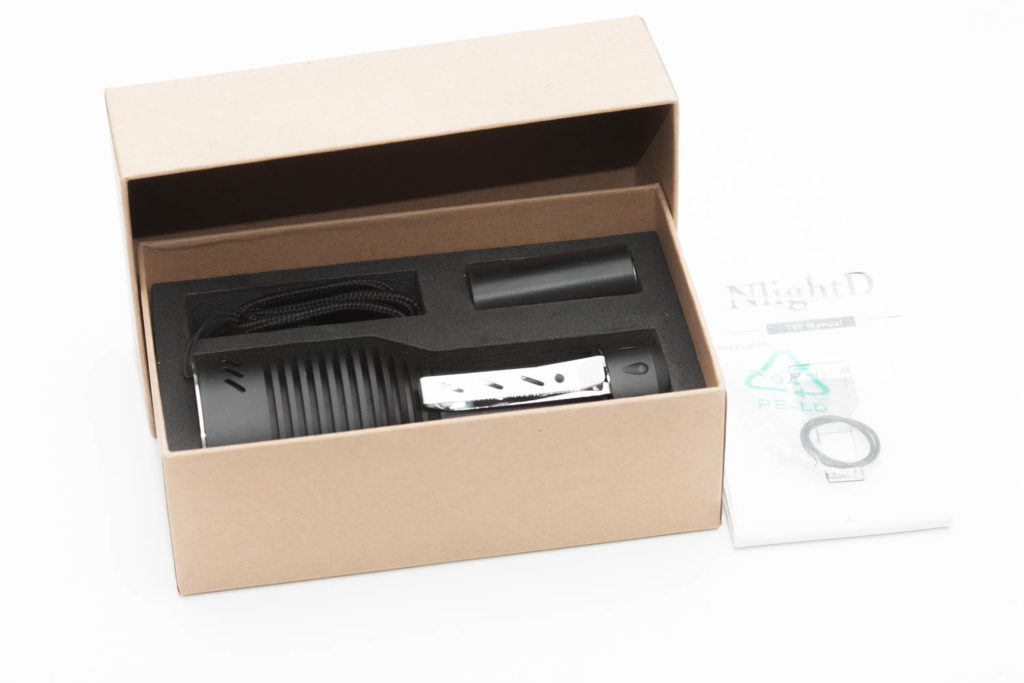
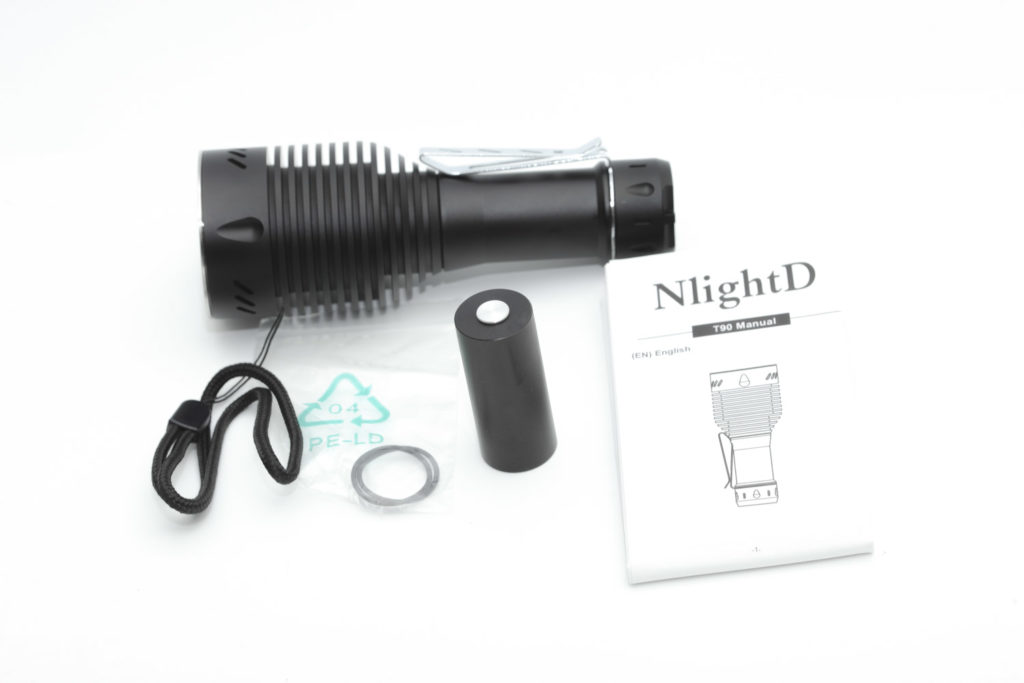
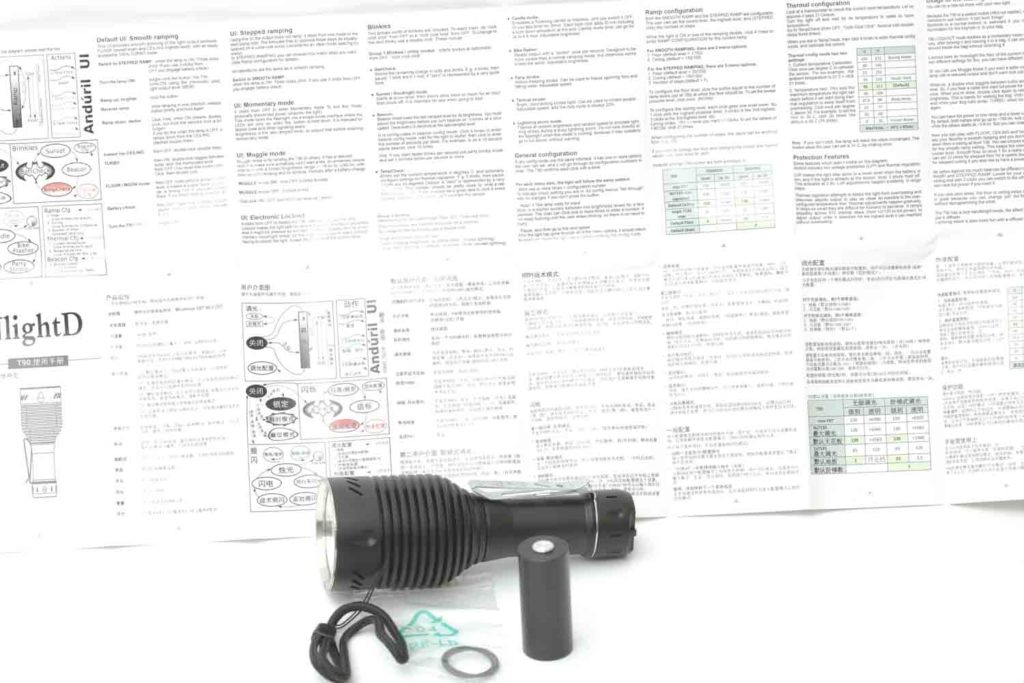
The NlightD T90 was shipped in a cardboard box, that feels very sturdy. Inside the box are the following things:
- The flashlight NlightD T90
- Lanyard
- O-rings
- 2-way pocket clip
- Battery adapter ( to use 18650 batteries)
- Manual (very large and in 3 languages)
Check out that large manual. I might use it for a wallpaper…
Handling of the light
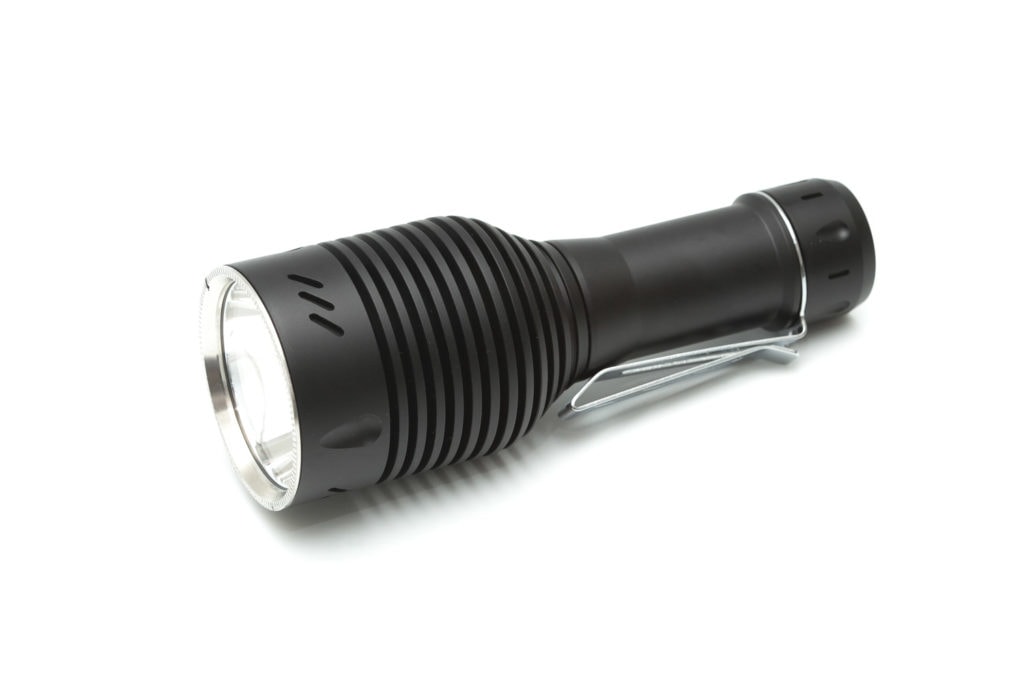
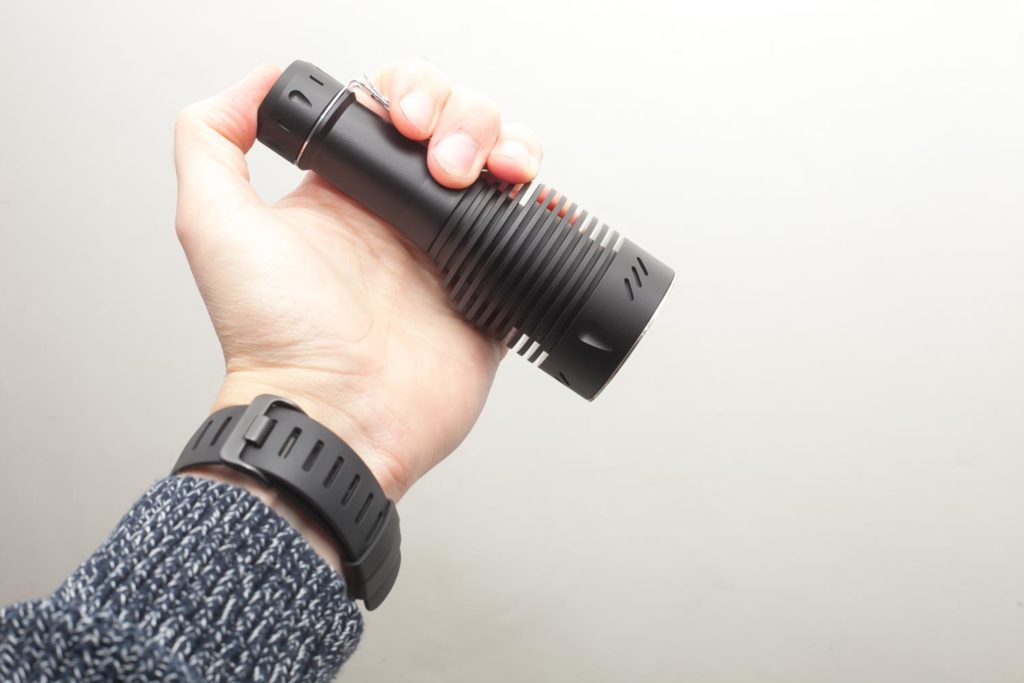
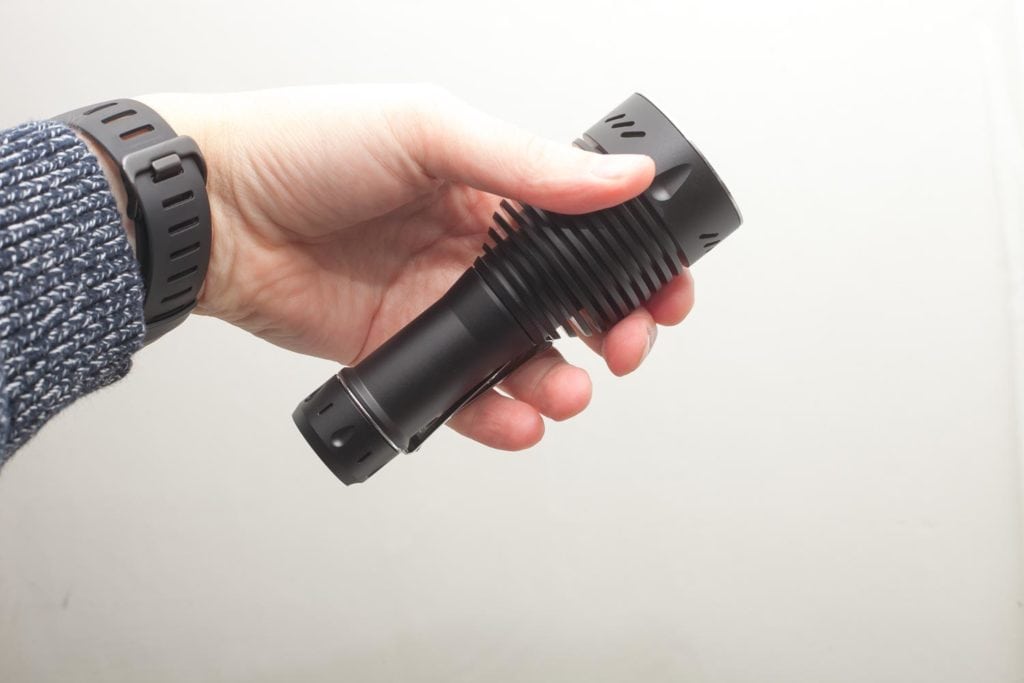
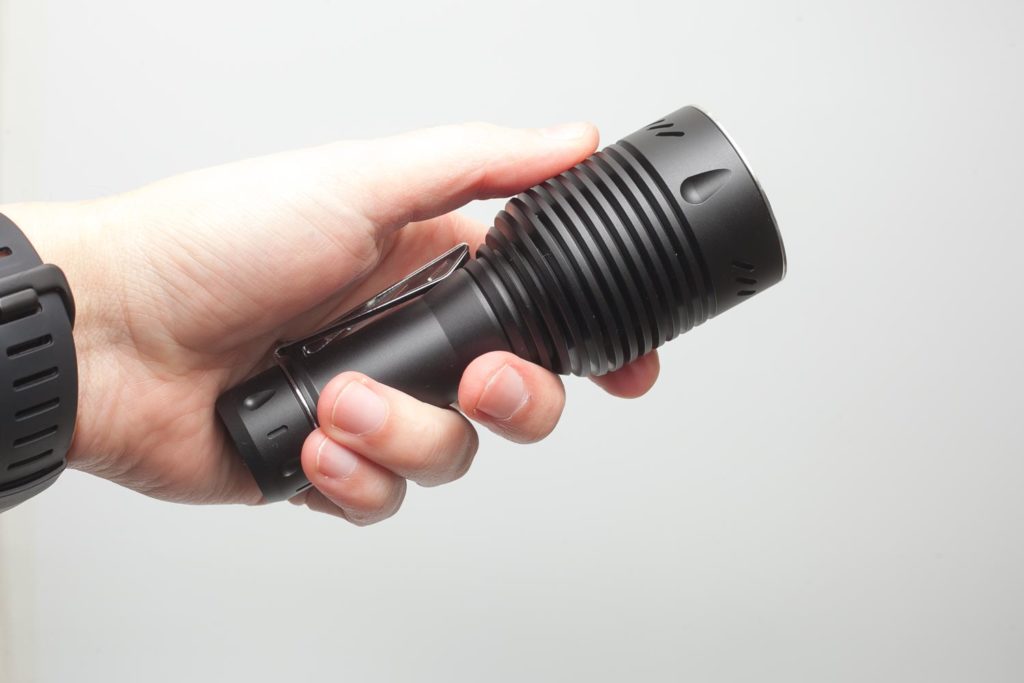
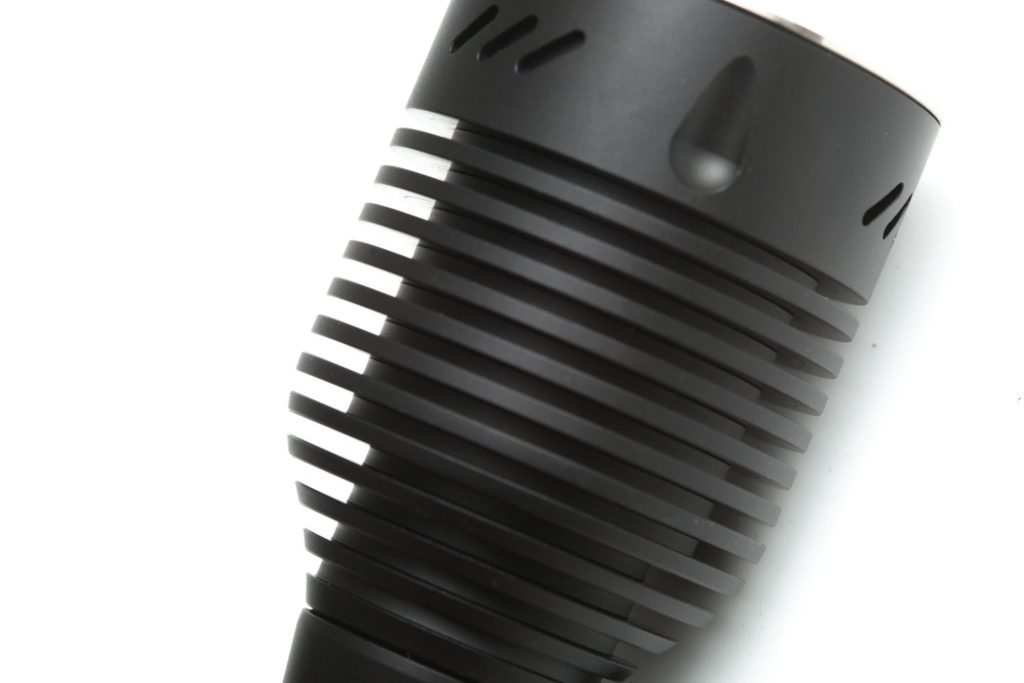
When you power up an SBT90.2 LED, you need mass. The LED will heat anything really quickly, so if you don’t have the mass, you won’t maintain the output. And The NlightD T90 has quite some thermal mass. The head is so big compared to the body that it almost looks absurd. I mean that excitingly, though.
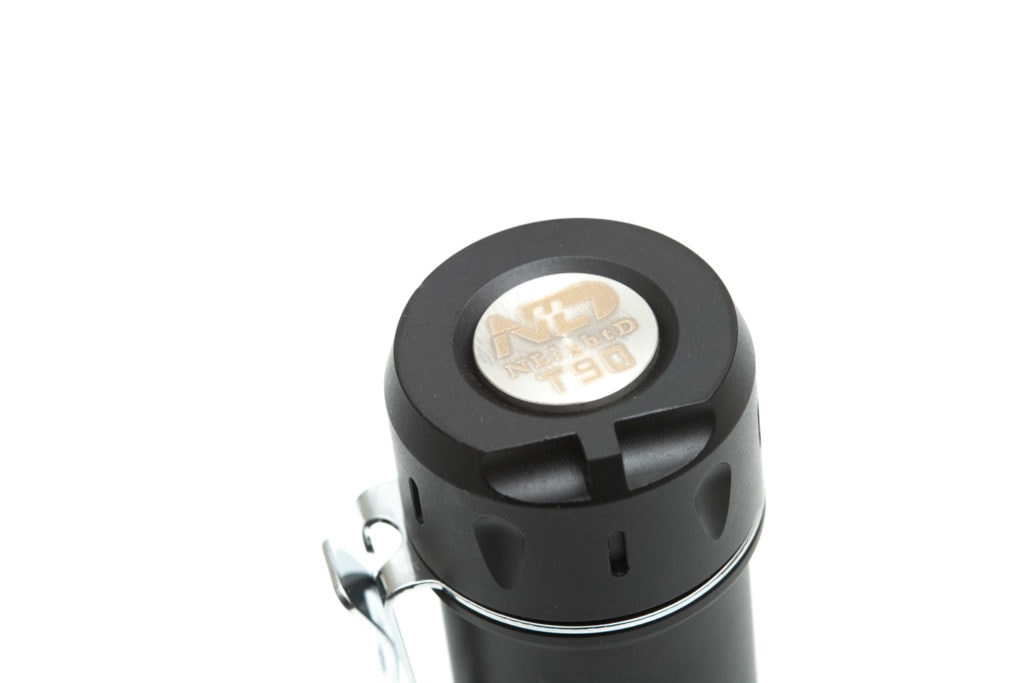
Unfortunately, nor the body nor the tailcap has any knurling, so the flashlight feels slippery. Fortunately, the fins on the head give grip, and the width of the head also helps. But even though the flashlight itself feels pretty slippery. I would recommend adding some knurling to the body.
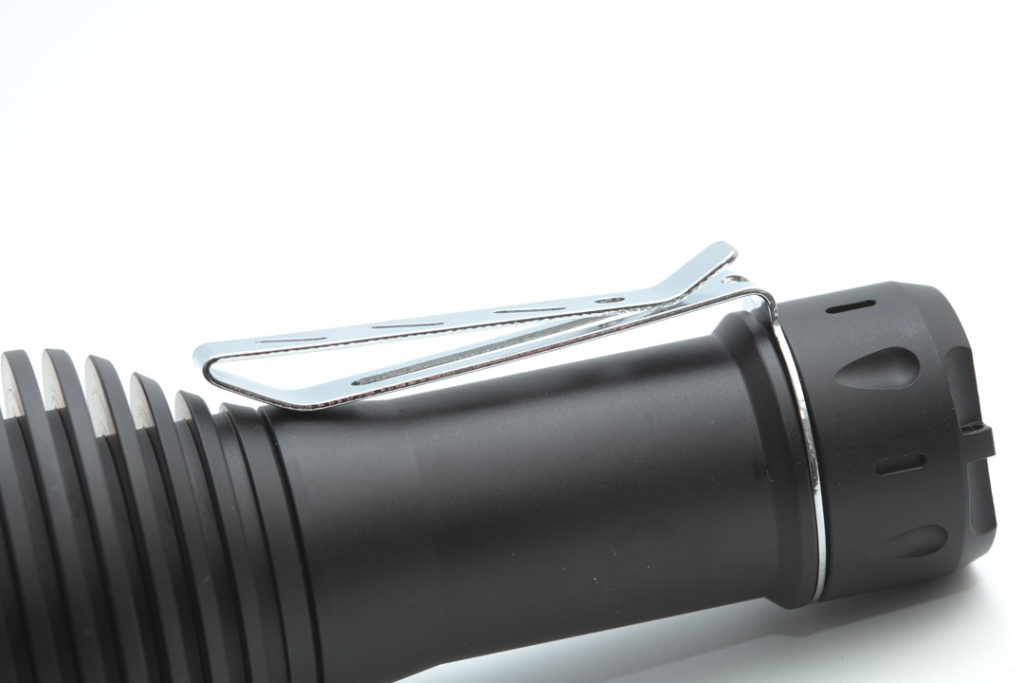
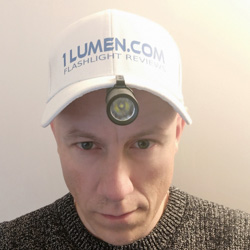
The chrome coated pocket clip looks appealing and works very smoothly. One thing I don’t understand is the choice for a 2-ways pocket clip. Typically, you use a 2-way pocket clip to attach a flashlight to a baseball cap, but this flashlight is so large, it wouldn’t fit, and it’s quite heavy. Instead of attaching it to your baseball cap, I’d recommend using the included lanyard instead.
Build Quality, Knurling, Threads, and anodization
When it comes to its build quality, I don’t see anything wrong with it. The lack of knurling is something to consider, but everything looks pretty good for the rest.
You can remove the tailcap very smoothly, without any strange squeaky sound or gritty feeling. Threads are well lubed, and there is one o-ring that keeps moisture and water out. The switch looks the same as the Lumintop FW3A switches, and that’s the reason why it’s so shallow. Normal, mechanical tailswitches add about a half-inch of length to the flashlight, including the lanyard attachment, but this one only adds a few millimetres at most. That way, it stays as compact as possible.
LED, LENS, BEZEL, AND REFLECTOR
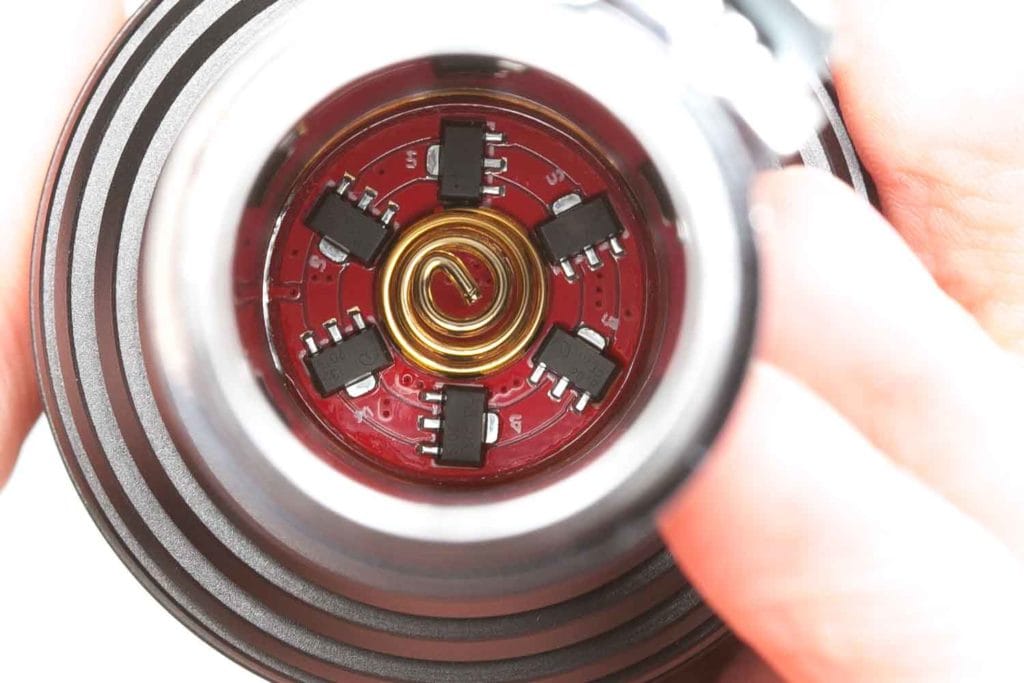
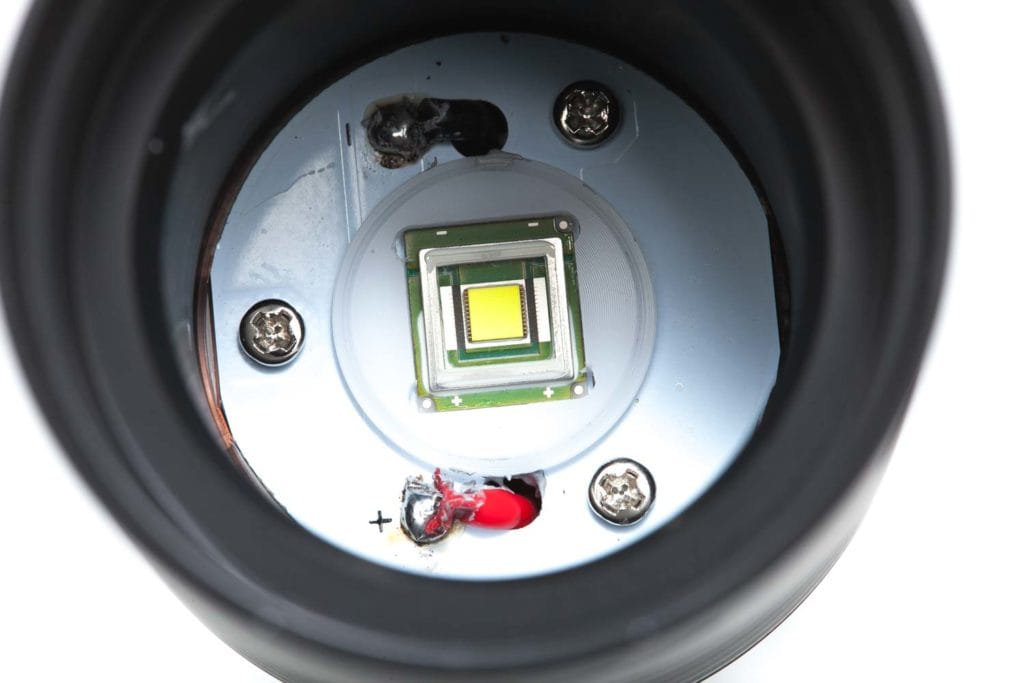
If you want to have the highest output LED (used in flashlights) with the farthest amount of throw, you can’t get around the Luminus SBT90.2 LED. This LED can produce a few thousands lumens combined with a magnificent long beam. But this combination is usually hard to maintain for more than a minute, and I’m very curious if the NlightD T90 is up for the job.
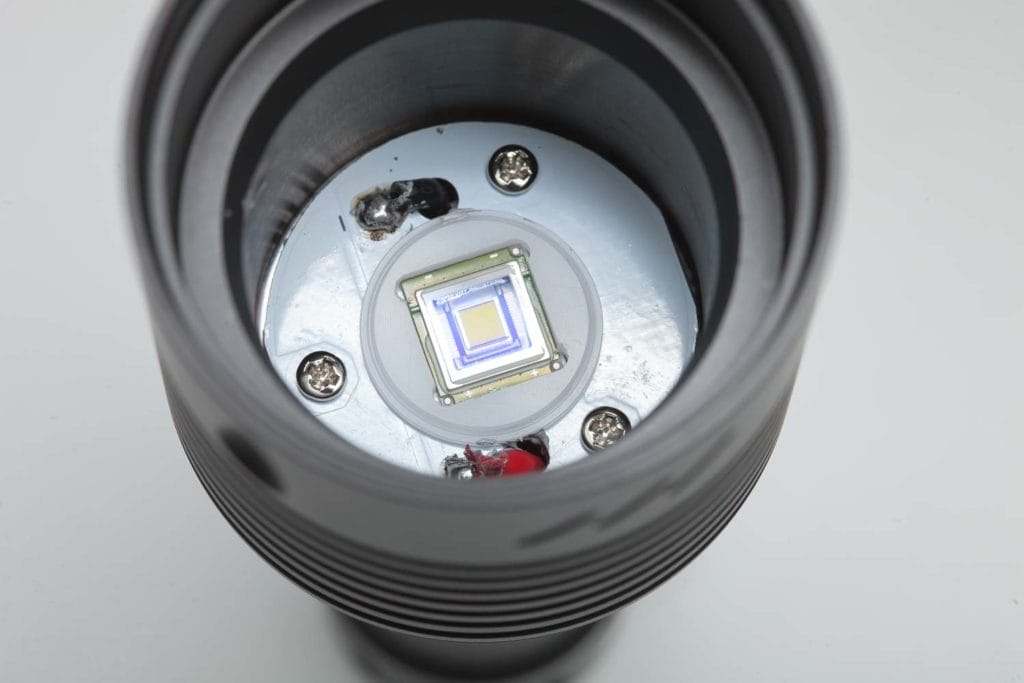
The LED sits, well centered, in a deep smooth reflector. Deep, wide and smooth reflectors are necessary to create a very well focused beam.
This is all protected by a glass lens with some coating, probably AR. A stainless steel bezel yet again protects the glass lens with some machining on it. It’s not crenelated, but not flat either. Have a look at the following pictures. The bezel itself is not glued so that you can remove the bezel without too much hassle. The reflector and glass lens aren’t held by anything and drop when you hold the flashlight upside down (with the bezel removed).
When you do some white wall hunting, you’ll notice some rings in the beam profile, but you don’t really see it in the field. The beam color is cool, with a green tint in its lowest settings. I wouldn’t worry too much unless you are a hardcore tintsnob.
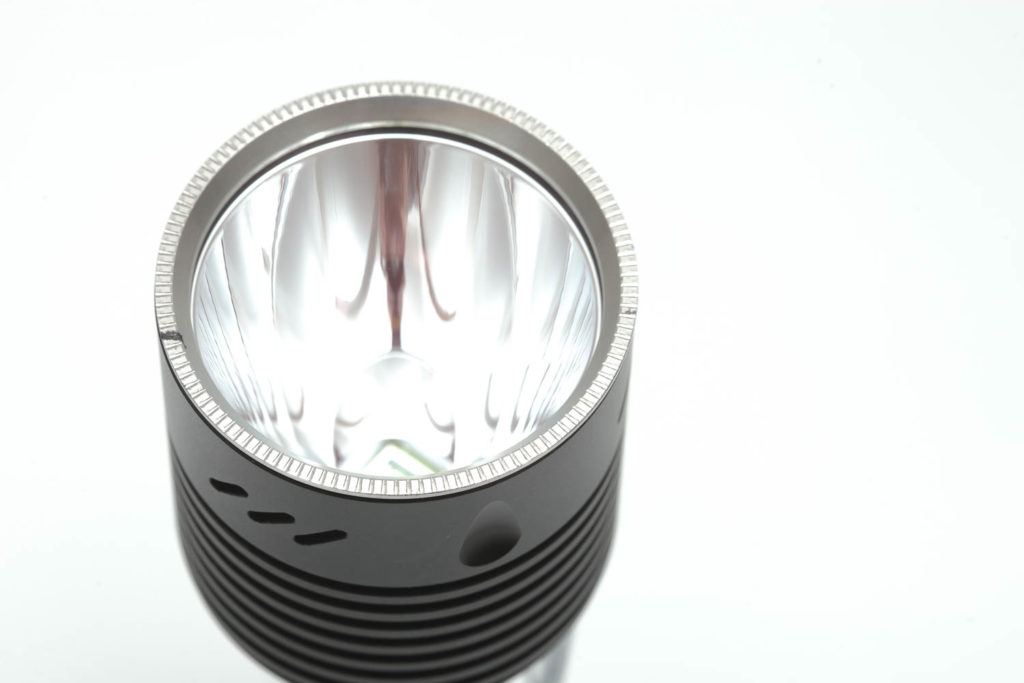
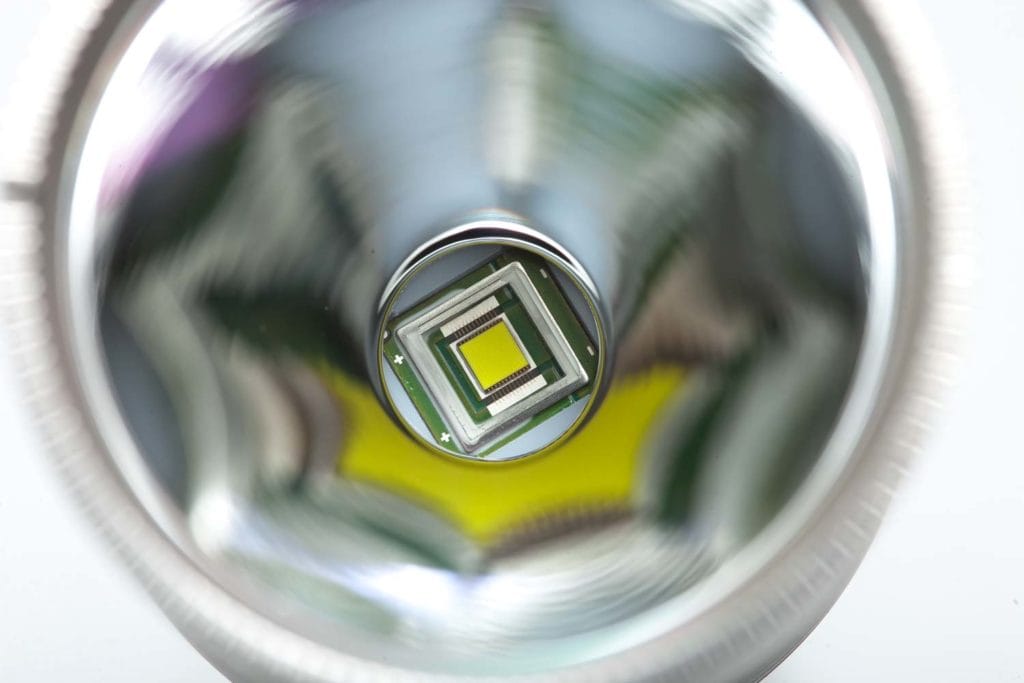
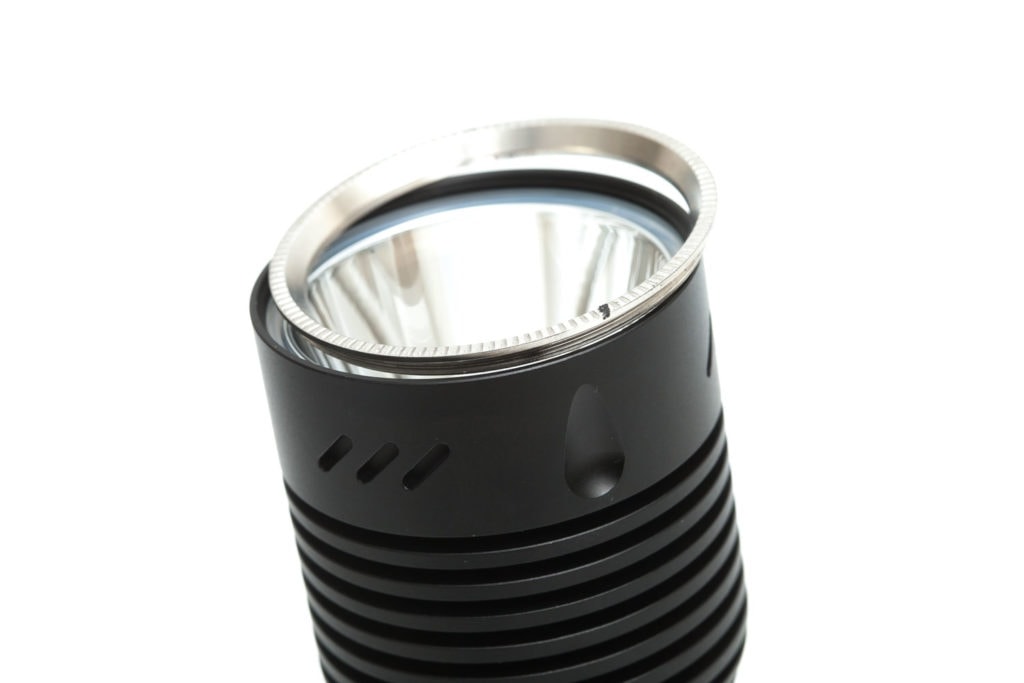
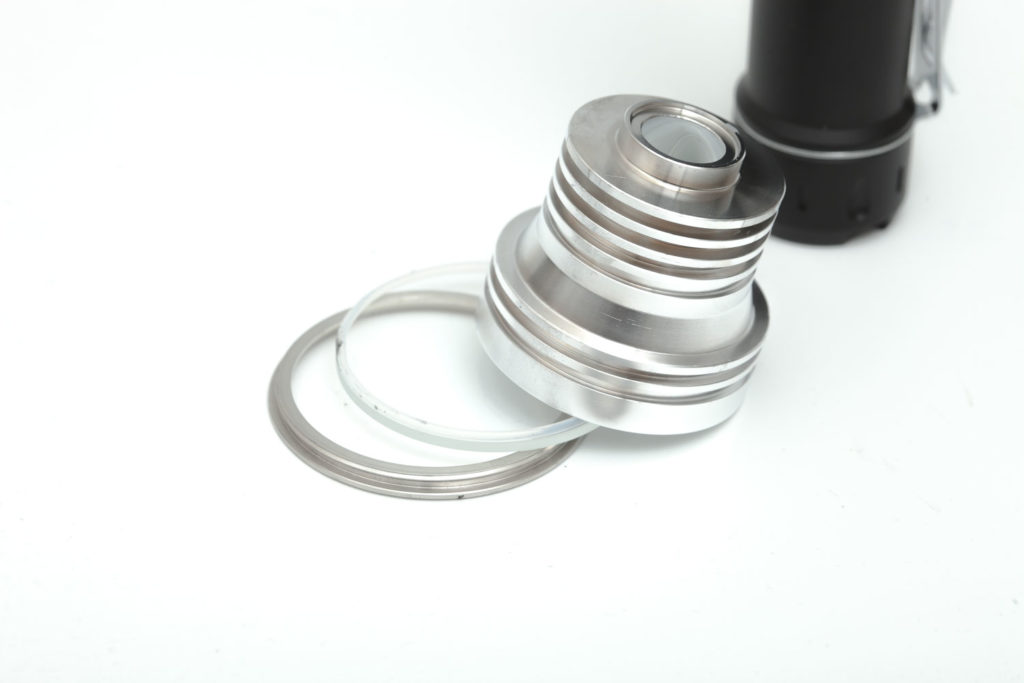
Dimensions
- Length: 138 mm / 5.44 ”
- Head diameter: 50 mm / 1.97 ”
- Body diameter: 26.6 mm / 1.05 ”
- Tailcap diameter: 30 mm / 1.18 inches
Weight:
- Empty: 215.7 g / 7.61 oz
- With 21700 40T battery: 282.8 g / 9.98 oz
Throw flashlights
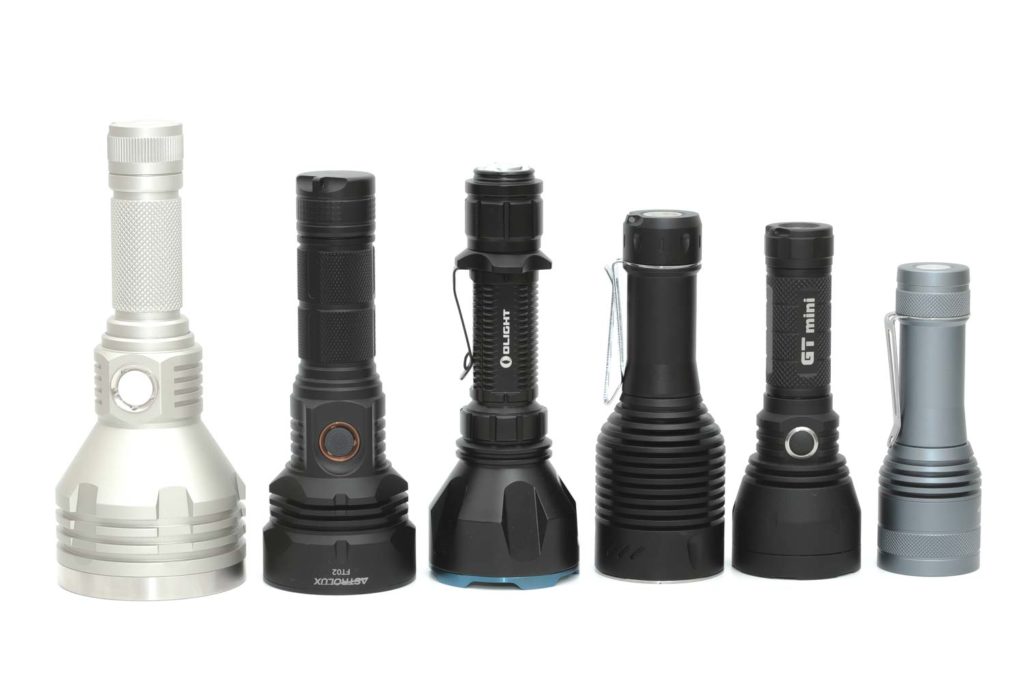
Size compared to other flashlight throwers.
From left to right: Noctigon K1, Astrolux FT02, Olight Warrior X Turbo, NlightD T90, Lumintop GT Mini, Lumintop FW21 X1L

Driver & User Interface:
The driver is using a Anduril UI. This is currently one of the most advanced firmware for flashlights at the moment.
Before you use this type of flashlight you need to setup the Thermal Configuration.
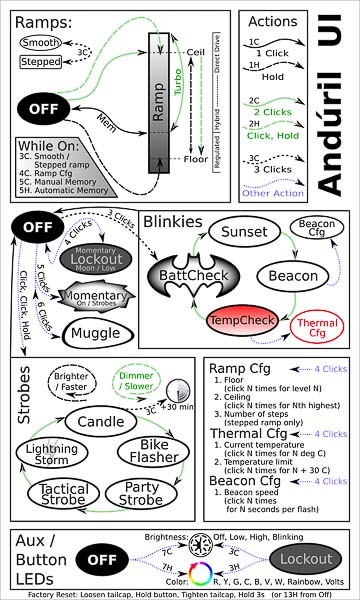
This is the image of the UI, but forget about the bottom part, because this particular light has no AUX LEDs. By default, the firmware is set to Smooth ramping. You can change this to stepped ramping by a triple-click when the flashlight is turned on. I will do the measurements later with the stepped ramping modes.
From OFF:
- Single-click: ON
- Double click: High (Top of the ramp, to get to Turbo, you need to do another double click)
- 3 clicks: Access the blinky/utility modes.
Enter Special/Fun modes from OFF:
- 2 clicks + hold: Strobe modes
- 4 clicks: Lock Out mode
- 5 clicks: Momentary on
- 6 clicks: Muggle mode
From ON:
- Single-click: Off
- Double click: Turbo
- 3 clicks: change ramping mode.. Instead of a smooth increase, it has 6 little steps between Lowest and Max.
- 4 clicks: change to ramping configuration mode
- Press and hold: brightness ramps up.. release and press and hold again to ramp down.
INTERESTING, SPECIAL AND FUN MODES:
Please read the manual carefully to know how to access or customize these modes. Also see the firmware picture, above.
- Blinky Utility mode:
- Battery check
- Sunset Mode
- Beacon mode
- Temperature check
Strobe / Mood modes:
When in the strobes mode, double-click to rotate between them. In party strobe mode, ramping up and down will increase and decrease the strobe frequency for incredible effects.
- Candle
- Bike flasher
- Party strobe
- Tactical Strobe
- Lightning mode
- Lockout mode (can’t use the light)
- Lockout mode is available by clicking four times from off – while in lockout mode, click-and-hold will light up at bottom of the ramp, and a double-click-and-hold will light up somewhat brighter. This is to give you a way to quickly use the light if necessary, but if it activates in your pocket, it will only be at very low modes, and only for as long as the button is pressed. No more holes in your pants!
- Momentary mode (signaling/ morse coding)
- Muggle mode: (safer for children)
- Configuration mode
- Ramp config mode
PWM
- You will be able to detect some PWM at low modes via phone camera, but as soon as it kicked in higher, it disappears. None of it was able to be detected by eye, though.
Protection Features (Low Voltage Protection)
- LVP makes the light step down to a lower level when the battery is low, and if the light is already at the lowest level, it shuts itself off. This activates at 2.8V. This won’t often happen since the light will run for many hours before it shuts off. I couldn’t get it to shut off during my testing. I had to do the runtime tests, so I just couldn’t wait a few more hours. I waited a few more hours for each runtime test anyway.. but not long enough for the light to switch off.
Thermal Configuration
- Before using the flashlight you should always make sure the thermal configuration is set correctly. This won’t be done by the manufacturer, nor the seller. Please refer to the image on how to do this.
- First, put the flashlight in a room with a constant temperature for at least 30 minutes.
- Check the room temperature, then do the next:
- 3 quick clicks from Off will enter the Blinkies mode. (lookat the batman signal in the UI image) you entered the battery check mode.
- Double click to move from Battery Check mode to Sunset mode..
- Repeat the double click so you move from Sunset to Beacon, and do it again to go to TempCheck.
- When in TempCheck, you can see what the flashlight thinks the flashlight’s temperature is (this should be equal to the room temperature). 1 blink, break, 9 blinks means: 19 degrees.
When the flashlight’s temperature is not corresponding the room’s temperature you have to configure the correct temperature. - Do 4 clicks to enter the Thermal Cfg mode.
- the light will flicker quickly, and click the amount the number of times the room temperature is. If it’s 19 degrees celsius, then click 19 times.. wait…. for a few seconds.
- and you can turn the flashlight off
Batteries & Charging
Unprotected, 21700 batteries will fit. Long, protected batteries won’t fit. I tried to fit a Fenix 21700 that includes a USB charge port, and it didn’t fit. It doesn’t have a built in charger, so you need to have a dedicated charger. If you don’t own any 21700 batteries, you can order one at Neals store for an extra $15.
Performance
Lumen measurements:
All output numbers are relative to my homemade Integrating Sphere. I set it up with an Extech SDL400 Lux Meter for measurements, including a Kenko PRO1D ND-16 filter. I did the base measurement with a Convoy S2+, which is 255 lumens.
All of my readings were taken from a fully-charged Samsung INR21700 40T .
| Mode | 30 sec | start |
|---|---|---|
| 1 | 7 | 7 |
| 2 | 39 | 39 |
| 3 | 104 | 104 |
| 4 | 204 | 204 |
| 5 | 314 | 394 |
| 6 | 564 | 664 |
| 7 | 636 | 1071 |
| Turbo | 719 | 5094 lumens |
Runtime:
The runtime test was done with the 50cm integrating sphere, including the Kenko Pro1D ND-16 filter and Extech SDL400 data logging Lux Meter.
I tested the top 5 modes, meaning Turbo, and then the 4 modes of the 7-mode menu.
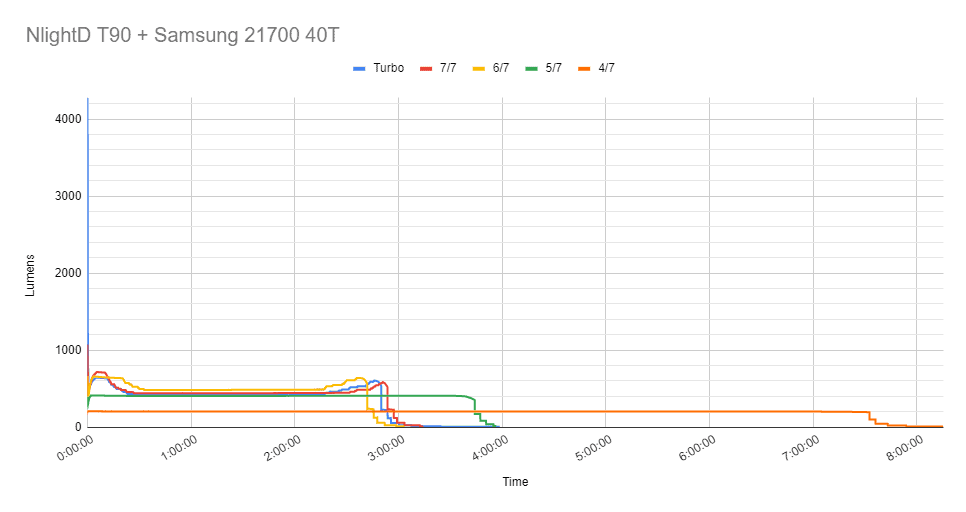
Keep in mind that Turbo drops instantly, so the graph doesn’t show the highest output in Turbo, because when the logging started, it already dropped in output!
In the next graph you’ll see the first hour of these 5 runtime tests.
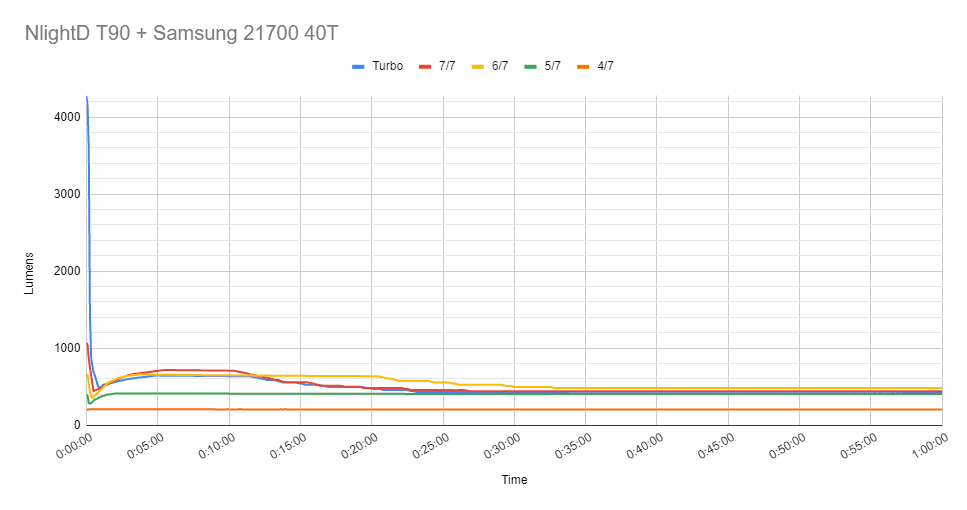
Here you see that we are actually talking about a 400-500 lumen flashlight, while the layman would expect 5000 lumens throughout the runtime. I start to dislike this behavior more and more. And It’s extremely important for people to know about this behavior before they buy these types of flashlights. A sustained output of 500 lumens of a 6500-lumen flashlight is not what people expect.
Throw Measurement
Measurements were taken both indoors and outdoors with a professional Hagner E4-X Lux Meter.
| Mode | Distance | Candela | Meters | Yards | Miles |
|---|---|---|---|---|---|
| High @30sec | 20 meters | 36,800 cd | 384 | 420 | 0.24 |
| Turbo @10-15 sec | 20 meters | 146,400 cd | 765 | 837 | 0.48 |
| High @ start | 5 meters | 39,500 cd | 397 | 435 | 0.25 |
| Turbo @ start | 5 meters | 196,250 cd | 886 | 969 | 0.55 |
According the the ANSI FL1 standards, the candela (throw) should be measured 30 seconds after the light is turned on. Unfortunately, the NlightD T90 started dropping in Turbo output rapidly, so at 30 seconds, the output kept dropping, so it was difficult to write down a number. I turned it back on and tried it again at 20 meters, but I had to run to get a normal reading.. unfortunately the highest measurement was somewhere between 10-15 seconds after start and was about 146,400 cd.
Indoors I was able to measure a higher output at start, because I could actually see the display on the lux meter. This is typical behavior for this type of light, and I personally don’t really like that. All these high power flashlights with SBT90.2 only have a high output for like 30 seconds. Anyway, you can see the details in the runtime graphs.
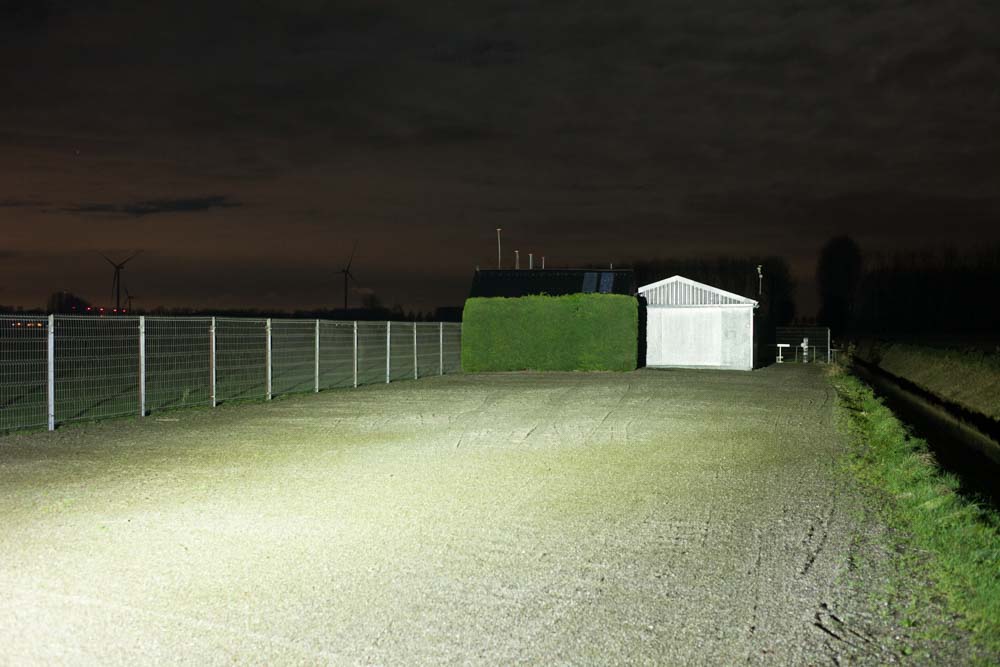
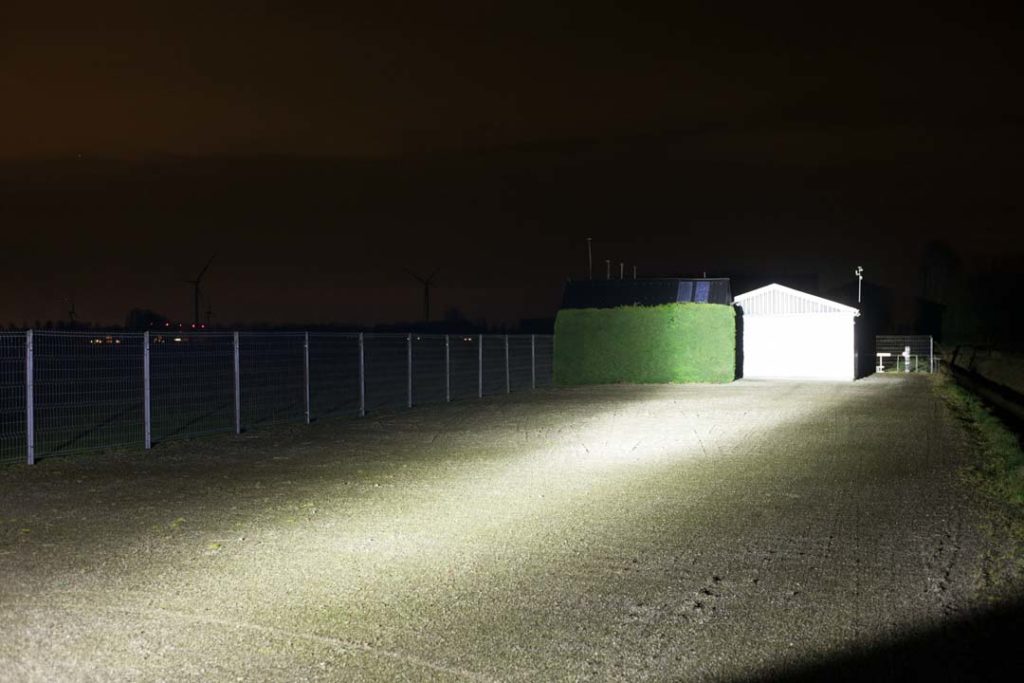
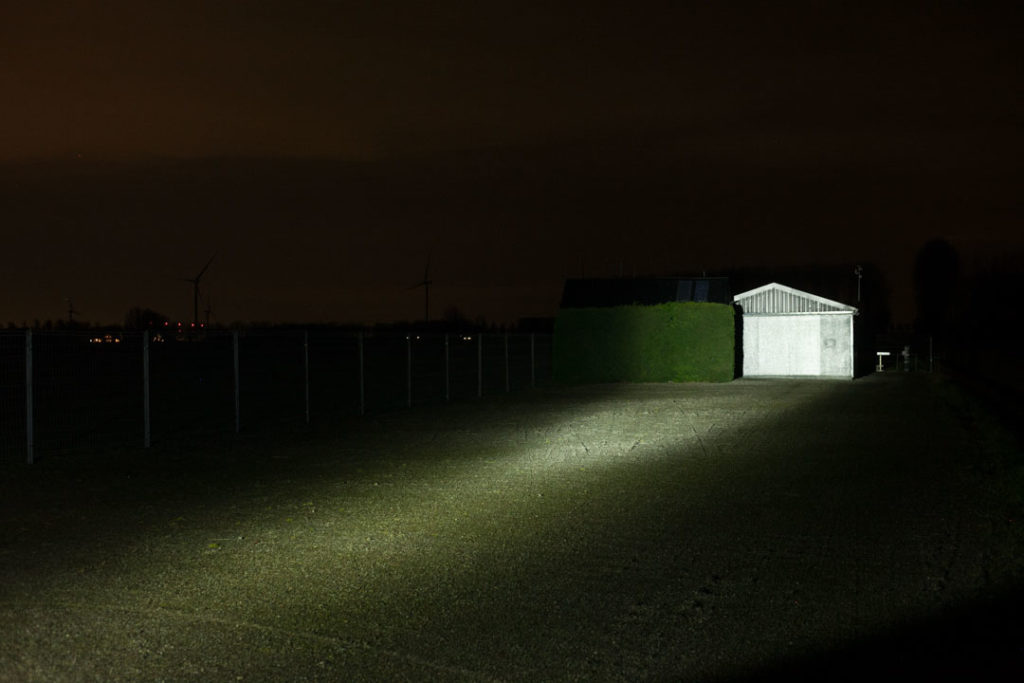
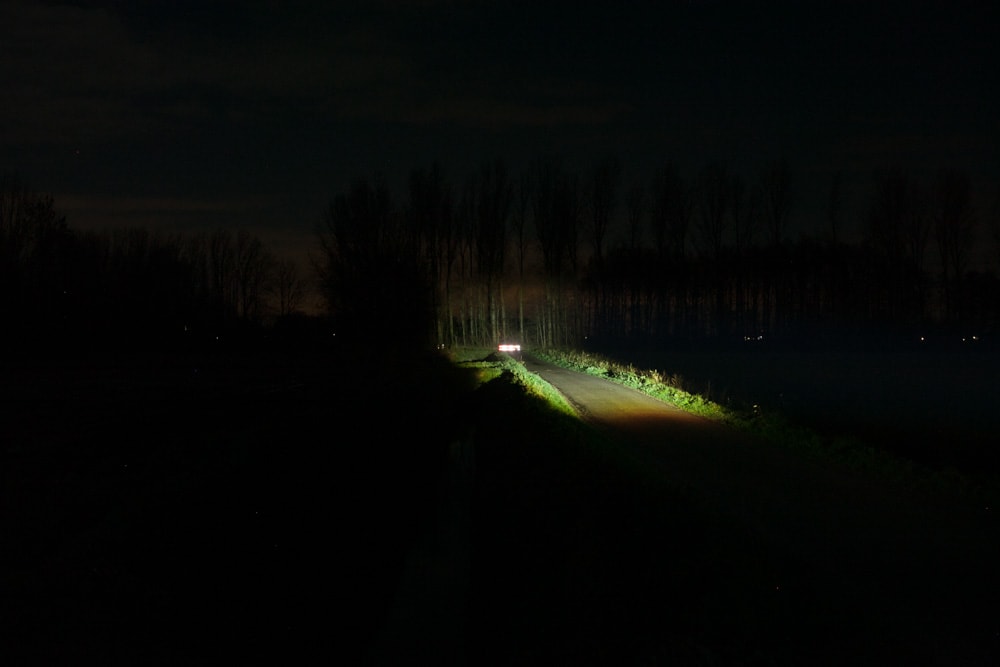
Beamshots
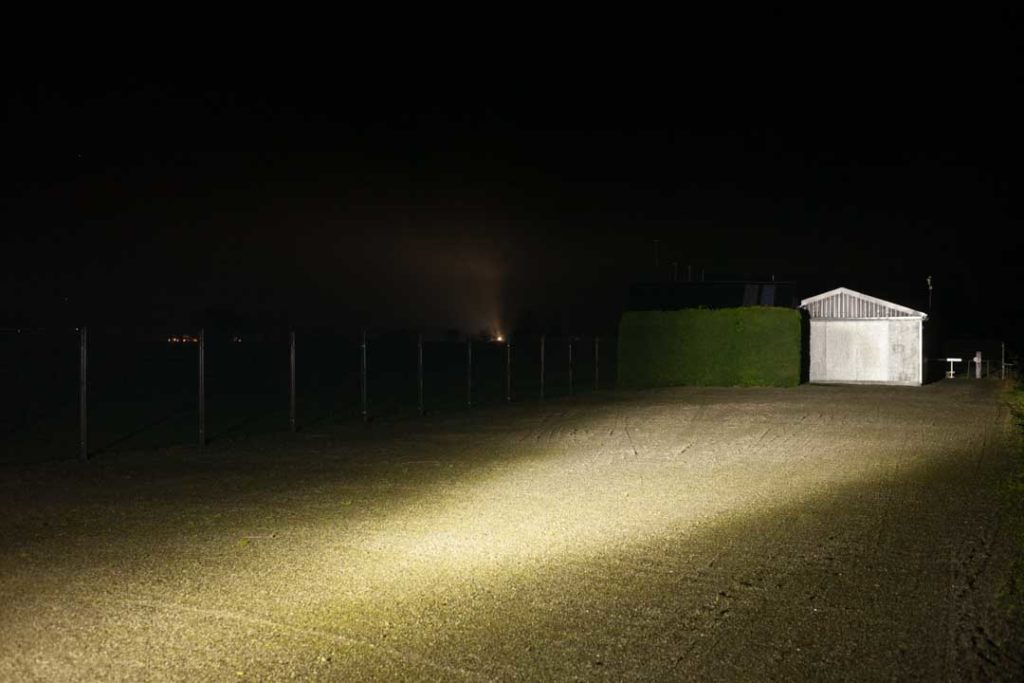
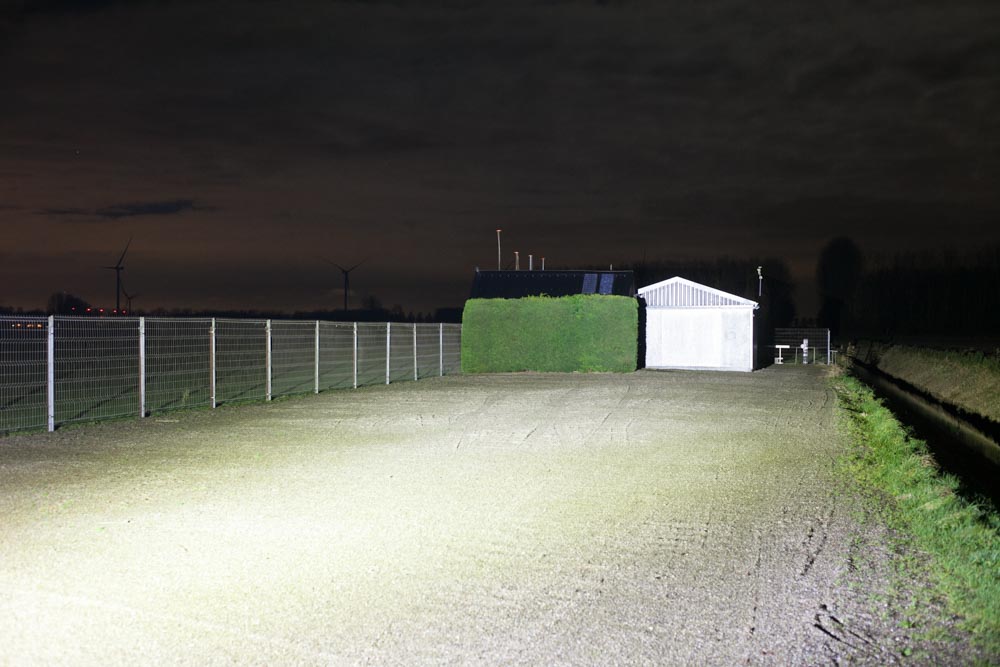
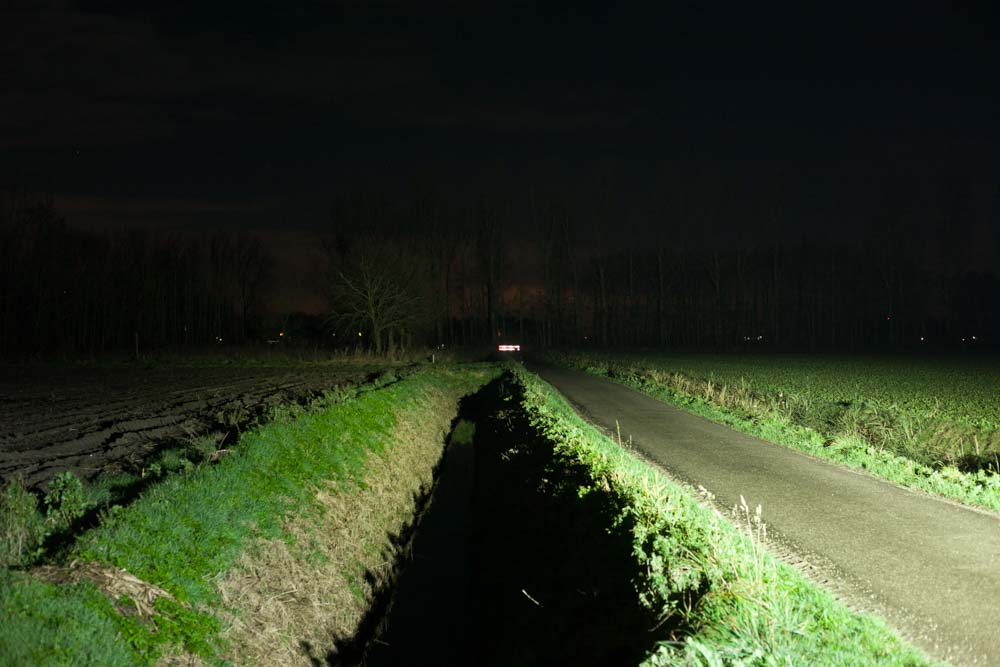
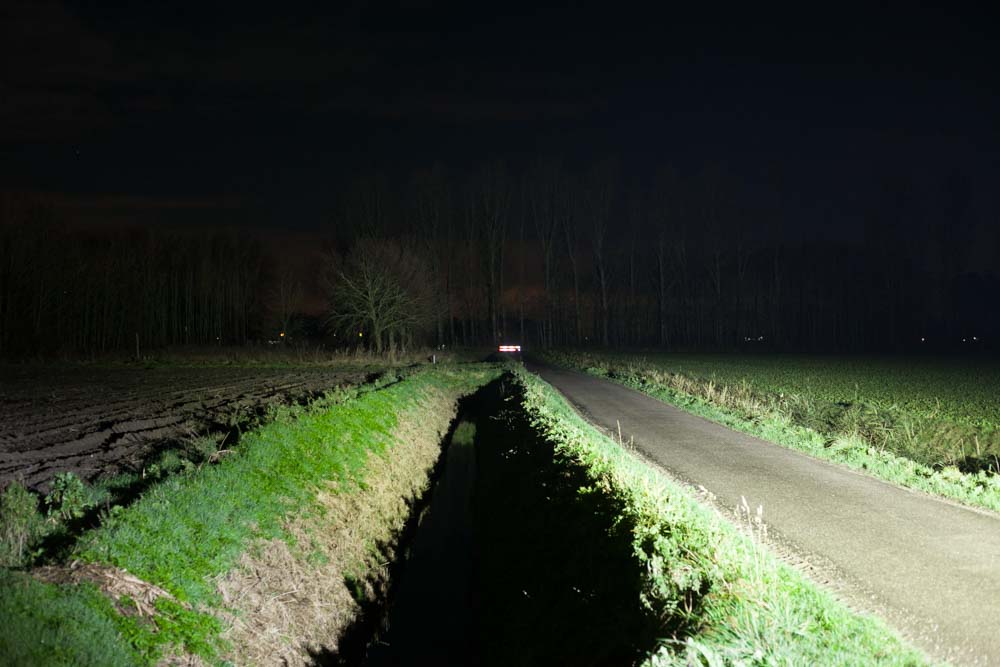
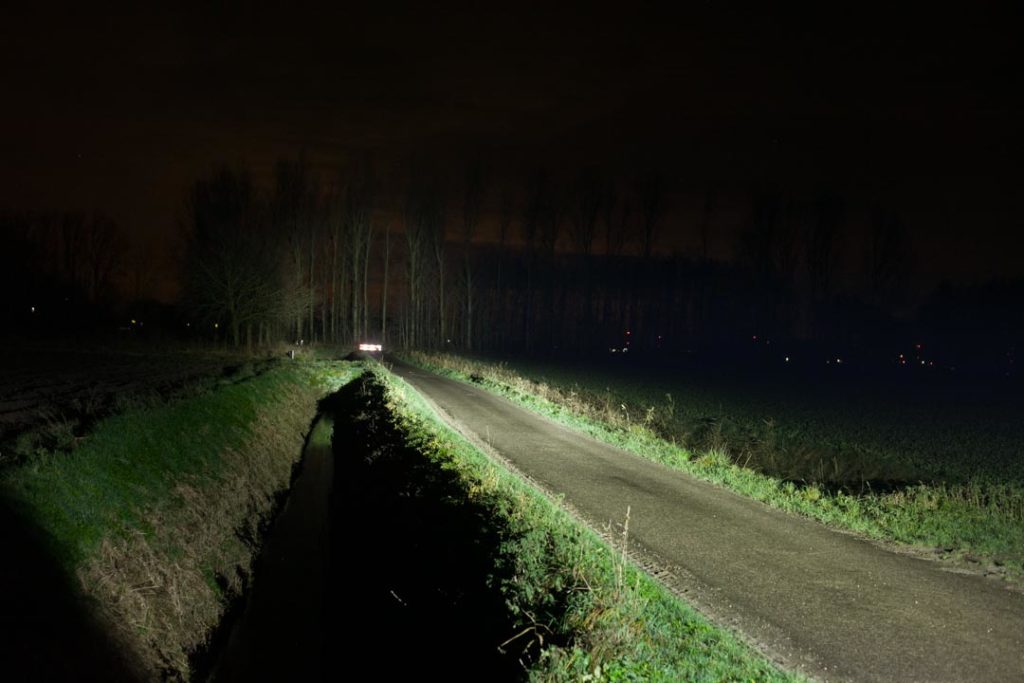
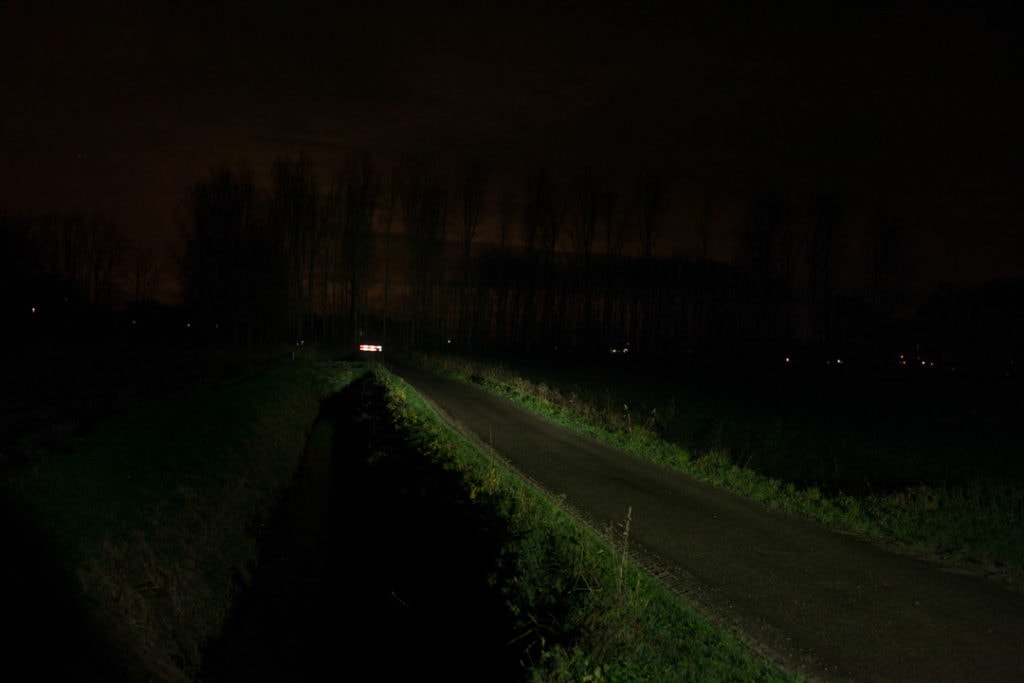
For the following beamshots I used a Canon EOS 5D Mk2 and a 50mm lens. manual settings: ISO1600, 1/4sec , F4, 5000K
The shed is about 65 meters / 71yards and the reflective fence about 200 meters / 218 yards.
Disclaimer: This flashlight was sent to me for review at no cost by Nealsgadgets. I have not been paid to review, nor have I been holding back on problems or defects.
OVERALL CONCLUSION
Pros
- The first NlightD flashlight produced
- Very bright and throws far at startup
- No PWM
Cons
- Output/throw drops instantly
- The 2-way pocket clip doesn’t make much sense with this size of a flashlight
3.5 stars: ★★★⋆
The NlightD T90 is a special kind of flashlight, and it fits right in the tradition of the other flashlights with an SBT90.2 LED in them. This means the output drops as soon as you turn it on in Turbo mode. This is the nature of the beast, and I am not a big fan of this. This is the main reason I give it 3.5 stars. I could only recommend it to people who understand the downsides of it. All current flashlights with an SBT90.2 (and the same size) have the same problem though, so I would all grade them 3.5 stars. Some people would have given it 5 stars, I know, but I don’t recommend it to the average flashlight user unless they know what they are up for.
NLightD T90 discount
Coupon code for 15% off: NDNA (limited time only) or use 1lumen711
1lumen selects and reviews products personally. We may earn affiliate commissions through our links, which help support our testing.