1lumen selects and reviews products personally. We may earn affiliate commissions through our links, which help support our testing.
Olight O-pen PRO review
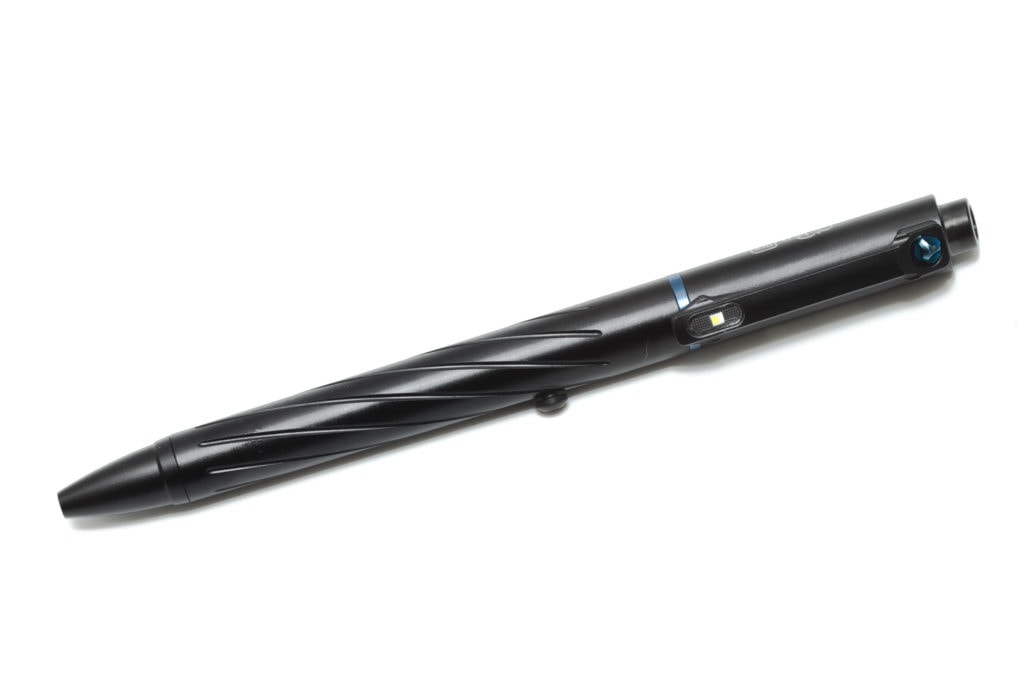
Specifications of the Olight O-pen PRO
| Brand/model | Olight O-pen PRO |
|---|---|
| LED | Unknown + mini laser pointer |
| Lumens | 120 lm |
| Beam distance | 49 cd |
| Battery config. | 110mAh built-in |
| Material | Copper |
| Modes | 4 |
| Blinkies | N/A |
| Reflector | N/A |
| Waterproof | N/A |
| Review date | July 2021 |
Don’t want to read? Check out this video:
INTRODUCTION:
It’s been about a year since I first got my hands on the original Olight O-pen copper. Since it was made of copper, the pen was rather heavy compared to any regular pen. Then came the blue Olight O-pen 2 that I reviewed. This was way lighter than the copper pen, and today I have the O’pen PRO for review.
Olight is a well-known brand with many thousands of followers on social media. Don’t think Olight is just about marketing, as some suggest, but they are about innovating and going the extra mile. If you aren’t familiar with Olight, you will definitely be amazed at their attention to detail. Each flashlight is uniquely designed with features that aren’t off-the-shelf solutions. The same goes for the O’pen PRO we are reviewing here. They didn’t just upgrade the LED, but did a complete redesign and added more features. I can’t wait to get my hands dirty on the O’pen PRO.
Package quality.
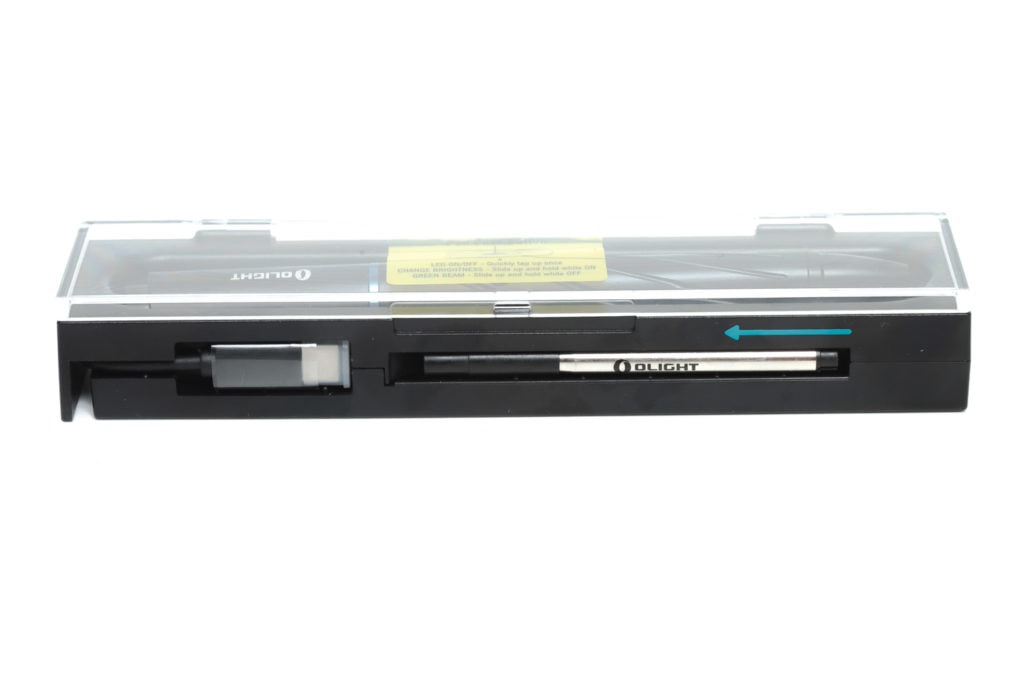
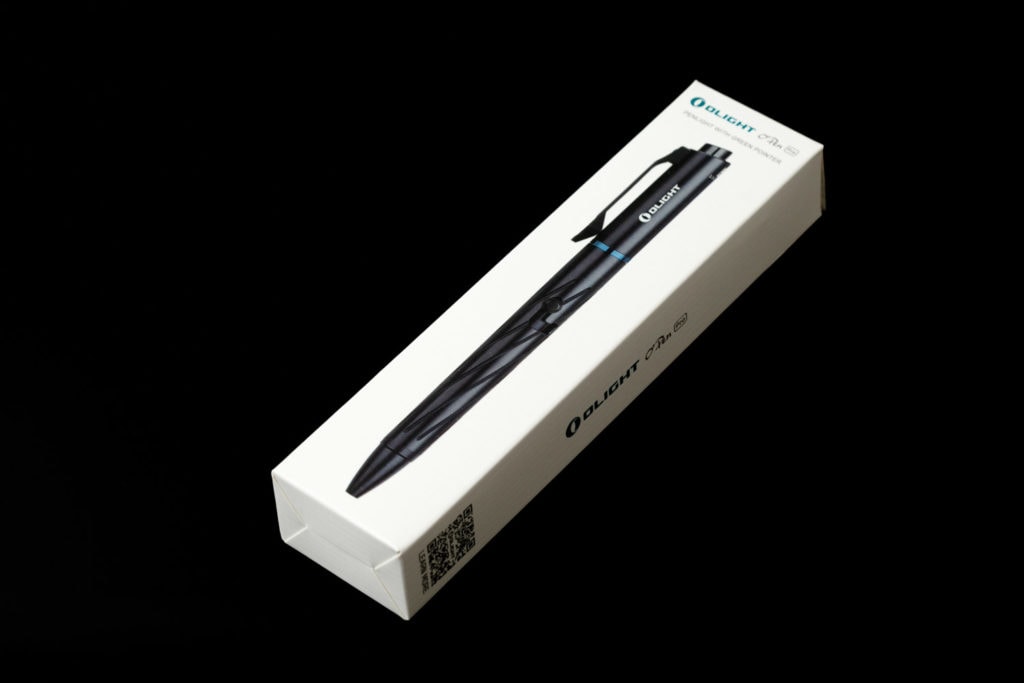
If there is 1 company paying attention to its pacakging, it’s definitely Olight. The O’pen PRO is shipped in a custom designed box with some extra accessories. This is what you get:
- The O’pen PRO penlight
- USB charging cable
- Spare refill
- User manual
Handling of the light
It depends on what you want to do. Do you want to use it as a pen, or as a flashlight?
If you just want to use it as a pen, I don’t really need to explain anything, except that you shouldn’t try to push the ‘switch/button’. With the previous generation O-pens, that would activate the light, but that doesn’t work with the new O-pen PRO either… I will tell you more about that below.
To activate the pen part, you have to slide the L-type bolt action design on the side of the pen down.
While the previous O-pen’s light was activated using the rear button/switch, the new O-pen PRO doesn’t. You still use the L-type bolt-action switch and push it upward. That way you will activate the light. More on that in the UI section.
Olight also changed the position of the LED. They moved the LED to the pen clip, and I’m not 100% sure what the reason for that is, but I assume it has something to do with the old position of the LED, which was obstructed by your hand while writing.
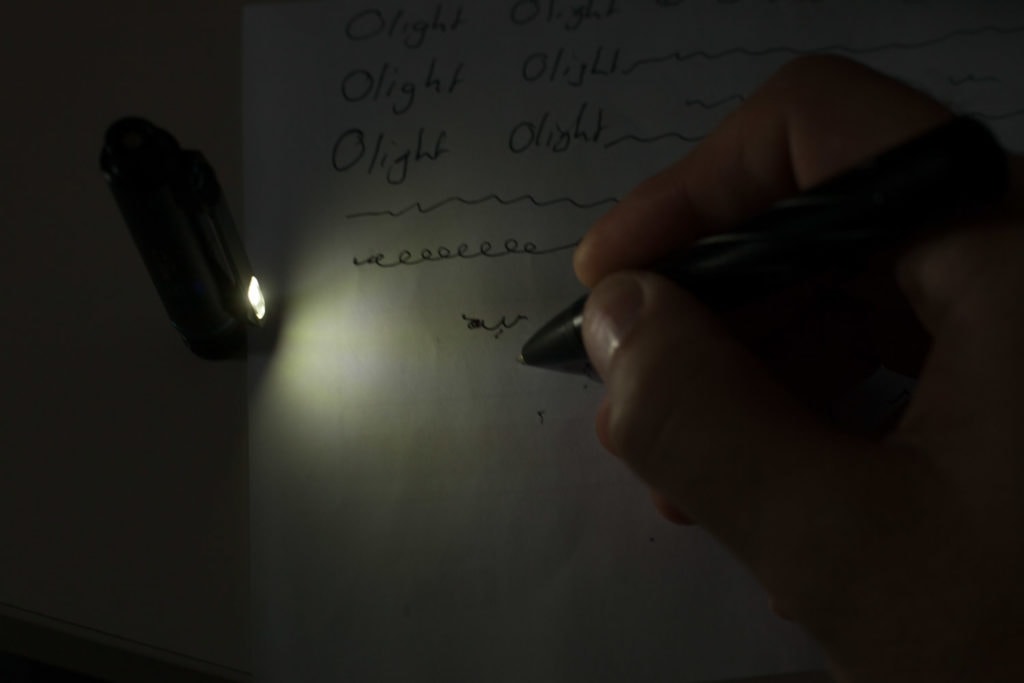
You can still separate the 2 parts and use both (pen and light) them at the same time. The light-part of the pen has a small switch to operate the light, when you can’t use the bolt action switch to change modes.
Keep in mind, that with its current design, the light (separated from the body) doesn’t stand as stable as its predecessors.


Build Quality, Knurling, Threads, and anodization
All flashlights that Olight builds are high-quality. And that hasn’t changed when it comes to the O-pen Pro. Of course, it’s much lighter than the O-pen 2 Copper, and not too heavy in use.
Without really noticing when it happened, the o-ring between the pen and battery tore. I can’t remember if it was already broken, or how it happened.
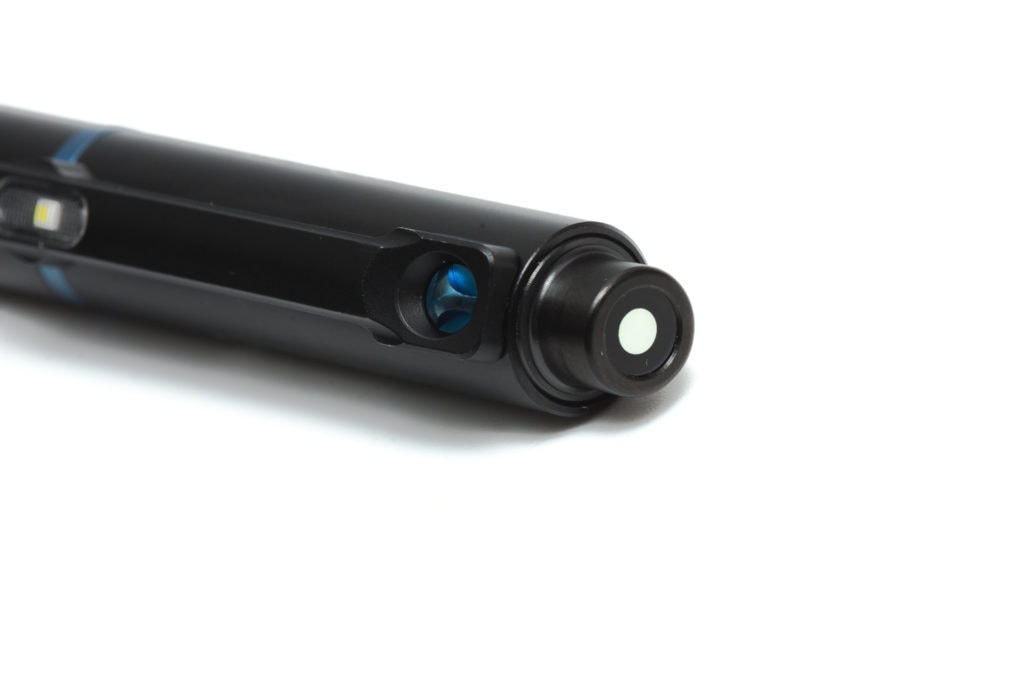
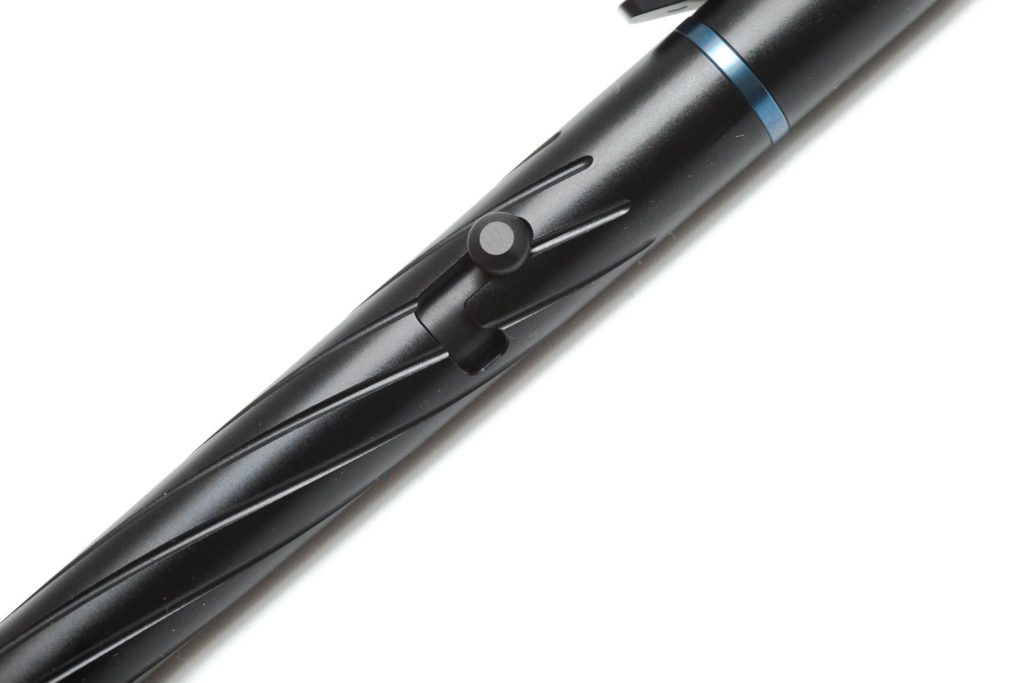
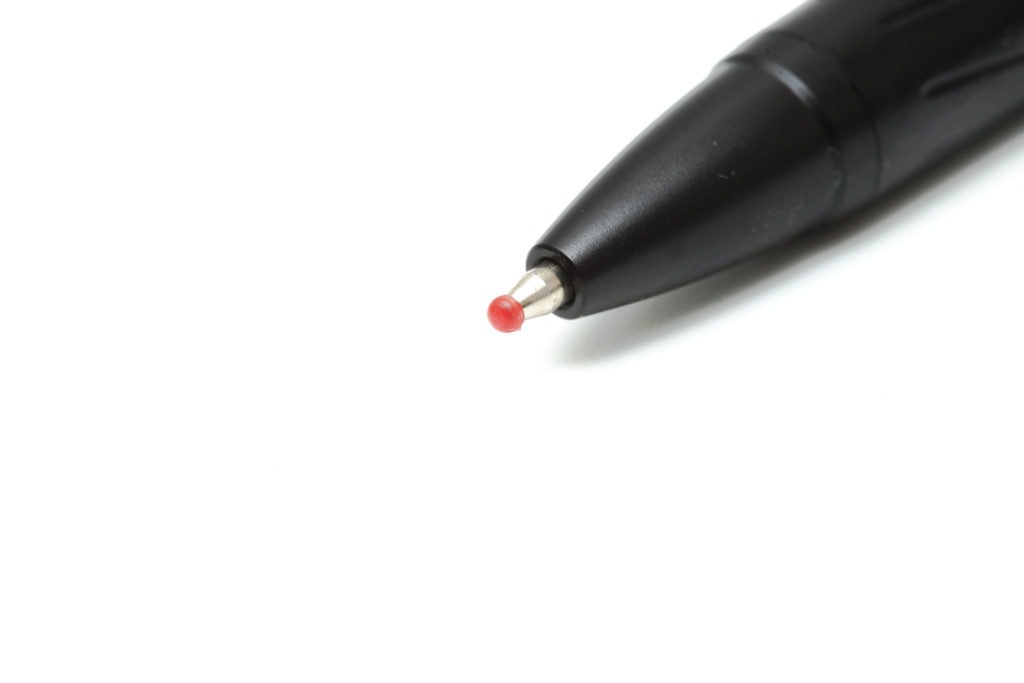
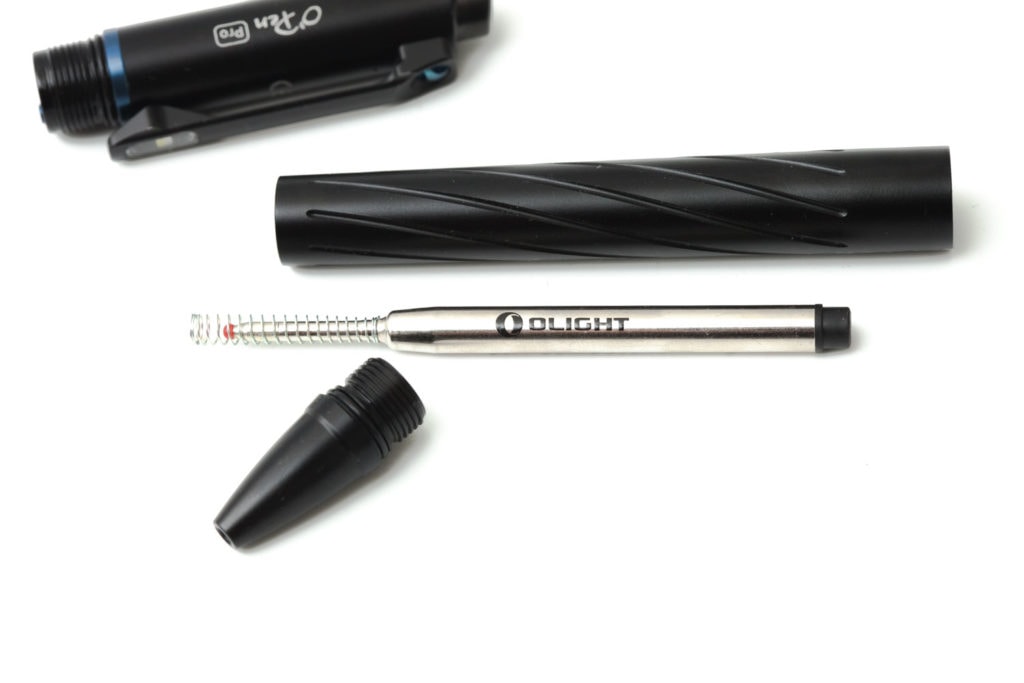
LED, LENS, BEZEL, AND REFLECTOR
There’s a few changes when it comes to the light source. First of all, it changed its location, from the side of the pen itself to the tip of the pen clip. And on top of that, Olight got rid of the red LED and instead, added a green laser pointer at the top of the pen.
I’m pretty sure these changes were the results of user’s comments and recommendations. A red LED may not be so useful as a laser pointer. And who knows, the next o-pen might have no laser pointer either.
Its new position/location at the tip of the clip makes it that you can’t use a reflector, obviously. Space might also be the reason why they got rid of the red LED.
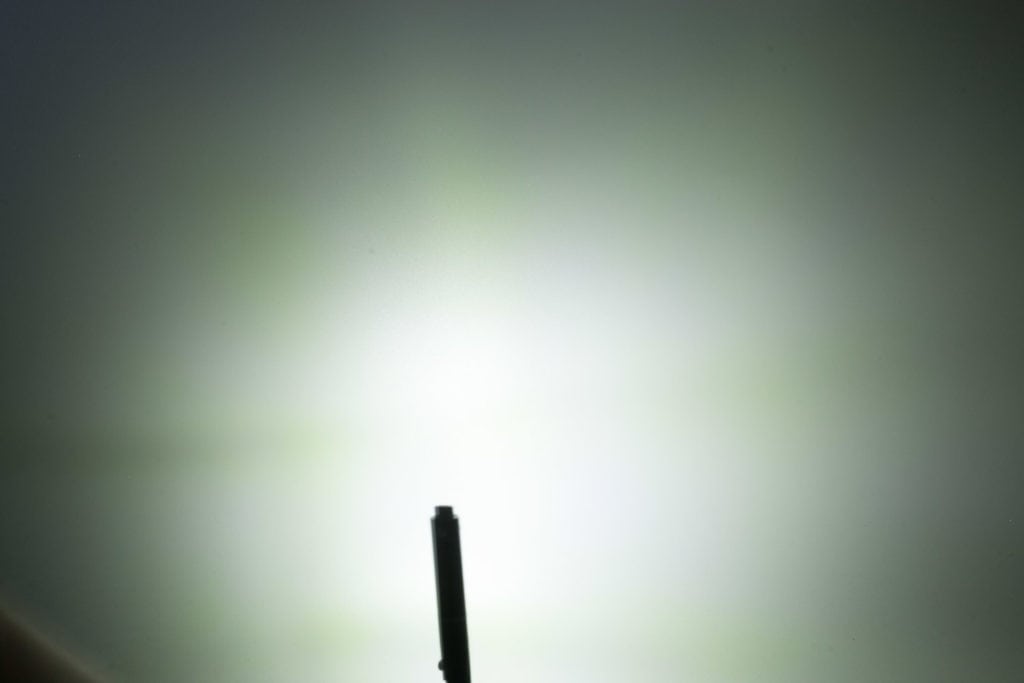
The color of the beam is cool, but the beam shape isn’t that pleasant to look at. In that regard, the O-pen 2’s setup was superior with a smoother beam. I’ll try to show you the difference in the following pictures.
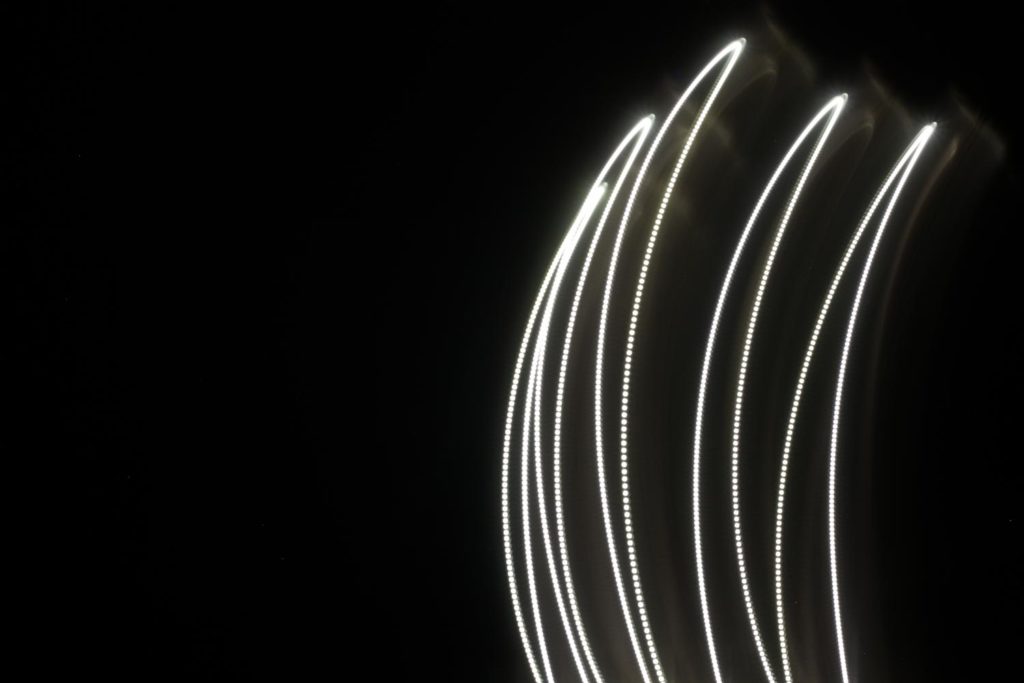
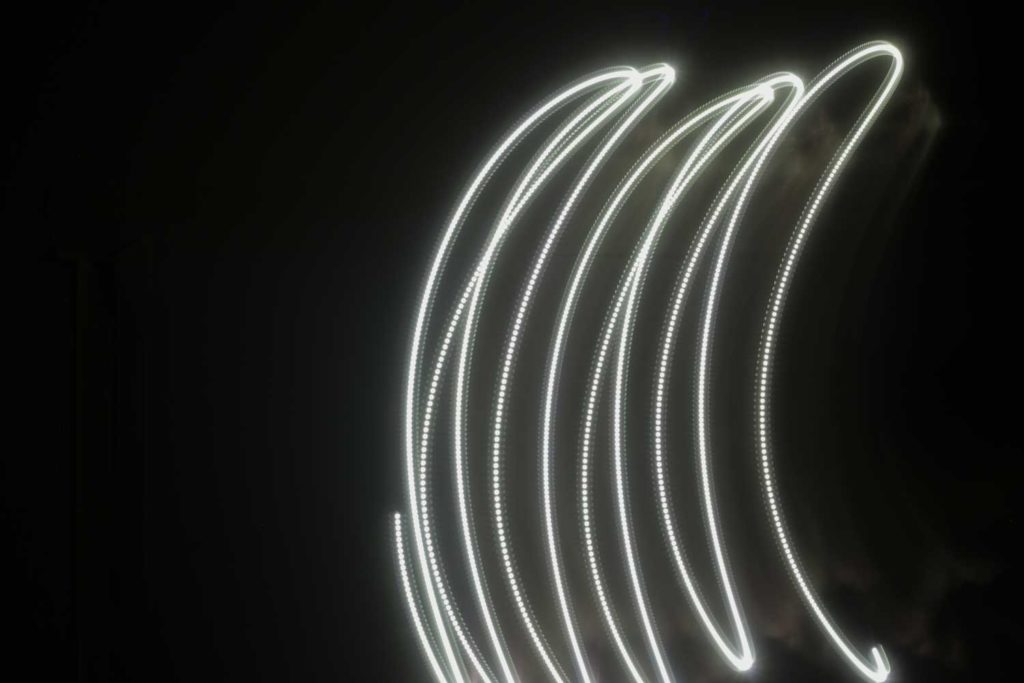
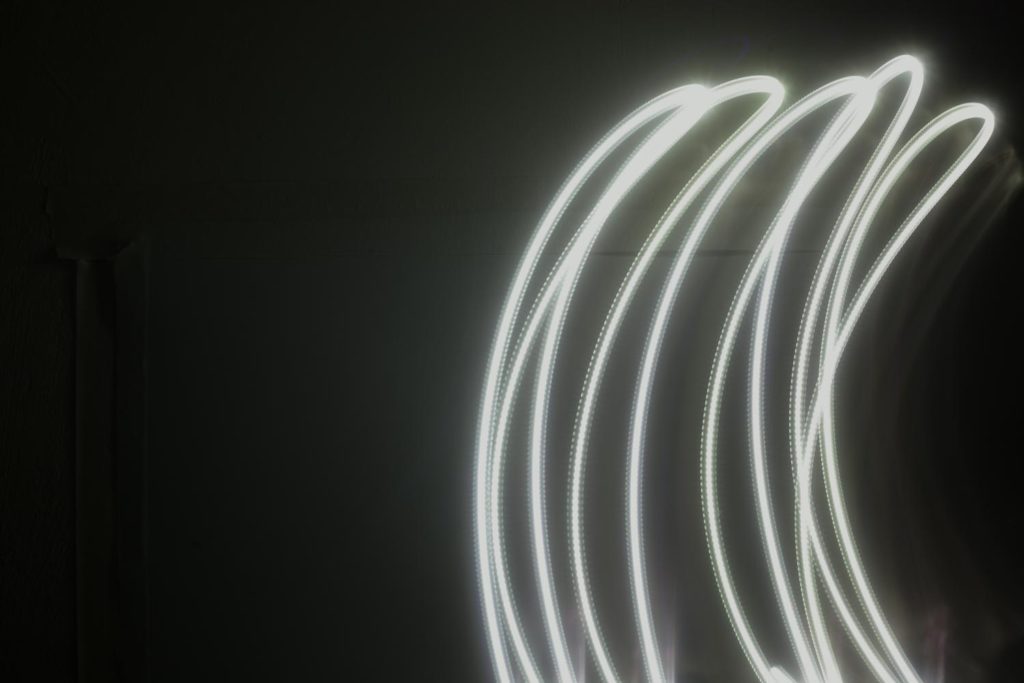
PWM is visible. I took 3 shots with a 1-second shutter speed. I reduced the brightness, but you can clearly see the dots, even up to Medium mode.
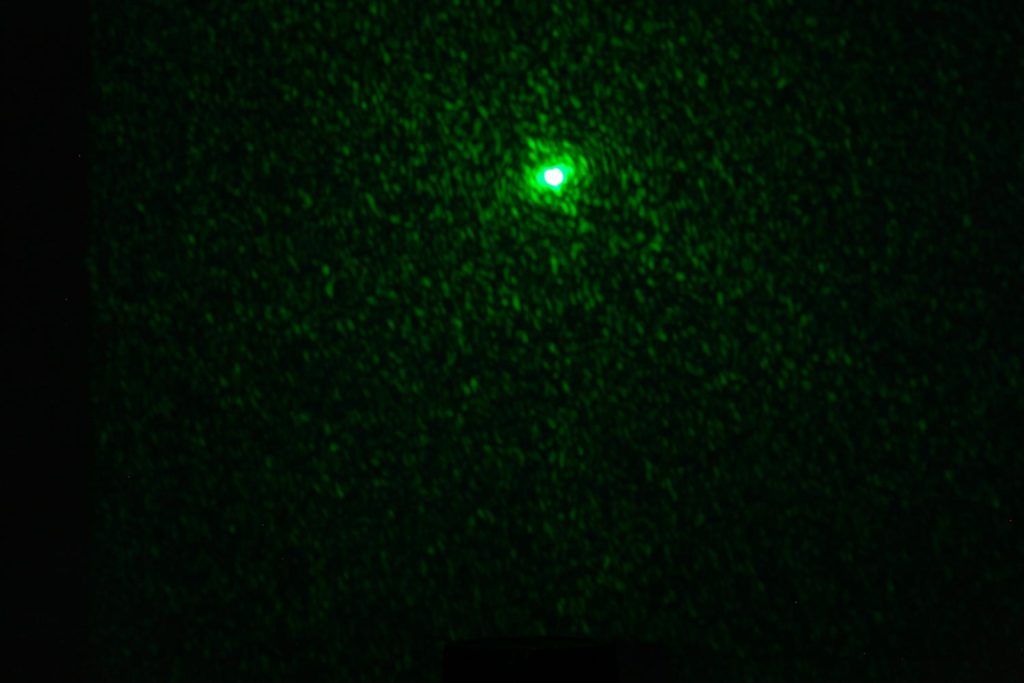
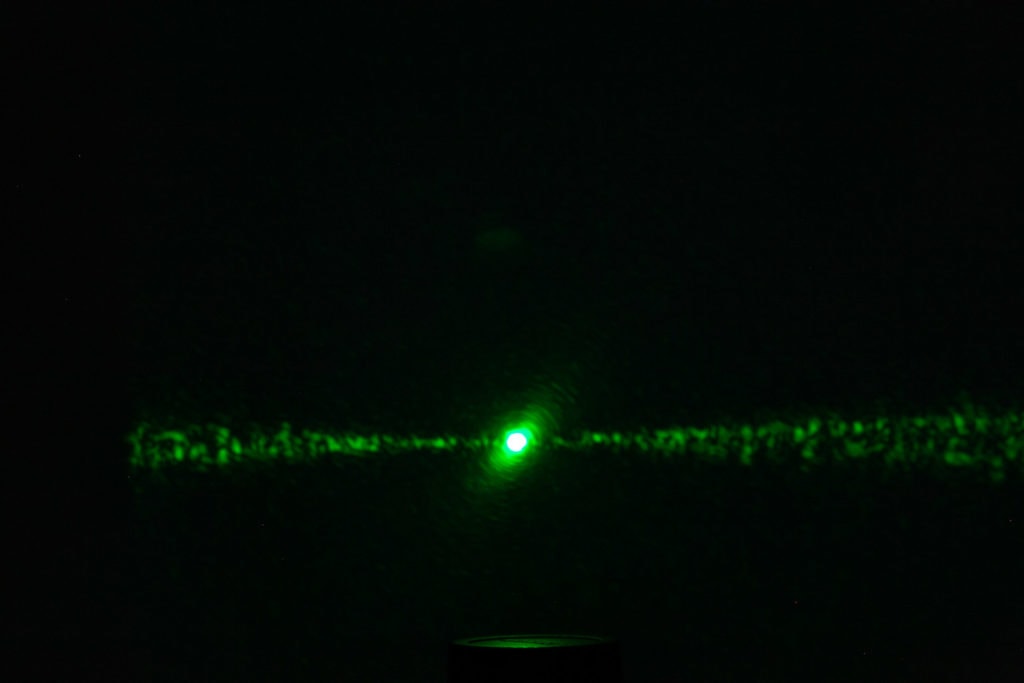
Its laser has some visible artifacts around the hot spot. If you touch the laser beam window/lens and twist it, you can get several of those patterns. 1 of them being 1 line of green spill. The other with just scattering green stuff. At 5 meters distance, the laser pointer center spot is around 5mm wide. Not too bad.
The following laser beam pictures are not well done, but just to give you the impression of the beam artifacts so to say.

Dimensions
Length: 156 mm / 6.1”
Weight:
Weight compared to the other Olight O-pens
| Weight | O-pen 2 | O-pen 2 cu | O-pen PRO |
|---|---|---|---|
| Weight in grams | 33.3 gr | 77.5 gr | 34.7 gr |
| Weight in oz | 1.17 oz | 2.73 oz | 1.22 oz |
Penlights
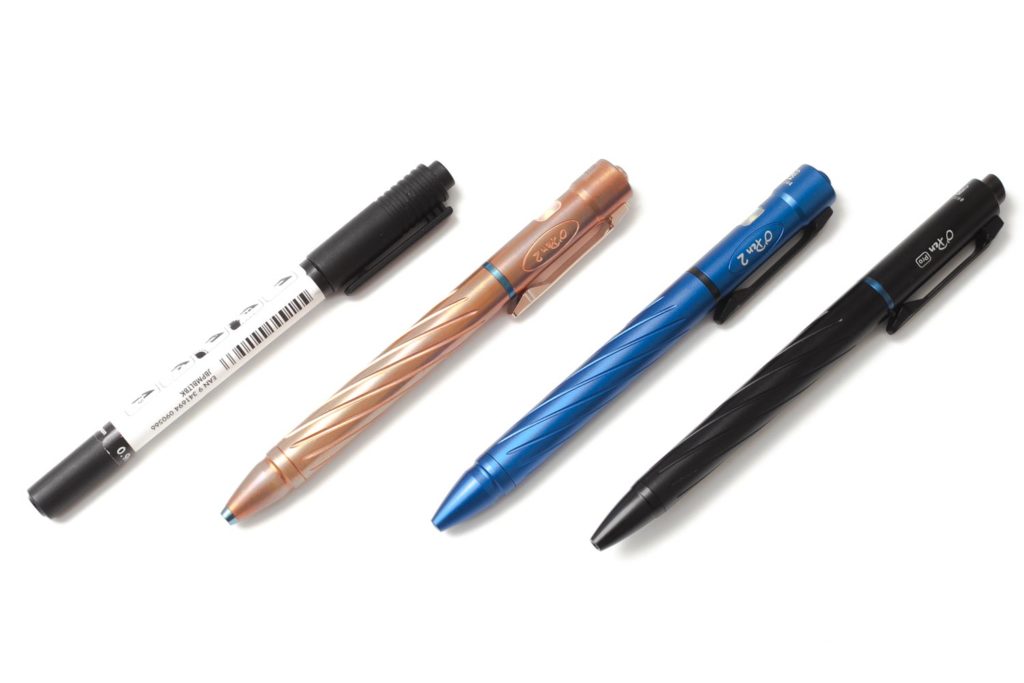
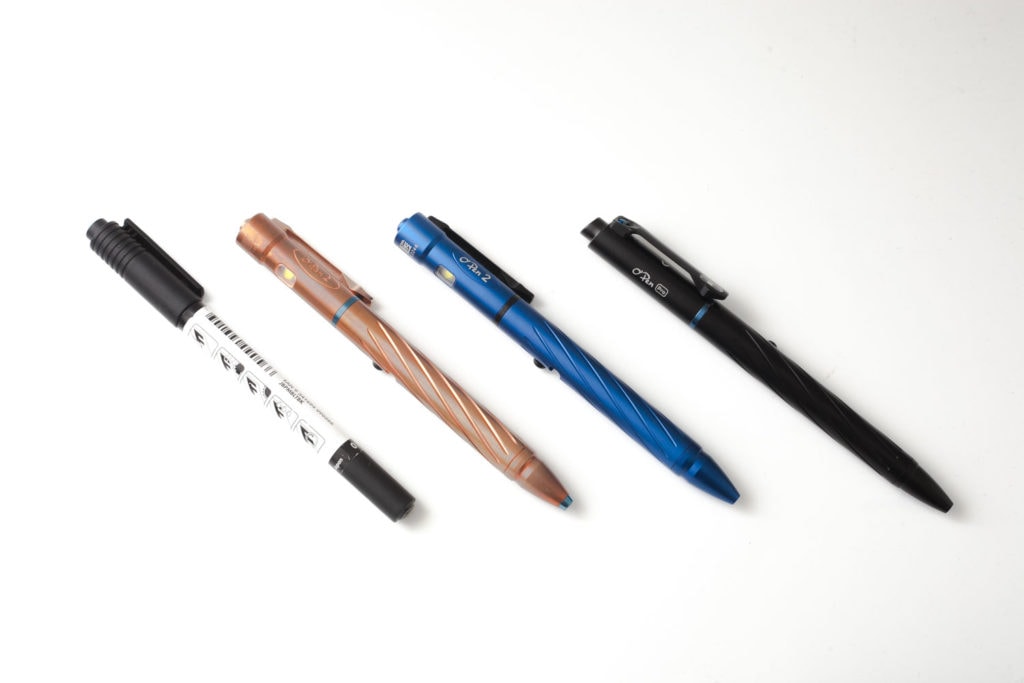
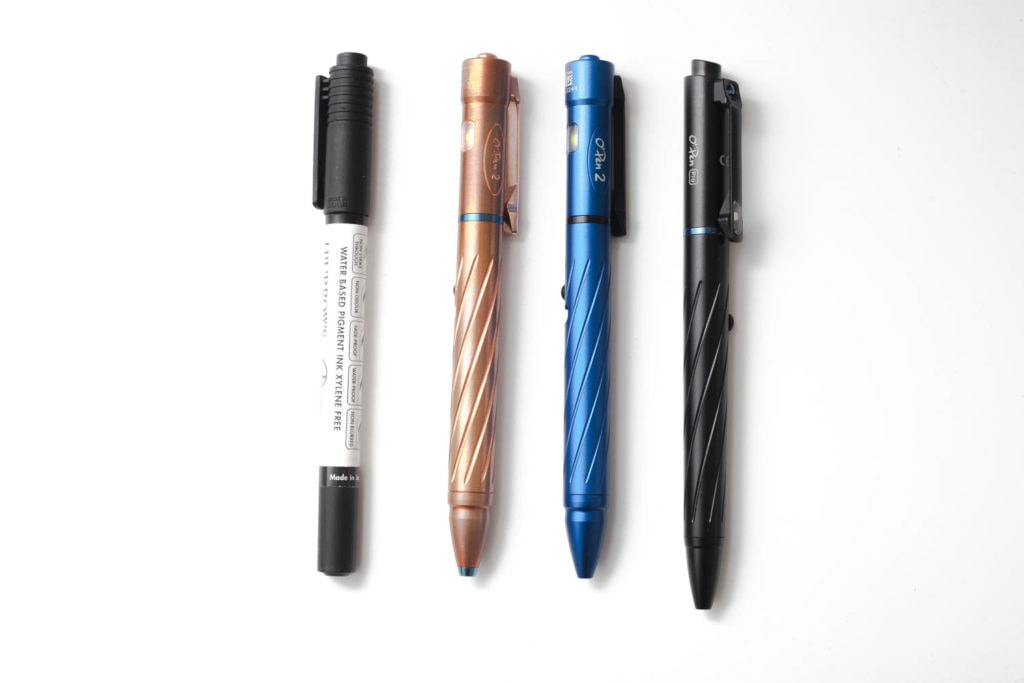
Size compared to other penlights.
From left to right: permanent marker, Olight O-pen 2 Cu (copper), Olight O-pen 2, Olight O-pen PRO.
The O’pen PRO is clearly longer.
Driver & User Interface:
With previous O-pens, the light was activated by using the rear-switch, but that has changed completely with the new O-pen PRO. Instead of using the rear button, you use the bolt type switch. To activate the pen, you slide the switch down, but to activate the light, you press it upward. You can hear and feel a click.
Available modes:
- Moon, Low, Medium, High
- Laser pointer
From OFF:
- Single-click: Moon
- Double click: High
- Press and hold 1 sec: laser pointer activates (single click to turn it off)
From ON:
- Single-click: Off
- Double click:Turbo
- Press and hold: run through the user interface from Moon to high, and then from low to high (Moon is only accessible from Off)
Shortcuts:
- To Turbo: double-click from On or Off
- To Moon: only accessible from Off
Mode memory:
- No memory, it will always start in Moon mode, (unless you do a double click, or press-and-hold for the laser pointer)
Blinky modes menu:
- none
Low battery warning:
- None
Lock-out mode:
- None
PWM:
- Definitely visible by eye, but only if you wave your hand really fast. It doesn’t really bother while using it.
Batteries & Charging
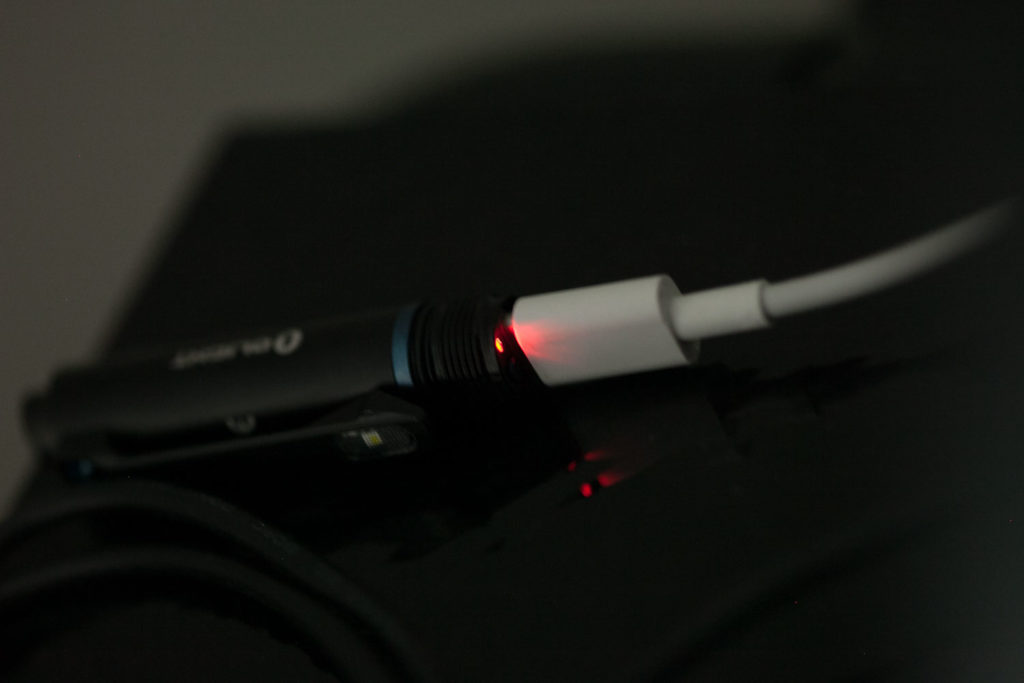
The pen has a little Lithium-Polymer battery built-in, with a total capacity of 110mAh, just like its predecessors. It has a USB-C port. During charging, a red LED indicator is visible, and there is no visible light when it is finished. Usually, there’s a blue or green light to show that charging finished. That is not the case with the O-pen PRO.
Its charging rate is 200mA (0.2A, and I measured about 194mA) and takes less than an hour from start to finish. You don’t need a high-power USB adapter, and any USB A port (like a laptop, or a desktop computer) should be good enough.

Performance
Warning: This review is focused on the light source of this penlight, and not on the writing capabilities. Some people complained about the previous O-pen 2’s subpar ink cartridge. With my testing of the O-pen PRO, I didn’t find any problems and focus solely on its light source.
Lumen measurements:
All output numbers are relative to my homemade Integrating Sphere. It is set up with an Extech SDL400 Lux Meter for measurements including a Kenko PRO1D ND-16 filter. The base measurement is done with a Convoy S2+ that is tested at 255 lumens.
Compared to the older blue O’pen 2 and O’pen 2 CU. Interestingly enough, all 3 pens have the same output specs.
These are my measurements of the pens at startup.
| Mode | Specs: | O-pen 2 @ start | O-pen 2 CU @ start | O-pen PRO @start |
|---|---|---|---|---|
| Low | 5 | 5.60 lm | 6 lm | (start 1lm quickly jumped to 3.2 lm) |
| Med | 20 | 23.63 lm | 25 lm | 22 lm |
| High | 60 | 70 lm | 73 lm | 69 lm |
| Turbo | 120 | 136 lm | 141 lm | 133 lm |
Output dropped from 133 lumens to 119 lumens in 30 seconds.
Runtime:
The runtime test was done with the 50cm integrating sphere, including the Kenko Pro1D ND-16 filter and Extech SDL400 data logging Lux Meter.
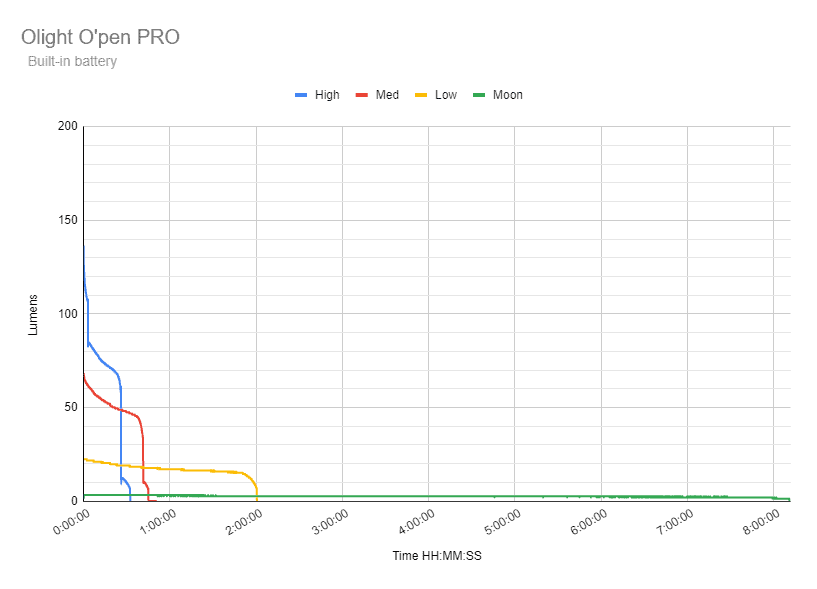
The first runtime graph looks a little boring. The second runtime graph is zoomed in on the 1st hour of the runtime test.
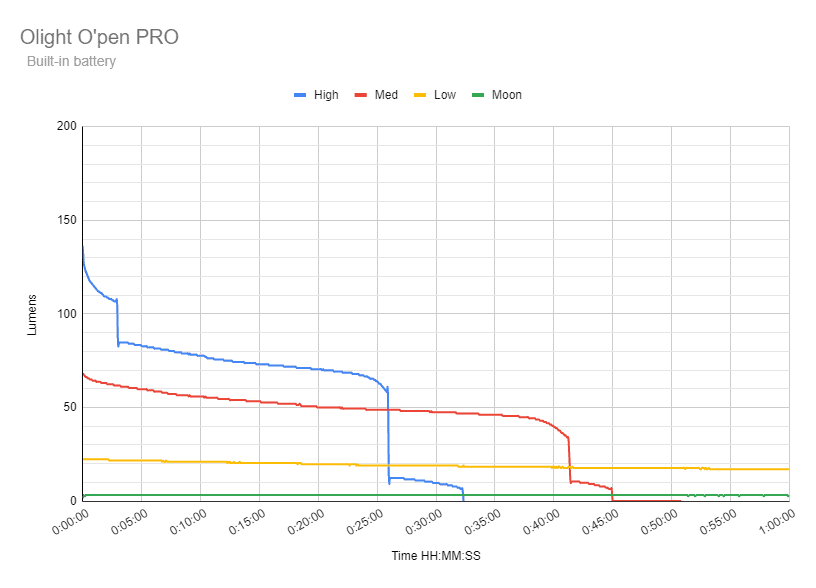
The first major drop in High mode is at 3 minutes when it drops from 106 lumens down to 85 lumens. It reduces output till the 26-minute mark when it drops down to 12 lumens. The output continues decreasing until it reaches 6 lumens at 32 minutes. It then suddenly turns off. The total runtime for high is 32 minutes.
Medium mode starts off at around 68 lumens and slowly decreased till its first major drop at 41 minutes when it drops from 33 lumens down to 10. At the 45 -minute mark it drops from 7 lumens to sub-lumen level, so that is what I will call the Medium-mode runtime. It continues running at this extremely low output for about 15+ more minutes.
Low starts at about 22 lumens, and slowly reduces output. At 1 hour 53 minutes, it rapidly reduces output till the 2-hour mark when it goes down to a sub-lumen output. That’s the total runtime for Low mode.
Moon starts off at around 1 lumen and within 1-2 seconds increases to 3 lumens. Around the 8 hours mark, the output decreased to roughly 1 lumen. At 8 hours and 13 minutes, the light became too low to measure in the sphere I was using.
Throw Measurement
Measurements were taken indoors with a professional Hagner E4-X Lux Meter, at a 1-meter distance. Since the flashlight is so dim and the beam so wide, it doesn’t really work to measure it at 5 meters or even 2. Numbers are the highest measurements, usually a few seconds (about 10) after startup. I noted the numbers after I found at the brightest spot in the beam.
Olight O-pen measurements in terms of Candela at the start (not at 30 seconds)
Measured at start.
| Mode | O-pen 2 | O-pen 2 CU | O-pen PRO |
|---|---|---|---|
| Moon | 2 cd | 3 cd | 1 cd |
| Low | 9 cd | 12 cd | 10 cd |
| Med | 27 cd | 41 cd | 31 cd |
| High | 51 cd | 79 cd | 59 cd (49cd specs) |
Beamshots
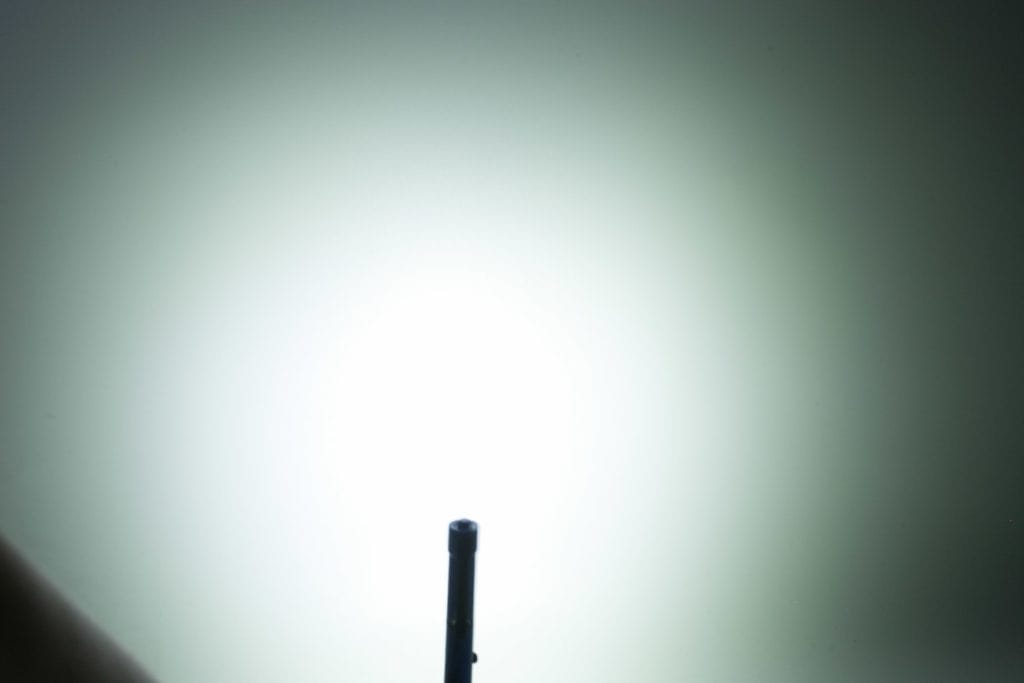
Pictures below were taken with the following settings: 50mm lens, ISO 800, F10, 1 sec.
You can see that the O’pen PRO has more artifacts in the beam. See for yourself.

Disclaimer: This flashlight was sent to me for review at no cost, by Olight. I have not been paid to review, nor have I been holding back on problems or defects.
OVERALL CONCLUSION
PROS
- Not as heavy as the O’pen 2 CU
- New design with Laser Pointer
- New design with different LED position
- Comes with a spare refill and USB cable
Cons
- Beam shape isn’t as pleasant as its predecessor
- Unknown LED

4.5 stars: ★★★★★⋆
Looking for a penlight? Then better pay attention.
The Olight O-pen PRO is a penlight with 4 brightness modes that range from 5 to 120 lumens. It’s been upgraded from the O-pen 2, and now includes a laser pointer at the cost of 1 cm extra length. At the same time, the new O-pen got rid of the red led.
It’s a good performer, and although I haven’t tested its writing/drawing capabilities thoroughly. Based on my testing, I can recommend it.
Olight O-pen PRO discount coupon:
Use our exclusive 1lumen discount code to get an extra 10% off anything you order at Olightstore.com (USA). Coupon code: 1lumen
1lumen selects and reviews products personally. We may earn affiliate commissions through our links, which help support our testing.
