1lumen selects and reviews products personally. We may earn affiliate commissions through our links, which help support our testing.
WUben L1 review
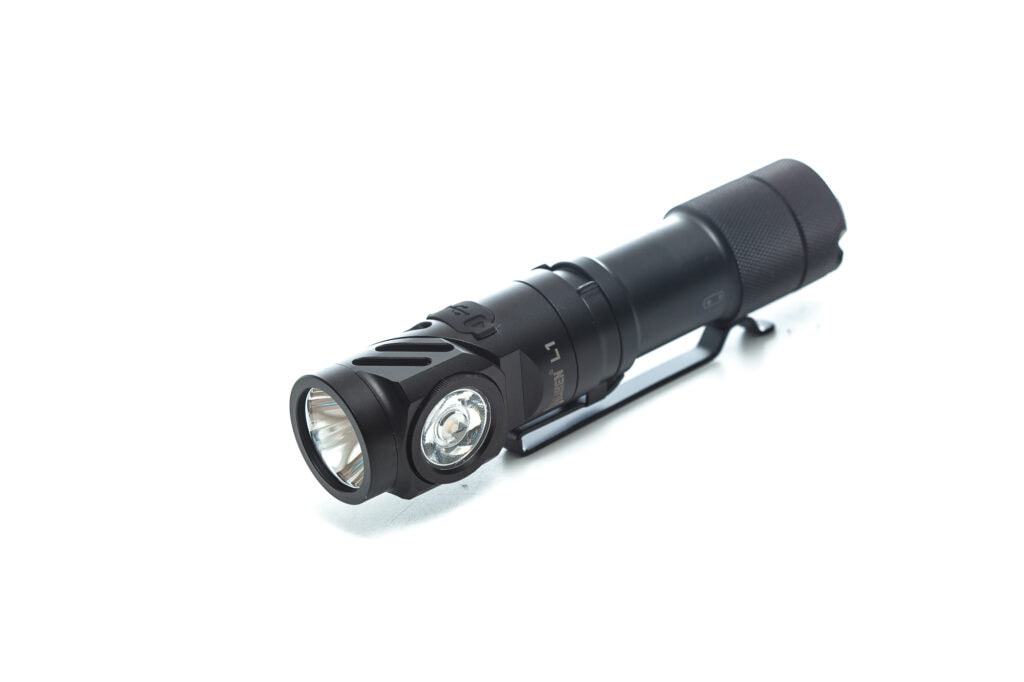
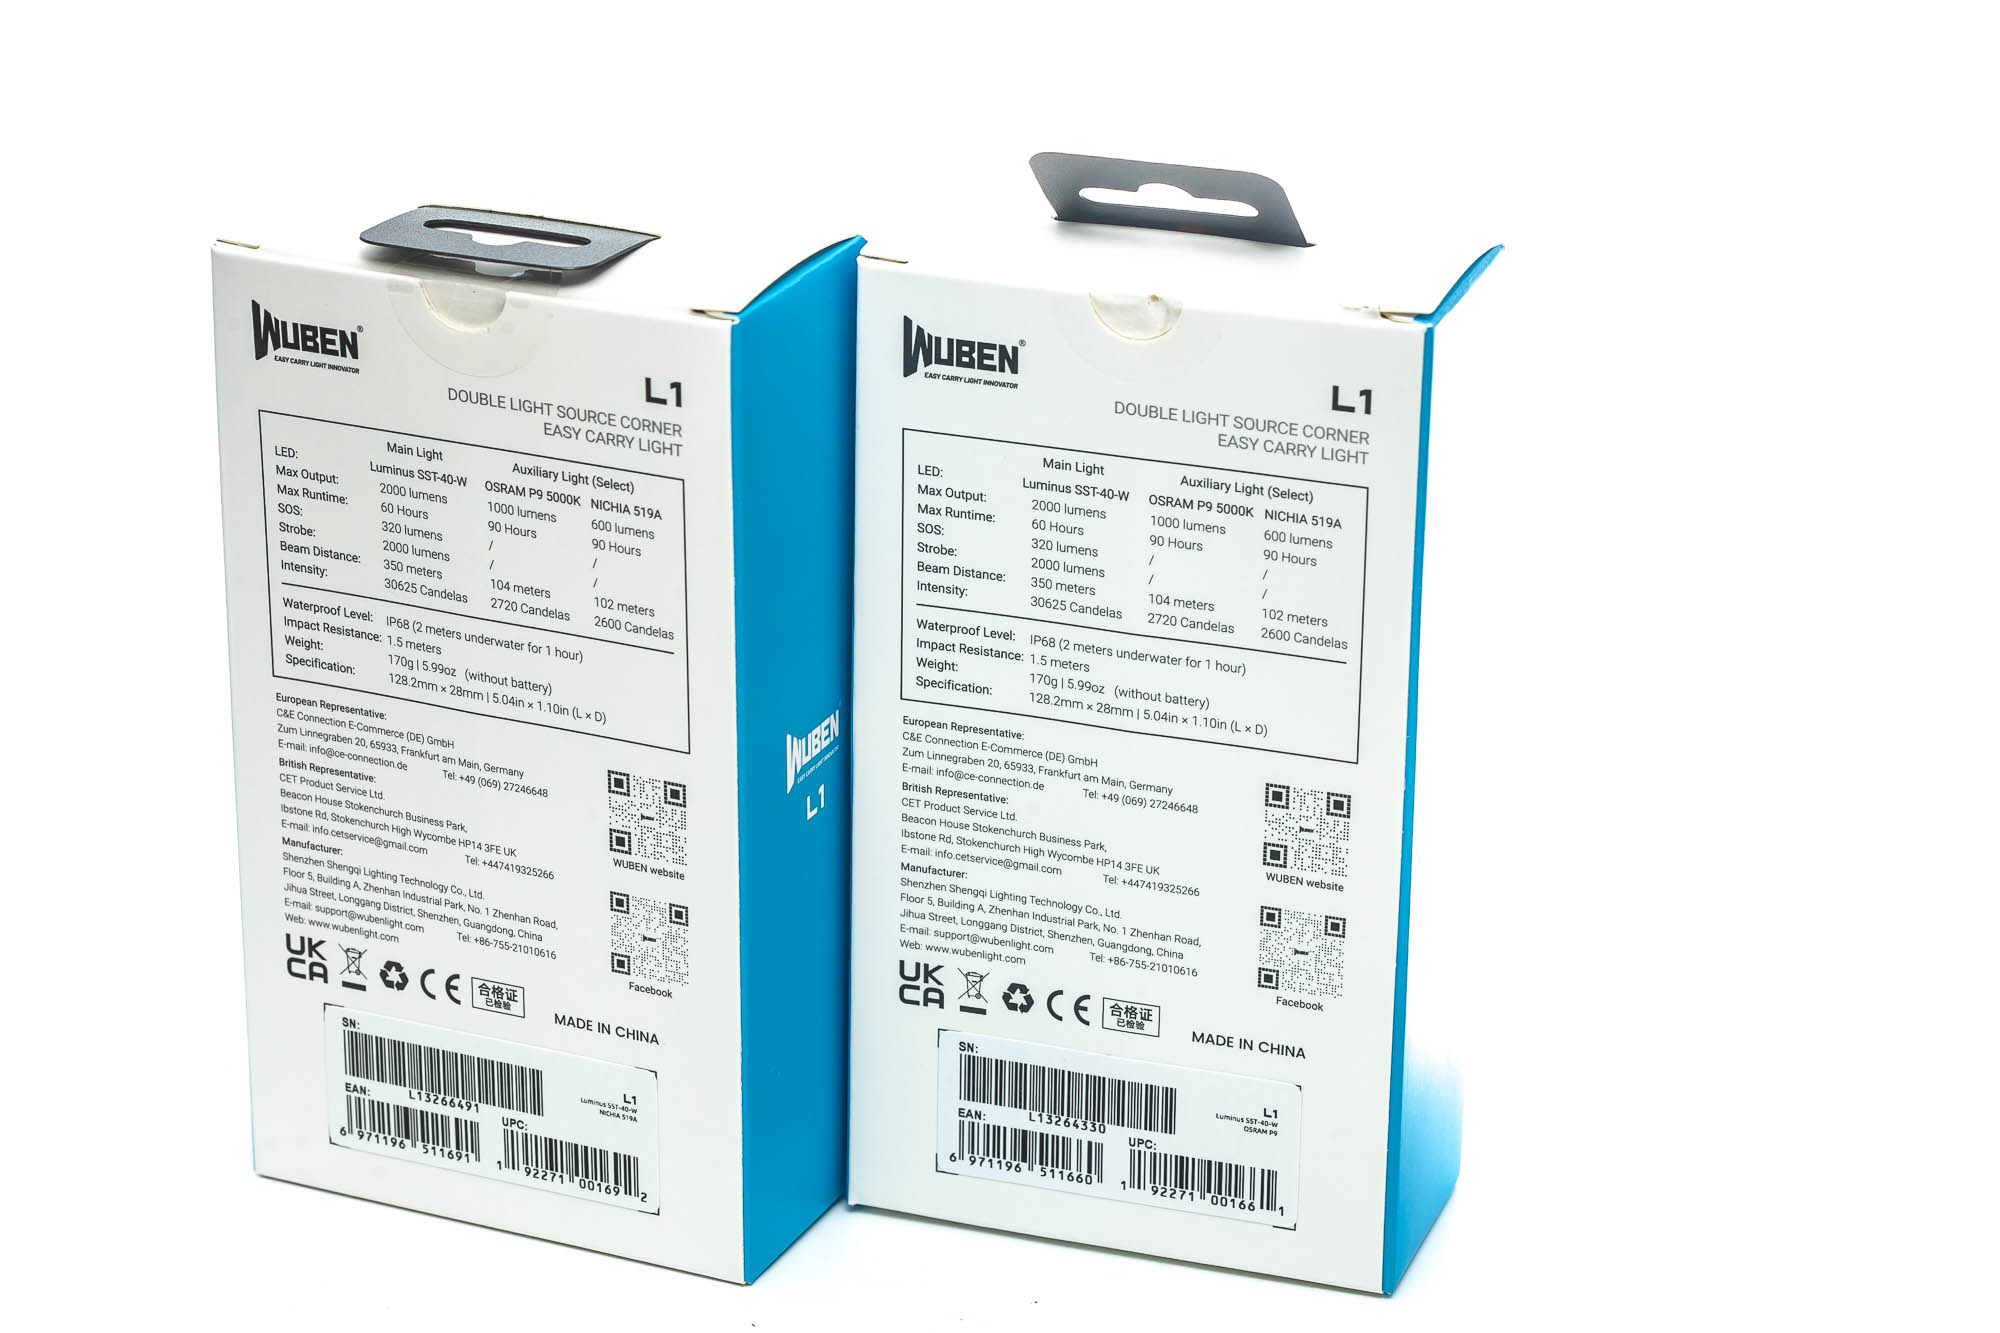
Wuben L1 specifications
| Brand/model | Wuben L1 |
|---|---|
| Flashlight category | EDC / all-around |
| LED | SST40 + Nichia 519A/Osram P9 |
| Max. output | 2,000 Lumens |
| Max. beam distance | 350 meters |
| Max. beam intensity | 30,625 cd |
| Battery config. | 21700 |
| Onboard charging | USB-C |
| Modes | 4+3 |
| Blinkies | Strobe, SOS |
| Waterproof | IP68 |
| Review date | September 2023 |
Introduction:
Our recent Wuben reviews included the very popular X series, with built-in batteries and unique designs.
The one we are reviewing today is a bit more of a traditional looking flashlight, but with some interesting and again, unique, features. So better check out this review, because it could be something you would like to own.
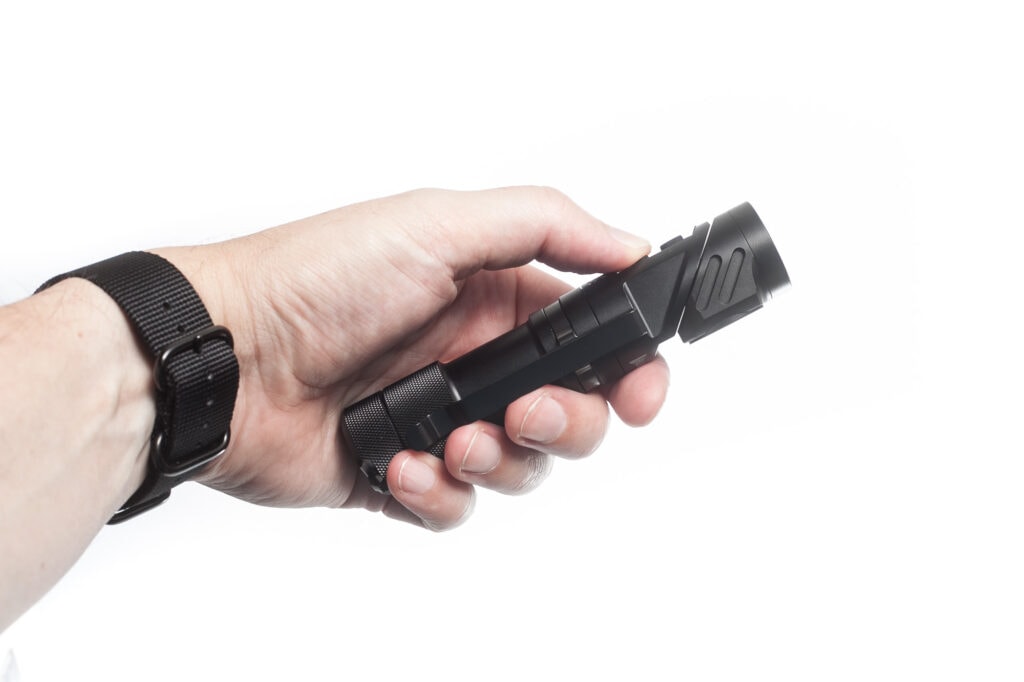
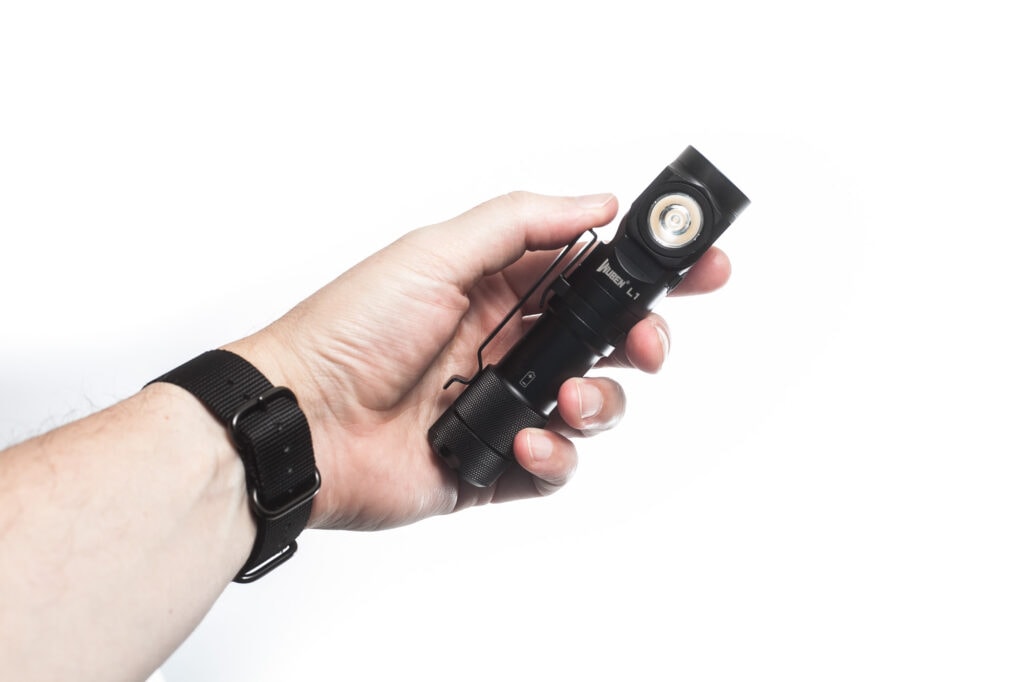
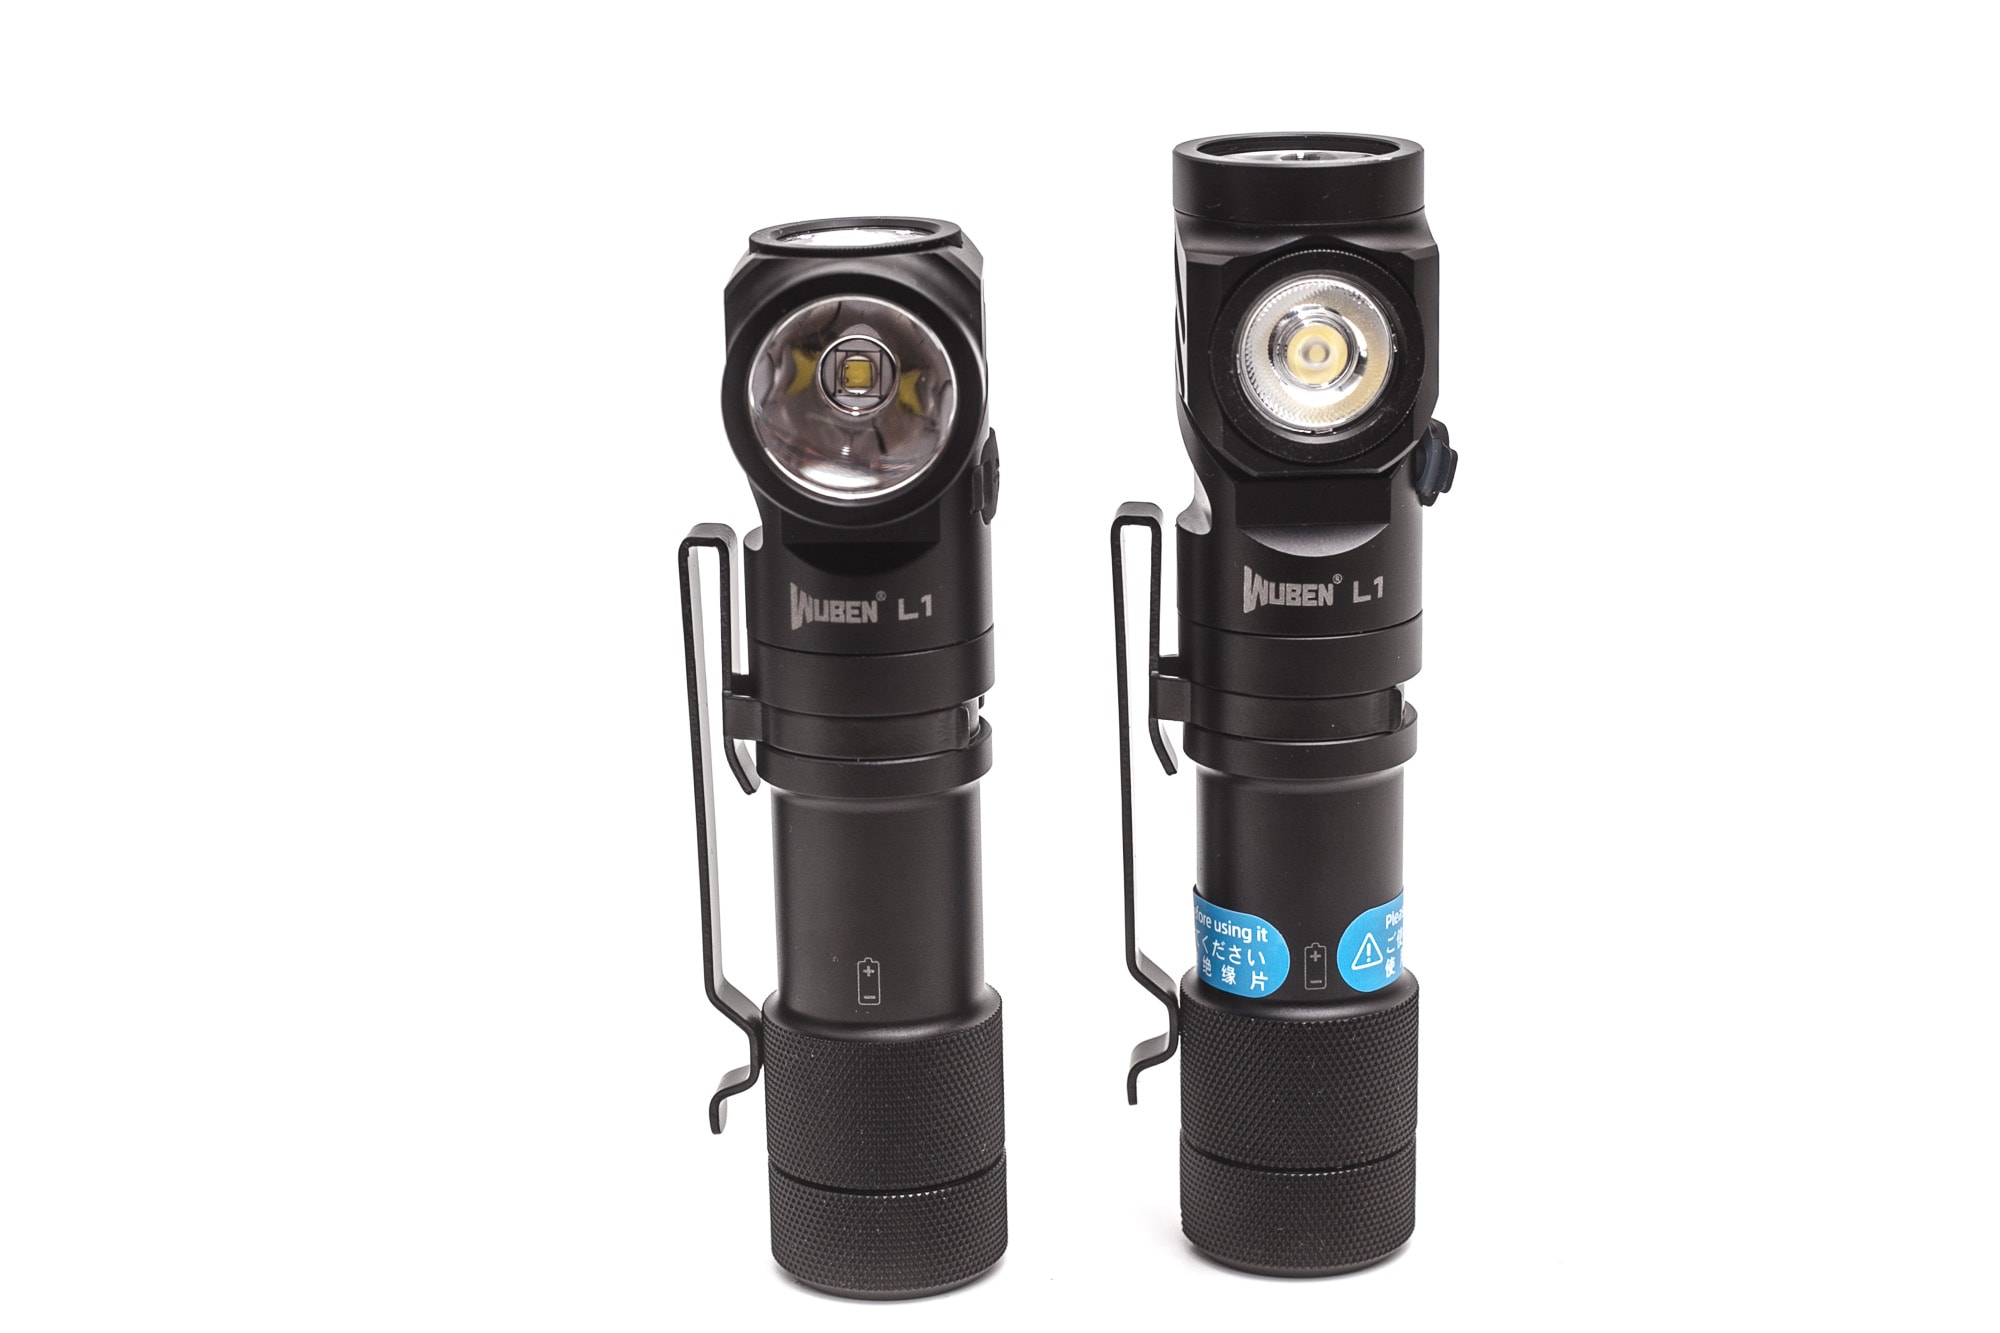
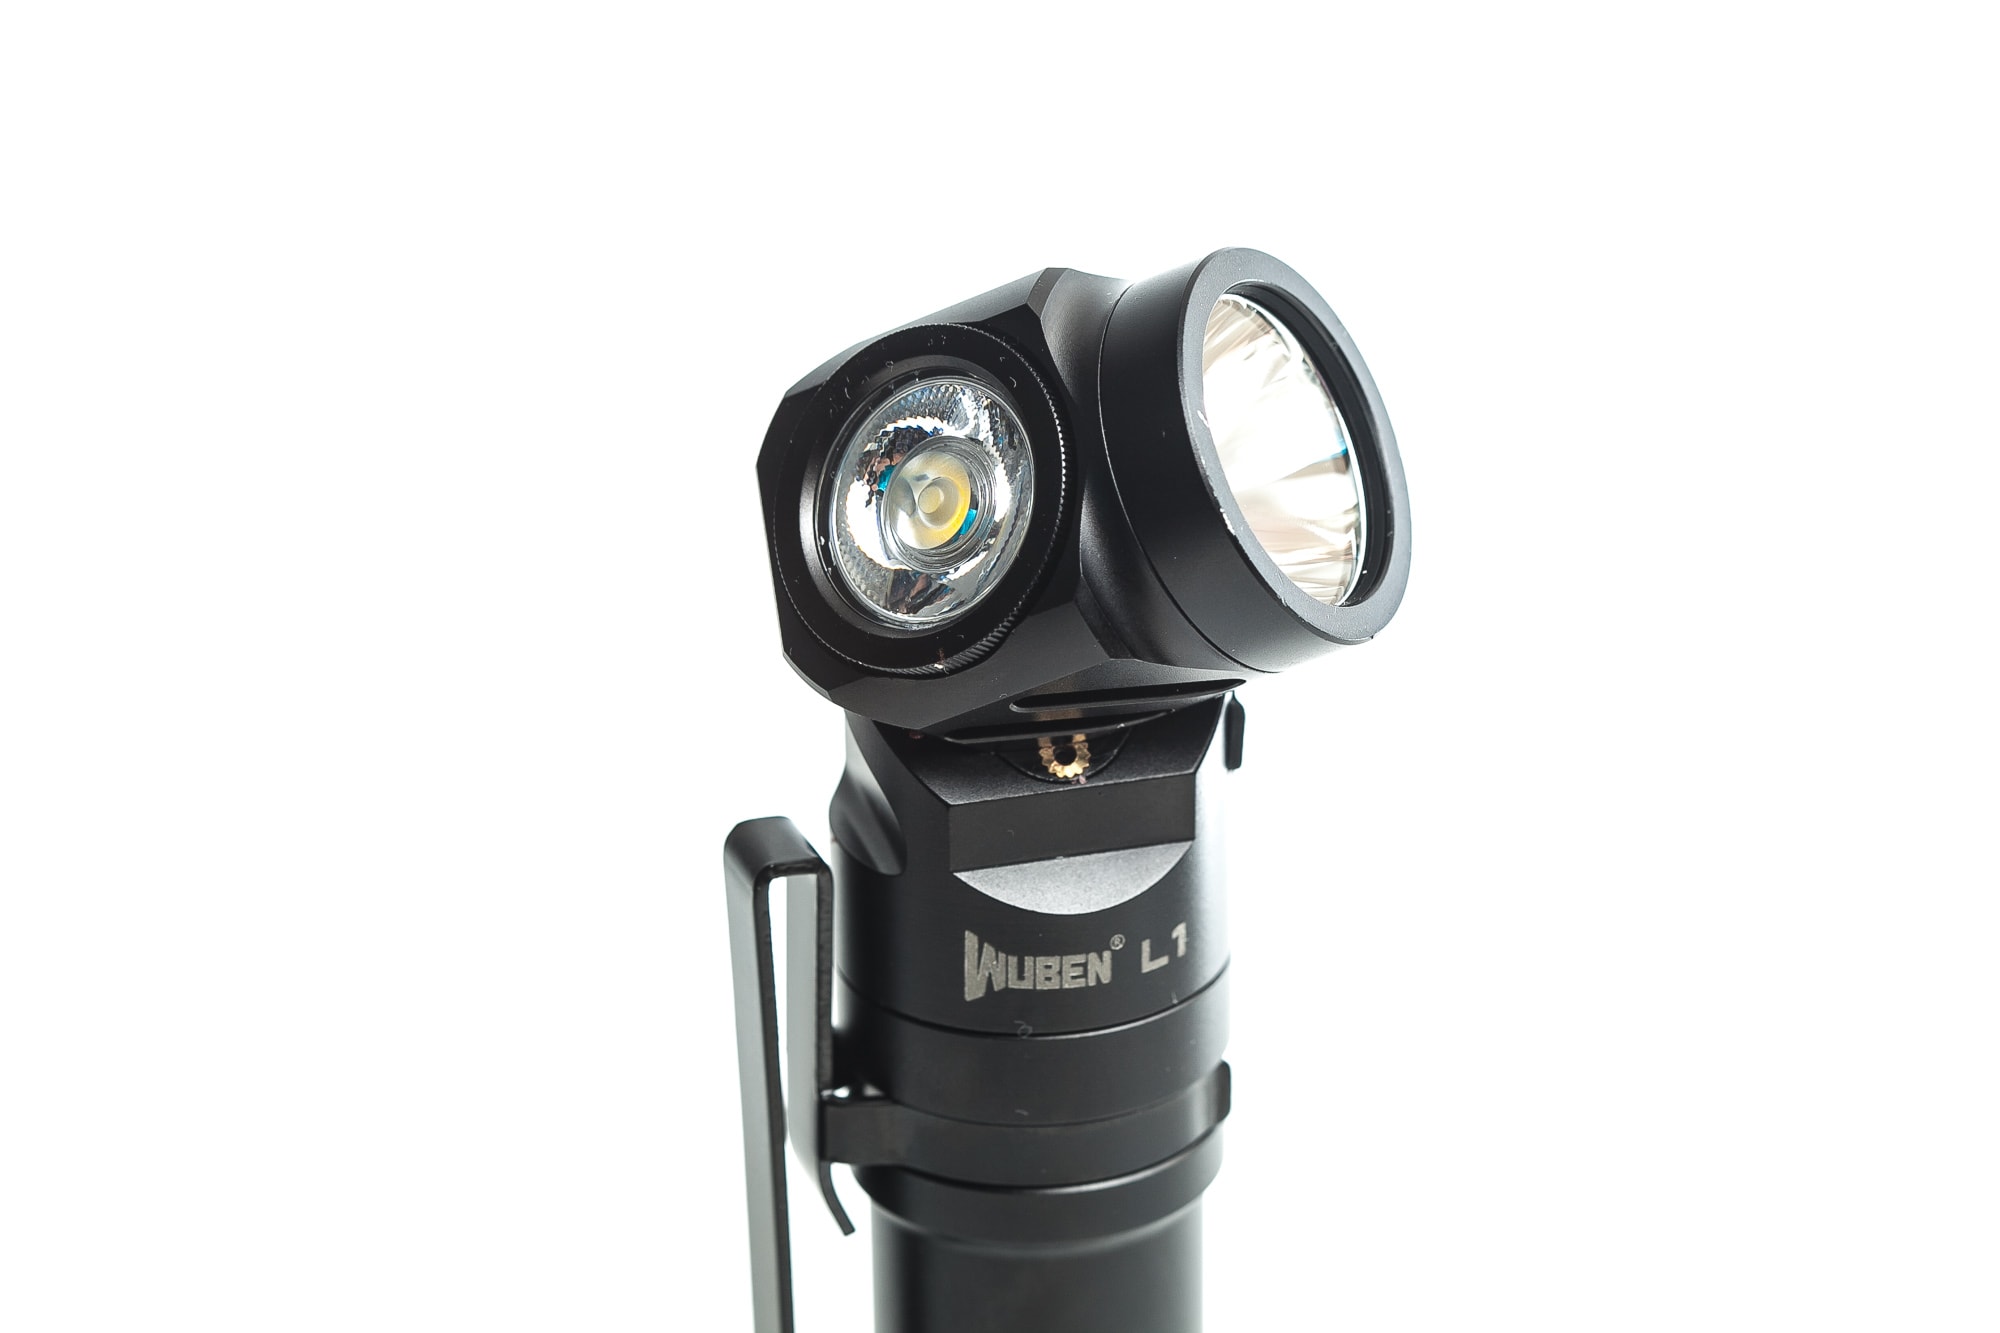
The Wuben L1 is not just a flashlight, but also a right-angle lamp in one. And what’s more, it has a swivel head, so you can switch between the primary Luminus SST40 LED with reflector, and a secondary high CRI Nichia 519A behind TIR optic. Just swivel the head.
Package quality.
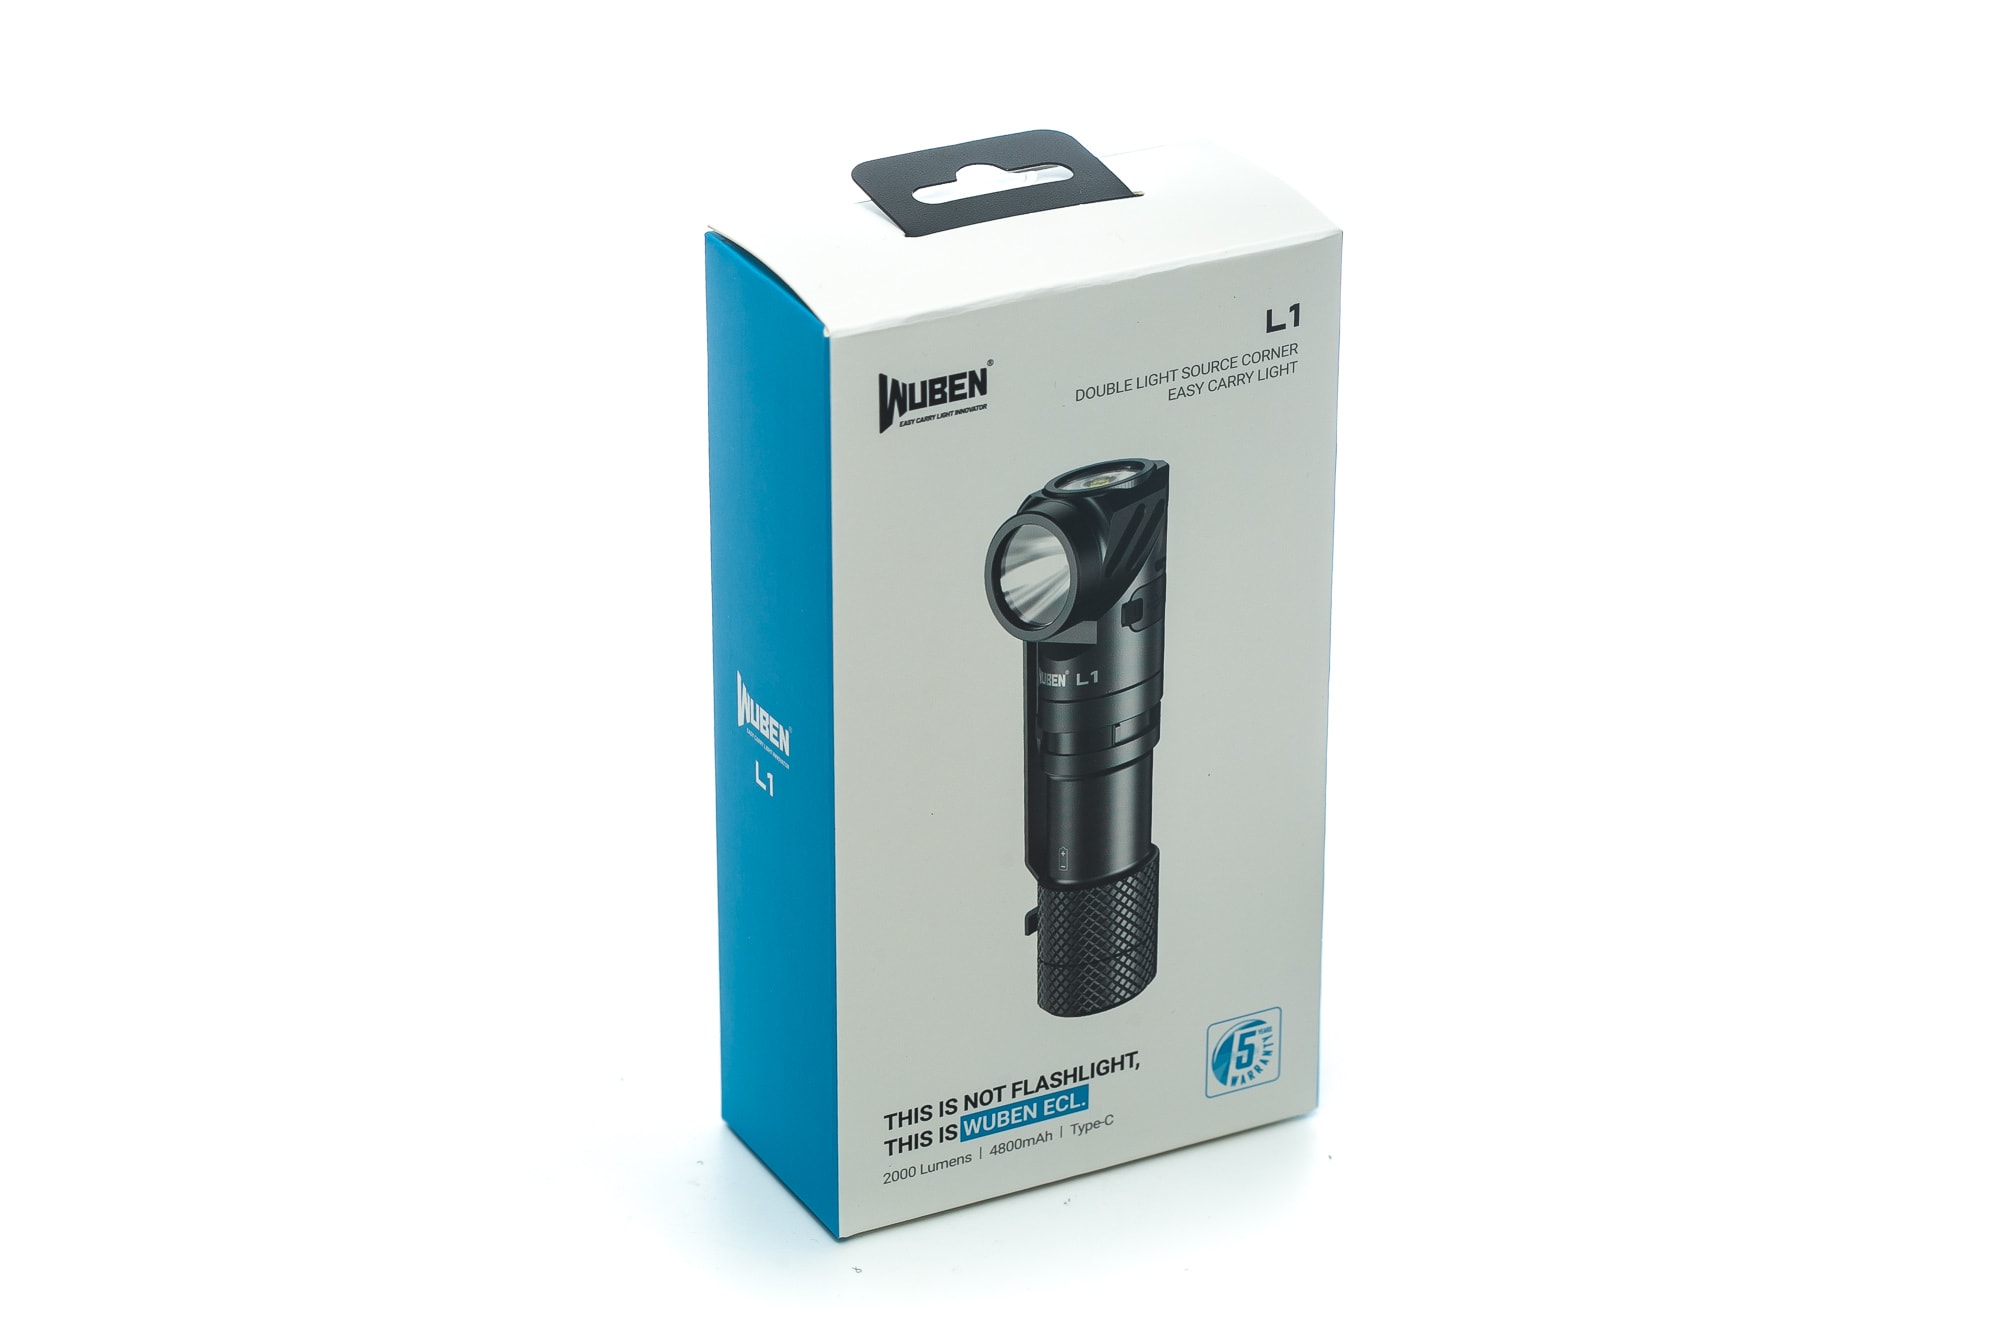
Wuben is one of the most innovative flashlight brands lately, and have some pretty unique packaging. However, Wuben decided to go with a fairly traditional-style packaging with the L1.
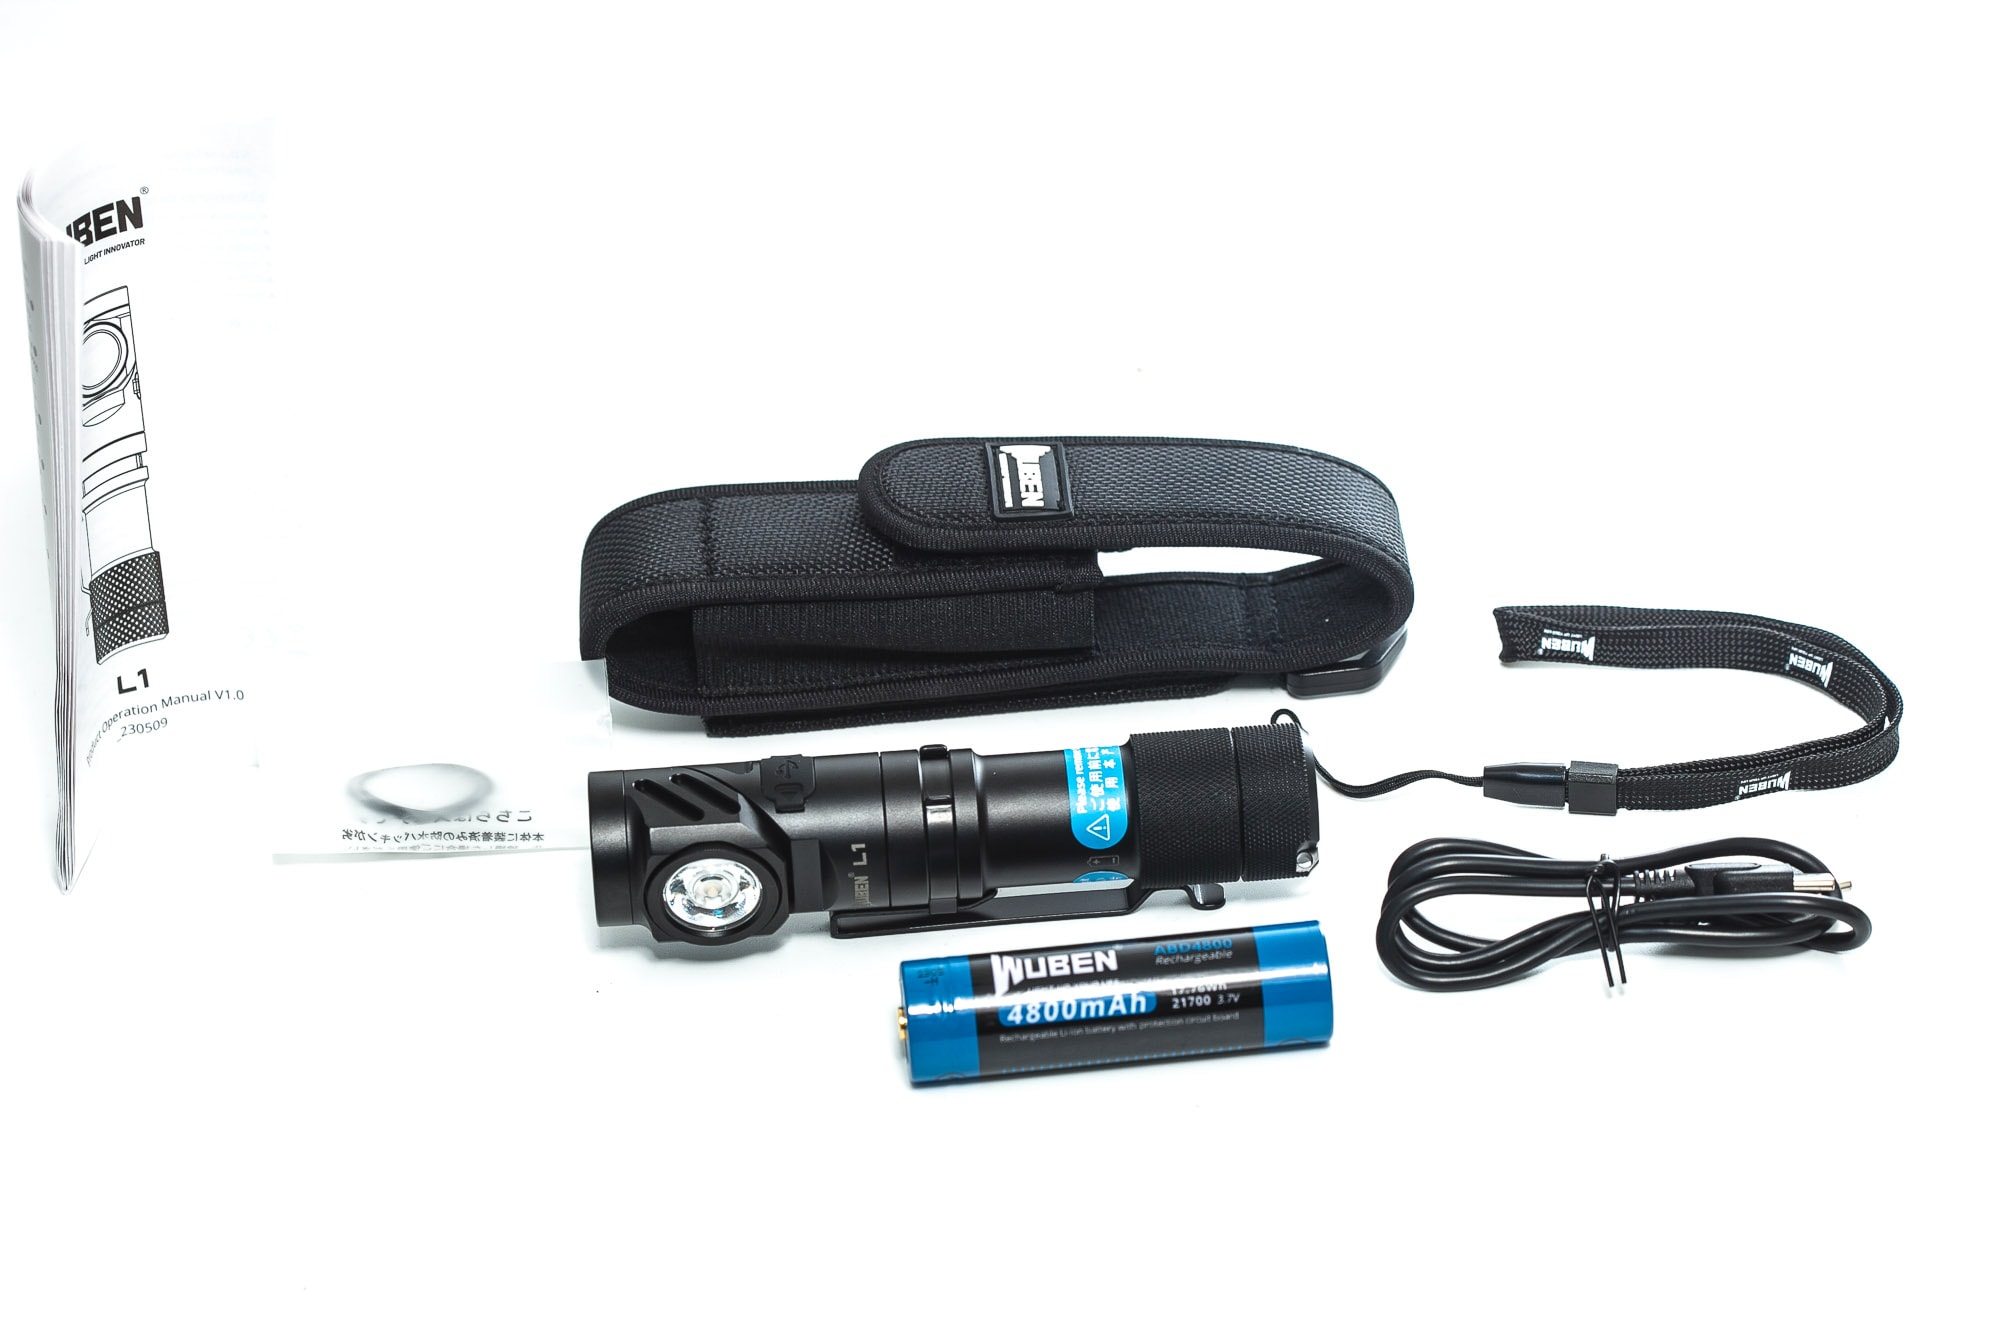
And this is what I received:
- Wuben L1
- Lanyard
- USB-C charging cable
- Wuben 21700 battery with 4800mAh
- Spare o-rings
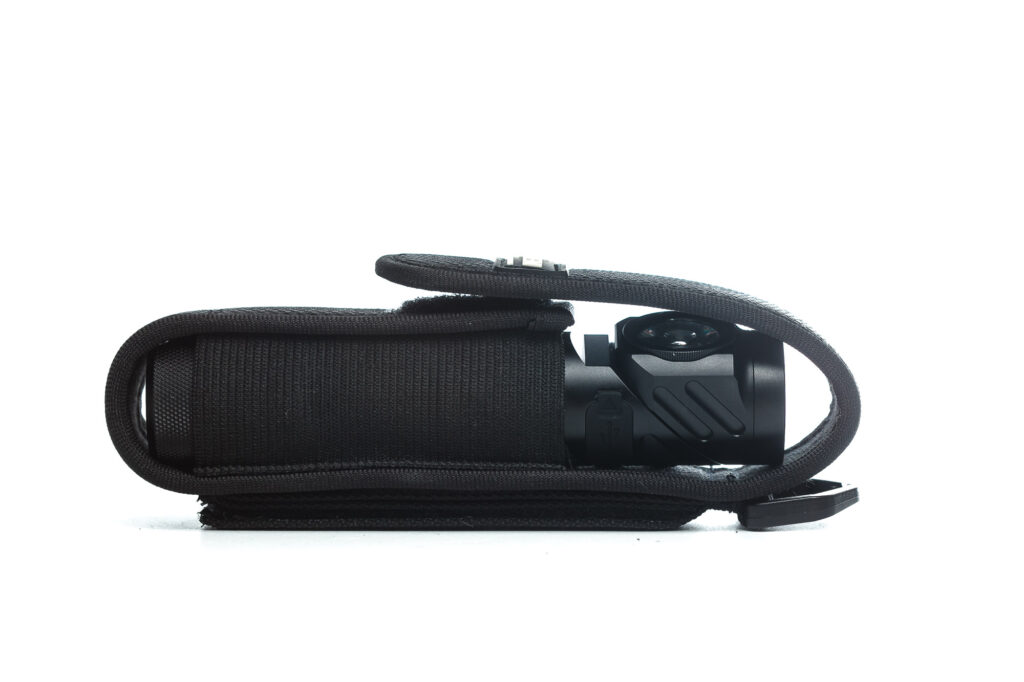
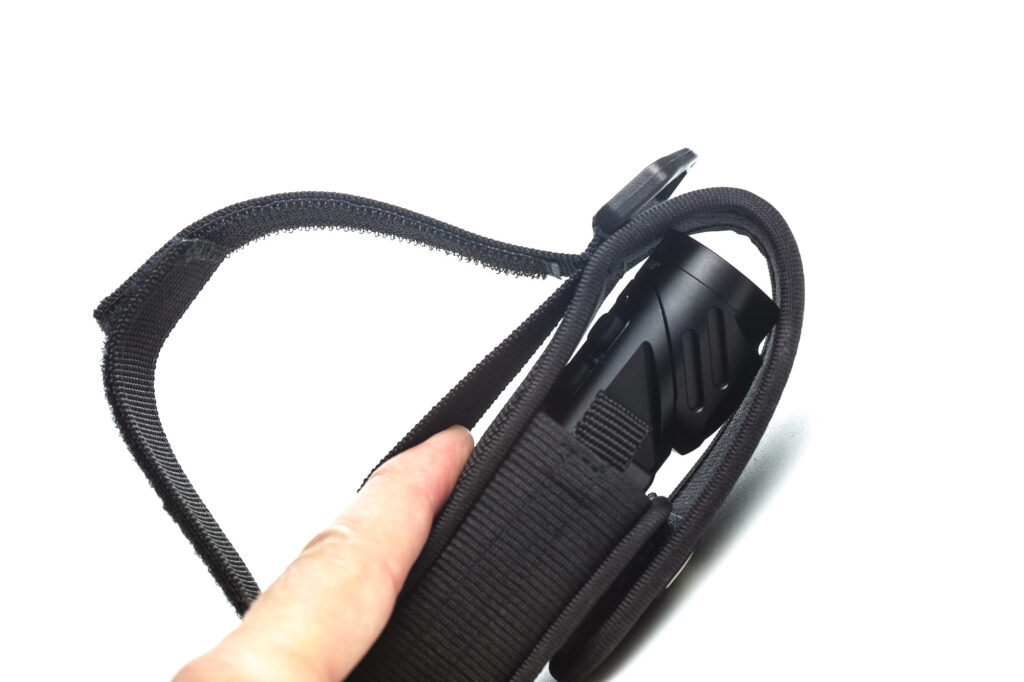
- Holster
- Manual
Before your first use
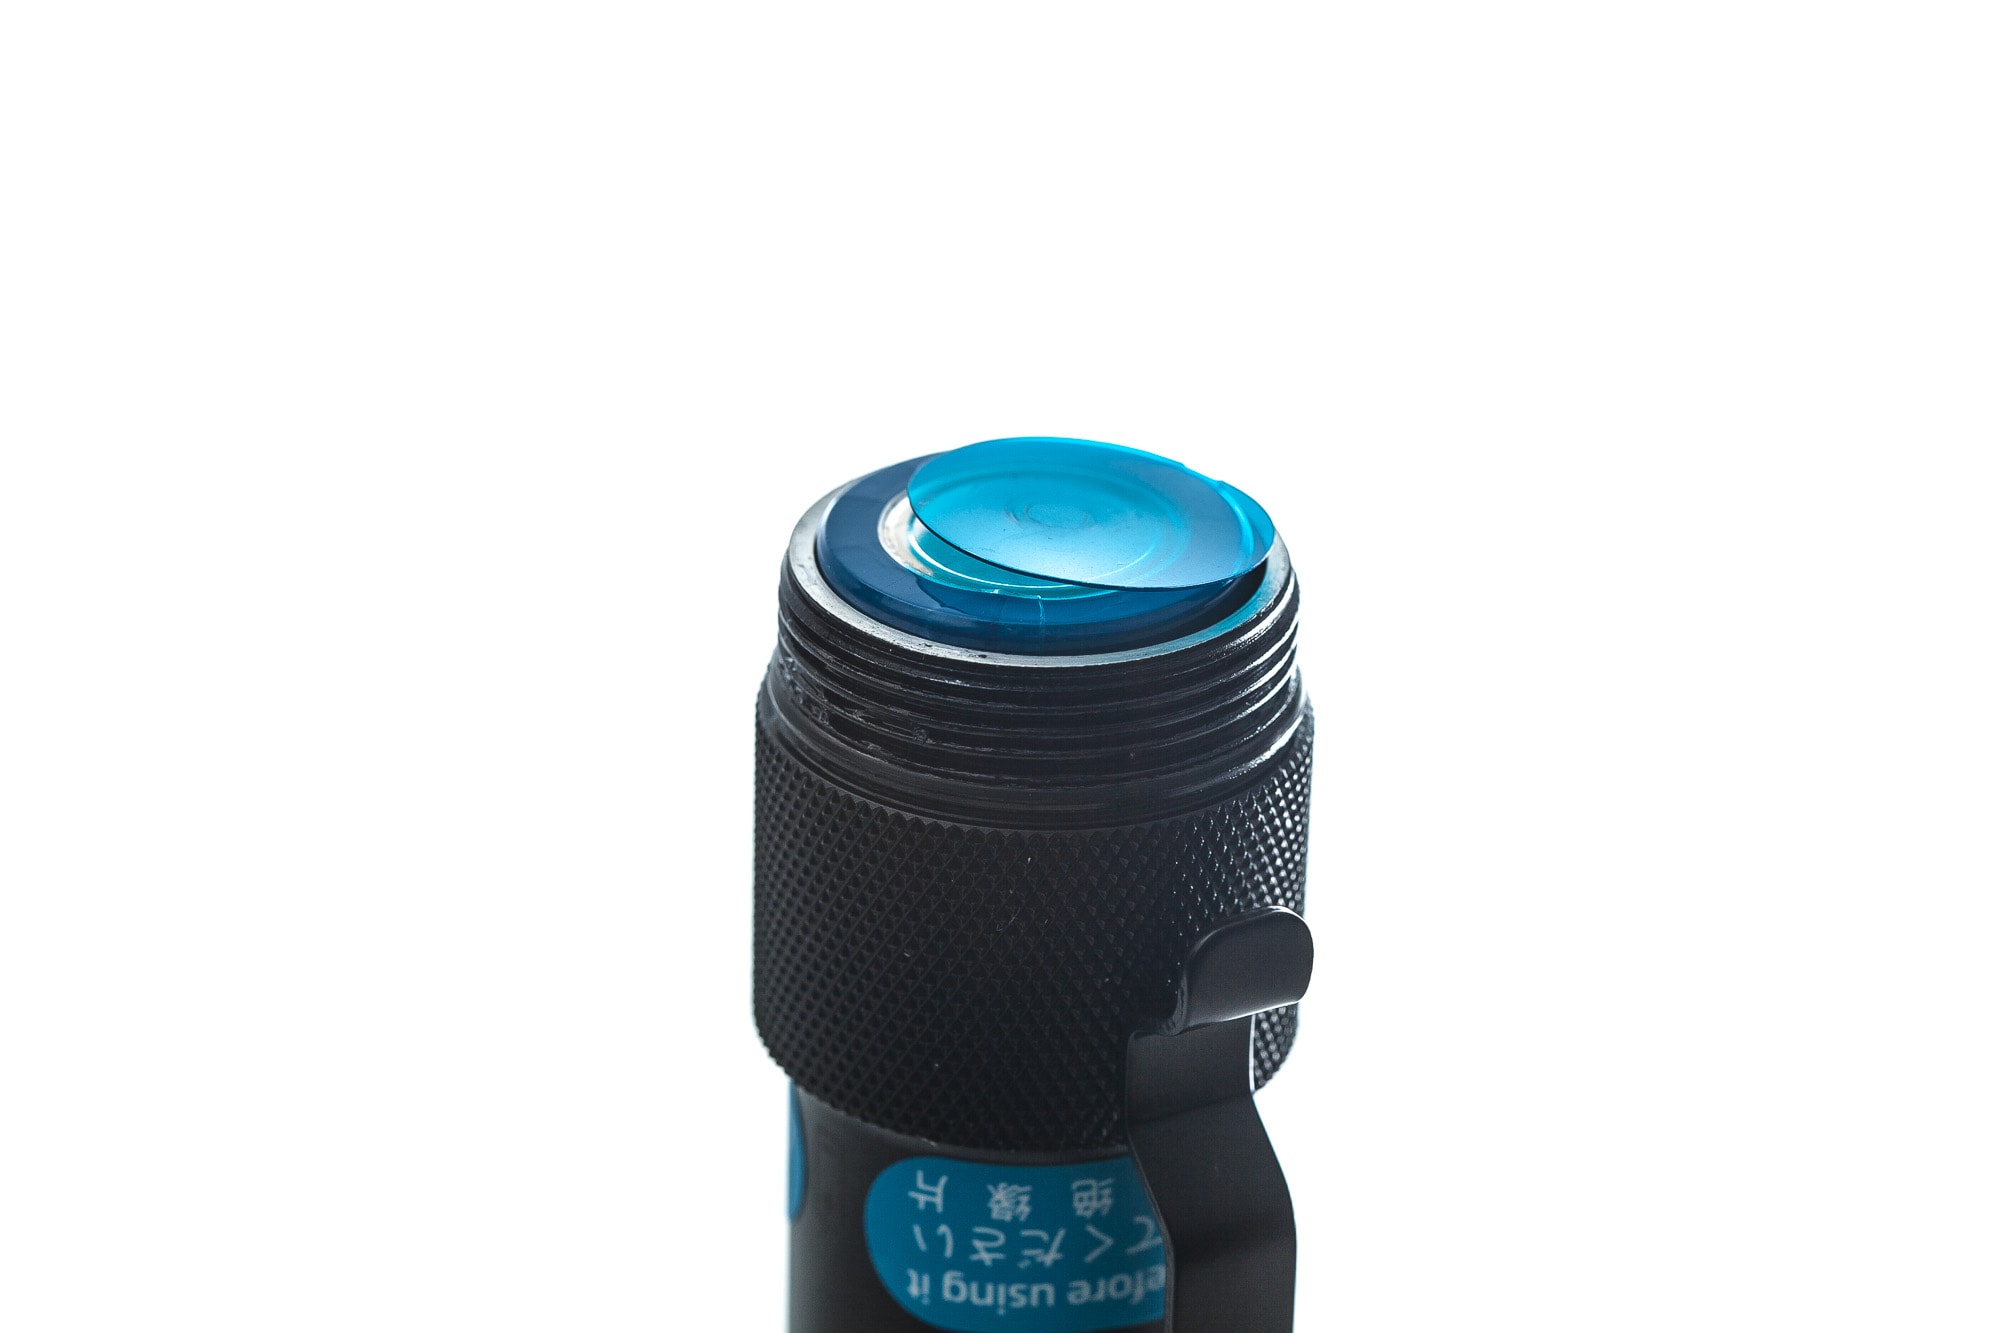
For safety reasons, Wuben ships their lights locked (when the battery is built-in) or with a plastic washer (when the battery is removable). So, before using your Wuben L1, you have to remove the plastic washer by unscrewing the tailcap. Once removed, you are good to go.
Flashlight in use
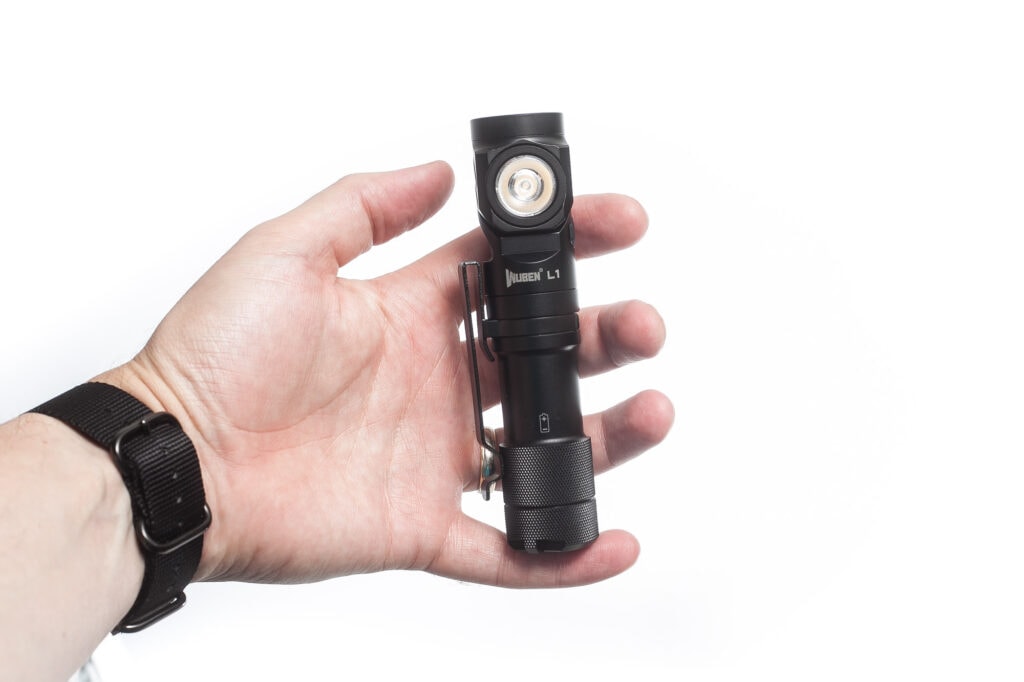
While the Wuben L1 may appear as a traditional-style flashlight, it offers a few unique features to set it apart. Thanks to the swivel heat, you can rotate between the main LED (Luminus SST40) and the secondary LED (either Osram P9 or Nichia 519A high CRI). So, you can use it as a normal flashlight as well as a right-angle light, or a headlamp.
Both LEDs have their dedicated switch, and both LEDs can be turned on individually or simultaneously, depending on your needs. However, they don’t have the same options. For all options, check out the UI section of this review.
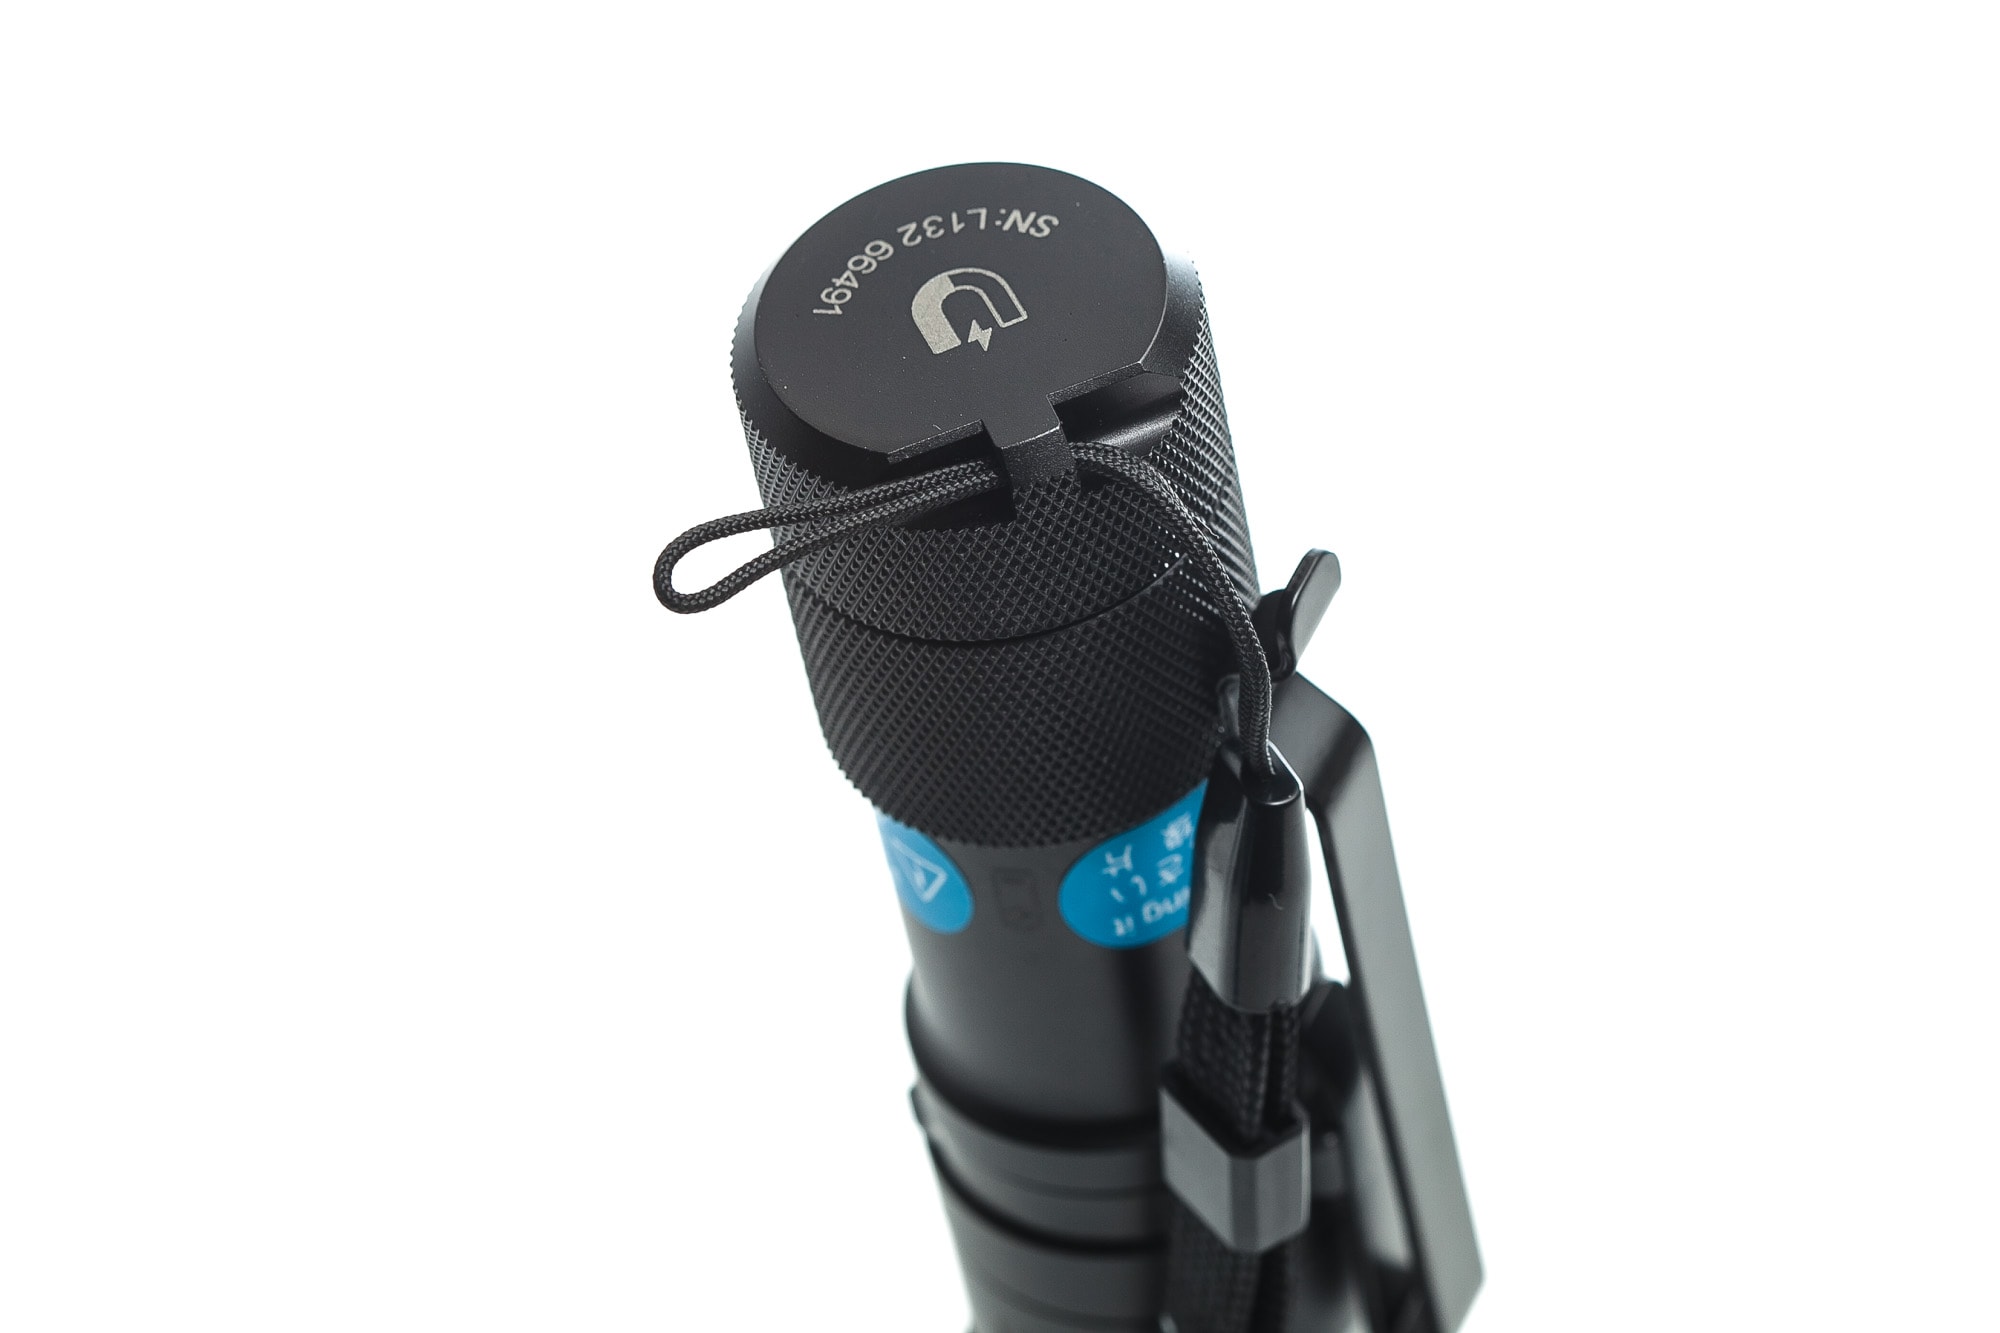
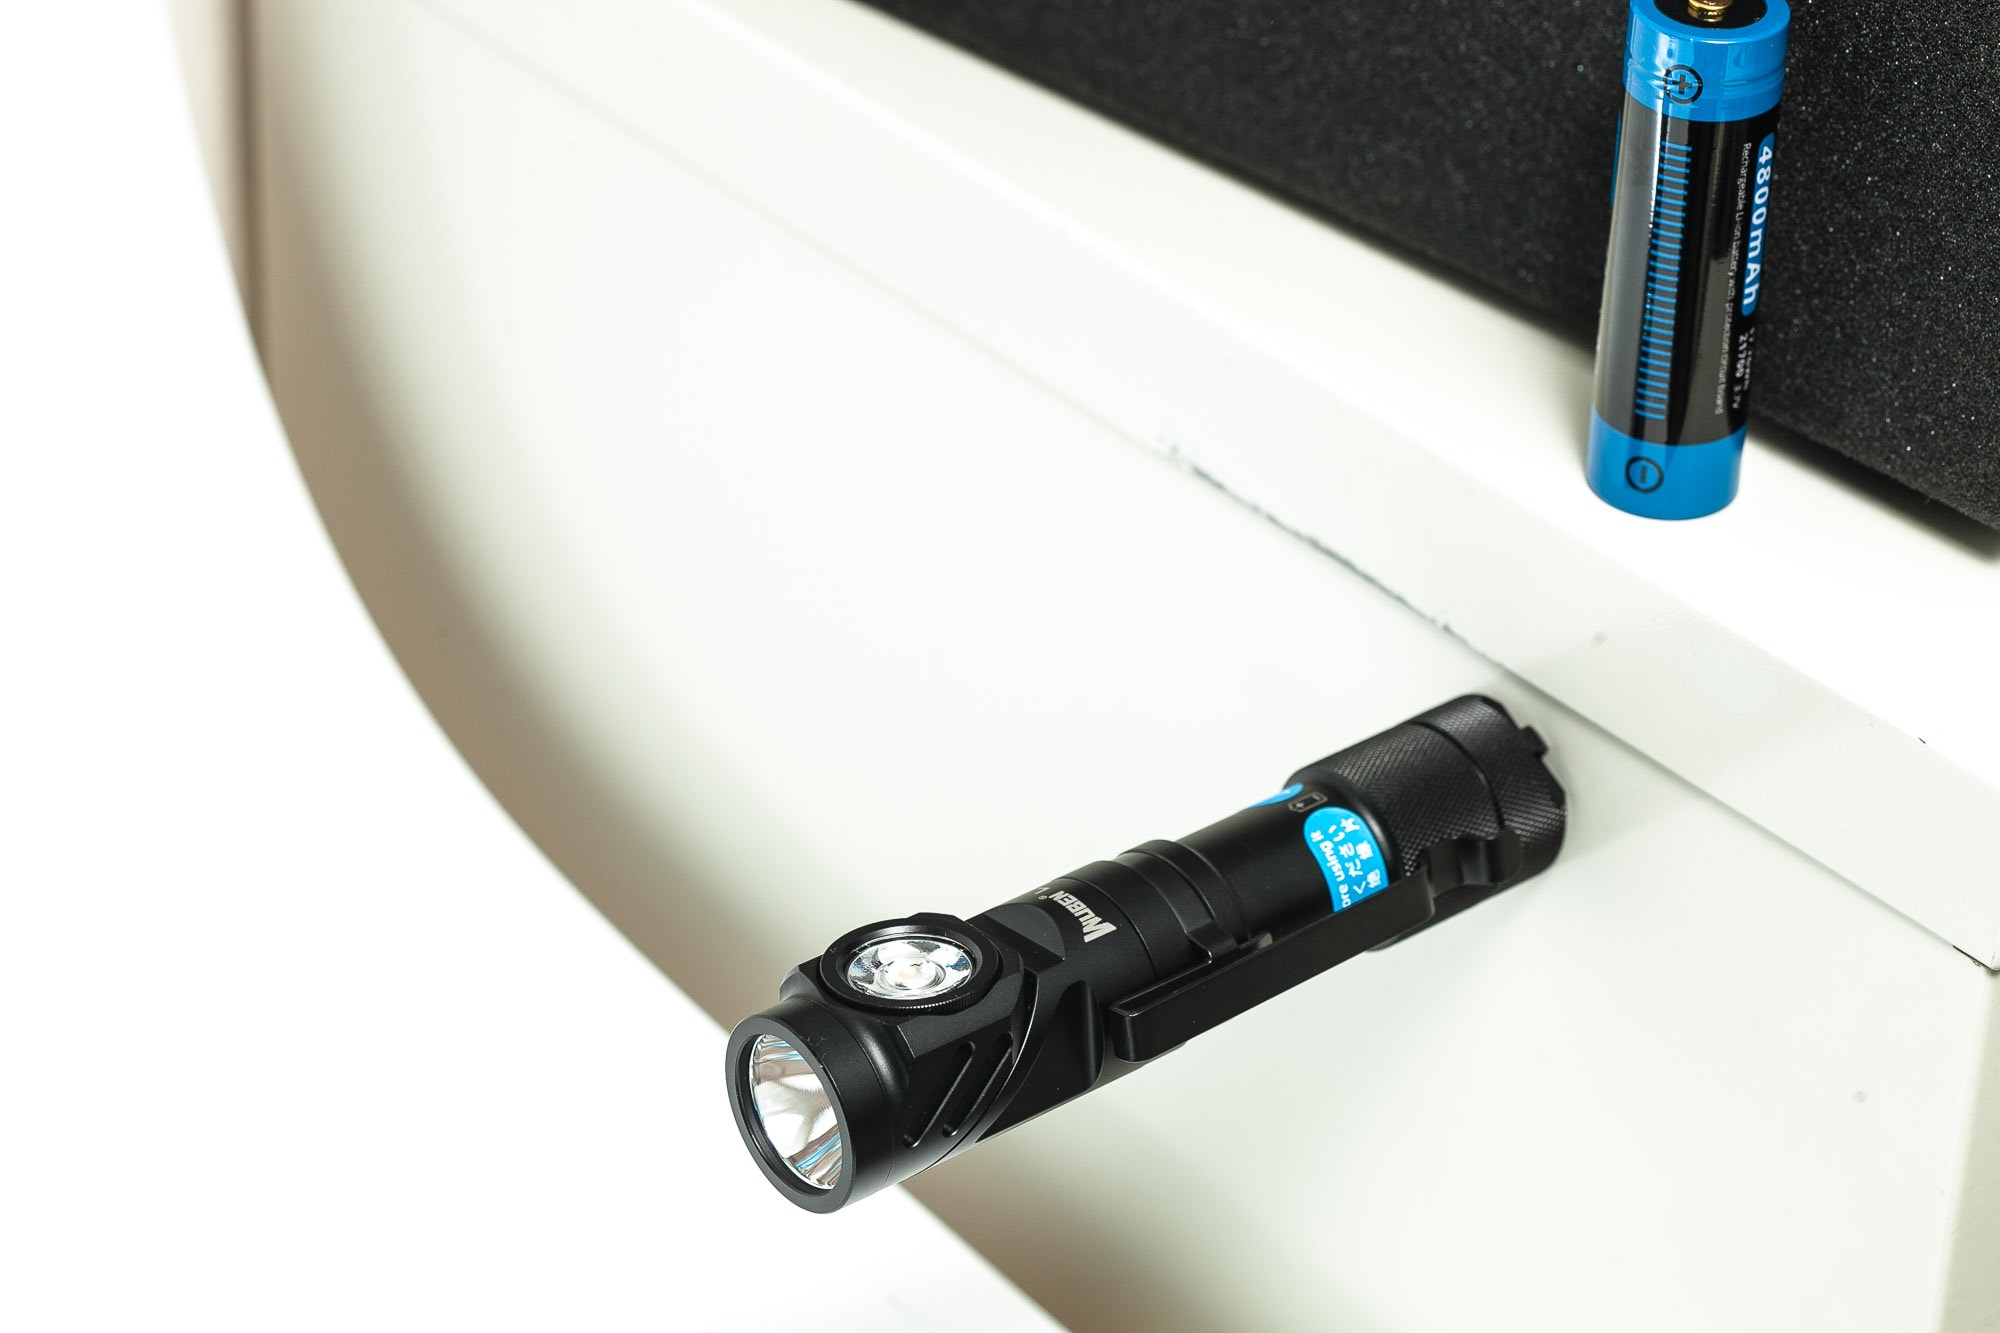
The pocket clip is pretty strong, and make it work well as a right-angle light. You can clip it to your pocket or a belt. Similarly, the strong and flat magnetic tailcap can be used to secure it against metal objects. It can tailstand very securely, but it can also put it horizontally against a vertical metal object, or just hang it upside down because of the built-in magnet. But basically in any position you want.
Wuben didn’t just leave us with these types of uses, it also included a lanyard for more traditional style carrying.
Having these features, make the L1 a versatile flashlight for a wide range of situations. Whether you are going camping, hiking or use it as a mechanic light. There are so many situations this L1 could be used.
Build Quality, and Warranty
Wuben doesn’t let you down when it comes to its build quality. And the same can be said for the L1. The anodization looks great, with a matte finish.
The only place where the L1 has knurling is on the tailcap, and the bottom part of the battery tube. This makes it easier to unscrew the tailcap and replace the battery. But since the flashlight has onboard charging, you don’t really need to remove the battery, and just charge it inside the flashlight.
And the tailcap is also the only thing you can remove, besides the pocket clip. Everything else is glued to keep curious people out.
Warranty:
15 days replacement: Within 15 days from the date of purchase, if the product has quality problems, customers can request free replacement.
1 year warranty: Within 1 year from the date of purchase, WUBEN offers free repairs for the product (excluding accessories) in case of quality issues. This warranty is applicable to WUBEN registered customers.


LED, Lens, Bezel, Beam, and Reflector
This is where it gets more interesting.
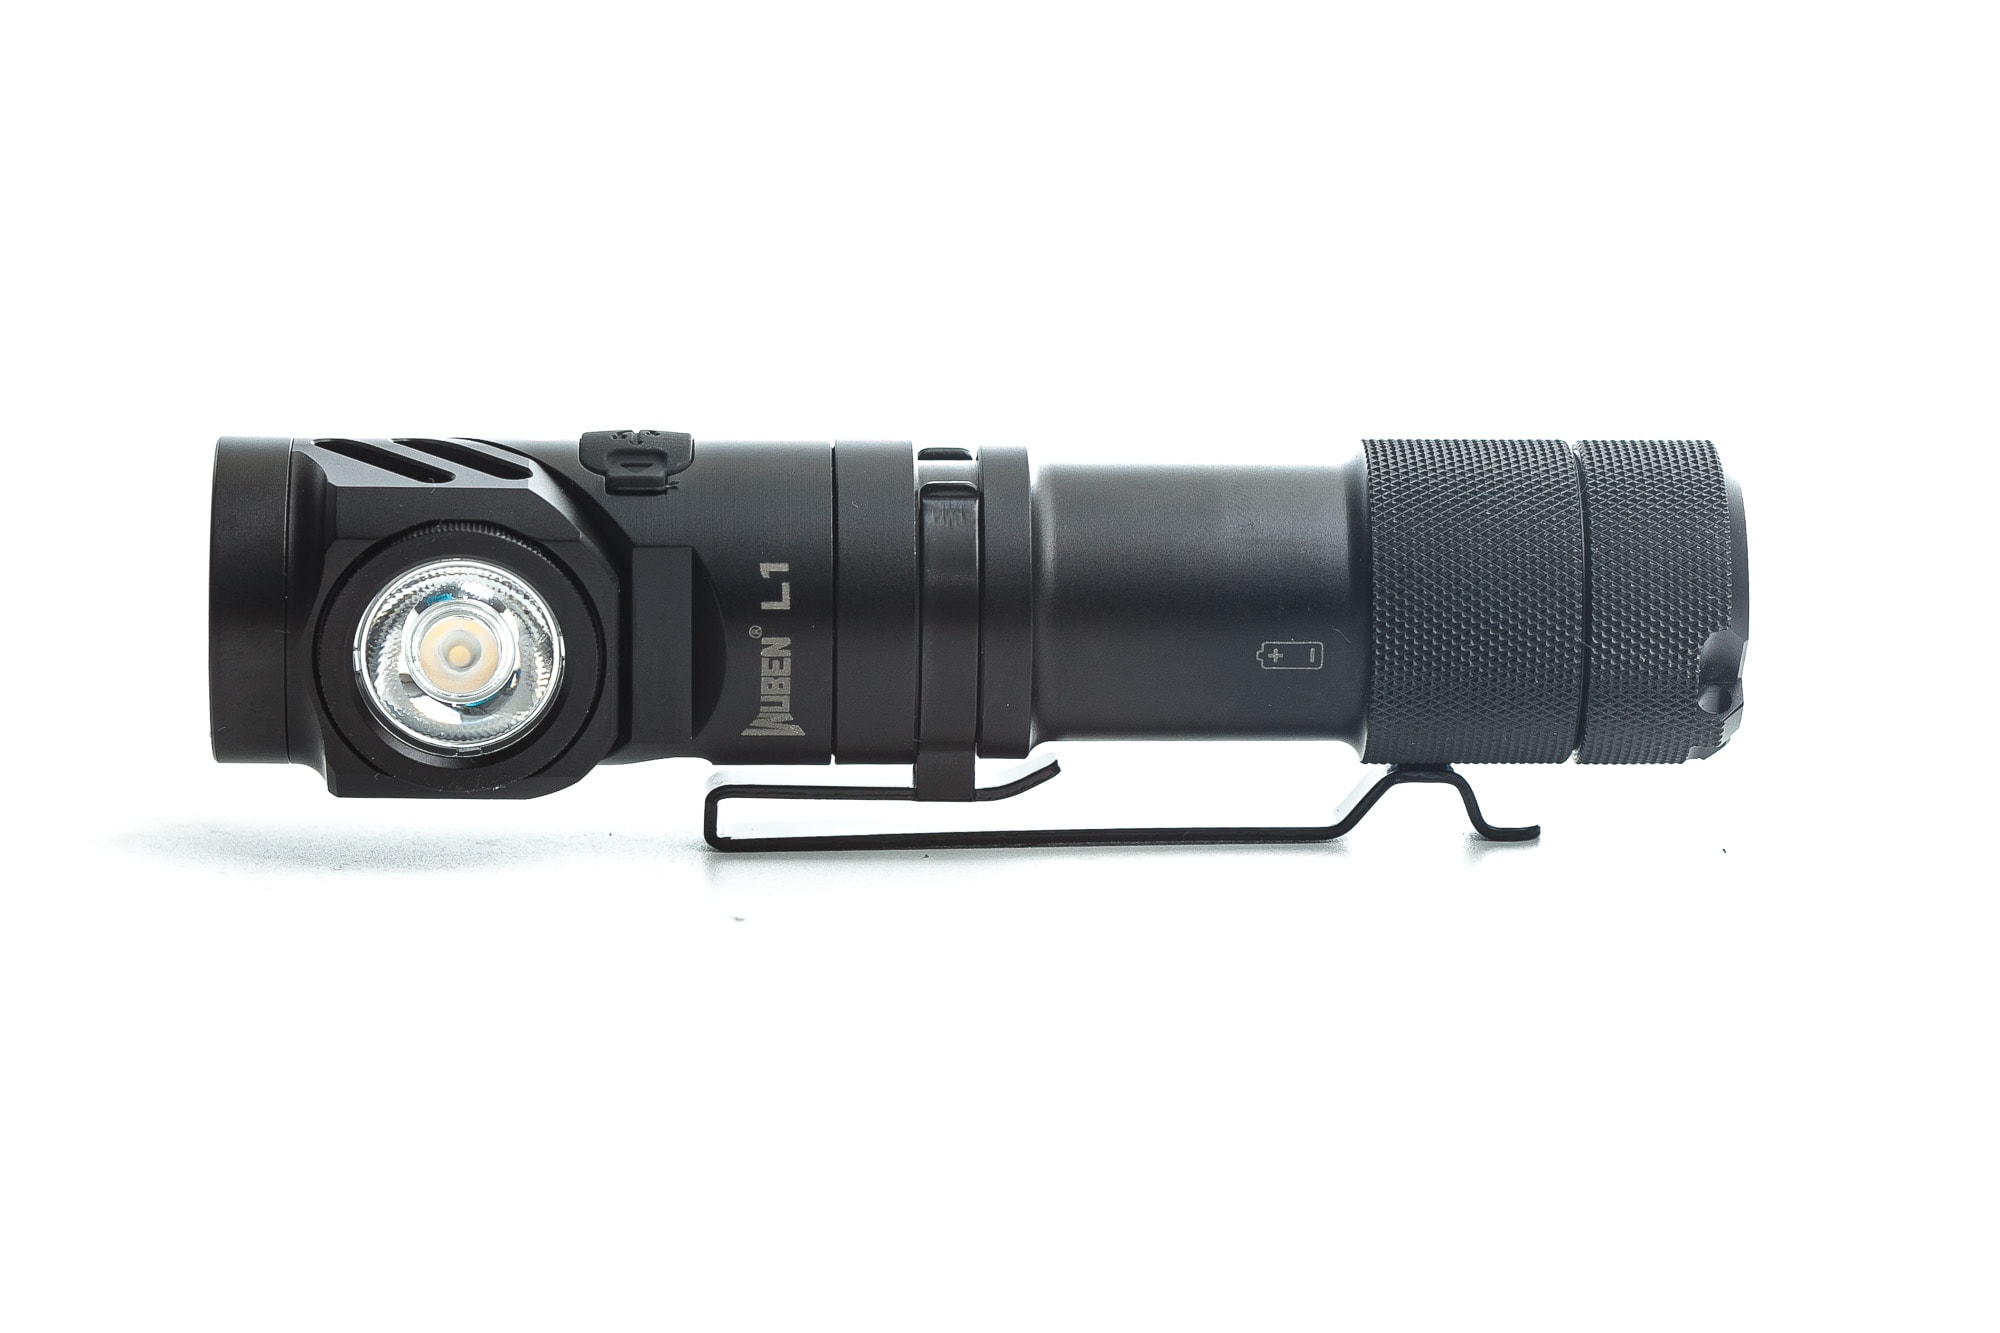
The L1 is pretty unique, as in: it has 2 LEDs, that can swivel, so you can choose which one is pointing forward, and which one is pointing sideways. This is pretty unique, and I have not seen this before. There are several flashlight that have a swivel head, but they typically only have one LED, allowing you to either point it forward or sideways. The L1 takes the concept to a whole new level.
Pretty cool!
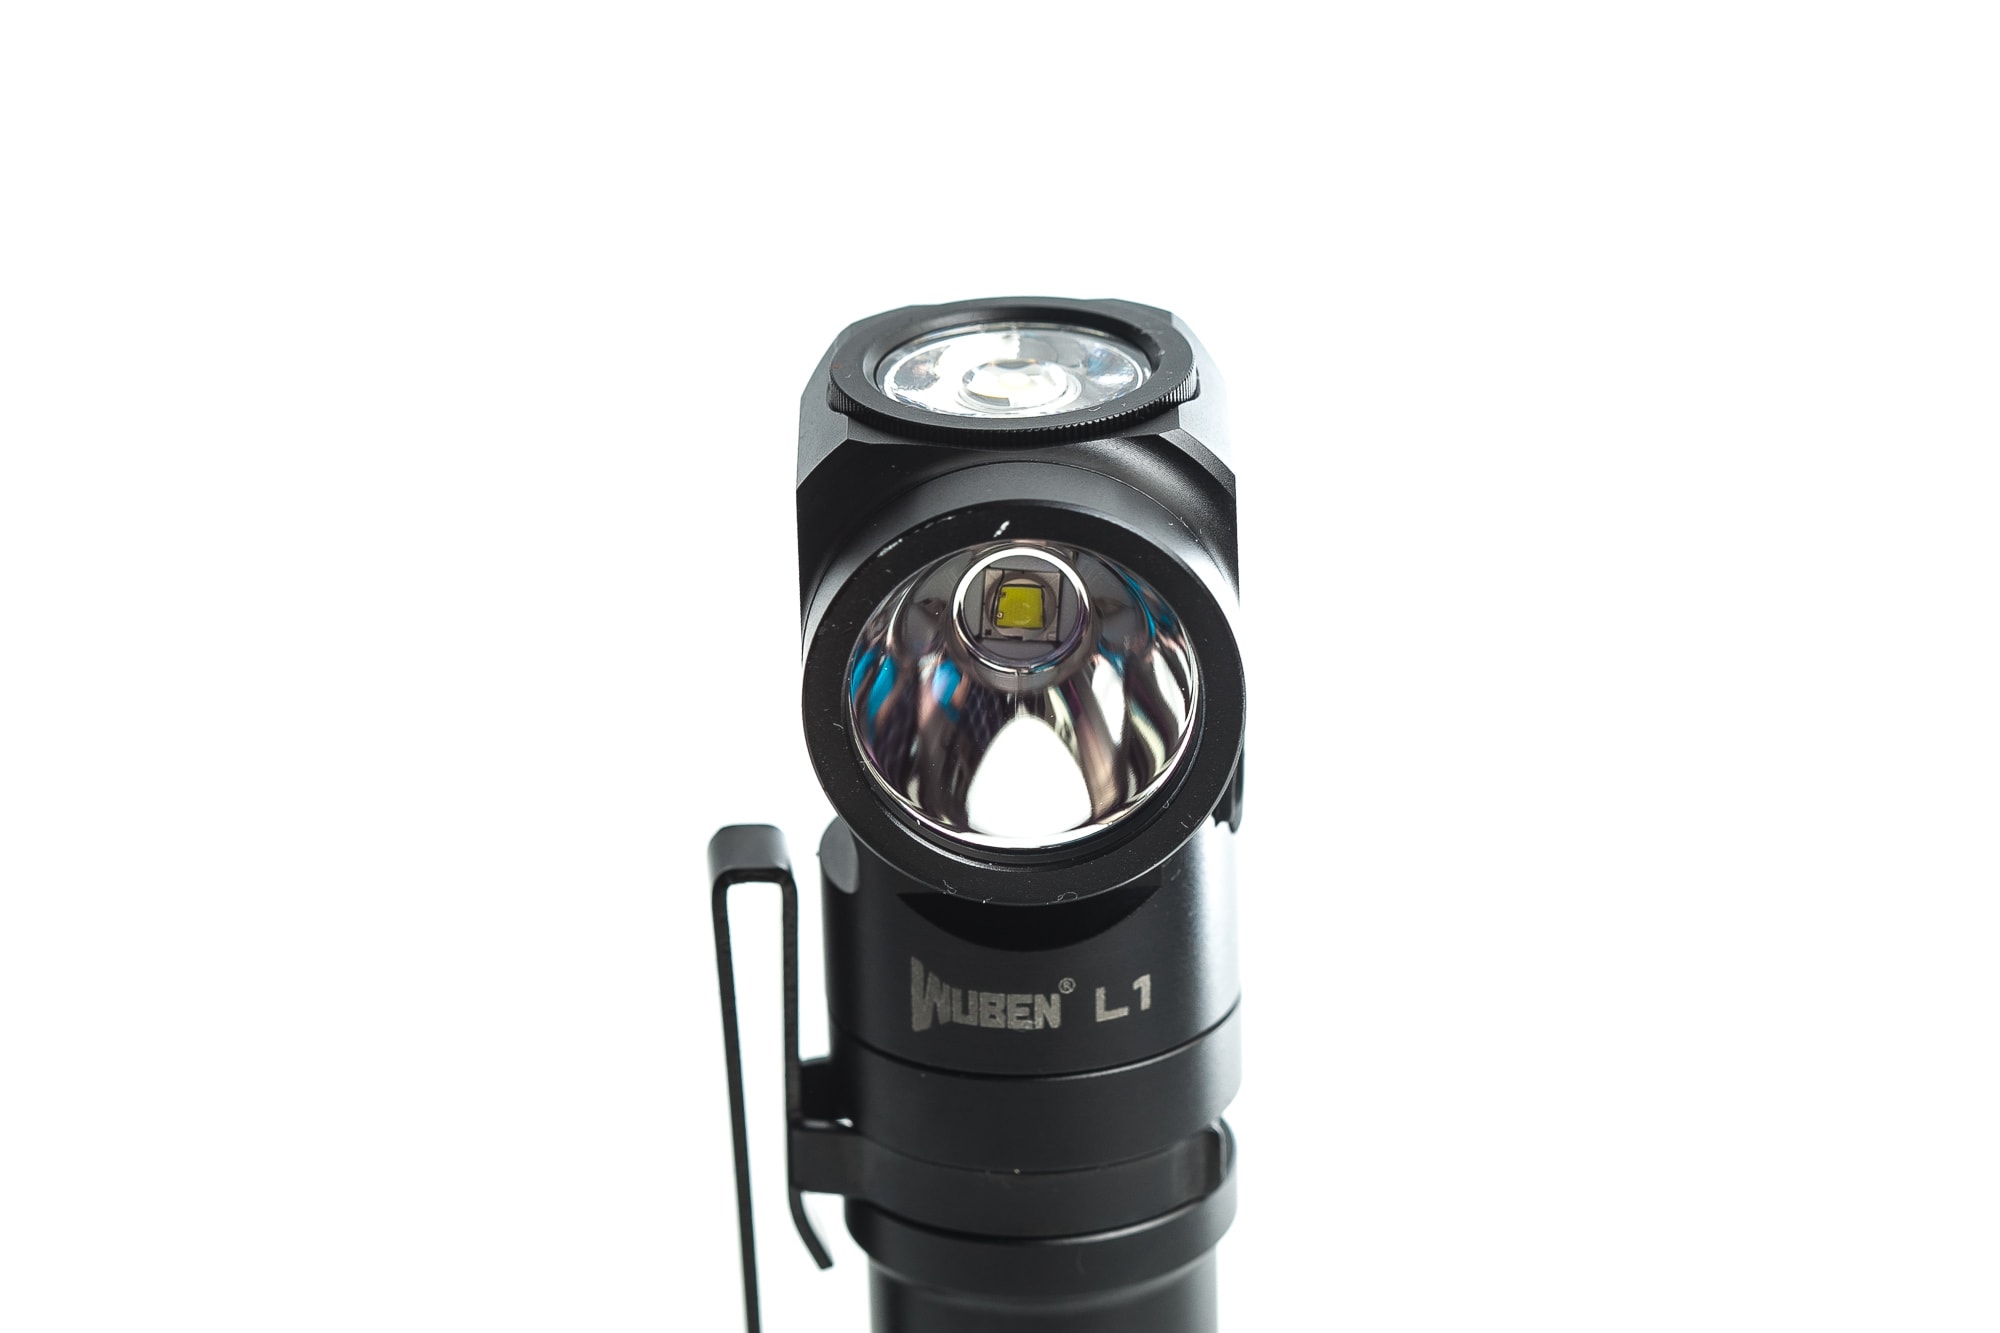
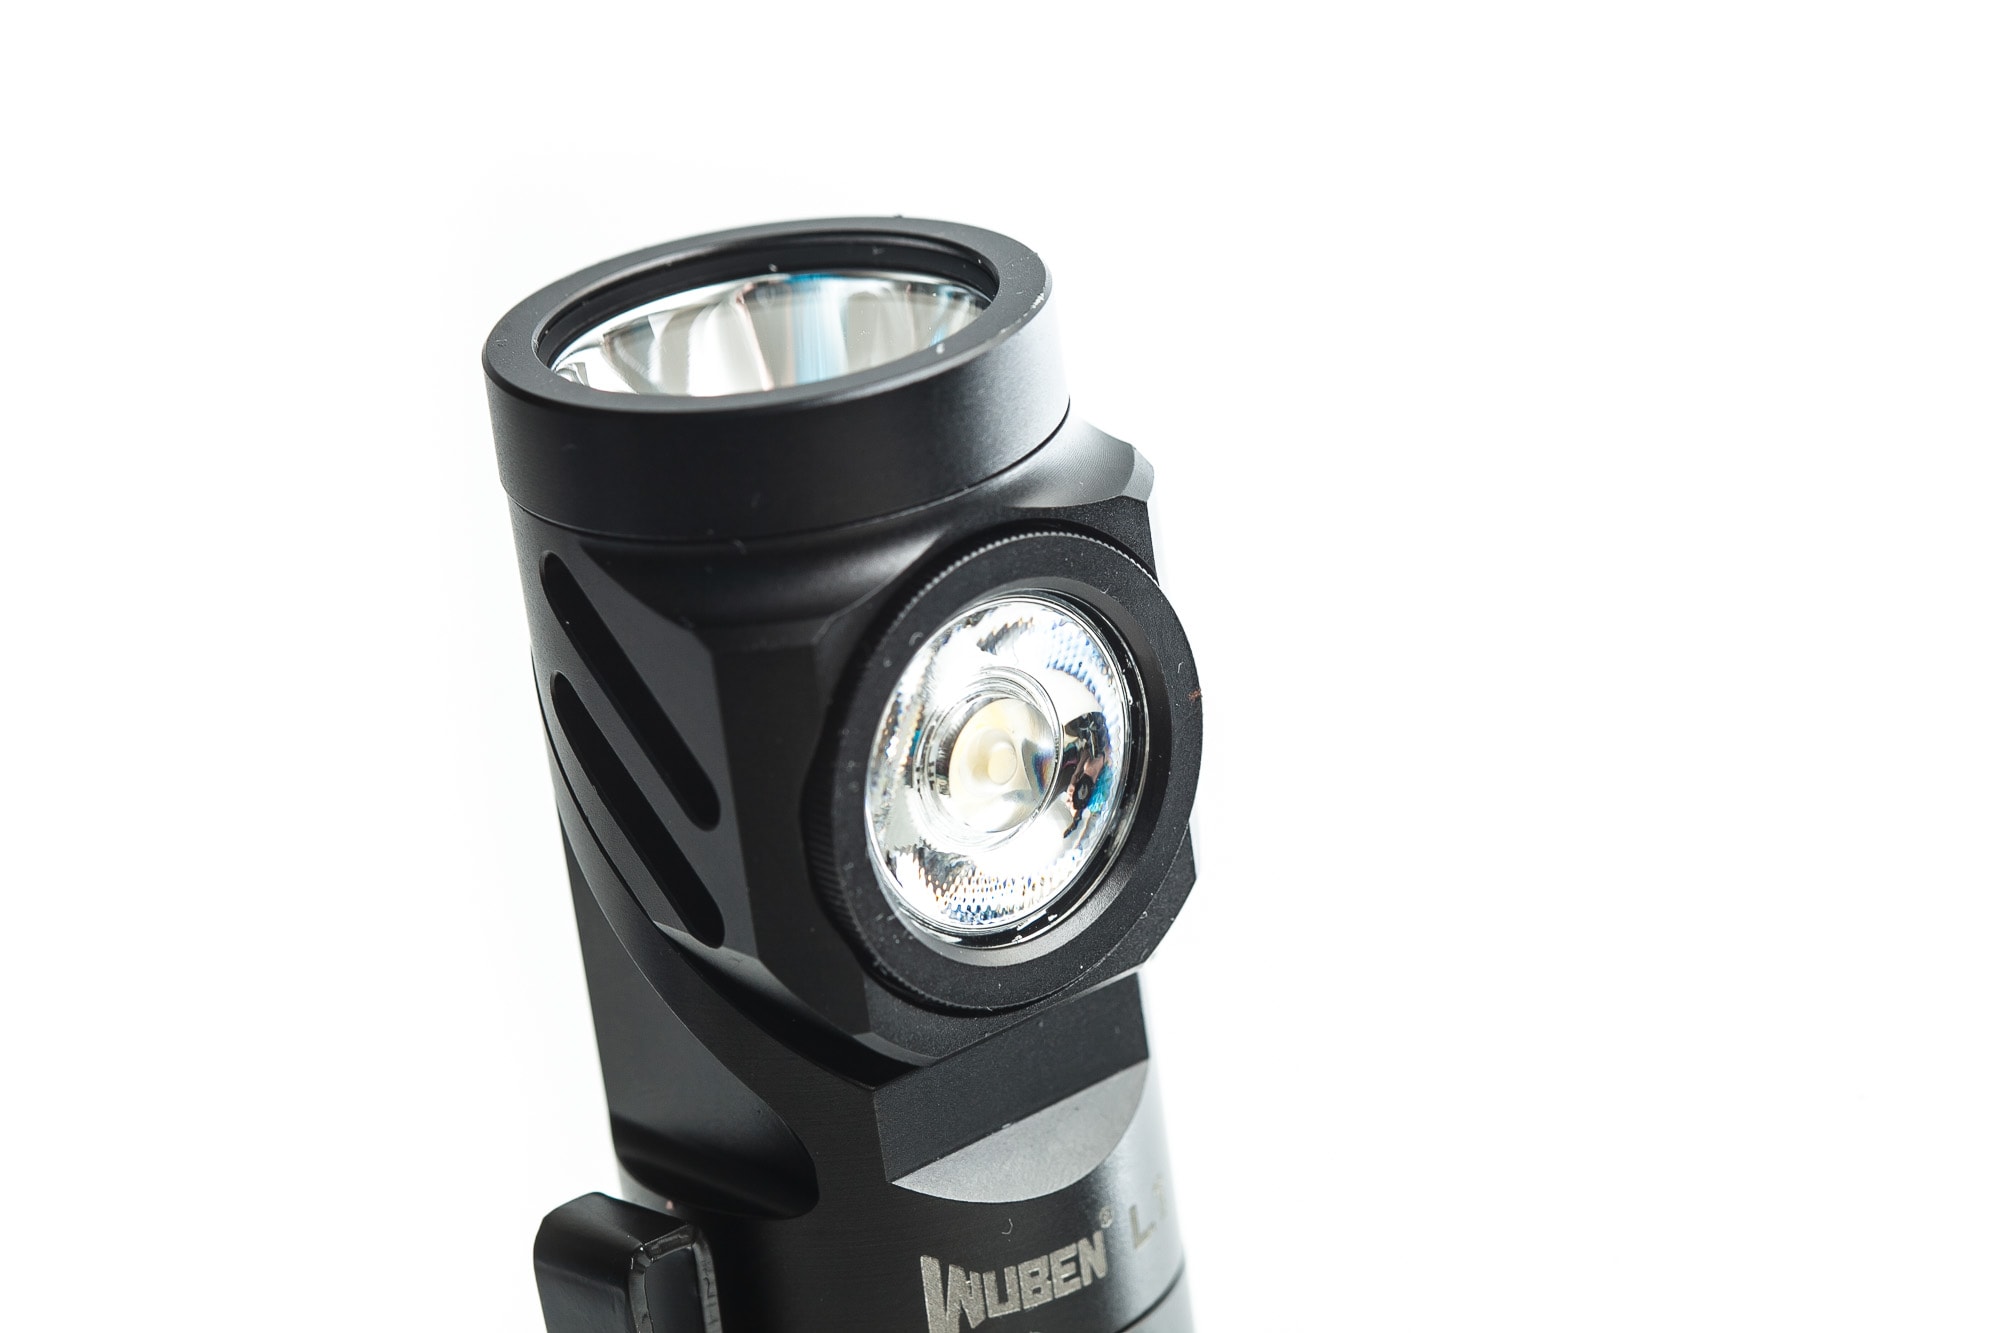
The main LED is a Luminus SST40 in a cool white temperature, and the secondary LED is either a Osram P9 (low CRI), or the Nichia 519A (high CRI). The main LED uses a traditional smooth reflector while the secondary LED uses a TIR optic resulting in a much wider beam.
So you get to choose between a throwy LED and a wide LED, either pointing forward or sideways. This gives you so many options to choose from.
The main light has a pretty distinct hotspot, with lots of spill, but with the typical cool white and greenish tint.
The secondary light has a much wider beam, but the hotspot is still visible, albeit much bigger than the main LED.
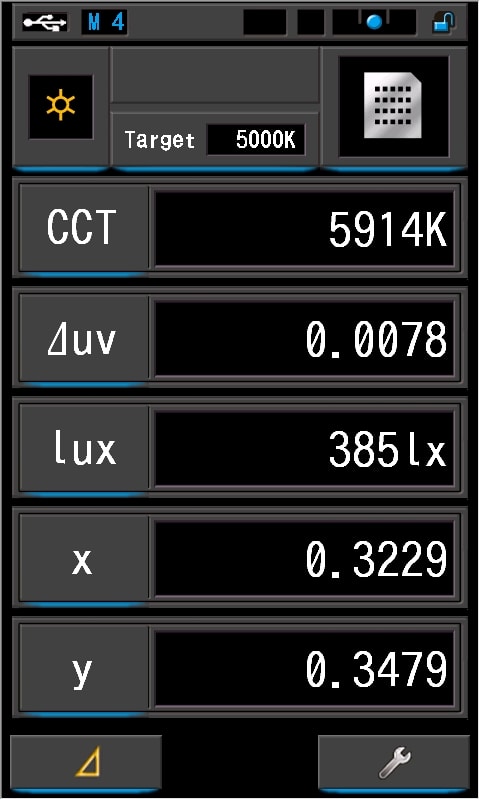
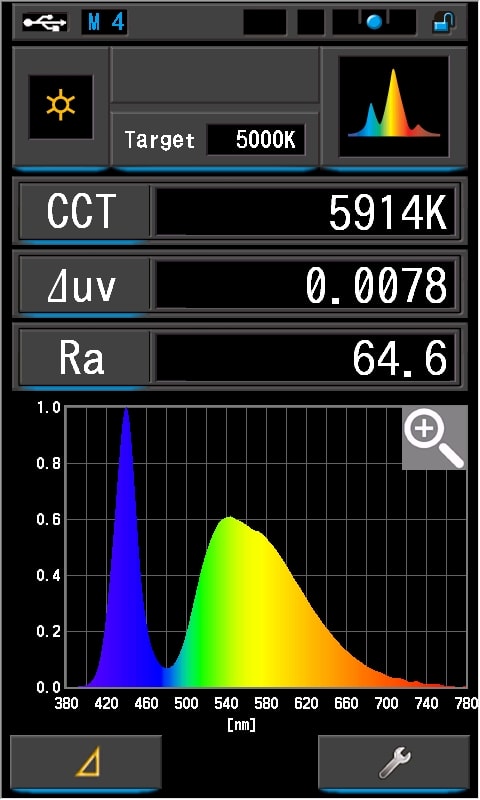
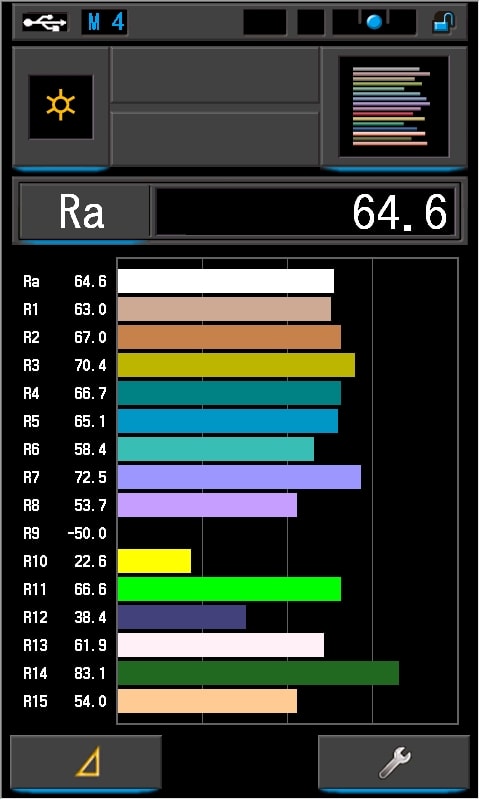
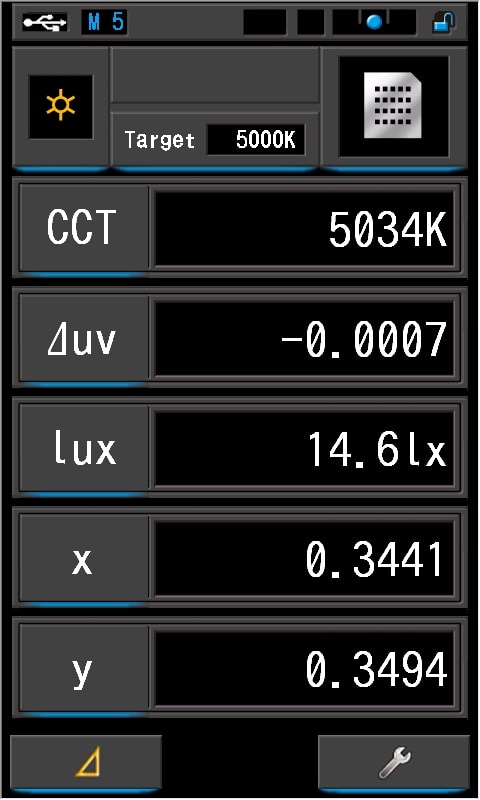
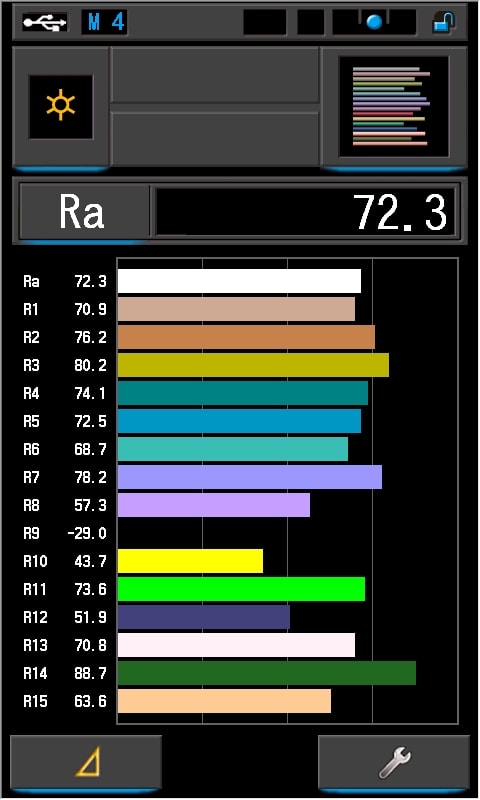
Since Wuben sent both version, here are my measurements using a Sekonic Spectromaster C-800.
Here’s what I got when measured from about 5 meters, trying to position the meter in the center of the hotspot.
Main LED SST40:
- CCT: 5914K
- CRI Ra: 64.6
- duv: 0.0078
This means that the beam is just a tad more greenish in the center.
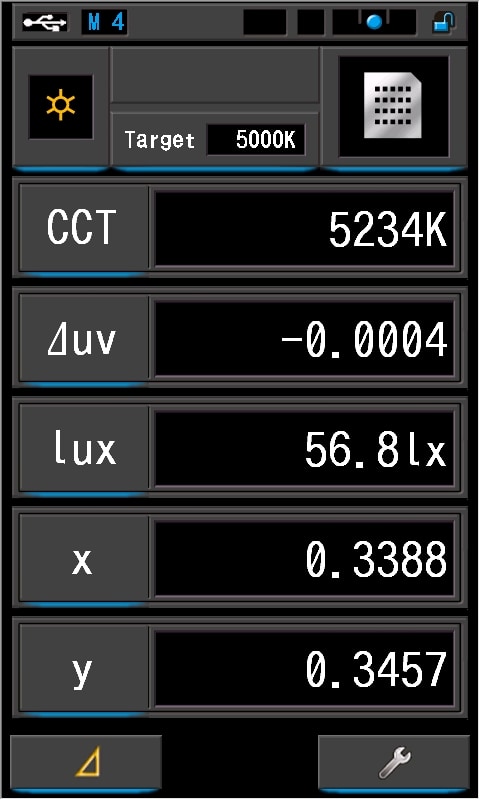
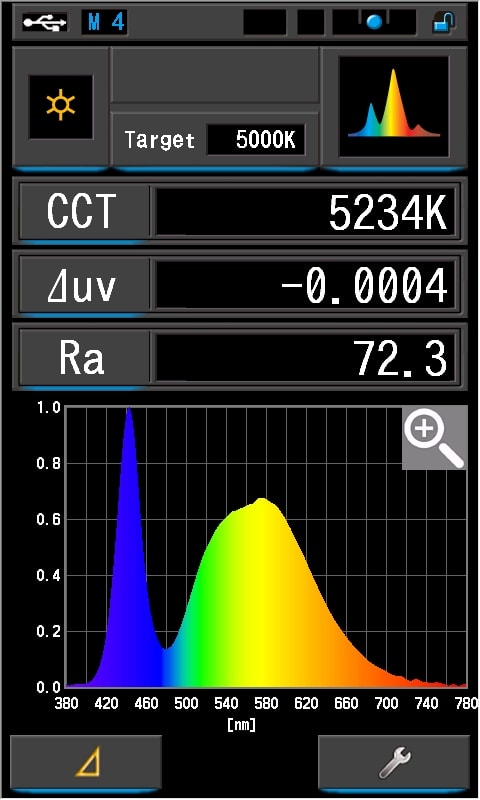
Secondary LED Osram P9
- CCT: 5234K
- CRI Ra: 72.3
- duv: -0.0004
This is a little warmer beam than the main LED.
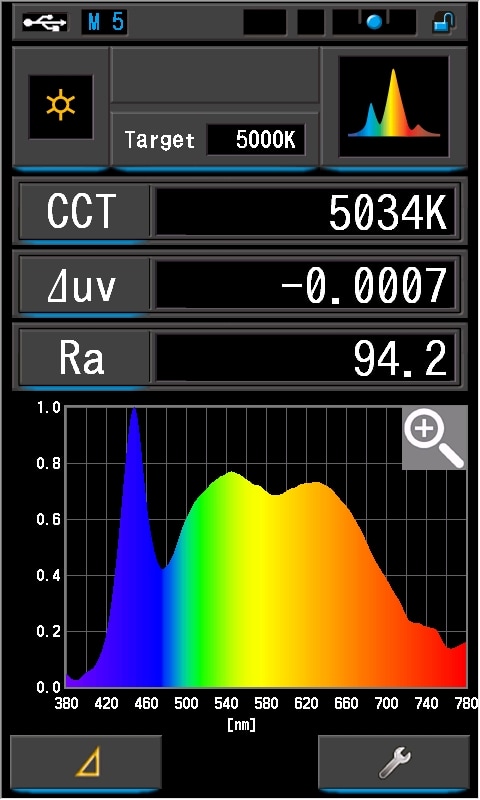
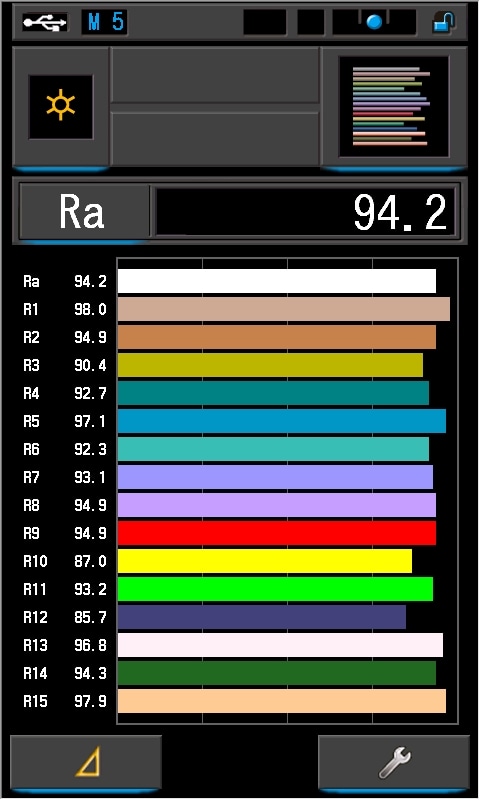
Secondary LED Nichia 519A
- CCT: 5034K
- CRI Ra: 94.2
- duv: -0.0007

Dimensions and size comparison
Dimensions:
| Wuben L1 dimensions | Millimeters | Inches |
|---|---|---|
| Length | 130 mm | 5.1 in |
| head diameter | 28 mm | 1.1 in |
| Tailcap diameter | 28 mm | 1.1 in |
Dimensions are rounded to the nearest millimeter, and to the nearest tenth of an Inch.
Weight I measured:
| Wuben L1 weight | Weight in grams | Weight in Oz. |
|---|---|---|
| Without battery | 103 g | 3.64 oz |
| With battery | 175 g | 6.18 oz |
Weight is rounded to the nearest gram, and to the nearest tenth of an Oz.
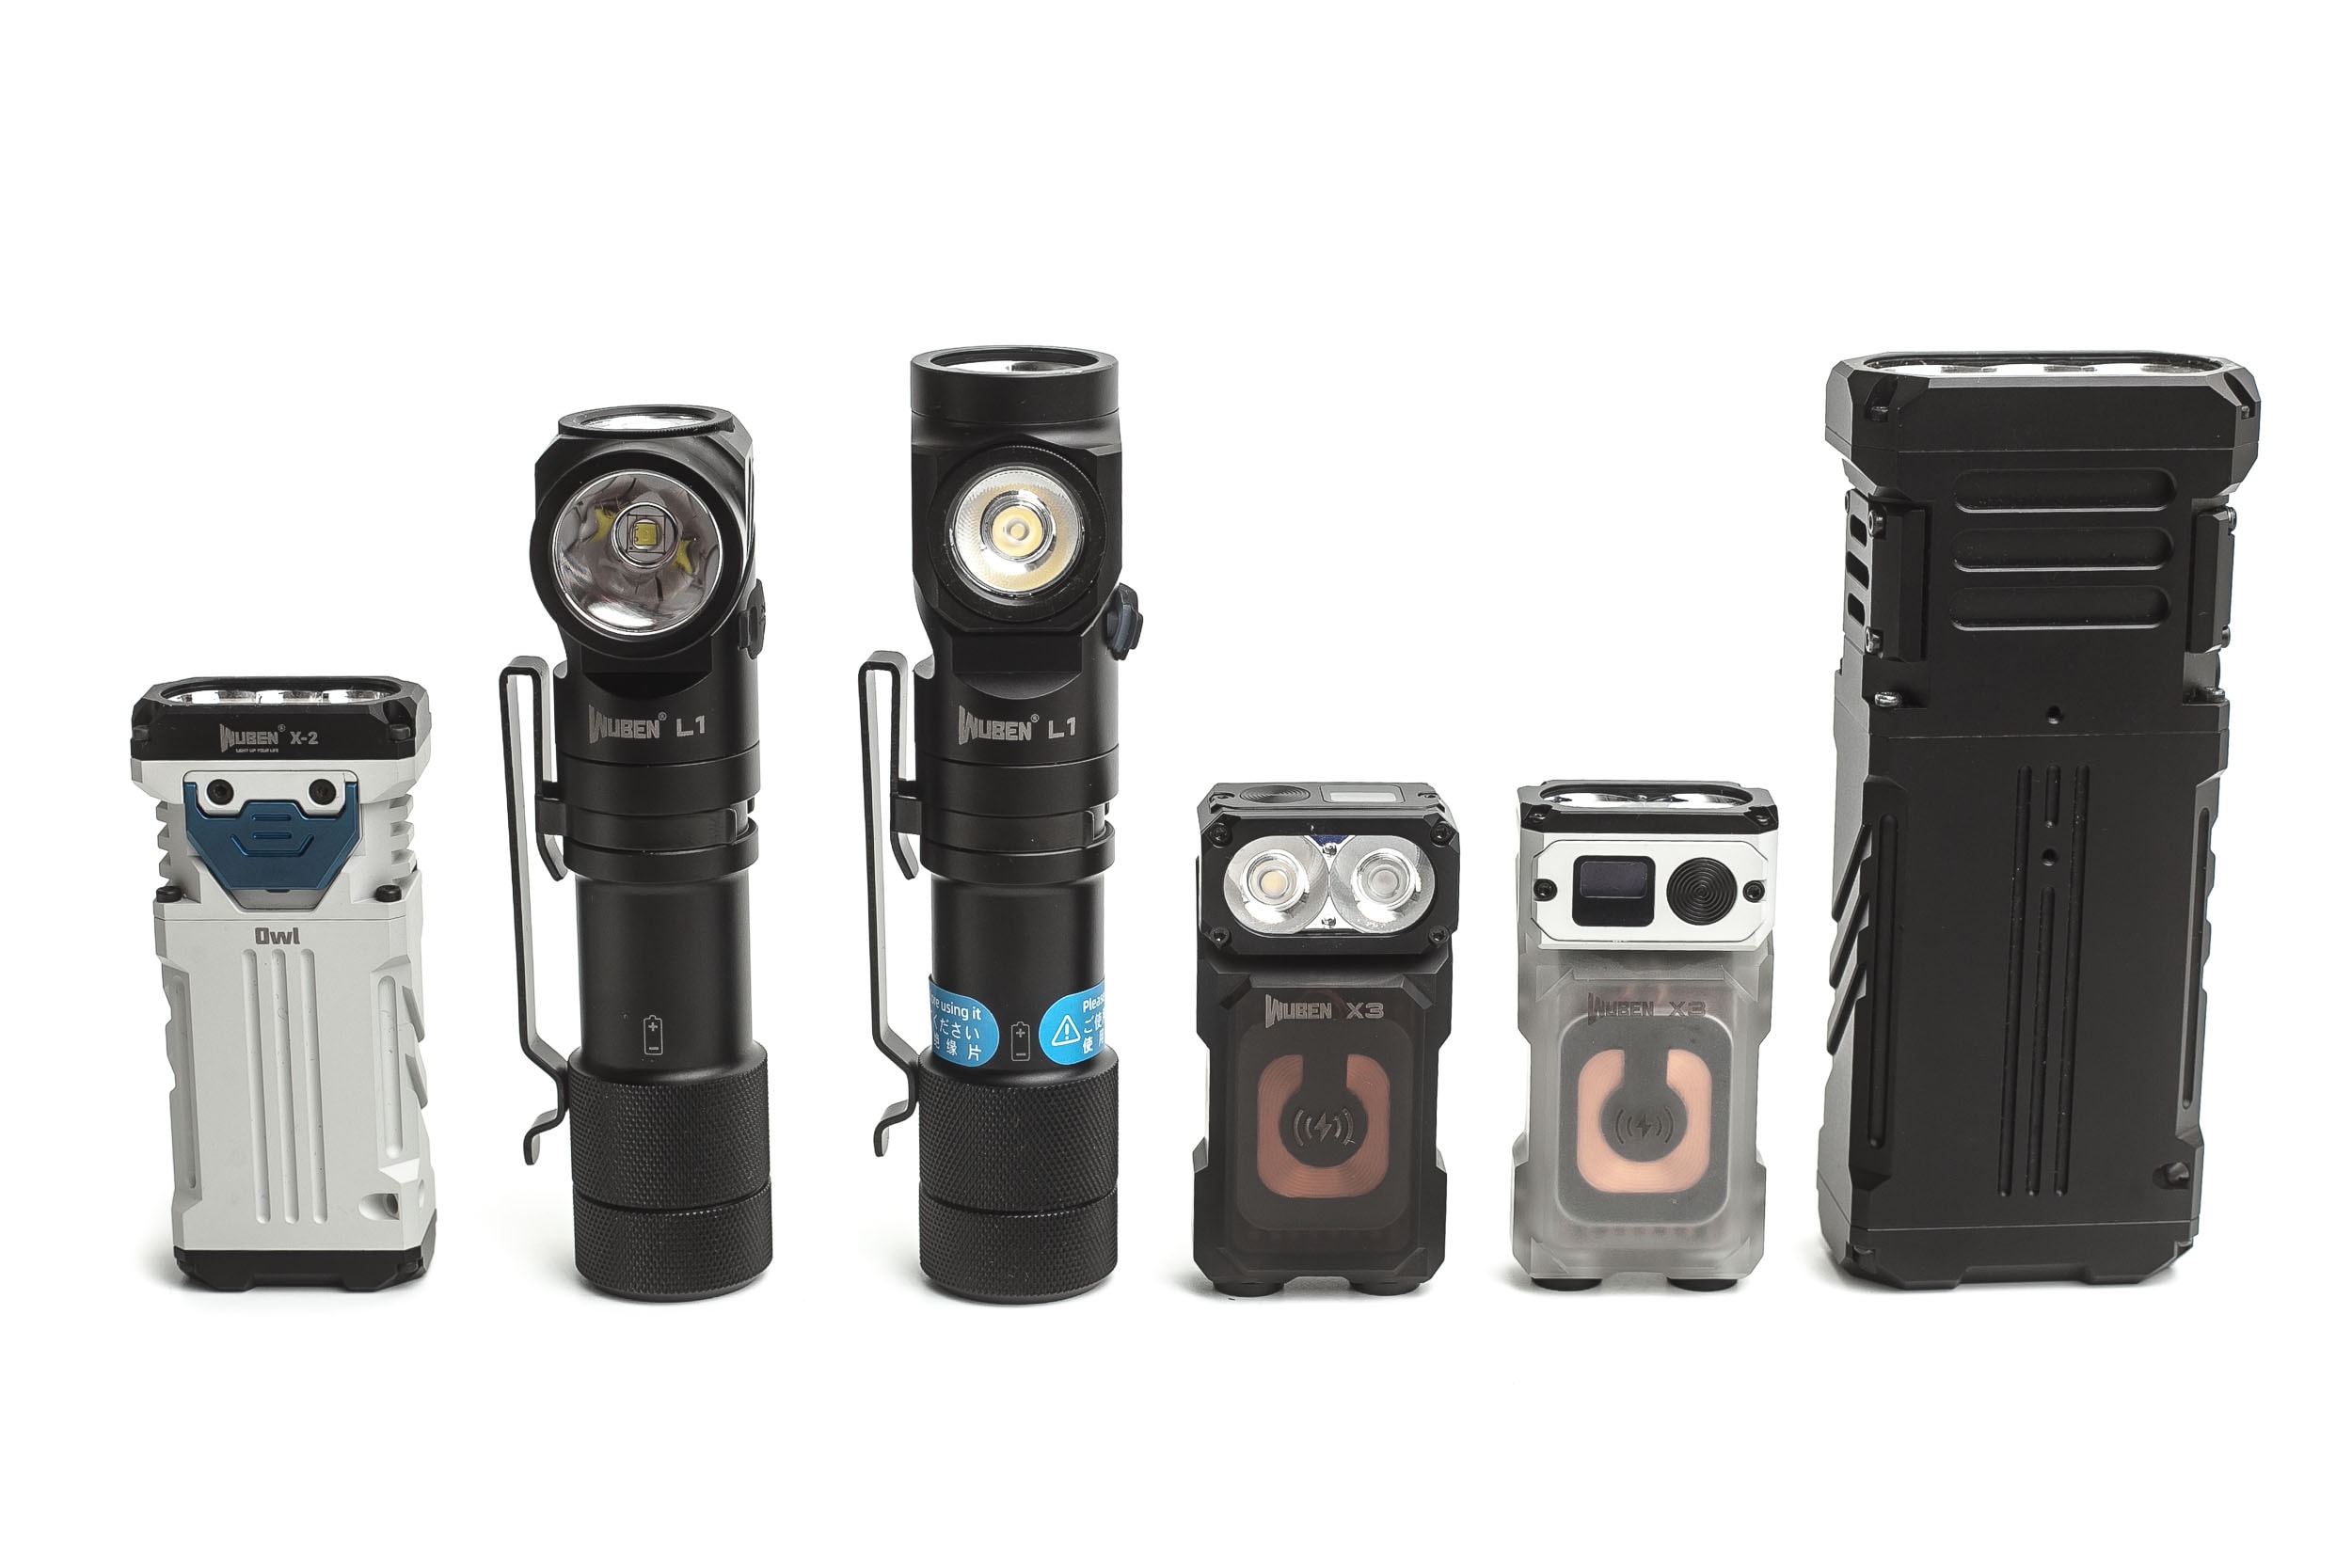
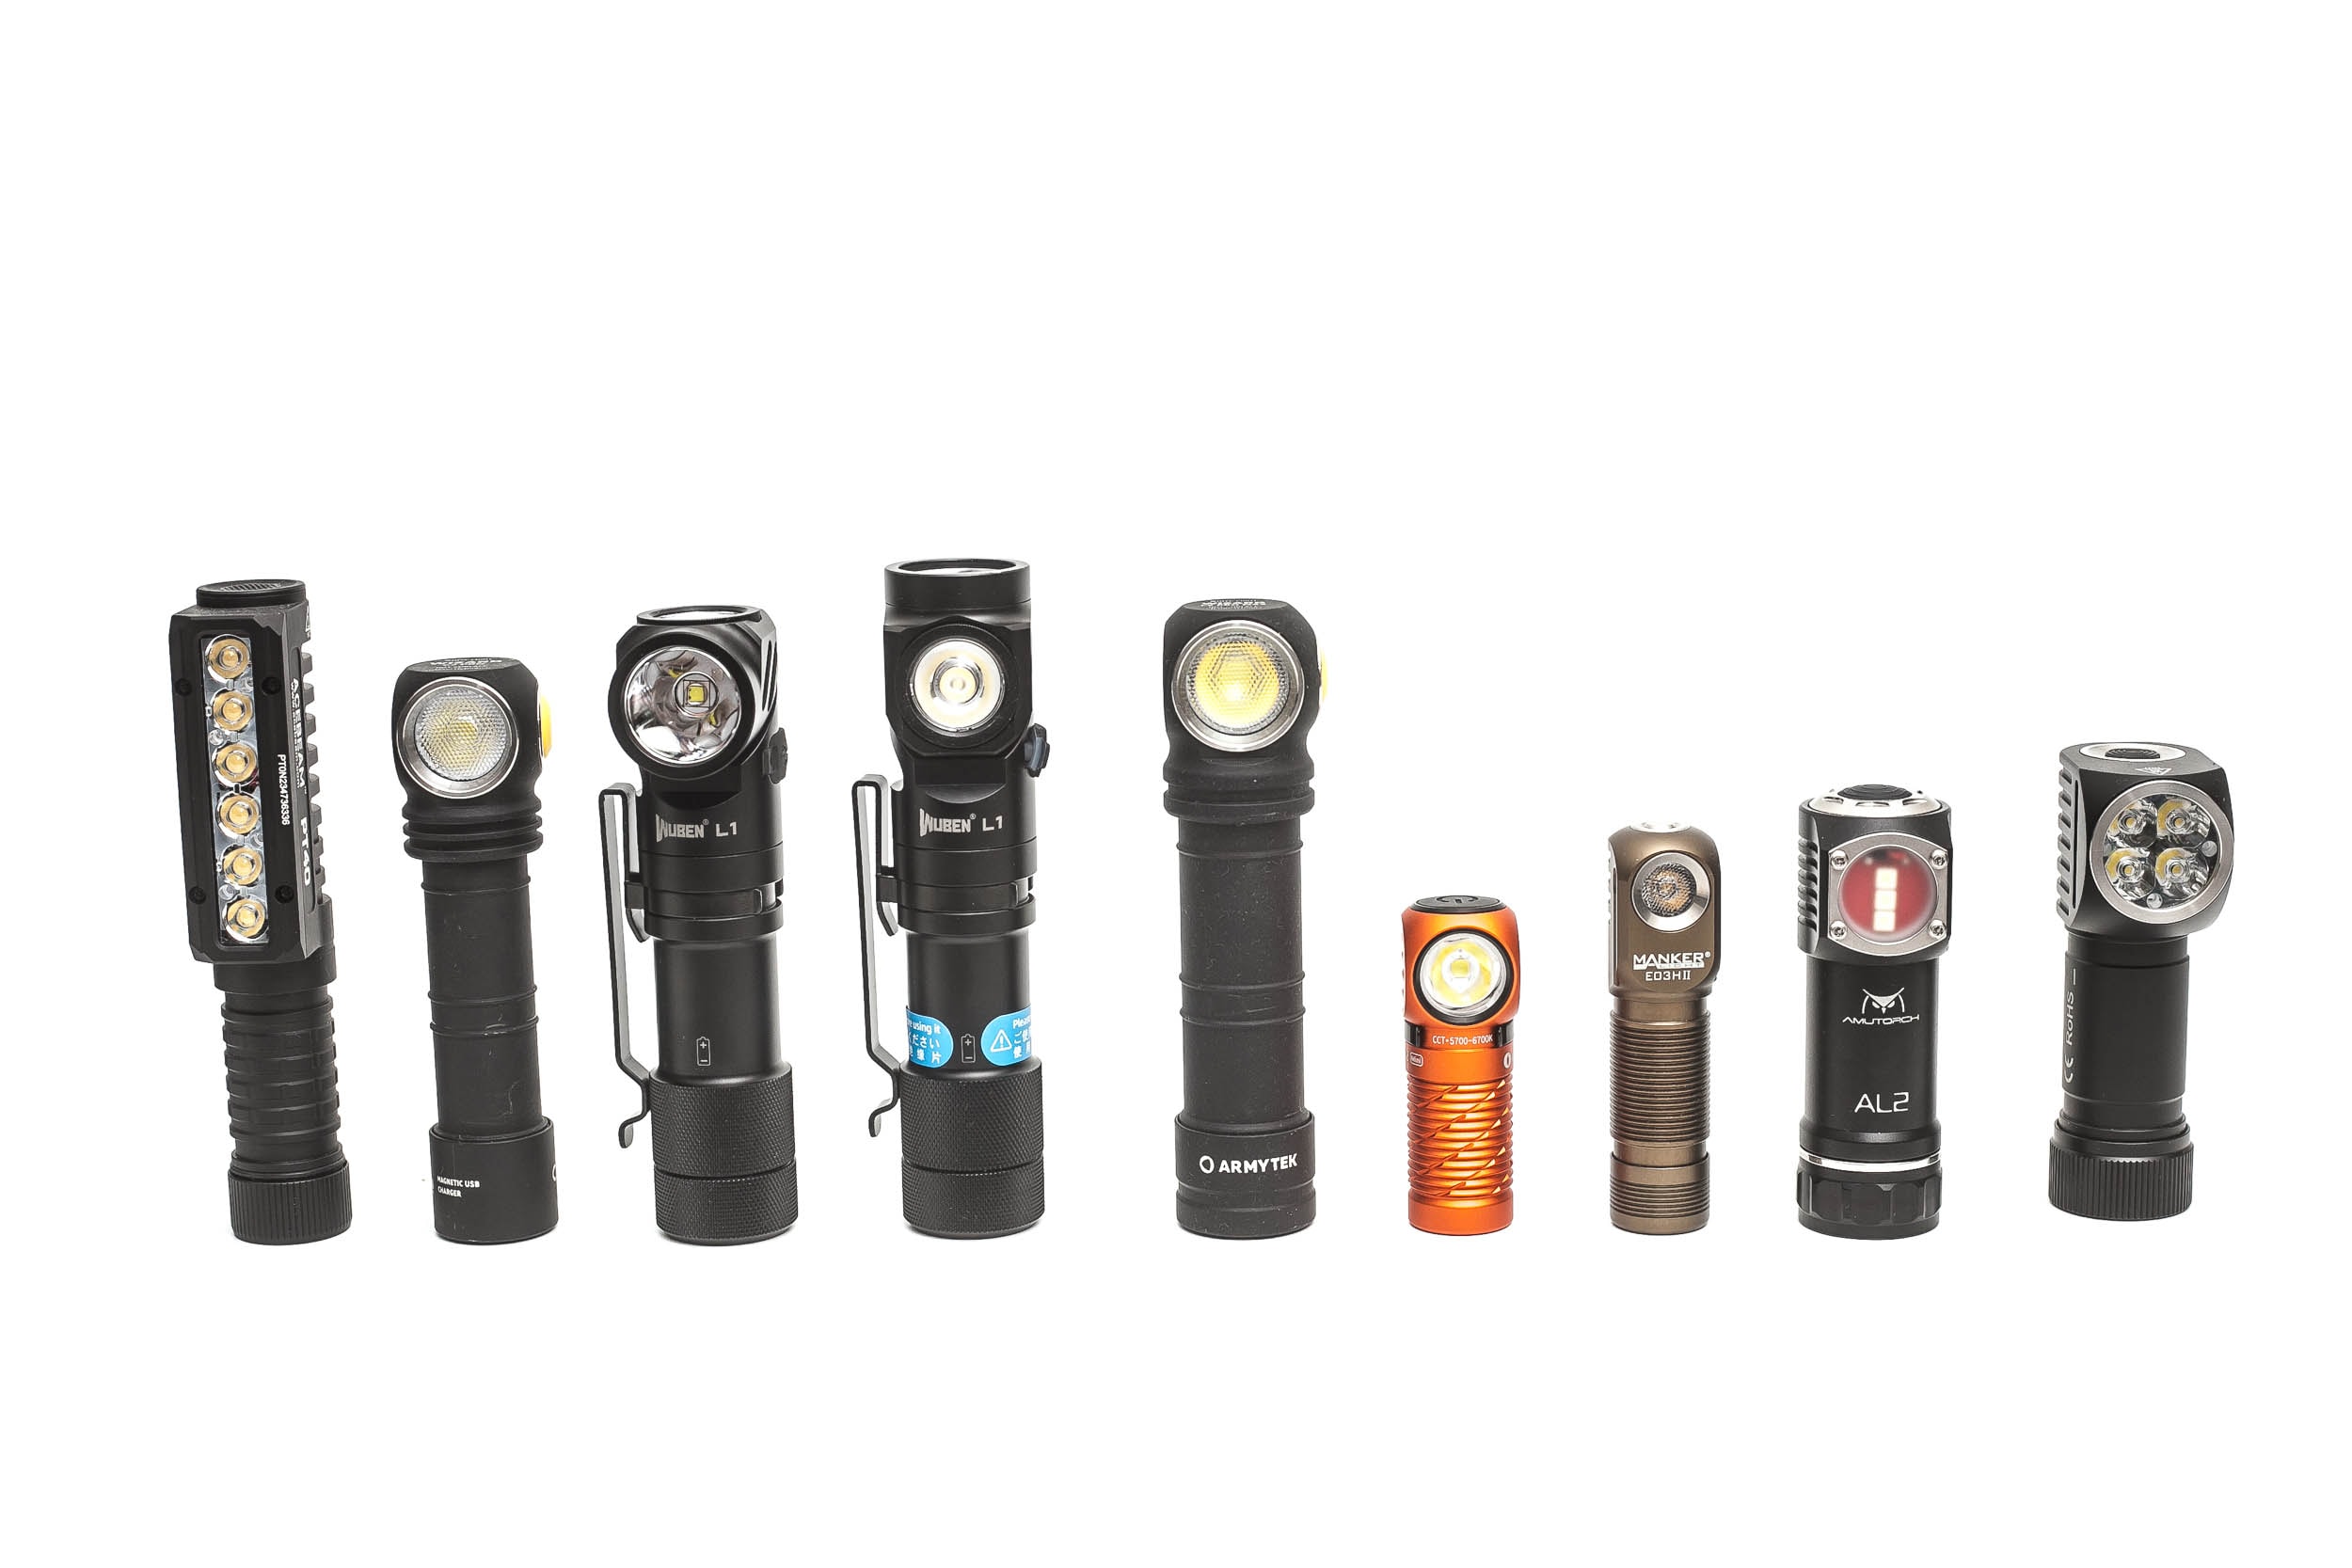
EDC Flashlight comparison
Size compared to some other well-known flashlights
Group 1, Wuben flashlights, from left to right: Wuben X2, Wuben L1, Wuben L1, Wuben X3, Wuben X3, Wuben X1
Group 2, right angle flashlights, from left to right: Acebeam PT40, Armytek Wizard C2 Pro, Wuben L1, Wuben L1, Armytek Wizard C2 Pro Max, Olight Perun Mini 2, Manker E03H II, Amutorch AL2, FireFlies PL47G2
Driver & User Interface:
The L1 uses 2 electronic switches, located near the head, with the top switch for the main LED, and the bottom switch for the secondary LED. And when the main LED is pointing forward, this makes the switches easy to use. But if you swivel the head around, so the secondary LED is pointing forward, you would press the top switch instinctively, but that’s for the main LED.
So, these switches could be a bit confusing at time. Also, the LEDs don’t have the same UI, so you’d have to remember them both.
Main modes:
- Main LED: Low, Medium, High, Turbo
- Secondary LED: Low, Med, High
Available special modes (blinkies):
- Main LED: Strobe,SOS
- Secondary LED: nothing
Main LED, top switch, from OFF:
- Single-click: to last used mode, (mode memory)
- Double click: Turbo
- Triple-click: Strobe (and single click will make it turn off again, or double click for Turbo)
- Press and hold: Moon
- 4 clicks+: also just Strobe
Main LED, top switch, from ON:
- Single-click: off
- Double click: Turbo, press and hold for next mode
- Triple-click: Strobe, another triple click for SOS (a single click returns to previously used mode, double click for Turbo)
- Press and hold: run through the menu from low to high (no Turbo)
Secondary LED, bottom switch, from OFF:
- Single-click: to last used mode, (mode memory)
- Double click: nothing.. it will just turn on and off
- Triple-click: nothing
- Press and hold: nothing
- 4 clicks+: nothing, it just turns on, off, on, off
Secondary LED, bottom switch, from ON:
- Single-click: off
- Double click: Turbo, press and hold for next mode
- Triple-click: Strobe, another triple click for SOS (a single click returns to previously used mode, double click for Turbo)
- Press and hold: run through the menu from low to high (no Turbo)
Shortcuts:
- To Turbo main LED: double click from on/off
- To Strobe main LED: triple-click from off or on
Mode memory:
- Yes, but strobe and turbo are not memorized.
Blinky modes menu:
- There are 2, strobe and SOS with just the primary LED.
- Strobe can be activated with 3 clicks from on and off. While in strobe mode, a single click will return to the last used mode, and a double click will go to Turbo. When you entered it from Off, it will return to Off with a single click.
- You can go from Strobe to SOS by 3 clicks as well, and also return back to Strobe with 3 clicks
Low battery warning:
- The battery level indicator will show the charge status:
- Blue: 90-10%
- Blue blinking: 40-90%
- Red: 15-40%
- Red blinking 0-15%
Lock-out mode:
- I couldn’t find a lockout mode in the manual, and I tried a few things myself but nothing locked it.
- You can do a mechanical lockout by unscrewing the tailcap a quarter turn
- Another safety feature could be to turn the pocket clip so it’s in line with the 2 switches. That way, you are less likely to activate any of the 2 by accident.
PWM:
- Not visible in any mode.
Wuben L1 charging & batteries
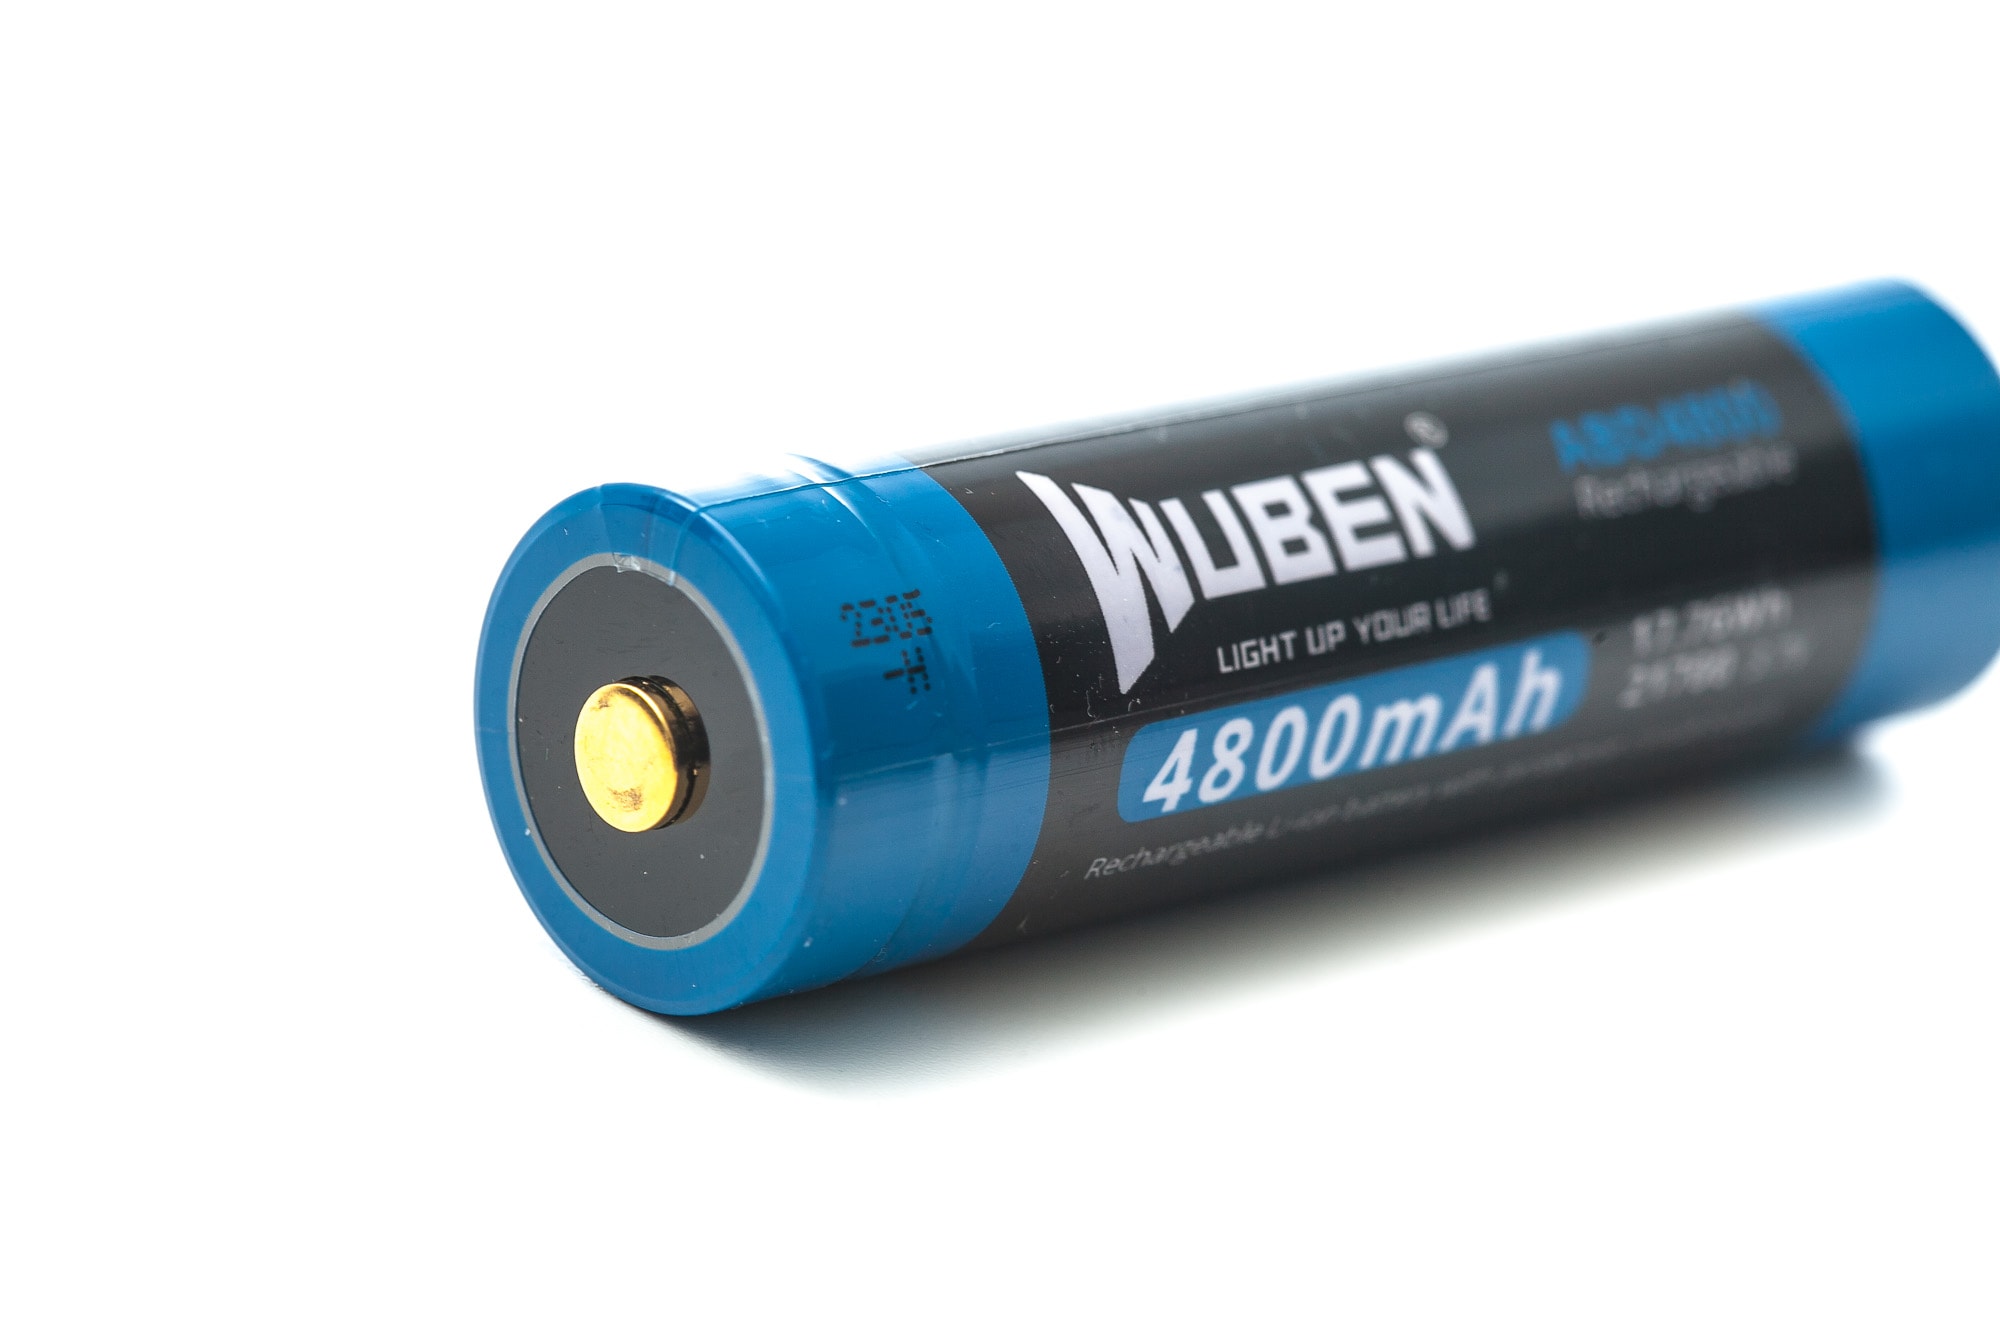
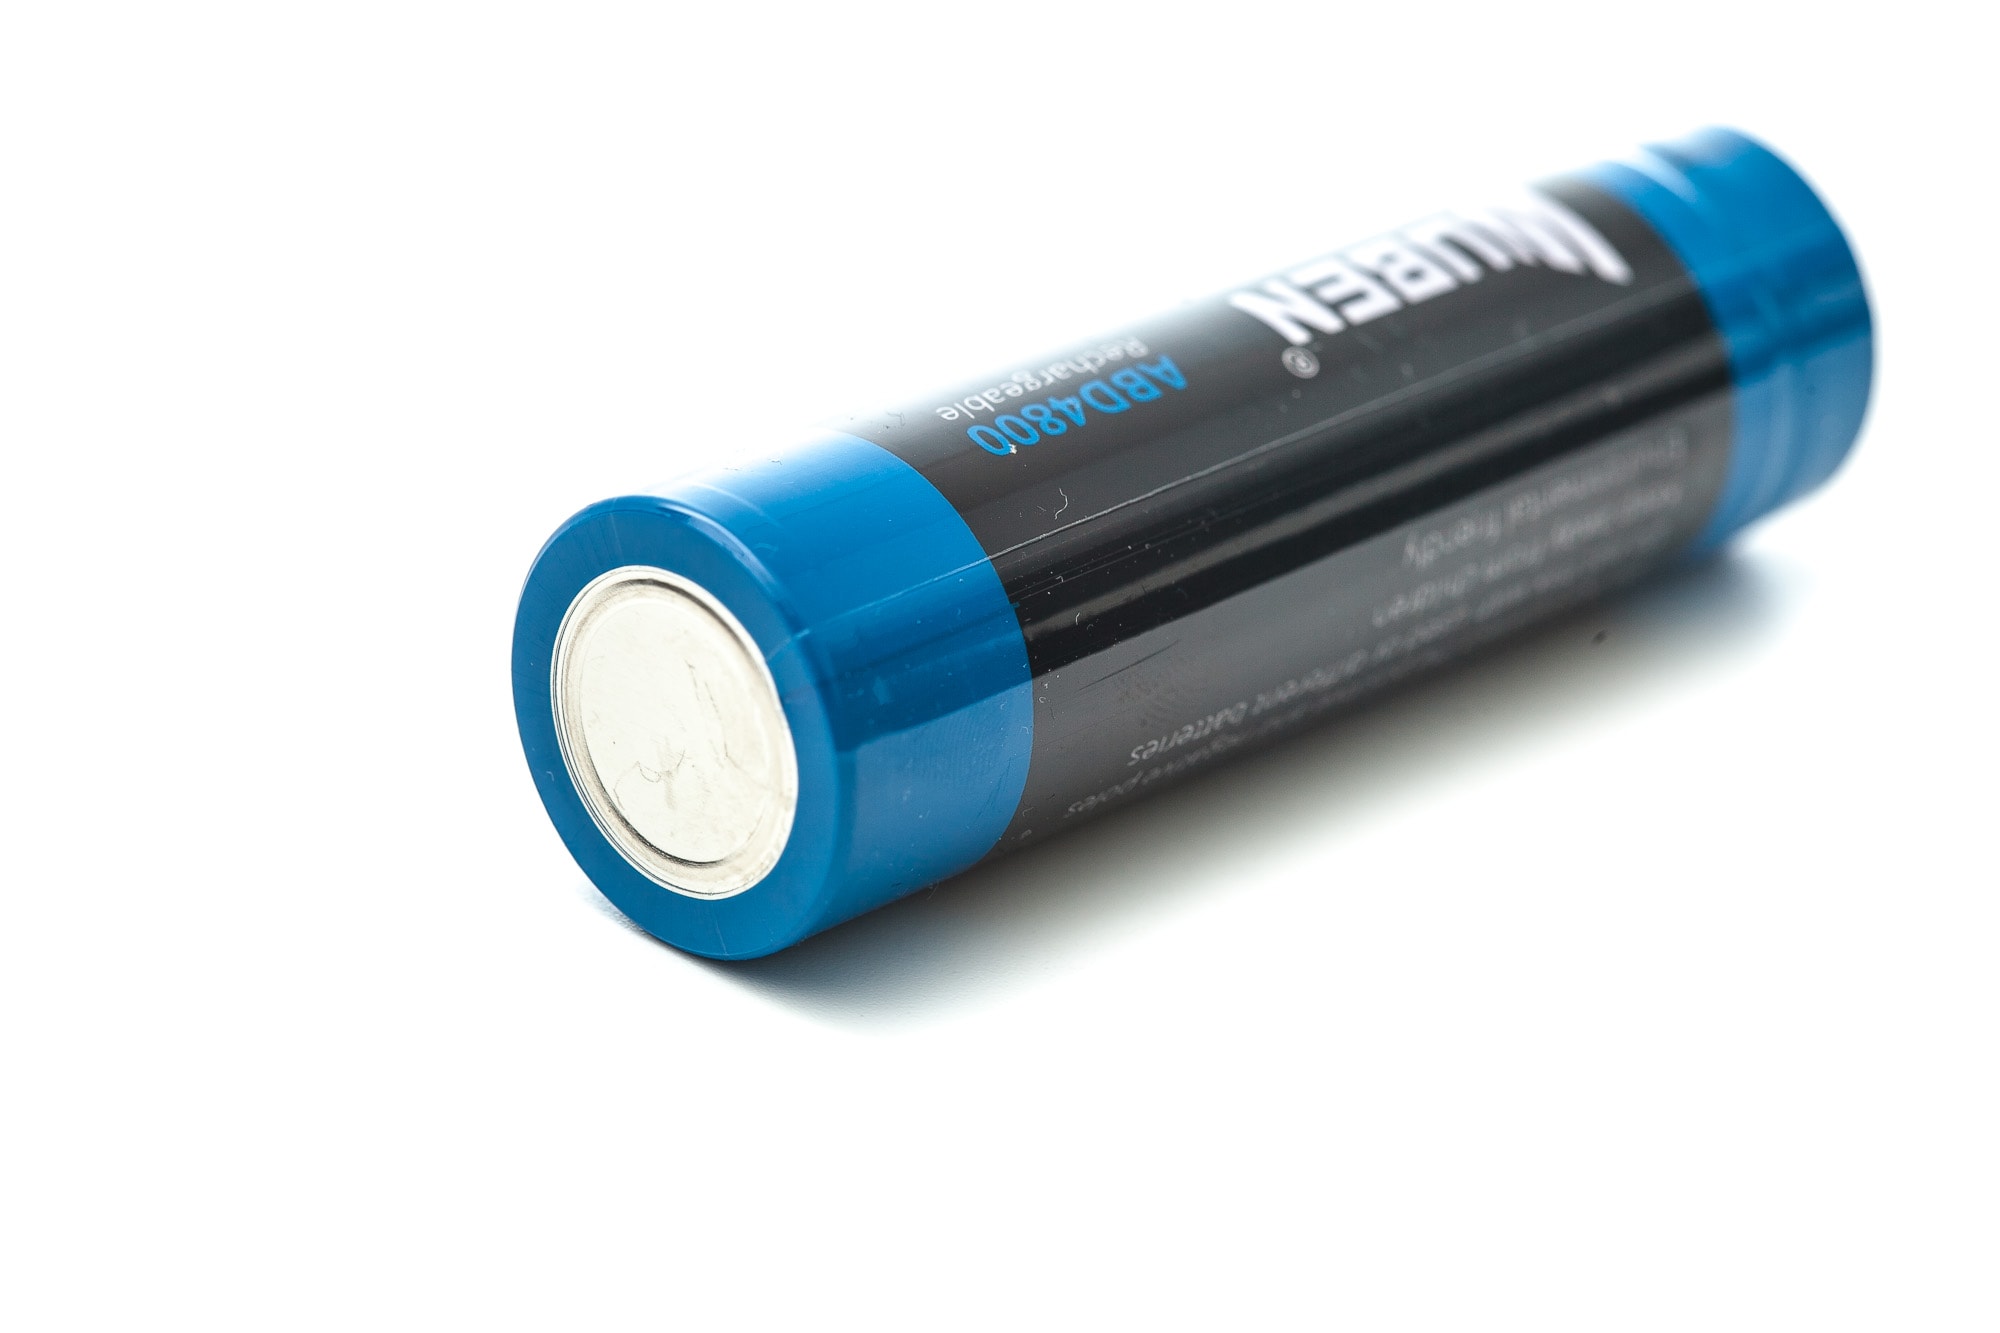
The L1 comes shipped with a 21700 battery, labeled as Wuben ABD4800. It’s a 21700 type battery with a 4800mAh capacity, and it arrived at 3.69V. With the protection board, and button top, it measured at 76mm long. This makes it much longer than an average, flat top, unprotected battery.
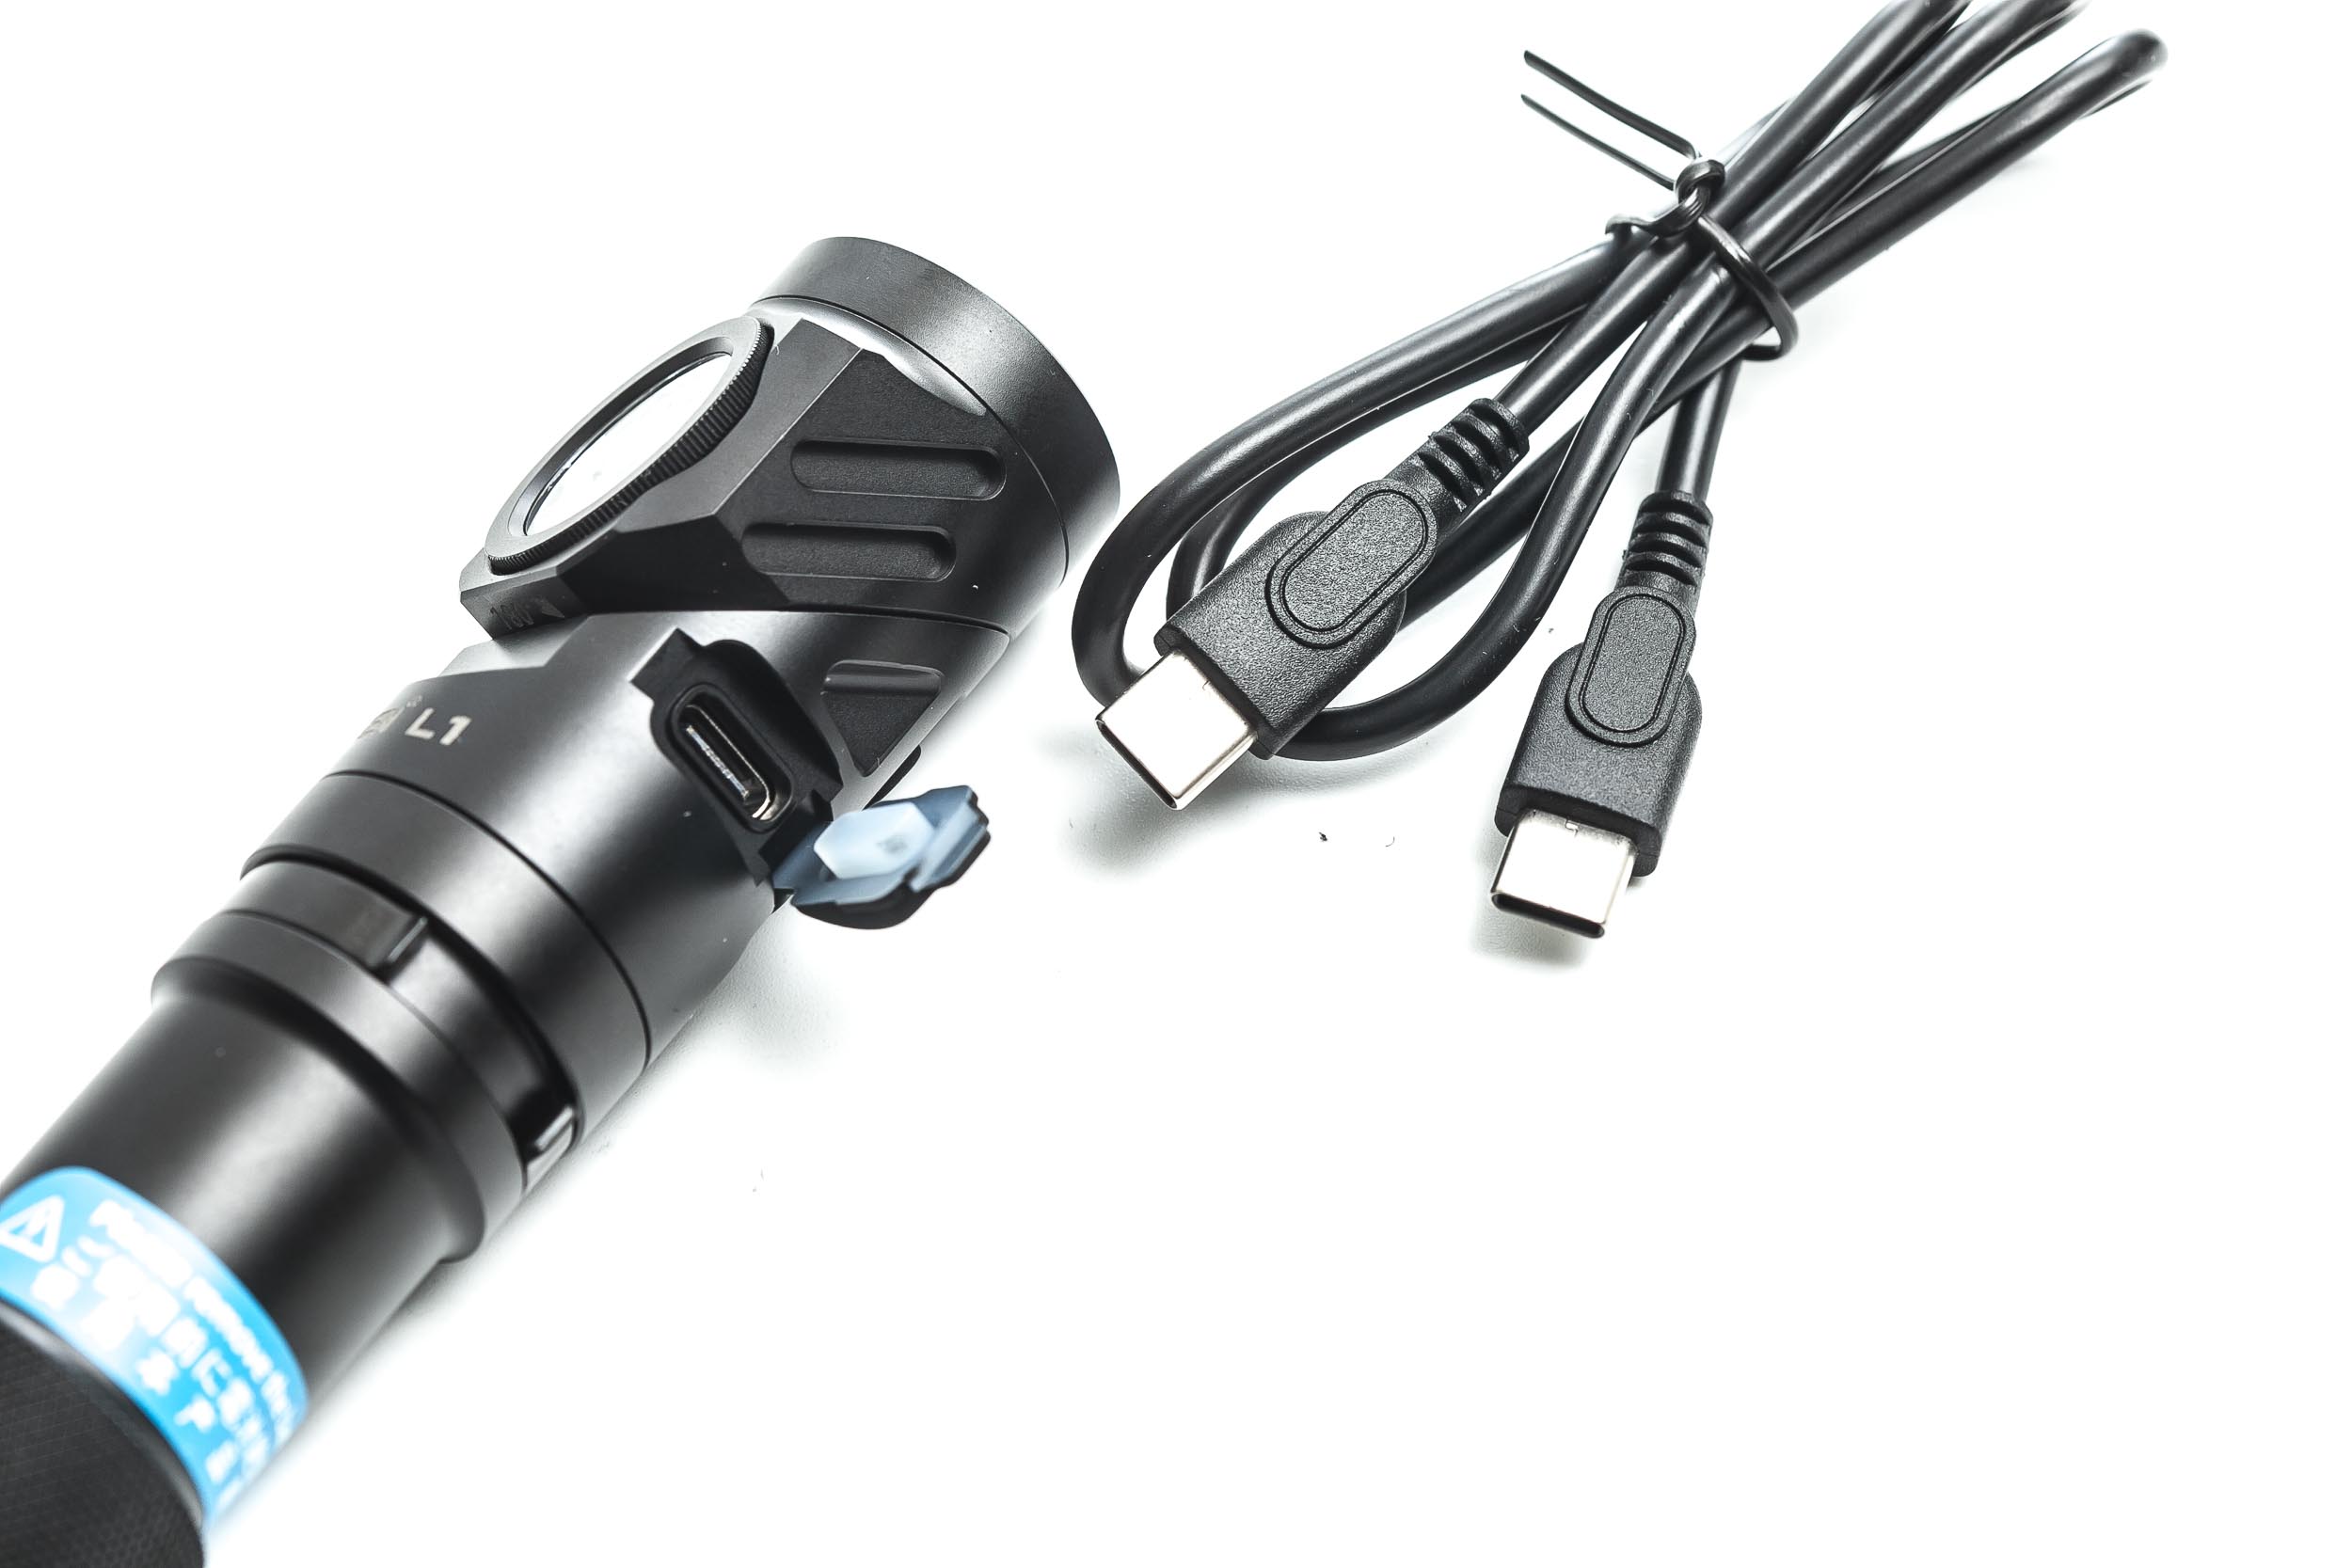
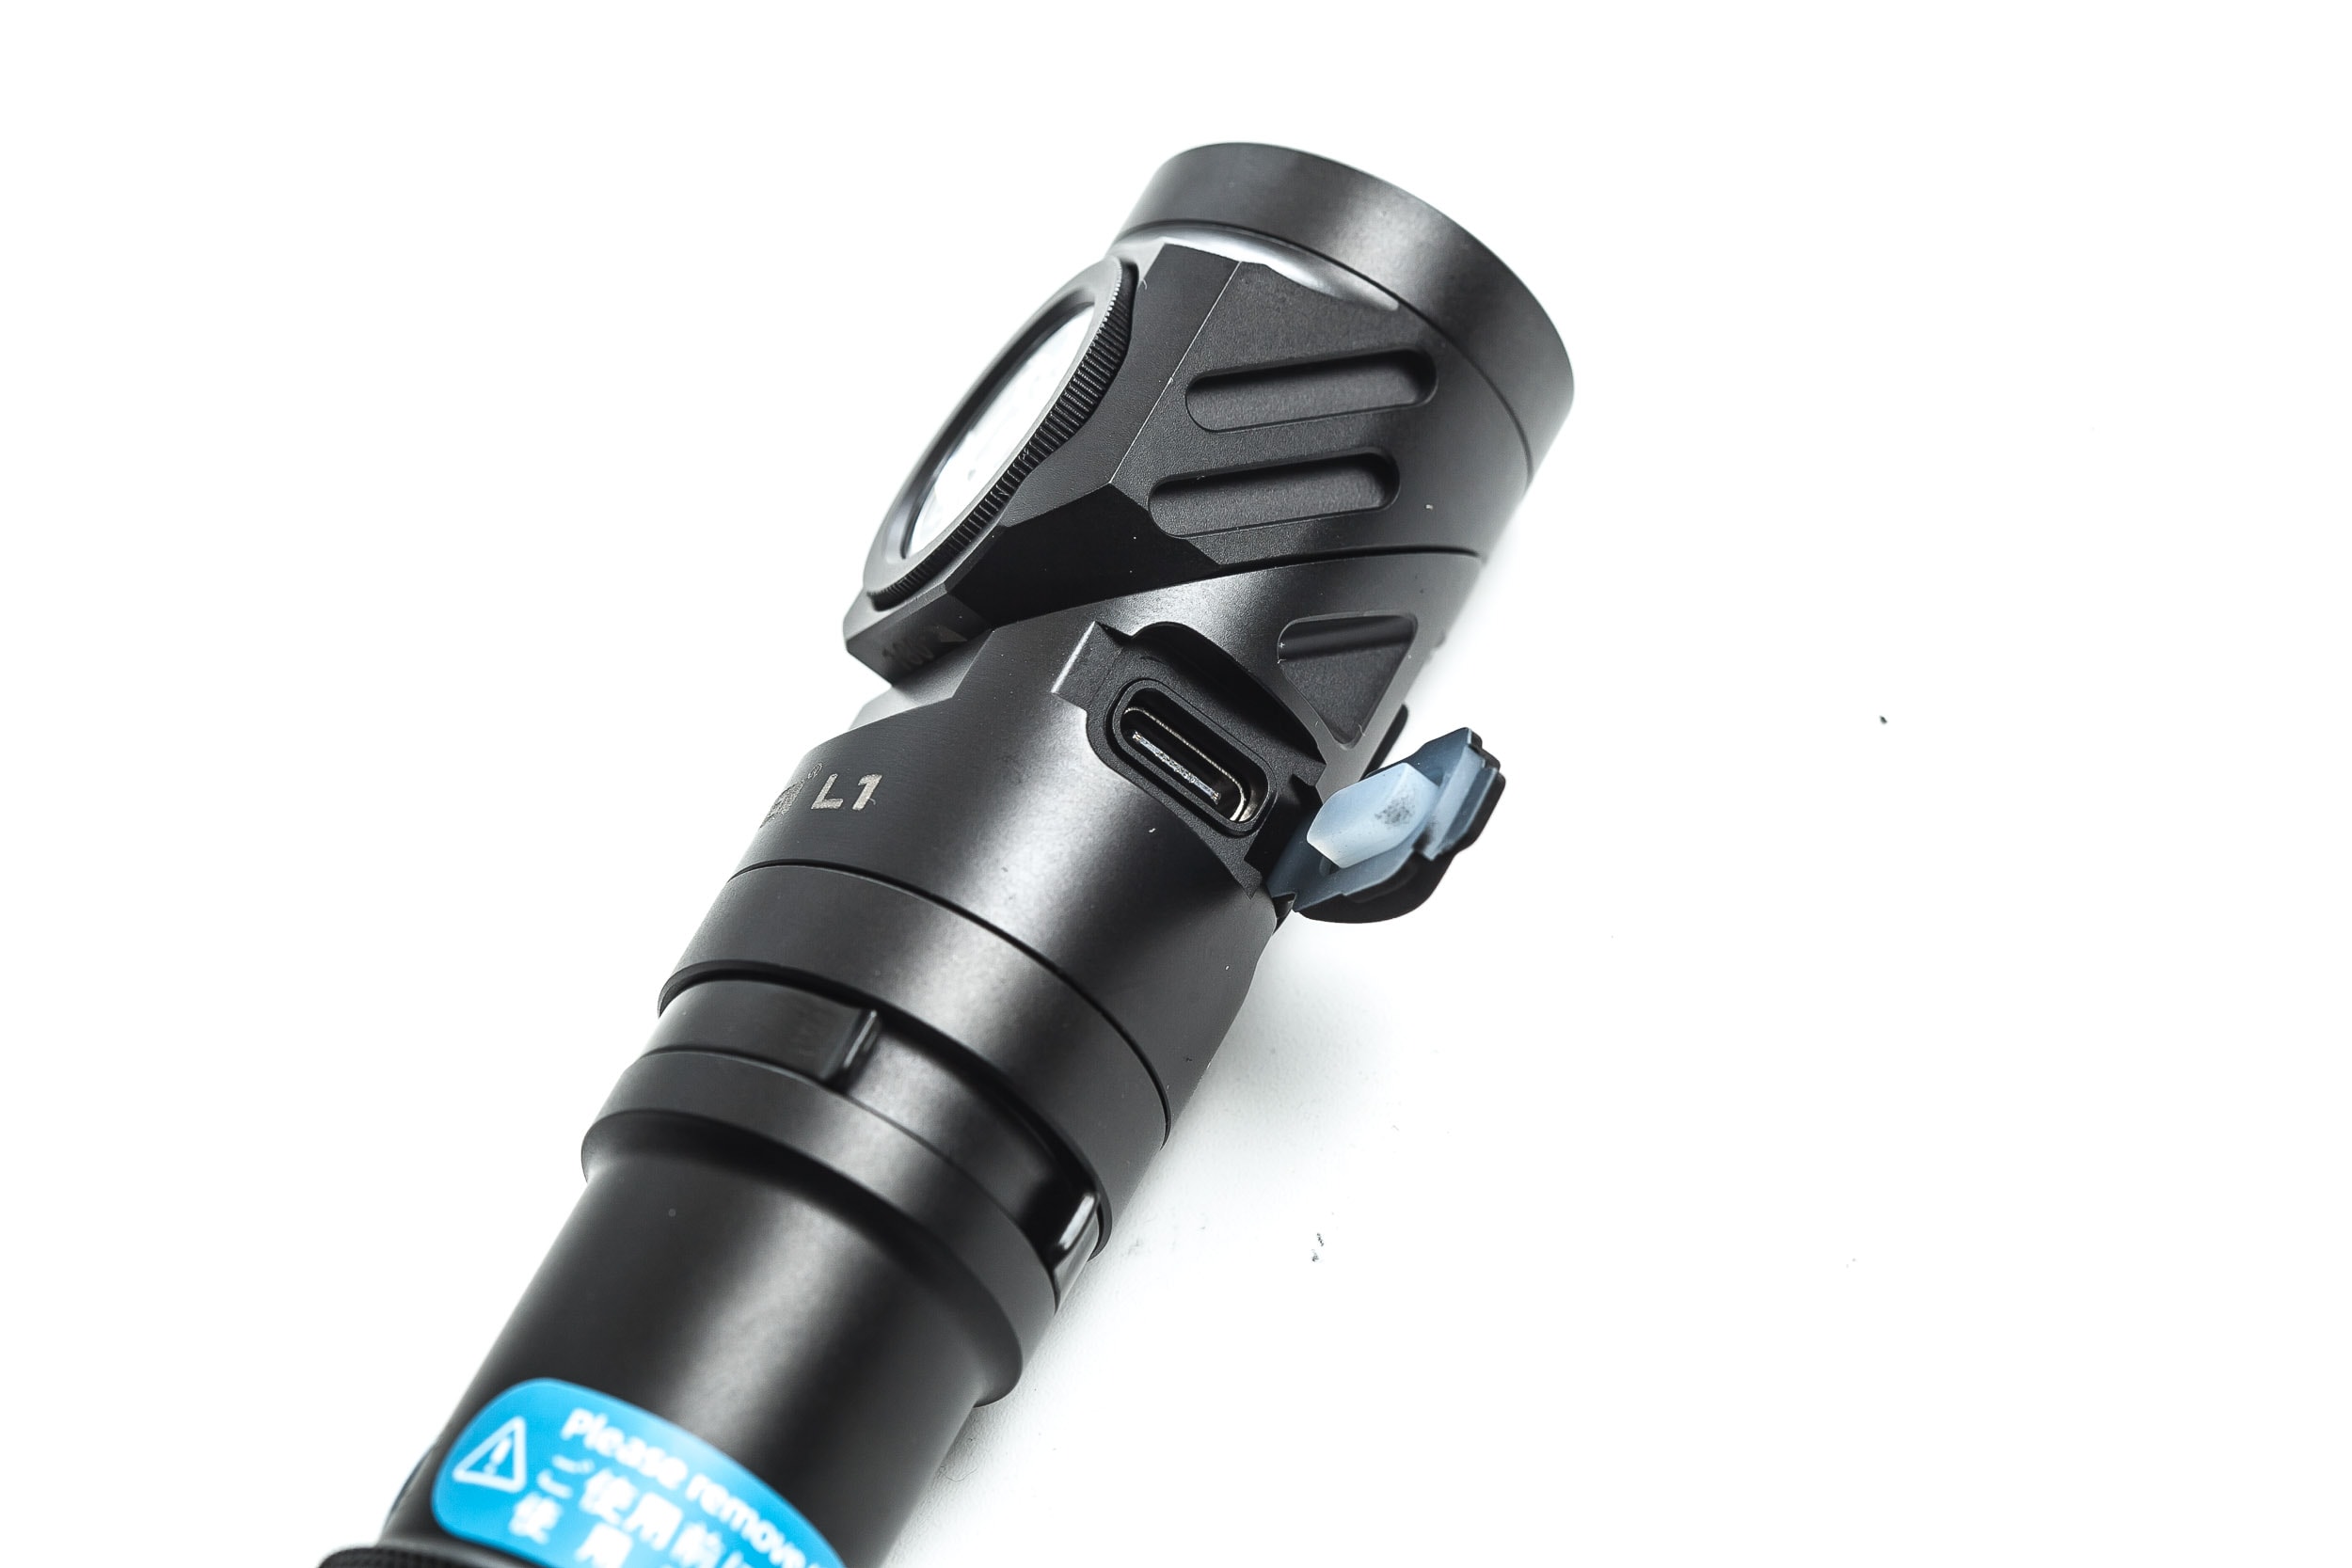
Charging is done inside the flashlight, and I tested it 2 times, and the charging times were 2h and 19min, and the other 2h and 21minutes respectively. And during charging, there is a red LED visible, which turns blue when the charge has finished.
Even though Wuben includes a USB-C to USB-C charging cable, you can also use a normal USB-A to USB-C charging cable.
There is a small spring on the driver as well as in the tailcap, so it fits many 21700 sizes, including short unprotected flat tops, as well as long protected button tops.
| Charge type | Fits | No fit | Avg. charge time |
|---|---|---|---|
| Flashlight with onboard USB-C | All 21700 sizes | X | 2h 20min |

Performance test
This is the gear I use for testing:
| Gear | Purpose | Link to buy |
|---|---|---|
| Hagner E4-X | Measuring beam intensity (throw) | Inquire at Hagner.se |
| 2* Extech SDL400 | Lumens and logging runtimes | Amazon.com, Amazon.co.uk, |
| Leica Disto D2 | Distance for throw measurements | Amazon.com, Amazon.co.uk, |
| Sekonic C-800 | Spectrometer for LED measurements | Amazon.com, Amazon.co.uk |
| Uni-T UTi260B | Thermal Image camera | Amazon.com, |
Lumen measurements:
The output measurements in this review are based on my homemade integrating spheres, each equipped with an Extech SDL400 Lux Meter. For consistency and accuracy, a calibration light (Convoy S2+ with 249lm and a Convoy S2+ with 261lm) is measured prior to each set of lumen measurements.
For high-output lights, one of the lux meters uses an ND camera filter to prevent the lux meter to max out. This is either the Kenko PRO1D ND16 up till about 80,000 lumens or Gobe ND32 for anything above.
The measurements were taken manually at turn on and 30 seconds. The 10 minute numbers are taken from the runtime graph.
This first table shows the main LED’s performance.
| Mode | Specified | Measured at turn on | 30sec | 10 min |
|---|---|---|---|---|
| Low | 35 lm | 33 lm | 33 lm | not tested |
| Med | 320 lm | 358 lm | 351 lm | 329 lm |
| High | 1000 lm | 1288 lm | 534 lm | 329 lm |
| Turbo | 2000 lm | 2032 lm | 1271 lm | 323 lm |
| Turbo at 3.66V* | 1448 lm* | 863 lm* |
This is nowhere near the claimed output according the ANSI FL1 standards. It’s nice to see that it can reach 2,000 lumens at turn on, but it drops to 1271 in 30 seconds. I also tested it with a battery at 3.66V, and it did 1448 lumens at turn on, but quickly dove to 863 lumens in 30 seconds.
And in the runtime graphs, you can see even more concerning numbers… not good!
I then also tested both secondary light versions, namely the Osram P9, and the Nichia 519A.
The first table shows the Osram P9 measurements:
| Mode | Specified | Measured at turn on | 30 sec | 10 min. |
|---|---|---|---|---|
| P9 Low | 25 lm | 28 lm | 28 lm | not tested |
| P9 Med | 380 lm | 486 lm | 470 lm | 435 lm |
| P9 High | 1000 lm | 1112 lm | 553 lm | 398 lm |
Also here, it shows that the output at turn on is pretty good, but drops to about half of the advertised lumens at the 30 seconds mark.
Here are the measurements with the Nichia 519A LED:
| Mode | Specified | Measured at turn on | 30 sec | 10 min. |
|---|---|---|---|---|
| 519A Low | 25 lm | 18 lm | 18 lm | not tested |
| 519A Med | 380 lm | 222 lm | 219 lm | 209 lm |
| 519A High | 600 lm | 679 lm | 243 lm | 212 lm |
Unfortunately, the same story. At turn on, Turbo easily reached over 600 lumens, but it dropped to very low in 30 seconds.
I assume this has to do with heat dissipation and perhaps the driver. I assume it to be a pretty complex driver, and hope Wuben continues improving on this!
Wuben L1 battery life and runtime graphs
How Runtimes are Measured: Understanding ANSI FL1 Standards About ANSI FL1 runtime standards: The runtime is measured until the light drops to 10% of its initial output (30 seconds after turning on). This does not mean that the flashlight is not usable anymore. The last column shows how long the light actually works till it shuts off. If there is a + symbol, it means that the test was stopped at that particular point, but the light was actually still running. This happens on certain occasions, with certain drivers, firmware, or batteries.The runtime test was done with the 50cm integrating sphere, including the Gobe ND-16 filter and Extech SDL400 data logging Lux Meter.
I also added the room temperature at which the runtime was conducted.
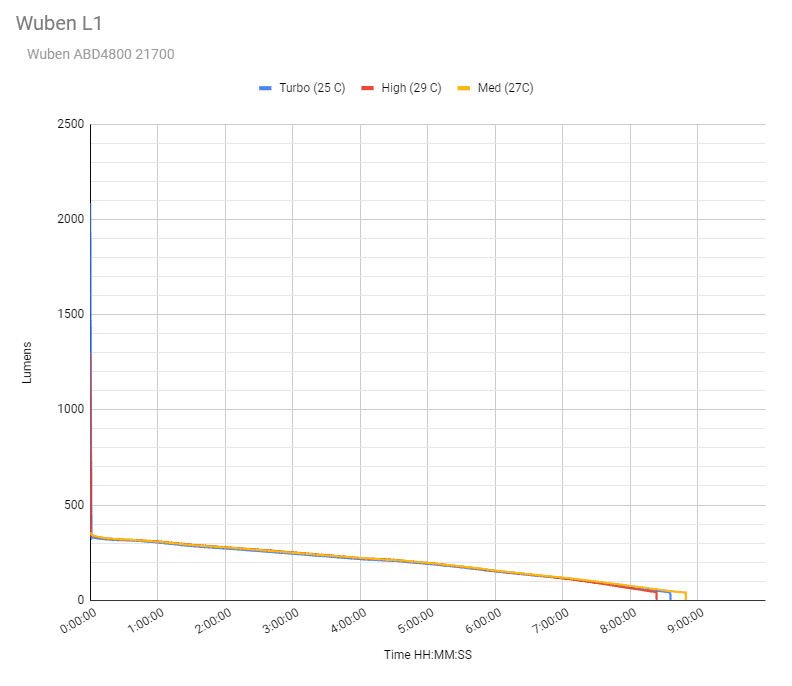
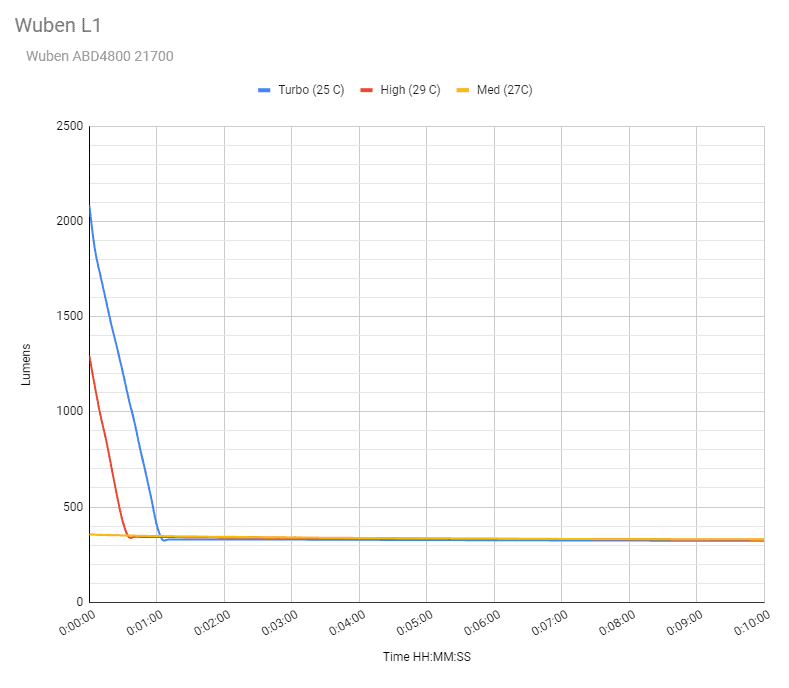
First tested the main LED, Luminus SST40 runtimes:
| Mode | Specified runtime | Measured runtime (ANSI FL1) | Time till shut off |
|---|---|---|---|
| Low | 60h | – | – |
| Med | 9h | 8h49min+ | 8h49min+ |
| High | 8.5h | 8h 23min+ | 8h 23min+ |
| Turbo | 7h | 6h 53min | 8h 53min+ |
After the Turbo runtime test, the output was very low, and I was afraid it might be discharging too deeply. Thankfully, it was still above 2.8V.
But with these unregulated drivers, you never know how deep it will discharge the battery. So each time I removed the battery, was before the flashlight turned off.. therefore the + symbol behind some runtimes.
What you also notice is the lack of difference in outputs after about 1 minute. Turbo, High and Medium are all the same output. So there is not distinction between them.. which is strange.
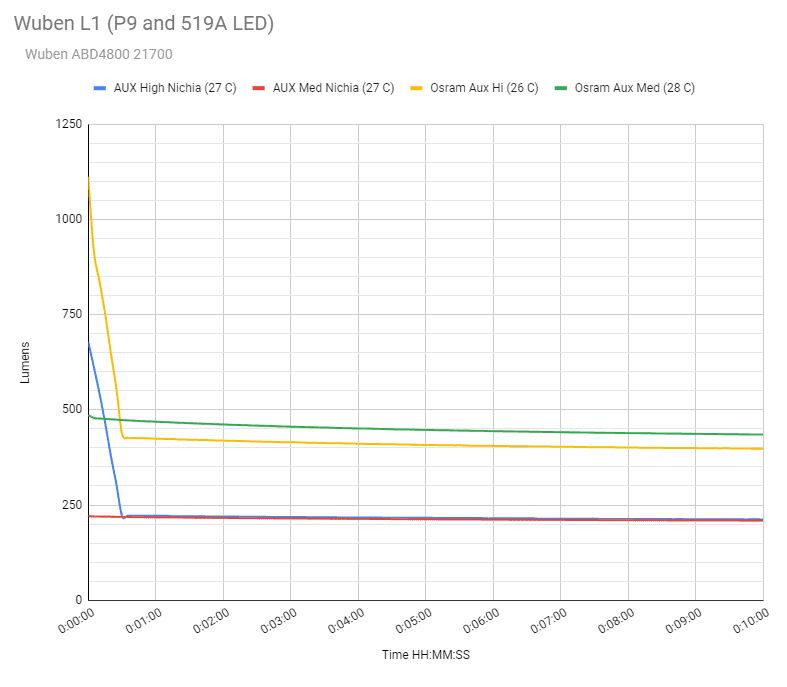
Here’s the runtime with the secondary LEDs. First the Osram P9:
| Mode Osram P9 | Specified runtime | Measured runtime (ANSI FL1) | Time till shut off |
|---|---|---|---|
| Low | 90h | – | – |
| Med | 7h | 6h 00min | 6h 04min |
| High | 6.5h | 6h 03min | 6h 03min |
And here with the Nichia 519A
| Mode Nichia 519A | Specified runtime | Measured runtime (ANSI FL1) | Time till shut off |
|---|---|---|---|
| Low | 90h | – | – |
| Med | 6.5h | 8h 26min | 8h 26min |
| High | 6h | 8h 39min | 8h 39min |
These numbers also don’t really match though.

Wuben L1 peak beam intensity and beam distance measurements
About Peak beam intensity: Understanding ANSI FL1 Standards About peak beam intensity The calculated value of distance in meters at which the flashlight produces a light intensity of 0.25 lux. (0.25 lux is about the brightness of a full moon shining on an object). This means that the intensity has decreased so much, it becomes difficult to see darker objects, or objects that don’t reflect light. The columns ‘Meters’ and ‘Yards’ use rounded numbers.Measurements were taken indoors at 5 meters with a Hagner E4-X Lux Meter, after 30 seconds.
| Mode | Specified | Measured | in meters | in yards |
|---|---|---|---|---|
| Low | 450 cd | 42 m | 46 yd | |
| Med | 5,025 cd | 142 m | 155 yd | |
| High | 7,050 cd | 168 m | 184 yd | |
| Turbo | 30,625 cd | 18,750 cd | 274 m | 299 yd |
| Turn on* | 30,050 cd | 347 m | 379 yd |
*It’s hard to do the measurements at turn on, because mine doesn’t have the feature Max. so I have to do it manually. So take the Turn on* measurement with a grain of salt. The 30 seconds measurements are pretty trustworthy, because I have 30 seconds to find the highest intensity spot in the beam.
And even the 30 seconds measurements were a bit difficult because of the output dropping so much!
lso, these numbers don’t match the specified intensity.
Beamshots
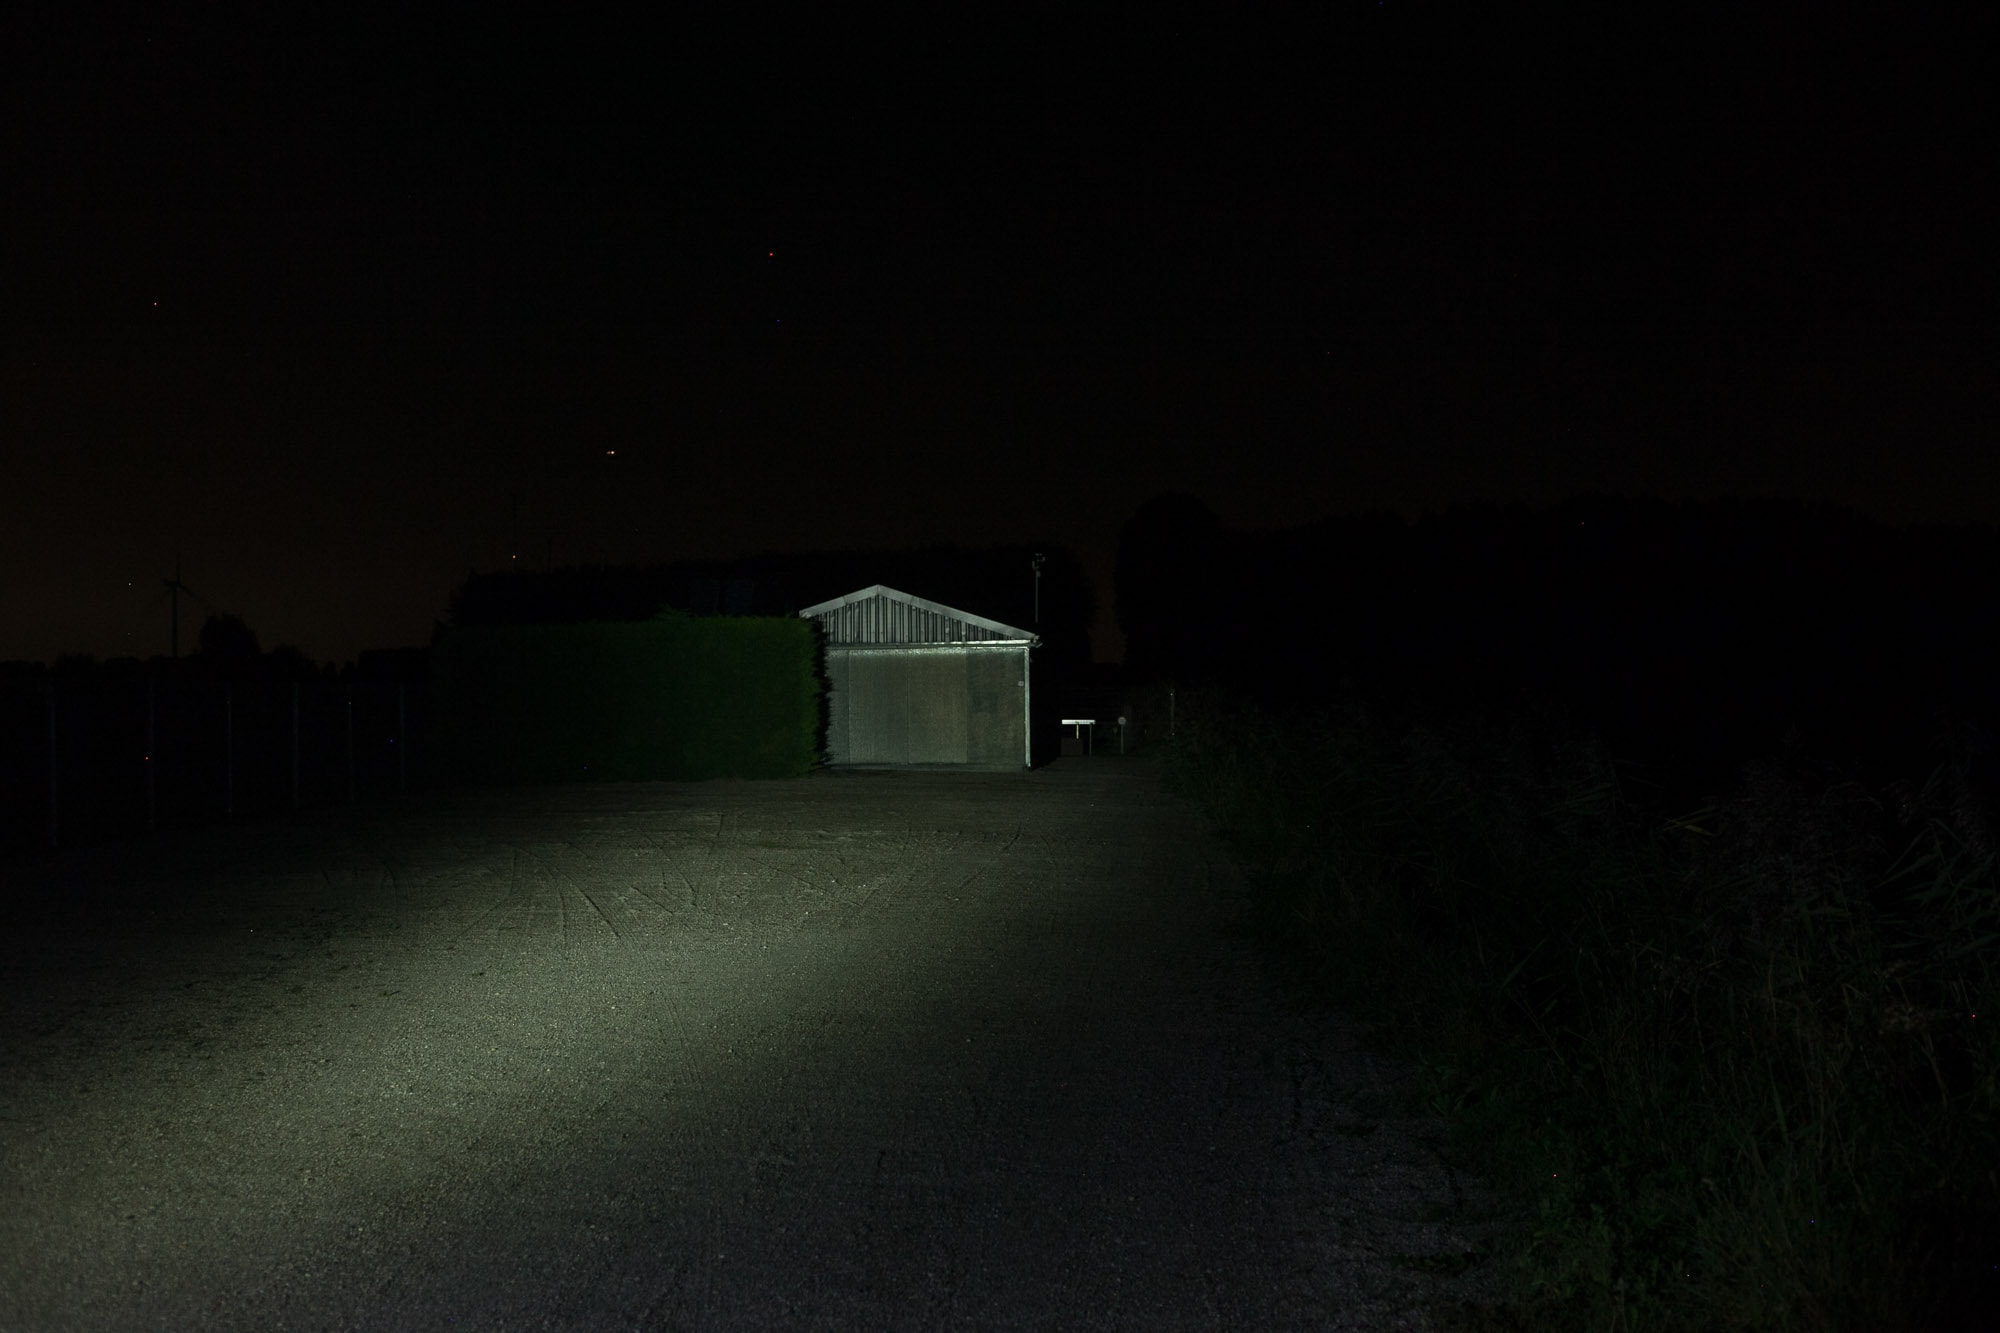
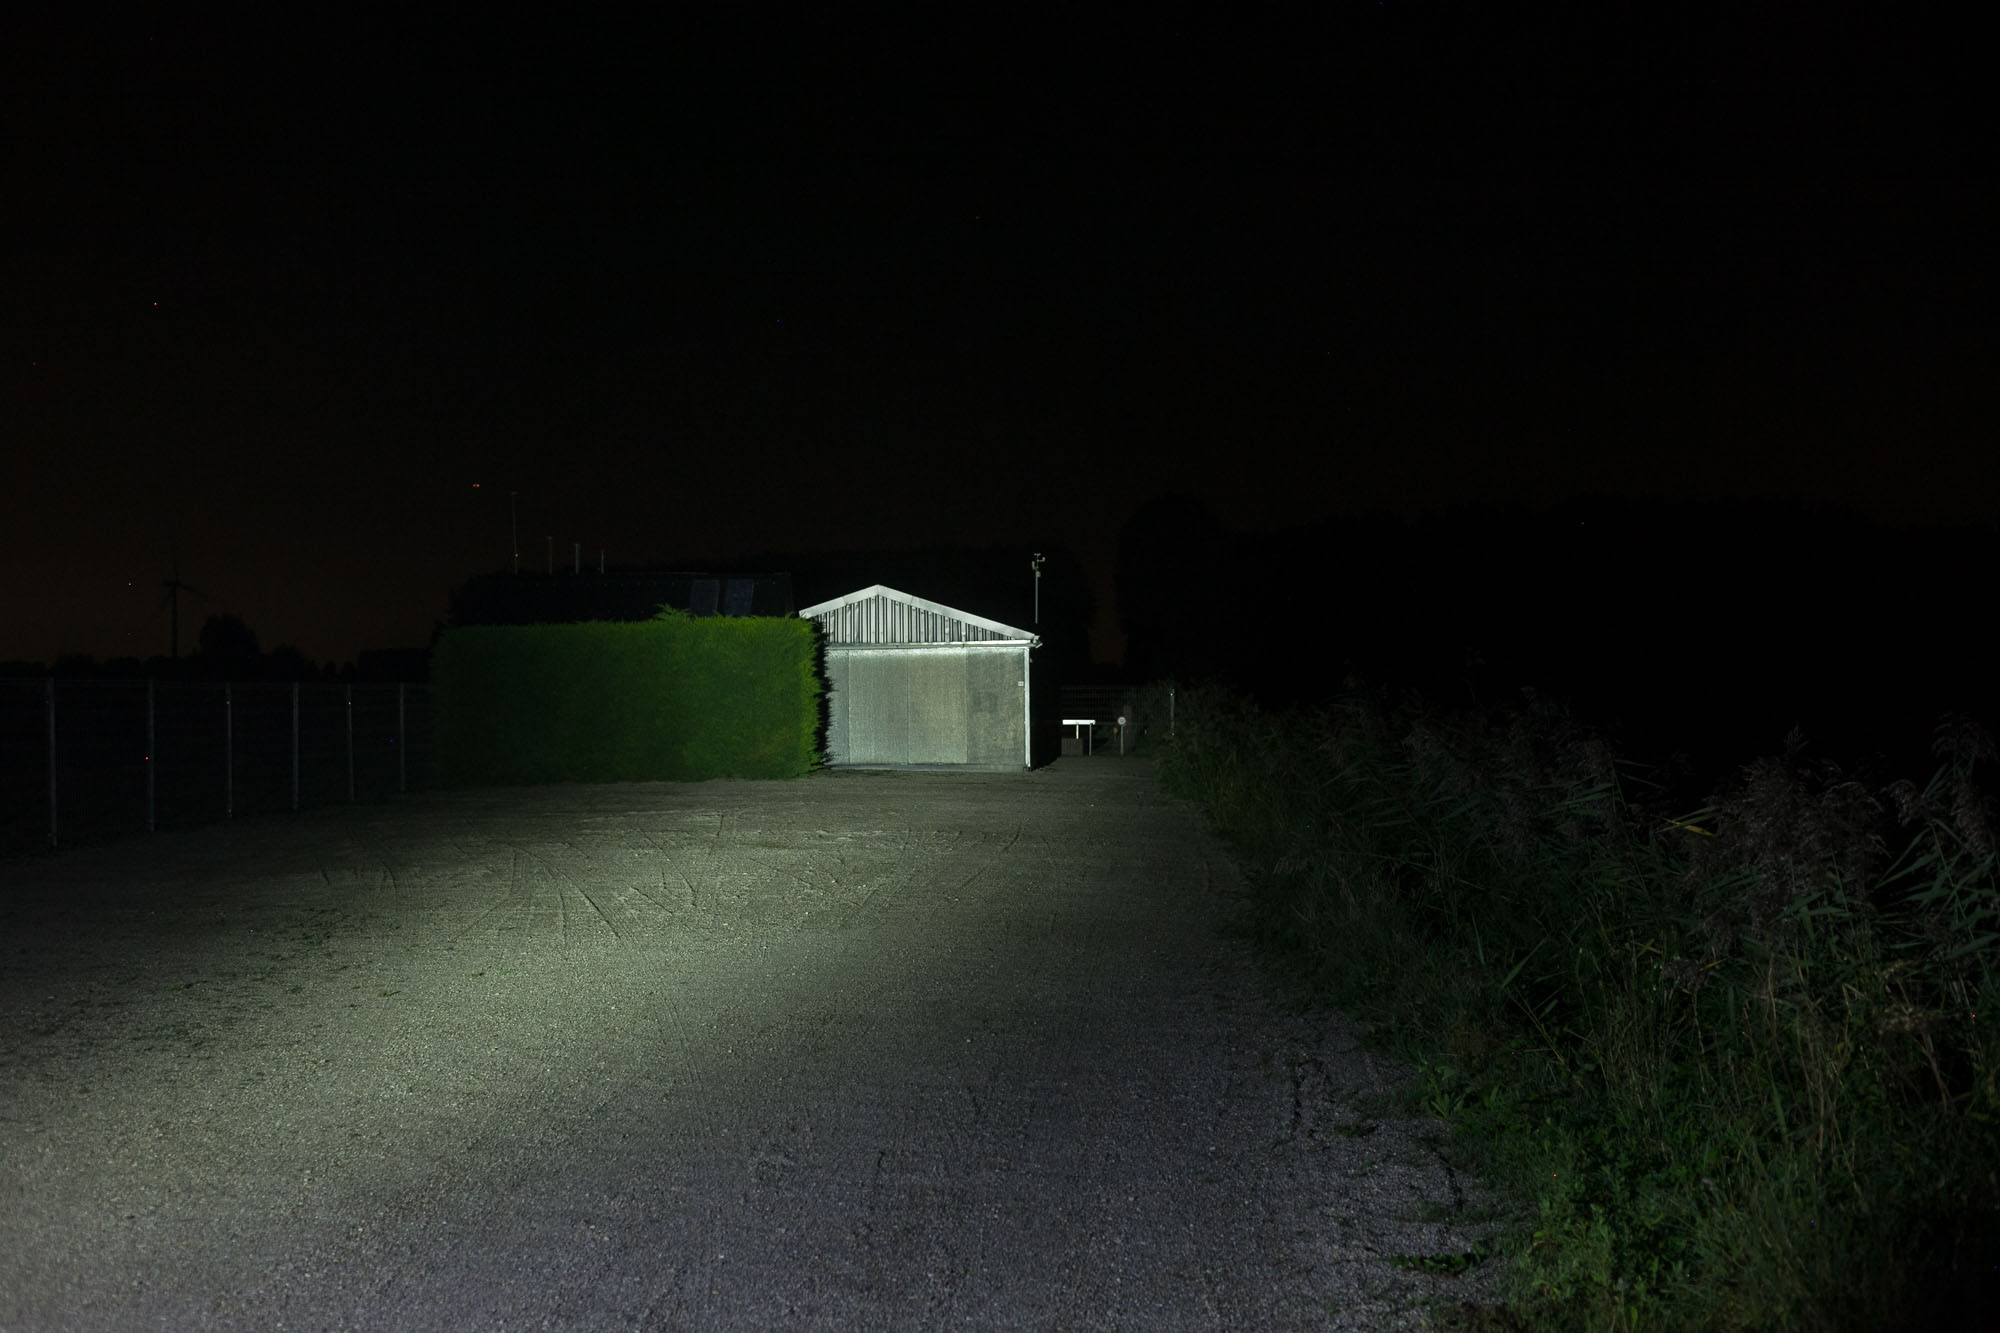
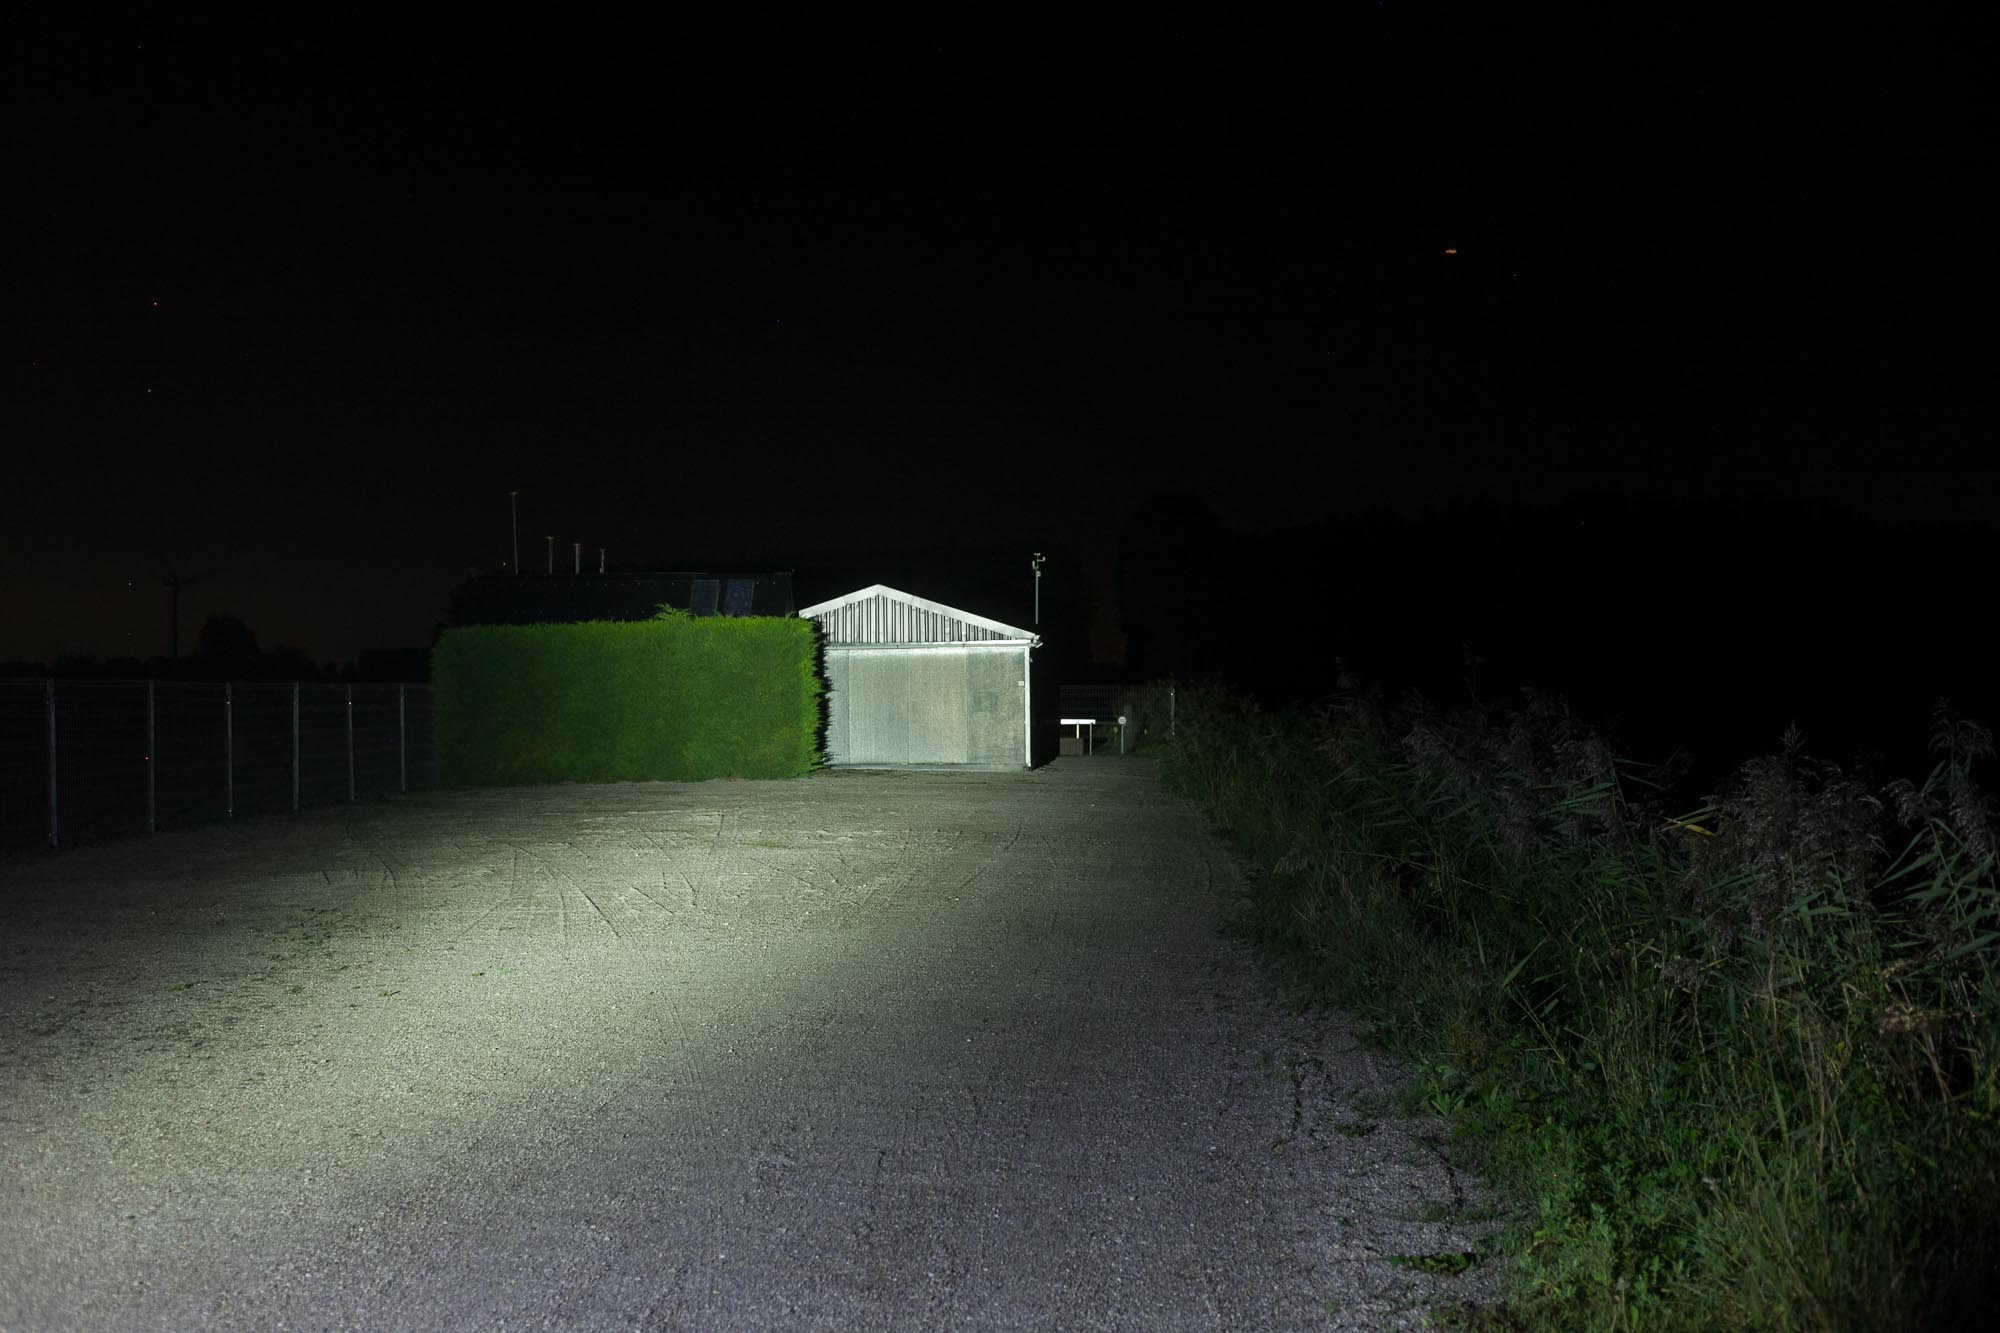
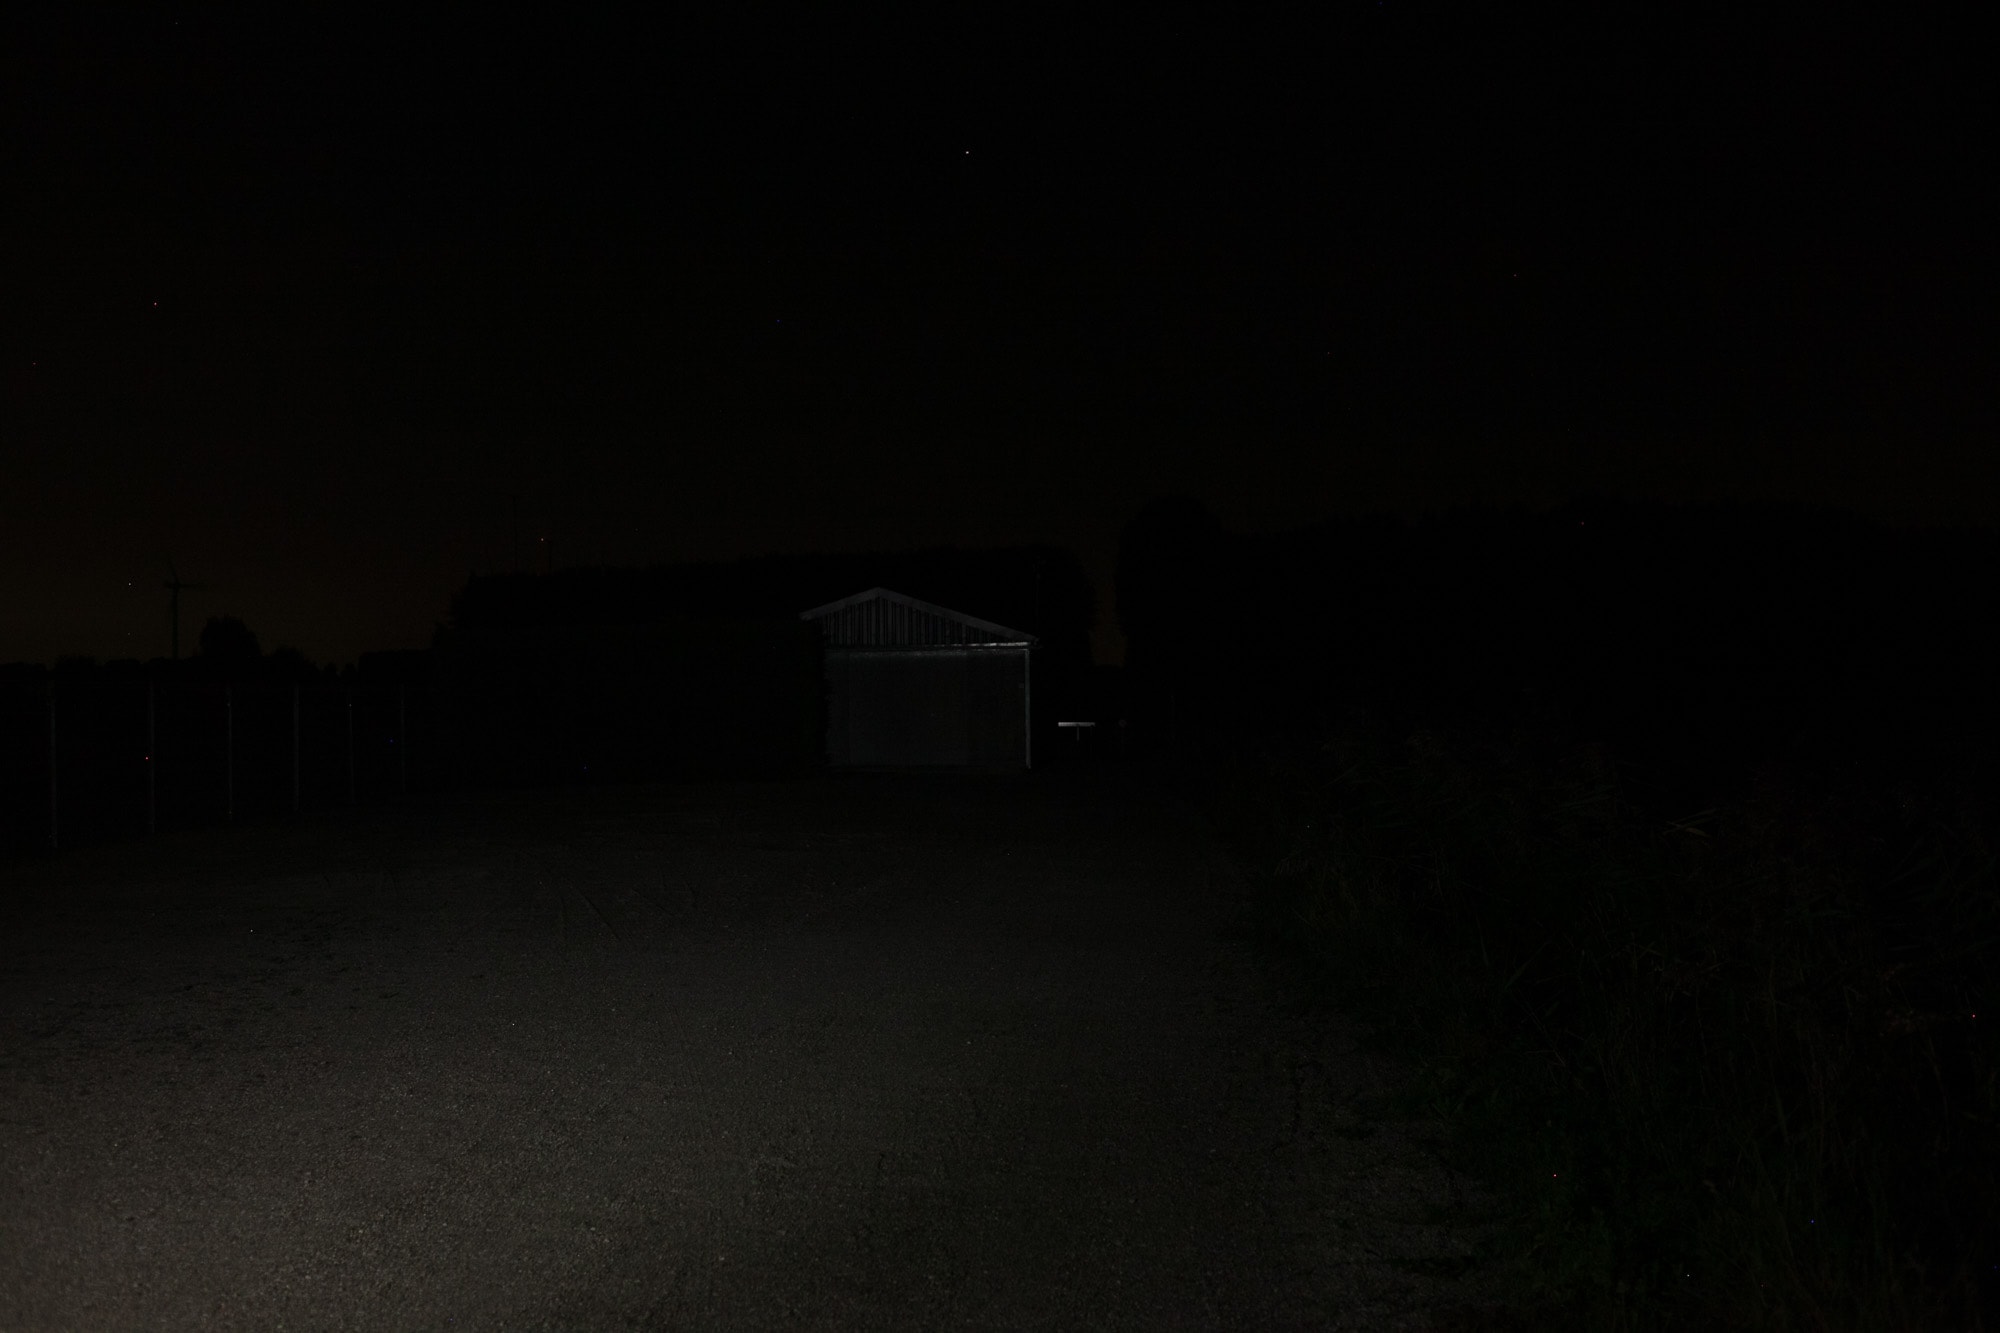
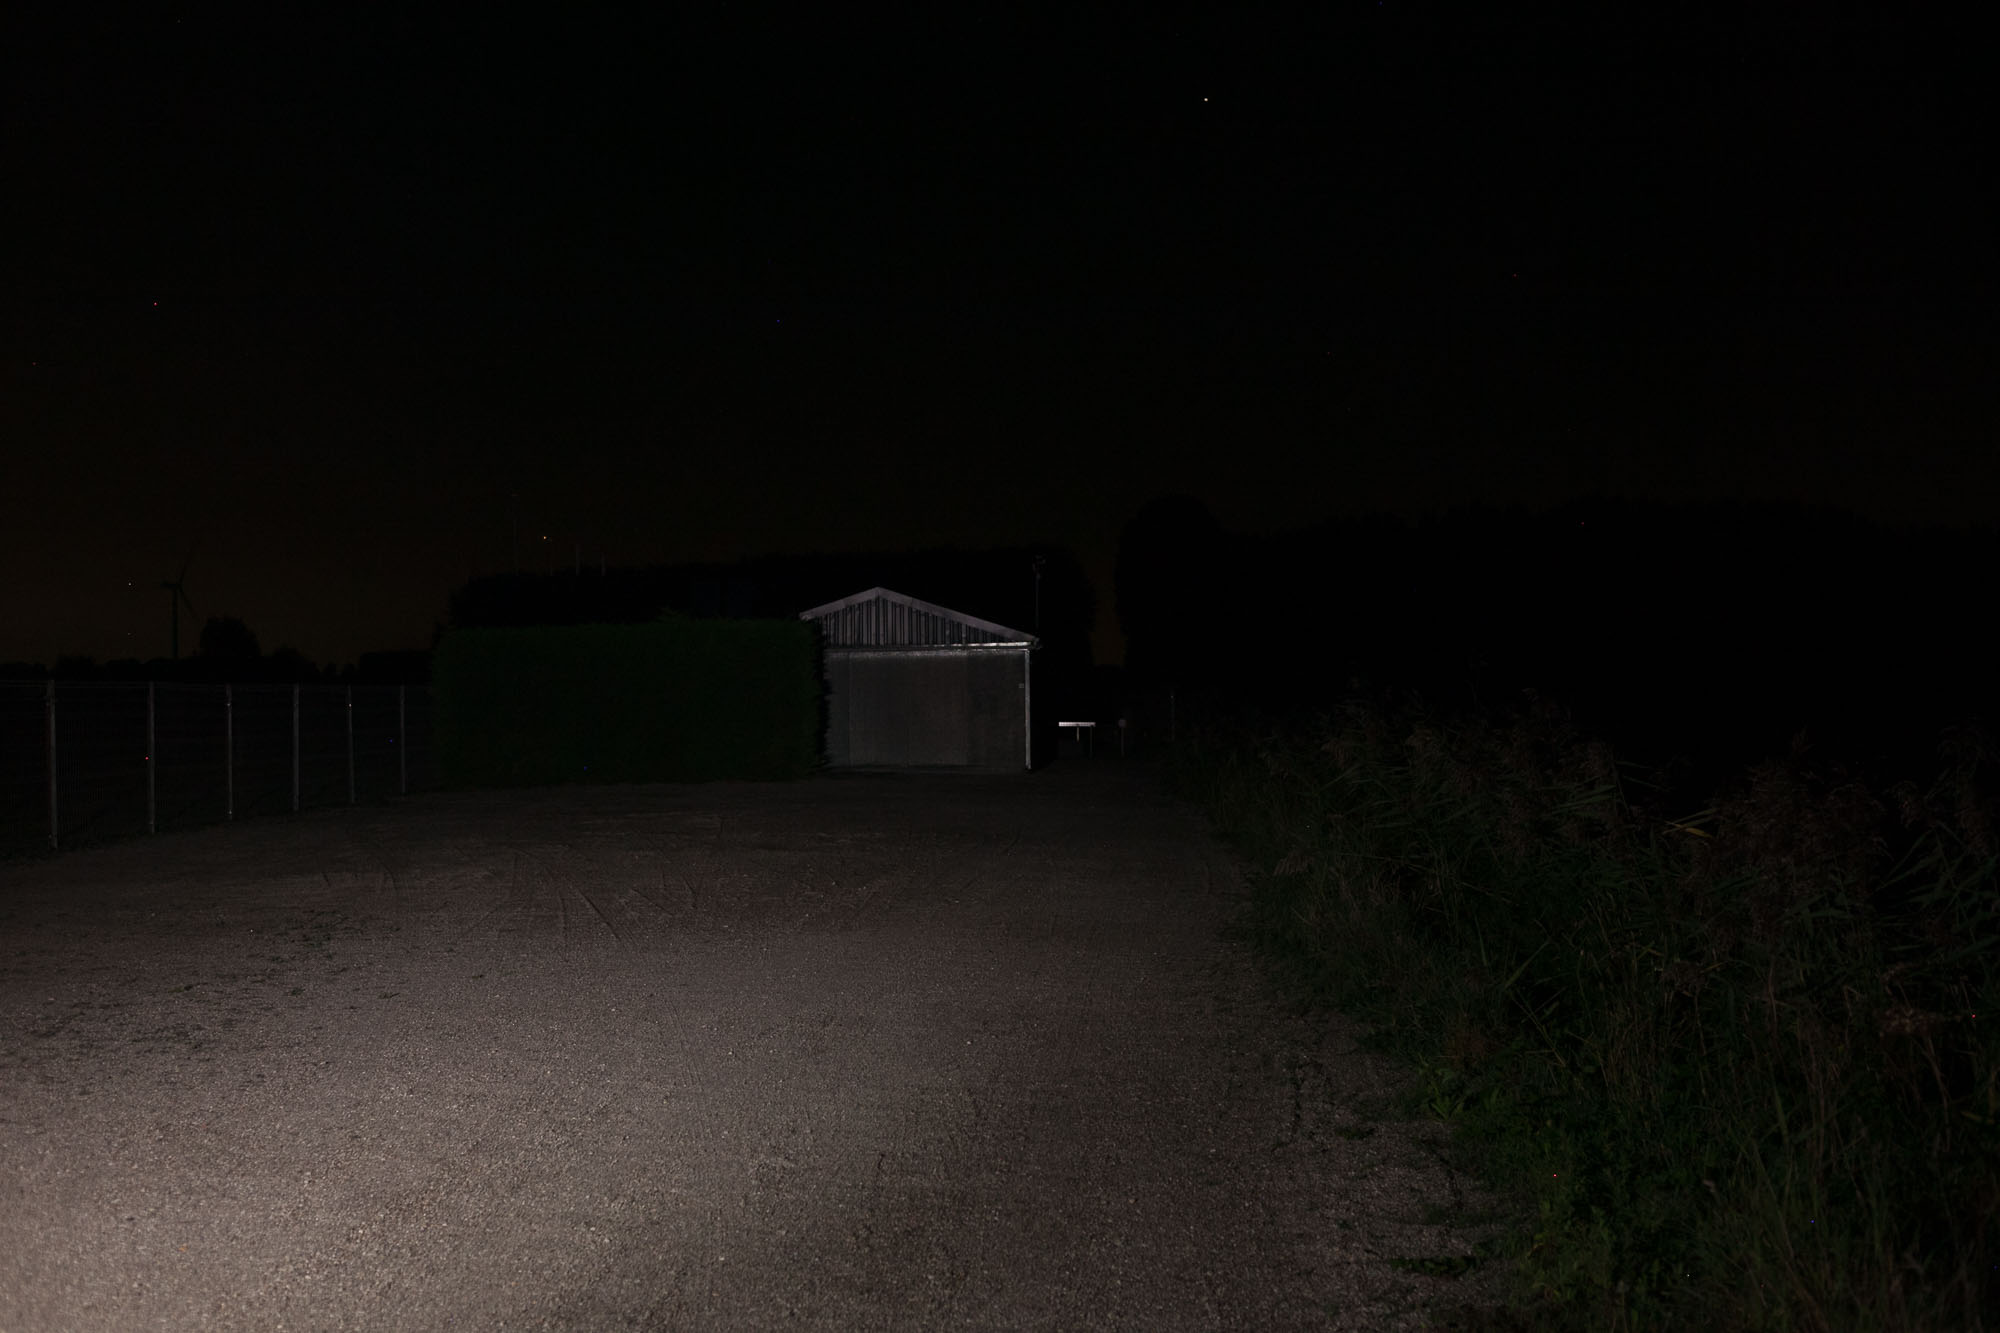
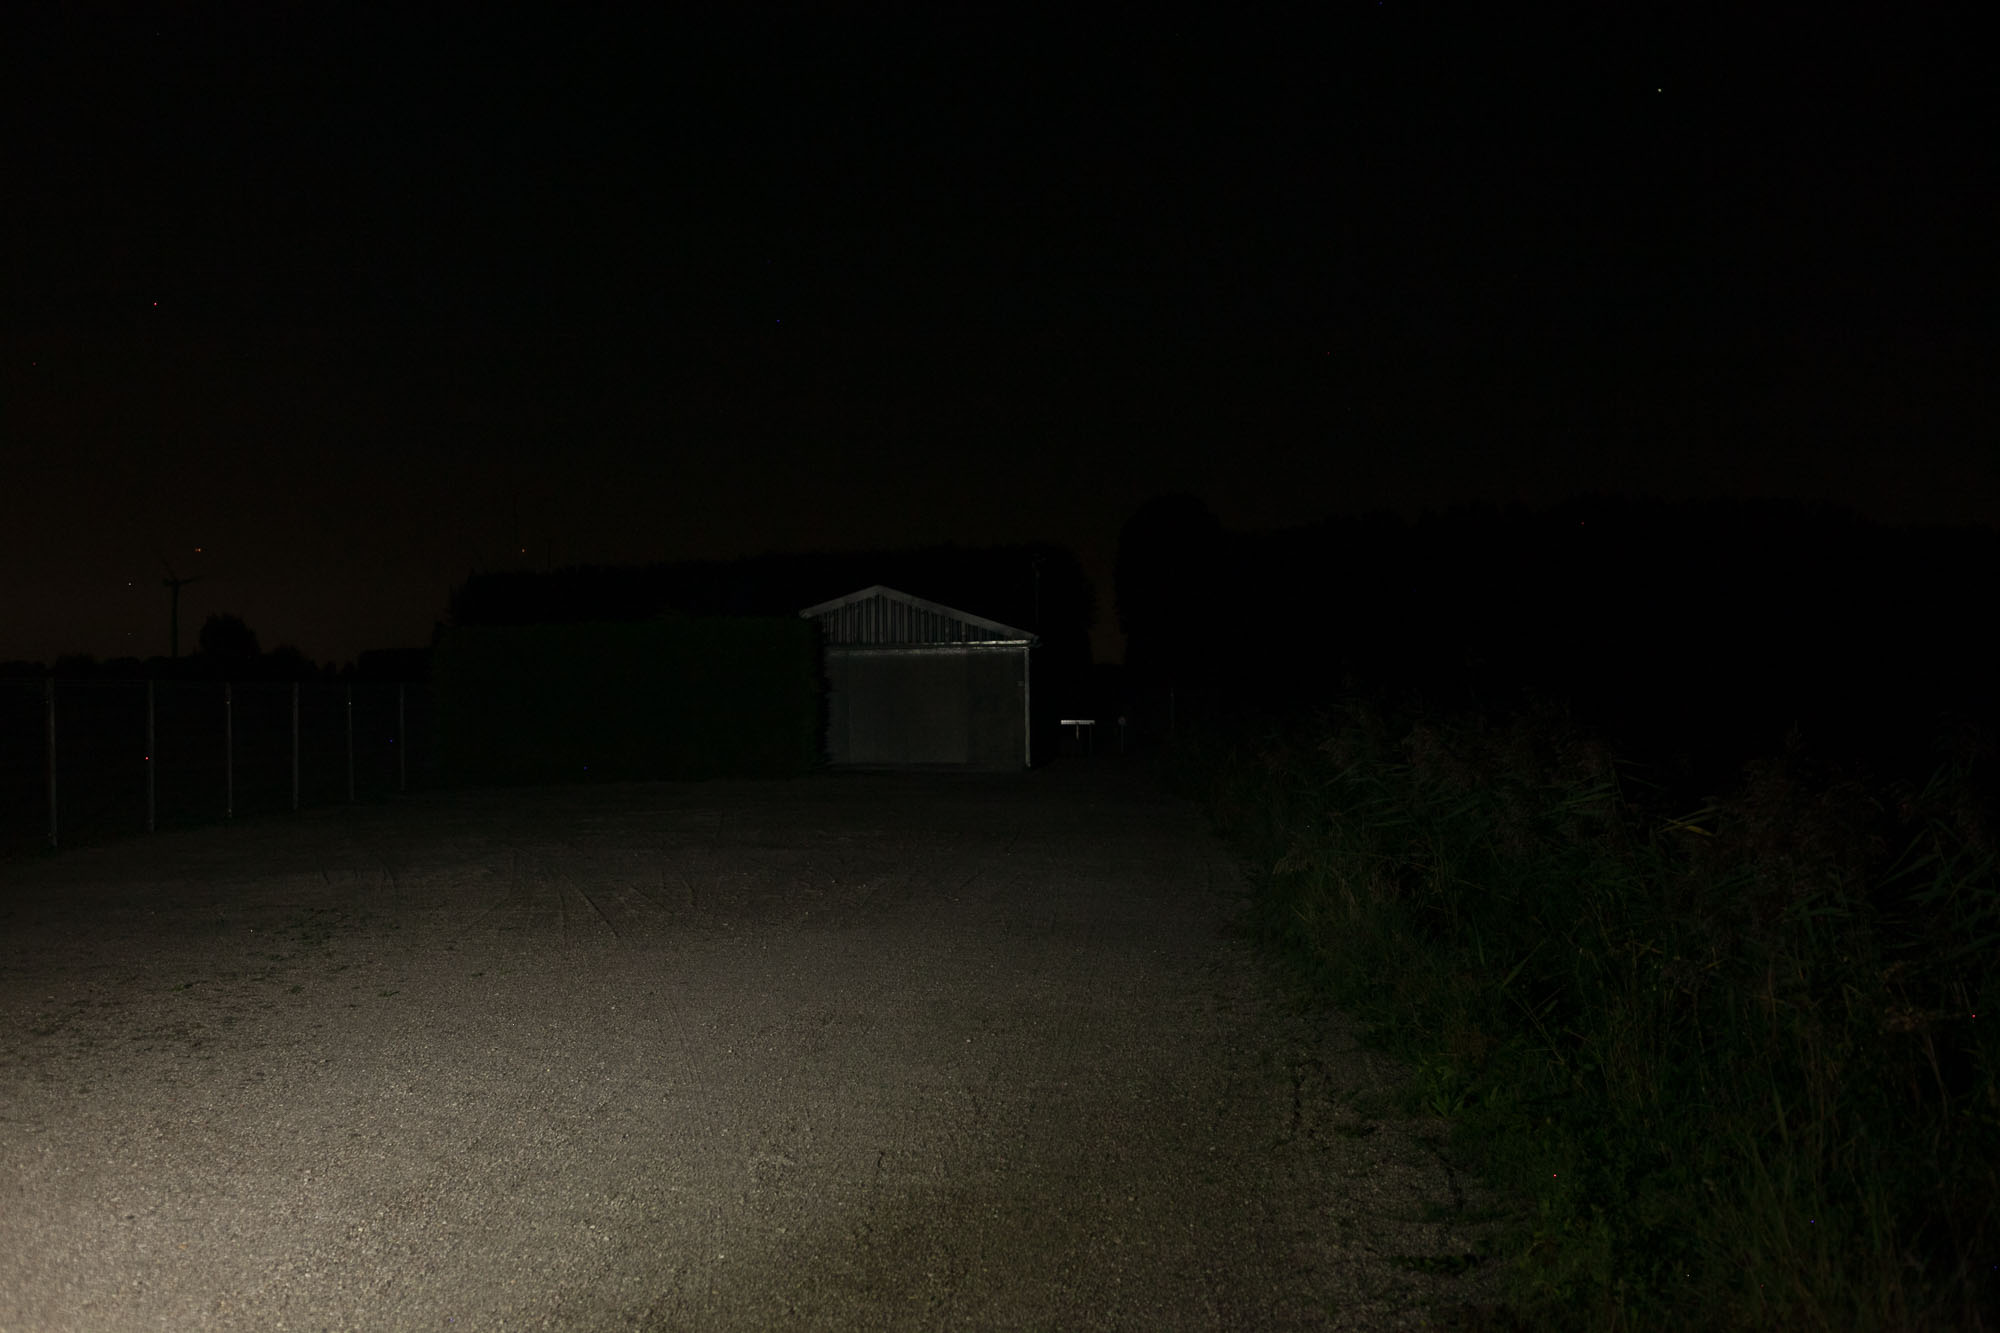
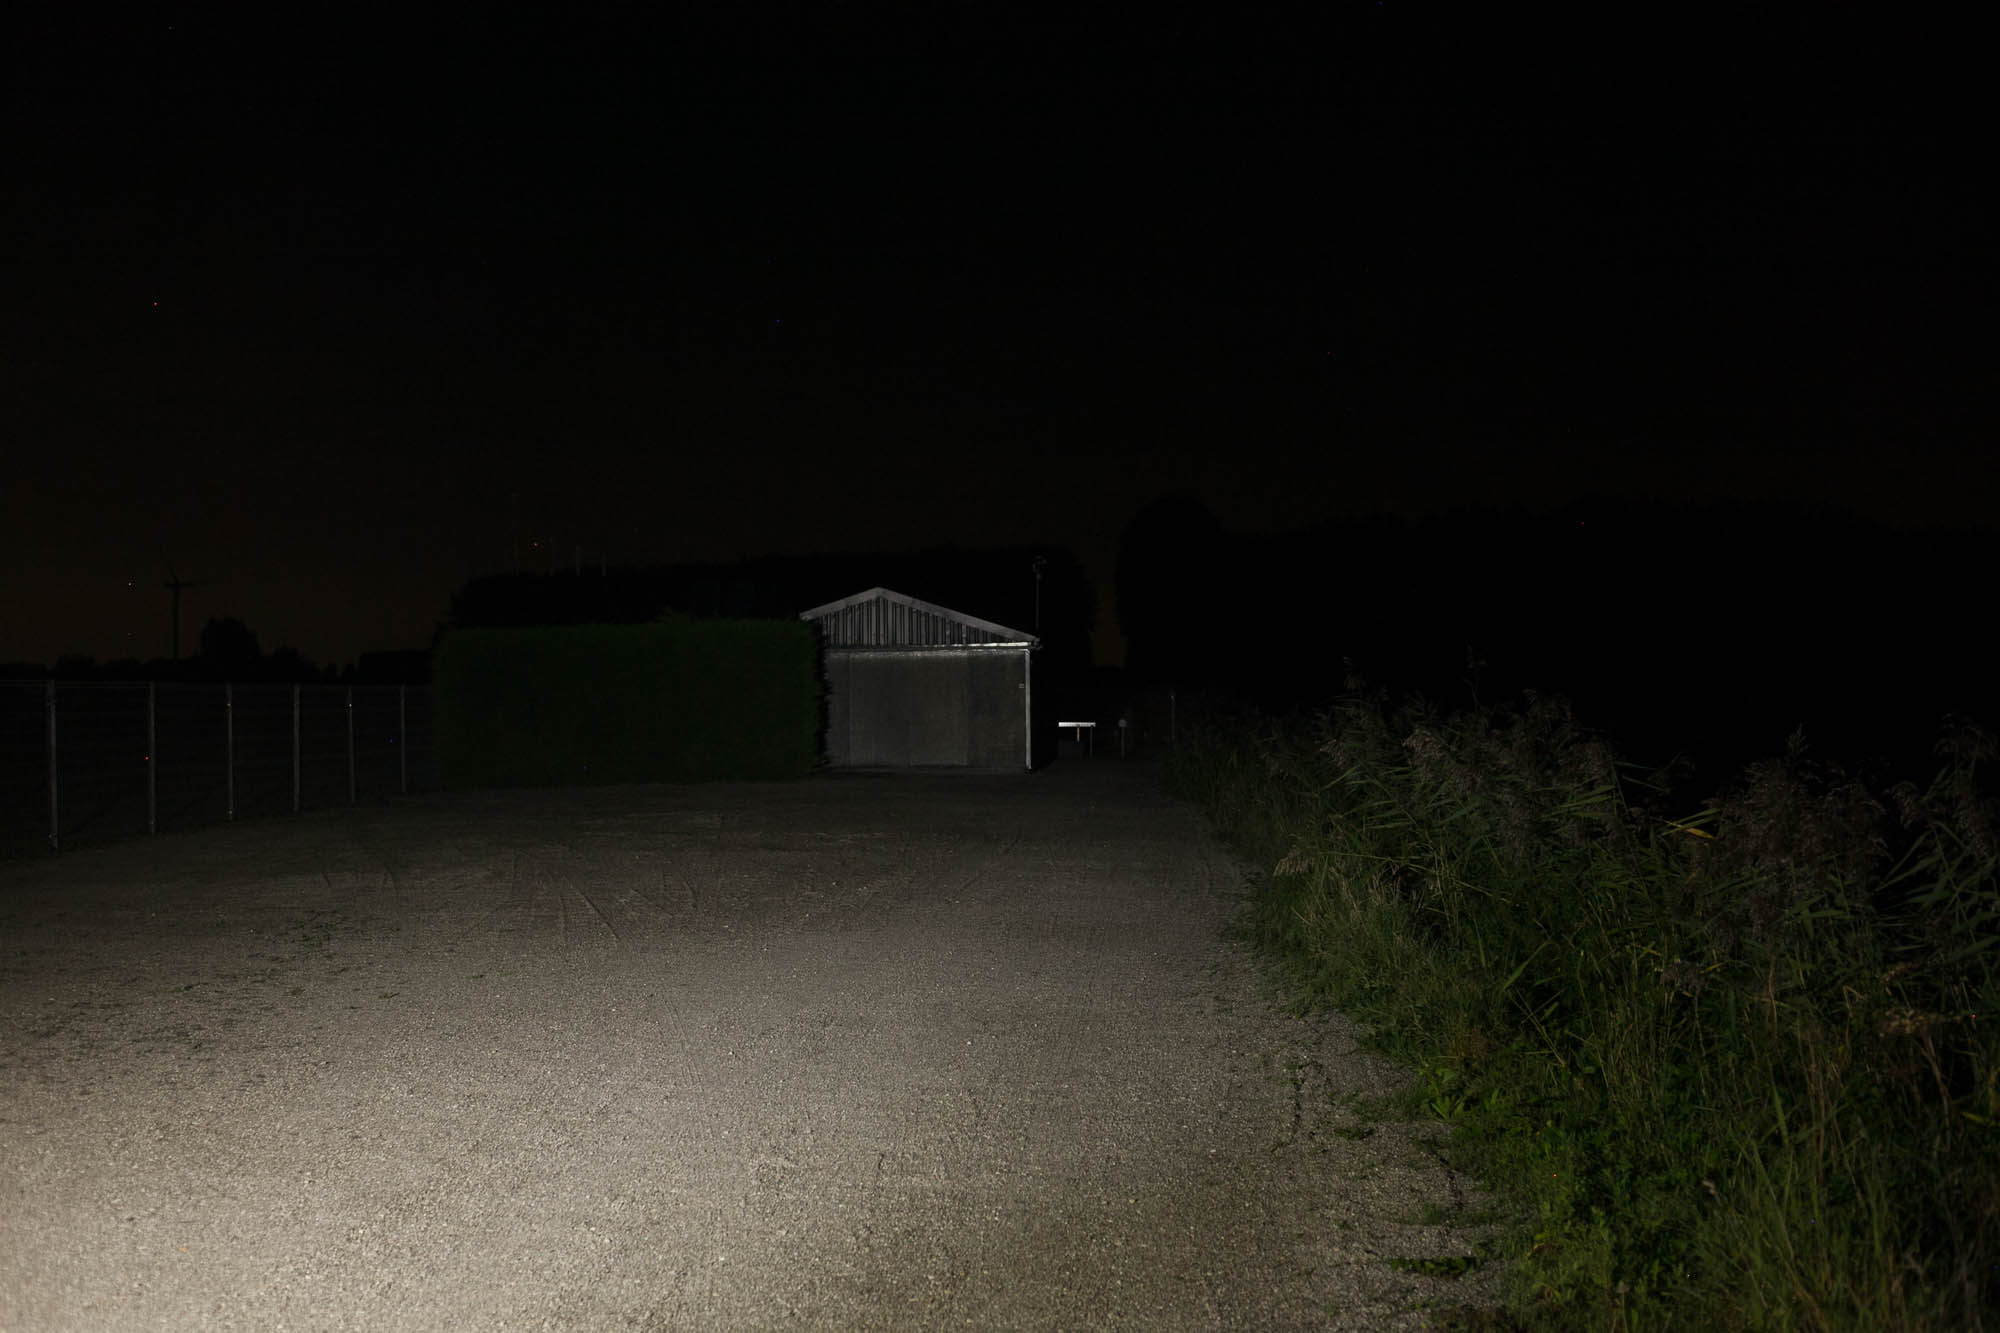
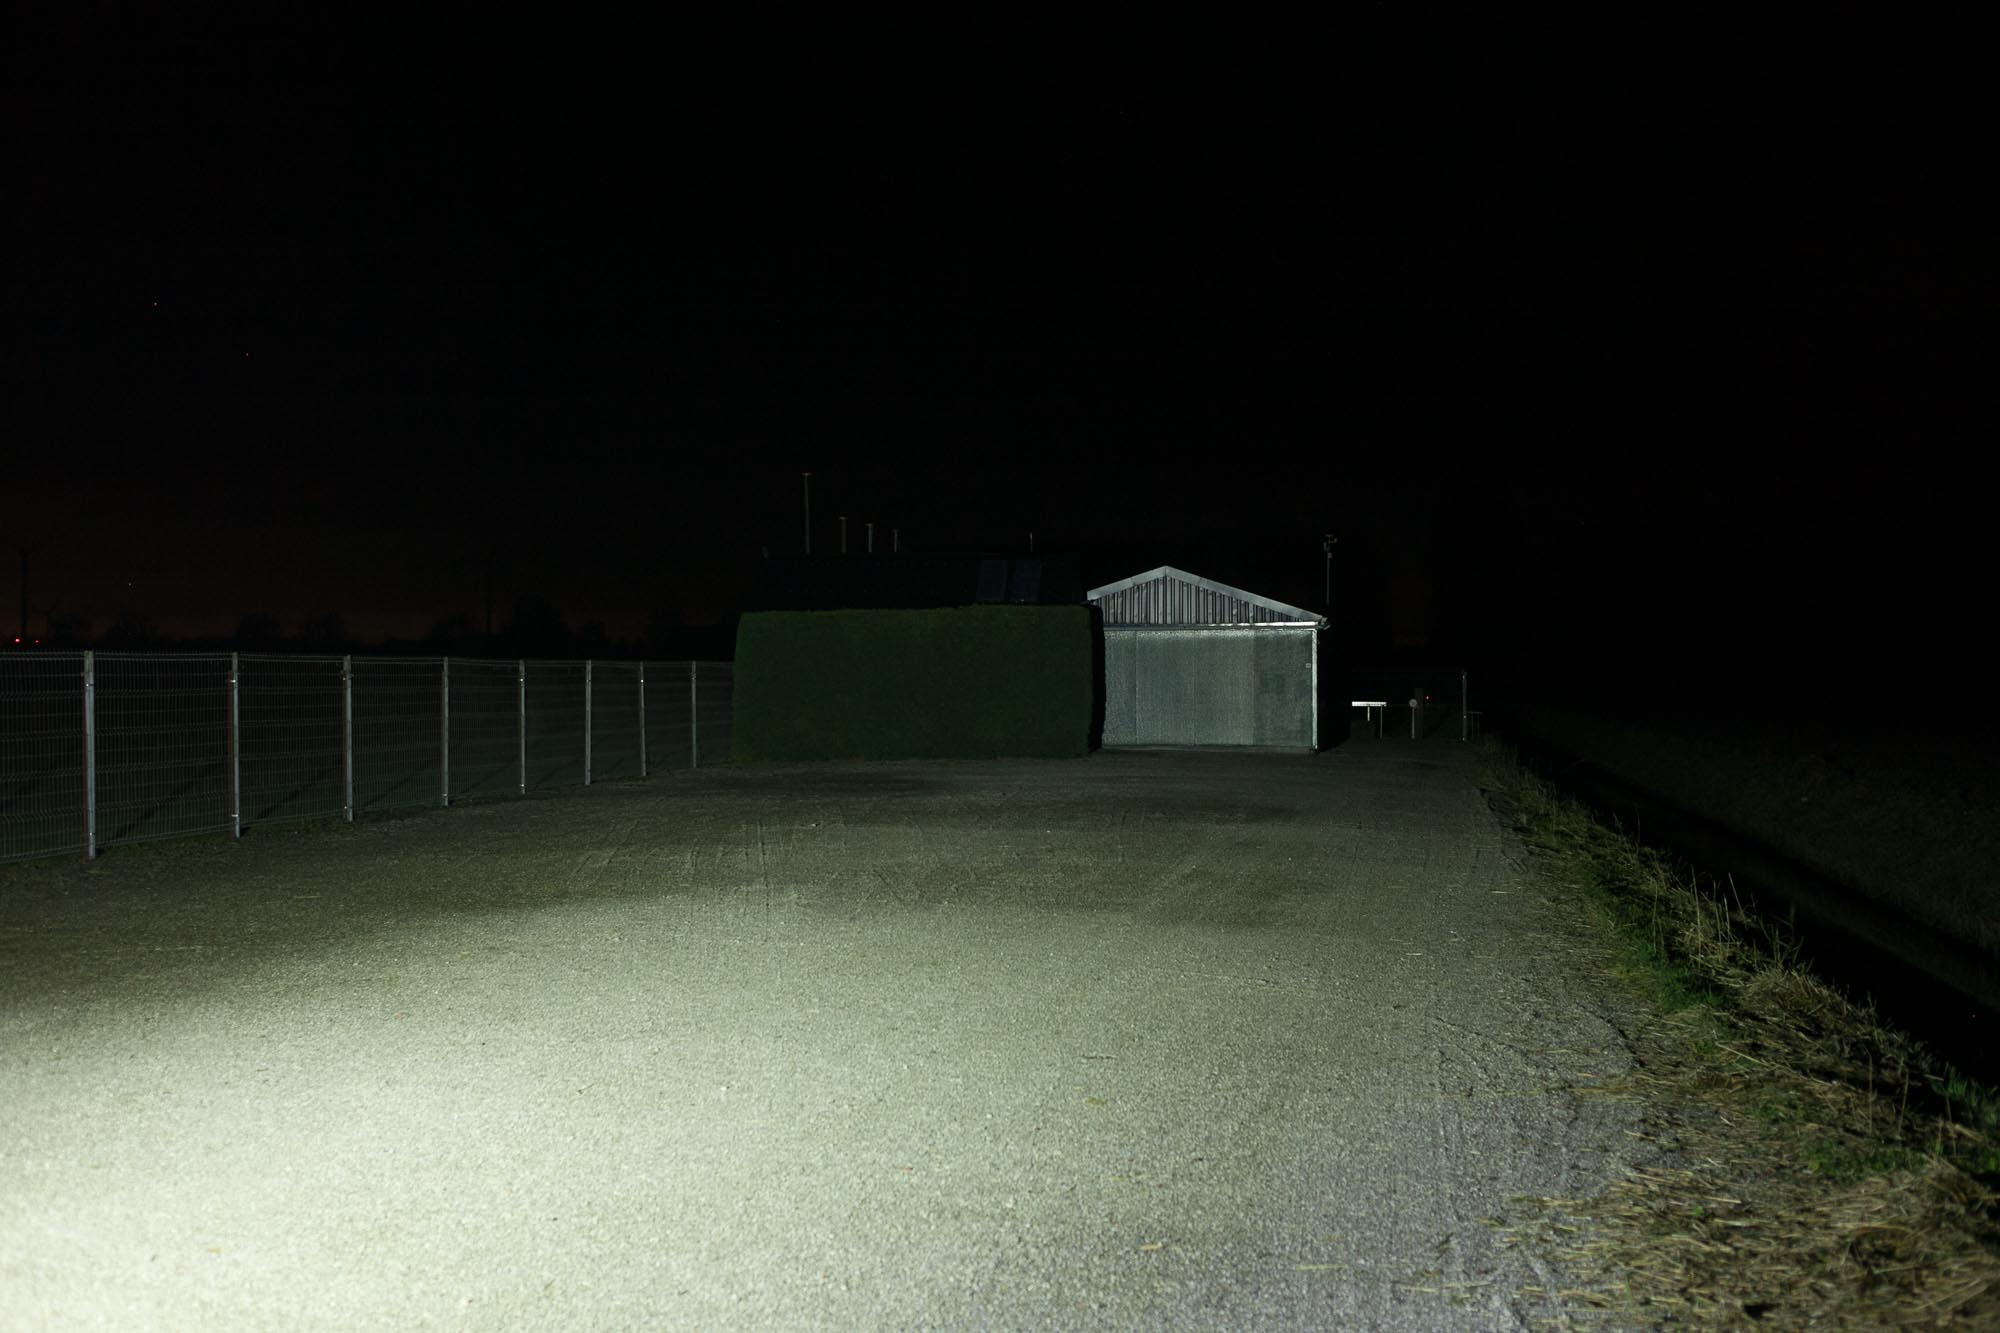
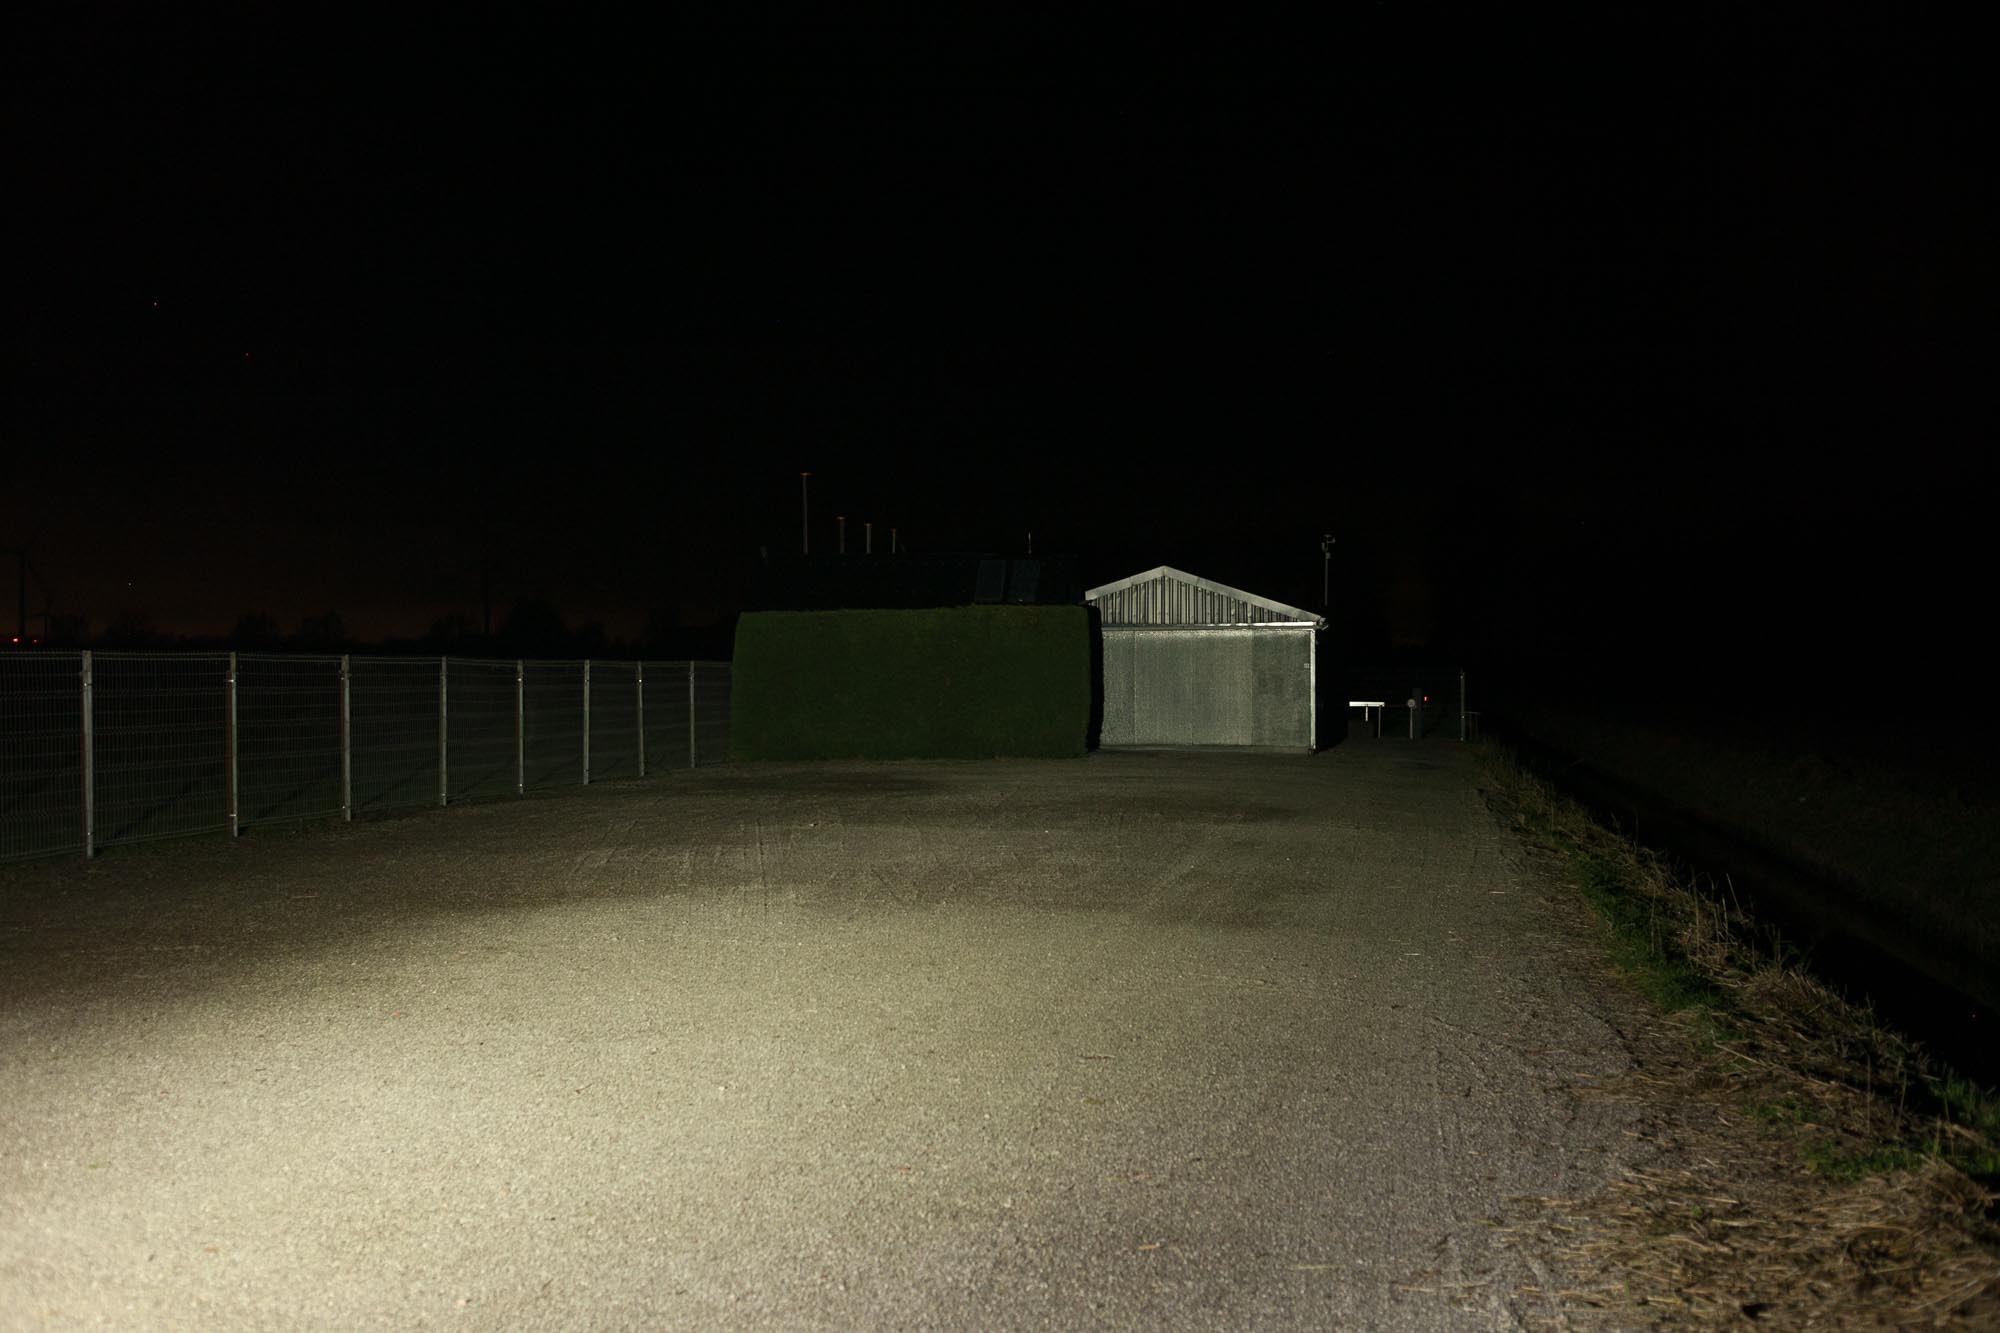
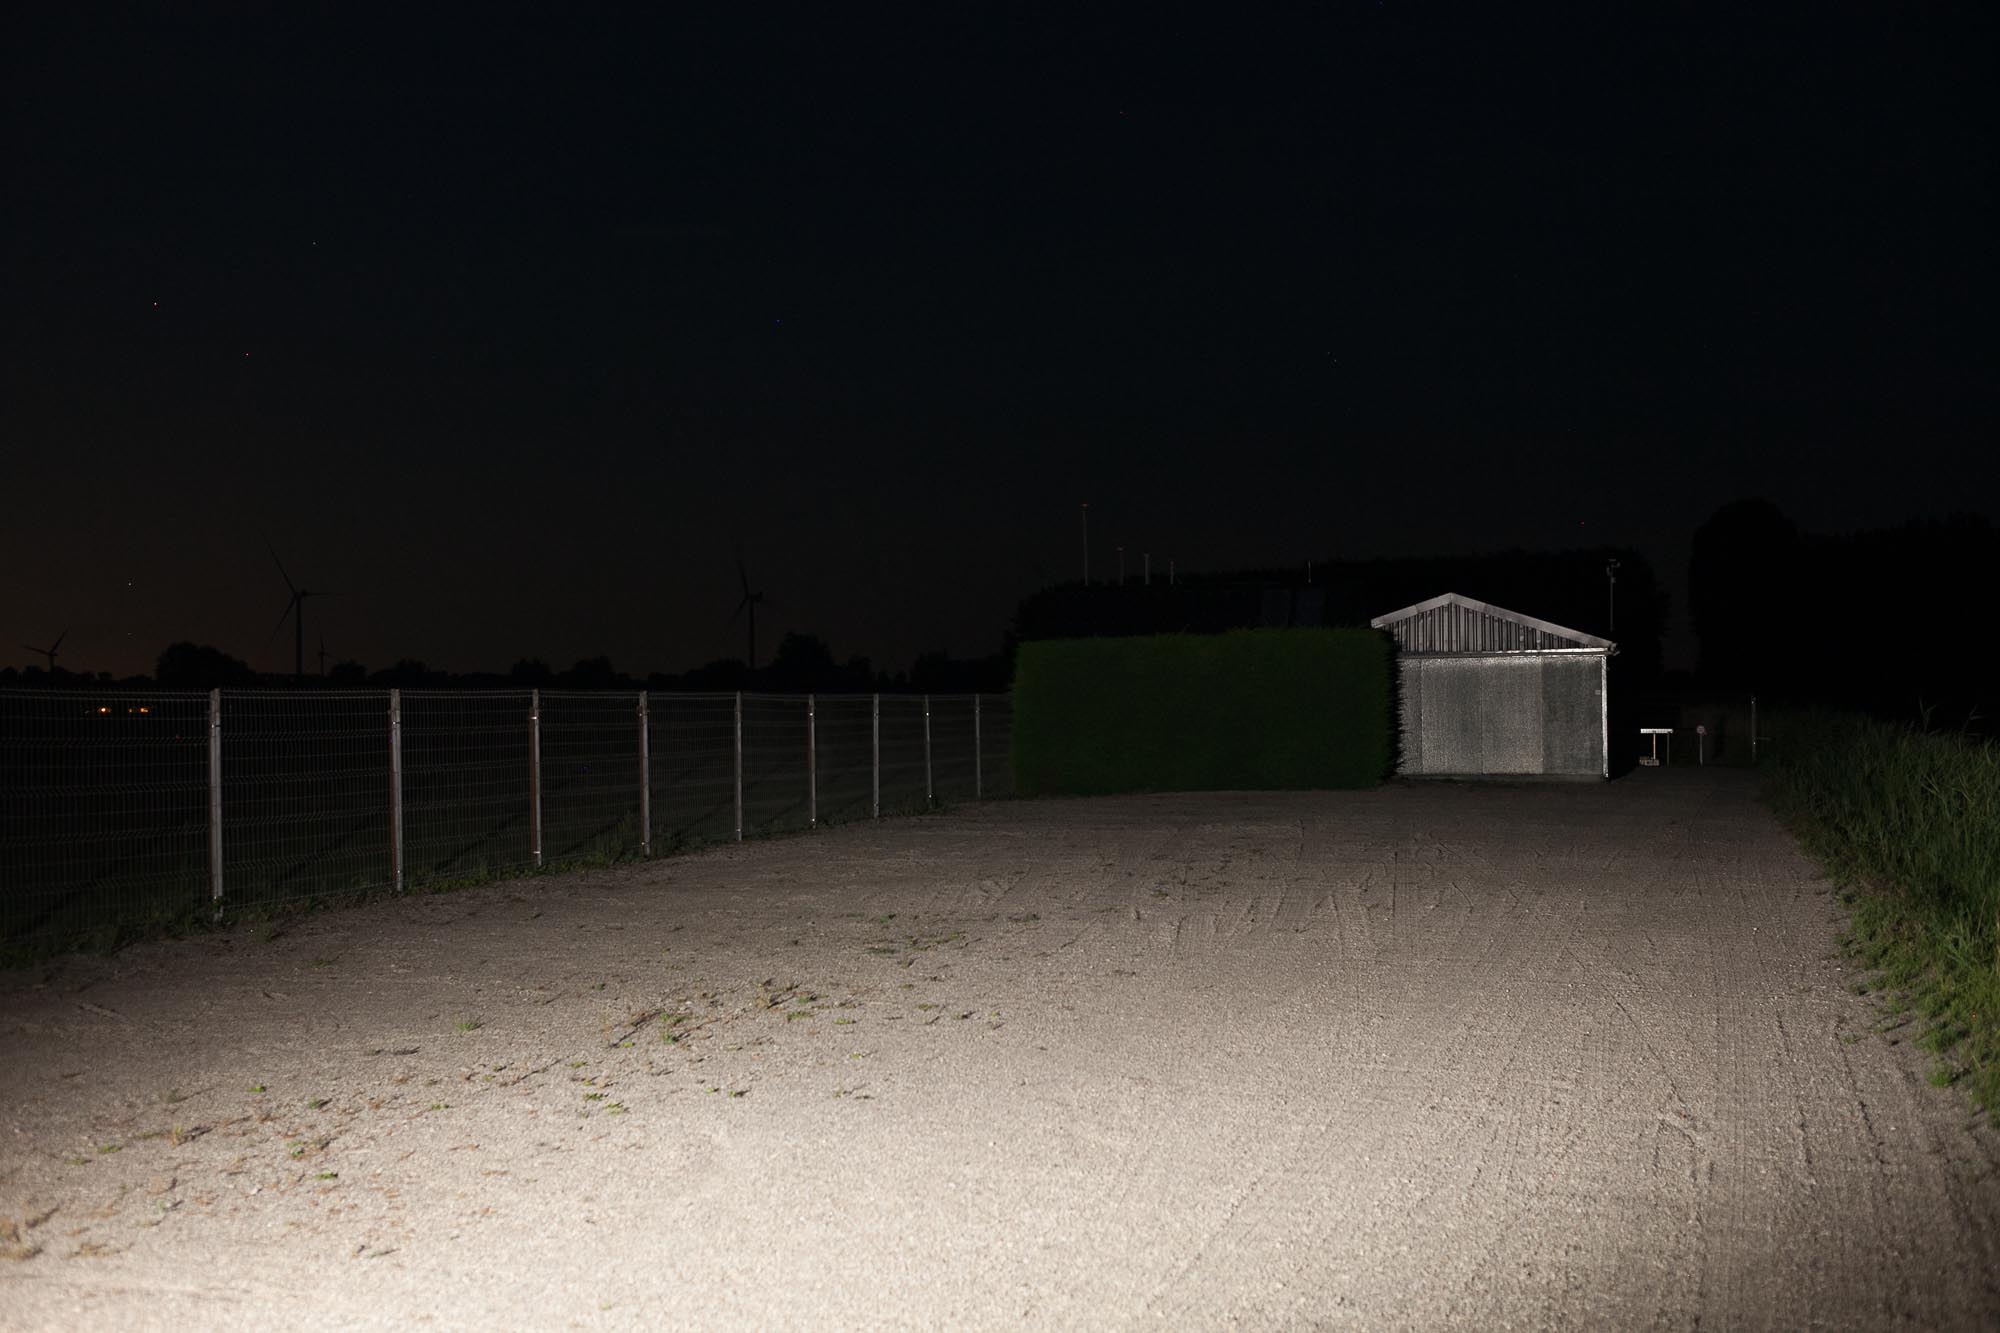
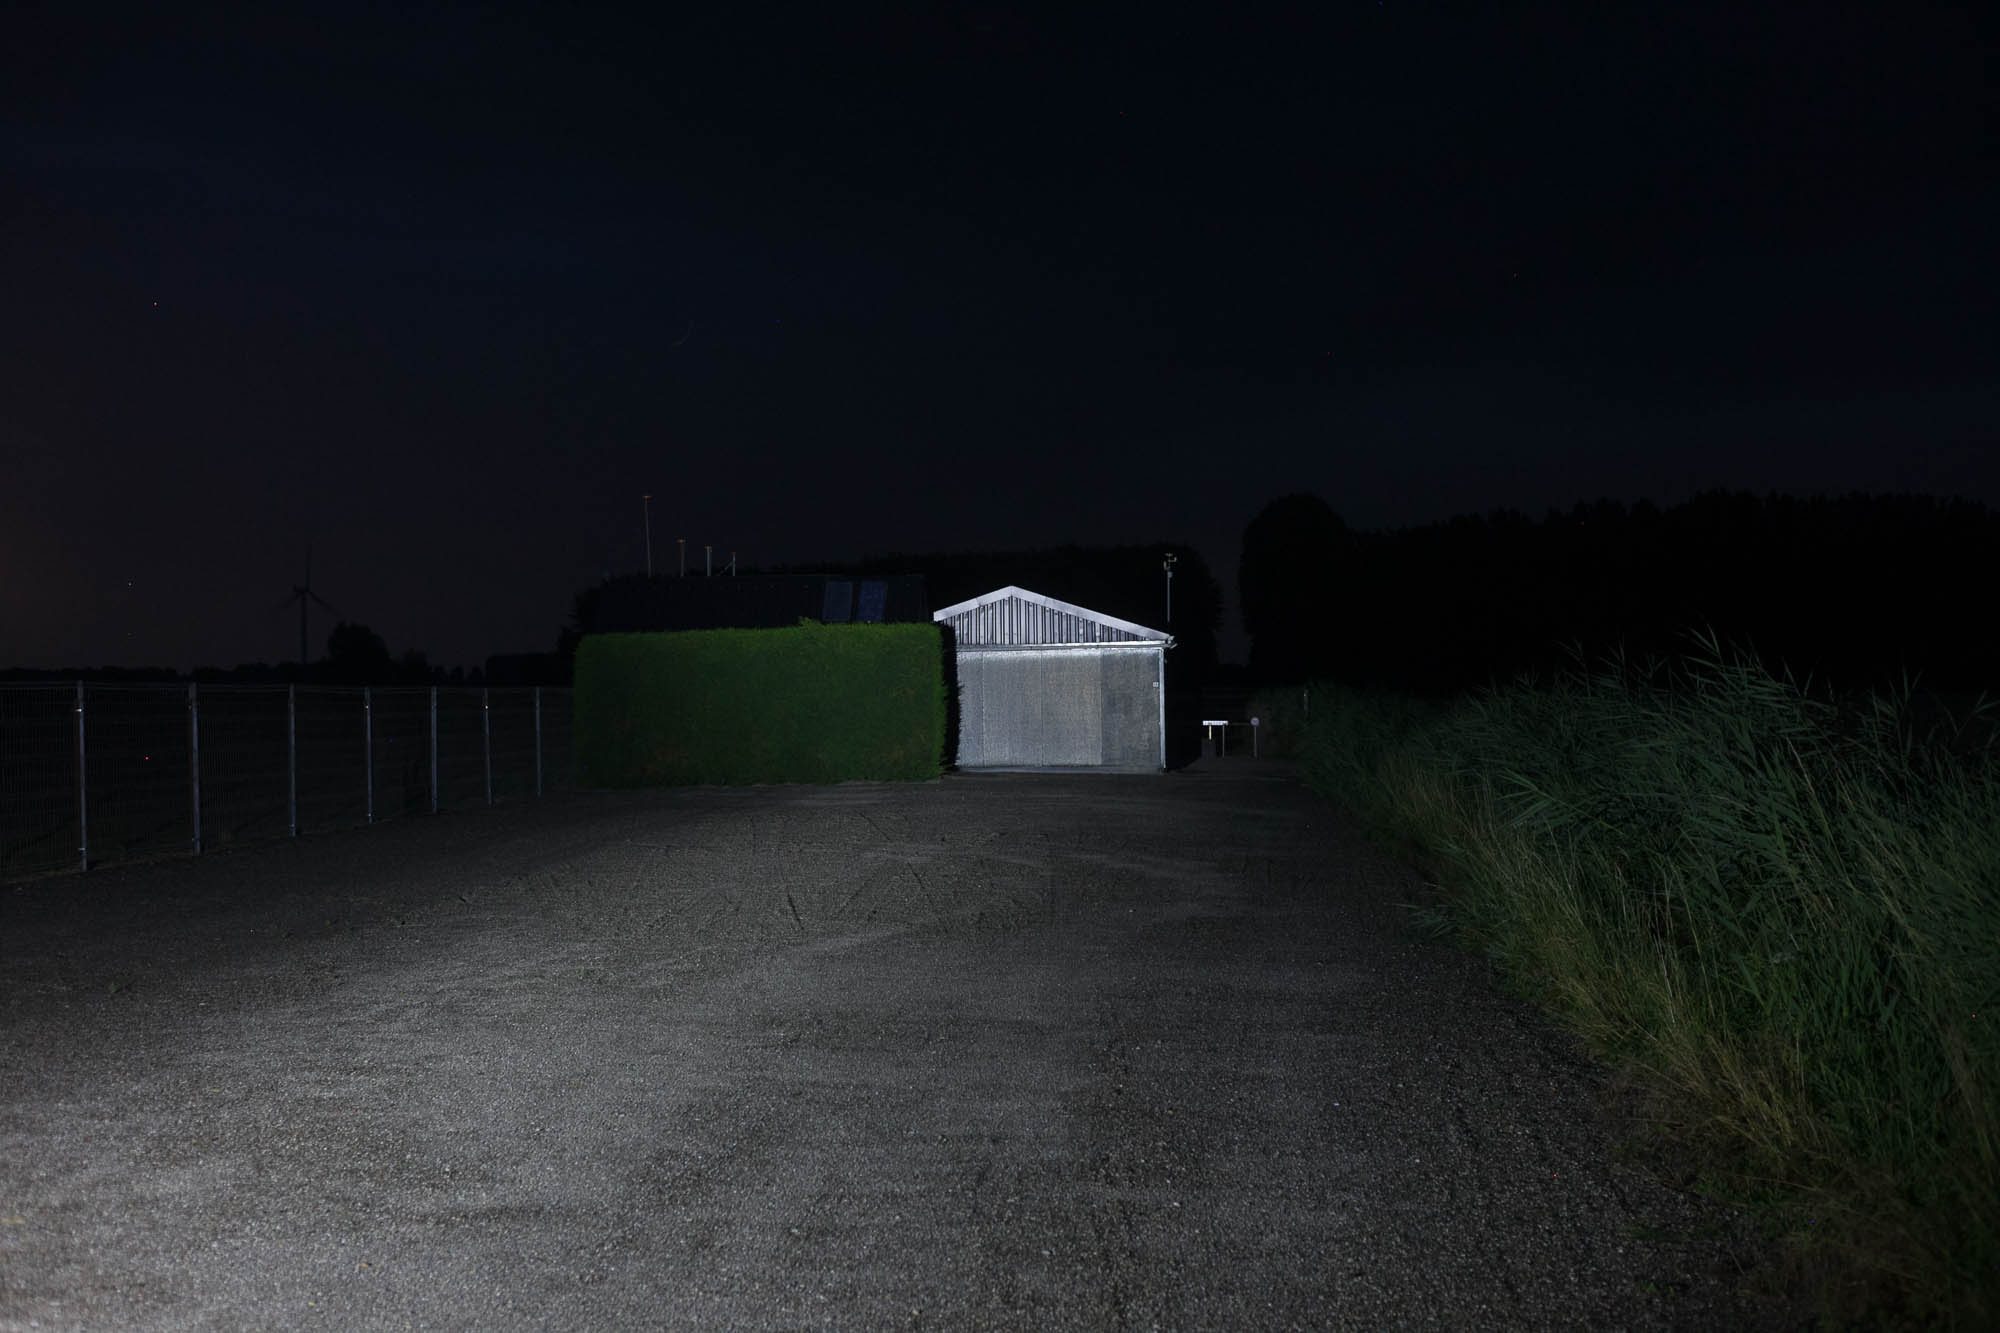
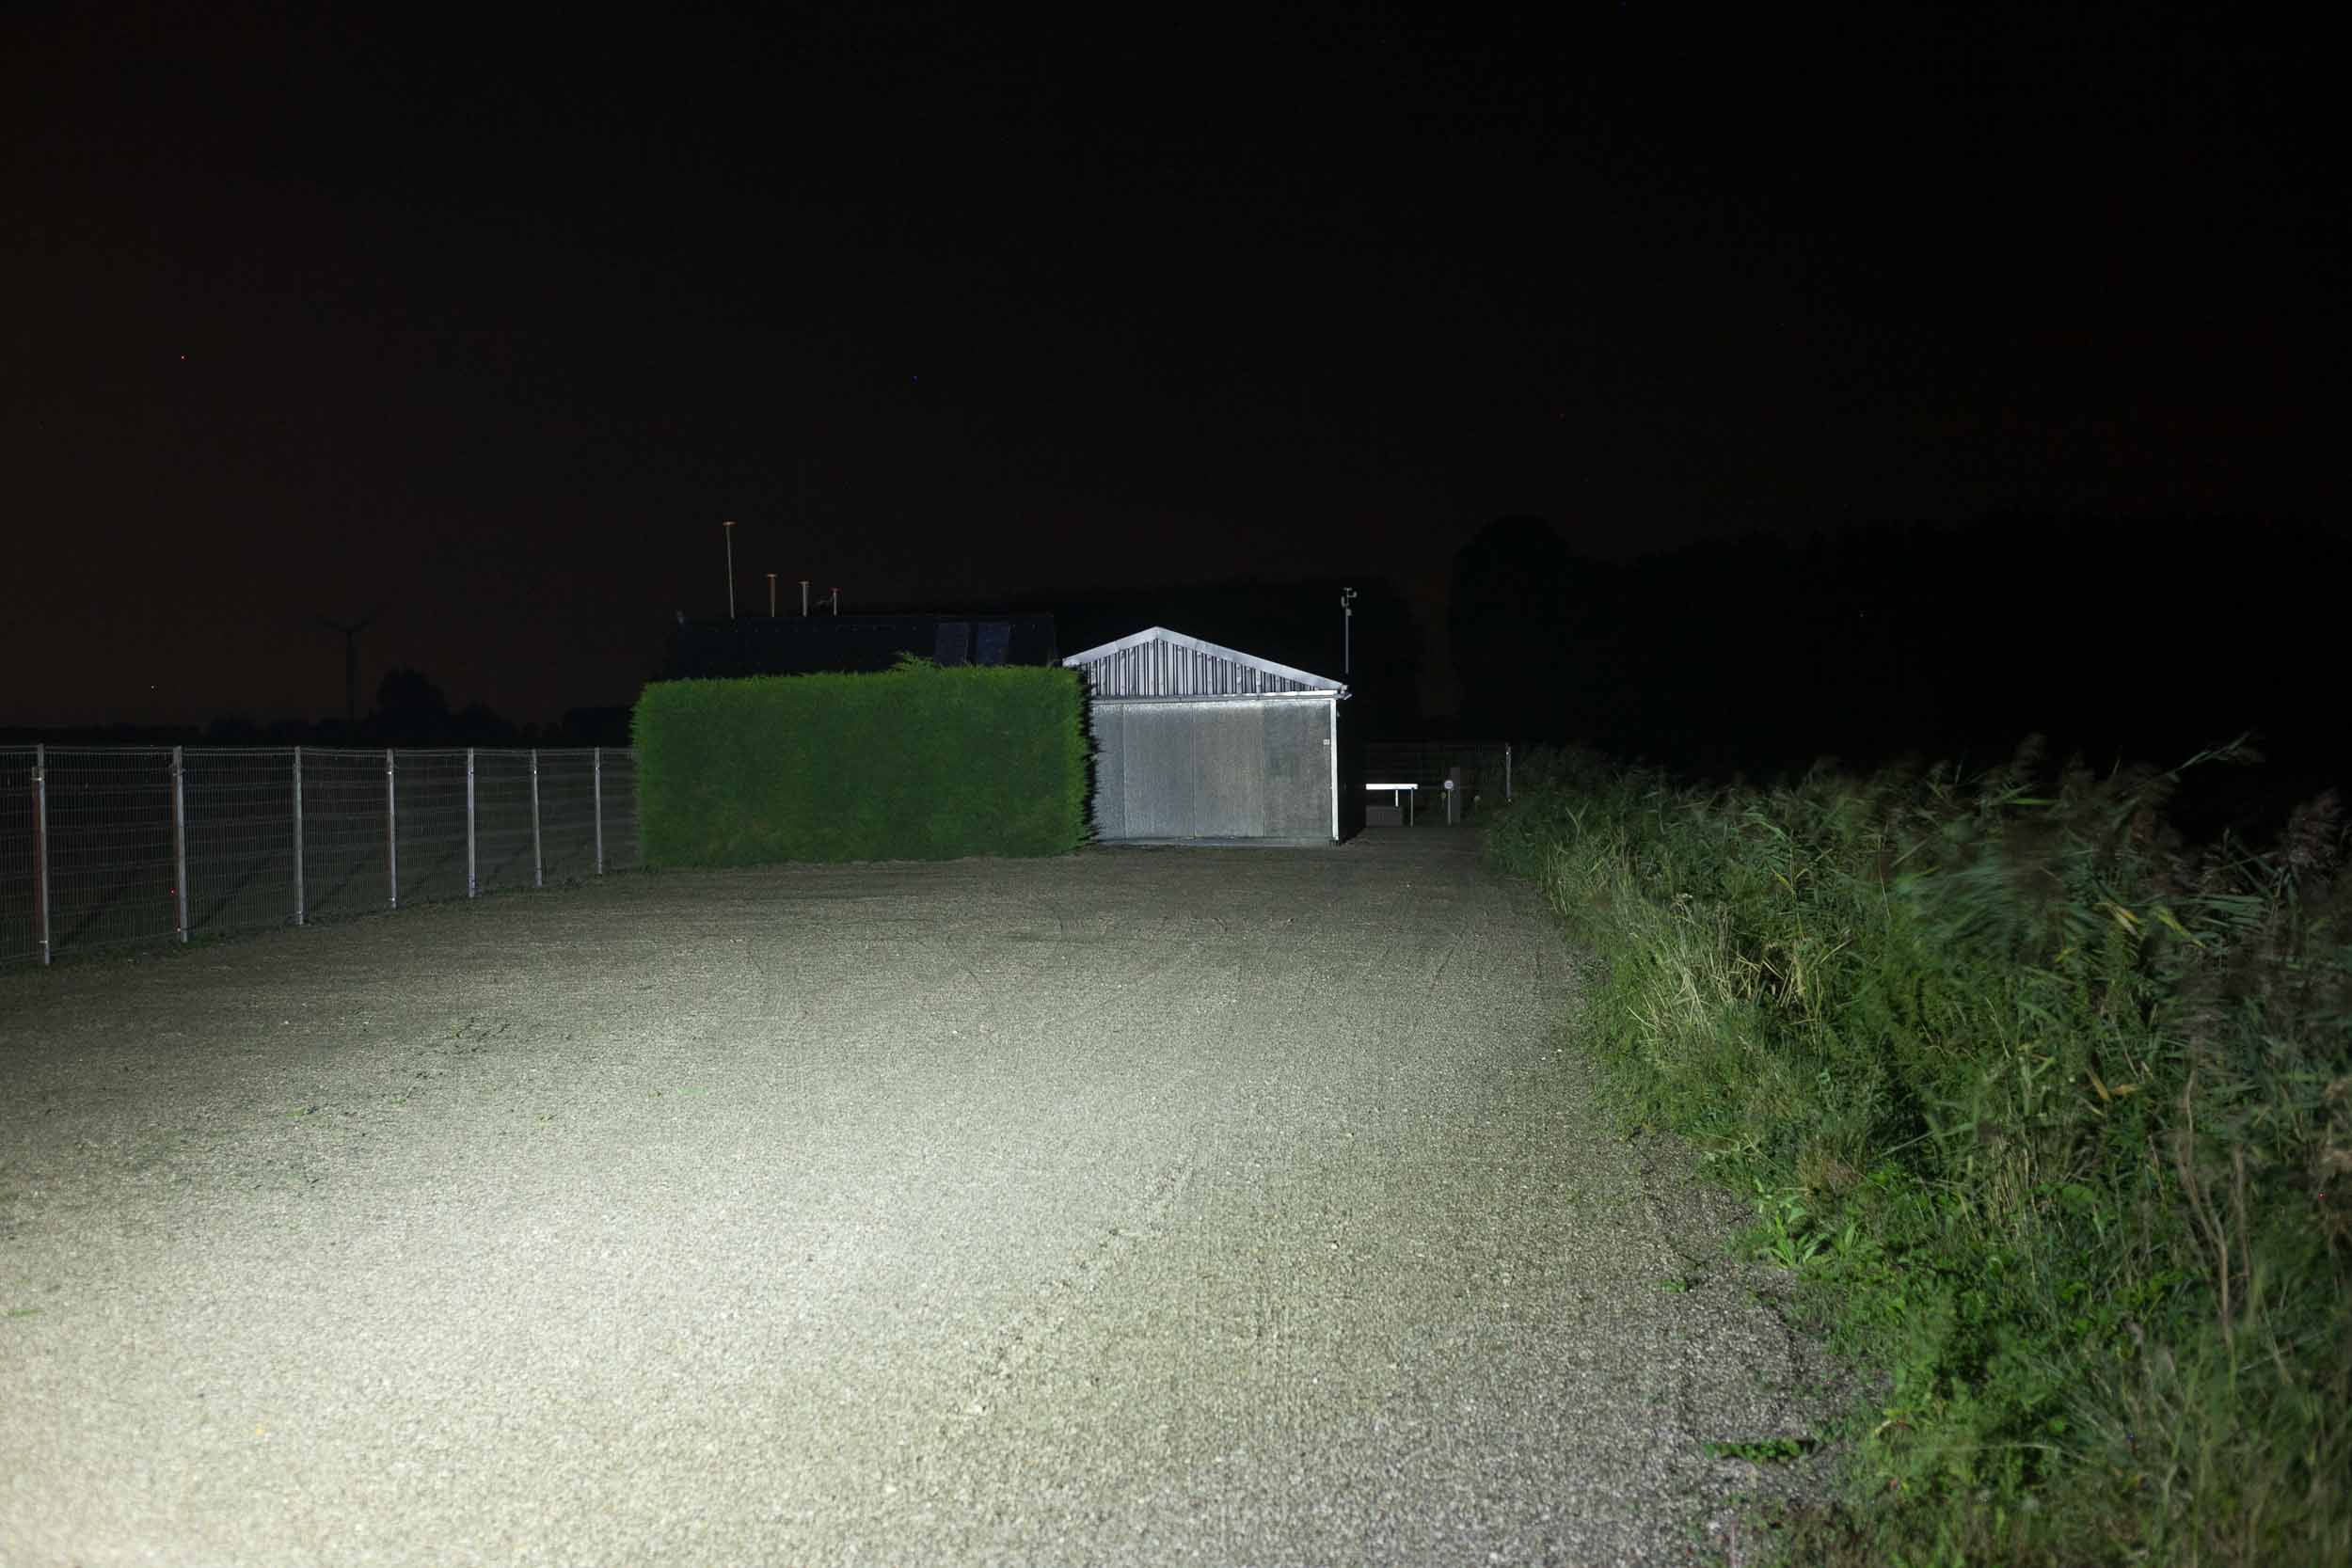
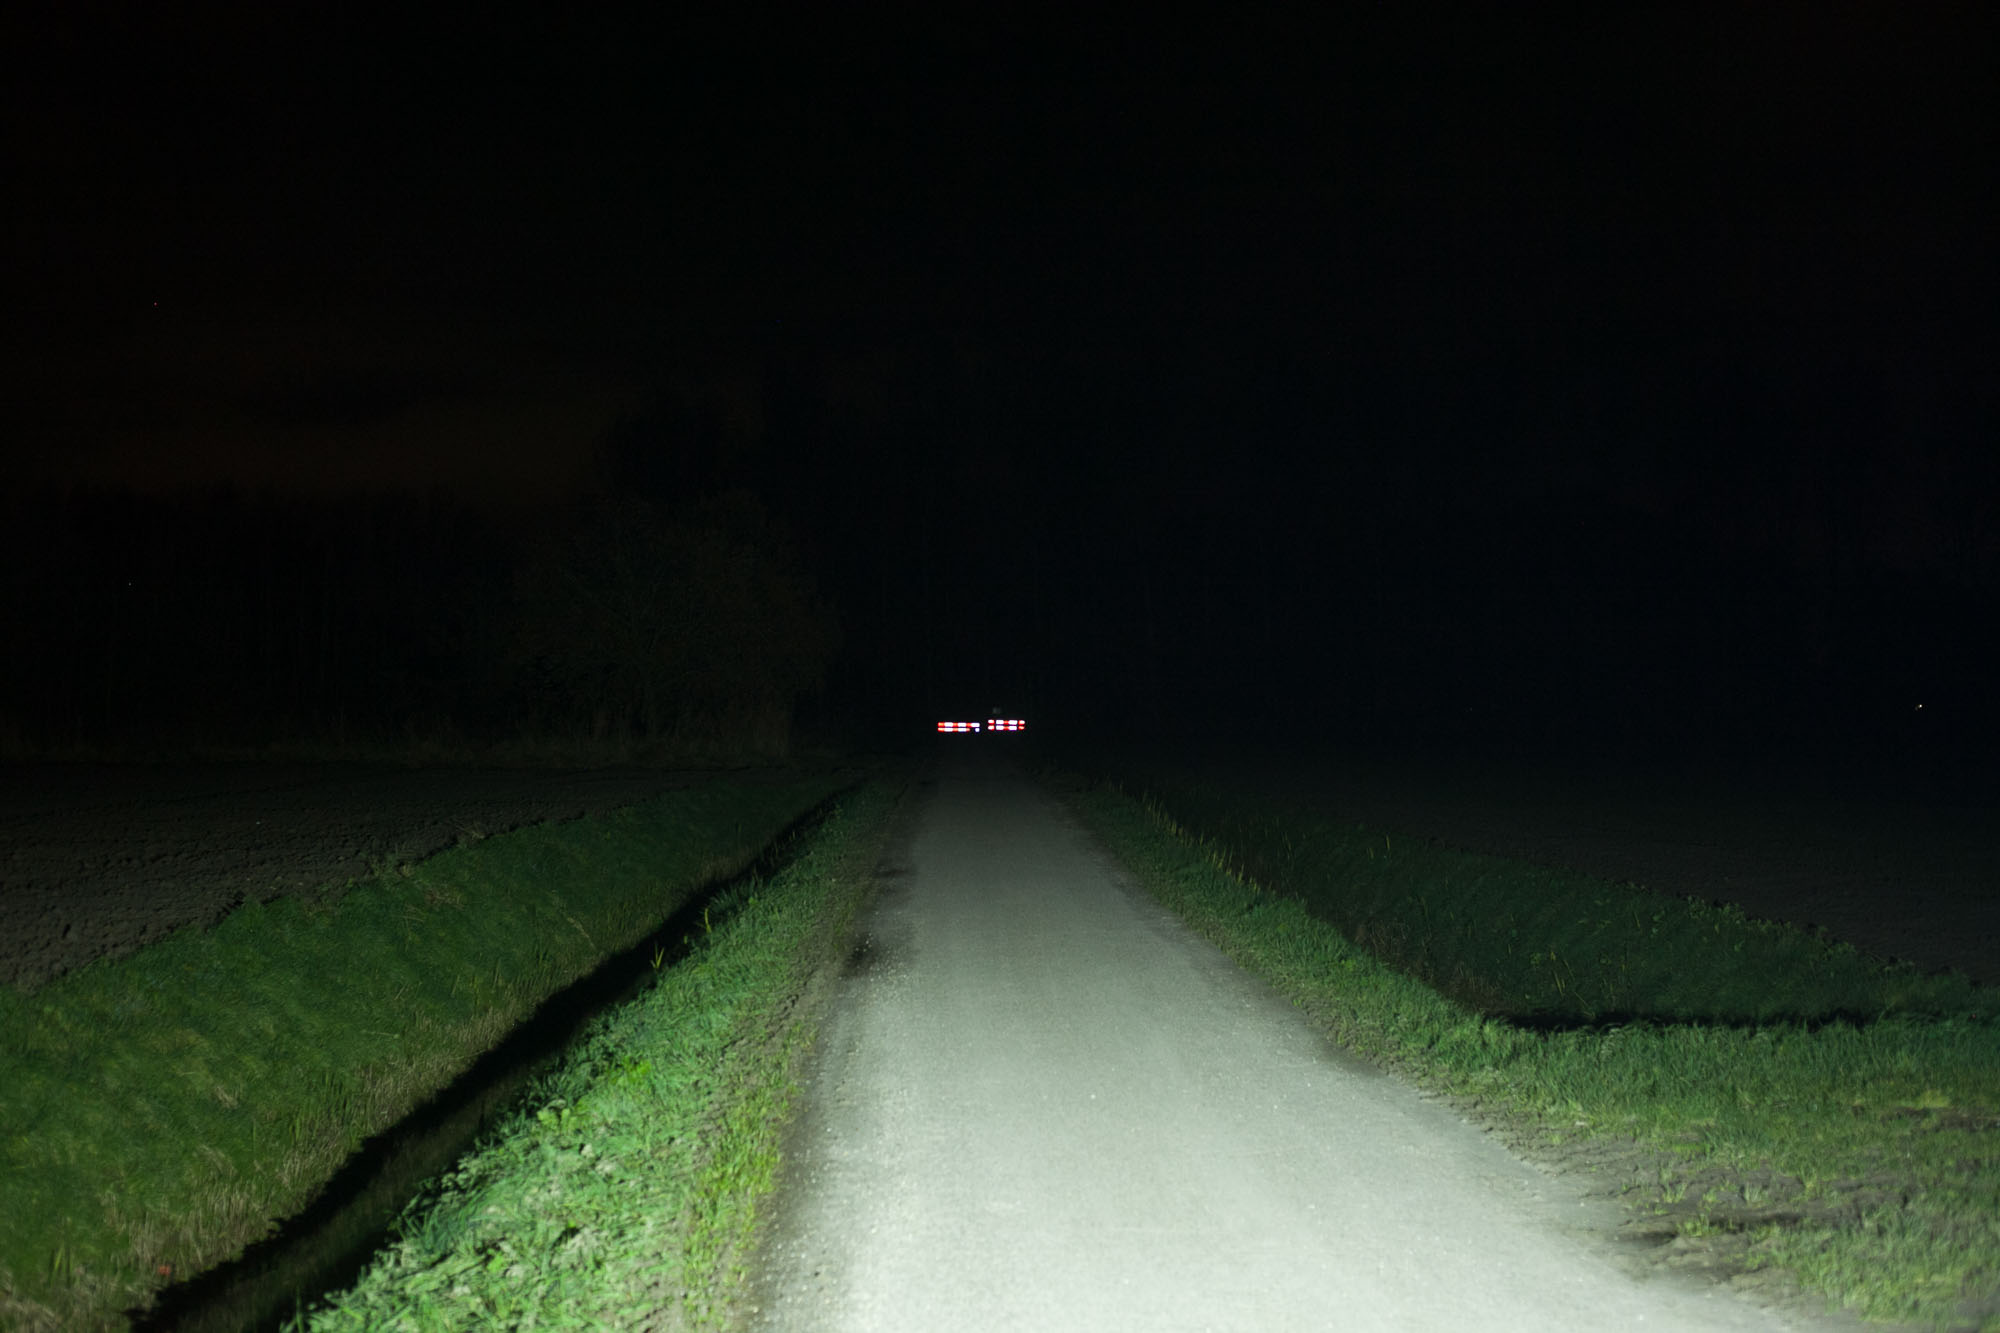
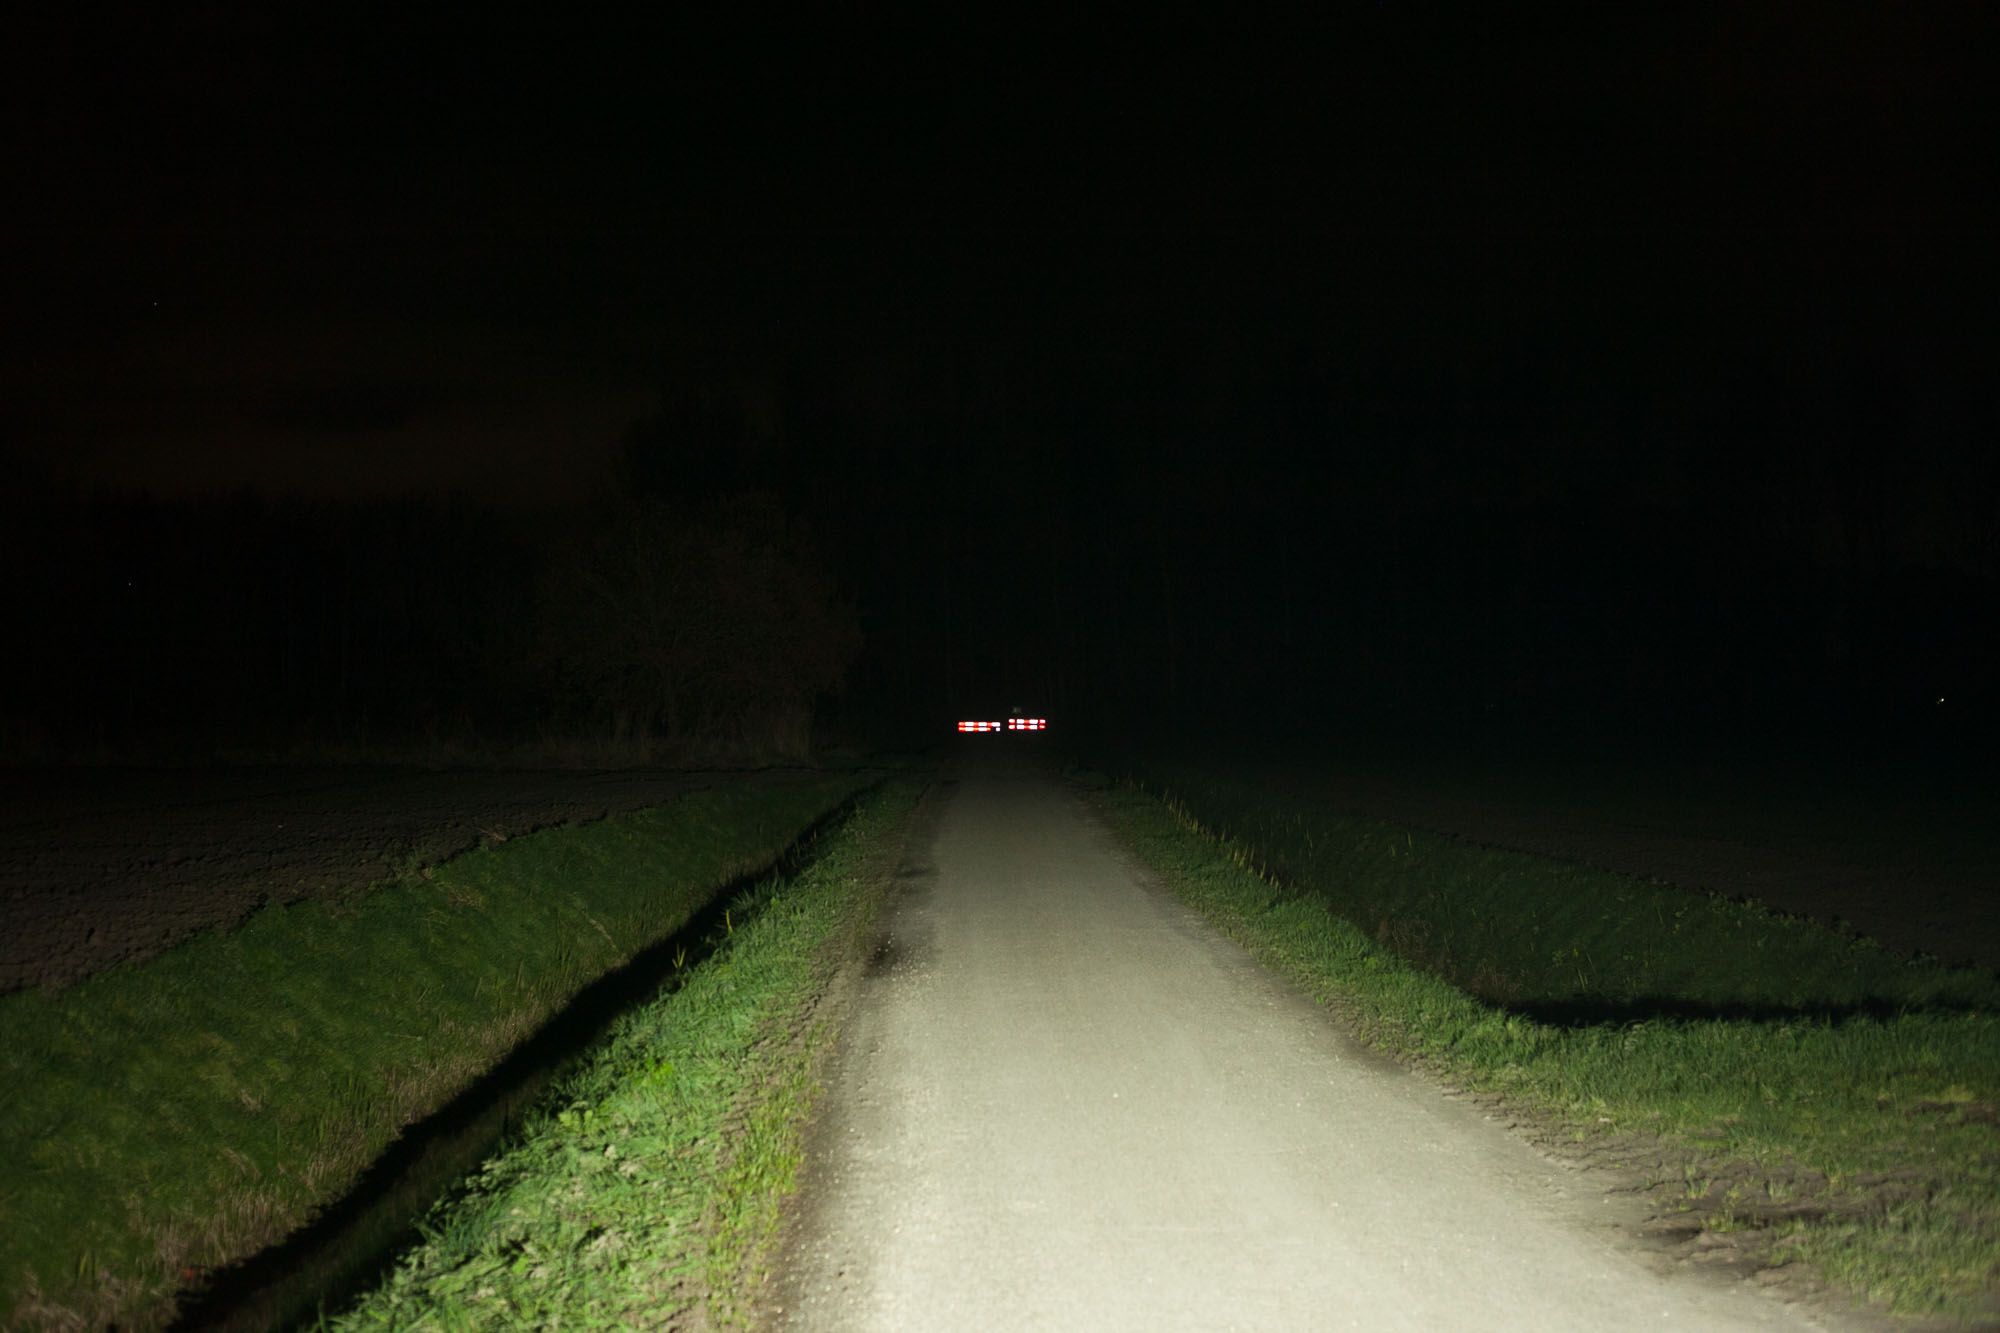
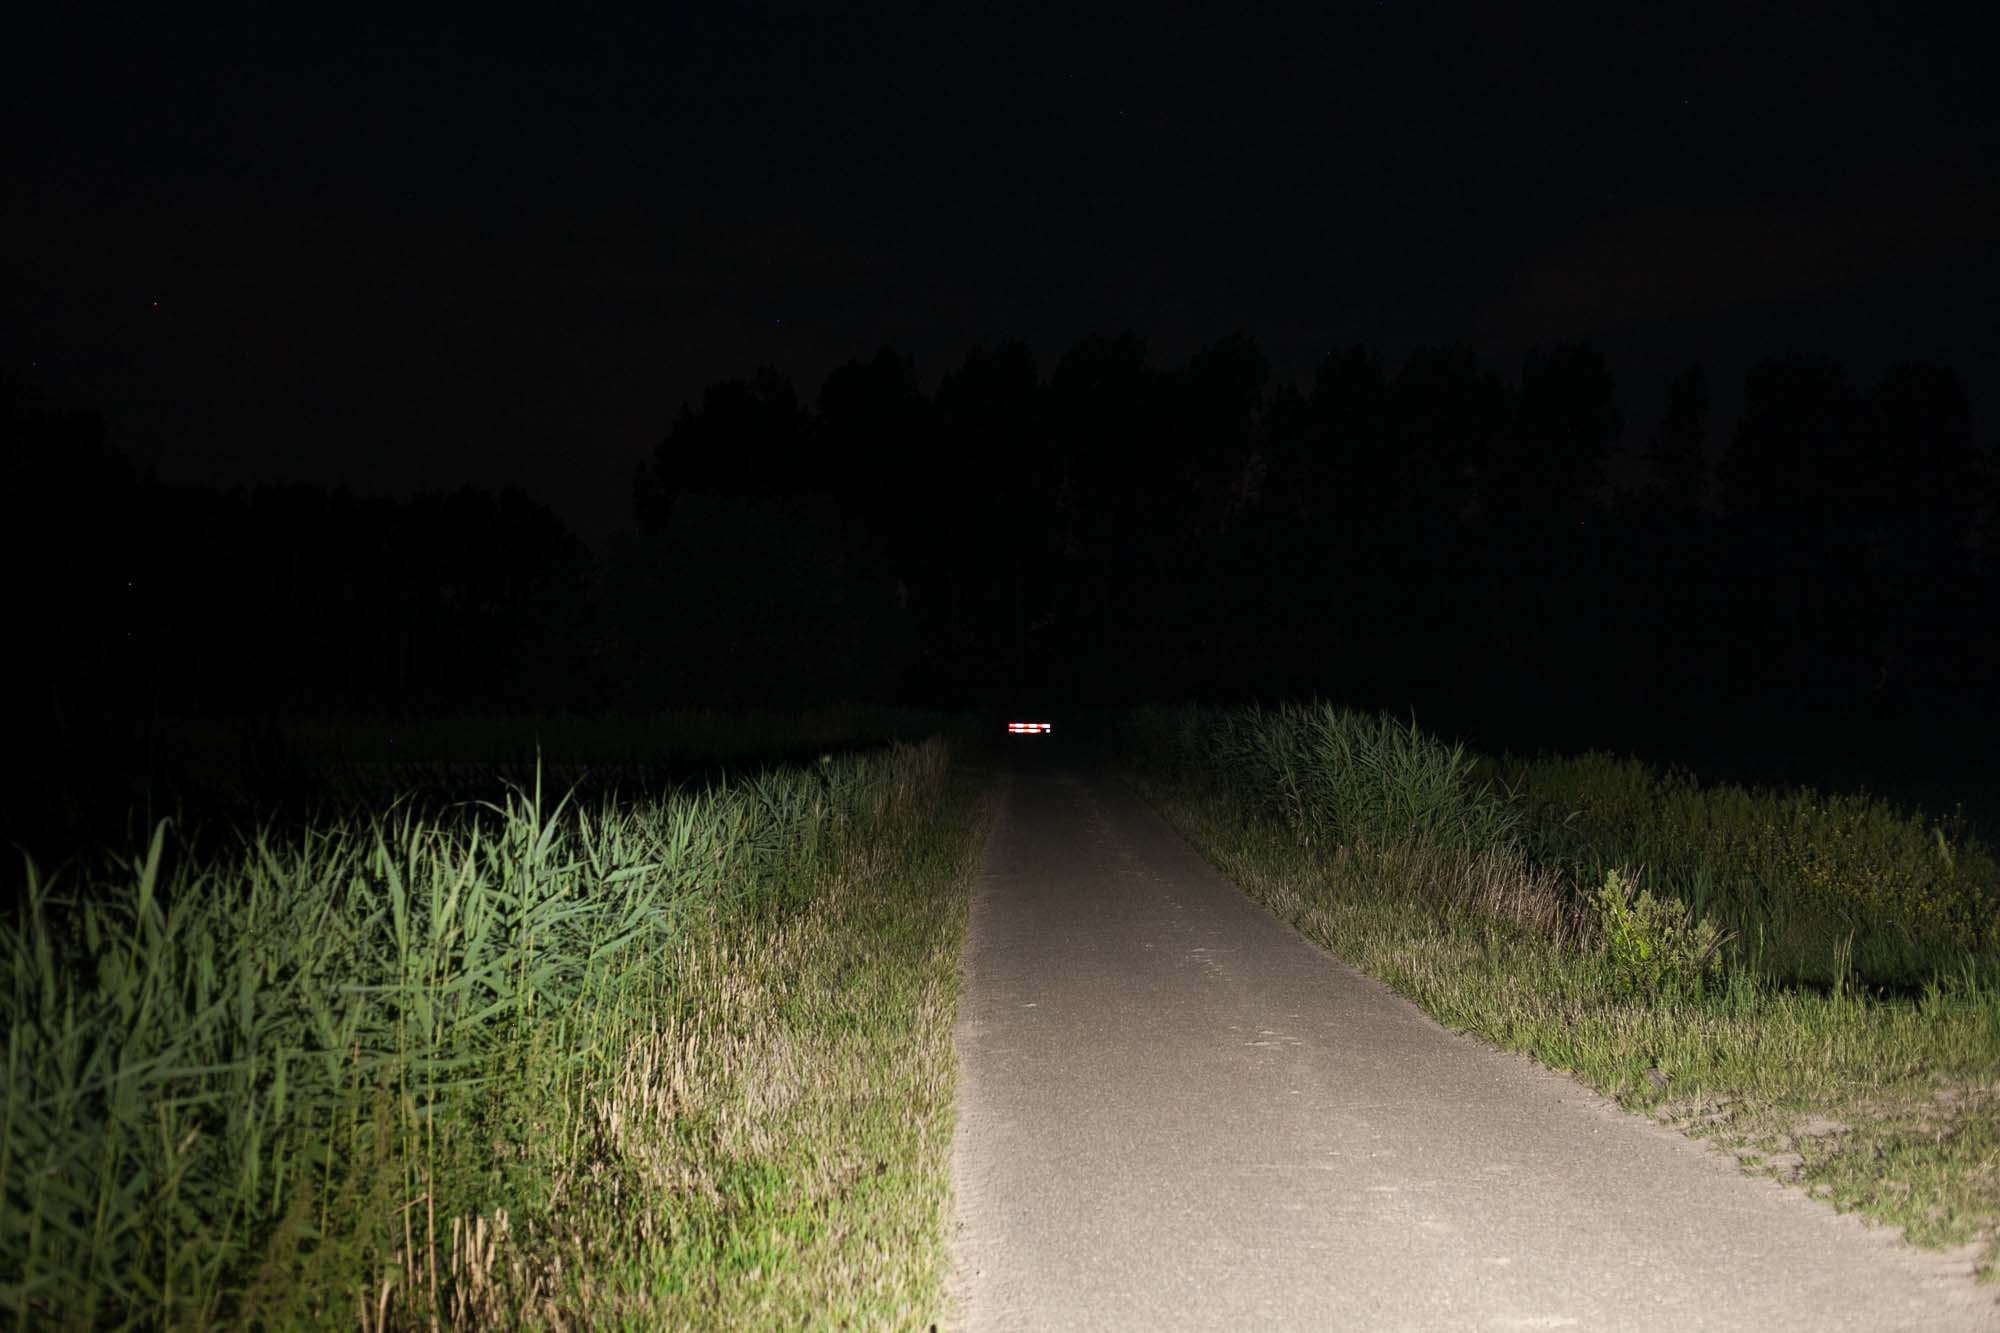
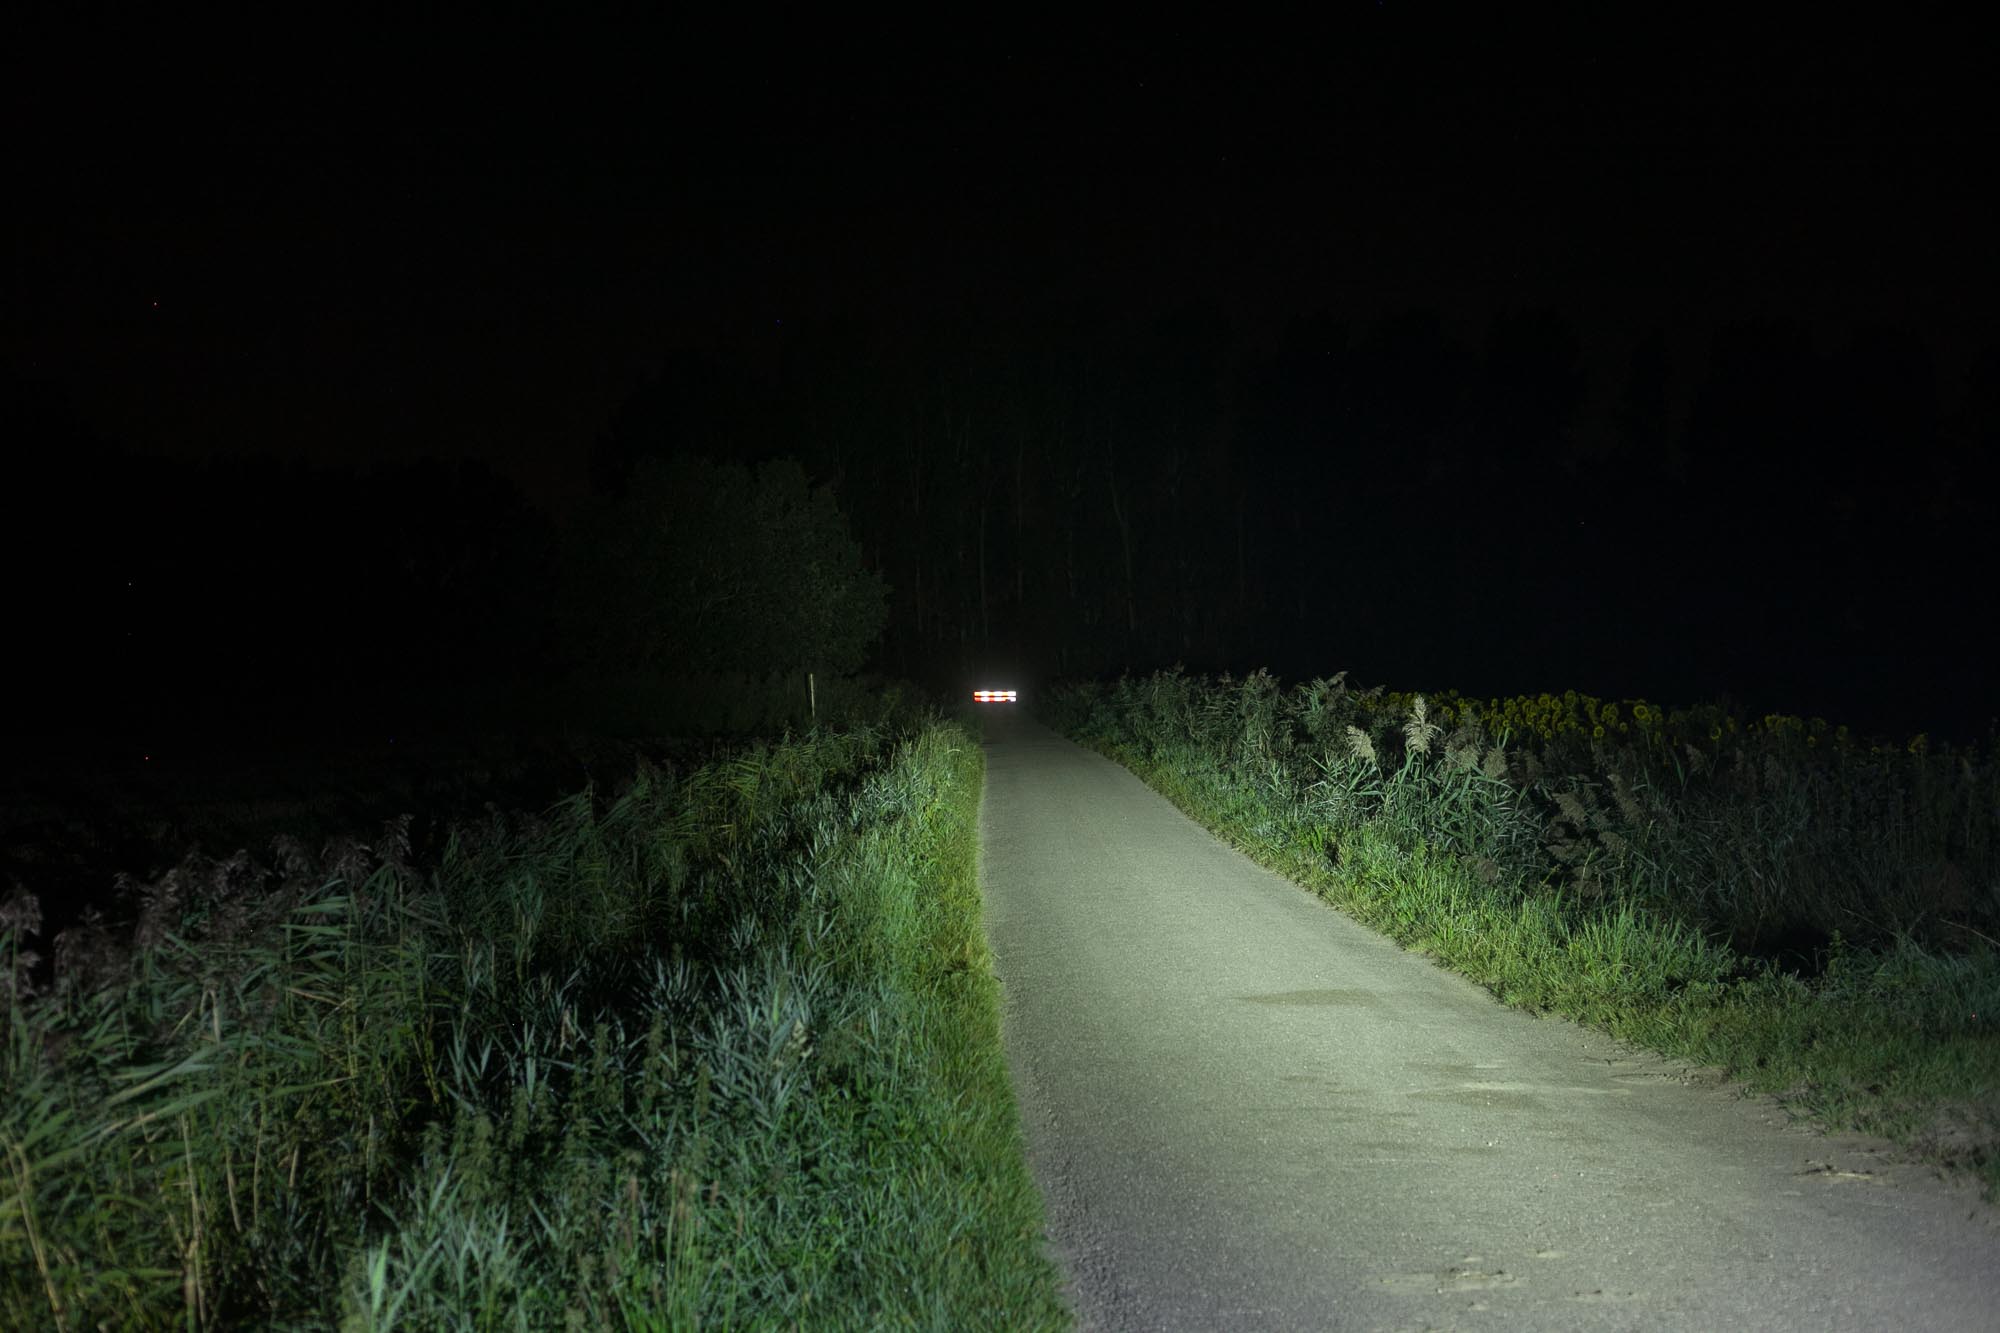
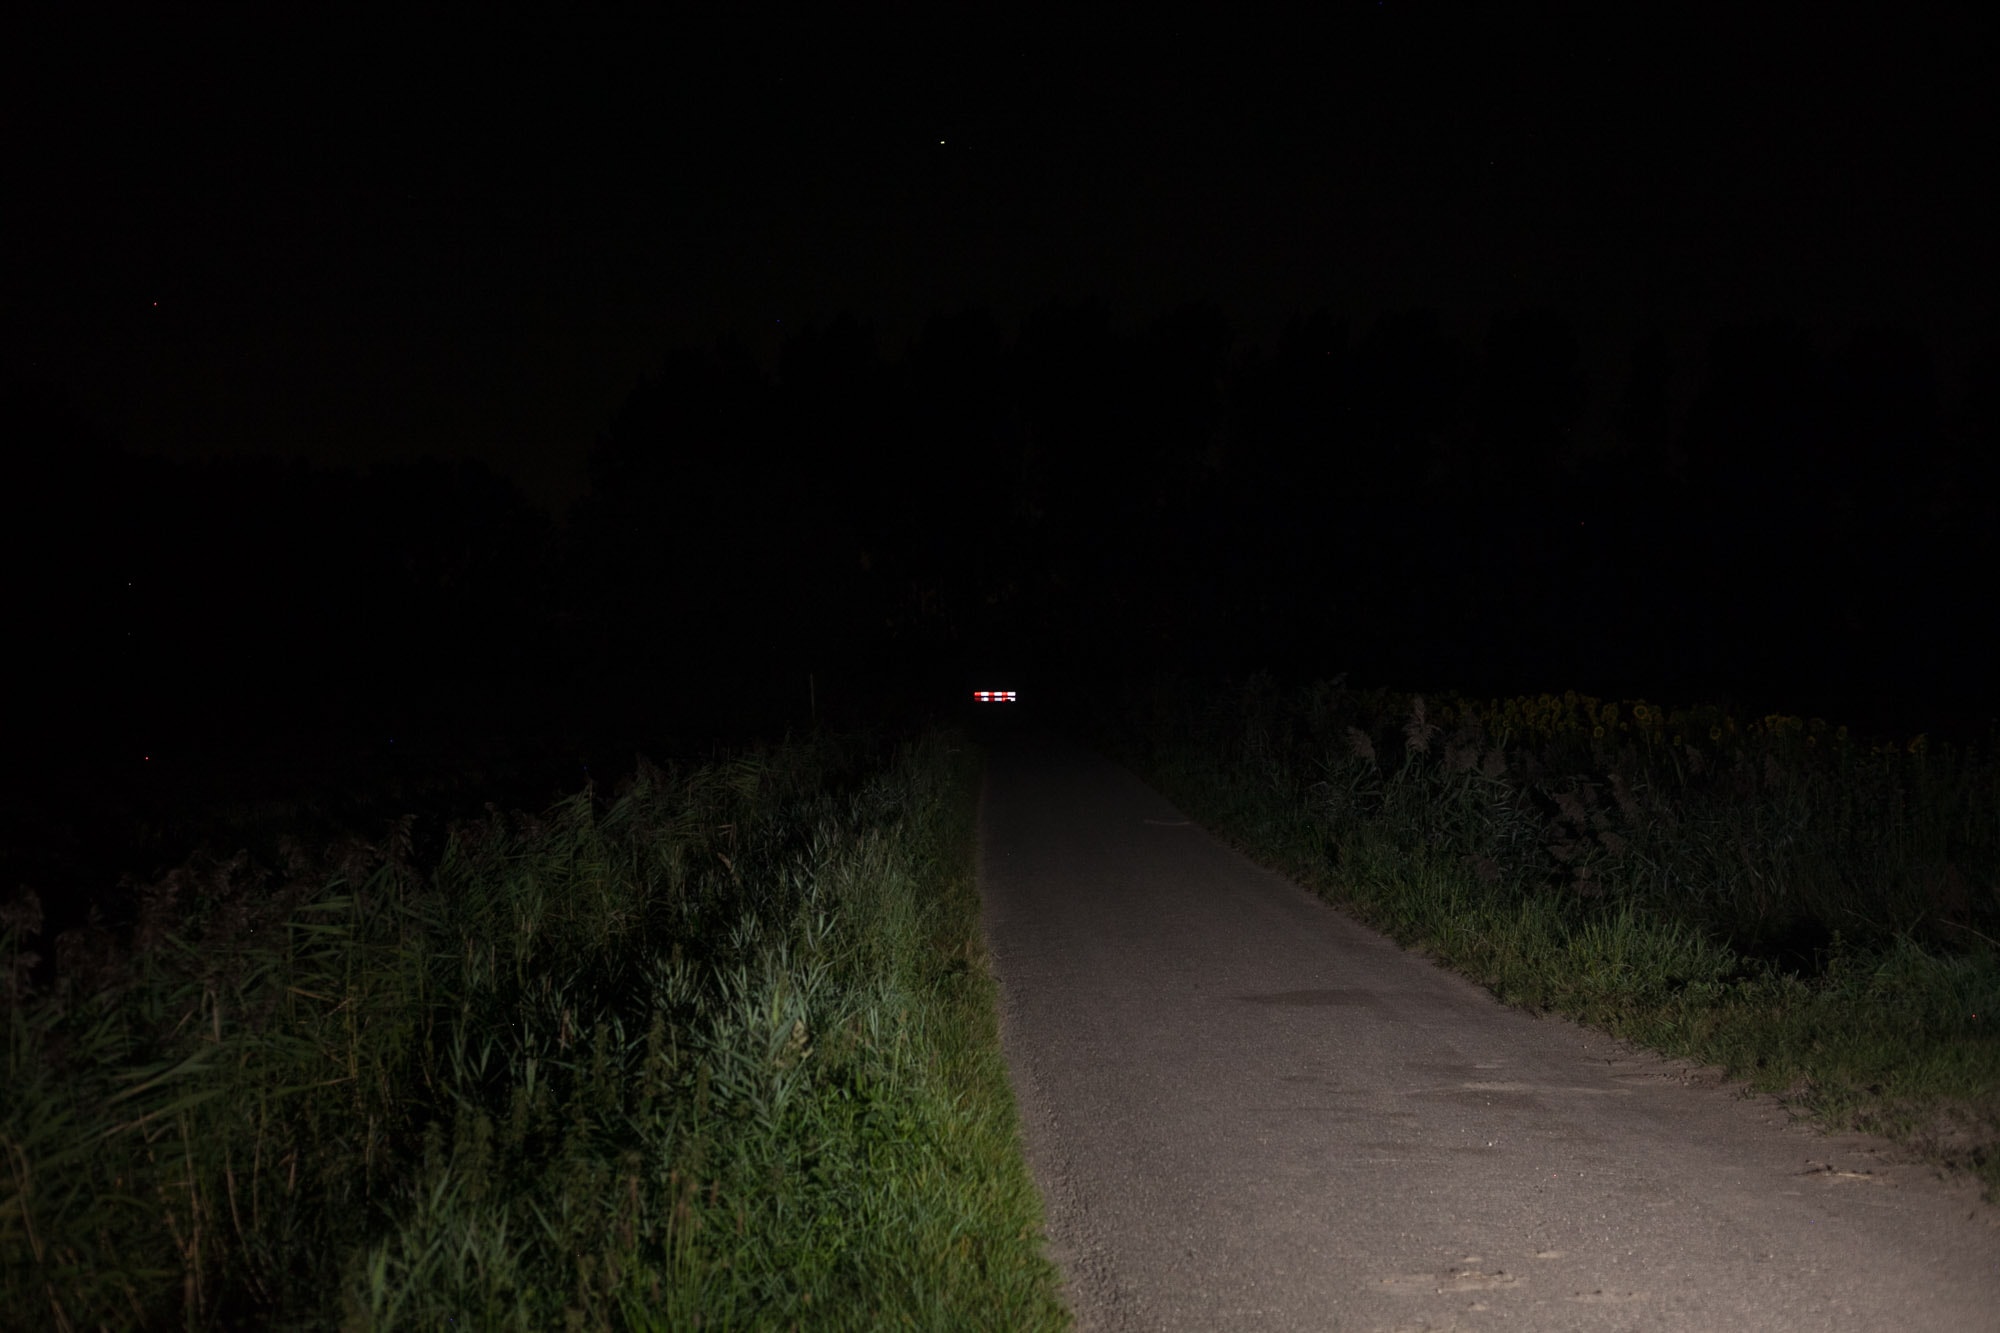
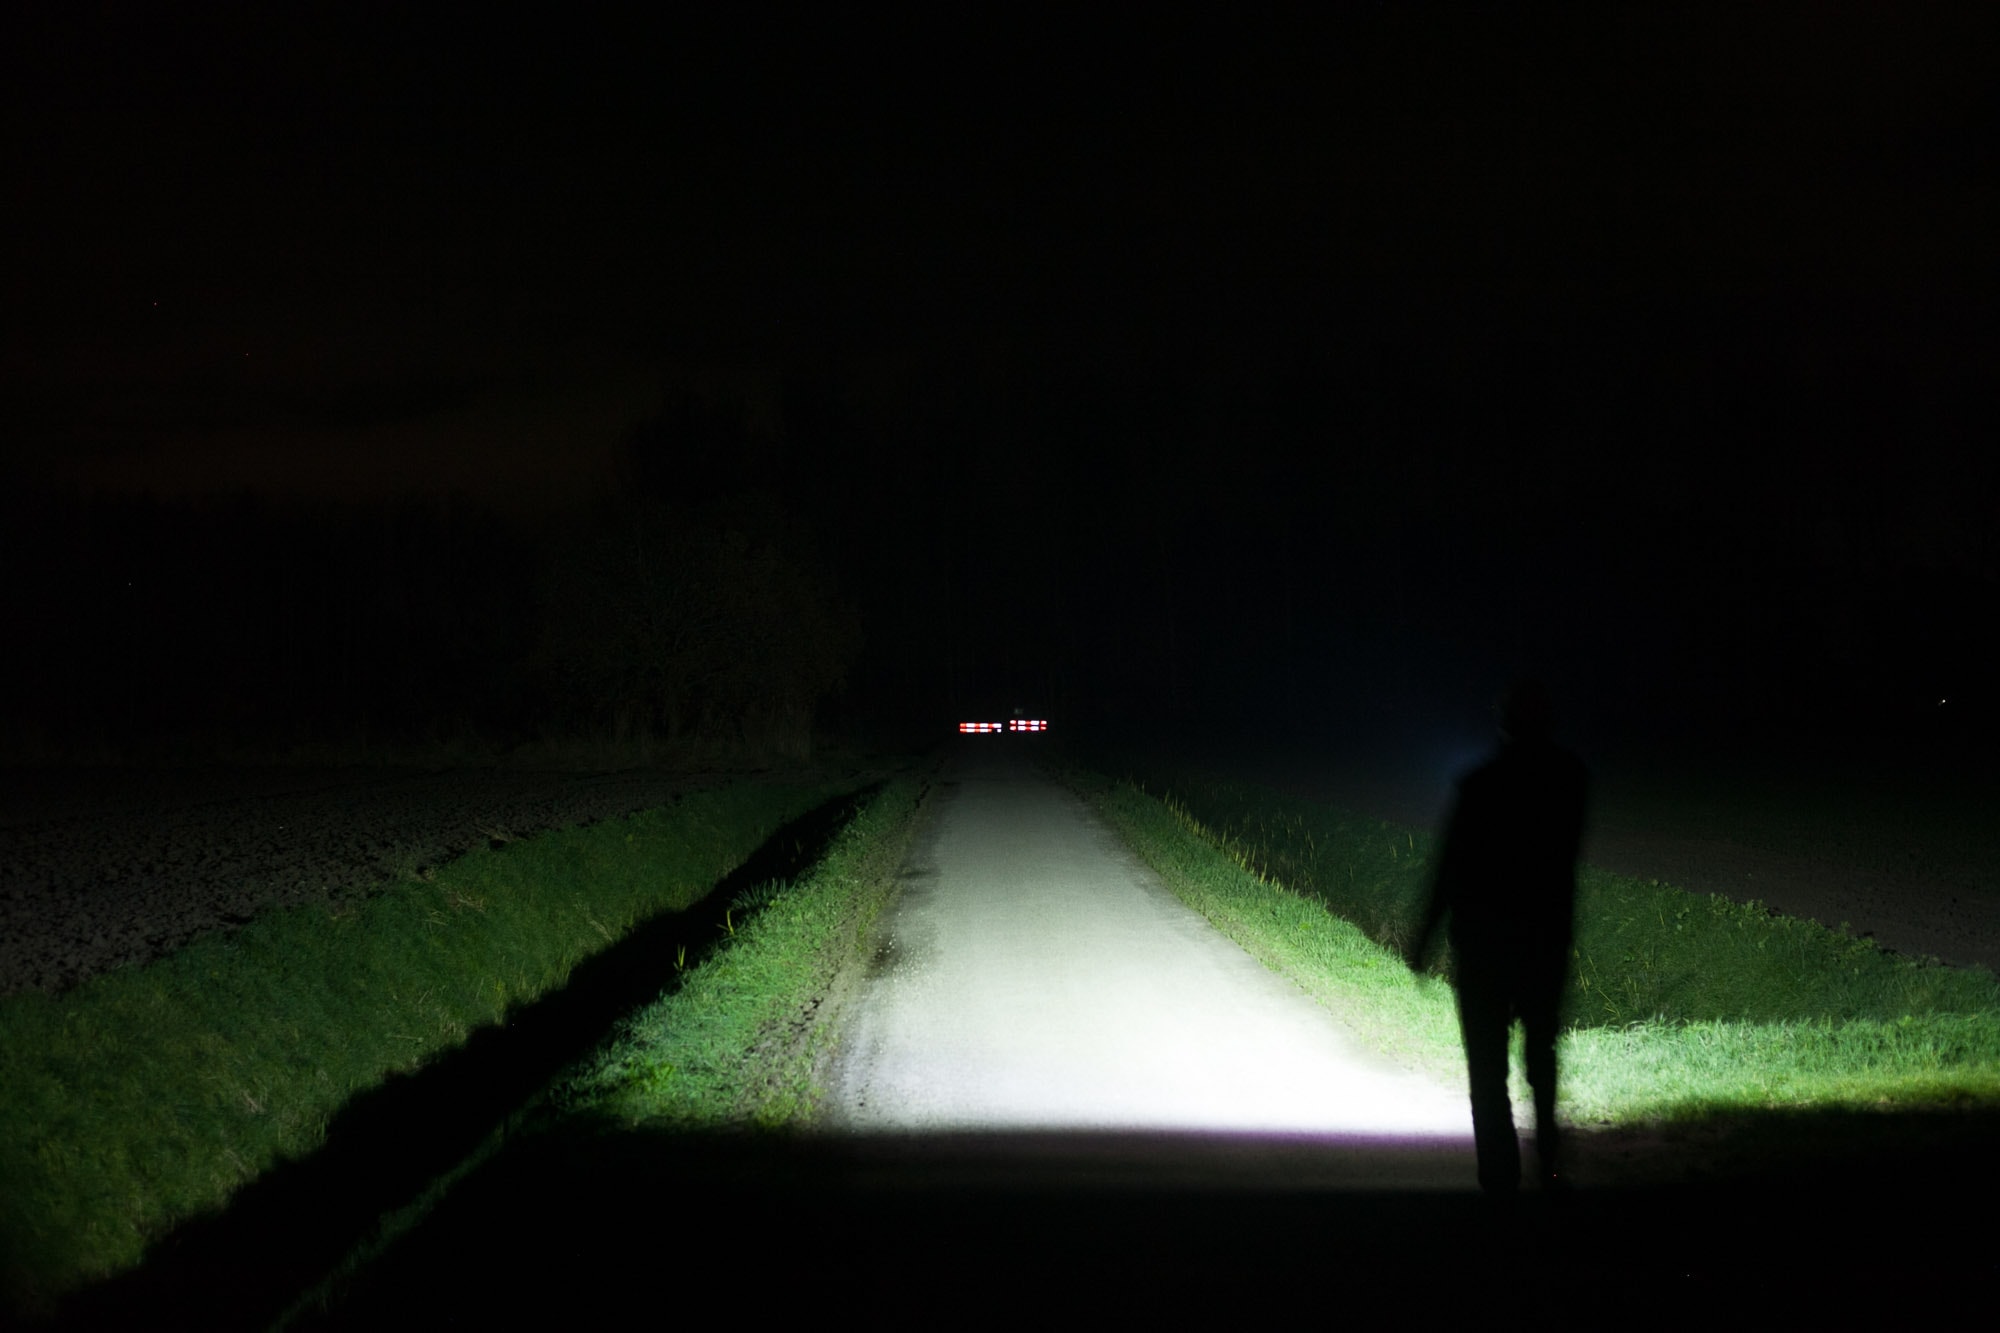
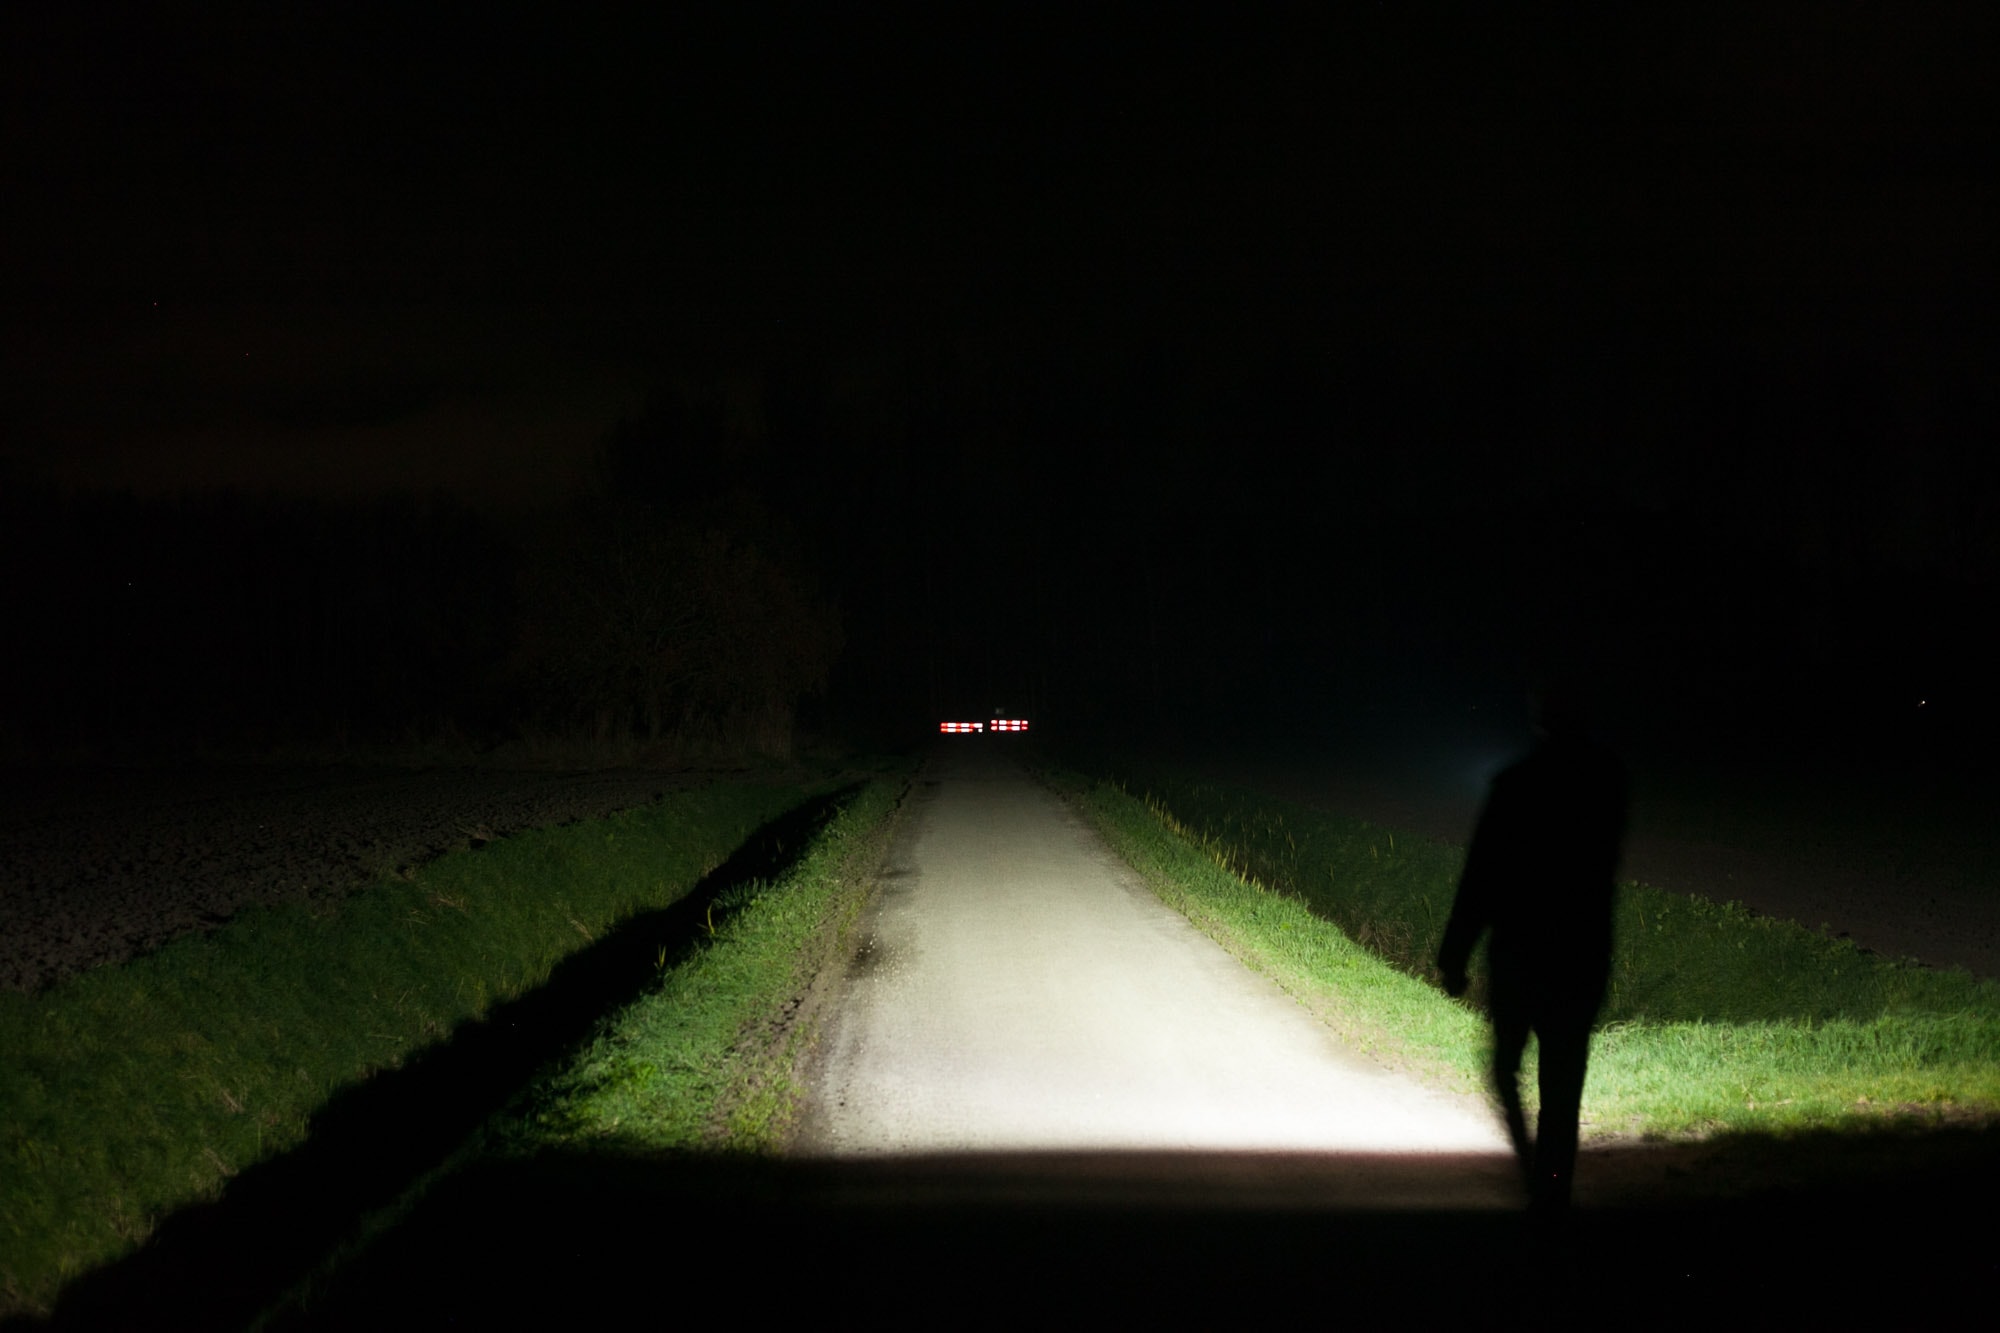
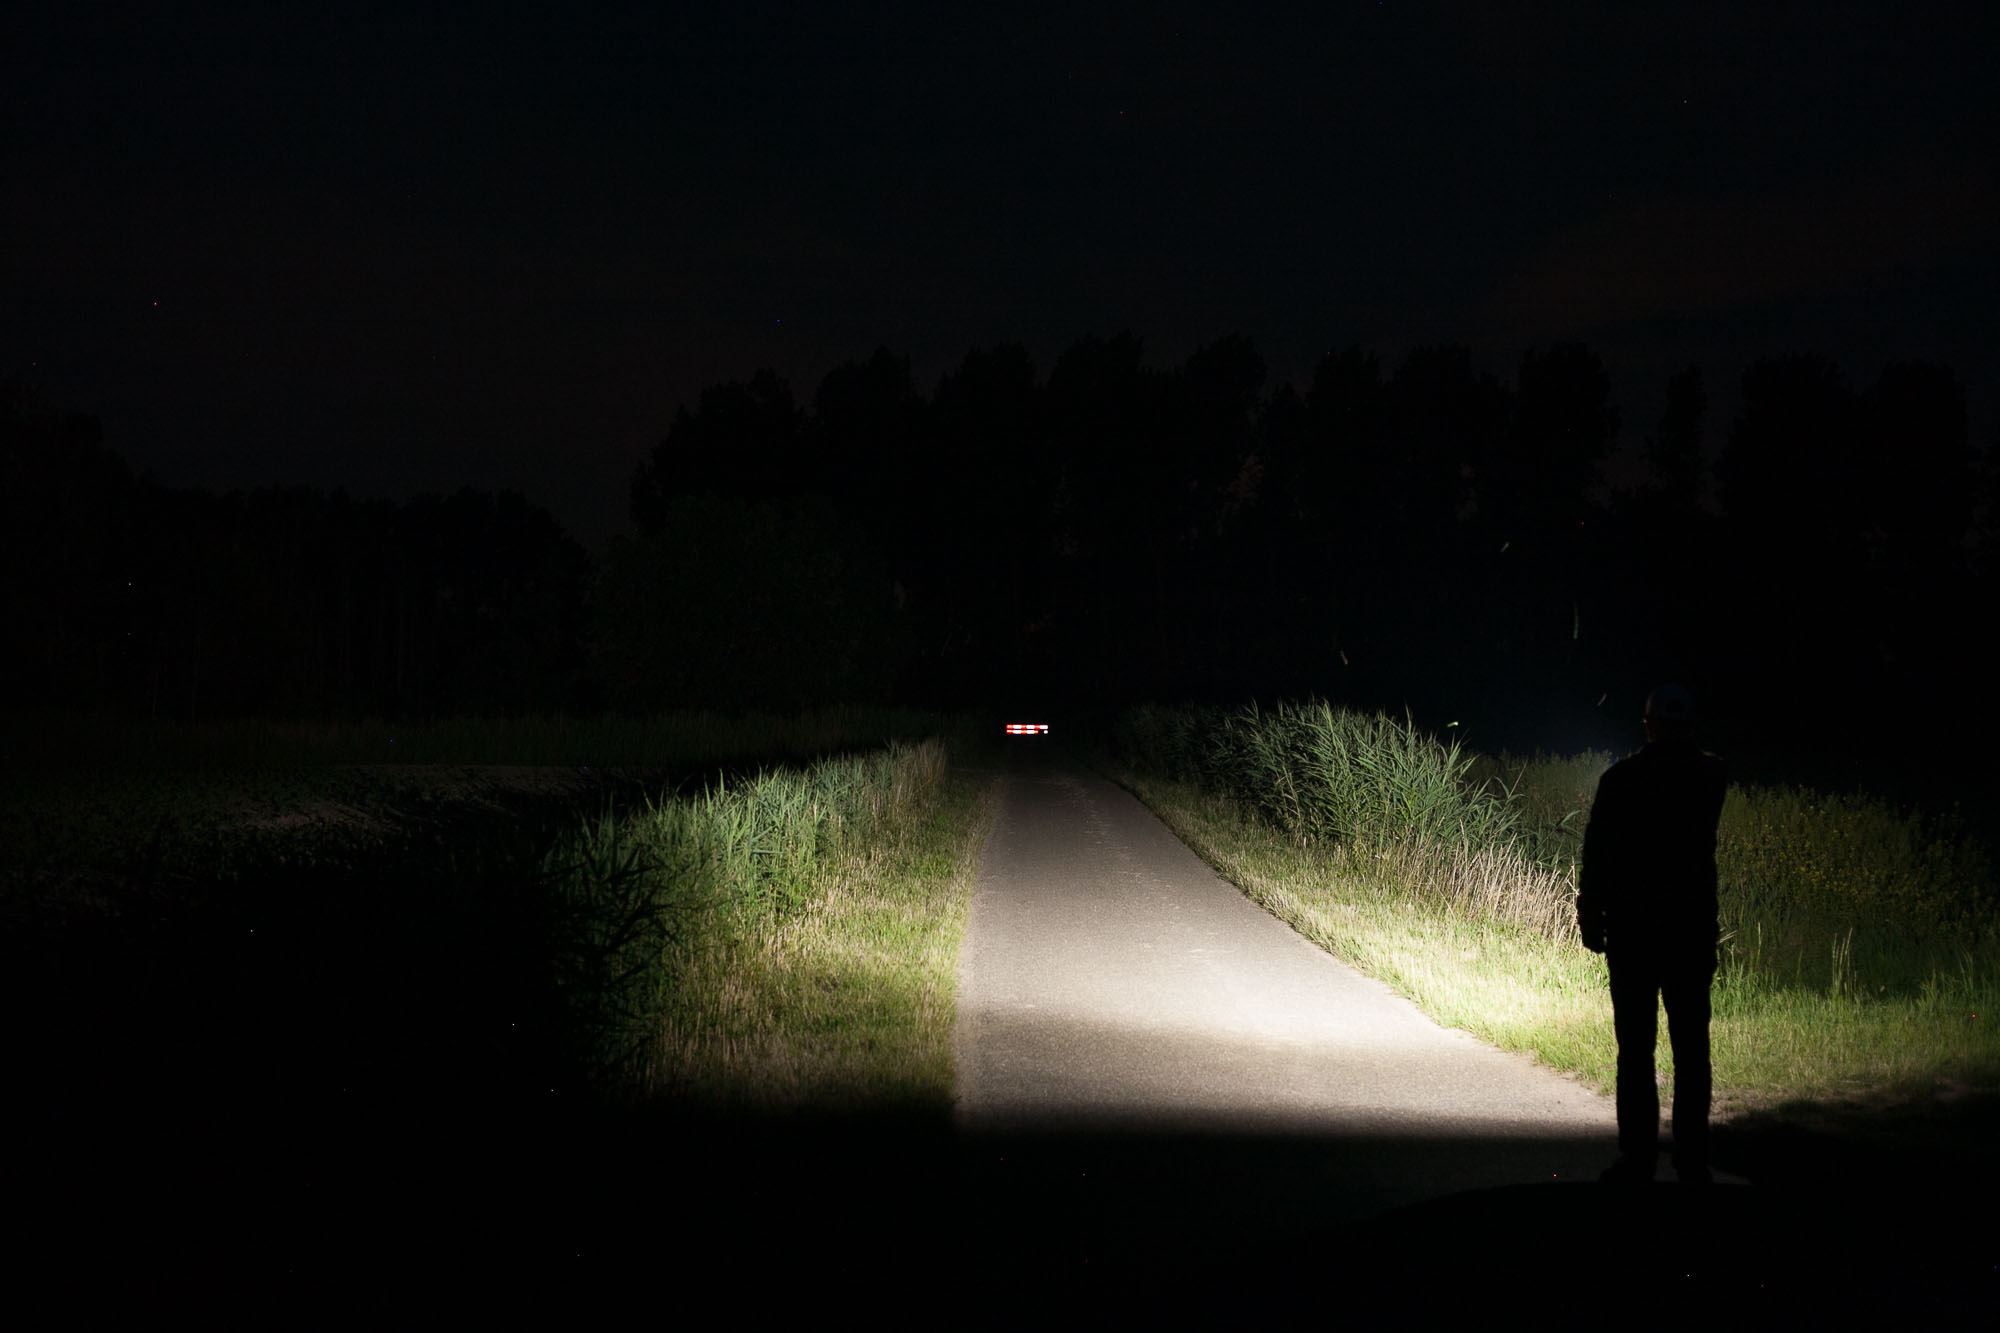
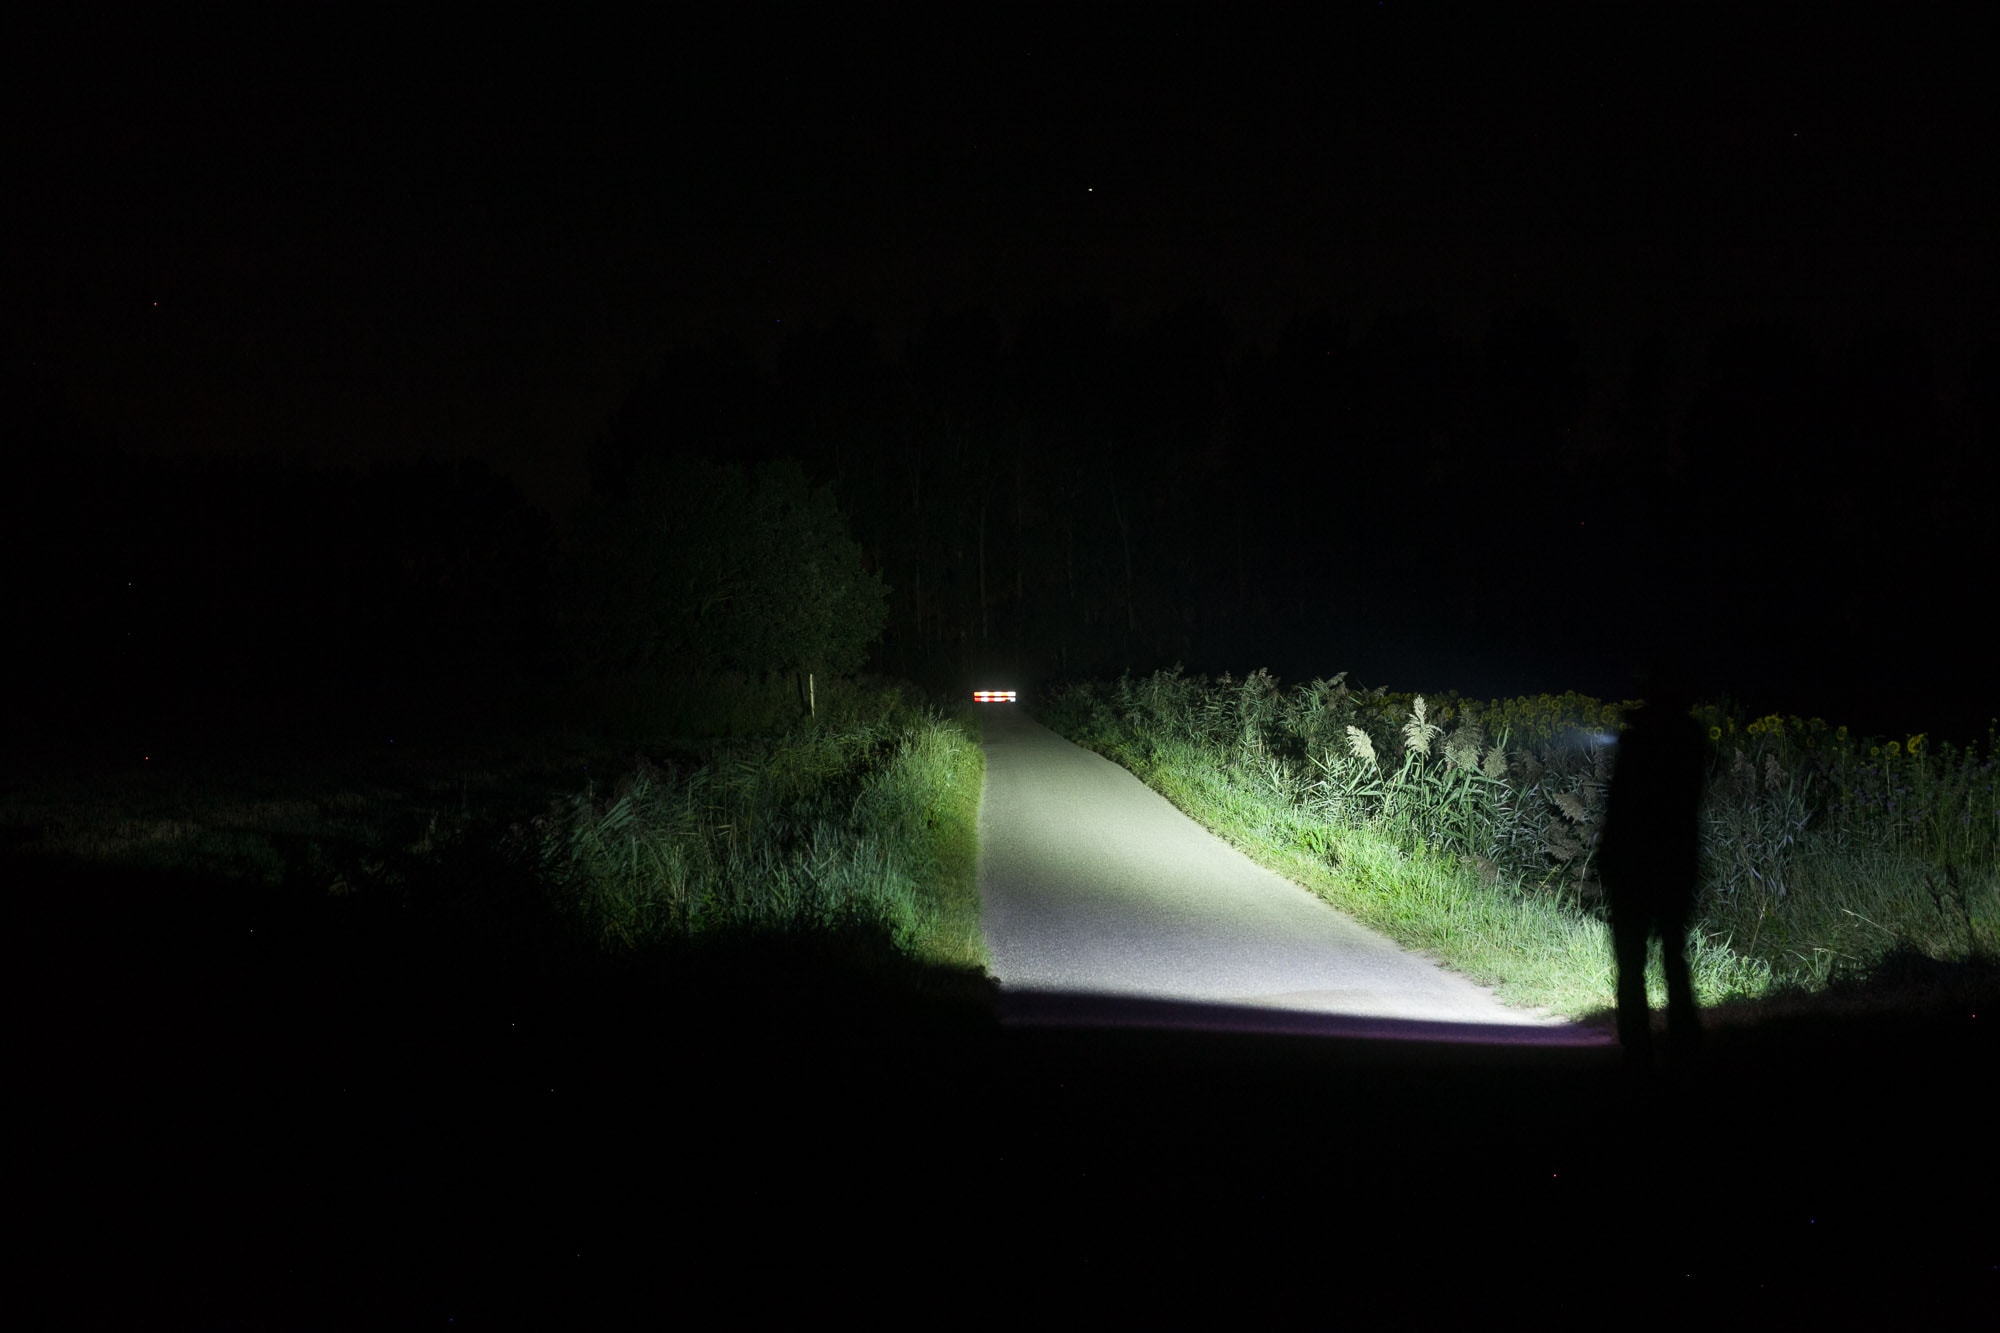
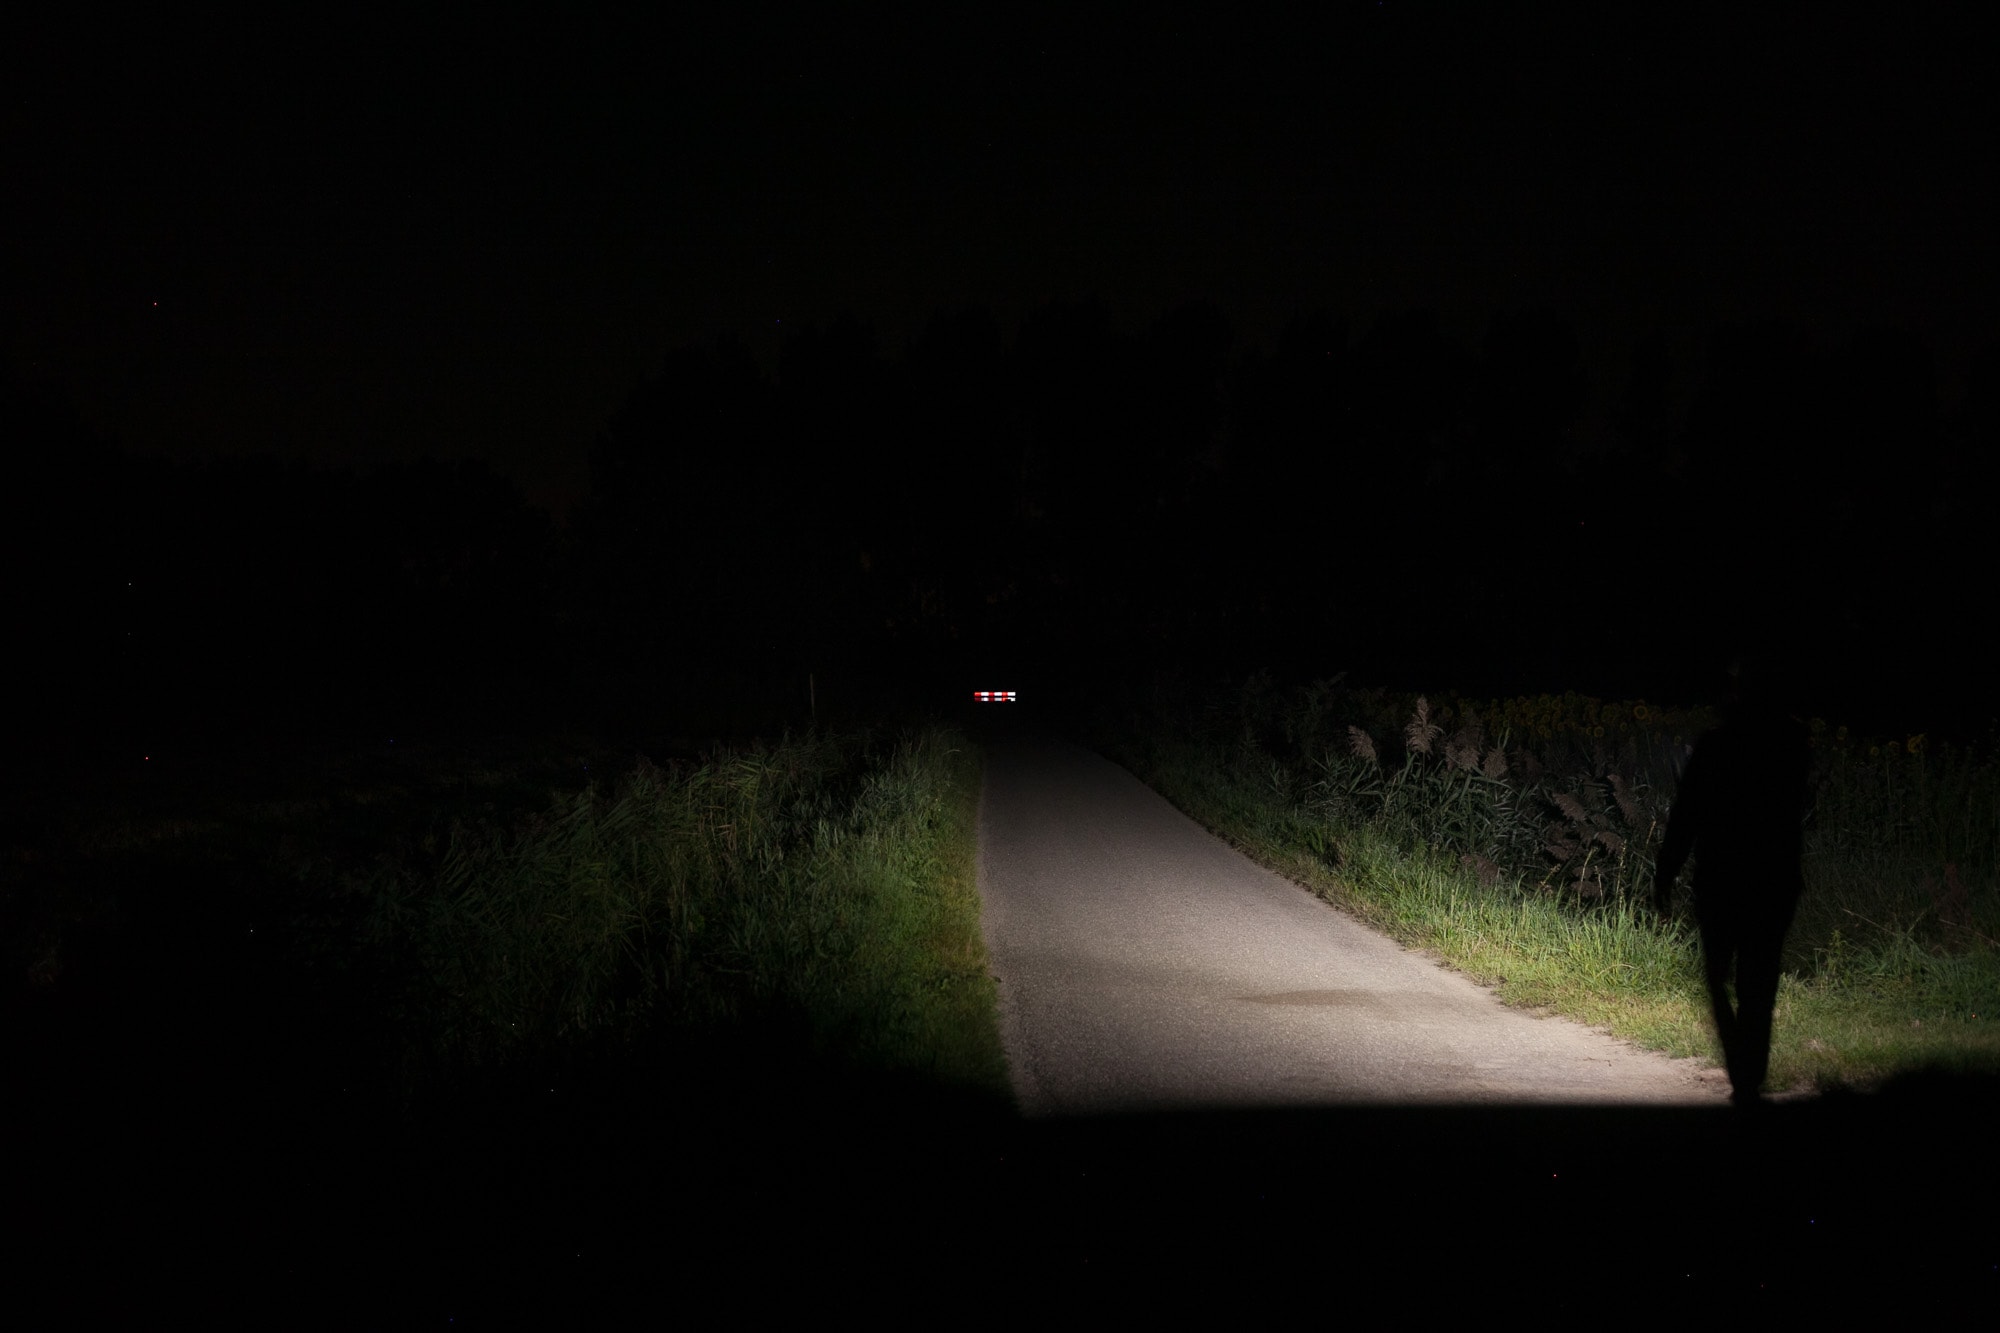
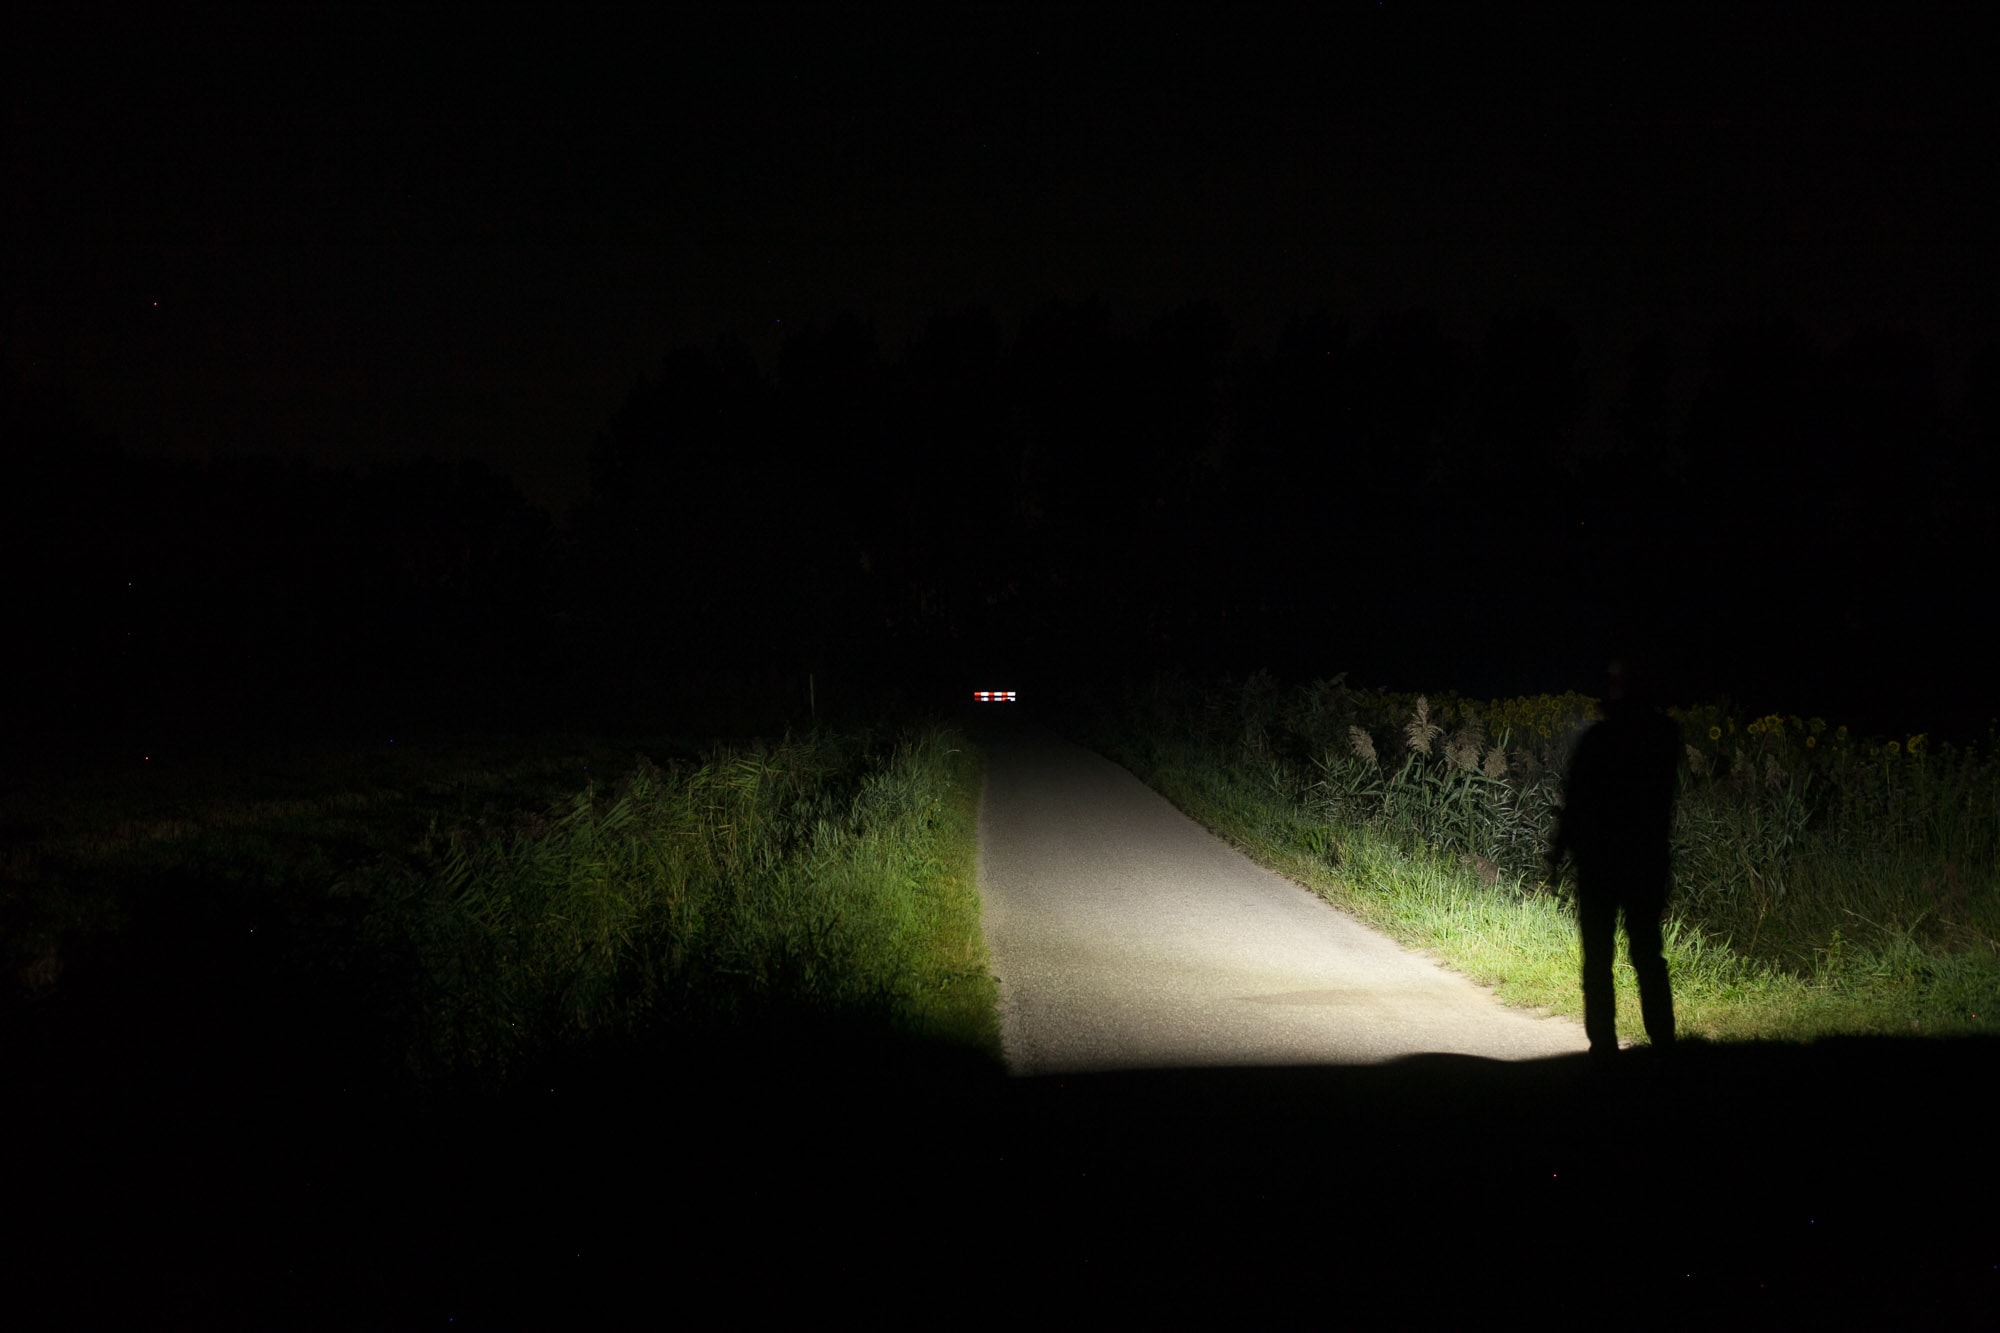
For the following beamshots, I used a Canon EOS 5D Mk2 with a 50mm lens. Manual settings: ISO1600, 1/4sec, F4, 5000K
The shed is about 65 meters / 71 yards away, and the reflective fence about 200 meters.
Compared to the following flashlights:
- Wuben L1
- Wuben X2
- Acebeam E70 mini
- Olight Seeker 4 Pro
- Olight Warrior Mini 3

Disclaimer: This flashlight was sent to me for review at no cost by Wuben. I have not been paid to review, nor have I been holding back on problems or defects.
Final Verdict
Pros
- Throw and flood in 1
- Right angle and normal flashlight in 1
- High CRI and low CRI in 1
- Plenty bright at turn on
- Very strong removable pocket clip
- USB-C charging
Cons
- 2 different UIs can be a bit confusing at first
- Not reaching claimed output
- Not reaching claimed beam distance
- Turbo and high drop instantly
- 3 highest modes of main LED have identical outputs after 1 minute
- No regulated output
Explanation on star ratings:
1: Avoid: my phone flashlight would be a better choice – 2: Poor: significant defect or issues; almost unusable – 3: Average: some defects or issues; but still usable 4: Good: recommended (minor issues) – 5: Great: highly recommended
3 stars: ★★★
The idea, on paper, is great. Having a dual LED head with each LED pointing in a different direction. A swivel head to change between throw (SST40) and flood (either high CRI or low CRI) in an instant.
But in practice, Wuben probably needs to go back to the drawing board. The L1 is a very interesting design with some interesting features, but it just doesn’t perform well. The unregulated output, and instant drop in output in Turbo and High make it less appealing. And this results in measurements that are far off from specifications. Also, it’s important to note that the output of the main LED in Medium, High, and Turbo are the exact same after 1 minute. This is kind of ridiculous.
I guess heat dissipation is likely one of the bottlenecks on this swivel design, so perhaps they should reduce the maximum output, and get a better regulated driver, and better spaced modes. I don’t mind missing a few hundred lumens when the output is regulated, with different outputs.
Buy your Wuben L1 here
If you buy directly from Wuben, make sure you use our exclusive discount code. Add coupon code 1Lumen20 at checkout to get 20% off.
1lumen selects and reviews products personally. We may earn affiliate commissions through our links, which help support our testing.