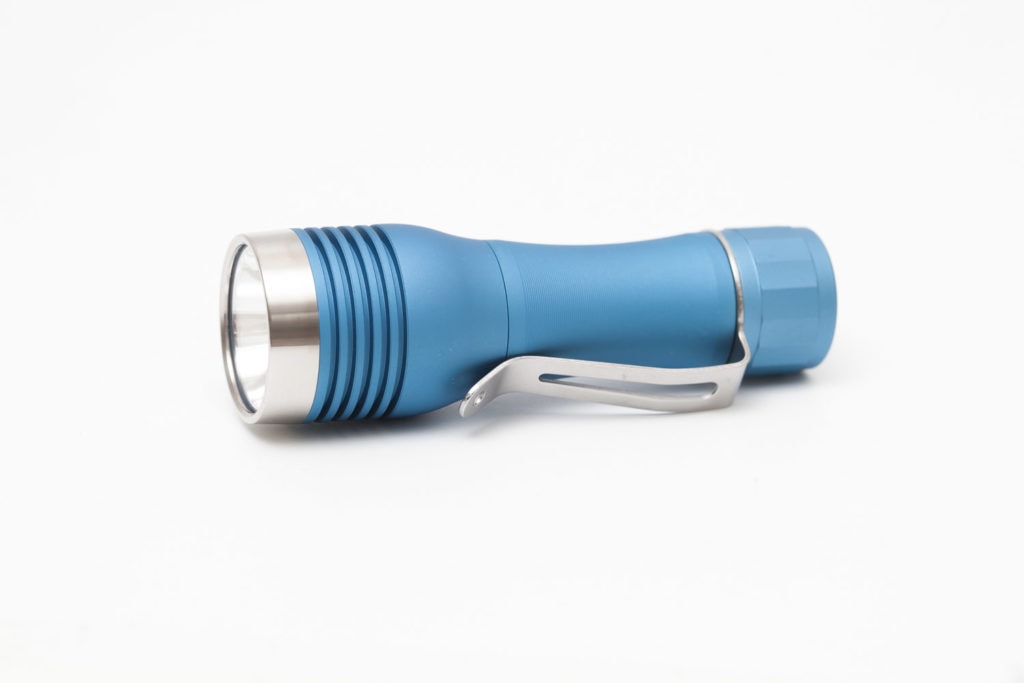
Noctigon KR1 review
Noctigon KR1 specifications
| Brand / Model | Noctigon KR1 |
|---|---|
| LED | Osram CSLPM1.TG |
| Lumens | 1300 Lm |
| Beam intensity | 100,00 cd |
| Battery config. | 1*18650 |
| Material | Aluminum |
| Modes | Multi |
| Blinkies | Multi |
| Reflector | Smooth |
| Waterproof | IP67 |
| Review date | July 2020 |
Introduction:
Only a few months after the quad LED Noctigon KR4 was announced, Hank introduced the KR1. Hank is the owner of the Intl-outdoor store and currently sells his own 2 brands, namely Noctigon and Emisar.
The Noctigon KR1 is another flashlight with the immensely popular Anduril firmware. But instead of focusing on EDC merely, the KR1 is a small pocketable thrower instead. According to specs, the KR1 is supposed to throw at a max. of 110 Kcd for the W1, and about 100 Kcd for the W2. It’s also available with XPL Hi and SST-40 in case you prefer a little more flood or more output.
What you’ll get:
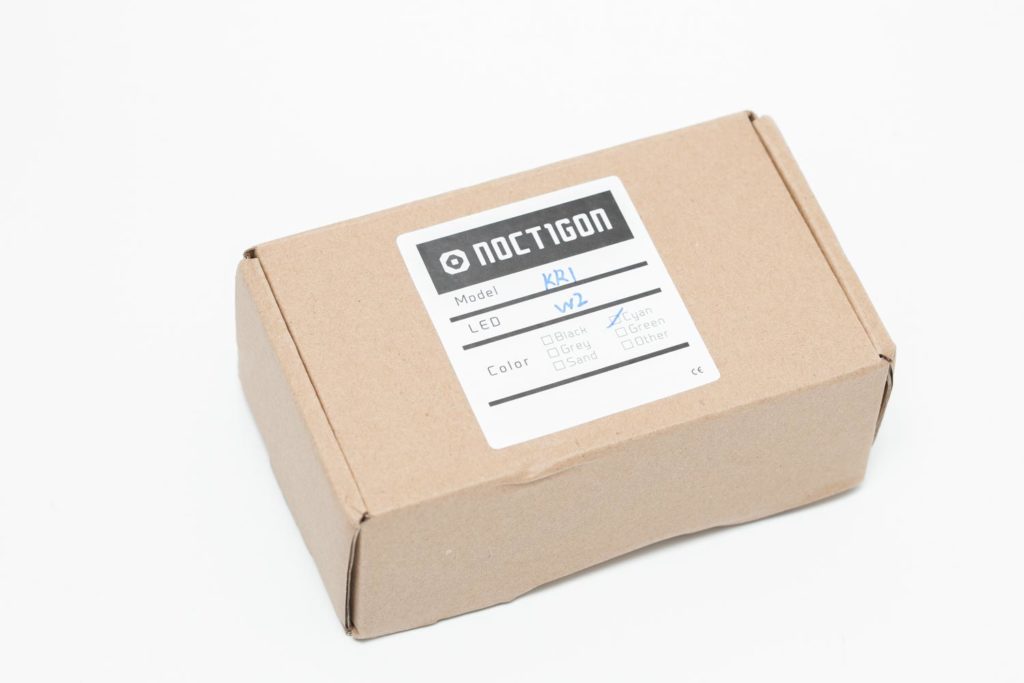
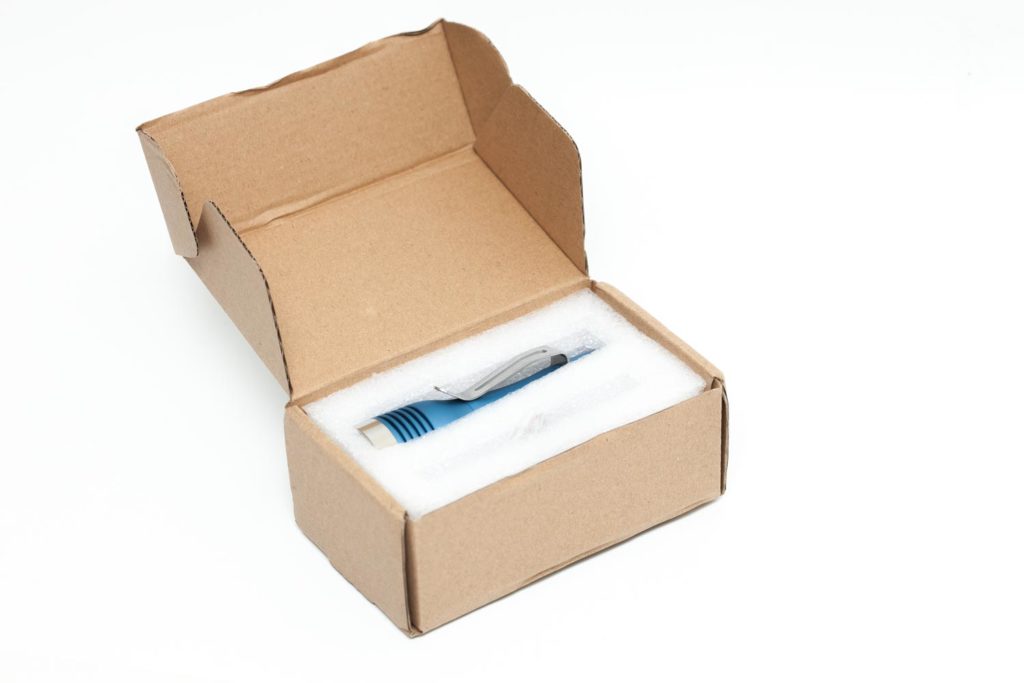
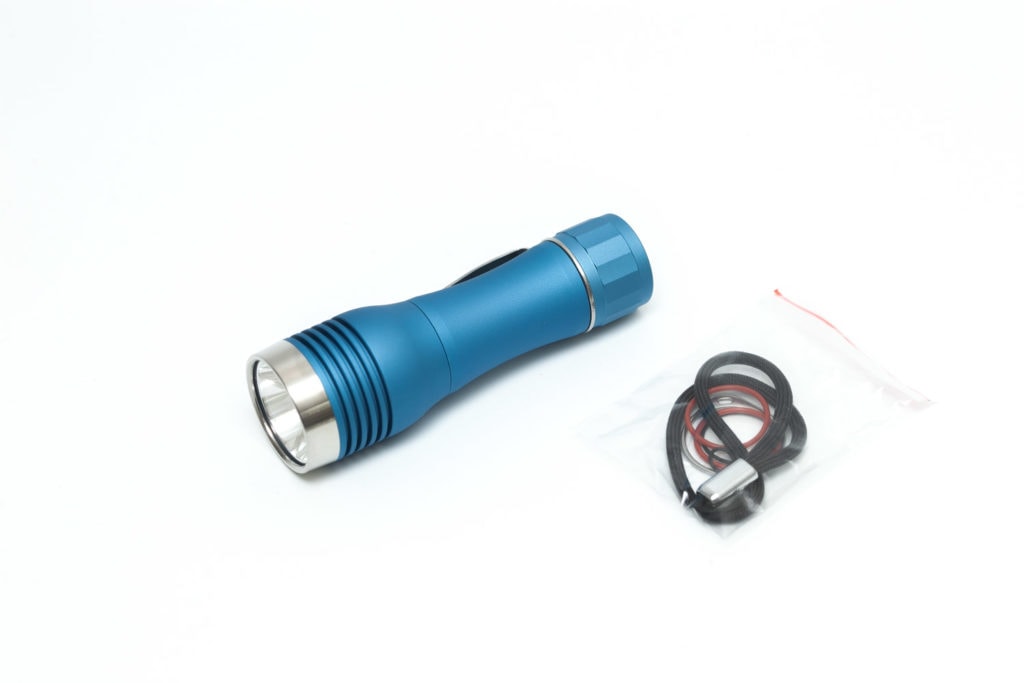
The quality of the packaging is just fine. Nothing special. It was delivered in a simple, brown carton box.
- The Noctigon KR1
- Lanyard
- Spare O-rings
- Metal ring for lanyard attachment (instead of the pocket clip)
Handling of the light
The electronic switch in the tail makes the light a little shorter than usual. Not that it’s short in any shape or form, but for a medium-wide head and 18650 type flashlight, it’s definitely on the shorter side. It looks a lot like the Noctigon KR4, which Peter reviewed.
The KR1 has a single switch, in the tailcap. Just like with most of the Anduril based flashlights.
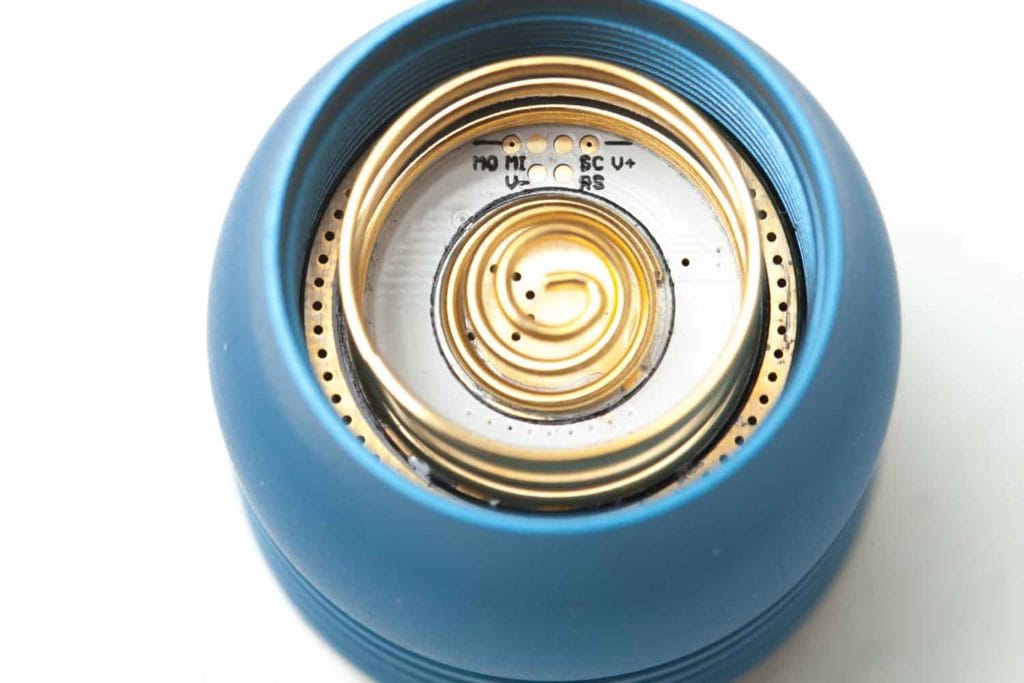
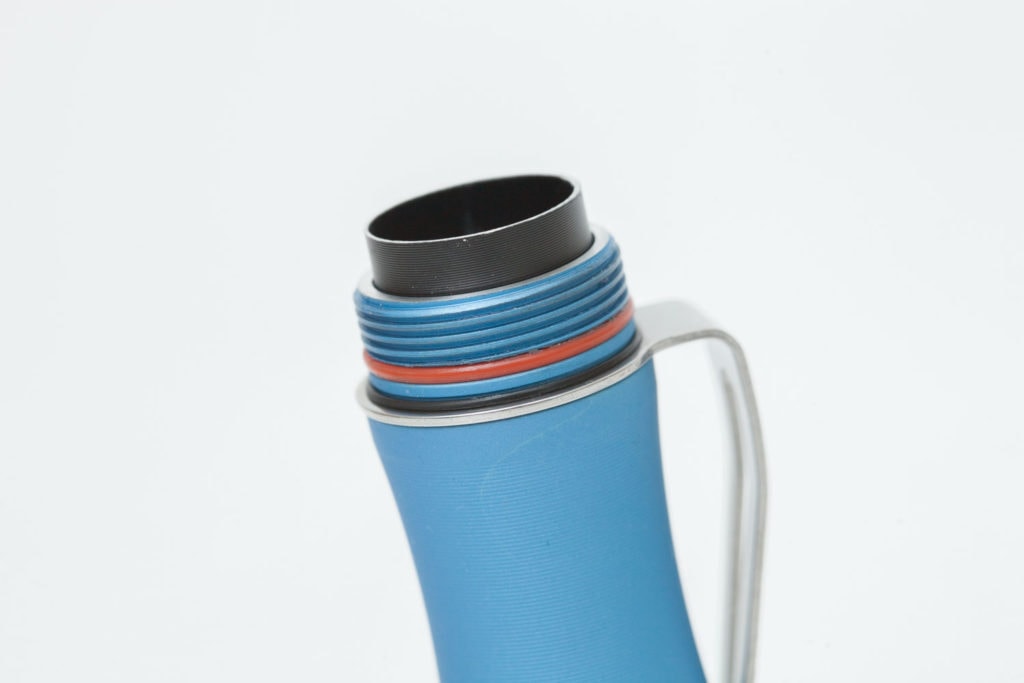
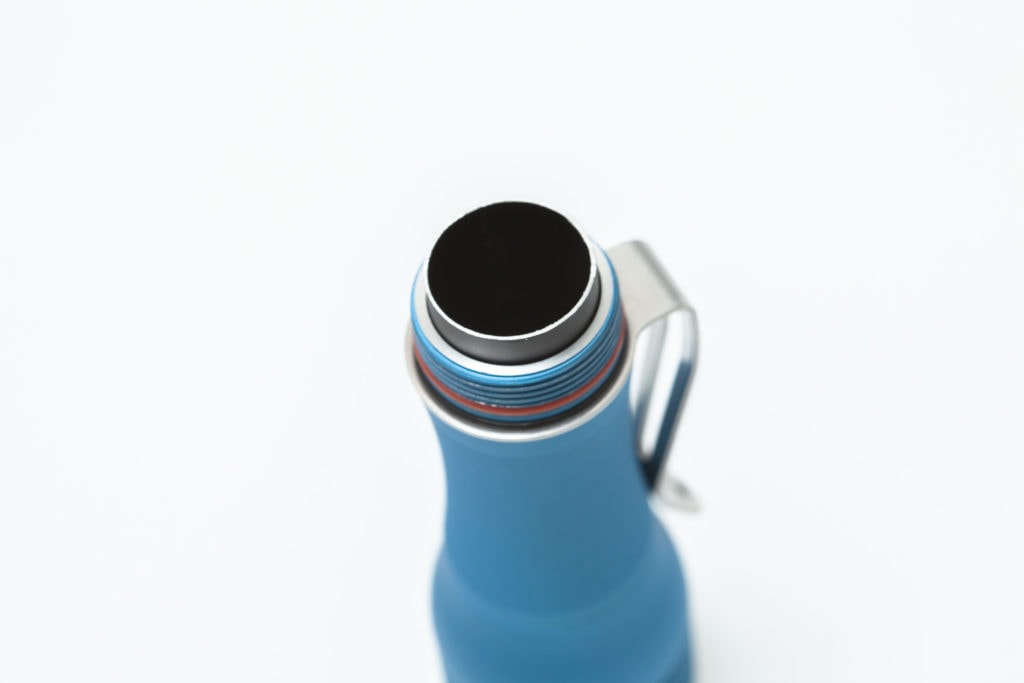
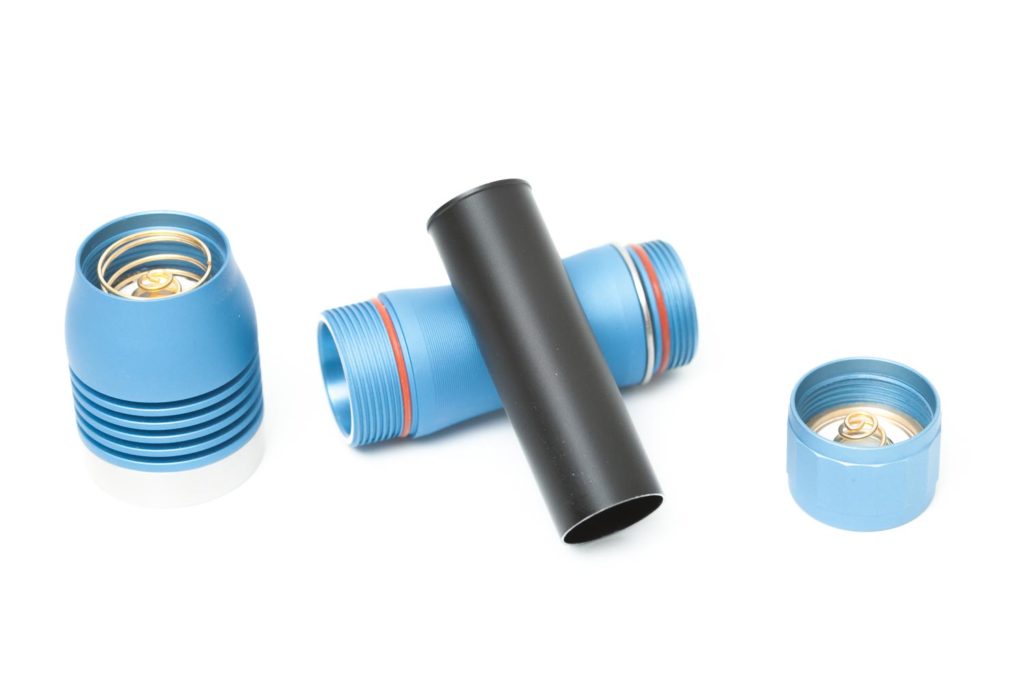
Before using the light, make sure everything is properly tightened. The design resembles the immense popular Lumintop FW3A and FW1A lights but with an improved design. The innertube (which is used to change modes) is held in place by a spring and a groove/lip. Please refer to the pictures to let it make sense.
Because of the lip on the inner tube and the groove in the body, it doesn’t fall out as it does with the original Lumintop FW3A. If yours will flicker of flash, you might not have tightened the parts properly.
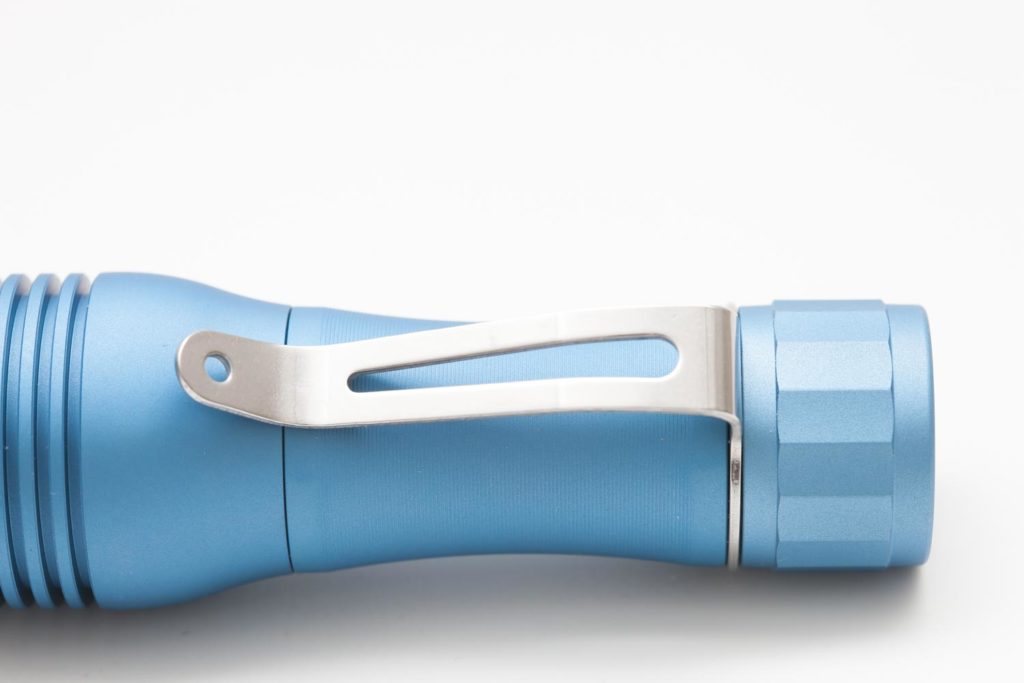
There is a large gap between the pocket clip and the battery tube. This could let the flashlight move freely around your belt. So, instead of using the pocket clip, you can use the lanyard attachment ring.
Tailstanding:
- It does tailstanding just fine.
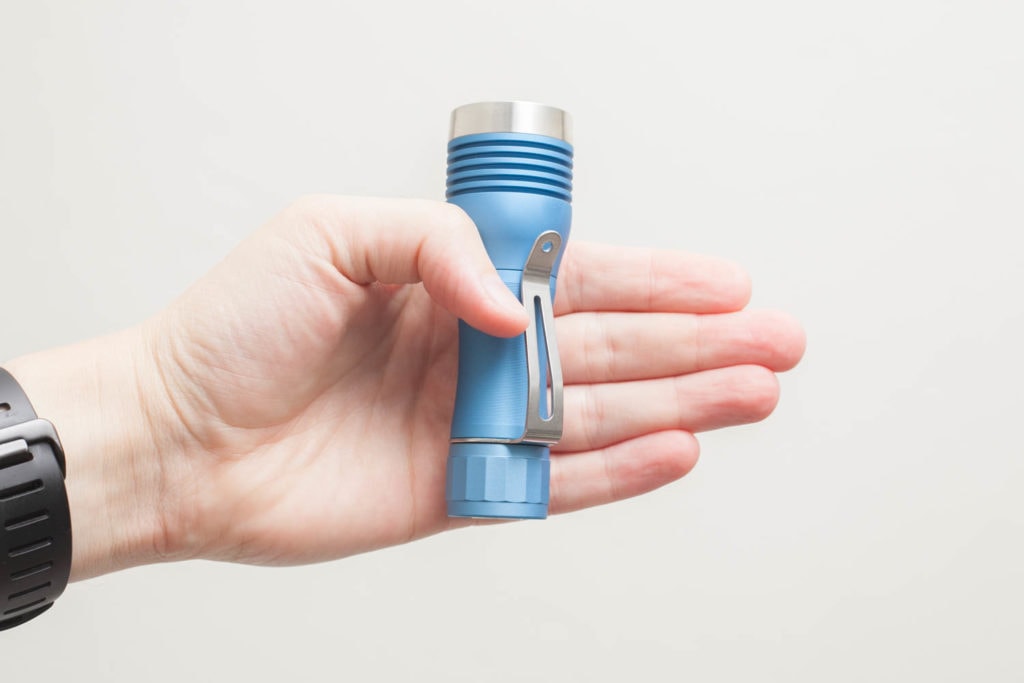
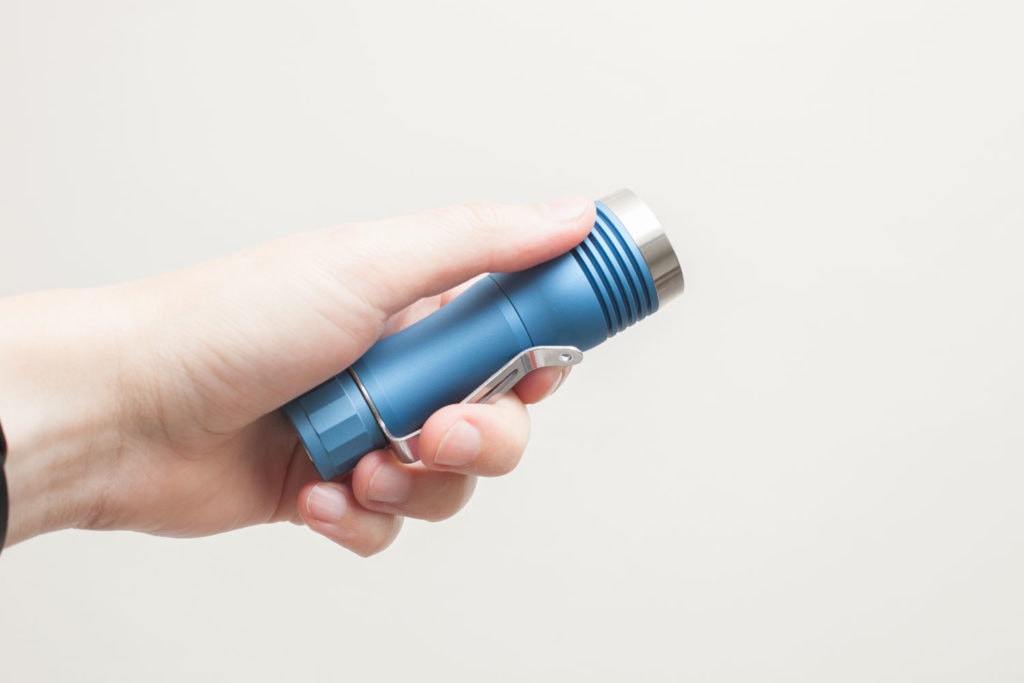
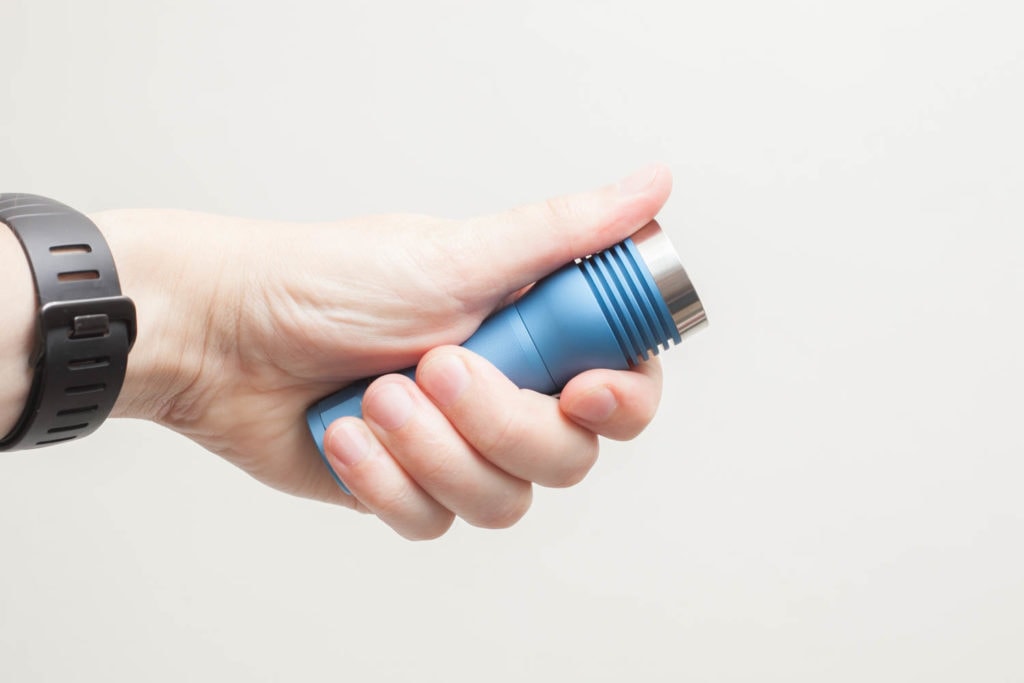
Build Quality, knurling, threads, and anodization
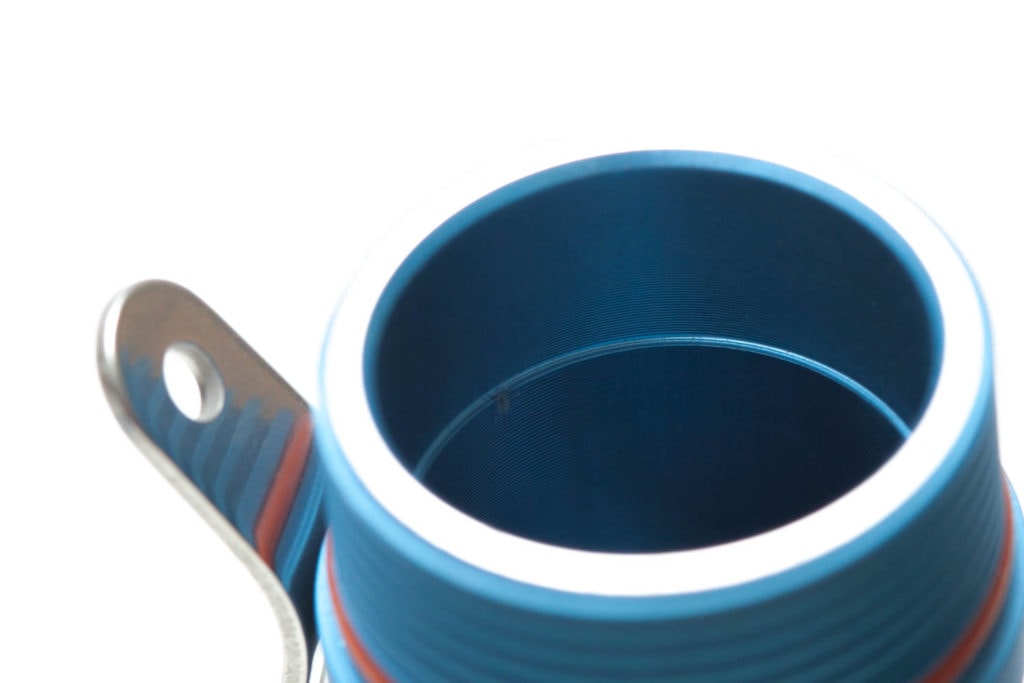
Many people in the community love the build quality of Emisar and Noctigon flashlights. Intl-outdoor.com owns both brands. The KR1 looks great, especially the Cyan-colored one. The Cyan coating looks fine and all parts of the flashlight fit well.
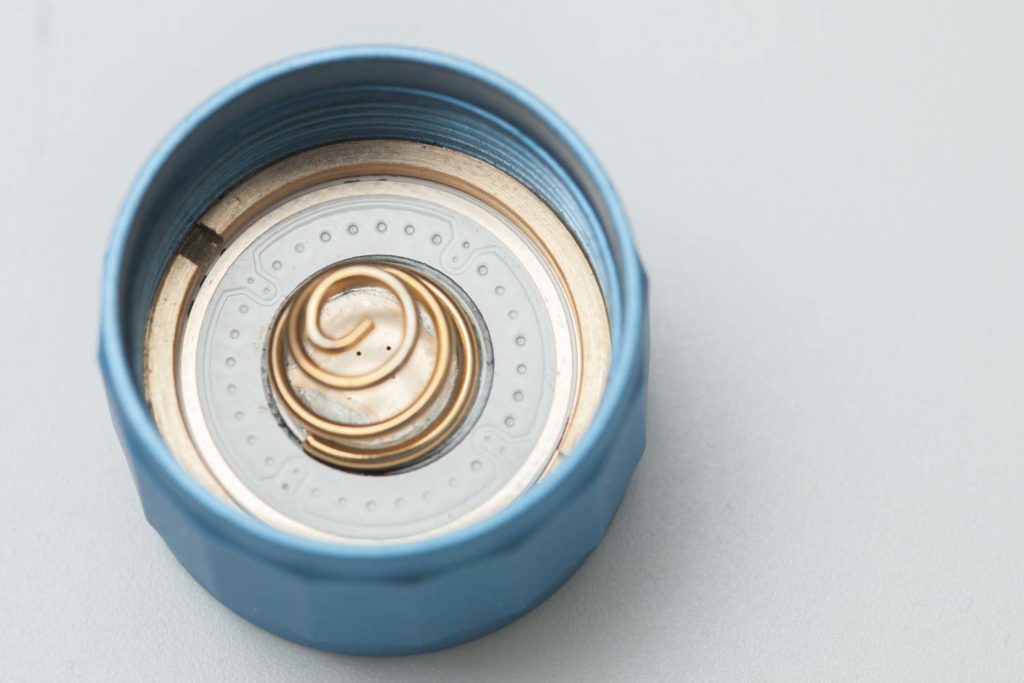
As I mentioned earlier, the improvement in the inner tube is great. You won’t lose the inner tube by accident anymore. The spring helps to make contact even better and has less chance for flickering problems like the Lumintop FW series.
Threads are very mildly greased and look fantastic. The O-rings are greased as well, which helps with waterproofness.
LEDs, Lens, Bezel, and Reflector
One of the reasons why flashoholics love Noctigon flashlights is the variety of choices. This includes the type of LED and the color bin. The number of choices usually depends on supply and demand.
Some LED types are very popular, while others aren’t. At the time of reviewing, there are 4 LED types available and for the CREE and LUMINOUS types, you can even choose the CCT (color temperature).
- W1 (Osram CSLNM1.TG): 900 Lm, 110,000 cd
- W2 (Osram CSLPM1.TG): 1300 Lm. 100,000cd
- CREE XP-L HI, with 4 choices: 6500 / 5000K / 4000K: 1300 Lm, 45.000cd
- Luminus SST40 with 2 choices: 5000K / 6500K: 2200 Lm, 29.000cd
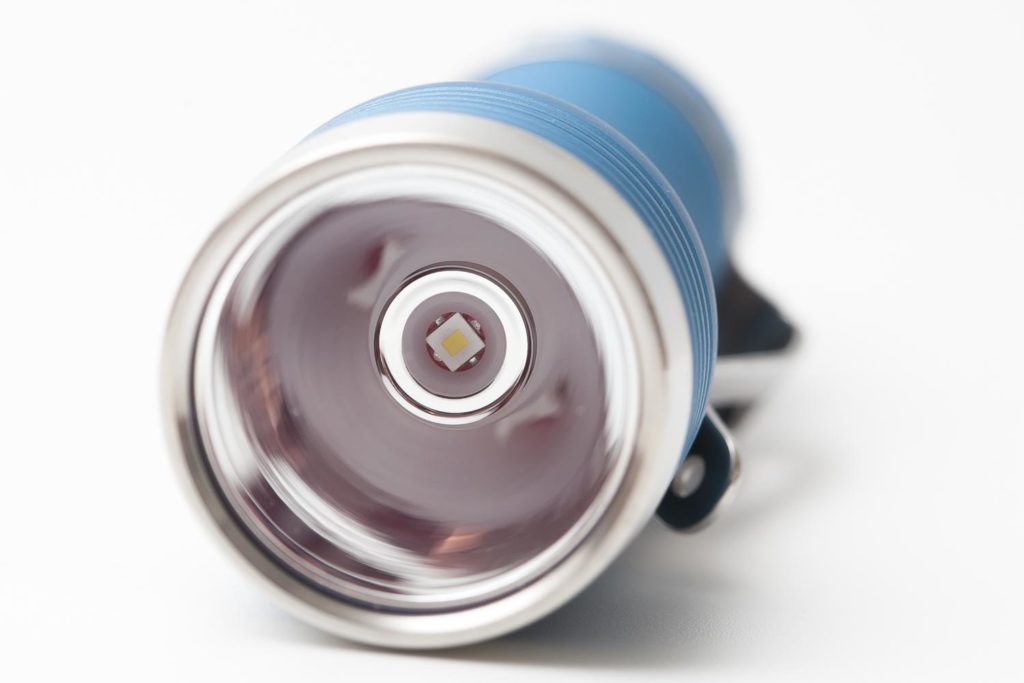
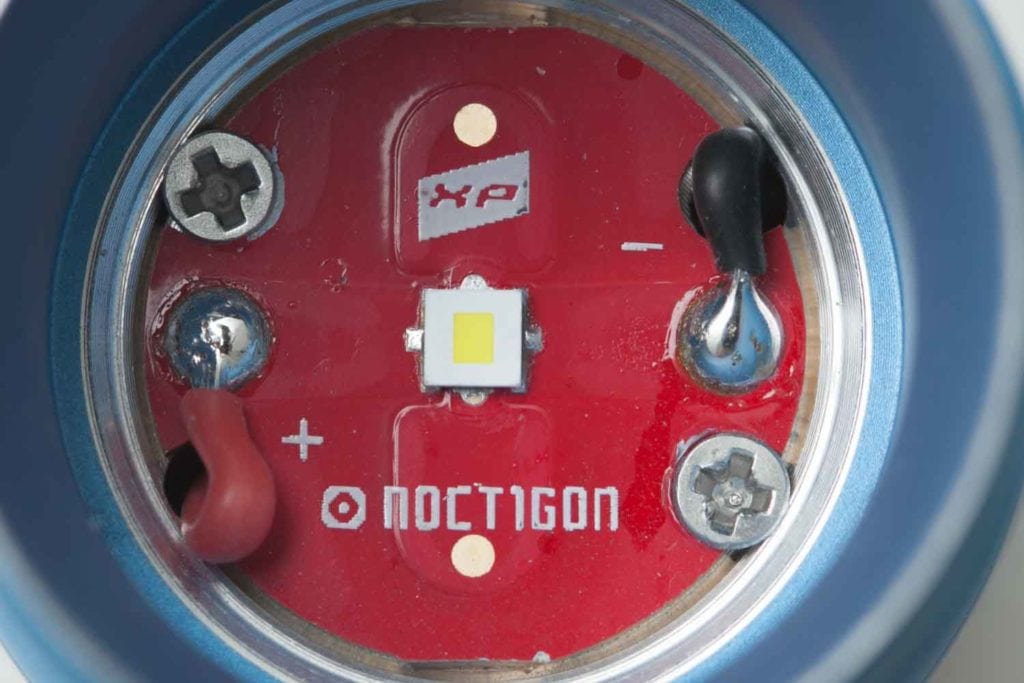
The one we are reviewing is the Osram CSLPM1.TG, also known as the W2. According to the above specs it is supposed to throw about 100Kcd. We’ll make sure to test that.
The W2 has a bit more lumens than the W1 but at the cost of its throw. The W2 LED is double as large 2 square millimeters instead of the 1 square millimeter for the W1.
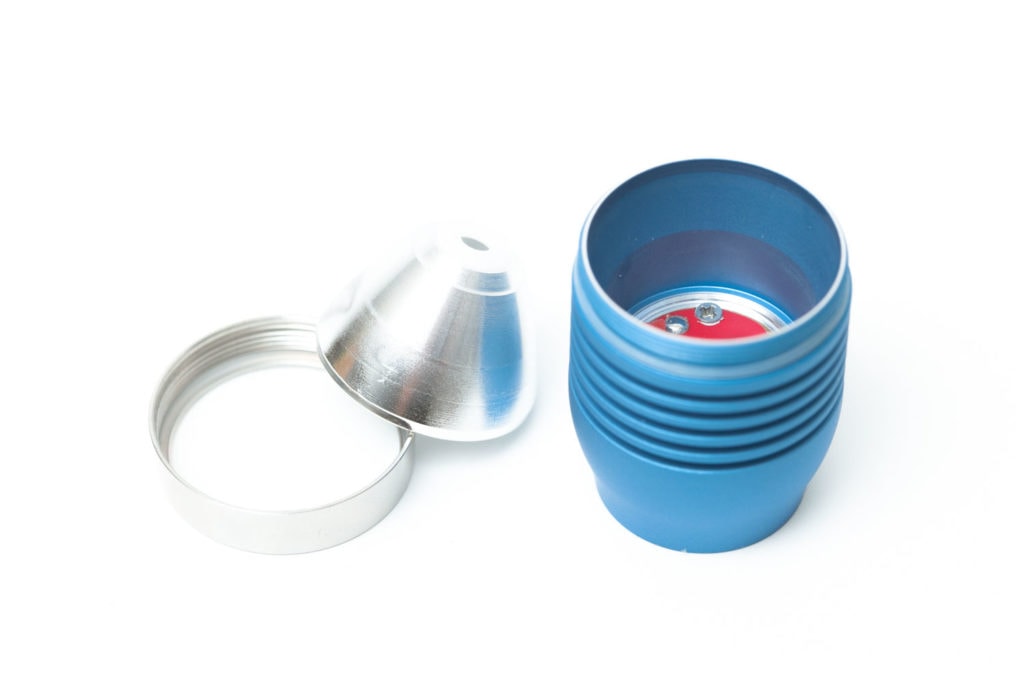
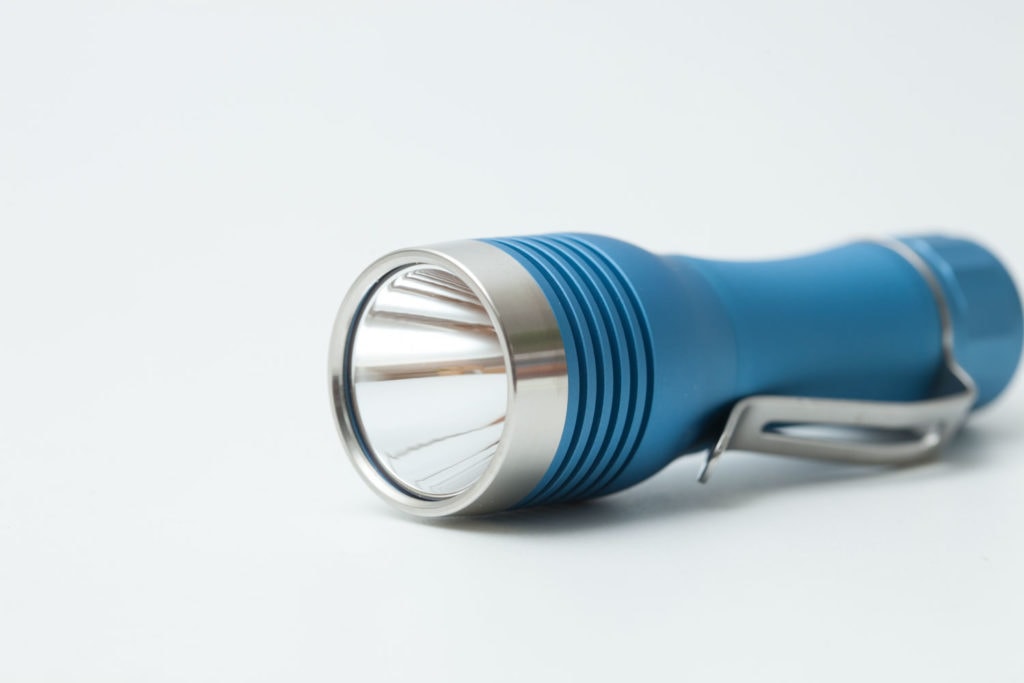
I love the stainless steel bezel. Without the bezel, I don’t know if I would have liked it as much. From top to bottom, it looks more professional than a completely blue flashlight. Another benefit of stainless steel bezels is their impact resistance. They’re much stronger than aluminum. If you drop the light on a concrete floor, the stainless steel bezel may have some tiny dents, but an aluminum bezel could even change shape.
The beam doesn’t have an extremely defined hotspot as you might have thought. It has a relatively smooth transition between hotspot and spill. Maybe because of its rectangular LED, the beam shape is slightly different. Can’t really explain, but you can see the shape of the hotspot is a little different.
Dimensions:
- Length: 110.25 mm ( 4.34 ”)
- Head diameter: 34.25 mm ( 1.349”)
- Body tube smallest diameter outside: 24.03mm (0.946″)
- Inner body diameter inn: 18.75 mm ( .738 ”)
Weight:
- Empty: 119.9 g ( 4.23 oz)
- With battery: 168.8 g ( 5.85 oz)
EDC Flashlights comparison
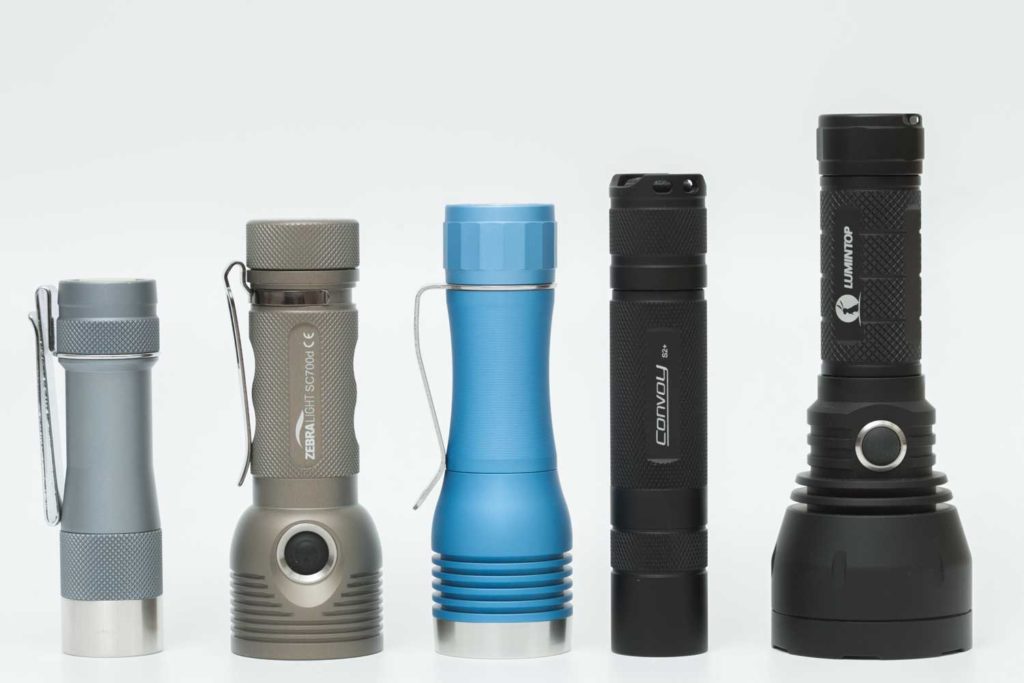
Image 1+2: Size compared to other EDC flashlights.
From left to right: Lumintop FW3A, Zebralight SC700d, Noctigon KR1, Convoy S2+ and Lumintop GT Mini.
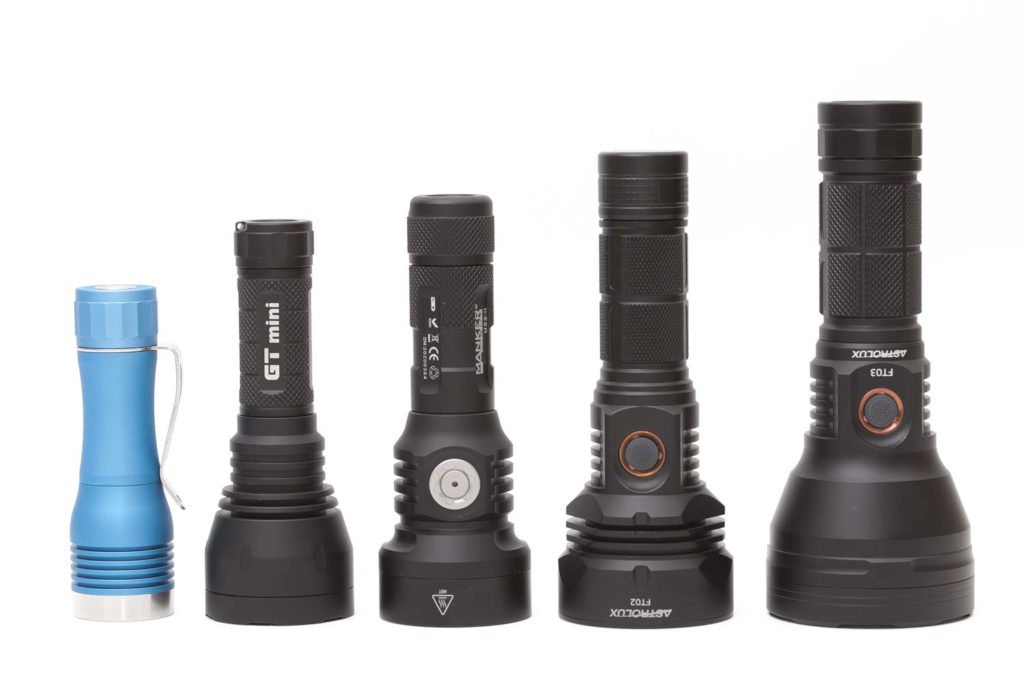
Image 3: Size compared to popular throwers, from left to right: Noctigon KR1, Lumintop GT Mini, Mankerlight U22 II, Astrolux FT02, Astrolux FT03.

Driver & User Interface:
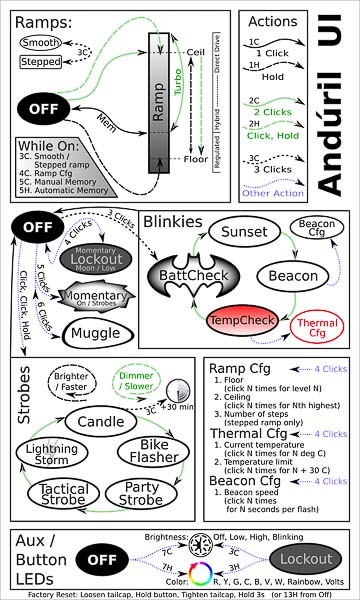
One of the reasons this light is so popular is its Anduril UI. The UI was put together by Budget Light Forum member ToyKeeper, who has been groundbreaking with her fully programmable flashlight firmware. Many flashlights currently use this UI since it’s a mix of ease of use and programmability. The UI is the same as with the FW3A, with maybe a few small changes.
From OFF:
- Single-click: ON
- Double click: High (Top of ramp)
- 3 clicks: Access the blinky/utility modes.
Enter Special/Fun modes from OFF:
- 2 clicks + hold: Strobe modes
- 4 clicks: Lock Out mode
- 5 clicks: Momentary on
- 6 clicks: Muggle mode
From ON:
- Single-click: Off
- Double click: Turbo
- 3 clicks: change ramping mode.. Instead of a smooth increase, it has 6 little steps between Lowest and Max.
- 4 clicks: change to ramping configuration mode
- Press and hold: brightness ramps up.. release and press and hold again to ramp down.
INTERESTING, SPECIAL AND FUN MODES:
Please read the manual carefully to know how to access or customize these modes. Also see the firmware picture, above.
- Blinky Utility mode:
- Battery check
- Sunset Mode
- Beacon mode
- Temperature check
Strobe / Mood modes:
When in the strobes mode, double-click to rotate between them – all modes except party strobe are brightness, changed the same way as a normal ramp. In party strobe mode, ramping up and down will increase and decrease the frequency of the strobe, for incredible effects.
- Candle
- Bike flasher
- Party strobe
- Tactical Strobe
- Lightning mode
- Lockout mode (can’t use the light)
- Lockout mode is available by clicking four times from off – while in lockout mode, click-and-hold will light up at bottom of the ramp, and a double-click-and-hold will light up somewhat brighter. This is to give you a way to quickly use the light if necessary, but if it activates in your pocket, it will only be at very low modes, and only for as long as the button is pressed. No more holes in pants!
- Momentary mode (signaling/ morse coding)
- Muggle mode: (safer for children)
- Configuration mode
- Ramp config mode
PWM
- You will be able to detect some PWM at low modes via phone camera, but as soon as it kicked in higher, it disappears. None of it was able to be detected by eye, though.
Protection Features (Low Voltage Protection)
- LVP makes the light step down to a lower level when the battery is low, and if the light is already at the lowest level, it shuts itself off. This activates at 2.8V. LVP happens suddenly but you will notice a dramatic low output before this will happens.
- Thermal regulation attempts to keep the light from overheating, and otherwise adjusts output to stay as close as possible to the user-configured temperature limit. Thermal adjustments happen gradually, in steps so small they are difficult for humans to perceive.
Troubleshooting ( Factory reset)
If you changed a setting accidentally and don’t know how to solve it, you can simply use the Reset function to go back to factory settings.
- Turn the light off
- Unscrew the tailcap
- Press and hold the switch for 3 seconds while you tighten the tailcap.
Batteries and charging:
In addition to using 18650 batteries, you can also order a short 18350 tube. This isn’t included in the normal listing.
There is no built-in charge function, so you need a lithium-ion battery charger to charge the batteries. You can include a charger and a battery when you order it.
Note that you can’t use protected 18650 batteries. They are too long. I tried it with a Nitecore 18650 3500mAH 8A and a Panasonic NCR18650B, both protected, and both didn’t work. Both simply won’t fit. You really need to use unprotected 18650s.
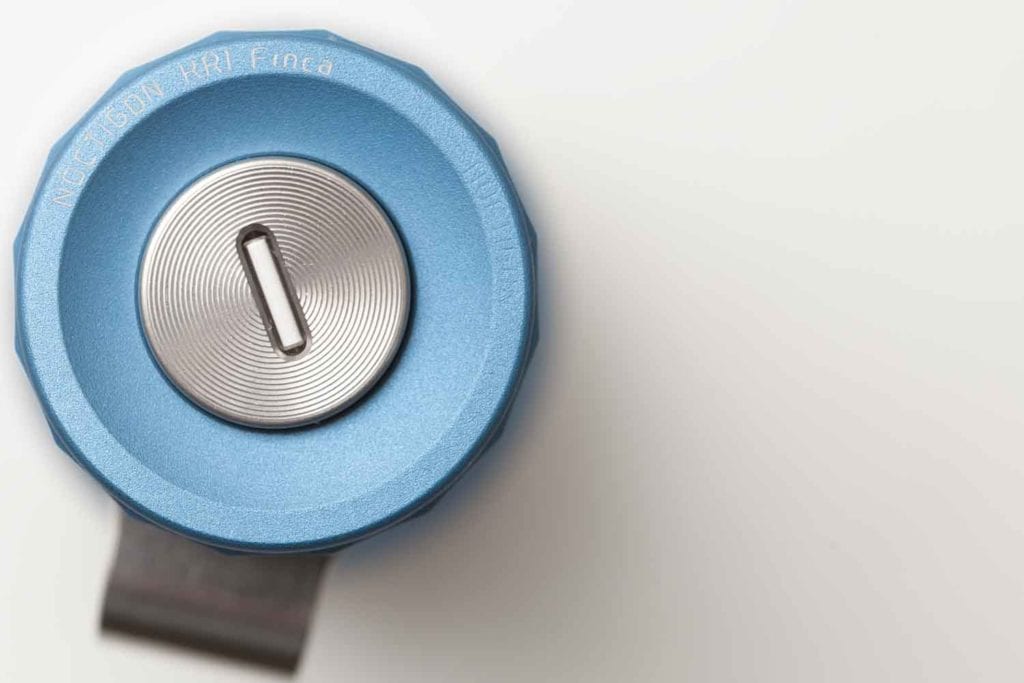
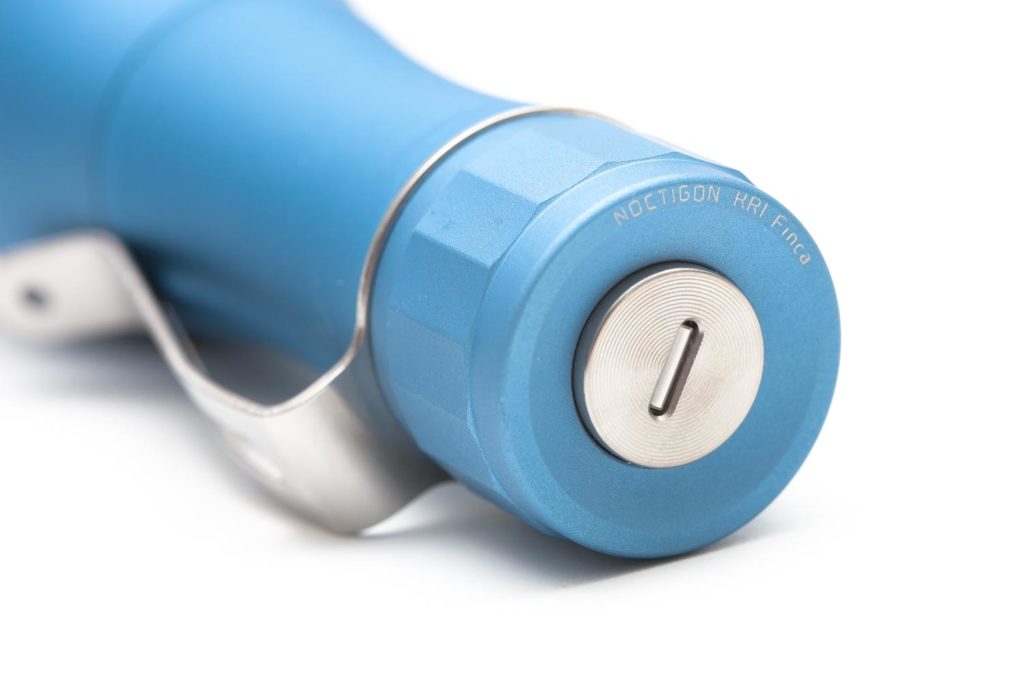
In case you like trits. You may have to read that sentence twice. You are lucky. The KR1 has a slot in its tail switch button for trips. Tritium vials will glow for more than 10 years without charging. Amazing stuff.
In the pictures below you can see the spring to touch the inner tube and the ridge that keeps the inner tube in place. That way it won’t fly out when you unscrew the tailcap. This is a huge improvement over the Lumintop FW design. At least the initial design, because they may have upgraded theirs as well.
Performance:
Lumen measurements:
All output numbers are relative to my homemade Integrating Sphere. It is set up with an Extech SDL400 Lux Meter for measurements including a Kenko PRO1D ND-16 filter. The base measurement is done with a Convoy S2+ that has been tested at 137 lumens.
All of my readings were taken from a fully-charged Samsung 30Q .
Before I tested it, I set the ambient temperature sensor to the ambient temperature in my room. You should also do that before using it.
| Mode | Amps | Lumen output |
|---|---|---|
| 1 | 0.01A | 9.75 |
| 3 | 0.2A | 65 |
| 3 | 0.56A | 167 |
| 4 | 1.19A | 320 |
| 5 | 2.14A | 516 |
| 6 | 3.5A | 739 |
| 7 | 4.99A | 942 |
| Turbo | 5.6+A | 1061 Lm |
This means that it doesn’t do 1300 lumens as advertised.
Runtime:
The runtime test was done with the 50cm integrating sphere, including the Kenko Pro1D ND-16 filter and Extech SDL400 data logging Lux Meter. Turbo was set with a 1-minute interval. This was done accidentally, but the graph still represents the correct runtime.
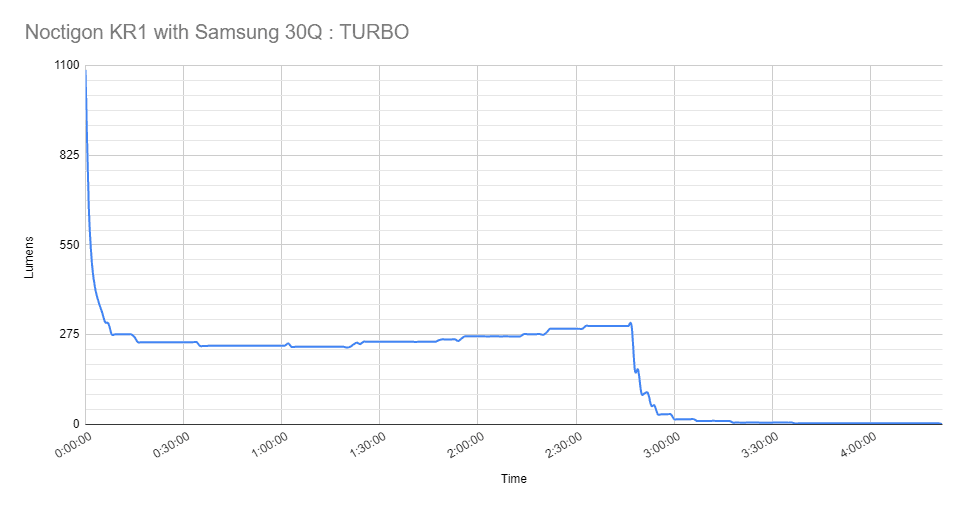
Turbo drops to roughly 270 lumens within the first 15 minutes. Total runtime is just less than 3 hours. Even after 4 hours the Noctigon KR1 still produces a few lumens. Enough to find a spare battery in your backpack.
The next runtime shows the High setting.
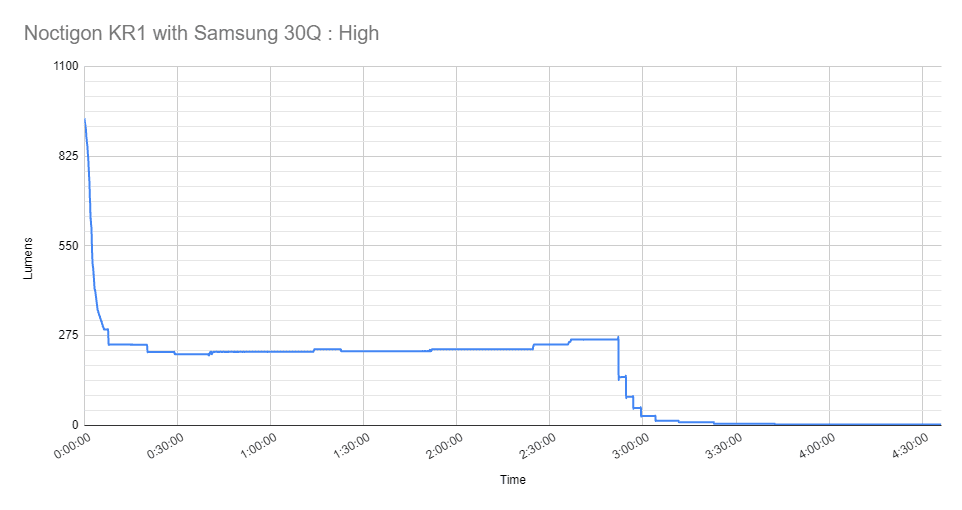
It looks very similar to Turbo, and the total runtime is also roughly 3 hours.
In the next graph, you can see the first 15 minutes.
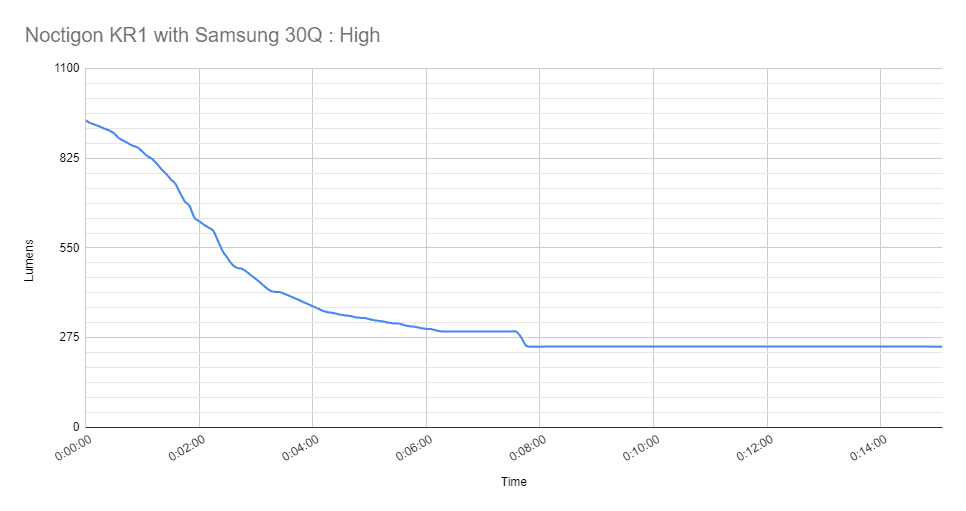
Just before the 8 minutes mark, it drops to below 275 lumens.
Throw measurement:
Throw measurements were taken indoors and outdoors with a professional Hagner E4-X Lux Meter.
My measurements are
- Indoors Turbo (5m): 83,500 cd = 578 meters / 598 yards
- Indoors High (5m): 74,750 cd = 547 meters / 632 yards
80,000 cd is about the same as my first high-power light from 5+ years ago. But only at a fraction of the size. How far flashlights have come! It doesn’t reach the advertised 100 kcd though.
Here is the list with most of the single 18650 throwers we reviewed, reaching 500 meters or farther.
| Flashlight | Battery | Max. Output (lm) | @30sec (lm) | Candela (cd) | Distance (m) |
|---|---|---|---|---|---|
| Noctigon KR1 | Samsung 30Q | 1061 | – | 83500 | 578 |
| Convoy C8+ | Samsung 30Q | – | – | 83900 | 598 |
| Boruit C8 | Boruit 2200 | 441 | 435 | 120000 | 693 |
| Acebeam L17 | Acebeam ARC18650H-310A | 1354 | – | 120600 | 695 |
| Lumintop GT Mini | Samsung 25R | 1176 | – | 121000 | 695 |
| Microfire Falcon H8 | Samsung 30Q | 331 | 328 | 176000 | 839 |
| Weltool T11 | Panasonic 3400 | 571 | – | 255250 | 1010 |
| Nextorch T7L (LEP) | Nextorch 2600 | 524 | 524 | 437000 | 1322 |
| Speras TH2 | Speras 3400 | 305 | – | 588100 | 1534 |
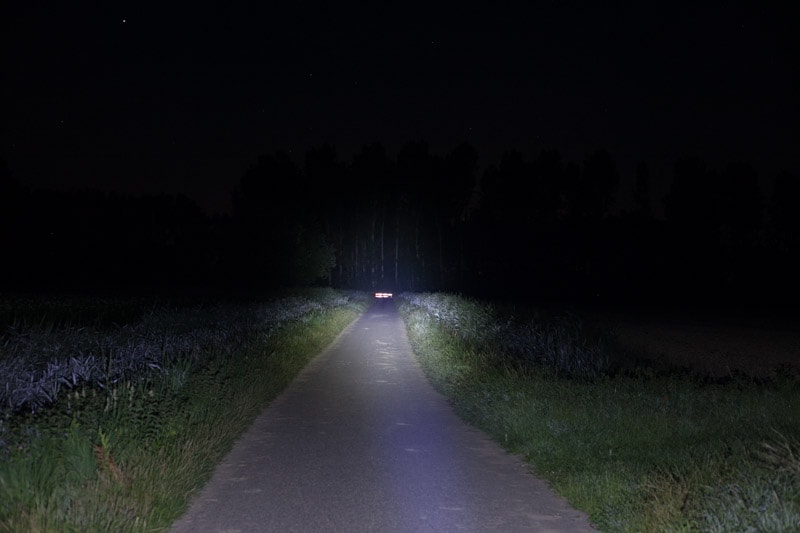
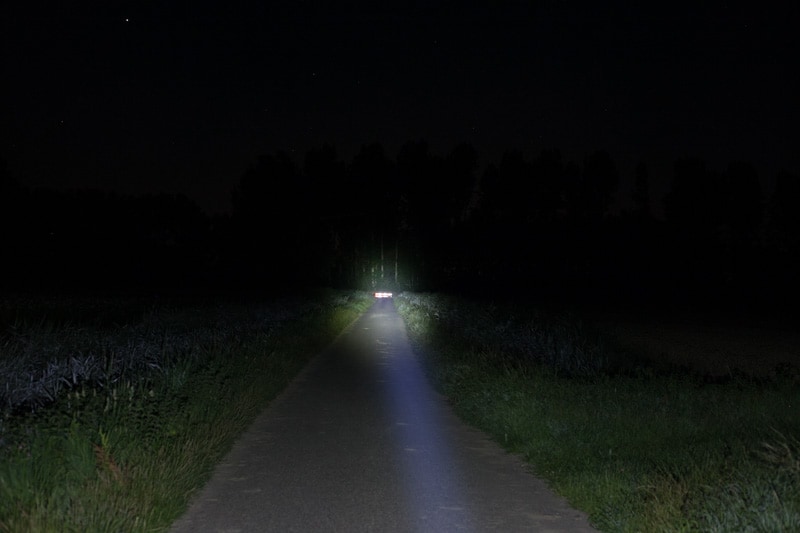
Beamshots
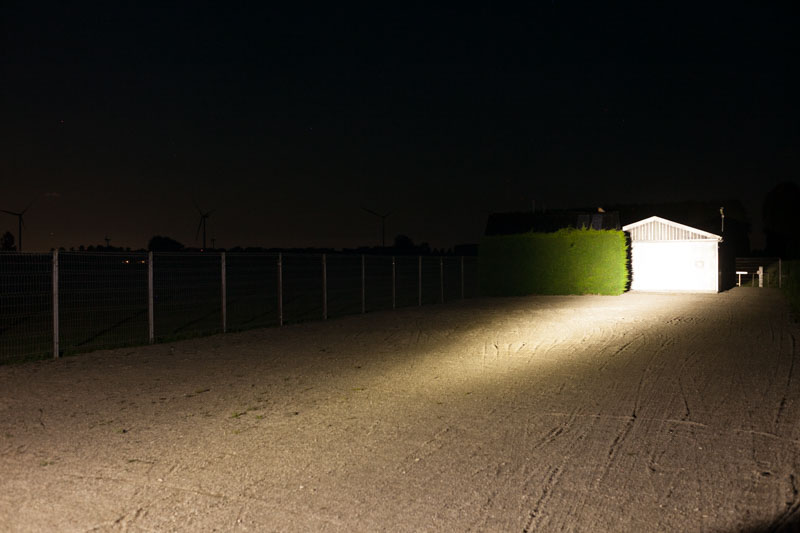
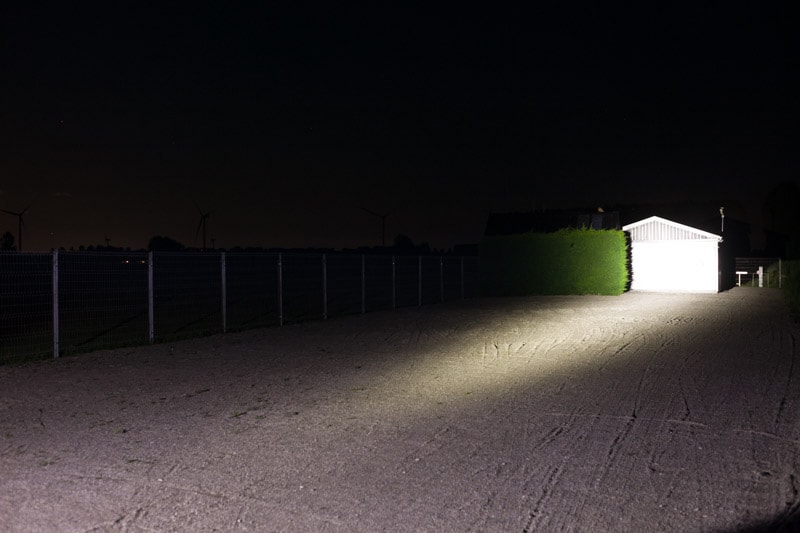
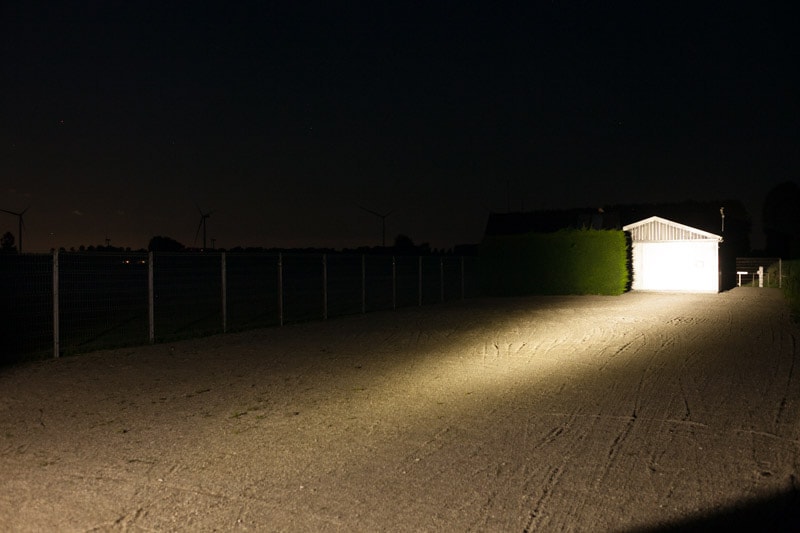
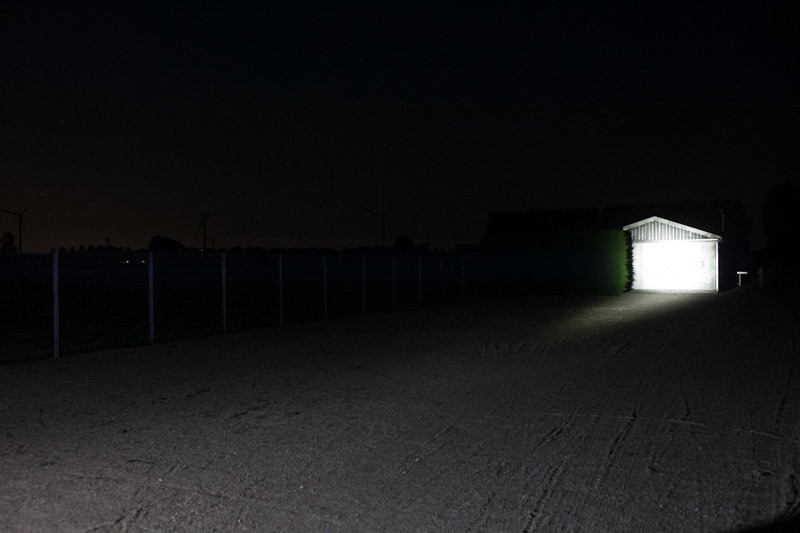
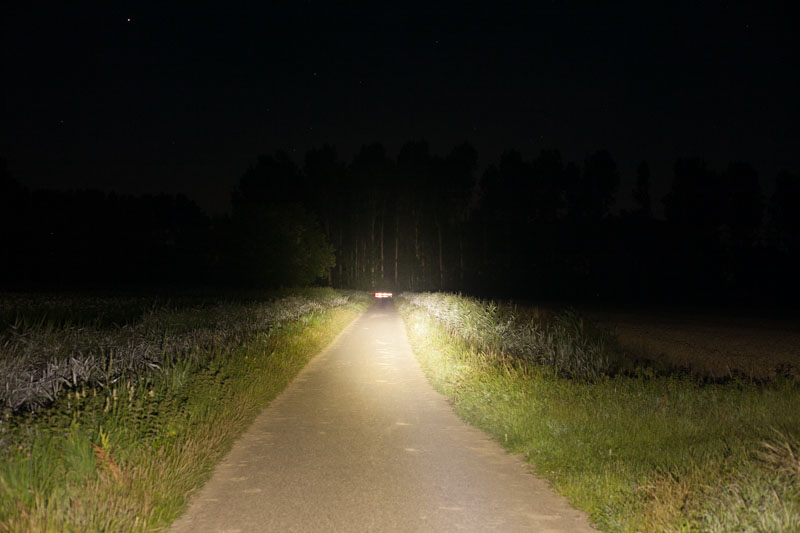
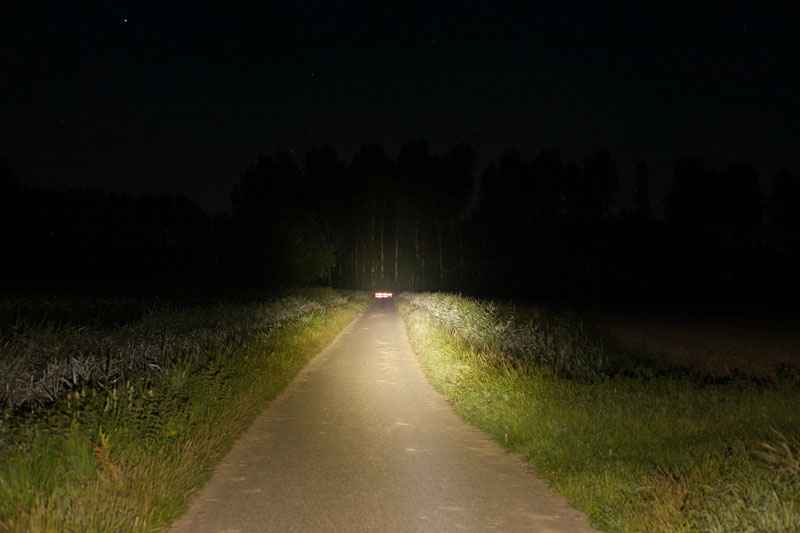
For the following beamshots, I used a Canon EOS 5D Mk2 and a 50mm lens. manual settings: ISO1600, 1/4sec , F4, 5000K
The shed is about 65 meters / 71 yards away, and the fence is about 200 meters away.
See review of other throwers:
Noctigon K1, Manker U22 II, Lumintop GT Mini, Astrolux FT02, Astrolux FT03


Disclaimer: This flashlight was bought with my own money. I have not been paid to review, nor have I been holding back on problems or defects.
Overall conclusion
Pros:
- I love this color
- Versatile UI
- Lots of throw for the size
Cons
- Draws quite a bit of current so output drops rapidly.
- Packaging.. lol
Rating: 5 stars ★★★★★
I don’t know what else to say. I think it’s a step up from the Lumintop FW3A in terms of quality. Especially the first generation that I own. The power and reach is pretty good. Not extremely far, but good. Lovely flashlight with a great colored coating.
