1lumen selects and reviews products personally. We may earn affiliate commissions through our links, which help support our testing.
Olight Marauder 2 review
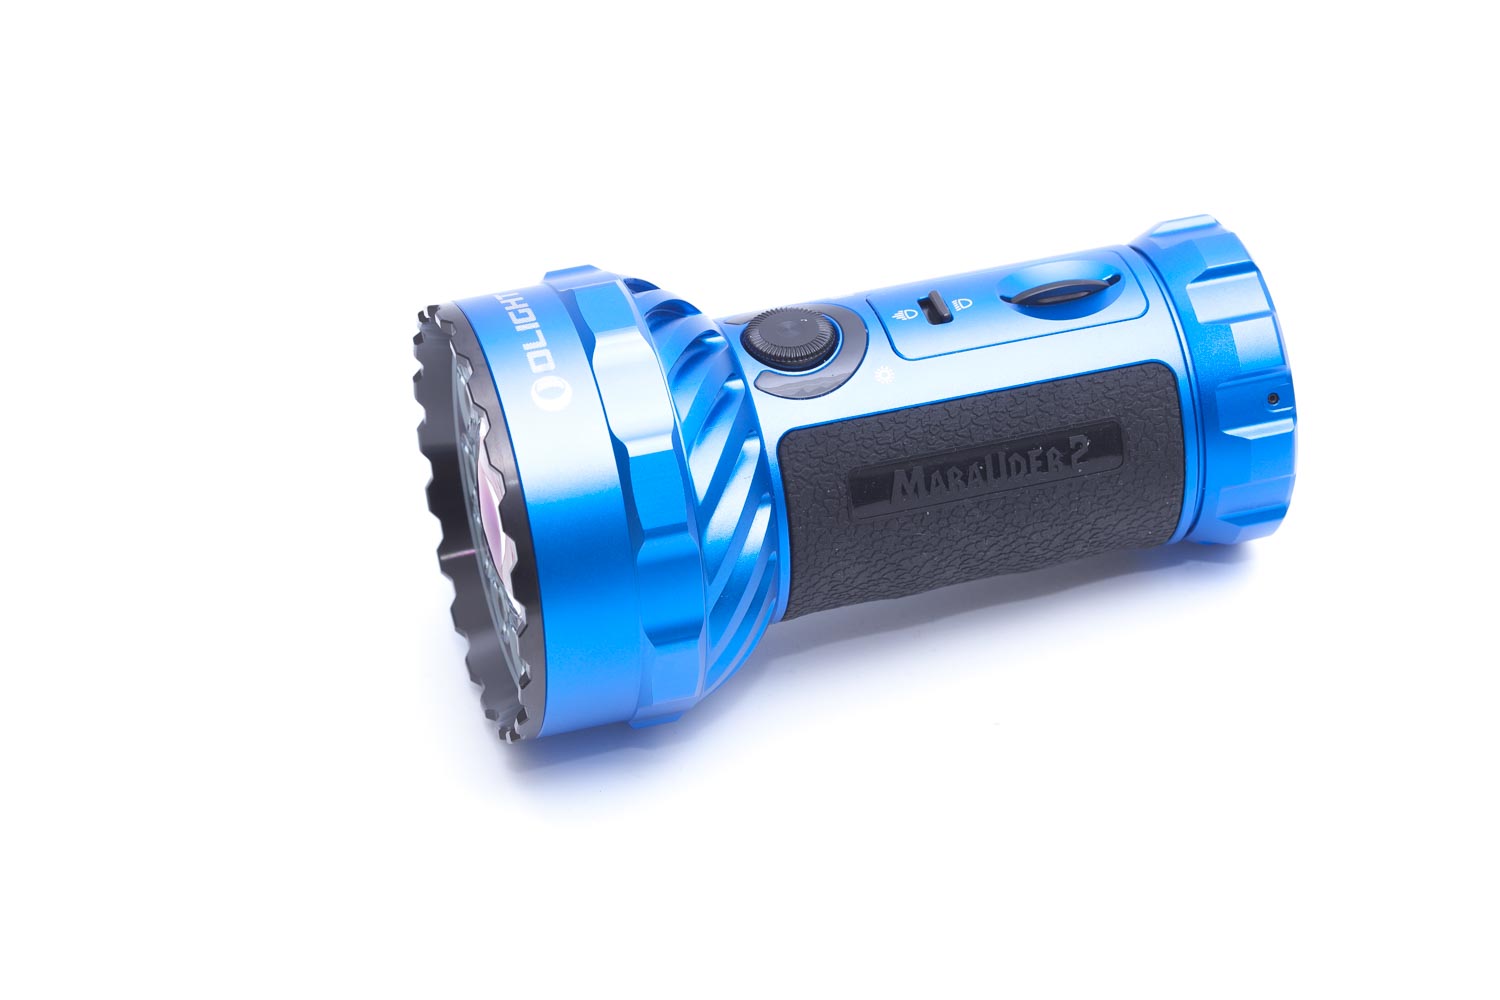
Specifications
| Brand/model | Olight Marauder 2 |
|---|---|
| LED | N/A |
| Lumens | 14,000 lm |
| Beam intensity | 160,000 cd |
| Battery config. | Battery pack |
| Material | Aluminum |
| Modes | 7 flood + 7 throw |
| Blinkies | Strobe |
| Reflector | TIR optics + convext |
| Waterproof | IPX8 |
| Review date | December 2020 |
INTRODUCTION:
Yes, it does look a bit futuristic, and yes, their product video is really cool. Check it out here:
Since I saw the announcement I really wanted to check it out, since I have reviewed a few Olight flashlights, but they were all less than 10,000 lumens. The Marauder is able to produce 14,000 lumens. And I can already tell that I got my hands full on testing it. It’s not easy, and very difficult 🙁
Package quality.
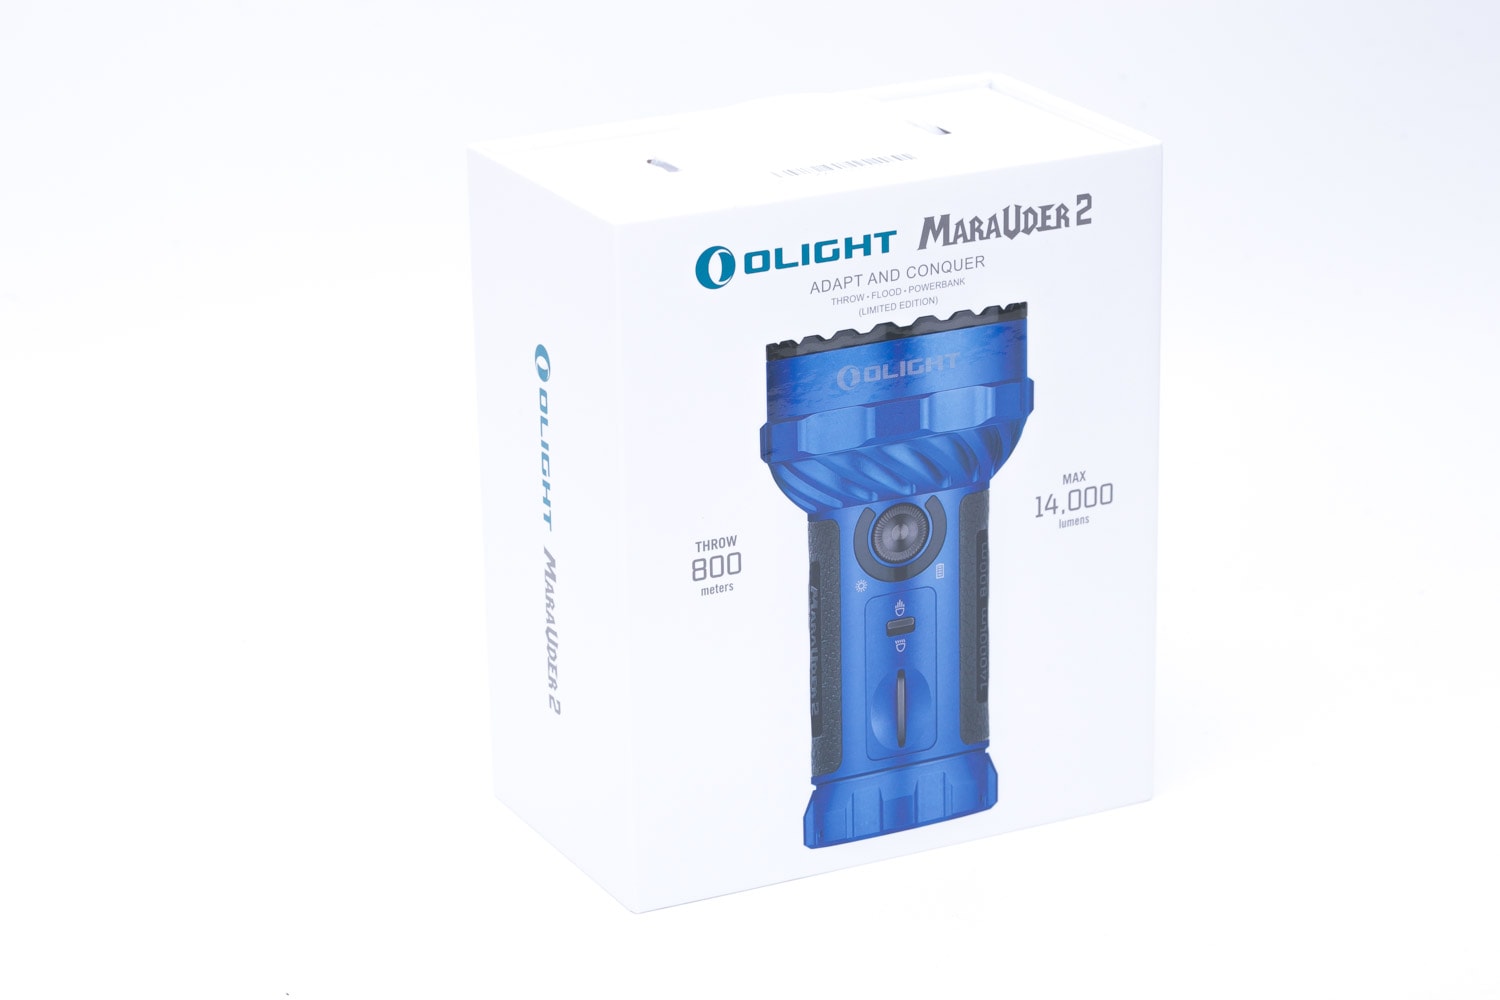
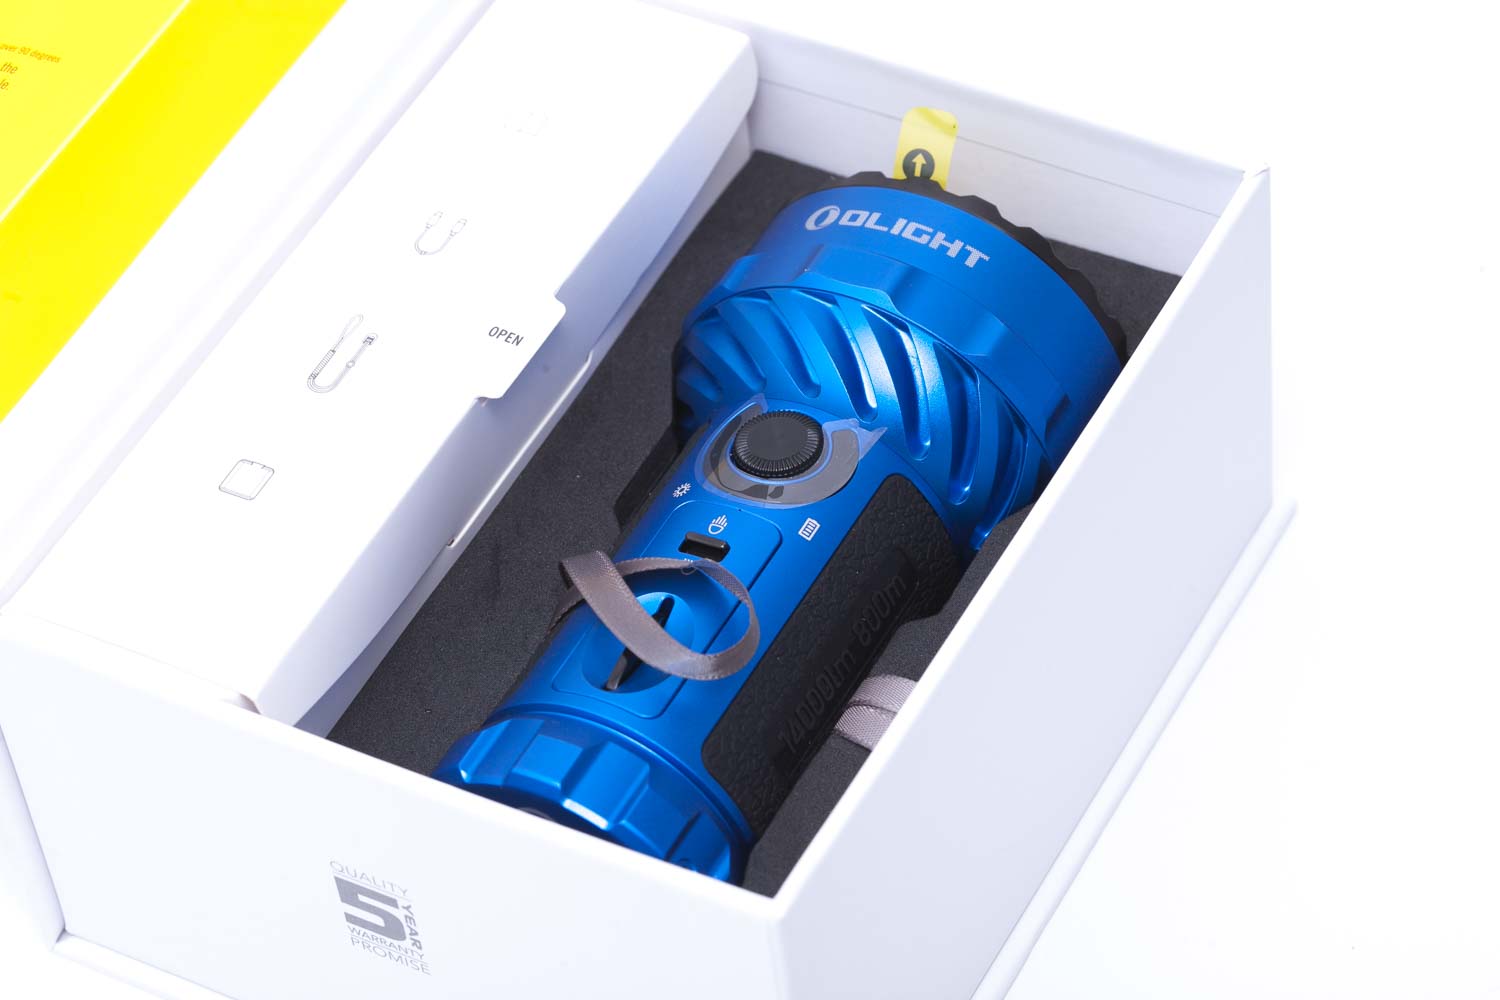
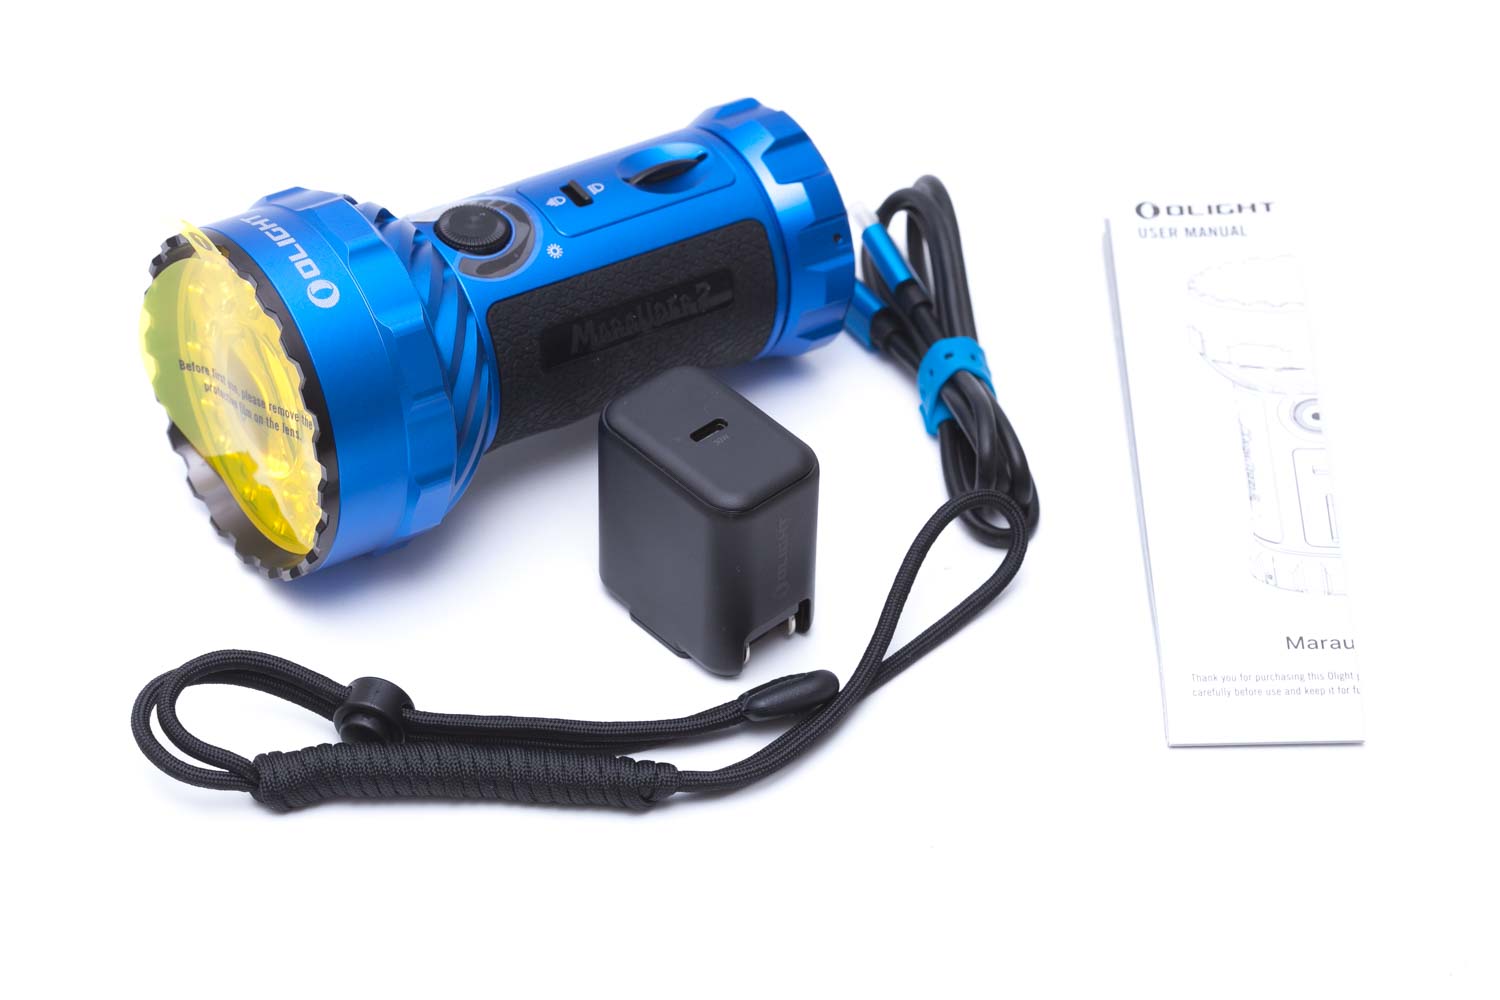
Packaging is something Olight is well known for. They spend so much attention to detail, not only on their products, but also on their packaging. The former you will read in this review, the latter can be seen in the following pictures. Anyway, what’s in the box:
- The Marauder 2
- USB-C to USB-C charge cable
- USB-C charger (not your usual one)
- Lanyard
- Manual
Yes, that’s it, because the Marauder 2 is not supposed to be opened. You can’t replace the batteries, so there are no batteries and no o-rings for example.
Marauder 2 in use
I can’t wait to talk about this flashlight. If you’re impressed with anything build by Lumintop, Fenix, Acebeam and the like, you will definitely be impressed with this one.
The size of the Olight Marauder 2 is relatively small considering the output and all the features built into it. But that doesn’t mean it’s pocketable. In terms of width, the Marauder 2 is pretty large, I have the feeling there are 4*21700 built into it. This means that you need relatively large hands to carry it comfortably for a long period of time. If you have smaller hands, you can still use the lanyard and hang it, while the flashlight is not in use.
Turning this light on was a bit of a struggle. Instead of a push switch it has a dial + push switch. I had to read the manual to understand how to turn it on… men don’t read manuals you know.
You have to turn the know at least 90 degrees and then click the same knob to turn the flashlight on. Yes, that is for safety, and it’s a nice safety feature. It’s probably less likely to have it in your pocket, turning the knob 90 degrees and pressing it at the same time. You also have to turn the knob when switching modes. This may be okay with bare hands, but I’m pretty sure that’s difficult wearing hand gloves!
There is yet 1 more switch, and that one is for switching between flood and throw. The center LED is actually used separately from the LEDs on the edge of the flashlight. I like that idea to have this option. The single LED has a much longer runtime as well. But anyway, the flood/throw switch is located below the knob. It’s pretty easy to operate in the dark.
Although the light can keep your hands warm, they added a rubber cover. This greatly increases your grip on the flashlight, but I’m a little afraid this type of rubber gets sticky after a few years. Hopefully not, but that type of rubber is what it looks like.
Tailstanding is no problem and it stands firm.


Build Quality, Knurling, Threads, and anodization
Okay, there is nothing to read here. Nothing to complain about it. It’s just the rubber around the flashlight that I am a bit worried about. It might get sticky after a few years.
The lanyard attachment is neatly stuck in the body and is held back with a spring. You can pull it out and attach your lanyard. One more neat thing is the tailcap. When you turn it, a USB port is revealed. I will explain more on charging later on, but just keep in mind, this is next-level stuff.


LED, LENS, BEZEL, AND REFLECTOR
Olight must have considered several things during their research. Throw and Flood. The Marauder 2 can do both, but not at the same time. You either get extreme brightness with a very wide beam, or you get throw with a very narrow, but rectangular beam.
Some people complained about the rectangular beam, and it’s probably because they aren’t used to it. I think our perception of a beam is usually round. It’s not like the imperfect beam of most zoomable/focusable flashlights. The LED for throw is in the center behind a convex shaped lens. The outer ring of LEDs are in the outer ring behind TIR optics. In the flood setting, the beam is really wide and smooth. I don’t really know what kind of LEDs they are.
The throw LED looks like an Osram W2 with the rectangular phosphor layer.
It’s quite interesting that the TIR optics of the outer LEDs and the center LED with the convex shape are all made of 1 piece of plastic.
The black little dot between the LEDs is the proximity sensor to my understanding. In the first picture it’s at 11 o clock.


Olight Marauder 2 Dimensions
- Length: 139.7 mm / 5.5 ”
- Bezel diameter: 75 mm / 2.956 ”
- Body diameter: 52.5 mm / 2.0 ”
Weight:
- With battery: 754 grams / 26.6 oz
Powerful flashlight comparison
Size compared to other high power flashlights.
From left to right: Acebeam X80-GT, Lumintop GT3, BLF Q8, Olight Marauder 2, Acebeam X45 II.
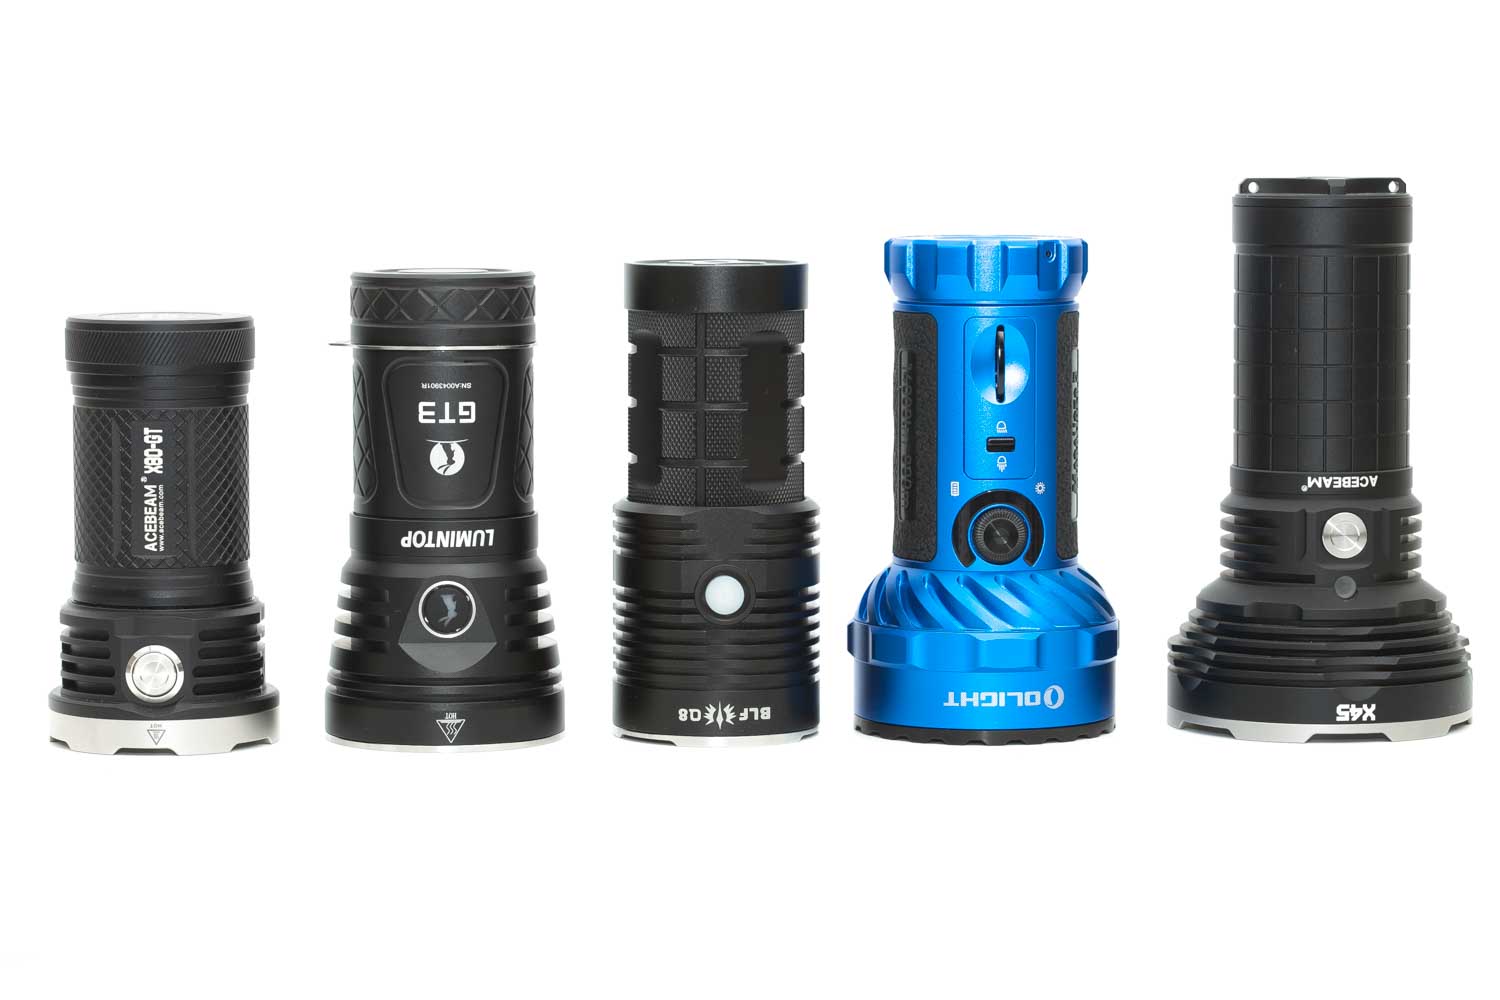
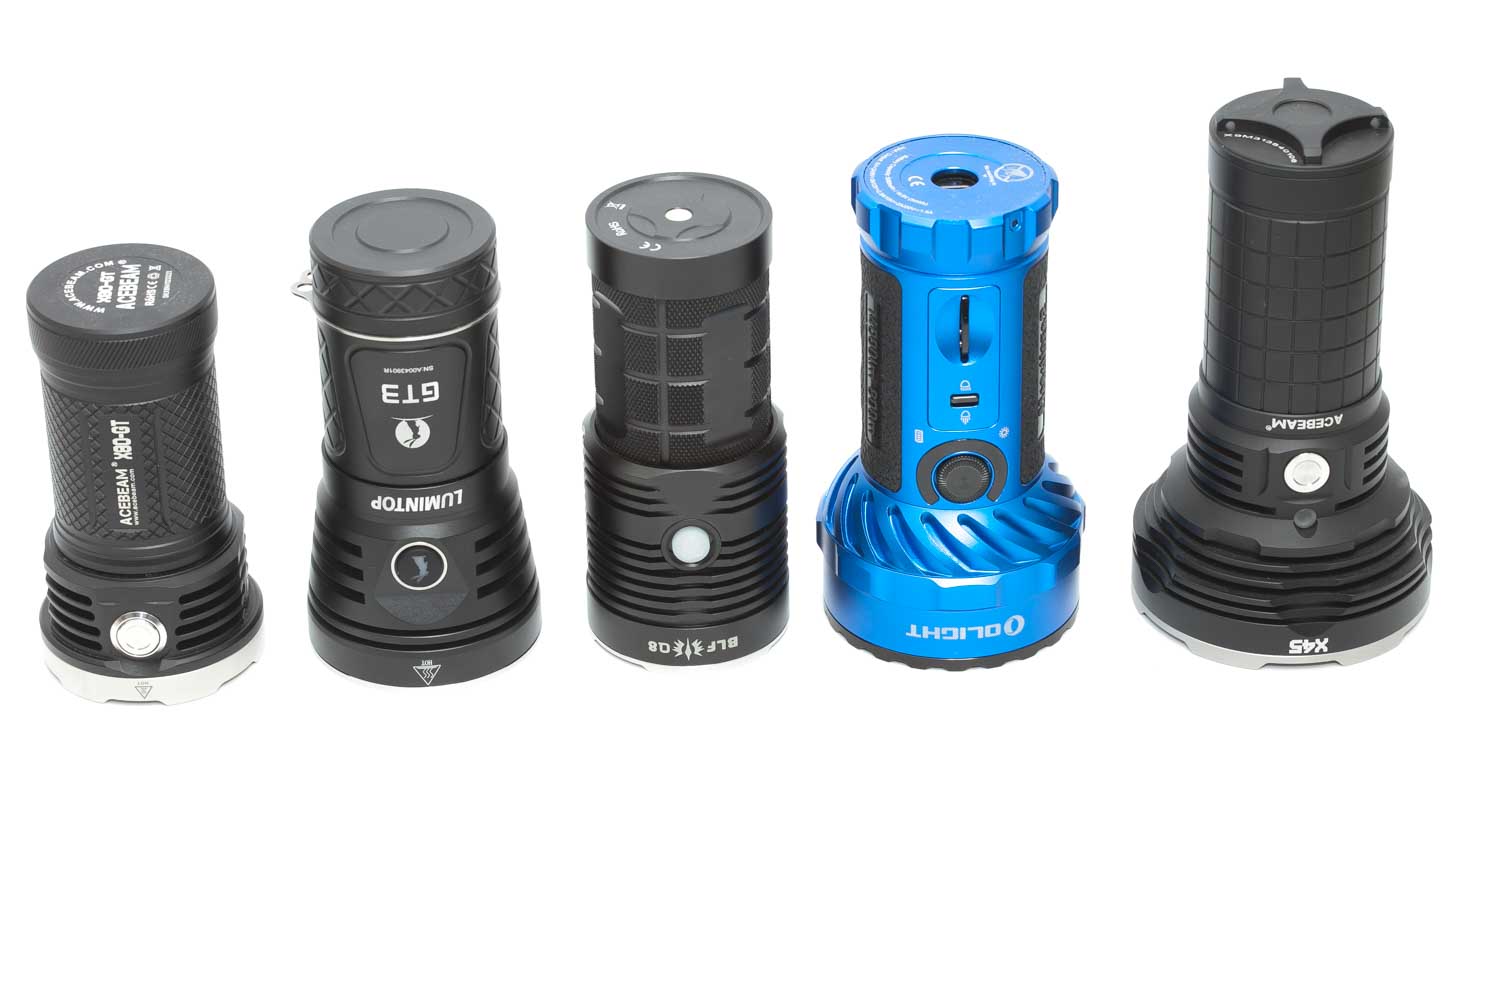

Driver & User Interface:
Driver and firmware
There are 2 switches in place. 1 is for changing the beam from Flood to Throw, and the other is for turning the light on/off and changing output.
Available modes:
- There are 7 levels of output, from L1 to L7 for each beam setting.
By default, the flashlight is locked after 30 seconds of turning off. You need to dial the knob at least 90 degrees to unlock.
From OFF, locked:
- Half-press: nothing
- Single-click: nothing
- Double-click
- Rotate the knob at least 90 degrees: Unlock.
FROM OFF, UNLOCKED:
- Single-click: On to last used setting
- Double-click: Turbo
- Triple-click: Strobe
From ON:
- Single click: Off
- Double click: Turbo (another 2 clicks will bring you back to L4, even if you were in L1-L3)
- Triple-click: Strobe
Shortcuts:
- To Low: press-and-hold from OFF
- To Turbo: double-click from On
- To Strobe: triple-click from On
Mode memory:
- Yes, it memorizes the last used output, except for L7. L5-L6 will only be memorized for 10 minutes! After 10 minutes it will go back to L4.
Blinky modes menu:
- Only Strobe. You can only access Strobe from On or Off when not locked out.
Low battery warning:
- A red indicator LED will show when the light is running out of battery. Also, the output will decrease when the battery is running low.
Lock-out mode:
- By default after 30 seconds
PWM:
- Not visible by eye
Proximity sensor (Can be deactivated)
- The proximity sensor is a safety feature. Some people complained about this, and I don’t really see a problem with this feature.
- You can, however, deactivate the proximity sensor, but I wouldn’t recommend it unless your application really gets screwed up by the sensor. Anyway, to deactivate the sensor do the following
- Turn the flashlight on
- Click 15 times (the flashlight will turn off now). You deactivated the proximity sensor
- Do the same to turn it back on.
- There is also a way to proximity distance, but I had a hard time figuring that out. It says to do a double click and then do a third click and hold the switch at the third click. But you have to do that really quick. Look at the video I took.
Firmware / UI Conclusion:
I like the way it is locked out, but at the same time I have accidentally pushed the knob, and then you have a wait a few extra seconds before you can unlock the light by turning the knob at least 90 degrees.
Batteries & Charging
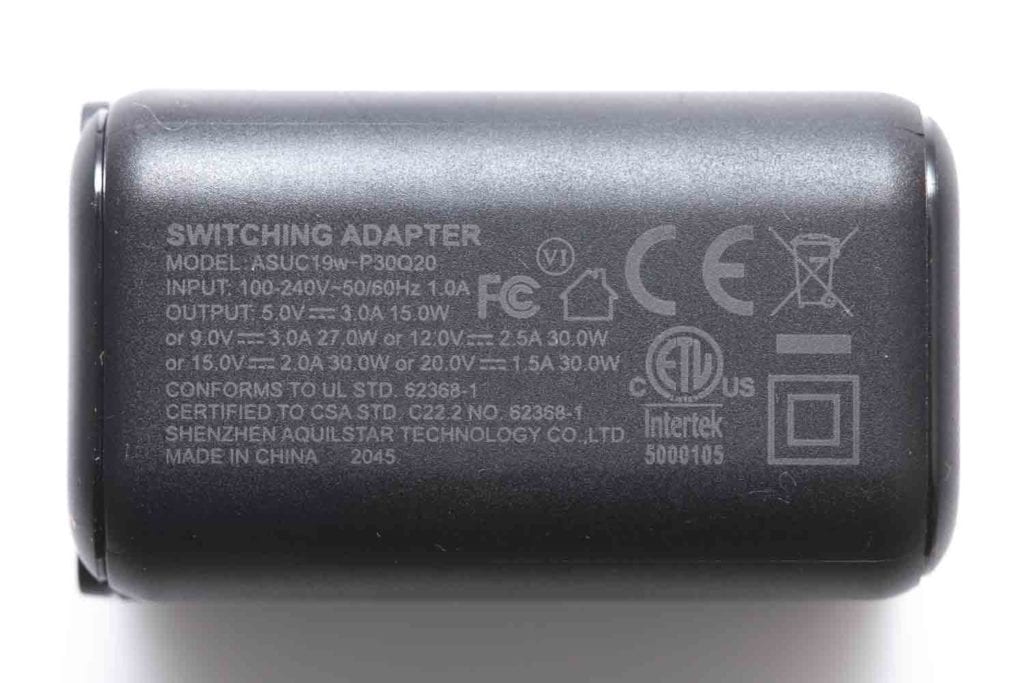
Within the box, you can find a 30W USB-C battery charger with US plug. Although the charger says: 100-240V, I was unable to use it in the Netherlands.
The Marauder 2 has its charge port at the rear rather than on the side. The tailcap can be turned to reveal the USB port. The same USB-C port is used as a powerbank.
Compatible protocols: QC2.0, QC3.0, PD2.0, PD3.0, Apple, DCP, AFC
Voltage current of charging: 5V 3A, 9V 3A, 12V 2.5A, 15V 2A, 20V 1.5A. Only with the designated power adapter.
Voltage and current of discharging: 5V 3A, 9V 3A, 12V 2.5A, 15v 2A, 20V, 1.5A.
Using the designated power adapter, you should be able the charge the Marauder 2 in 2.5 hours.


Olight Marauder 2 Performance
Marauder 2 Lumen measurements:
All output numbers are relative for my home-made Integrating Sphere. It is set up with an Extech SDL400 Lux Meter for measurements including a Kenko PRO1D ND-16 filter. The base measurement is done with a Convoy S2+ that has been tested at 255 lumens.
Sometimes, features are a problem. One of the things I never encountered before is a proximity sensor inside a flashlight. I am usually not very fond of this type of feature, but I actually appreciate it, because it’s a safety feature. It reduces the output when an object is close to the flashlight. This could be a person, but it could also be your bag!
(You can actually turn that feature off, scroll back up to the YouTube video, where I explain how to do this)
That being said: I couldn’t measure output in Flood mode in an integrating sphere, since the sensor senses the object (integrating sphere) and therefore reduces the output directly. (Now I can though with the sensor turned off). So I couldn’t measure lumens and runtime the normal way. Only after doing some crazy testing, and errors, I realized that the proximity meter only is used for the Flood settings. booo.
For Spotlight lumens, I used the integrating sphere for this. My measurements were quite a bit higher than the specifications.
| Marauder 2 Spot: Levels | Manufacturer | measured @ start |
| L1 | 50 | 67.5 |
| L2 | 100 | 152 |
| L3 | 200 | 274 |
| L4 | 300 | 433 |
| L5 | 500 | 618 |
| L6 | 650 | 848 |
| L7 | 850 | 1151 |
After quite a bit of trouble, trial, and error, I learned that you can actually turn off the proximity sensor. So I repeated the test, and these are the numbers. They are slightly lower than done by the ceiling bounce test. I still trust these more than the ceiling bounce test I did before.
| Mode | Specified | 30 sec | start |
|---|---|---|---|
| L1 | 200 | 205 | 205 |
| L2 | 400 | 413 | 413 |
| L3 | 800 | 830 | 830 |
| L4 | 1,600 | 1644 | 1645 |
| L5 | 3,200 | 3225 | 3225 |
| L6 | 6,400 | 6321 | 6379 |
| L7 | 14,000 lm | 13,964 lm | 14,251 lm |
Olight Marauder 2 battery life / runtime
The following runtime shows the highest output in Throw mode, in Candela, not lumens. This is probably a more important datapoint than lumens for this setting.

Take the following graph with a grain of salt. It was using the ceiling bounce technique, but they should represent the actual runtime graph at least a bit.

If you look at the 3 graphs, you see that L5 is actually doing the nices output from 25 minutes onward. It produces about 3500 lumens just short of 3.5 hours.
I also tested cooling, and the drop clearly shows a different between non-cooled vs cooled. Have a look at the L7 runtime below:

Olight Marauder 2 alternatives
High power flashlight comparison
Here is the list with most of the high-power flashlights we reviewed in this category (Category: high-power soupcan sized flashlights).
| Flashlight | Max. Output | after 30sec |
|---|---|---|
| Acebeam X50 | 35,507 | 30,383 |
| Acebeam X75 | 64,295 | 73,716 |
| Acebeam X80-GT2 | 31,890 | 27,143 |
| Astrolux EC06 | 18,111 | 8,352 |
| Fenix LR50R | 11,698 | 10,849 |
| Imalent MR90 | 52,326 | 32,128 |
| Imalent MS08 | 25,745 | 19,615 |
| Imalent MS12 Mini | 68,773 | 46,750 |
| Imalent MS12 Mini C | 71,967 | 55,873 |
| Imalent RS50 | 20,302 | 16,939 |
| Imalent SR16 | 53,657 | 43,115 |
| Lumintop GT3 | 16,267 | 15,168 |
| Manker MK38 (SFT) | 16,013 | 13,129 |
| Olight Marauder 2 | 14,251 | 13,964 |
| Thrunite TN50 | 18,200 | 17,360 |
(Interactive line graphs below)
Hover your mouse over the lines in the graph to see more details, or select a flashlight in the graph.
Using a mobile phone? Hold your phone horizontally!
Another comparison, focusing on the first 10 minutes after activation
And here’s another comparison, but zoomed in. The first 60 minutes after activation.
Throw Measurement
Measurements were taken indoors at 5 meters with a professional Hagner E4-X Lux Meter. The Olight Marauder 2 was set to Throw mode (spot light).
| Mode | Candela | Meters | Yards | Miles |
|---|---|---|---|---|
| L1 | 12,000 | 219 | 240 | 0.14 |
| L2 | 27,250 | 330 | 361 | 0.21 |
| L3 | 49,000 | 443 | 484 | 0.28 |
| L4 | 77,500 | 557 | 609 | 0.35 |
| L5 | 110,000 | 663 | 725 | 0.41 |
| L6 | 151,250 | 778 | 851 | 0.48 |
| L7 | 193,750 cd | 880 | 963 | 0.55 |
Specs talk about 160,000 cd, and at 5 meters, it easily beats that by a fair margin. The highest mode could almost reach 200kcd.
Marauder 2 Beamshots
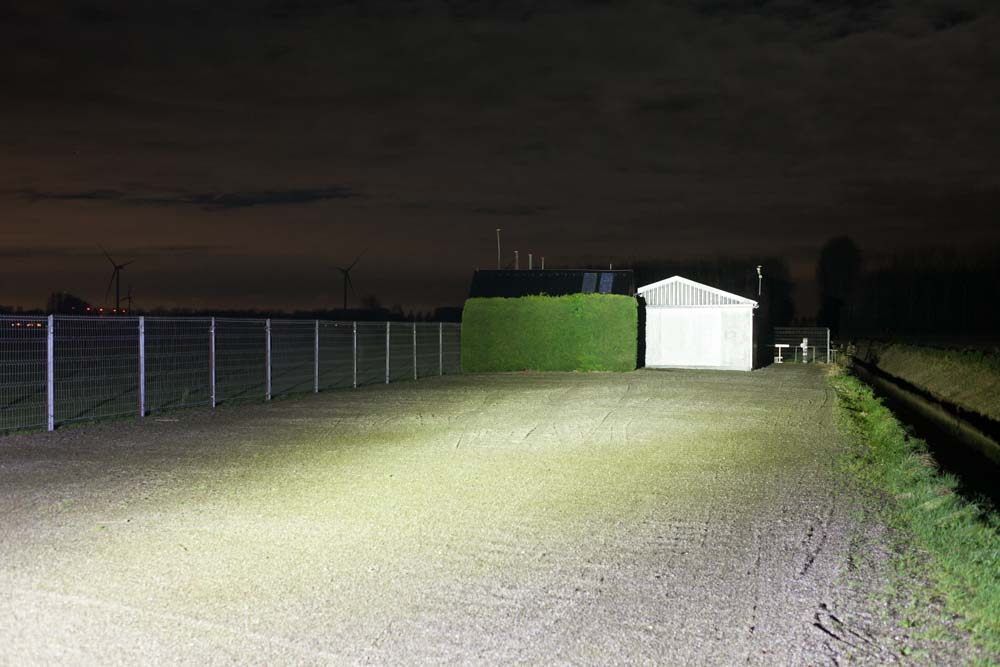
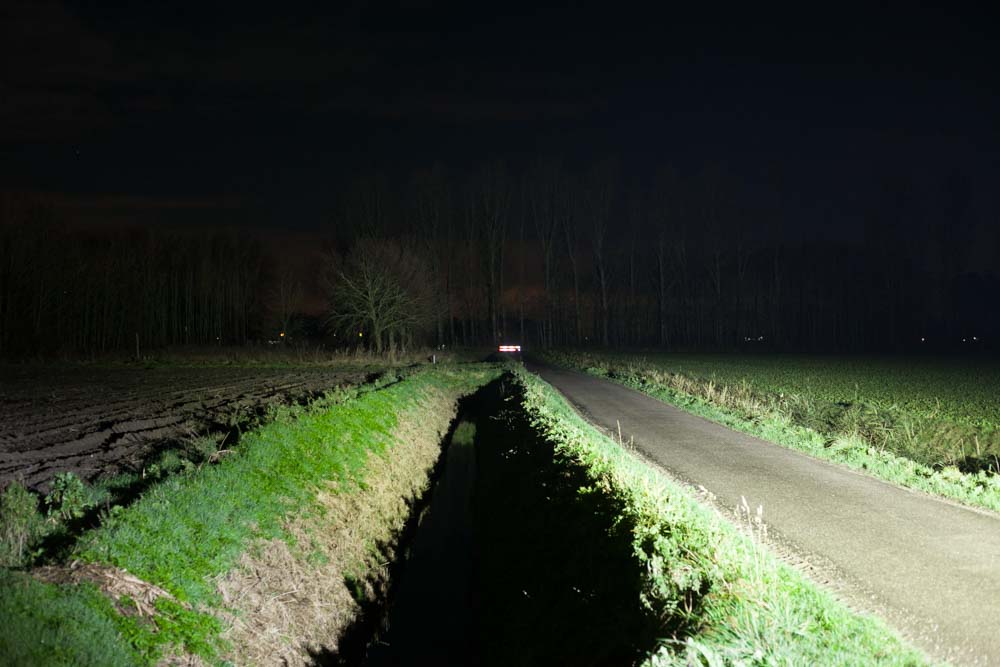
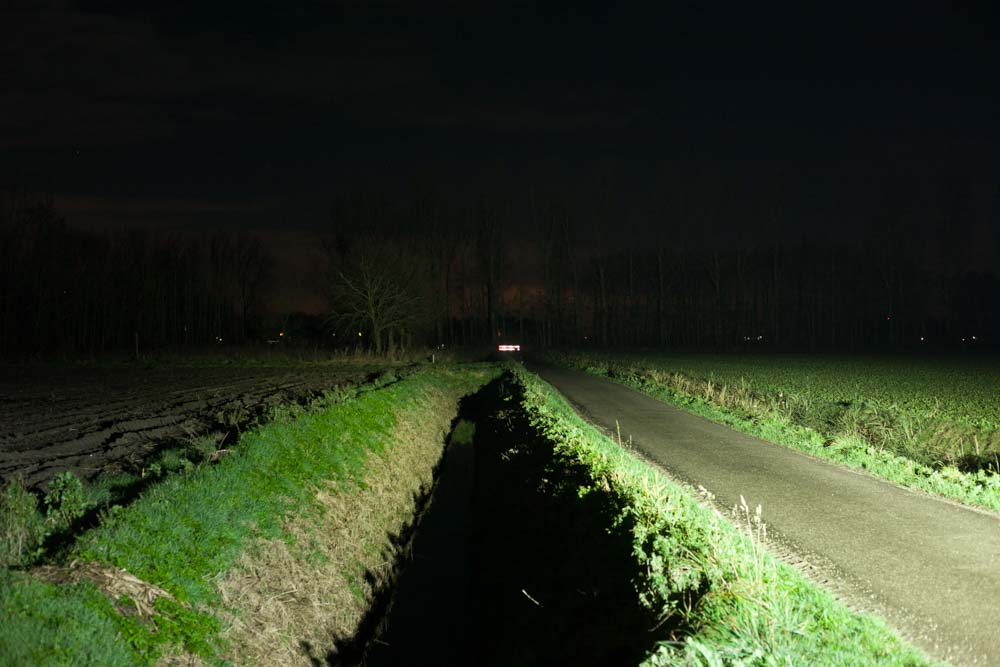
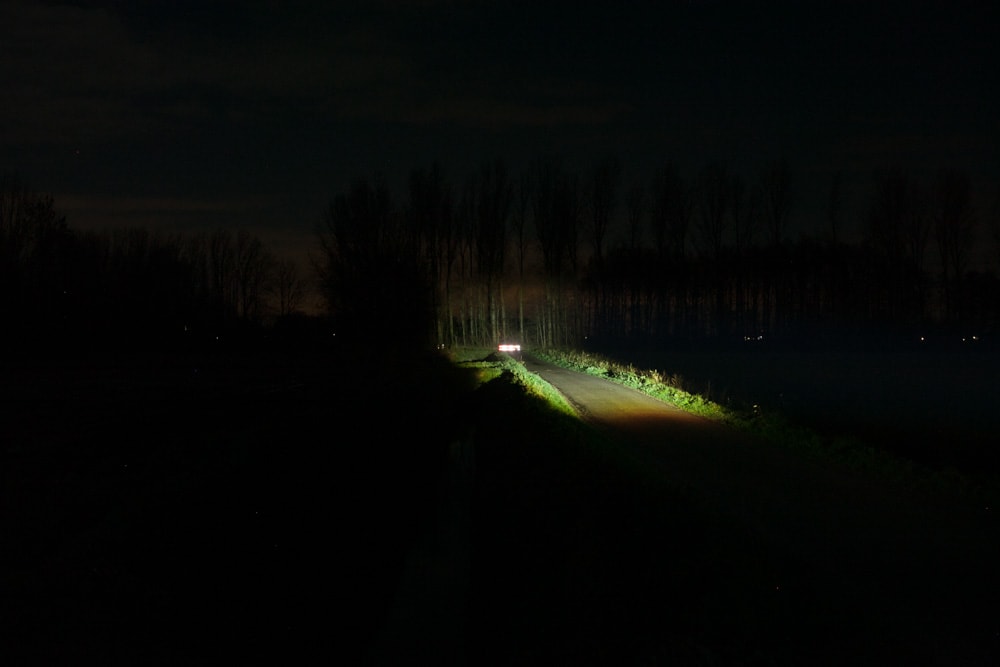
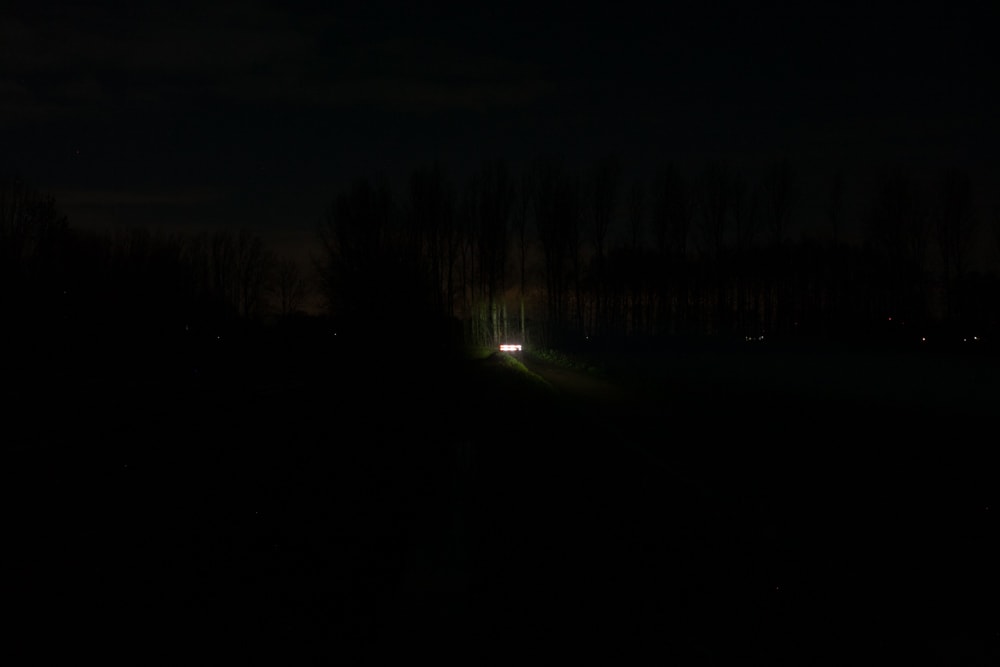
For the following beamshots I used a Canon EOS 5D Mk2 and a 50mm lens. manual settings: ISO1600, 1/4sec , F4, 5000K
The shed is about 65 meters / 71 yards away.
The fence is about 200 meters


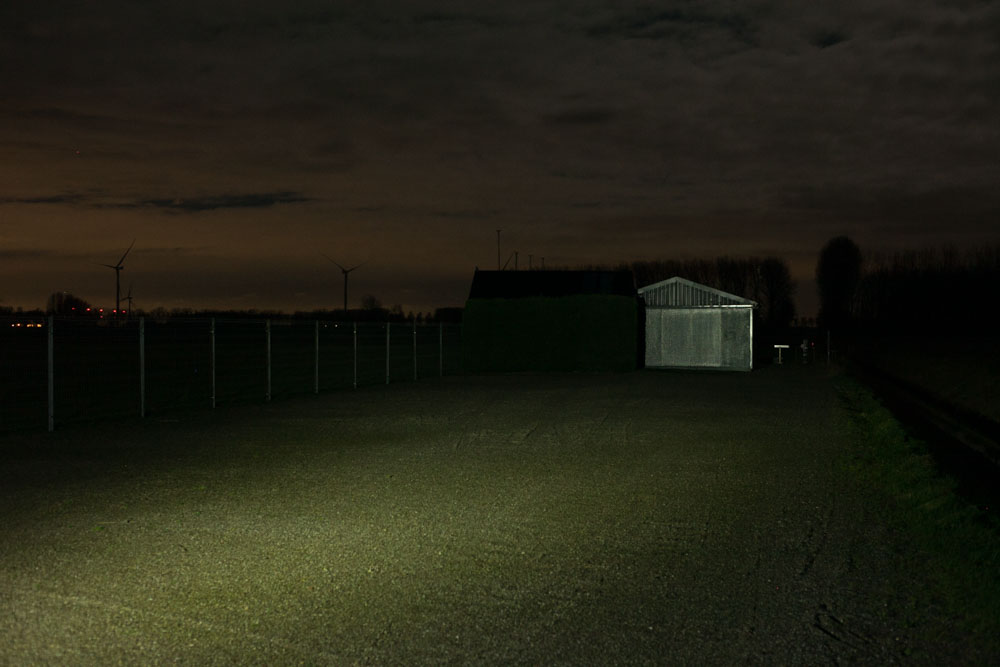

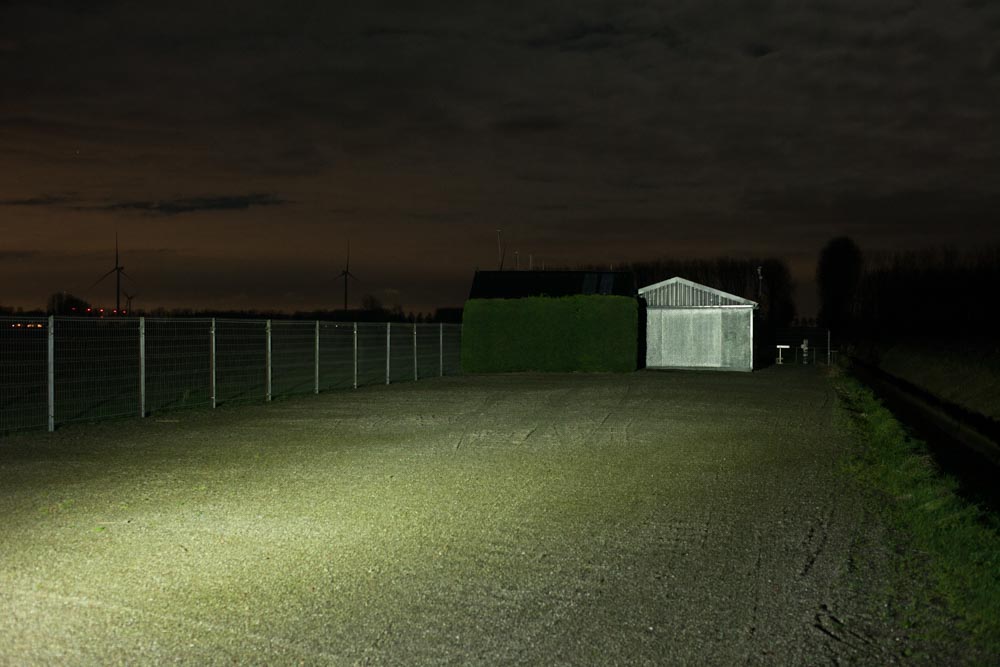
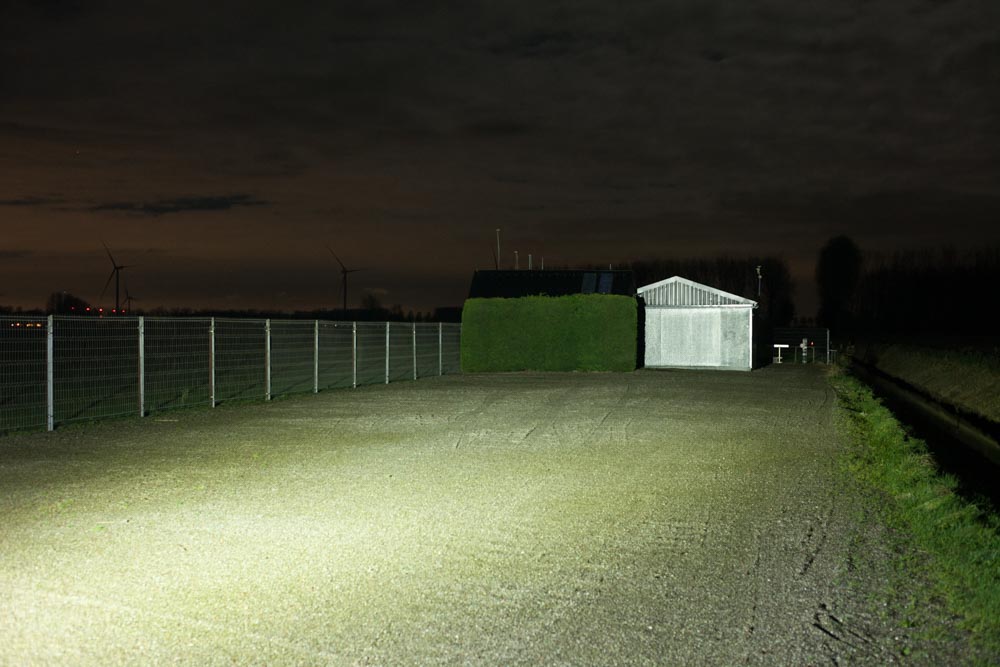
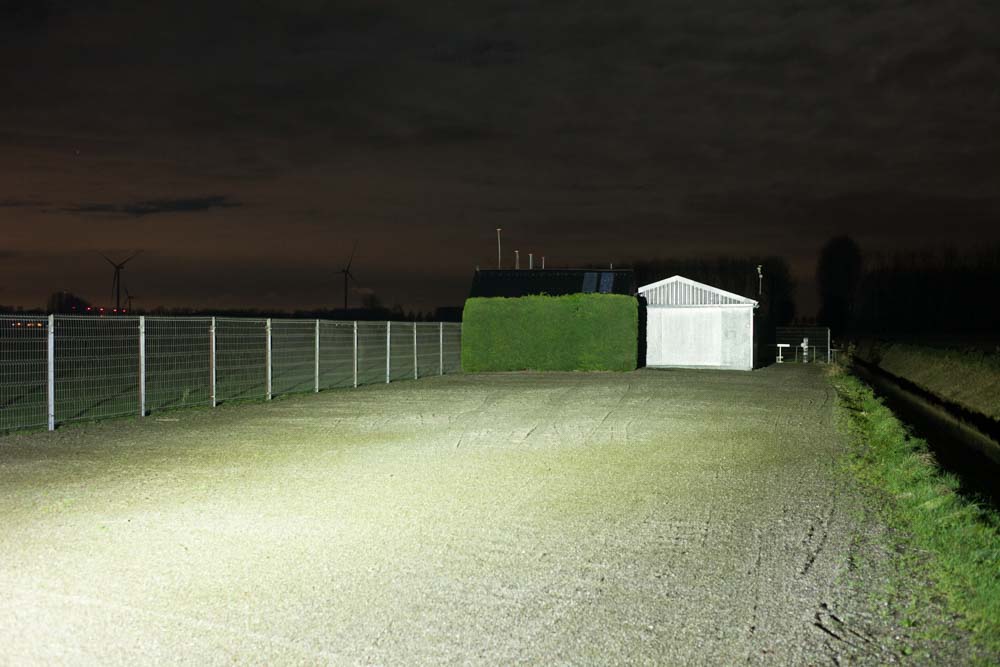
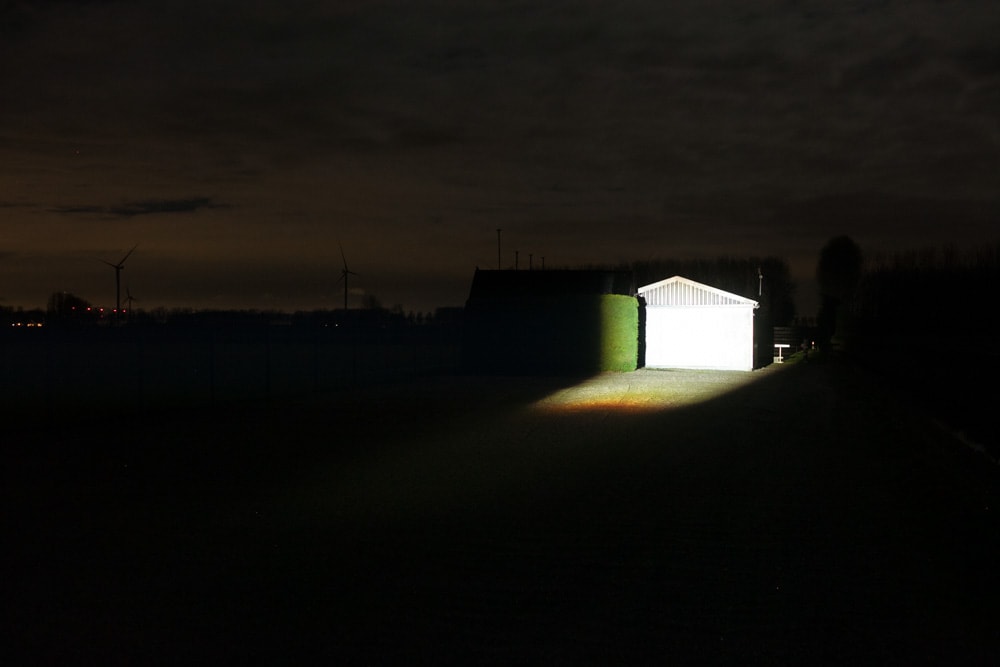
Below pictures show the shed again at around 65 meters/70 yards. And the bottom 3 images show a fence and some trees at 200+ meters.
Canon DSLR, 50mm, f4 ,1/4sec, ISO1600.
You can compare the following:
- Olight Marauder 2 vs Lumintop GT3
- Olight Marauder 2 vs Acebeam X45 II



Disclaimer: This flashlight was sent to me for review at no cost, by Olight. I have not been paid to review, nor have I been holding back on problems or defects.
OVERALL CONCLUSION
Pros
- Very high quality
- Lots of interesting high-end features
- Flood and throw
- High speed charging
- Hich speed discharging (power bank)
Cons
- The switch knob is (in)sensitive by unlocking/changing modes
- Thow beam has a rectangular beam shape, which is unusual for most people

5 stars: ★★★★★
The Olight Marauder 2 is a serious flashlight. It pumps out 14,000 lumens like no other, it also has one of the most sophisticated technologies currently found in flashlights. A proximity meter, dial knob, quick charging, a specially designed TIR optics with convex in the middle, just to name a few.
Besides having a large battery capacity it can also be used as a power bank. The only few complaints are about the knob and probably the rectangular beam some people don’t like.
Olight Marauder 2 discount
Use our exclusive 1lumen discount code to get an extra 10% off anything you order at Olightstore.com (USA). Coupon code: 1lumen
1lumen selects and reviews products personally. We may earn affiliate commissions through our links, which help support our testing.