1lumen selects and reviews products personally. We may earn affiliate commissions through our links, which help support our testing.
Jetbeam RRT M2S Raptor review
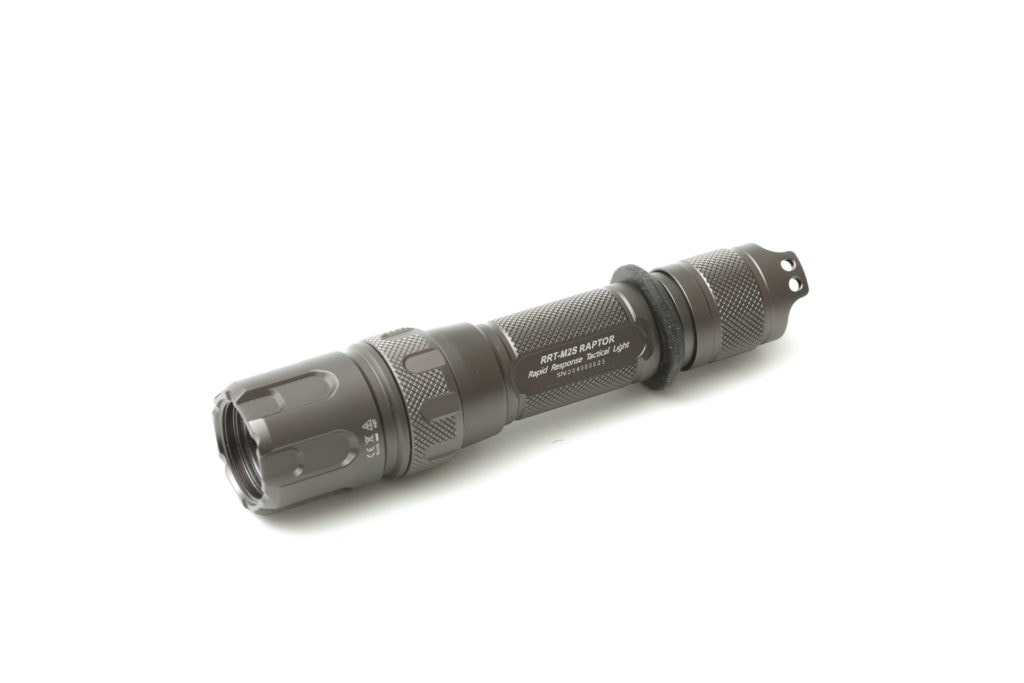
Jetbeam RRT M2S Raptor specifications
| Brand/model | Jetbeam RRT M2S Raptor |
|---|---|
| LEP | WP-T2 |
| Lumens | 480 lm |
| Beam intensity | 250,000 cd |
| Battery config. | 1*21700 |
| Material | Aluminum |
| Modes | 3 |
| Blinkies | Strobe, SOS |
| Reflector | N/A |
| Waterproof | IPX8 |
| Review date | January 2021 |
INTRODUCTION:
If anybody gets excited talking about LEP flashlight, it’s definitely me. One of my first LEP flashlights was the Jetbeam M2S WP-RX, which is the previous version of this RRT M2S Raptor. After a few years, Jetbeam renewed their 2 LEP flashlights and 1 of them is the RRT M2S Raptor. I’m excited, and I hope you are too!
Package quality.
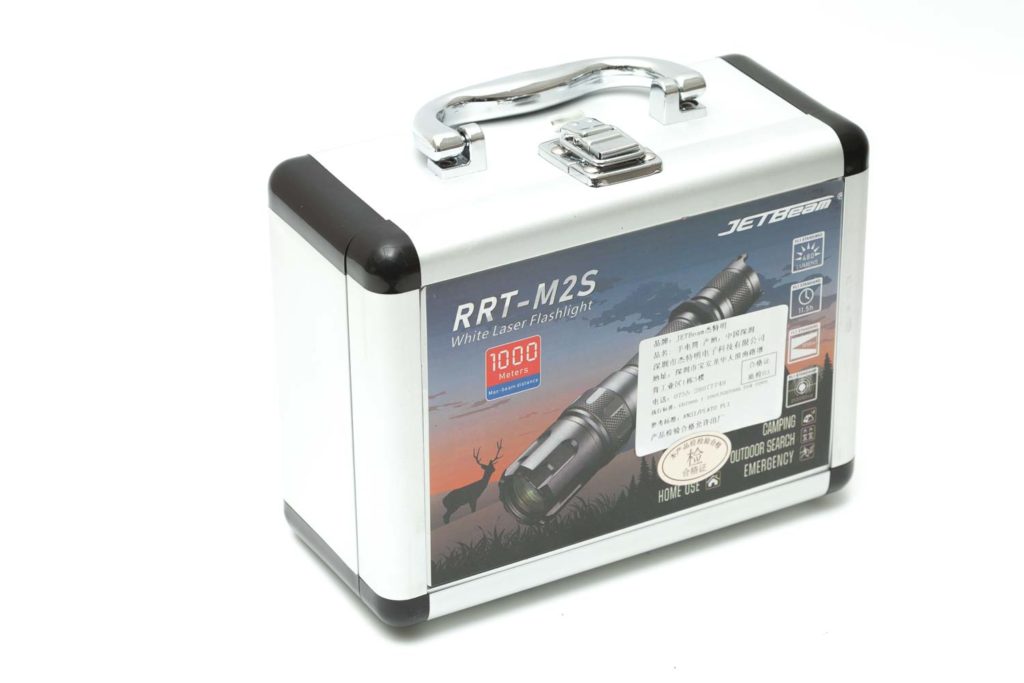
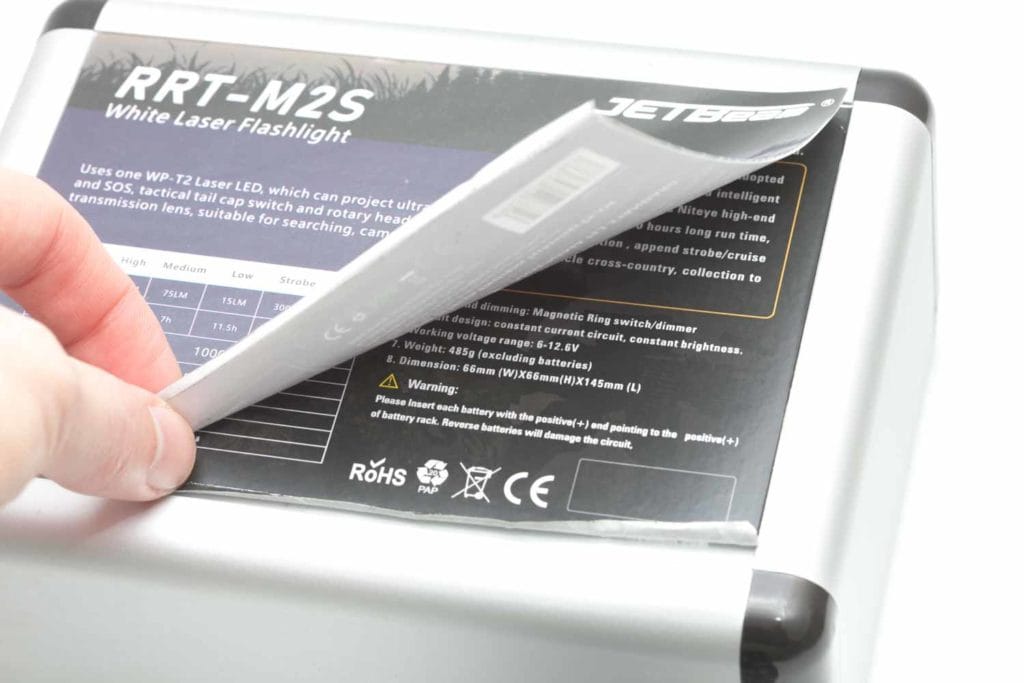
Well, at first I was nicely surprised with the type of case it was shipped in. It looks better than the normal cardboard packaging, but I was surprised they just re-used the case from an old Niteye flashlight. How do I know that? Because they just put a Jetbeam M2S sticker on top of the Niteye sticker. Kind of lame in my opinion.
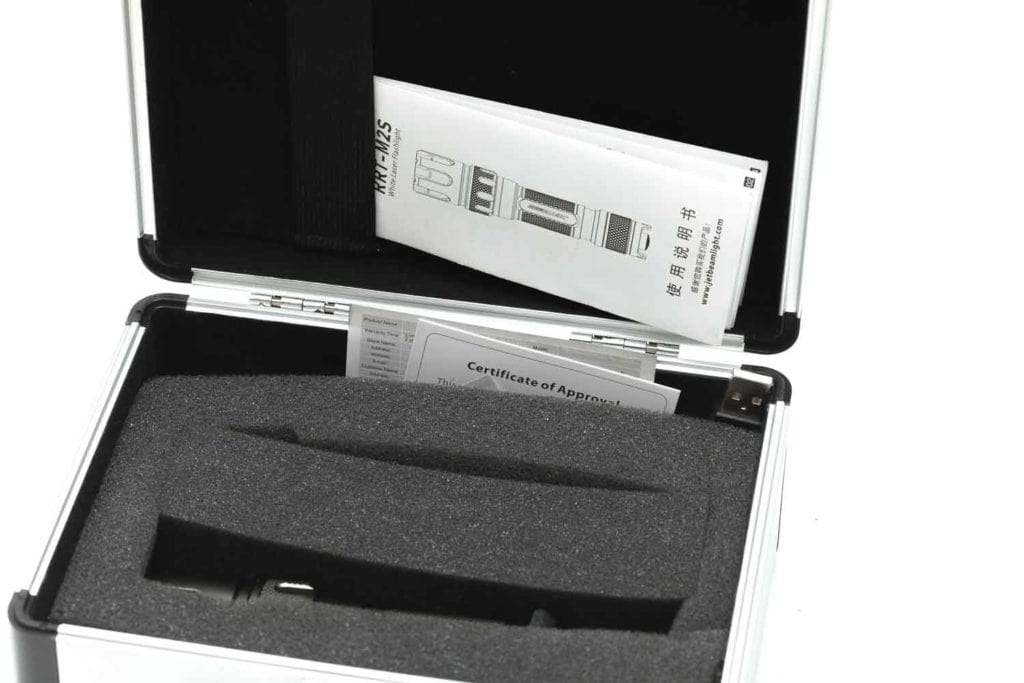
The inside of the packaging is also pretty sad. The whole layout and weakness of the foam is just silly. It looks like they just randomly grabbed some cushion material and fill the inside up. On closer inspection it’s actually has a cutout of a much larger light, and they just added a piece of foam to fit the M2S. This looks too cheapish and unprofessional in my opinion. Pretty disappointed there as well. -2 for Jetbeam.
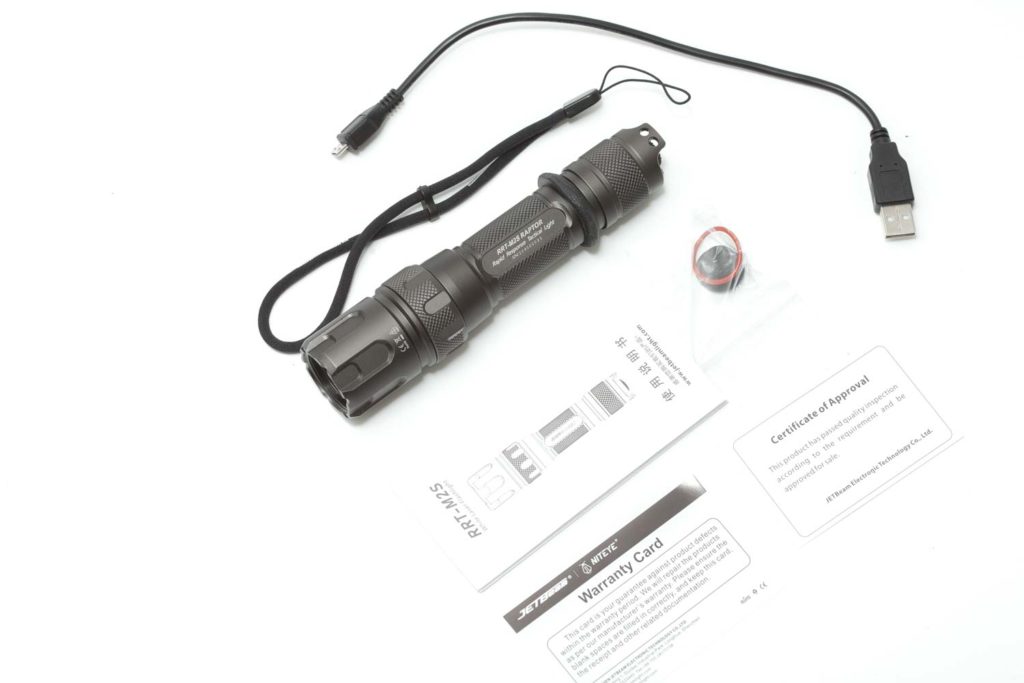
What’s in the box:
- The Jetbeam RRT M2S Raptor flashlight
- 21700 battery
- Micro USB cable
- Lanyard
- 1 spare o-ring
- 1 extra rubber boot
- Some papers (manual, warranty)
Handling of the light
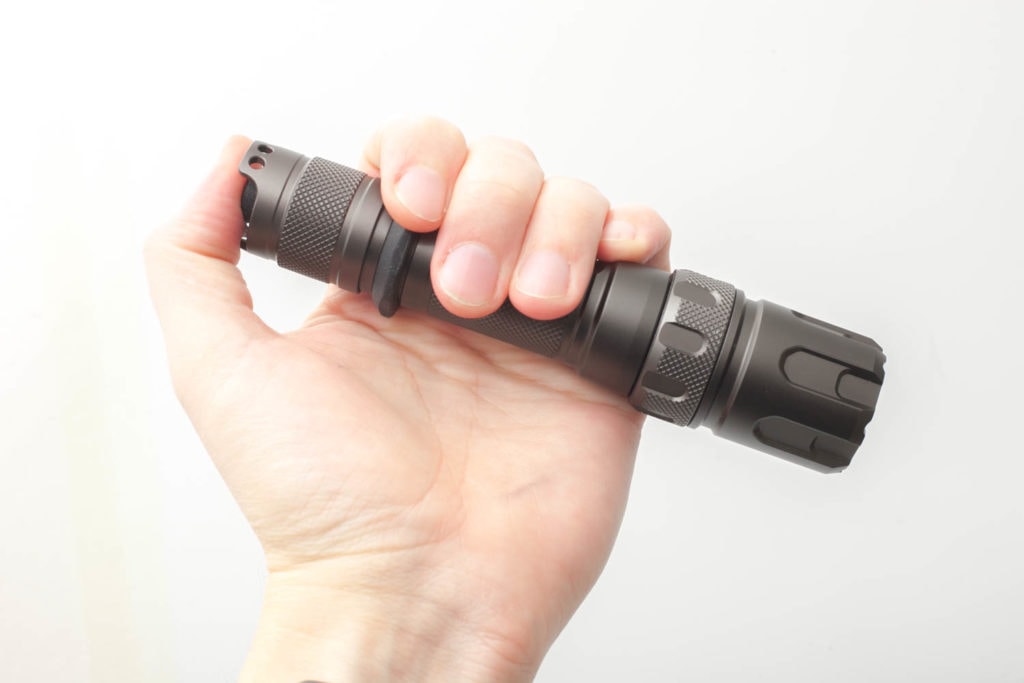
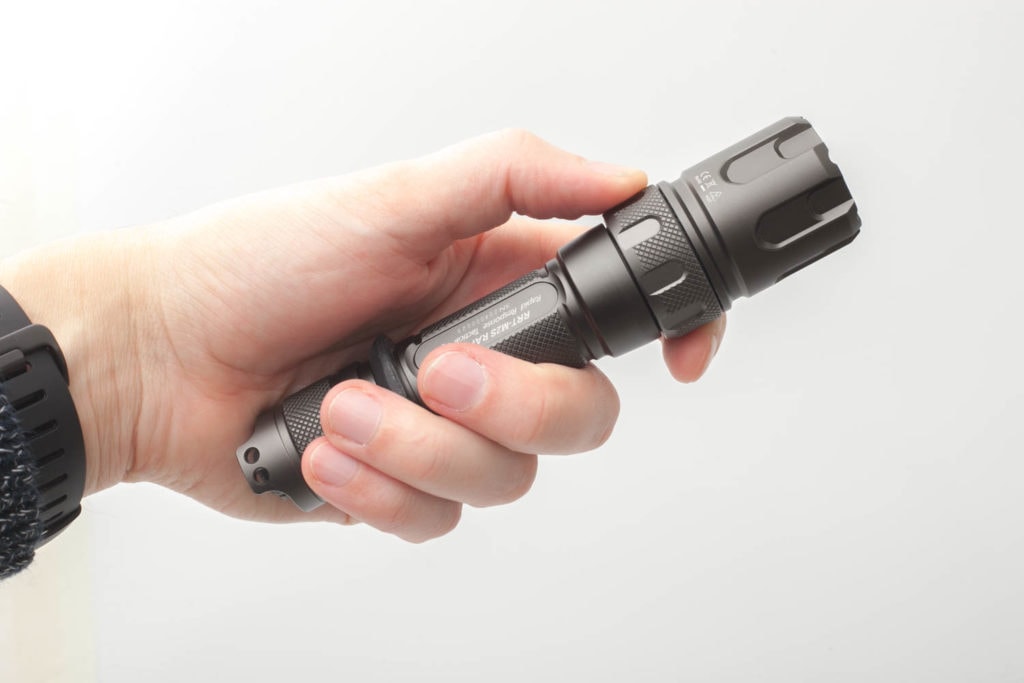
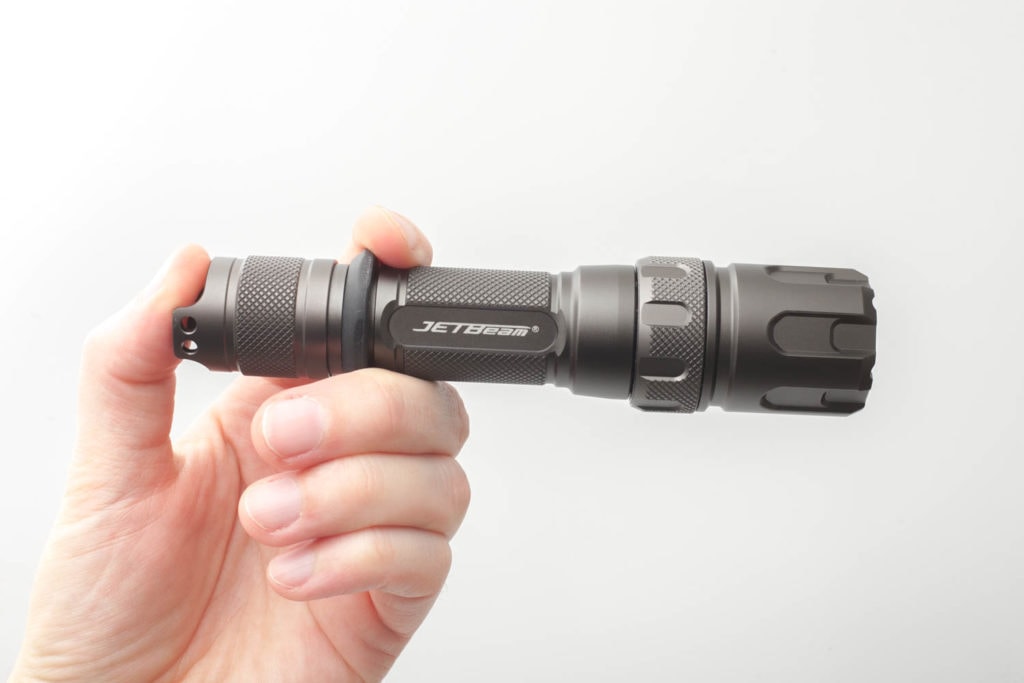
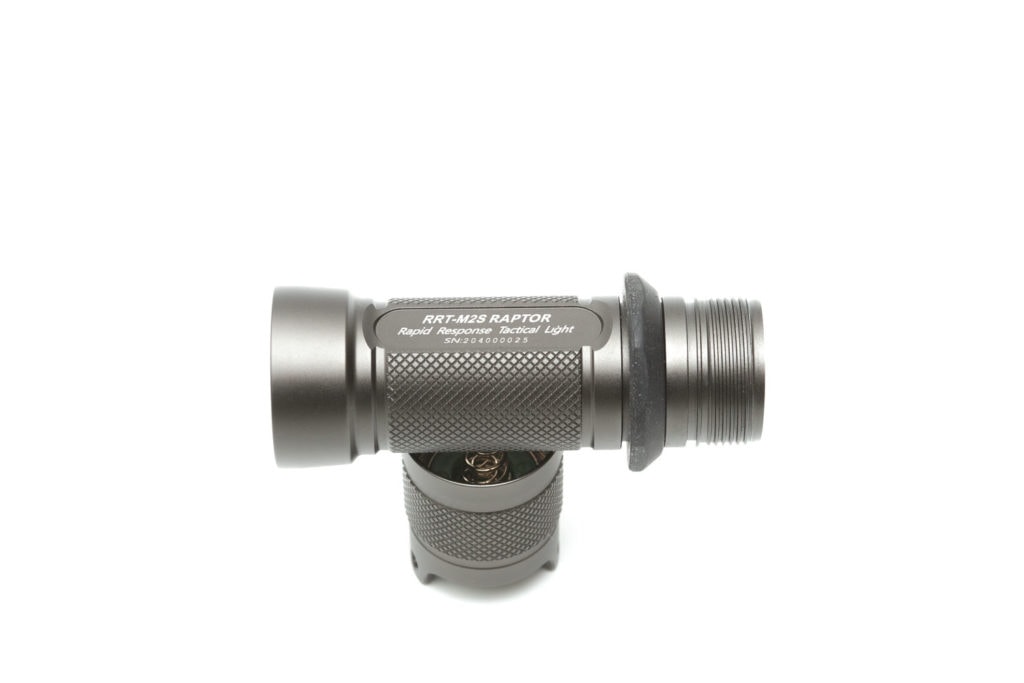
LEP flashlights aren’t really different from LED flashlights on the outside. The Jetbeam RRT M2S Raptor looks just like your average tactical flashlight on the outside. Only when you look through the lens, you can see that it’s a bit different.
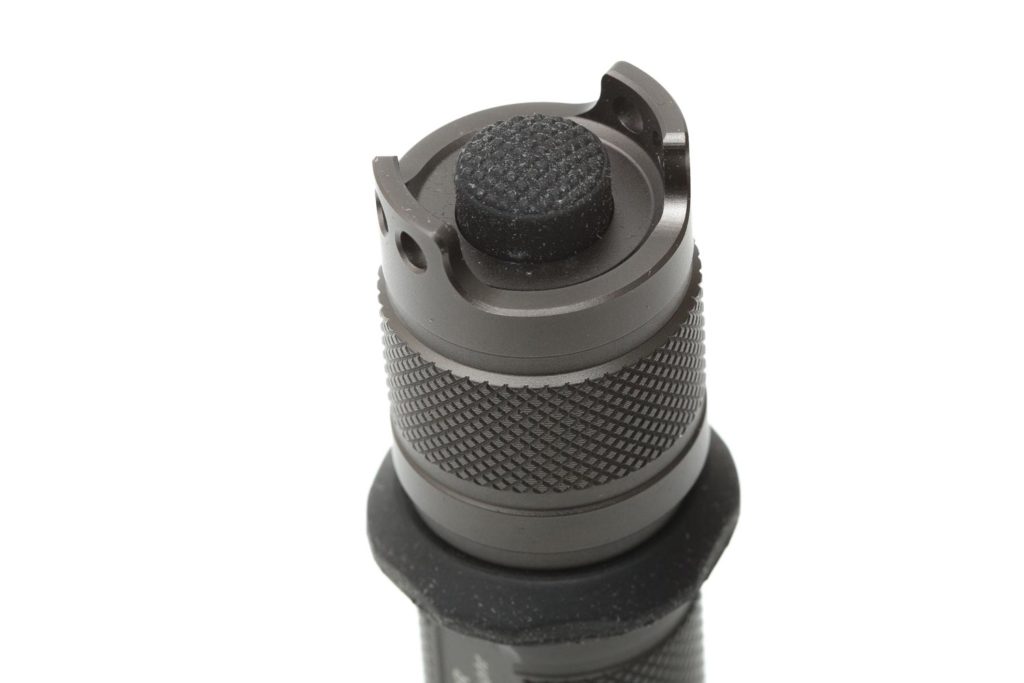
One of the benefits of this new RRT flashlight is of course the rotary switch (RRT). If you turn the ring to the left, you get Low, the next click to the right is Medium, and the next is High. If you continue rotating the ring, the next indent/click is a strobe, and the last is SOS? The tailcap switch is only used for on and off.
Mine is a bit broken, and rotates 360 degrees. I’m not sure if that is because of me, trying to unscrew the head/bezel… but mine does things it’s not supposed to do.
In person, this flashlight feels really good.
Tailstanding:
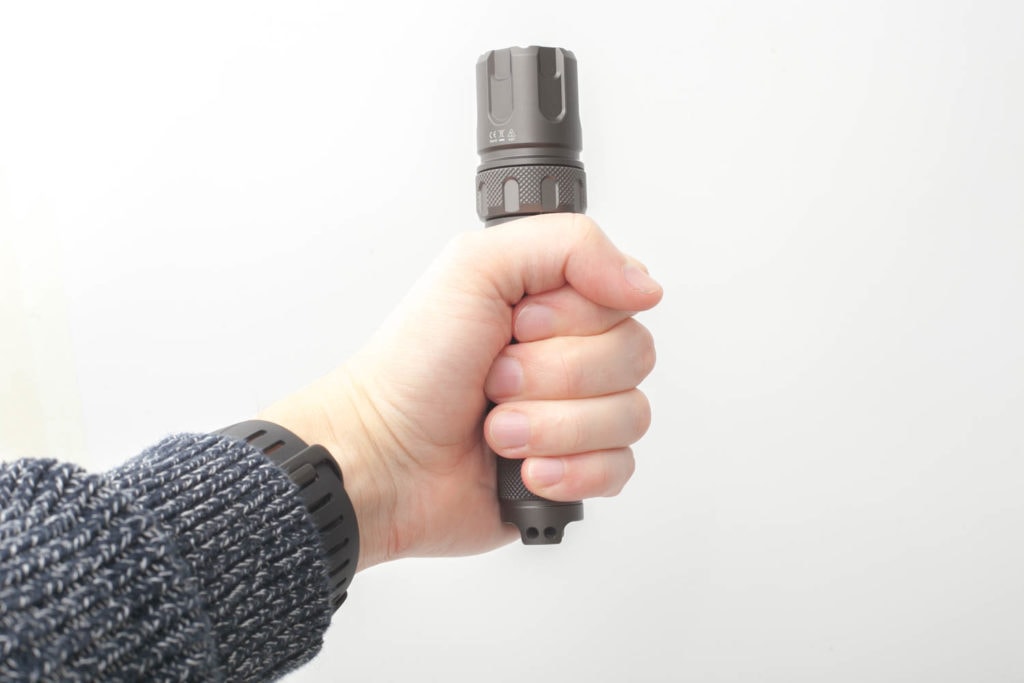
Yes, but not very stable.
Build Quality, and Warranty
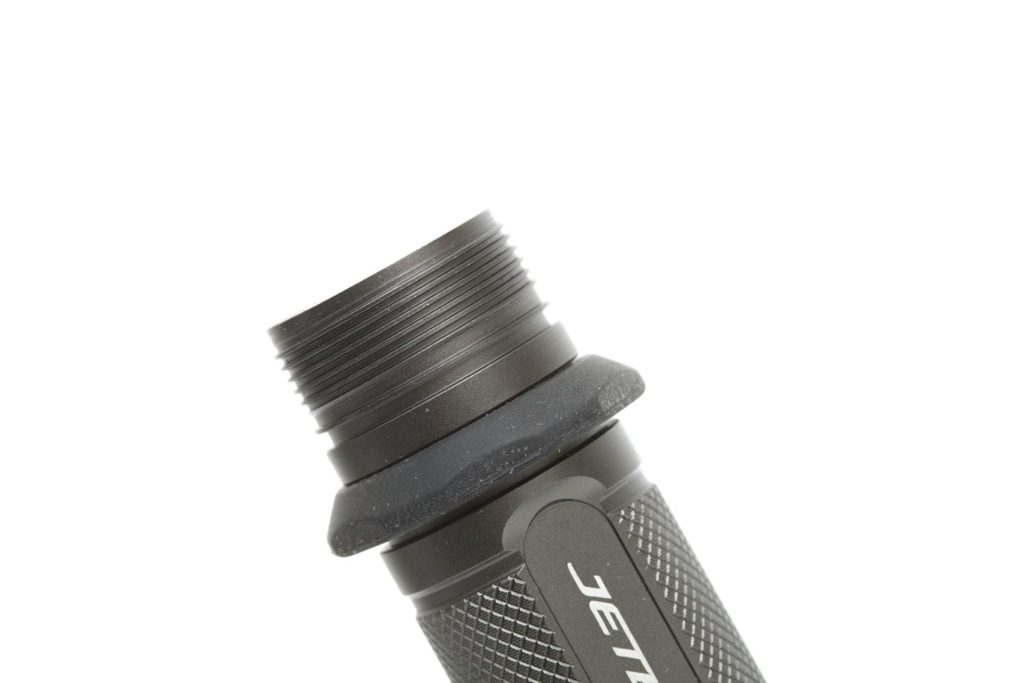
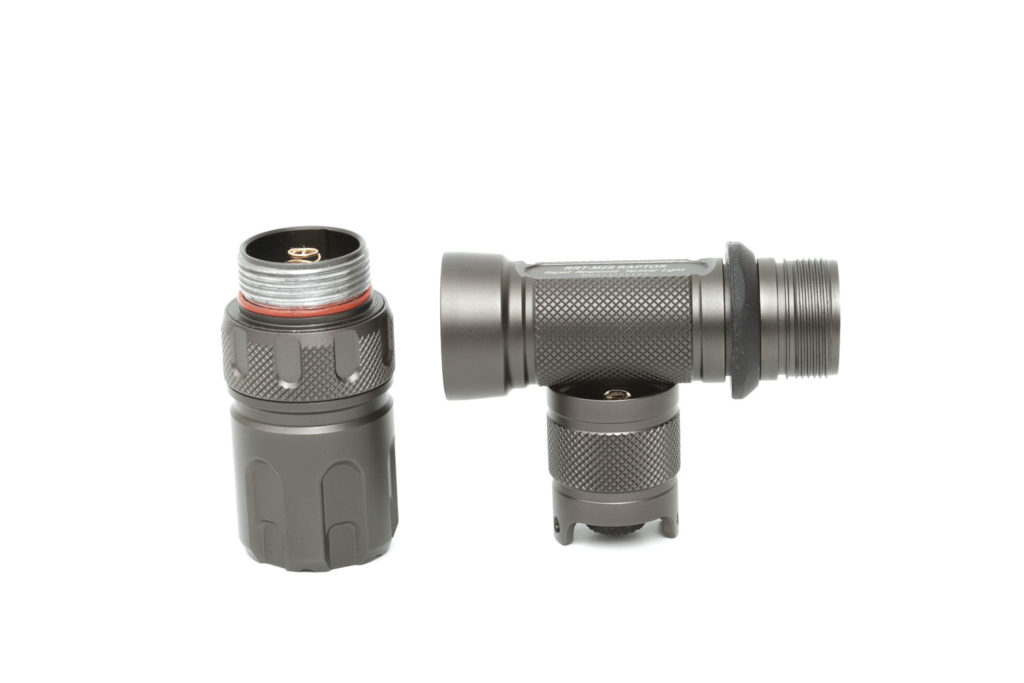
I’d have to say, that the coating and finish of Jetbeam’s flashlights have been one of my favorite. One of the first high power flashlights I reviewed was the Jetbeam RRT21, and really enjoyed the machining and coating of that one. The Jetbeam RRT M2S Raptor looks just like that, gorgeous. Much, much better than the former M2S.
There isn’t really anything to complain about, except for maybe the rotating ring, that now turns 360 degrees which isn’t supposed to do that.. but that’s probably just my mistake.
Warranty: “we provide 60 months (5 years) of warranty period for this product from the date of purchase in case defects caused by material or workmanship with normal use. Necessary material and labor cost will be charged after this period. For all details refer to their manual or website.
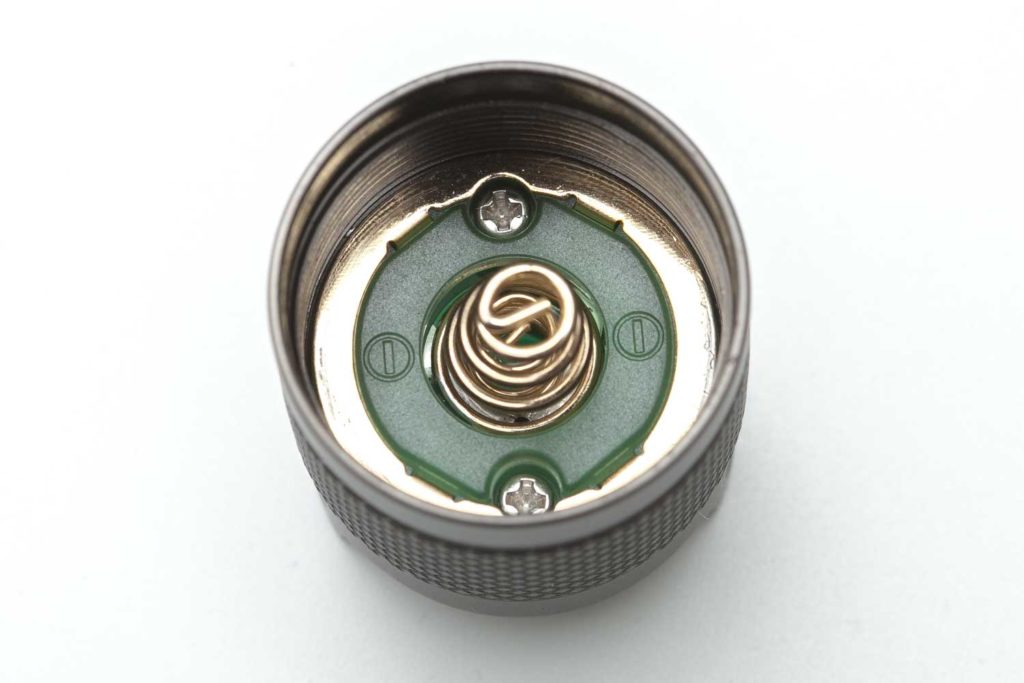
LEP, LENS, BEZEL, AND REFLECTOR
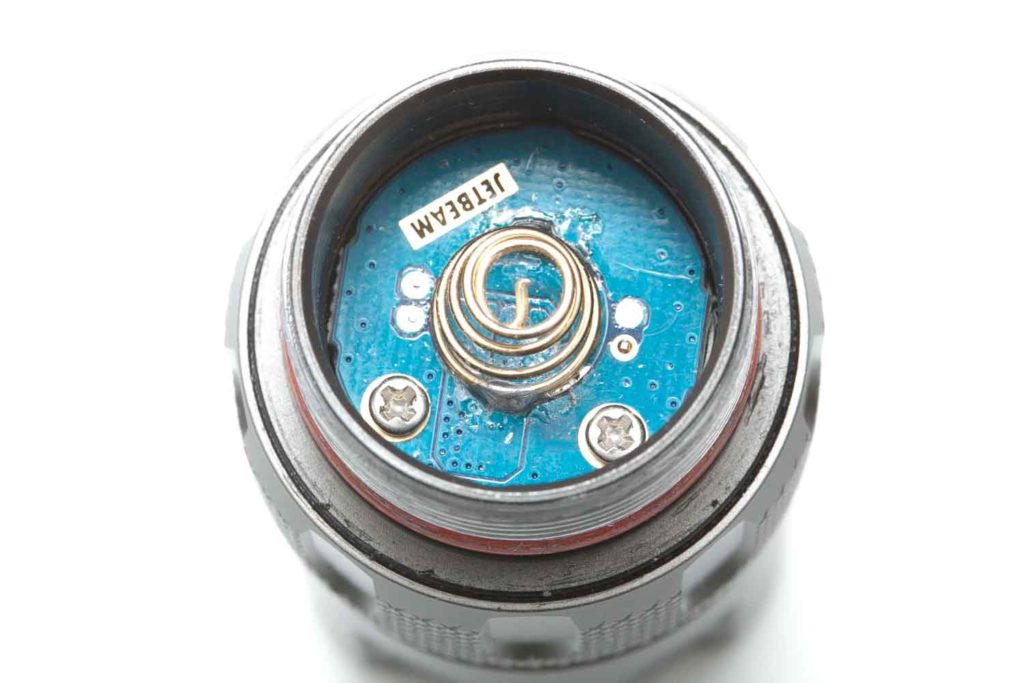
Ok, this is something important and special. Unlike the previous Jetbeam LEPs, the current versions have a totally different design. The website and manual show the emitter being a WP-T2 LED. The previous was known as the WP-RX. I don’t know why they call it a LED?
Like all the other LEP flashlights I have, the former had a system with a reflective mirror in the middle that would point the blue laser beam onto phosphor which in term would create a ‘whitish’ looking beam.
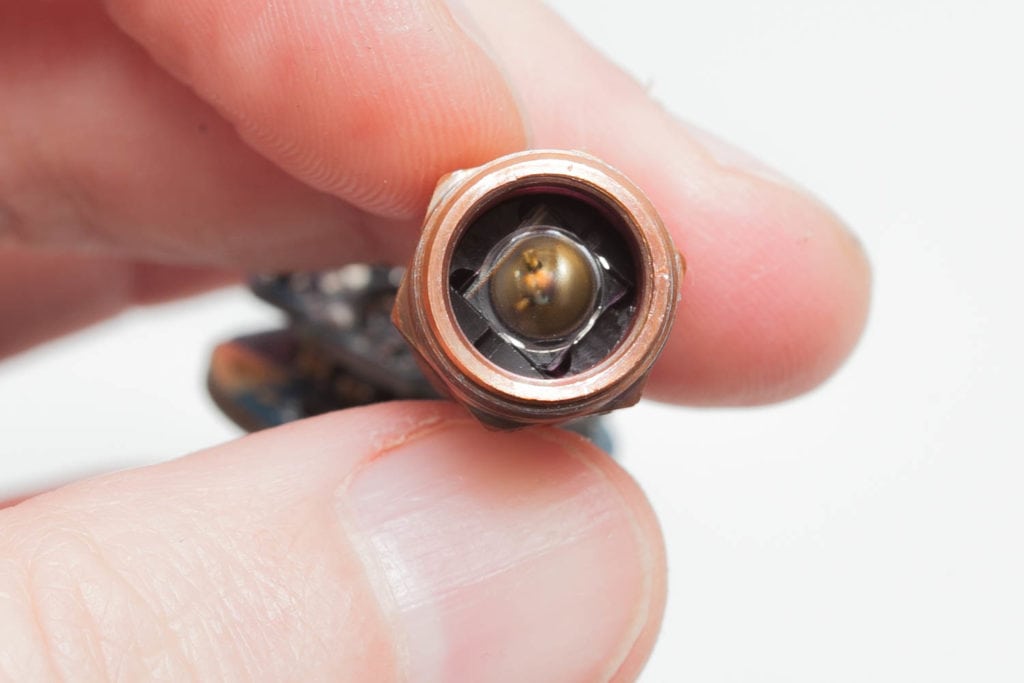
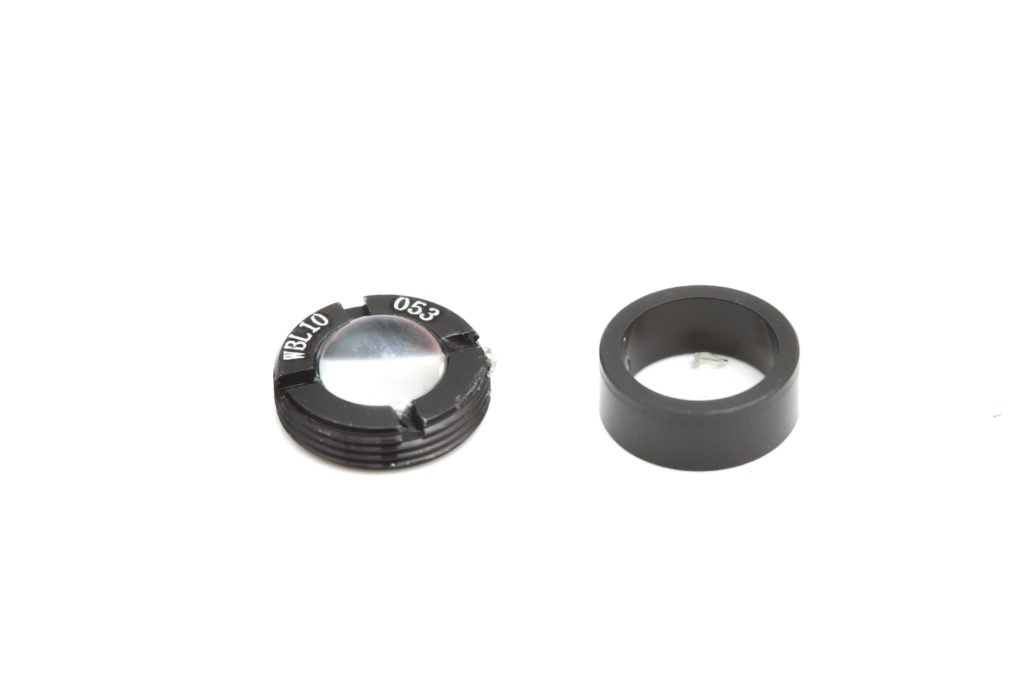
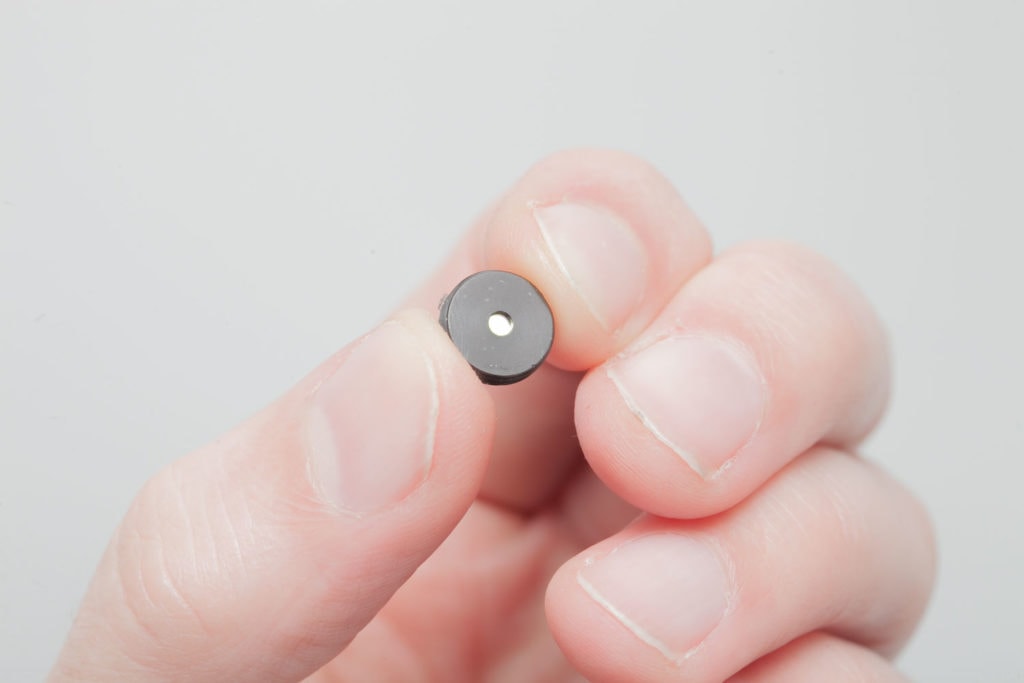
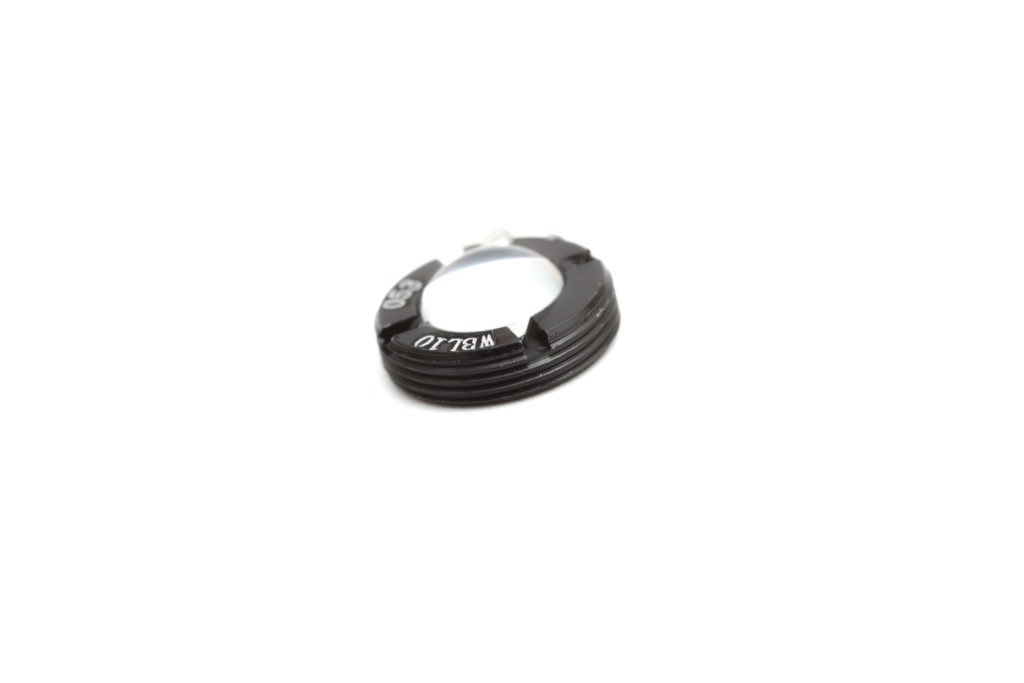
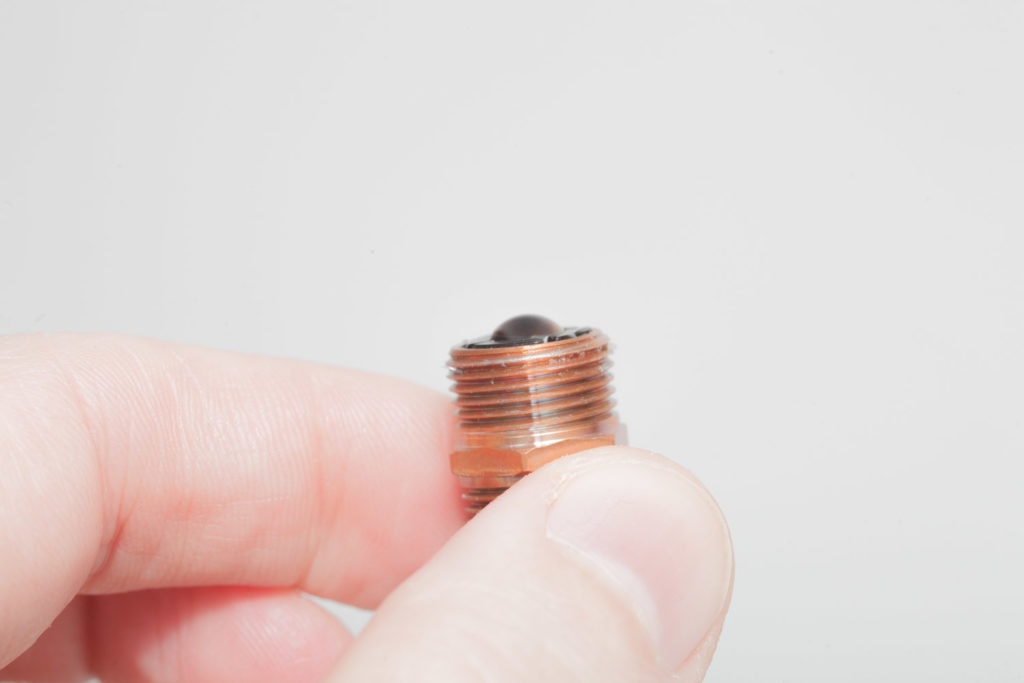
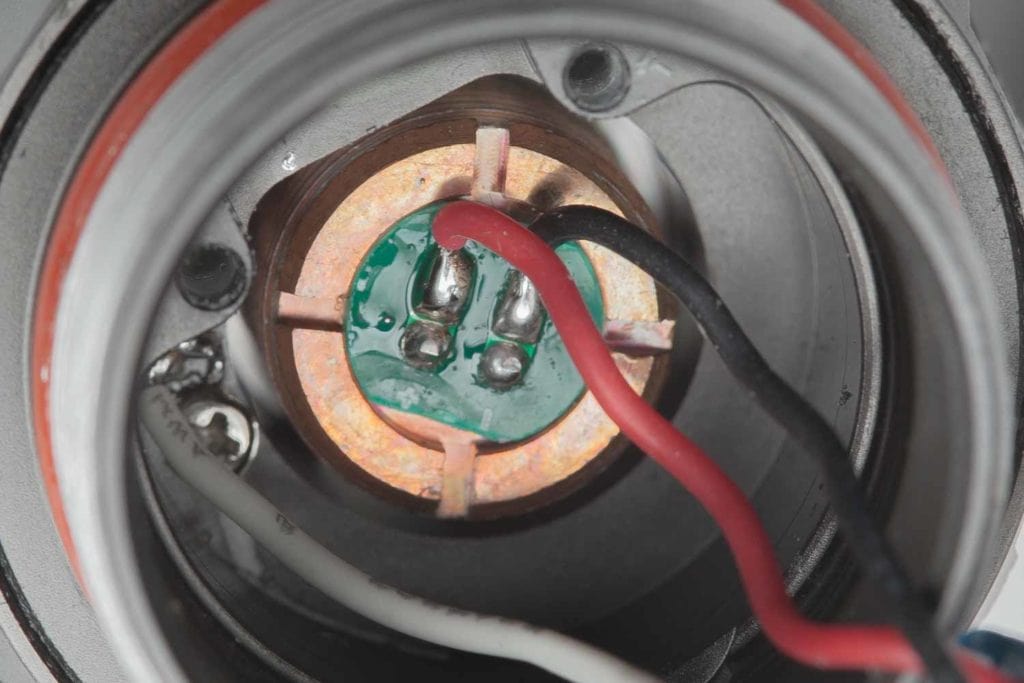
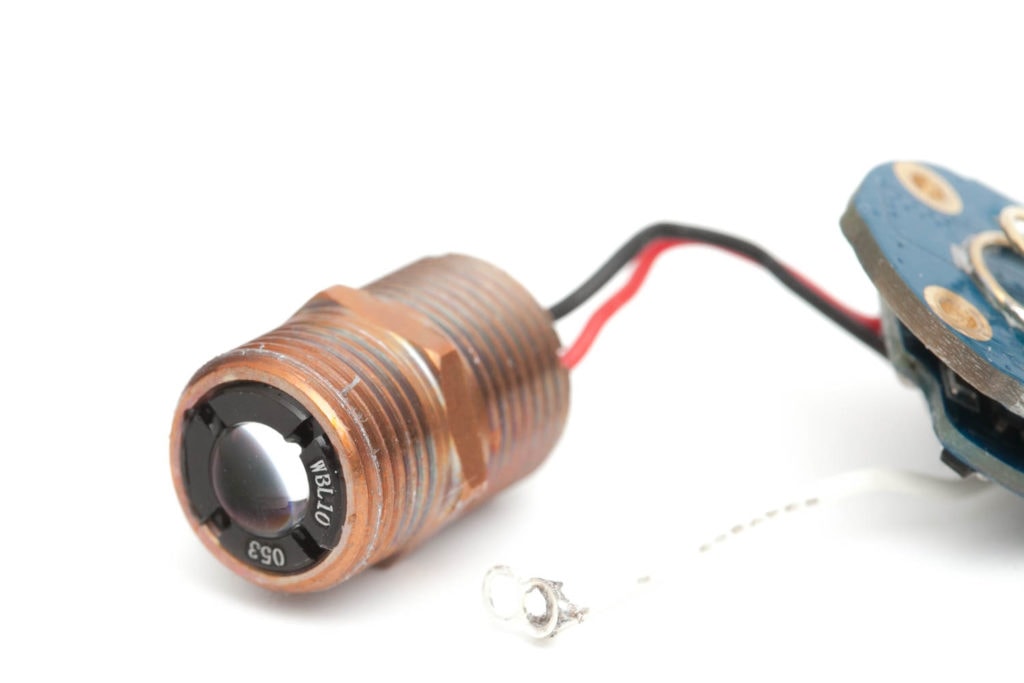
This newest version doesn’t look the same, but looks just like a tiny LED. And because many people (including myself) were interested in knowing how the inside looks like, I decided to open up its bigger brother the Jetbeam RRT M1X Raptor. … as far as I personally felt comfortable. Have a look at it yourself.
It looks like the Laser is just pointing to a colored window that then gets concentrated by the convext lens. That’s it. 1 sad thing about this setup is the beam color. Even at a larger distance, there is an easily distinguishable blue ring.. Have a look at the beamshots.
The following pictures are used from the Jetbeam RRT M1X raptor review, and seems to be the exact same. The driver of the M1X even mentions M2S.
Dimensions
- Length: 159 mm / 6.26 ”
- Head diameter: 33.4 mm / 1.3”
- Body diameter: 23.8 mm / 0.94 ”
Weight:
- Empty: 161.9 g / 5.71 oz
- With battery: 235.7 g / 8.31 oz
LEP Flashlights
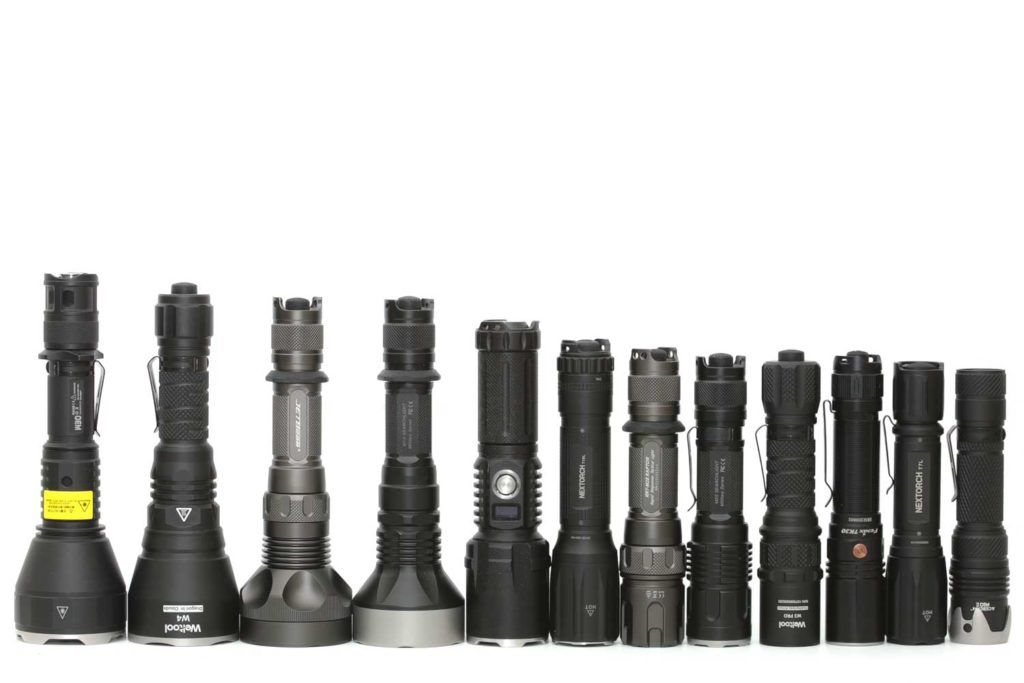
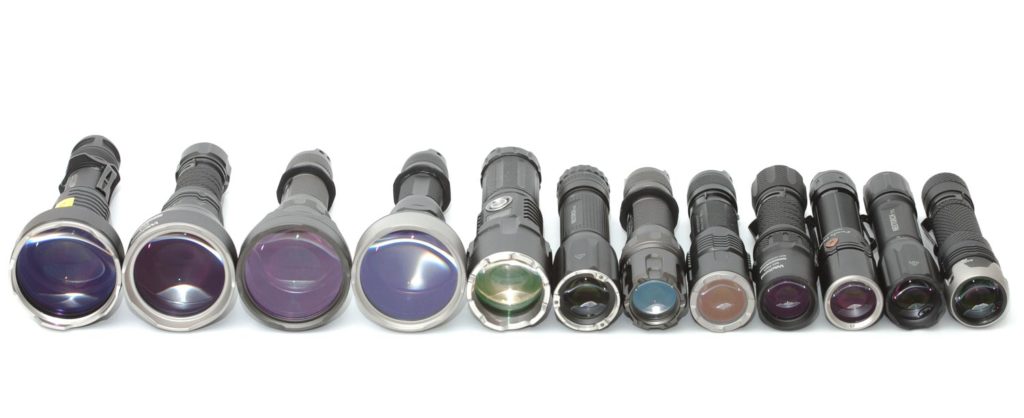
Size compared to other LEP flashlights
From left to right: Acebeam W30, Weltool W4, Jetbeam RRT M1X raptor, Jetbeam M1X wp-rx, No-brand 26650 LEP, Nextorch T10L, Jetbeam RRT M2S, Jetbeam M2S WP-RX, Weltool W3 PRO, Fenix TK30, Nextorch T7L, Acebeam W10 gen2.
Driver & User Interface:
Back in the day I was extremely fond of the Sunwayman Magnetic Control rings.. and Jetbeam is still in the market with MCRs, but does a little different. The control ring (RRT) has 5 positions, Low, Medium, High, Strobe, and SOS.
The rear switch is just for power. It is a forward clicky switch, so it will have momentary on for signalling and stuff.
Available modes:
- Low, Medium, High, Strobe, SOS
If you turn the ring counterclockwise as far as you can go, that is Low. 1 indent clockwise is Medium, another bit is High. If you continue turning the ring, Strobe and SOS will follow. Nothing else to say.
PWM:
- Not visible by eye.
There is only 1 thing. You just can’t see in what mode it currently is. But you can easily know that before turning the light on by rotating the ring and count the dents.
Batteries & Charging
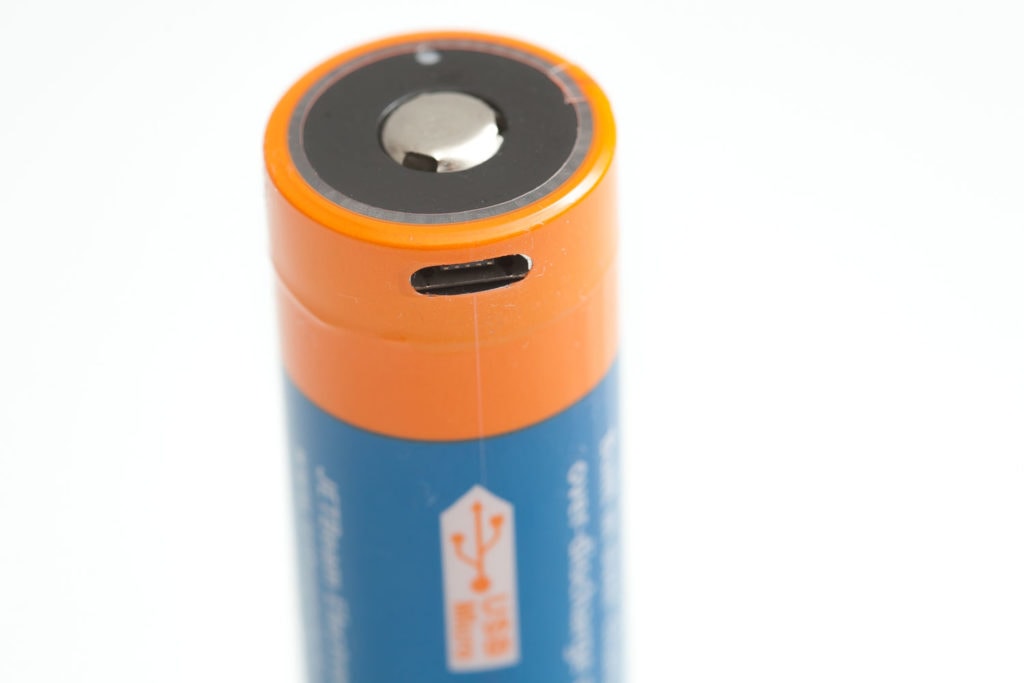
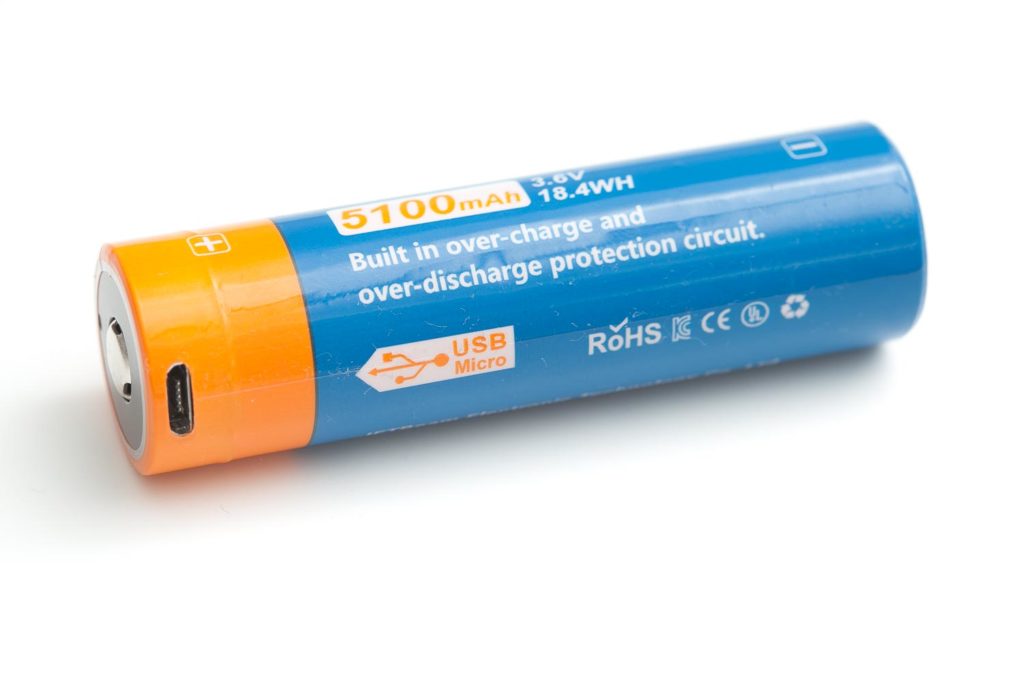
The package includes a Jetbeam 21700 JR51, which is a 5100mAh battery, including a Micro USB port. Together with the battery, Jetbeam includes a Micro USB cable to charge the battery directly. No need for a special charger, but you need to remove the battery from the flashlight. That has one benefit: you can keep using the flashlight while charging the battery. Most systems let you charge the battery inside the flashlight, which means you can’t use the flashlight during charging.
The charge current is very low, at somewhere between 0.60A – 0.75A. Therefore, I would suggest getting a proper 21700 charger in order to charge these long batteries. Most Lithium-Ion chargers have slots that will only fit up to 67 millimeters or so, while this battery is quite long at 76mm. You can also use non-protected, flat tops if you like. But in terms of performance, they don’t make the M1X perform any better. Maybe a few percent, but that’s neglectable.
Performance
Lumen measurements:
All output numbers are relative for my home-made Integrating Sphere. It is set up with an Extech SDL400 Lux Meter for measurements including a Kenko PRO1D ND-16 filter. The base measurement is done with a Convoy S2+ that has been tested at 255 lumens.
All of my readings were taken from a fully charged Jetbeam JR51.
Amps were measured with a Fluke 77III, at the tailcap. The Amp measurements look just like the Jetbeam RRT M1X, but its lumen output doesn’t, strangely enough.
| Mode | Amps | Specs | 30 seconds | start |
|---|---|---|---|---|
| low | 0.37 | 15 | 22 | 24 |
| med | 0.66 | 75 | 82 | 87 |
| high | 2.92 A | 480 lm | 365 lm | 381 lm |
Runtime:
The runtime test was done with the 50cm integrating sphere, including the Kenko Pro1D ND-16 filter and Extech SDL400 data logging Lux Meter.
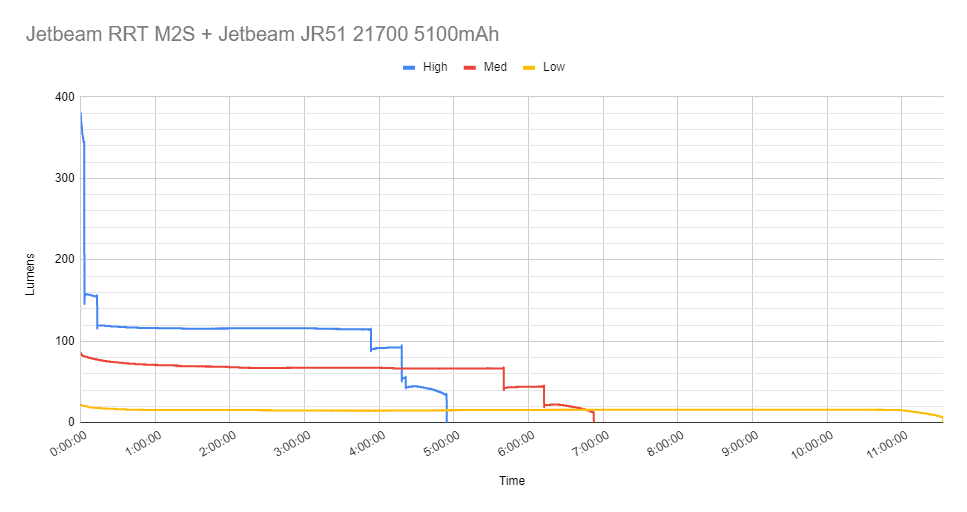
The following graph is an interactive graph you can see all the small LEPs we reviewed, in terms of beam intensity (candela)
Throw Measurement
Measurements were taken outdoors at 20 meters with a professional Hagner E4-X Lux Meter.
| Mode | Candela | Meters | Yards |
|---|---|---|---|
| Low | 15,600 | 250 | 273.18 |
| Med | 58,800 | 485 | 530.37 |
| High | 248,000 | 996 | 1089.23 |
This is very close to specs. It is advertised as 250 kcd and 1000 meters of throw. This is unlike its bigger brother pretty positive. It’s not groundbreaking, and the runtime graph is also very important.
Beamshots
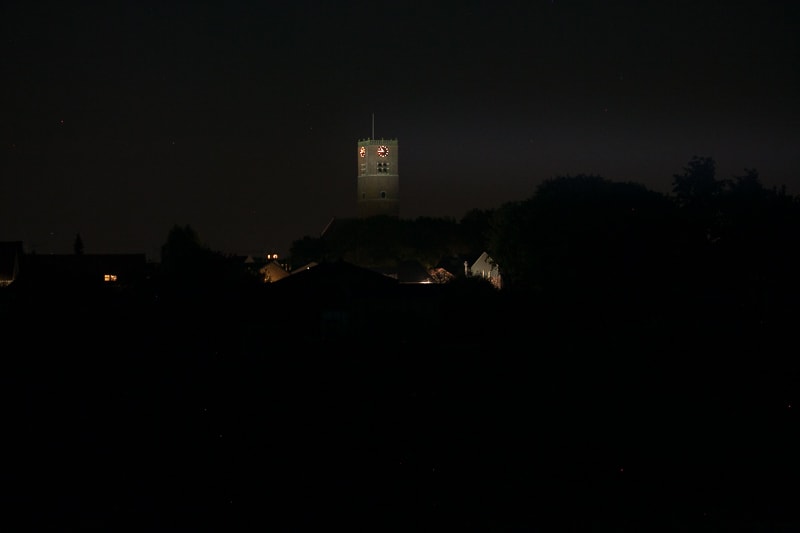
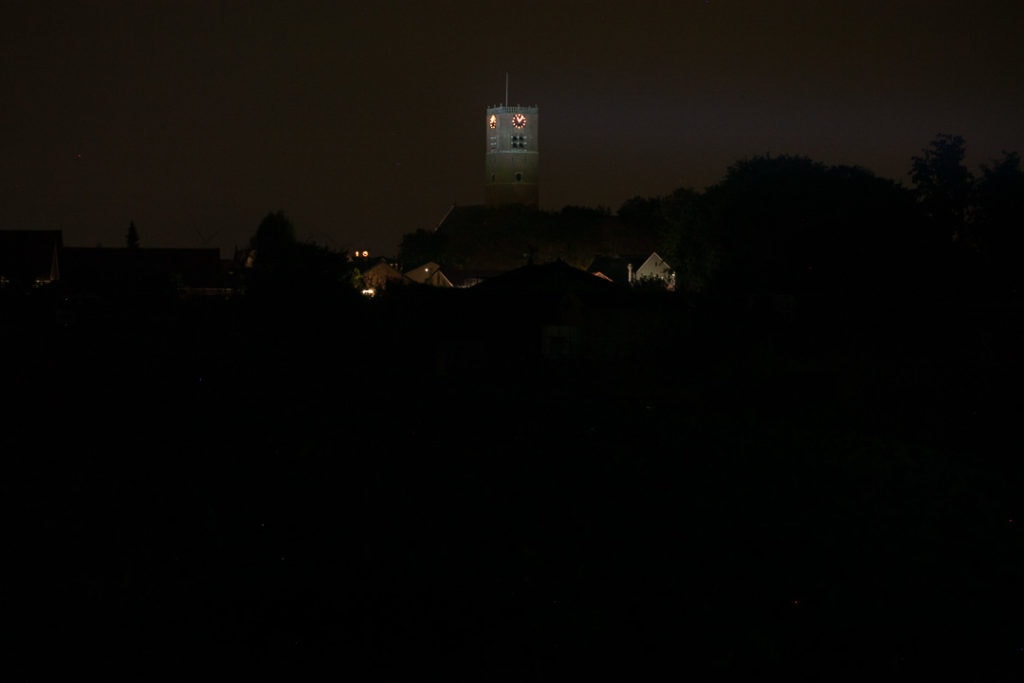
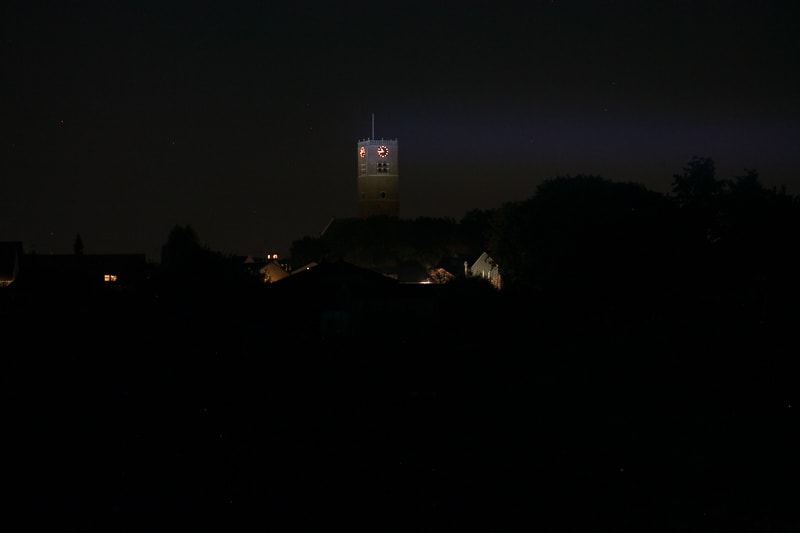
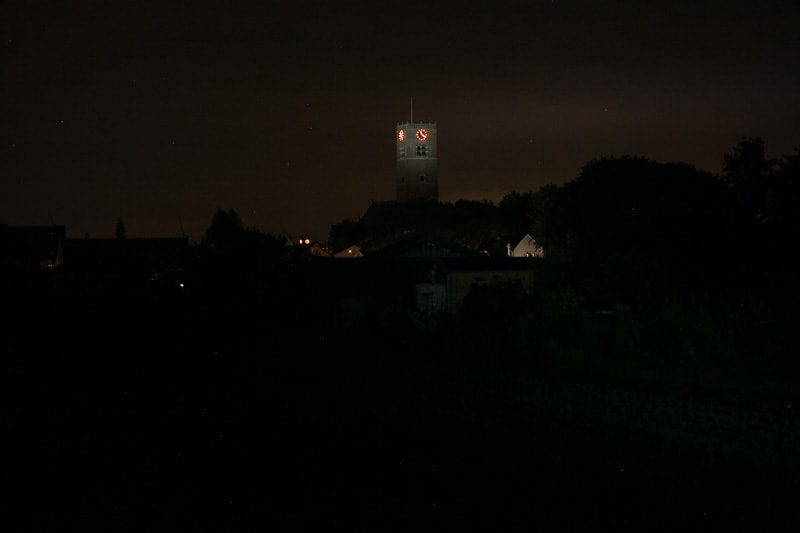
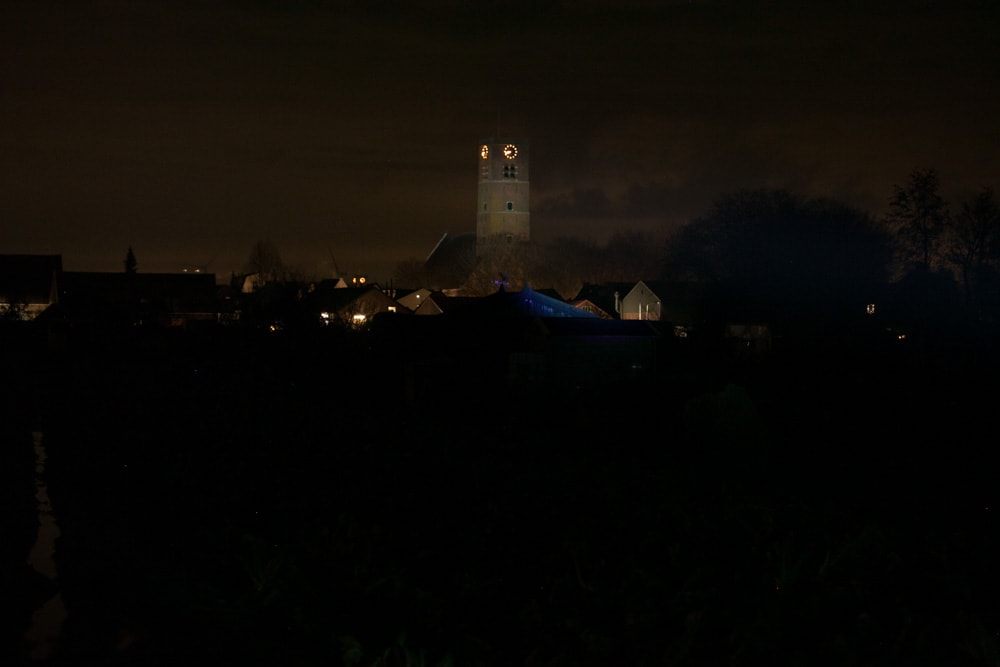
For the following beamshots I used a Canon EOS 5D Mk2 and a 100mm lens. manual settings: ISO1600, .5sec , F4, 5000K
The tower is about 450 meters / 492 yards away. The beamshots are taken on different days, but with the same camera settings. If you look closely to the last picture (of the RRT M2S) you can see some blueish rings below the beam. That is part of the beam.
Disclaimer: I bought this flashlight with my own money. Nobody paid me to review this flashlight, nor have I been holding back on problems or defects.
OVERALL CONCLUSION
Pros
- Beautiful design and anodization
- Reaches claimed distance, but not lumens (lumens is less important anyway)
- Rotary ring
- Long runtime (with a con that the output/throw is really low)
Cons
- The low amount of detail to packaging looks unprofessional
- Charging the battery goes slow
- Strange blueish ring on the outside of the beam
- A large drop in output and throw.
3.5 stars: ★★★⋆
I like it a lot that Jetbeam improved the former LEP: Jetbeam M2S with a rotary ring and a much nicer coating. It is really a beautiful flashlight for sure. At the same time I feel sad they didn’t pay more attention to the packaging and ‘display/first impressions’ of the flashlight.
Although the number of lumens is much lower than advertised, the actual throw performance is what matters, and that is quite good. At least at the start, because the output drops quickly and can’t keep up with its competitors.
Jetbeam RRT M2S Raptor for sale
1lumen selects and reviews products personally. We may earn affiliate commissions through our links, which help support our testing.