1lumen selects and reviews products personally. We may earn affiliate commissions through our links, which help support our testing.
Mateminco FW2 Review: LEP Flashlight
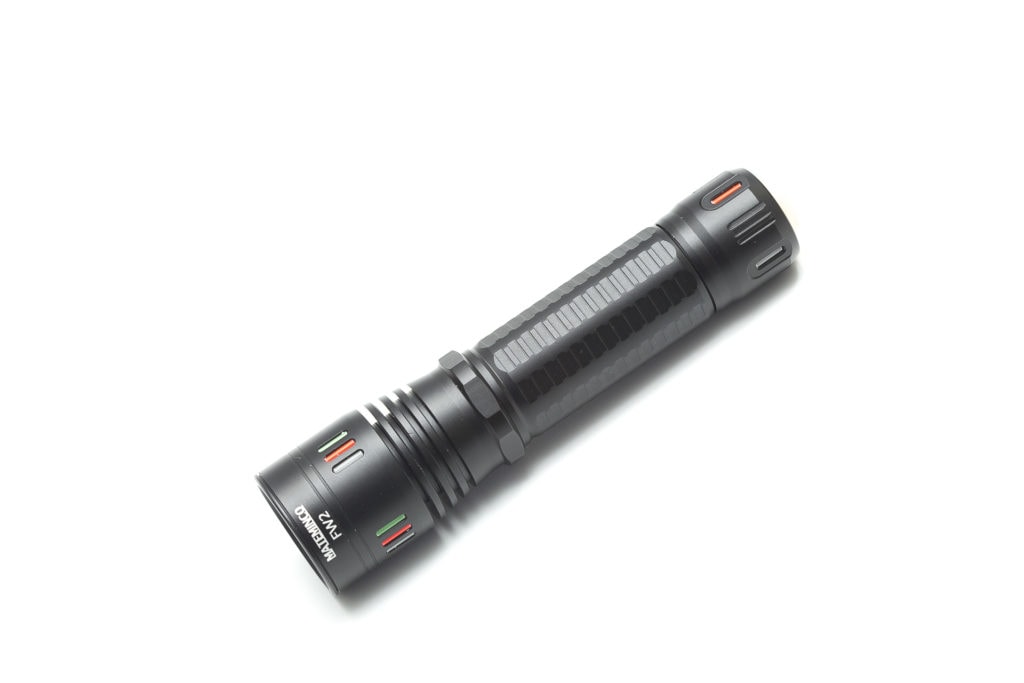
Mateminco FW2 specifications
| Brand/model | Mateminco FW2 |
|---|---|
| LEP | (shine through) |
| Max. Lumens | 350 lm |
| Max. Beam intensity | 483,000 cd |
| Battery config. | 1*18650/18350 |
| Onboard charging | N/A |
| Modes | 2 |
| Blinkies | Strobe |
| Reflector | N/A |
| Waterproof | N/A |
| Review date | March 2022 |
Introduction:
If you stumbled upon this review without knowing what an LEP flashlight is… I’ll do a quick introduction. LEP stands for Laser Excited Phosphor, and it’s using a laser as the lighting source, instead of an LED. The laser shines onto (with the older LEP modules) or through (like this one) phosphor, to change the color and width of the beam. So they don’t look like laser pointers but like regular flashlights. The body and shape of an LEP flashlight don’t look any different from an LED flashlight, but the source of light is.
We’ve reviewed a few dozen LEP flashlights so far, so we’re quite familiar with them. If you want to have the best and farthest-reaching LEP flashlight, check that list.
I’m the first here to admit that this is our first Mateminco branded flashlight we review, but we’ve reviewed many built by the same company, but sold with a different name.
Package quality.
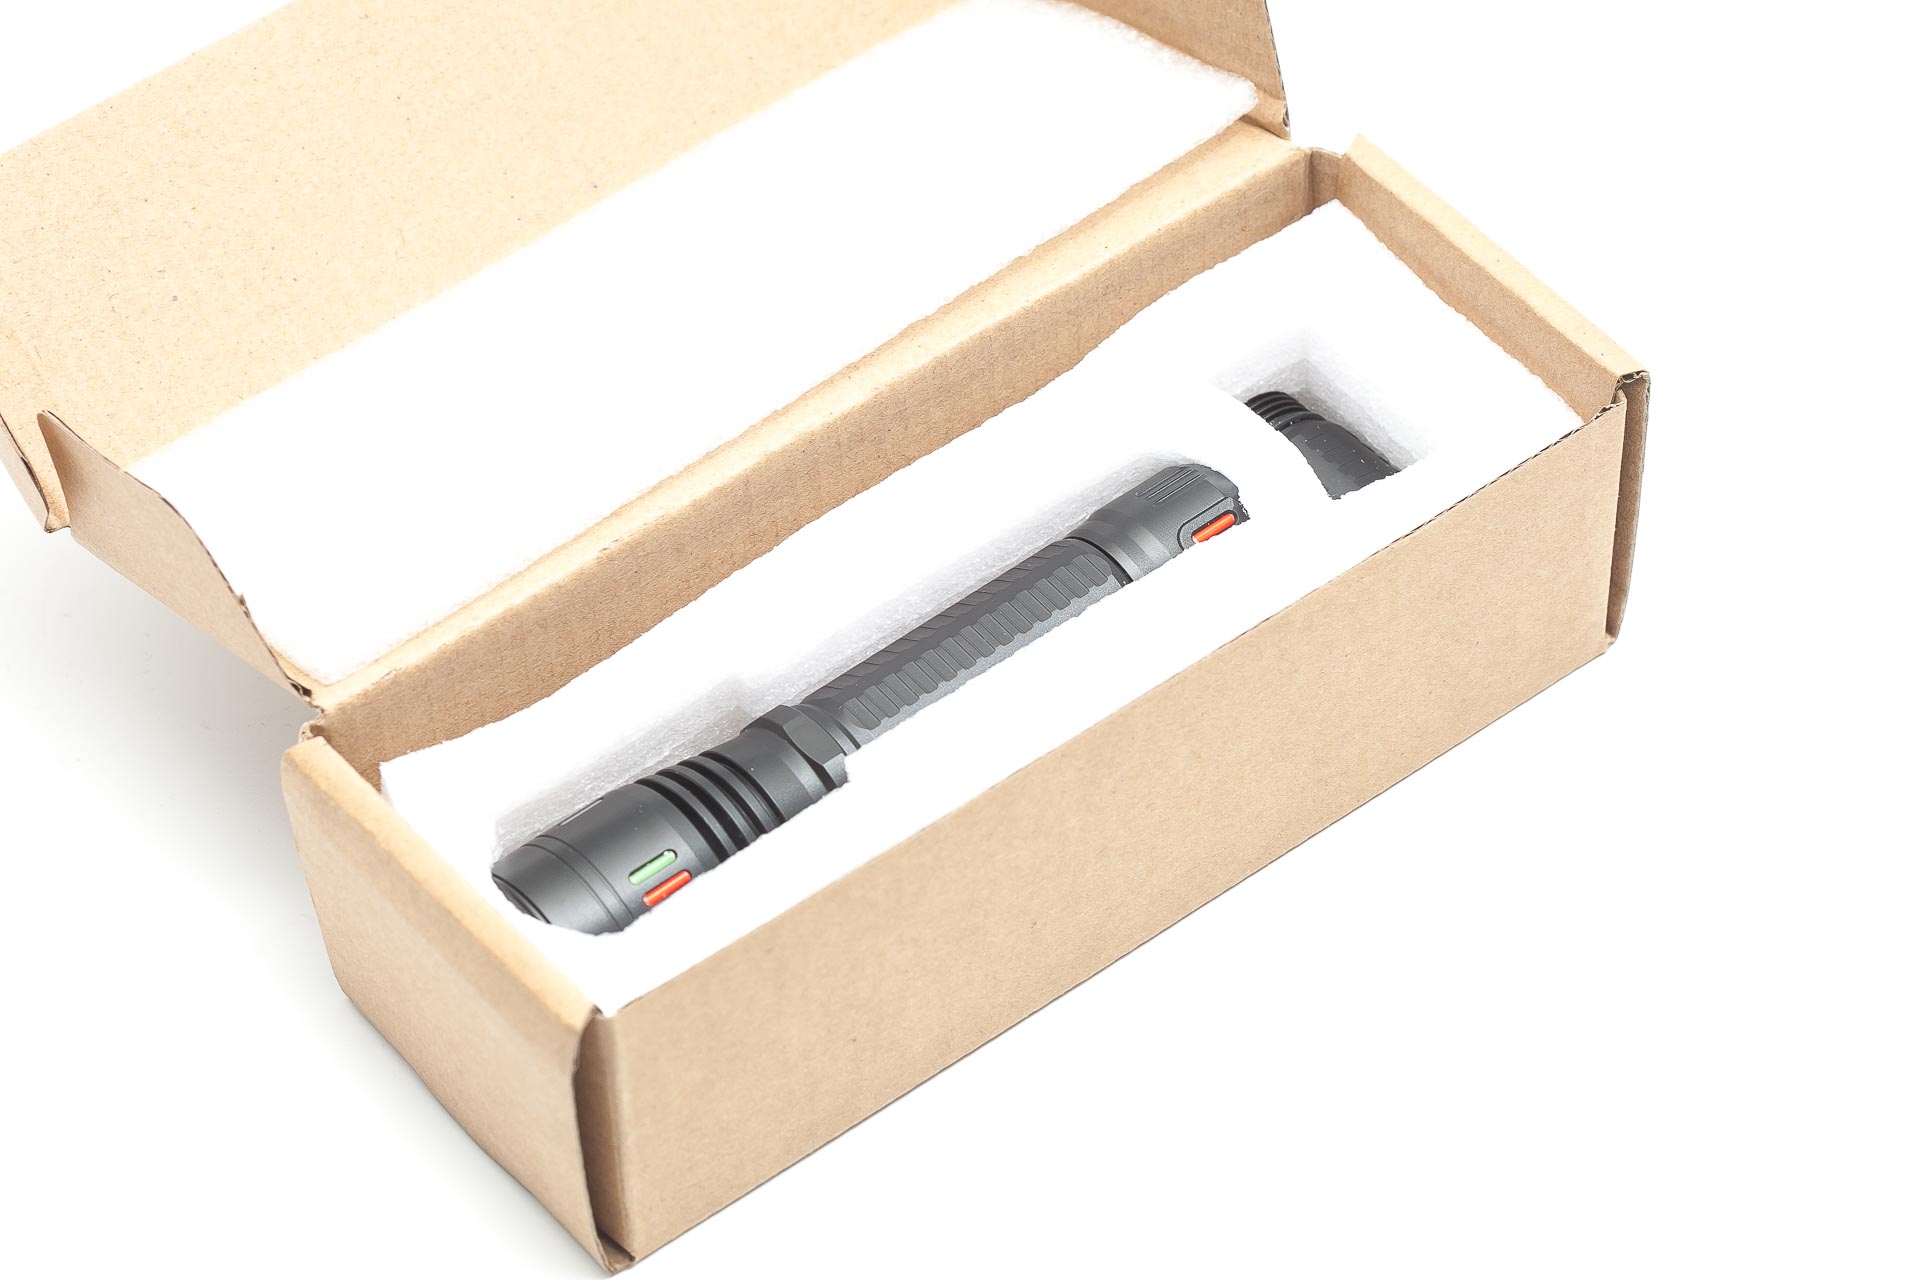
I don’t think the box that I received represents the actual packaging you will receive when buying this. So this is not very important for you, because the actual box and accessories will differ from mine.
- The flashlight: Mateminco FW2
- Battery adapter for 18350 batteries
When you buy one, you’ll probably receive a manual, and other stuff. And even the UI is likely to change, unfortunately. So all of our tests are based on the unit we receive, and may not be the same as the actual flashlight you get your hands on. We’ll update the review when we hear about changes.

Flashlight in use
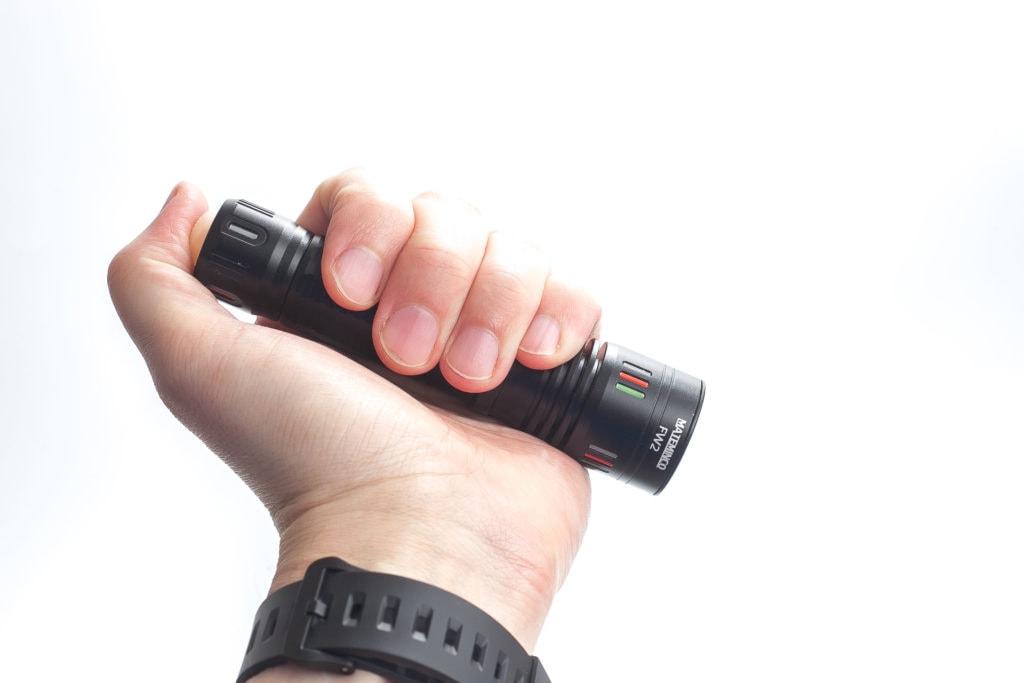
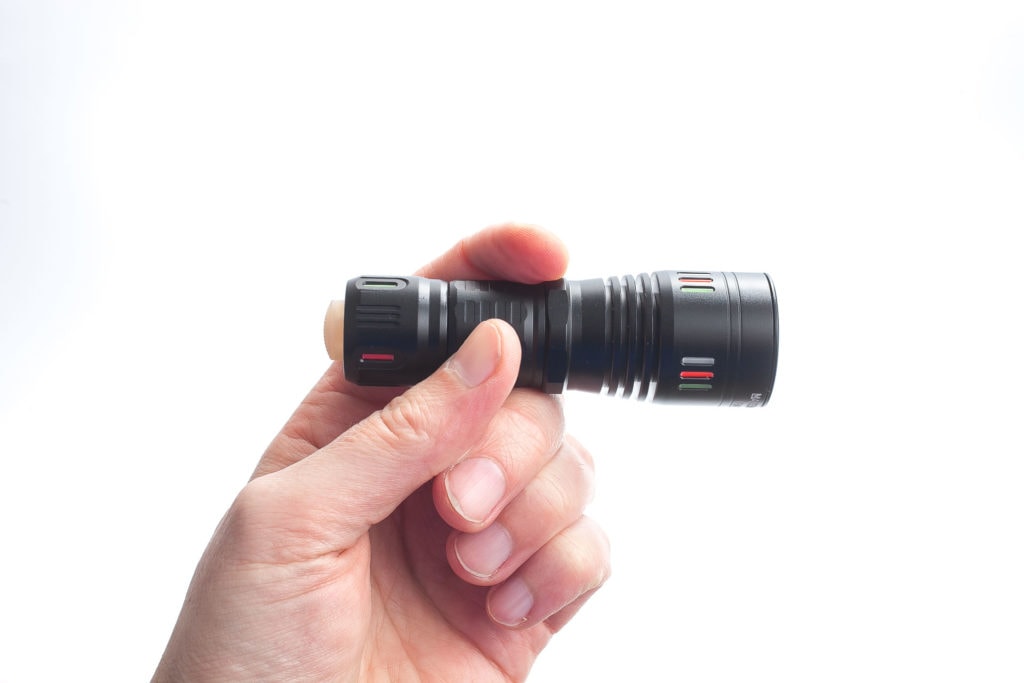
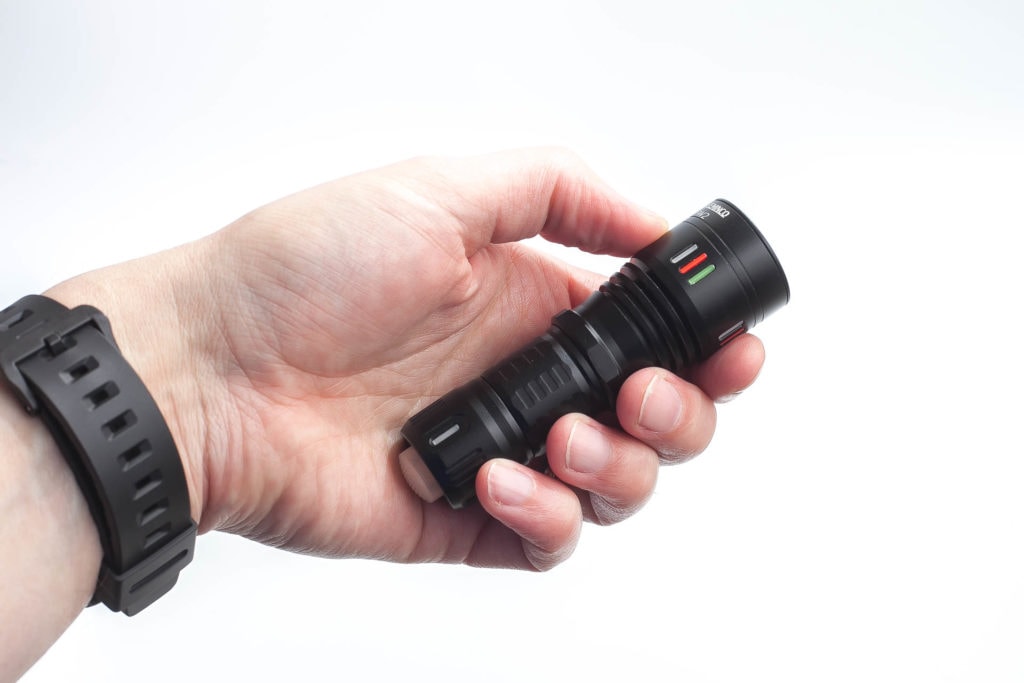
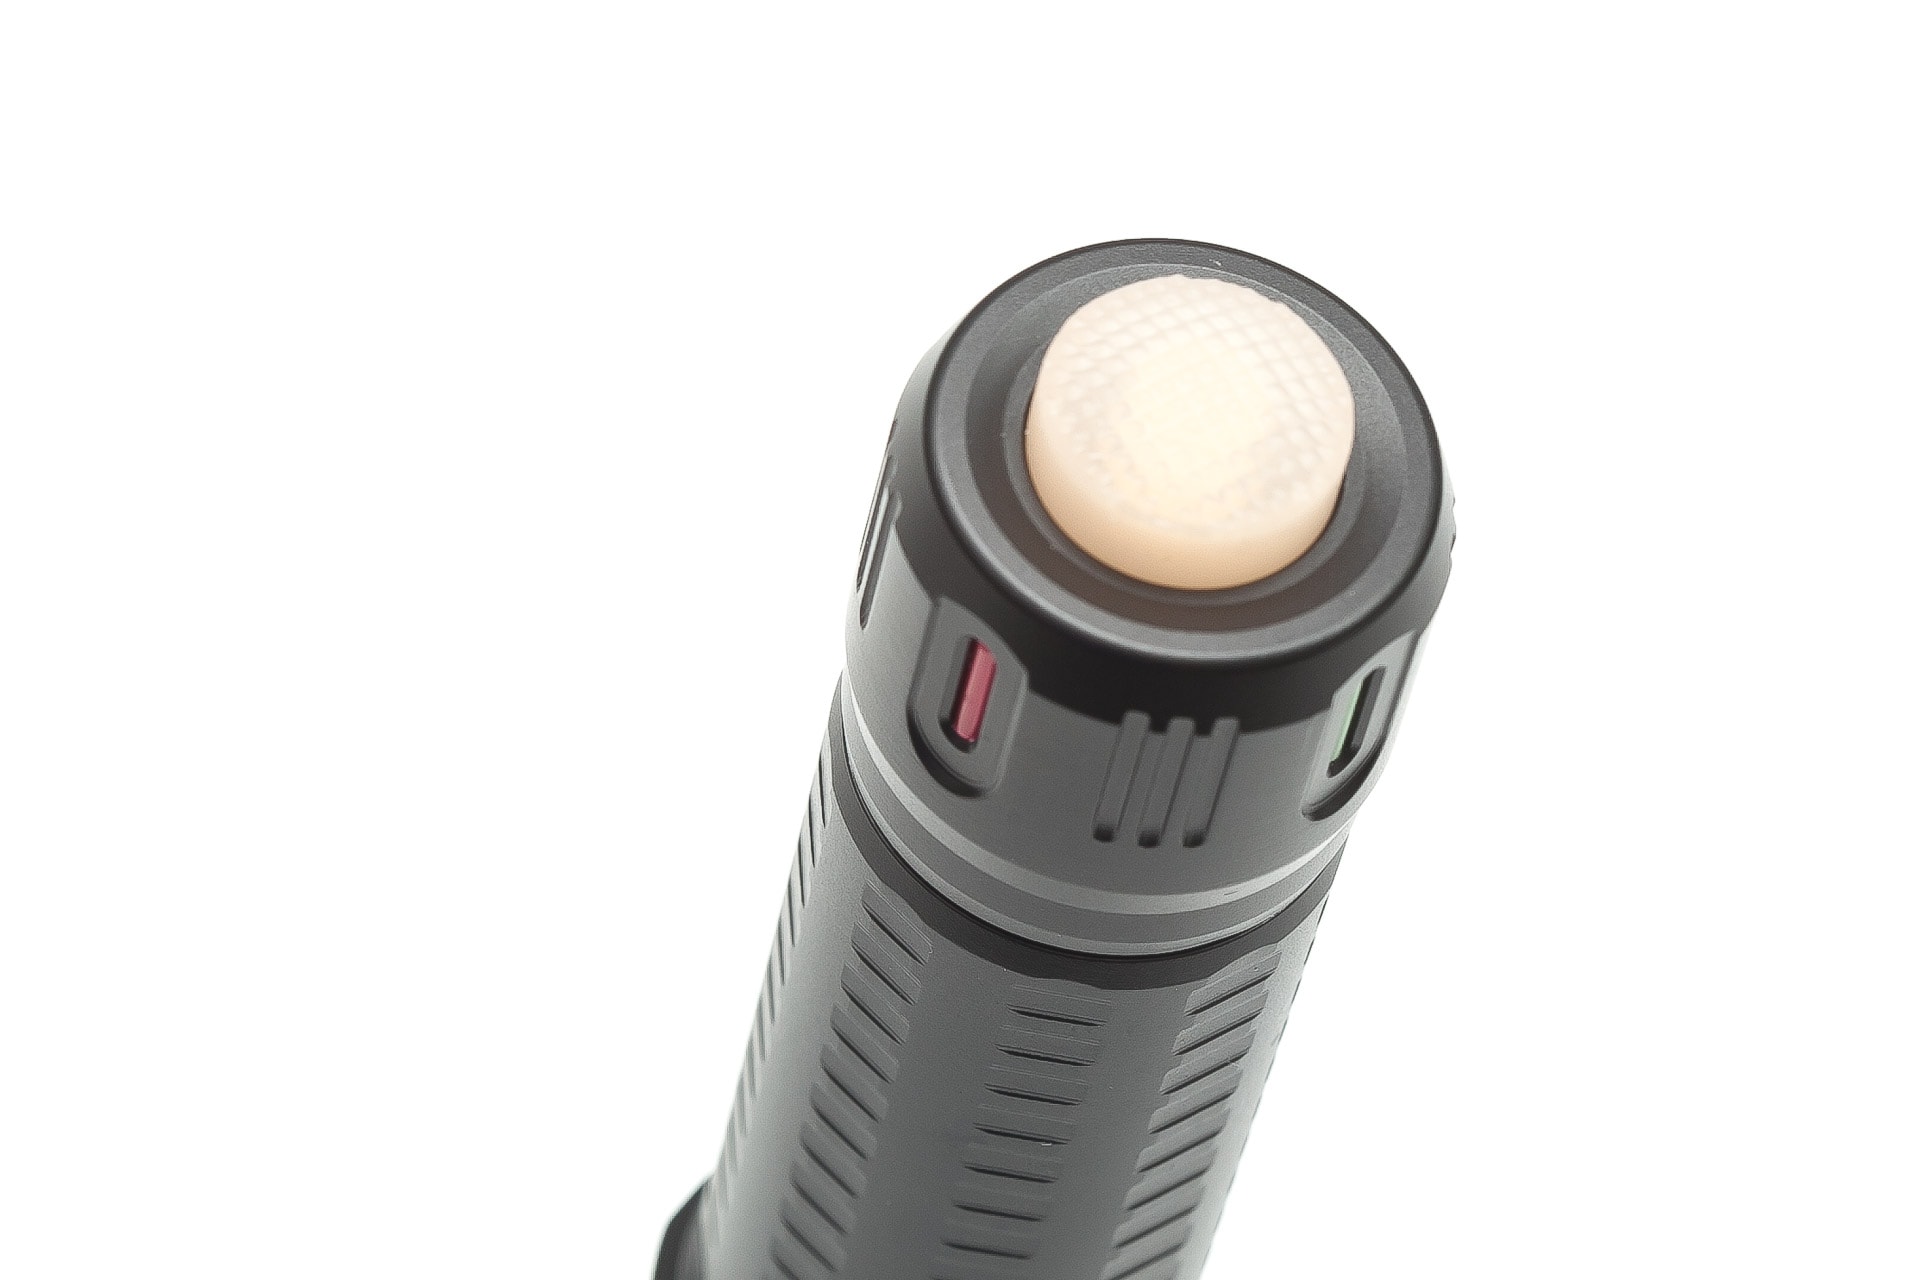
Nonshrouded. That was my first reaction to it.
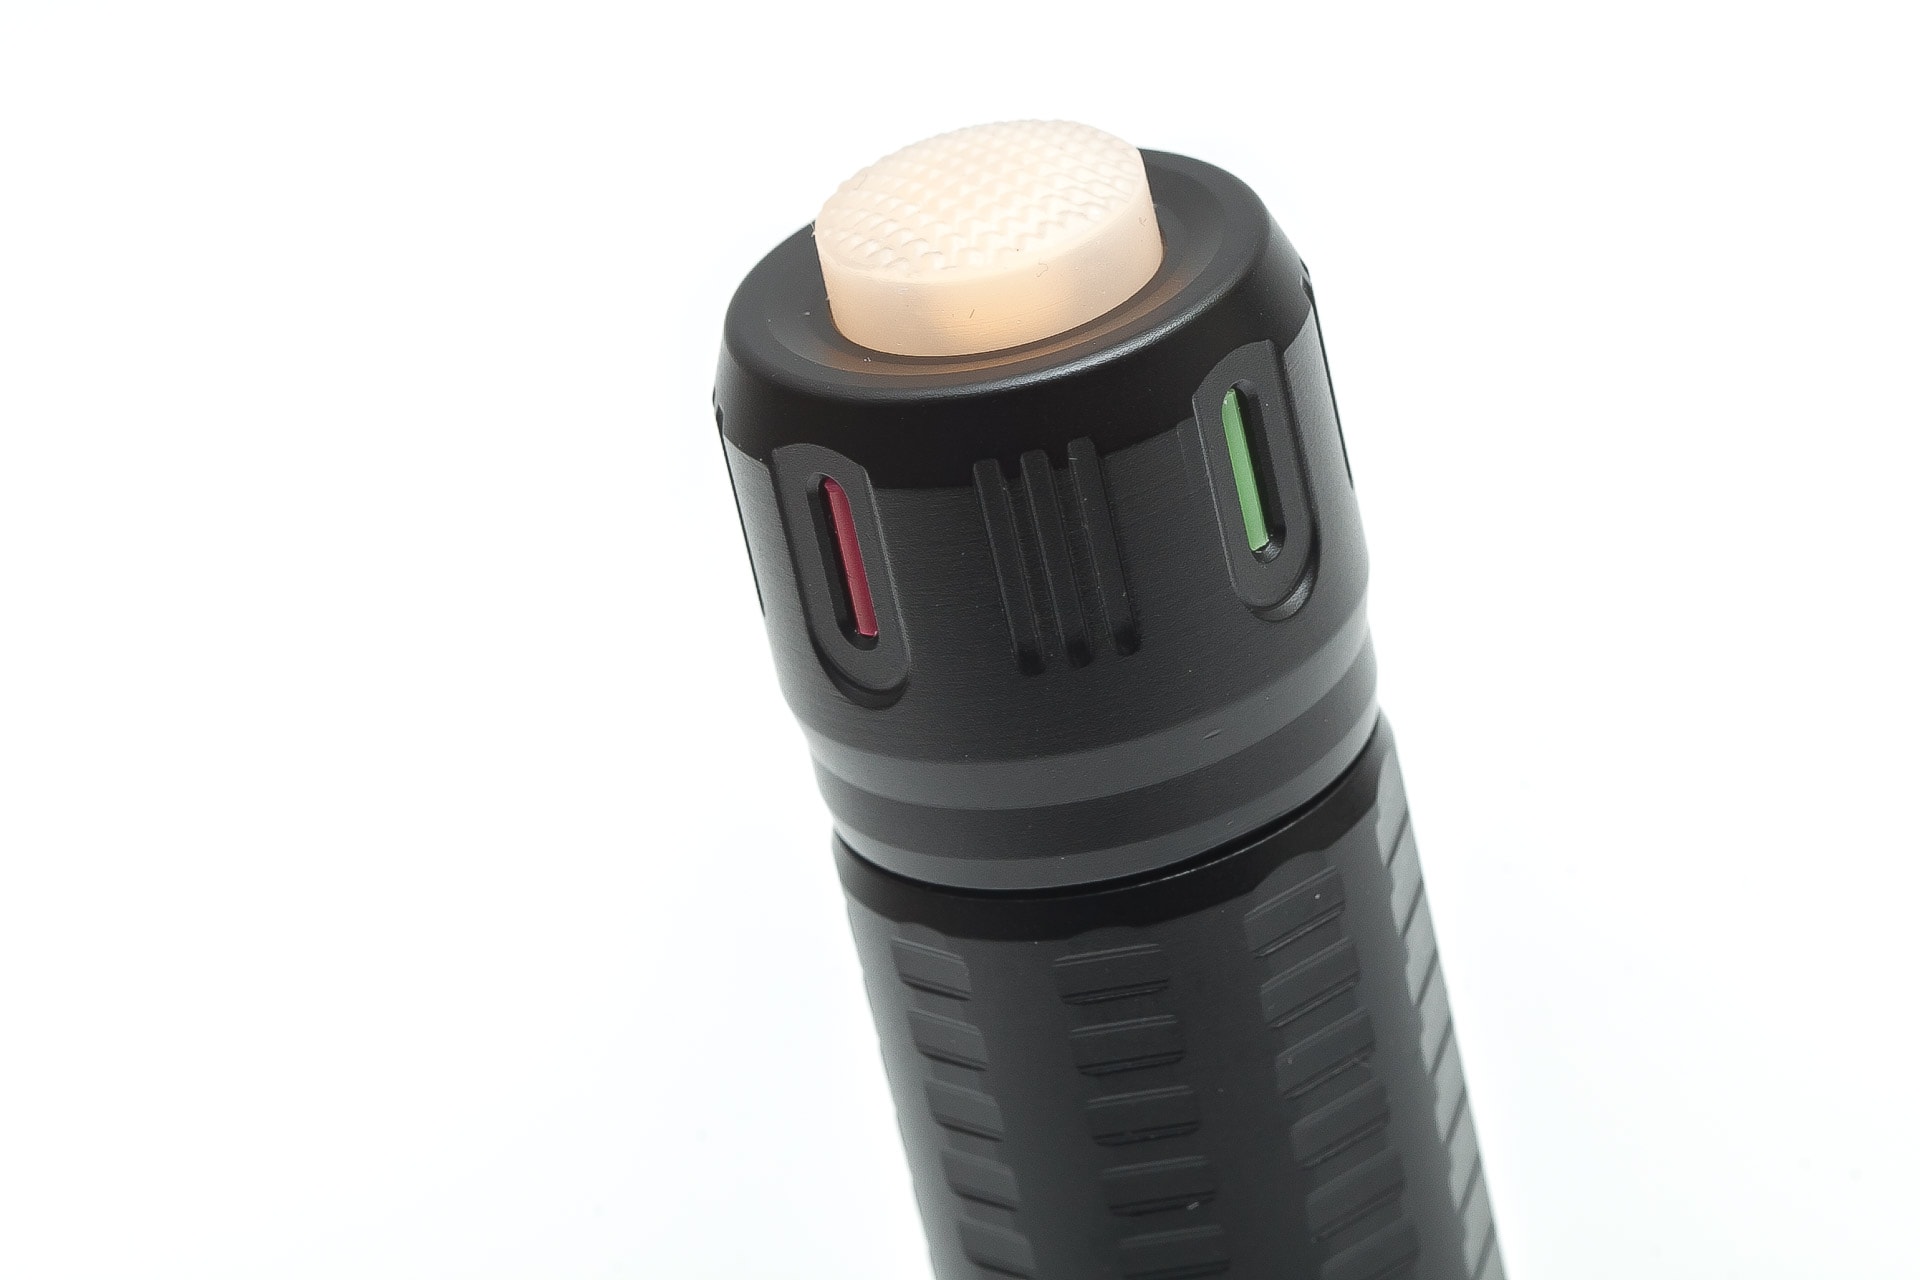
That may not sound too familiar to some, but it basically means that the tail switch sticks out and there’s no aluminum ridge surrounding it. With most flashlights, you can put the flashlight on its tail end, and the switch doesn’t touch the surface. This one sticks out very proudly.
The switch is reverse-clicky. You have to hear a click to turn it on. Tapping will change modes.
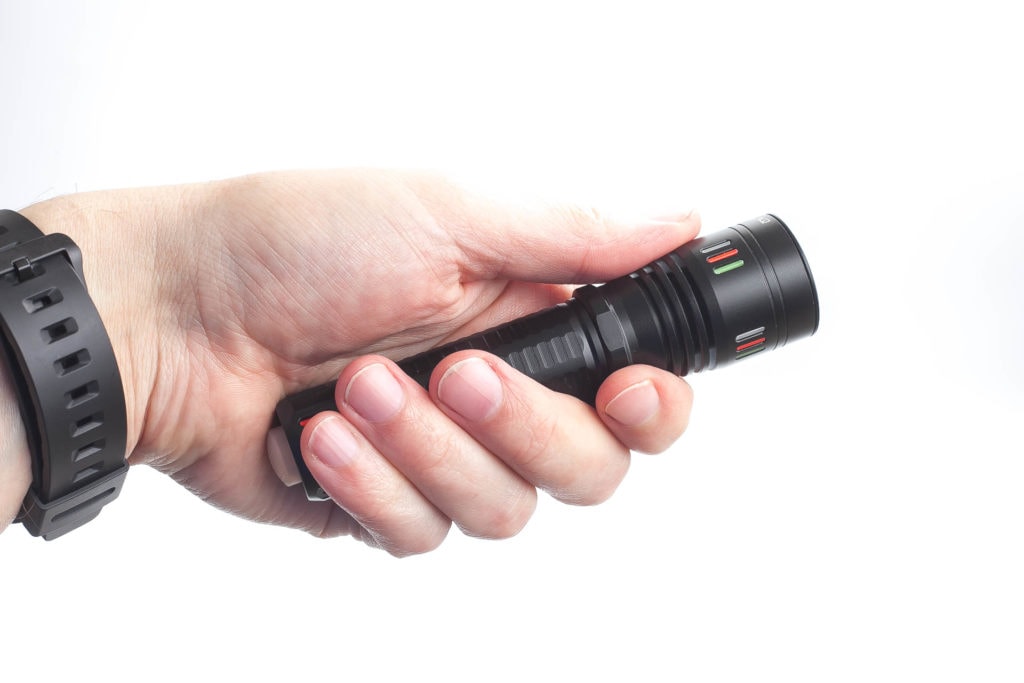
Because of the anodization and lack of knurling, it feels pretty slippery.
Build Quality, and Warranty
In the flashlight communities, we know that Mateminco = Astrolux, so it’s not a surprise that they look identical. At the time of reviewing this light, there hasn’t been an Astrolux equivalent announced yet.
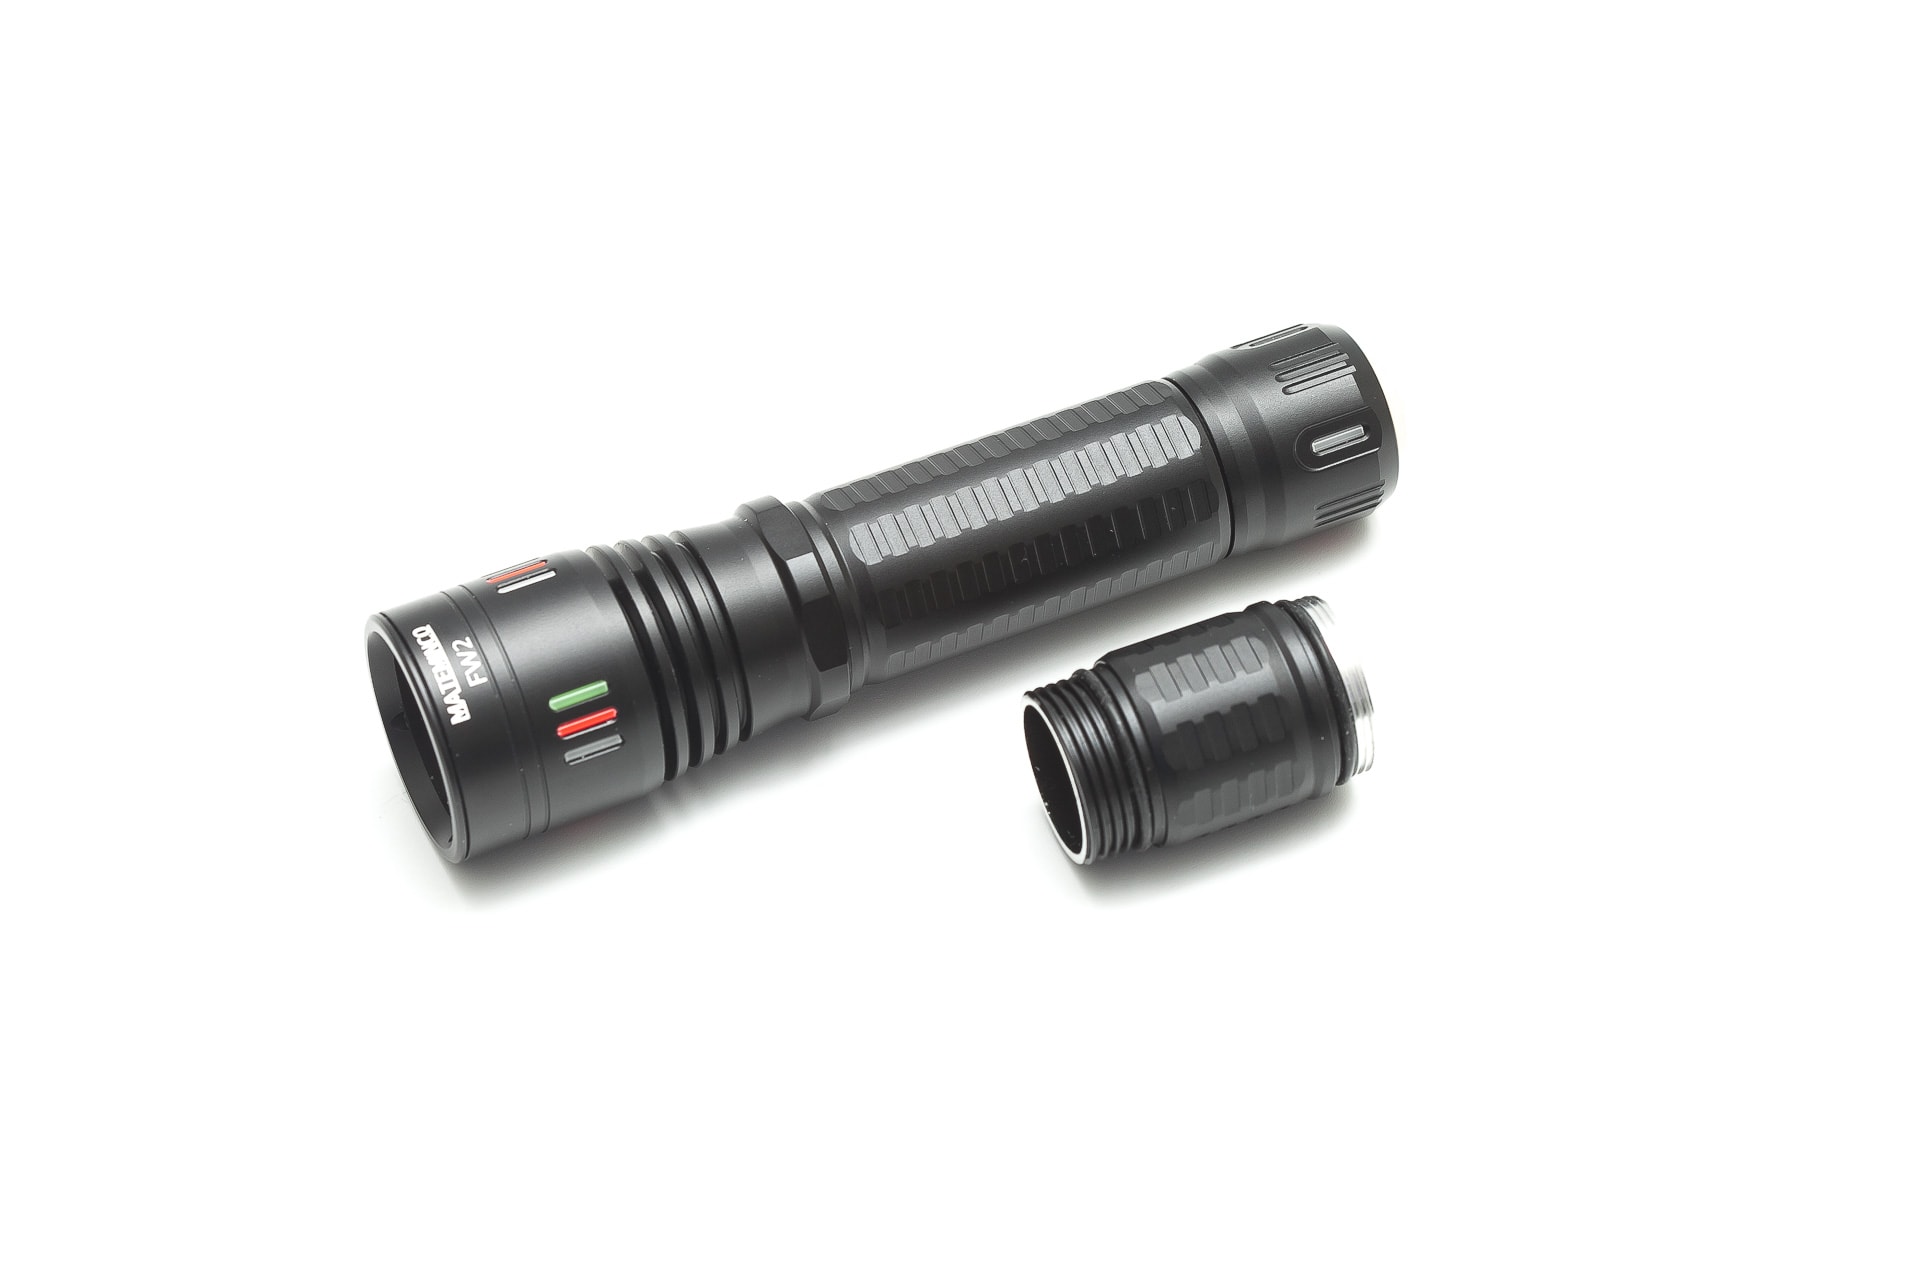
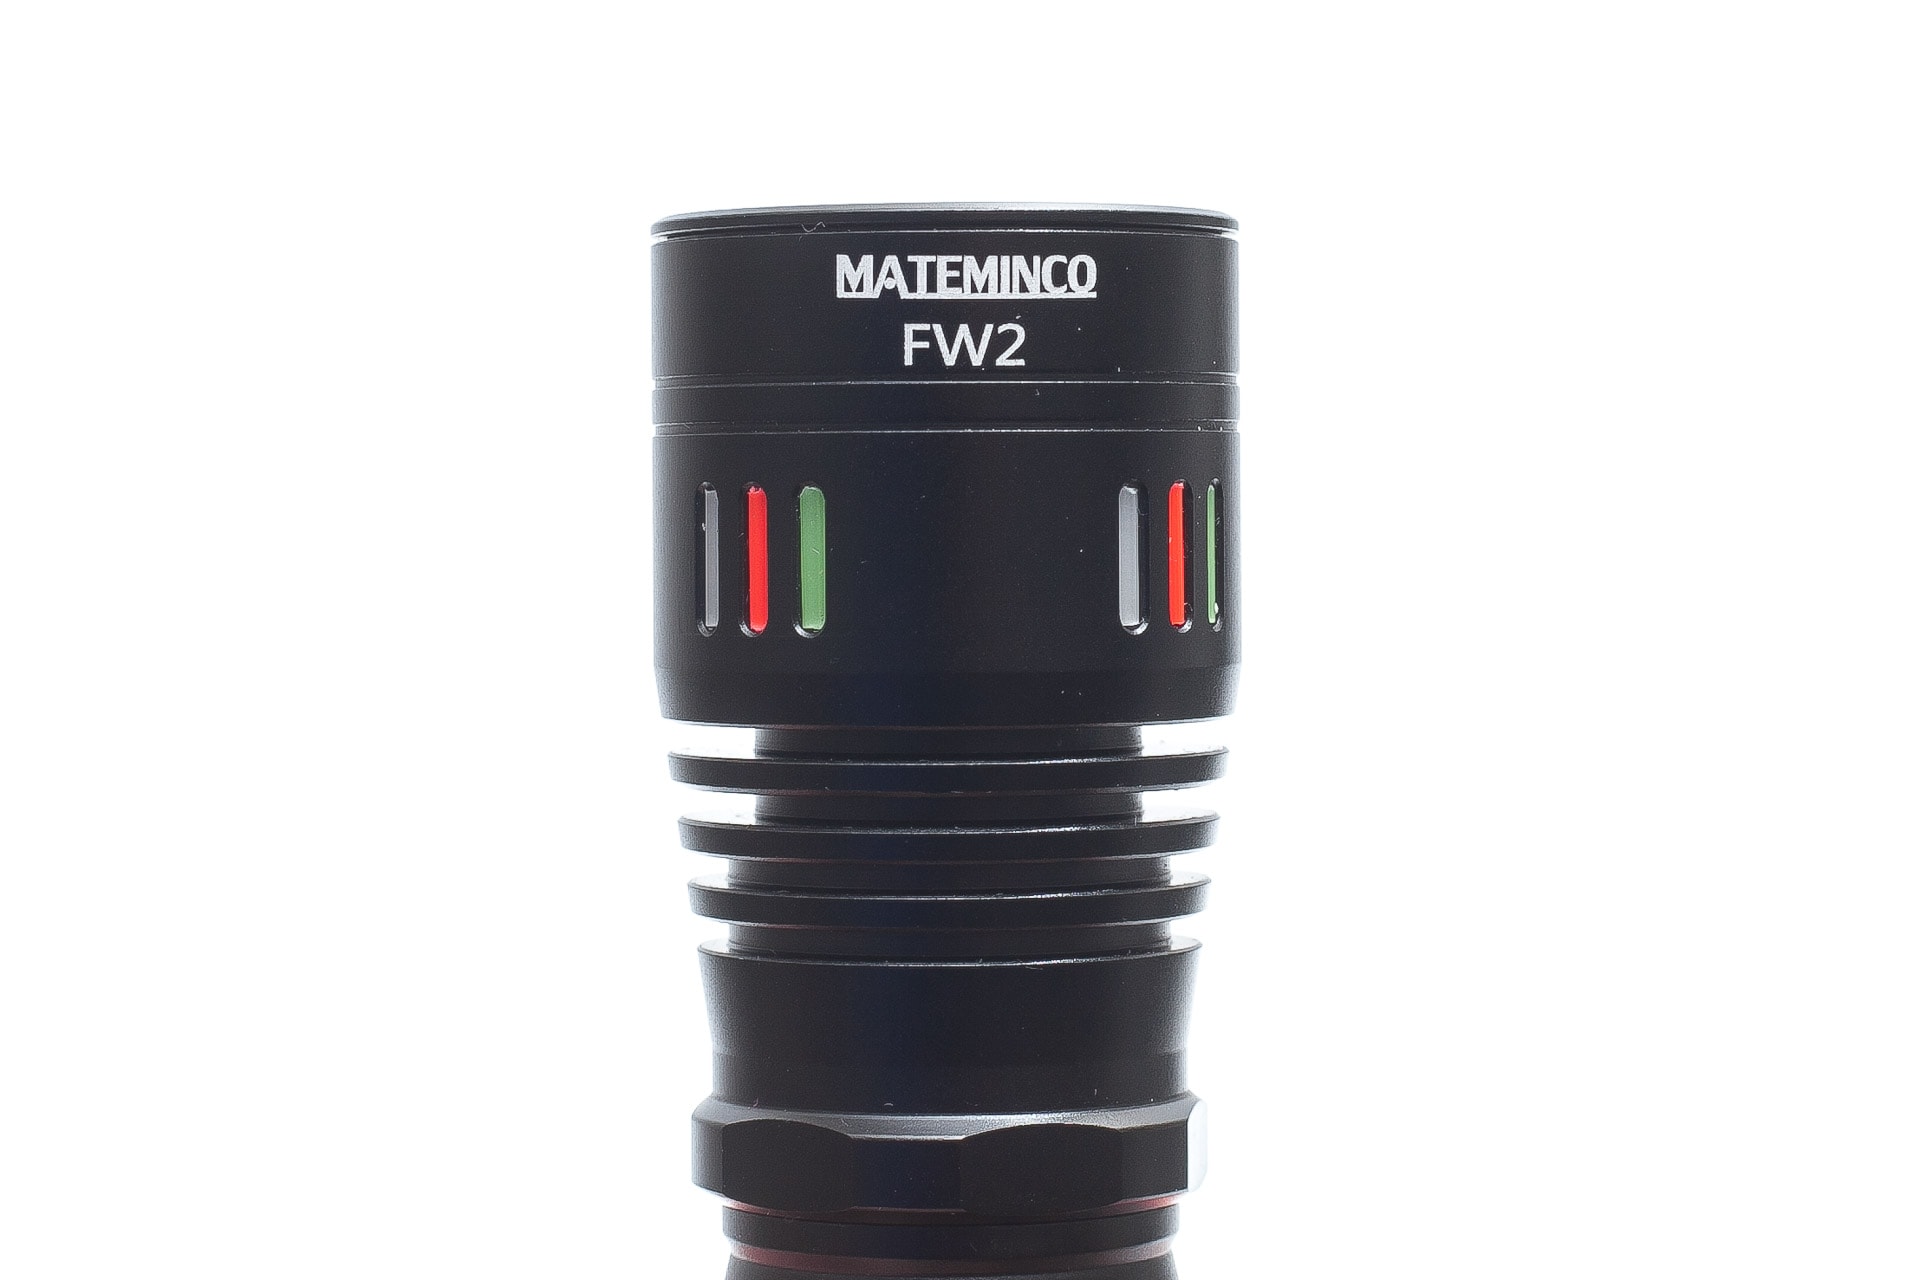
The anodizing isn’t your typical black HAIII but it has a slight charcoal/satin finish and feels slippery. It also doesn’t have the typical knurling, which makes it even more slippery. So keep that in mind. But I do like the shape and design of the flashlight. It looks classic, and futuristic at the same time with the glow tubes installed.
These glow tubes are presumably copied from Lumintop, who has quite a few of those. The main difference between (for example) the Lumintop Thor 2 and this, is that the glow tubes on the Thor are actually illuminated from the inside of the flashlight. So Lumintop’s glow tubes are ‘charged’ whenever the flashlight is used. That’s an interesting design because that means you don’t need an external light source to ‘charge’ these turbo glow tubes. Unfortunately, that’s not the case with this Mateminco, so you still need an external light source to charge them.
Besides that, there is no way to attach a lanyard because it doesn’t have any attachment points. There’s also no pocket clip included with my package.
Warranty? I do not know, since it didn’t include a manual, nor does Mateminco have a website.


LED, Lens, Bezel, Beam, and Reflector
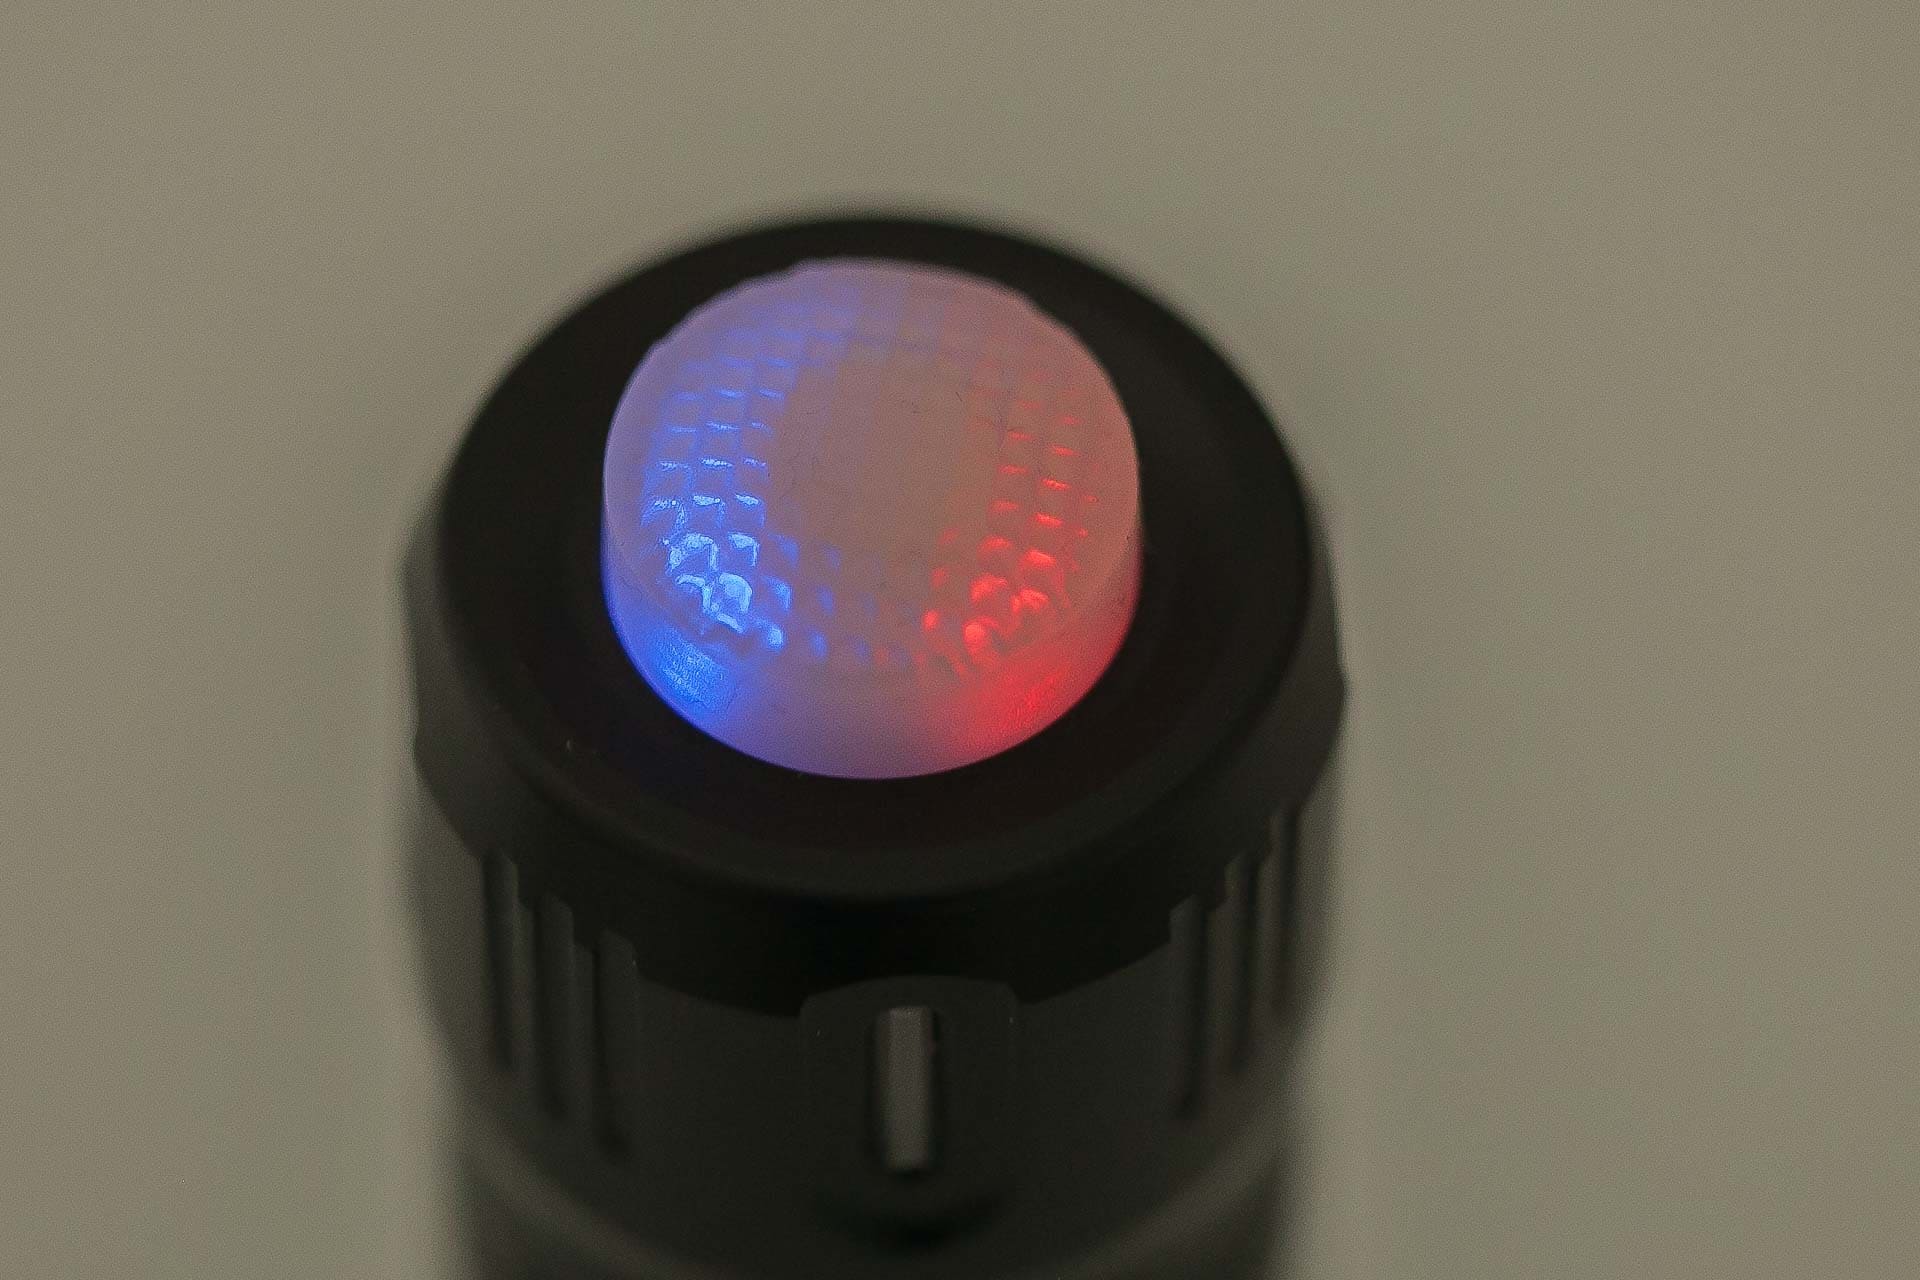
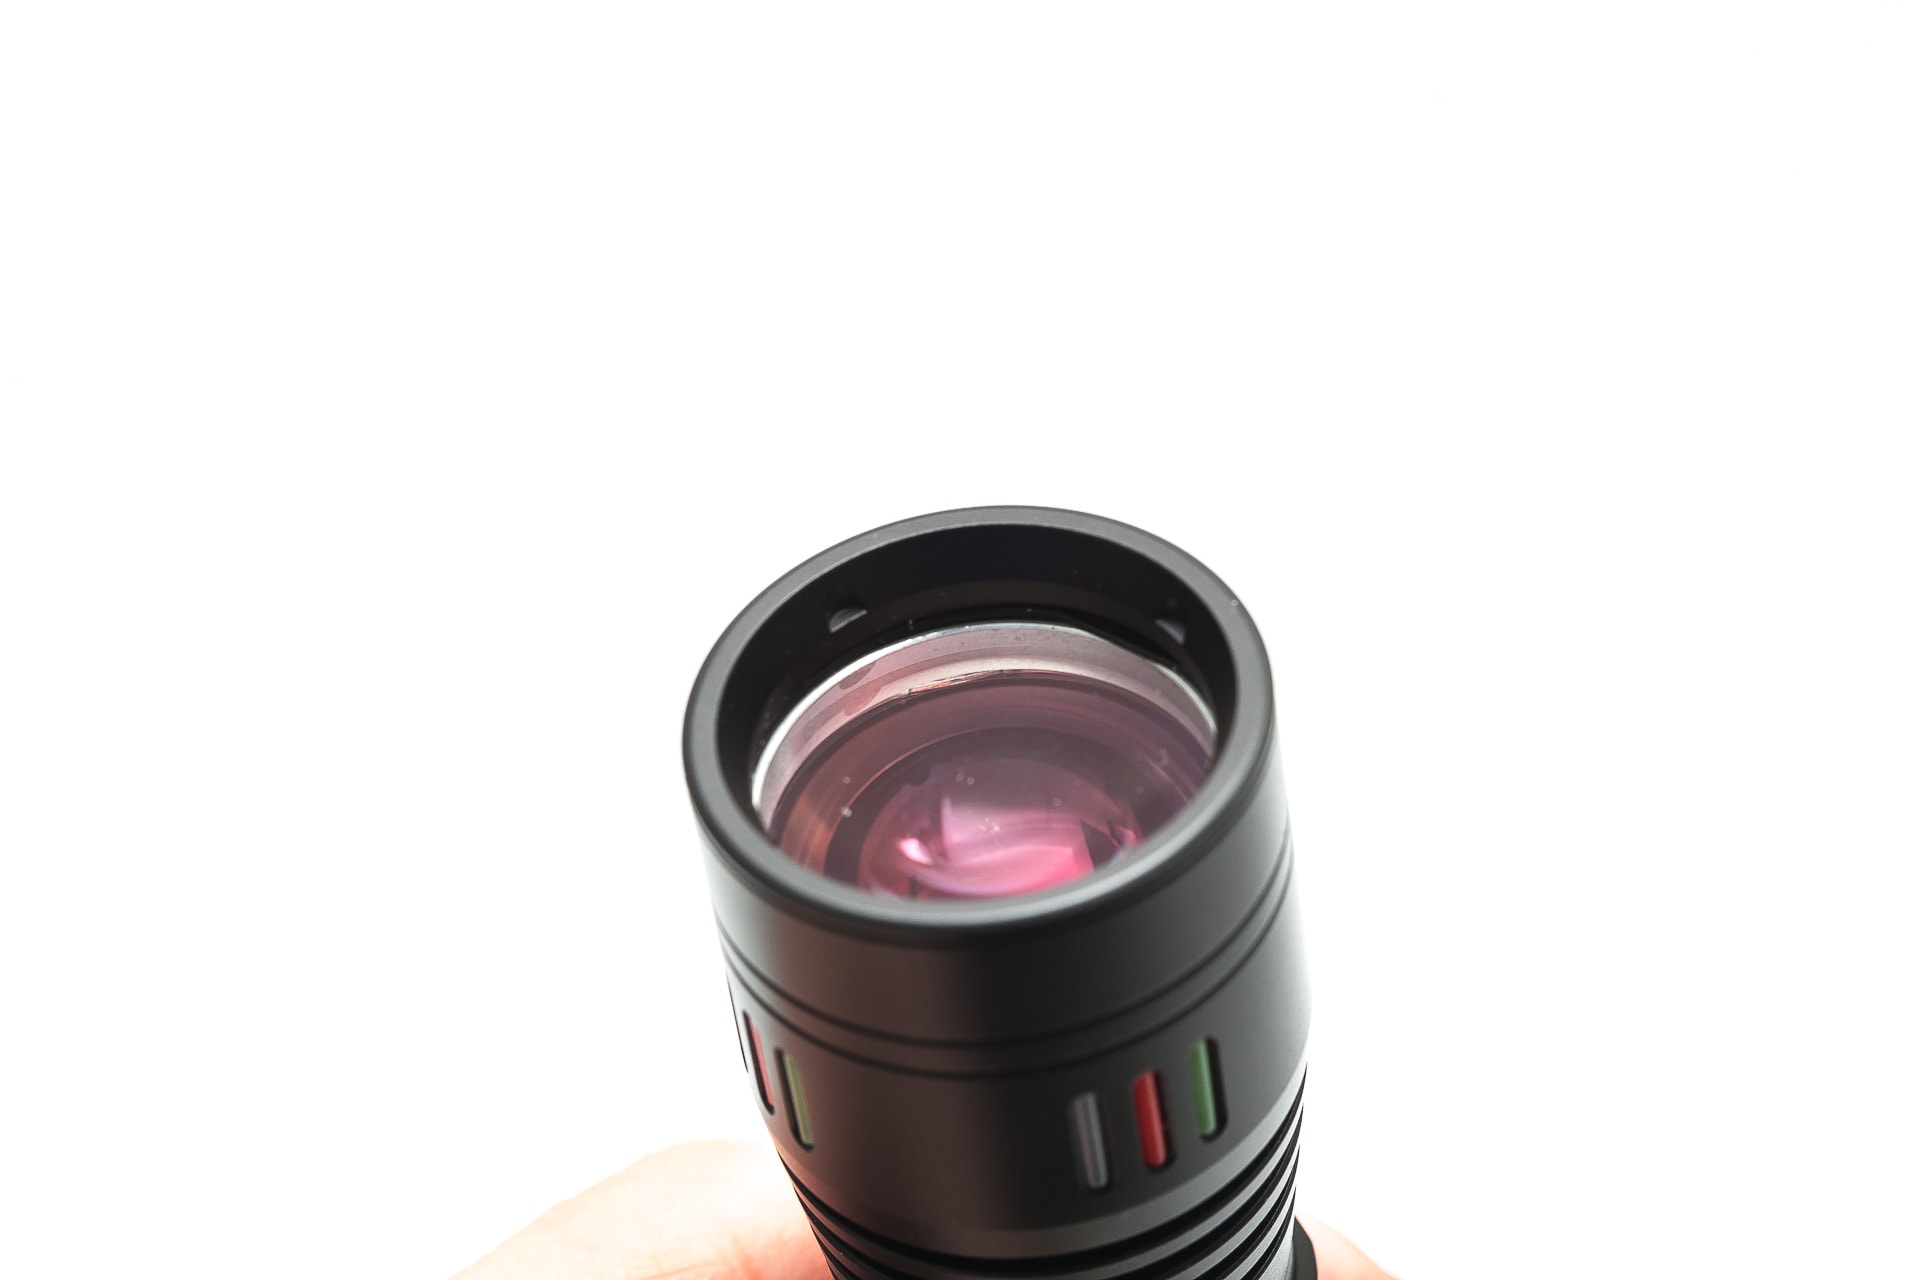
LEPs are available in 2 tastes… sour and … just kidding. There are 2 types, 1 is the classic version with a mirror reflecting the laser onto phosphor, and the newer one with a translucent Phosphor layer and the laser shining through the phosphor. The Mateminco FW2 is the latter type, which makes it thinner and shorter than the older mirror modules.
So in that regard, I welcome the newer types, but in terms of performance, the former ones are generally speaking still better performers.
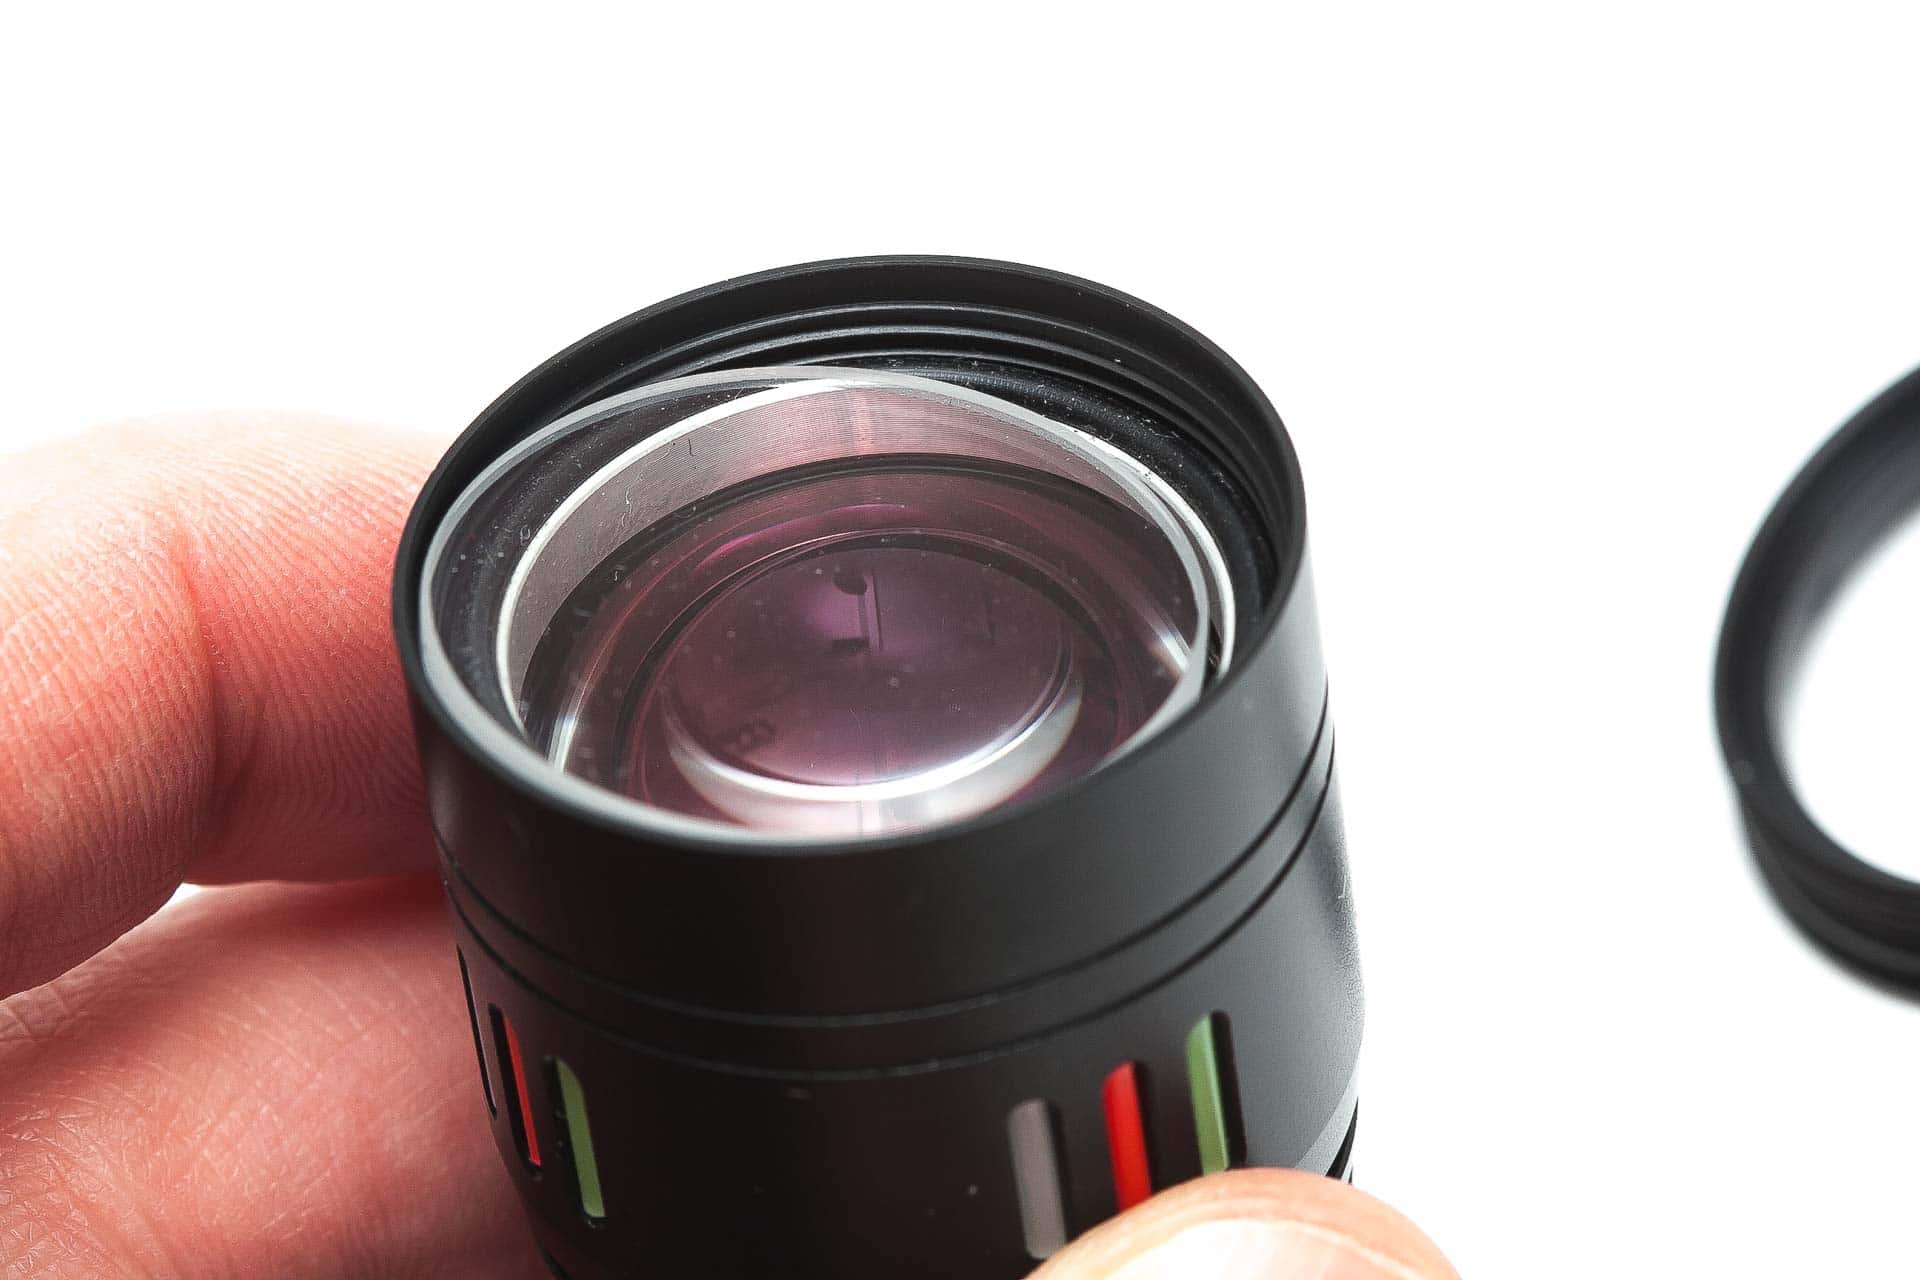
The bezel protecting the glass lens is flat, and has the same color anodizing, and is likely aluminum. I’d like to see some more lego-able flashlights where you can mix and match certain parts of the flashlight. Kind of like with the older P60 style, where you have all sorts of switches, tailcaps, bezels, heads, etc.
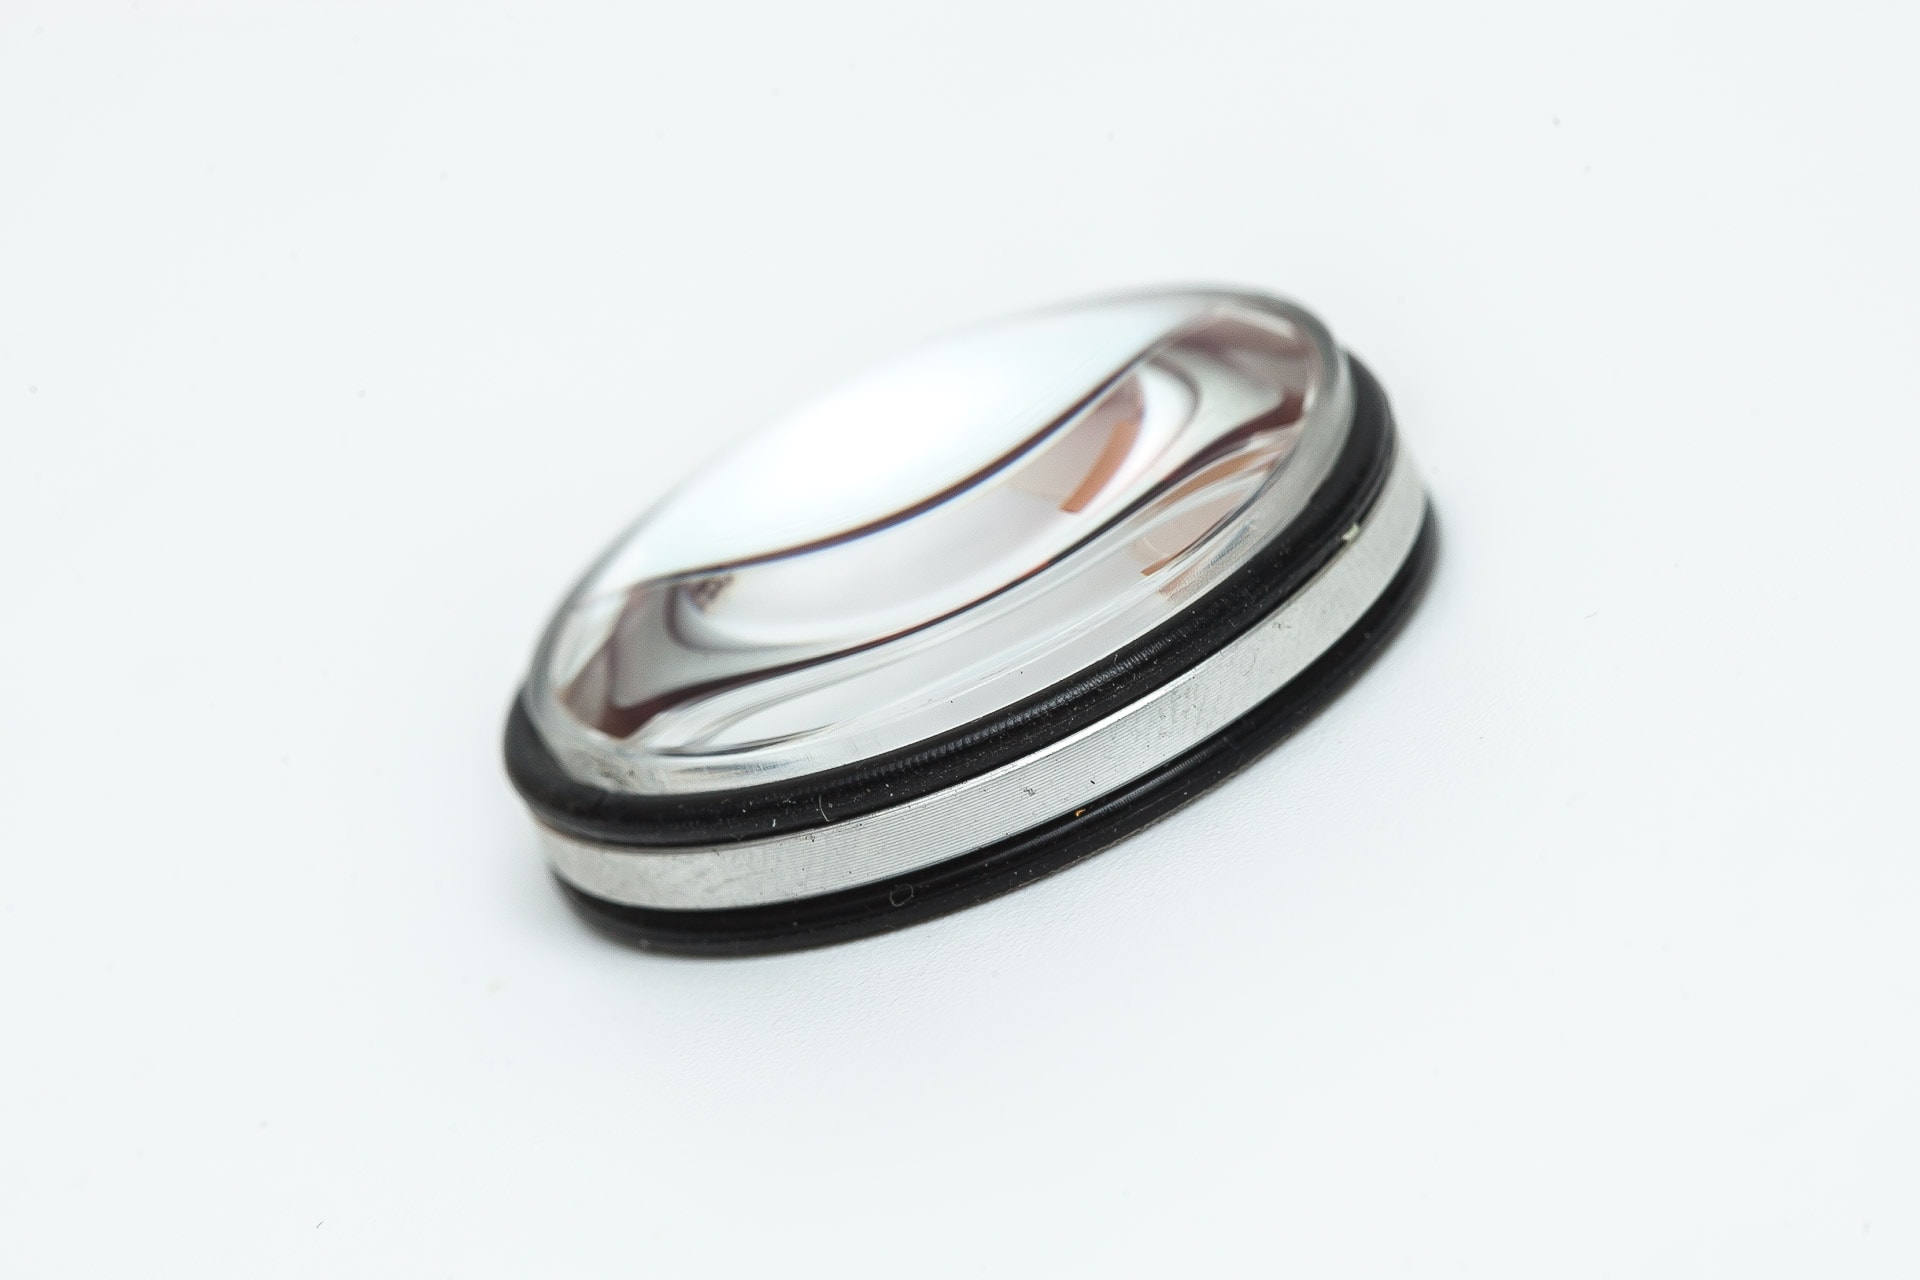
There is a glass protective lens in front of the convex lens, so that’s a good thing. Replacing a standard glass lens is much cheaper and easier to find, than a convex lens with the right angle.


Dimensions and size comparison
- Length: 133.9 mm / 5.27 ”
- Head diameter: 32 mm / 1.26 ”
- Tailcap diameter: 26 mm / 1 ”
Weight:
- Empty: 106.4 g / 3.75 oz
- With battery: 152.4 g / 5.38 oz
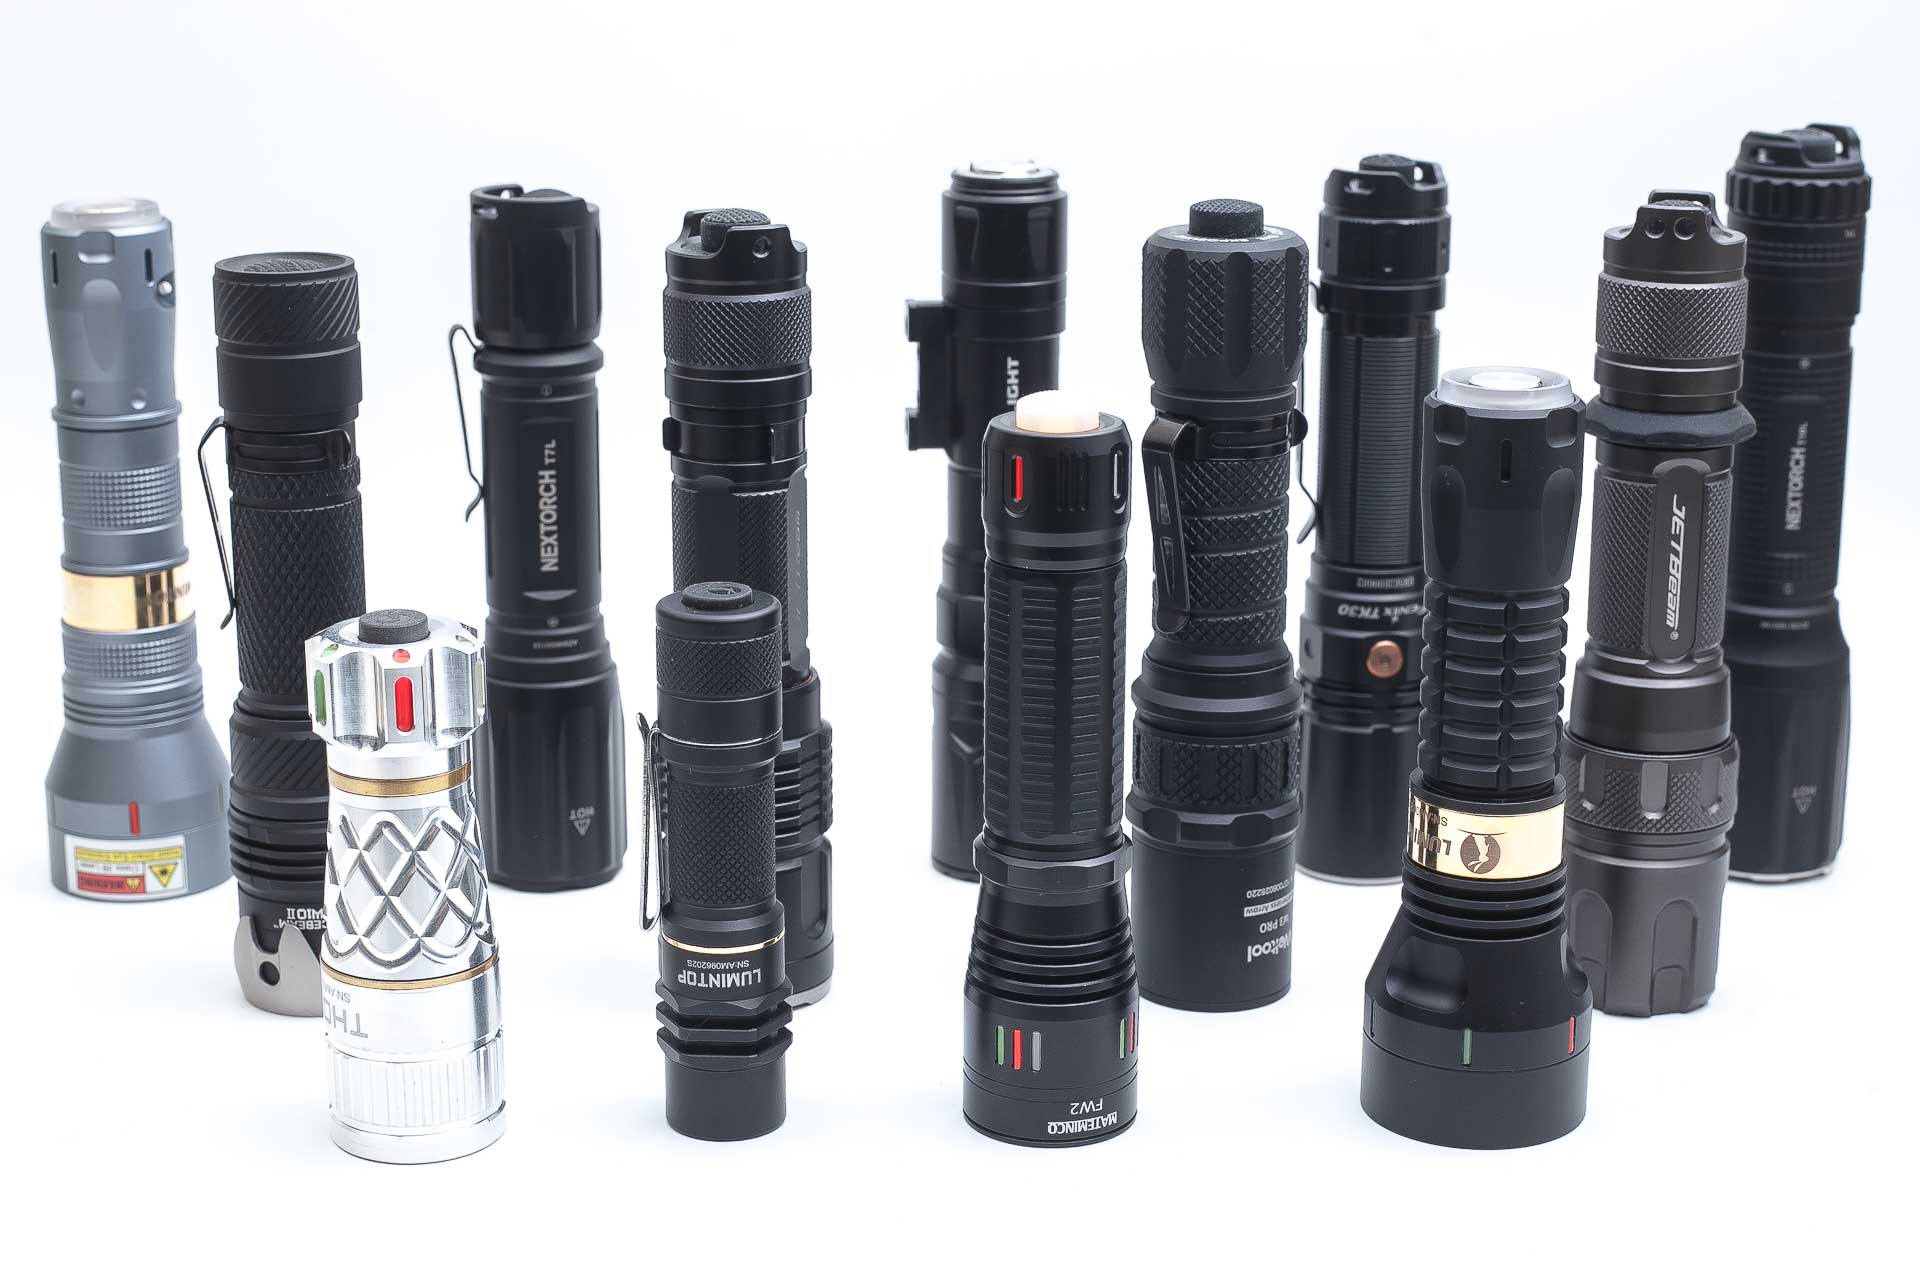
Laser Flashlight comparison
Size compared to other LEP flashlights
Image 1, Rear row: Lumintop Thor 2, Nextorch T7L, Olight Odin Turbo, Fenix TK30, Nextorch T10L
Middle row: Acebeam W10 gen2, Jetbeam M2S WP-RX, Weltool W3 PRO, Jetbeam RRT M2S Raptor
Front row: Lumintop Thor 1, Lumintop Ant Man, Mateminco FW2, Lumintop Thor 2 v2
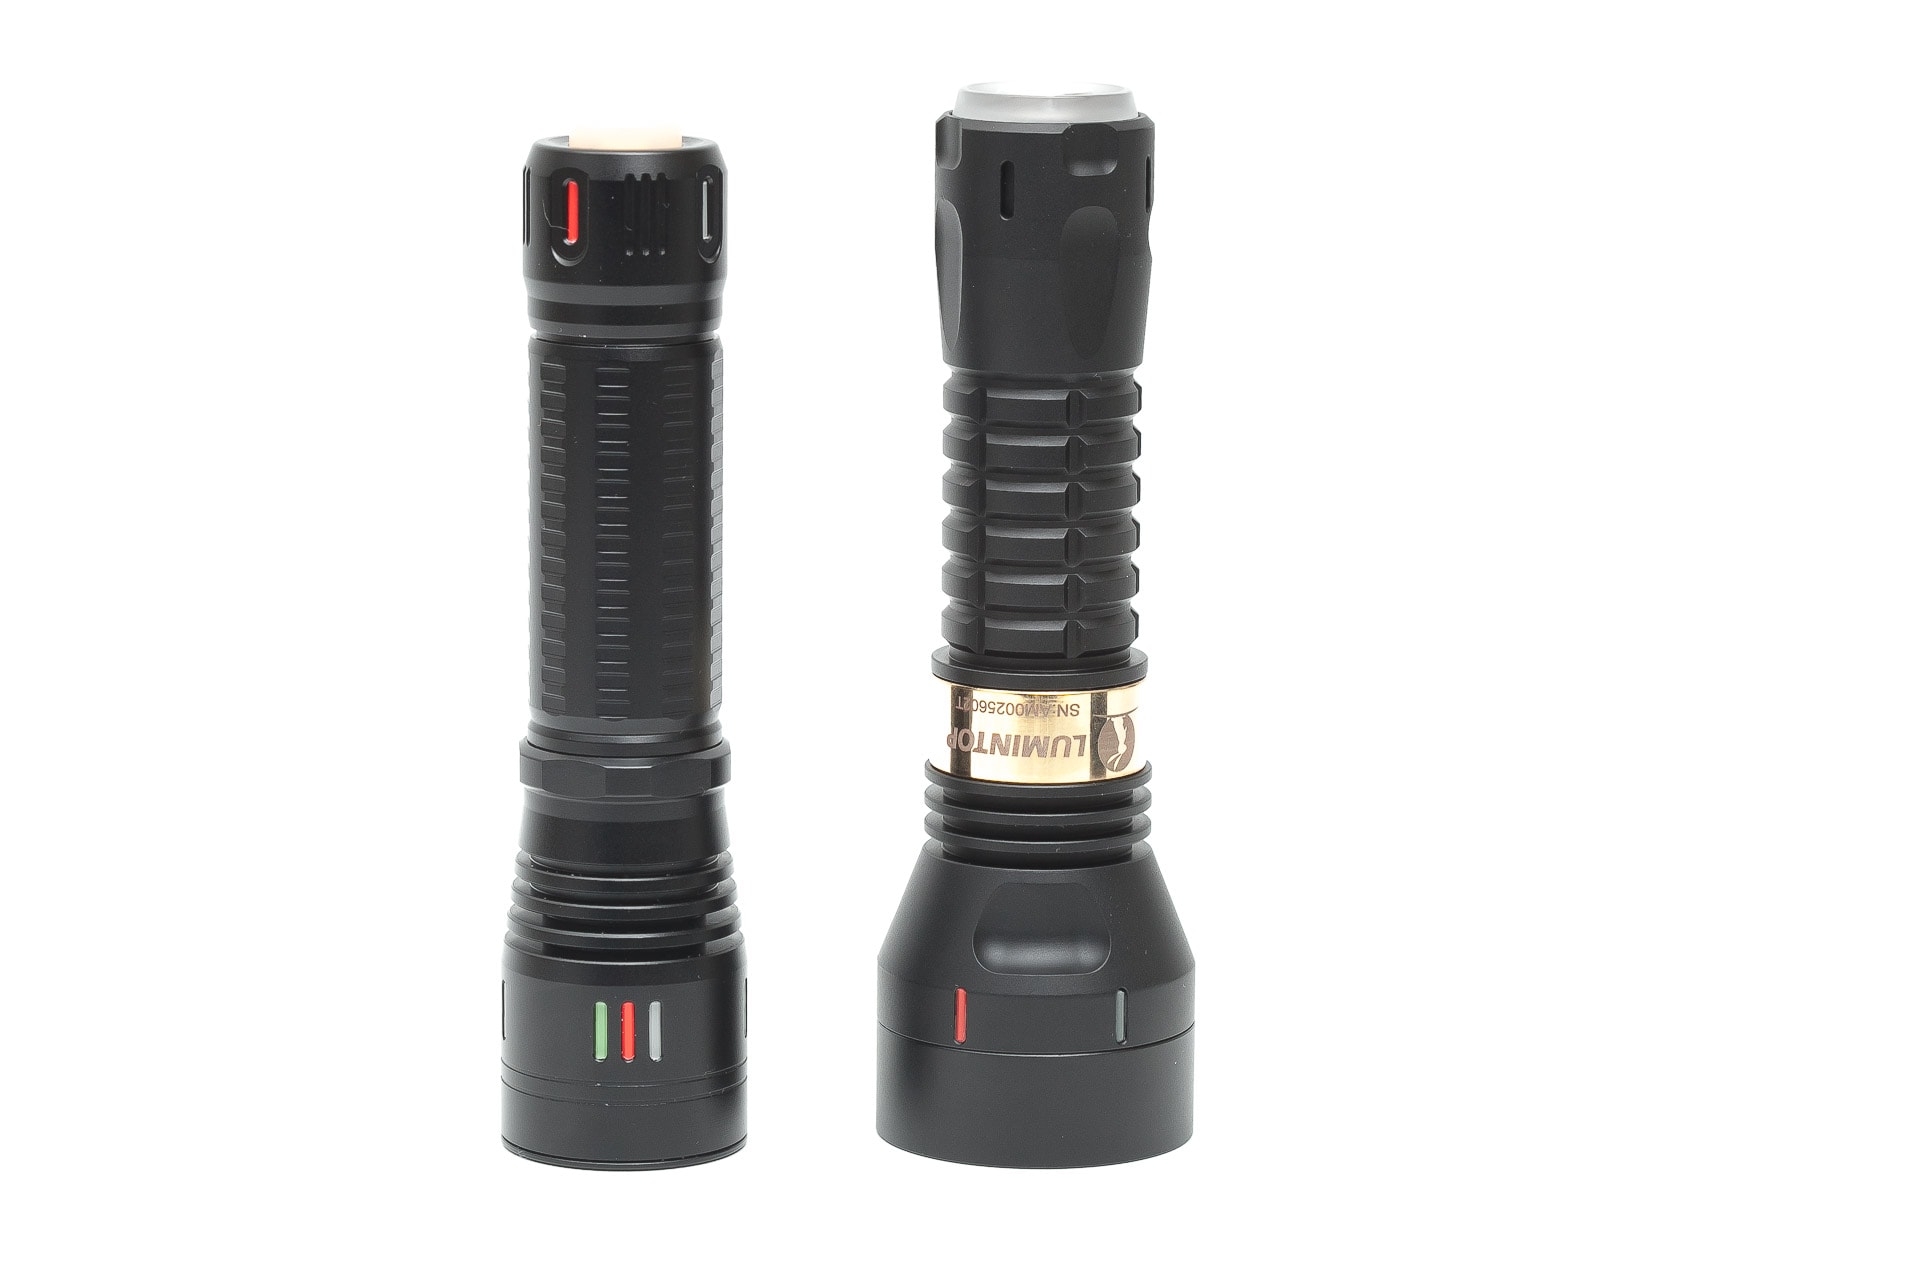
Image 2: Mateminco FW2, Lumintop Thor2 v2
Driver & User Interface:
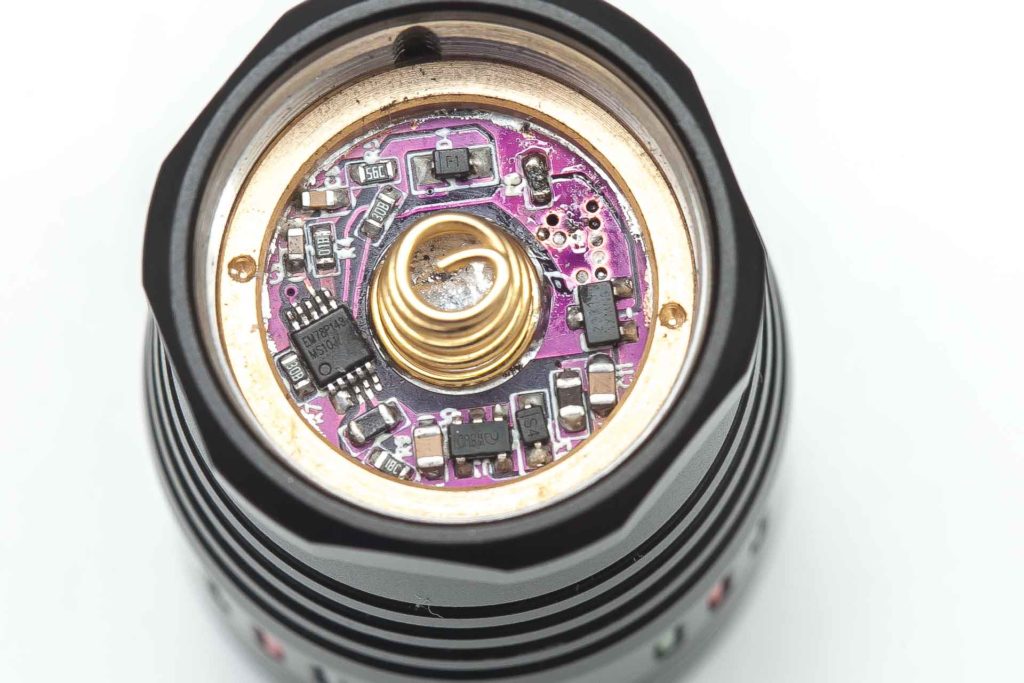
The driver in the FW2 has 3 modes… but not the greatest UI
Fortunately, I did all the testing before I broke the light, but I can’t test the UI fully, because that’s too late.
Available modes:
- Low, High
- Strobe
From OFF:
- Single-click: Turn on
From ON:
- Half-press: Toggle between Low and High
- Single-click: Off
- Double tap: Strobe
Shortcuts:
- To High: none
- To Low: none
- To Strobe: double click from on
Mode memory:
- It looks like it doesn’t have mode memory, and always starts in low.
Blinky modes menu:
- Yes, double click for Strobe.
Low battery warning:
- No
Lock-out mode:
- Not that I know off
PWM:
- Not visible
Conclusion:
I don’t particularly like the strobe so easily activated. I know, you only have 2 modes, so why would you tap twice… but hey, I like playing with that switch.
Batteries & Charging
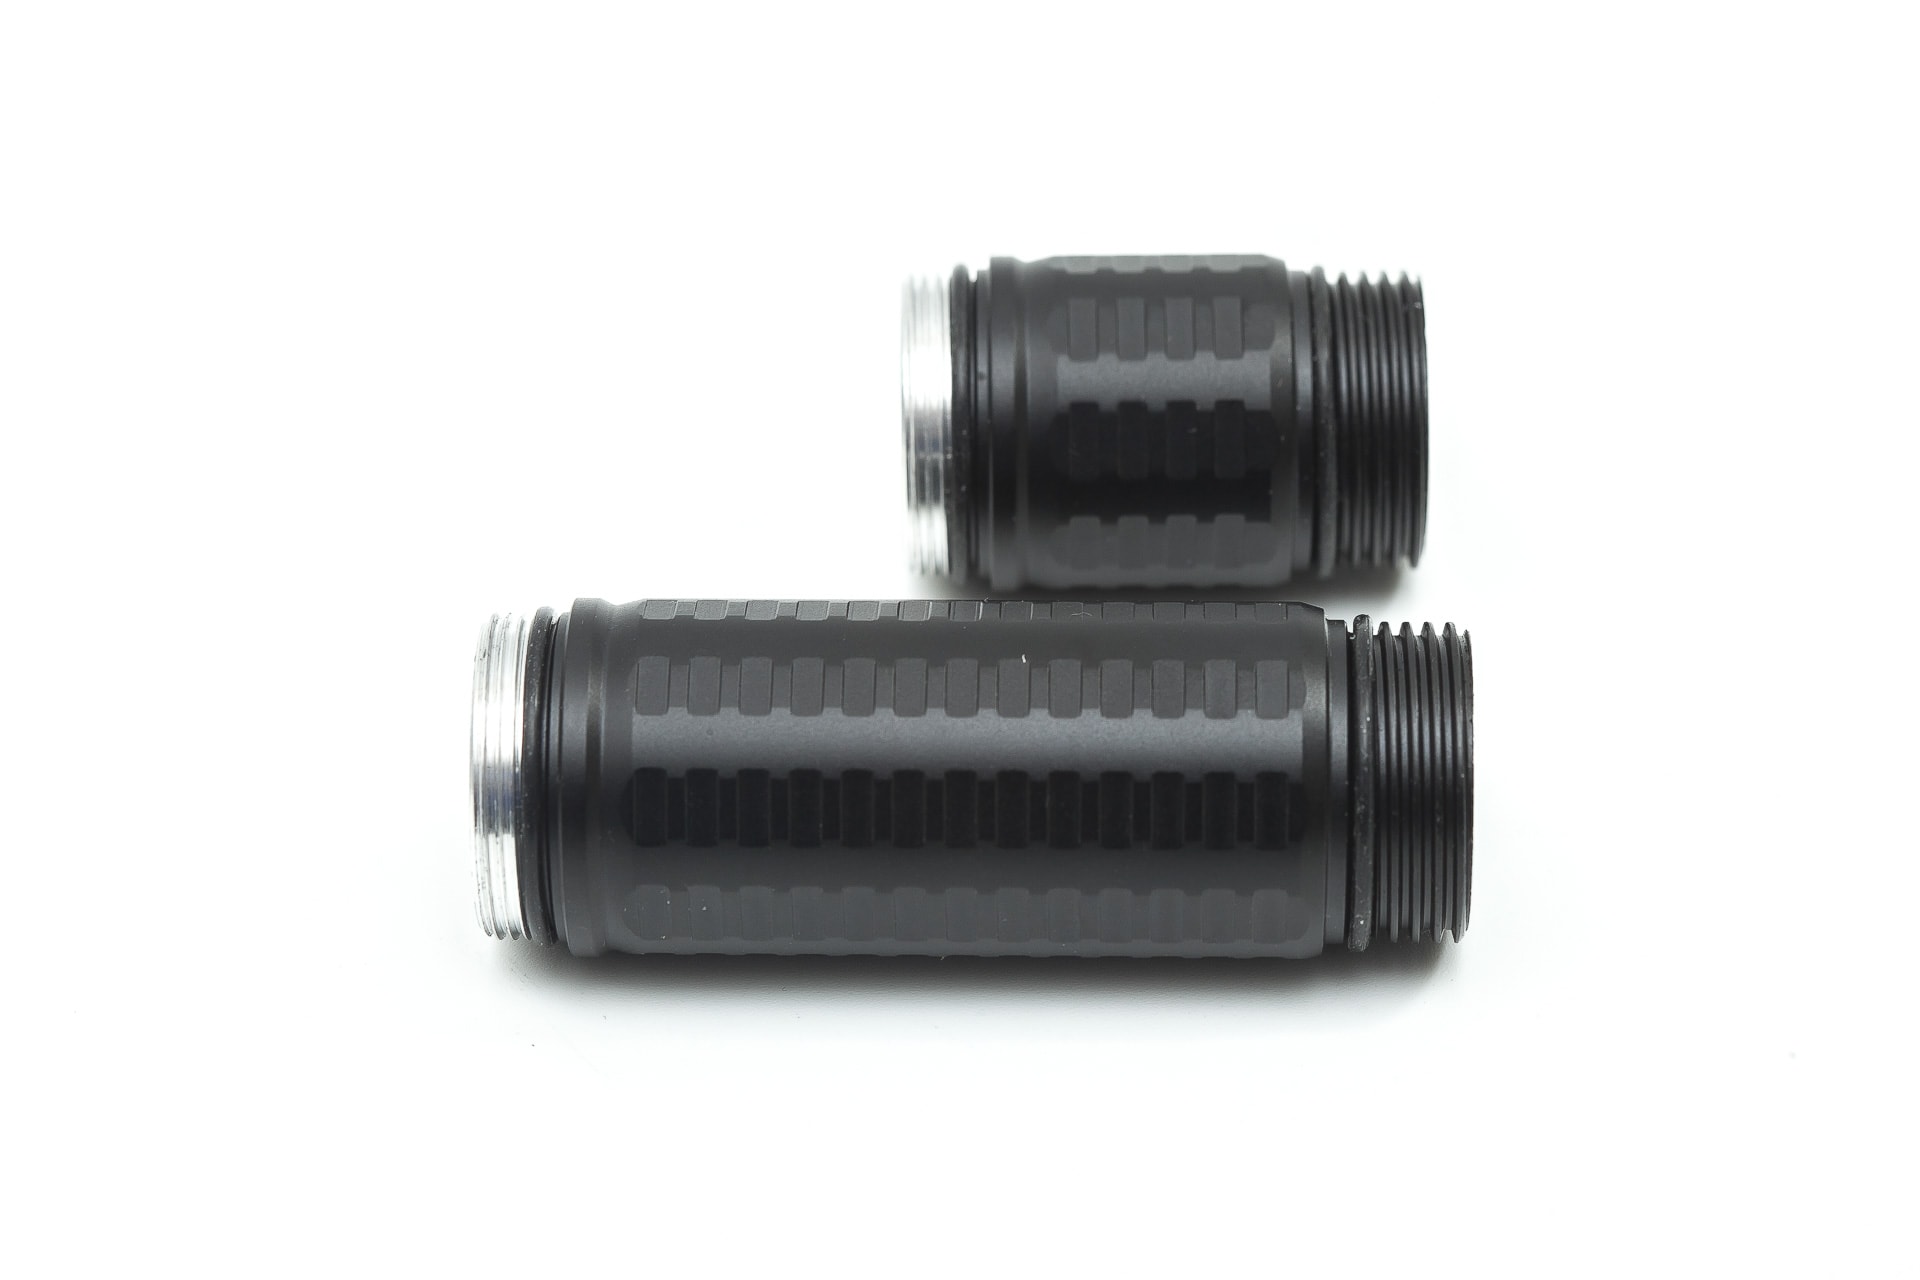
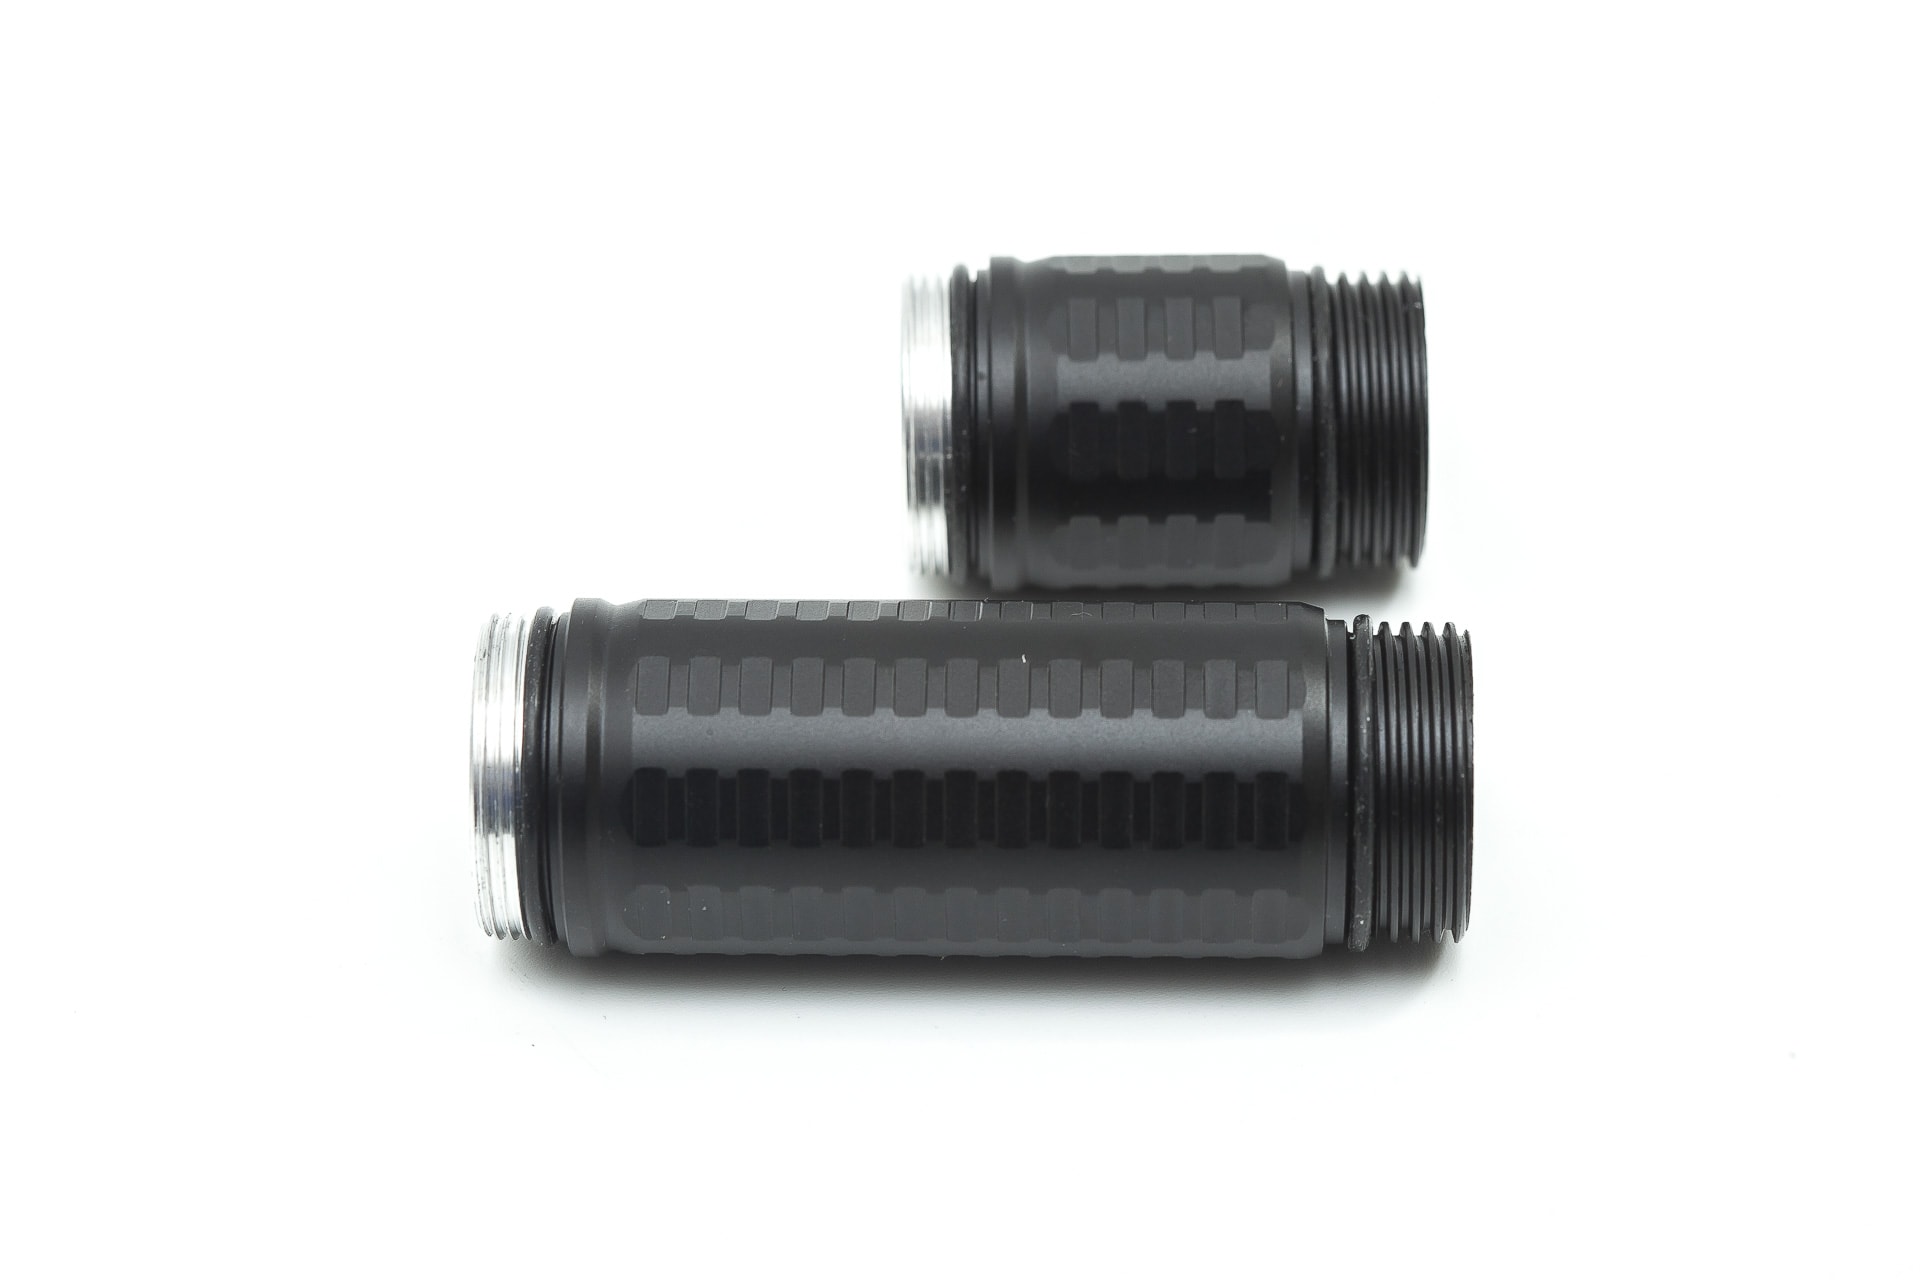
Well, the good thing about the FW2 is that you can either use a 18350 or 18650. There is one dedicated tube for each battery, and no extension tubes are needed, unlike some other brands. I personally don’t like using extension tubes, so it’s great to have 2 dedicated battery tubes instead.
18350: you can only use short 18350 batteries, like unprotected, without a USB port. I tried a Weltool UB18-12P and it won’t work. Short batteries like unprotected Keeppower 1200mAh IMR18350 fit perfectly.
18650: Don’t try to use protected 18650’s!
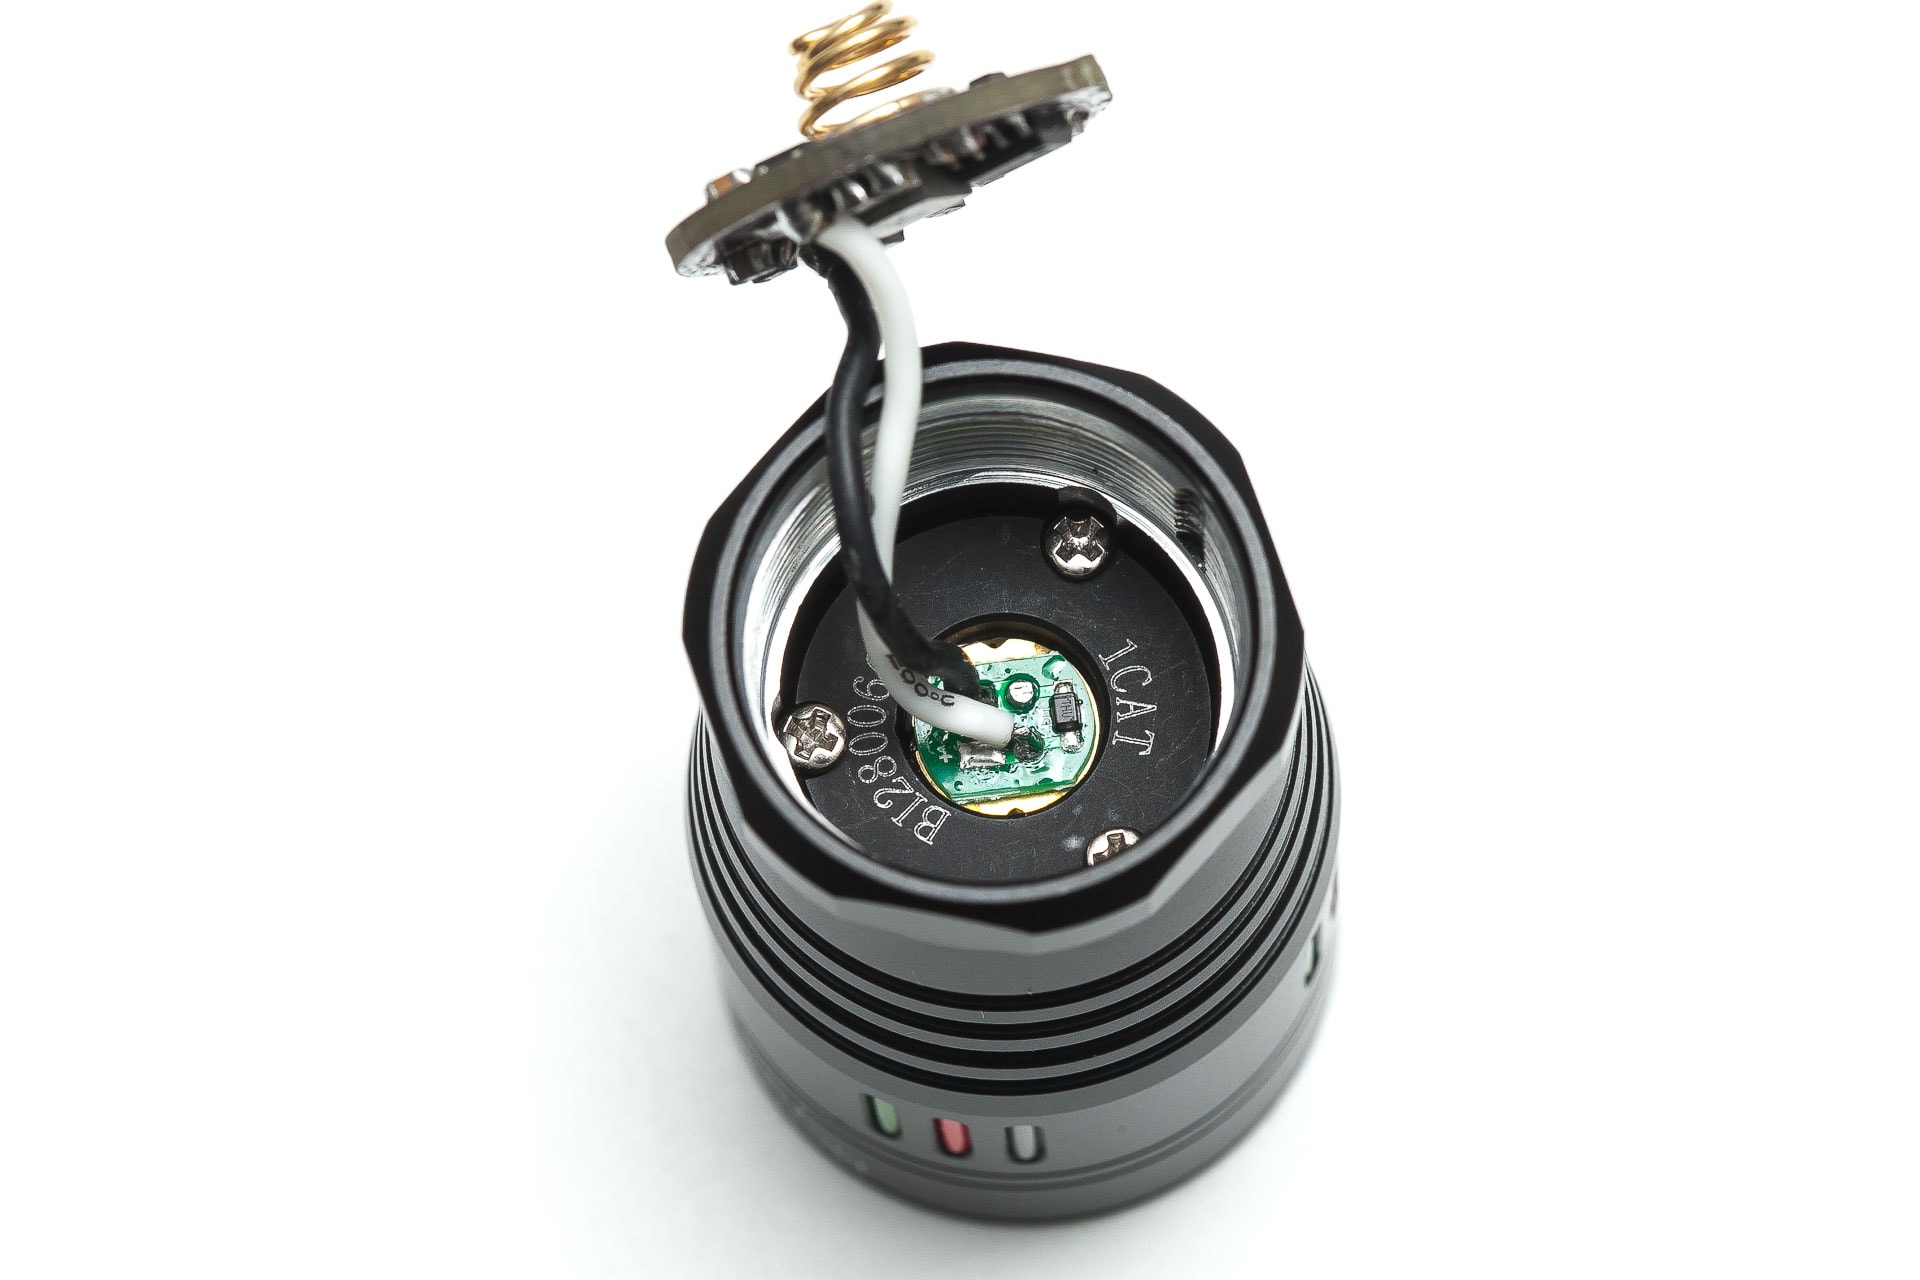
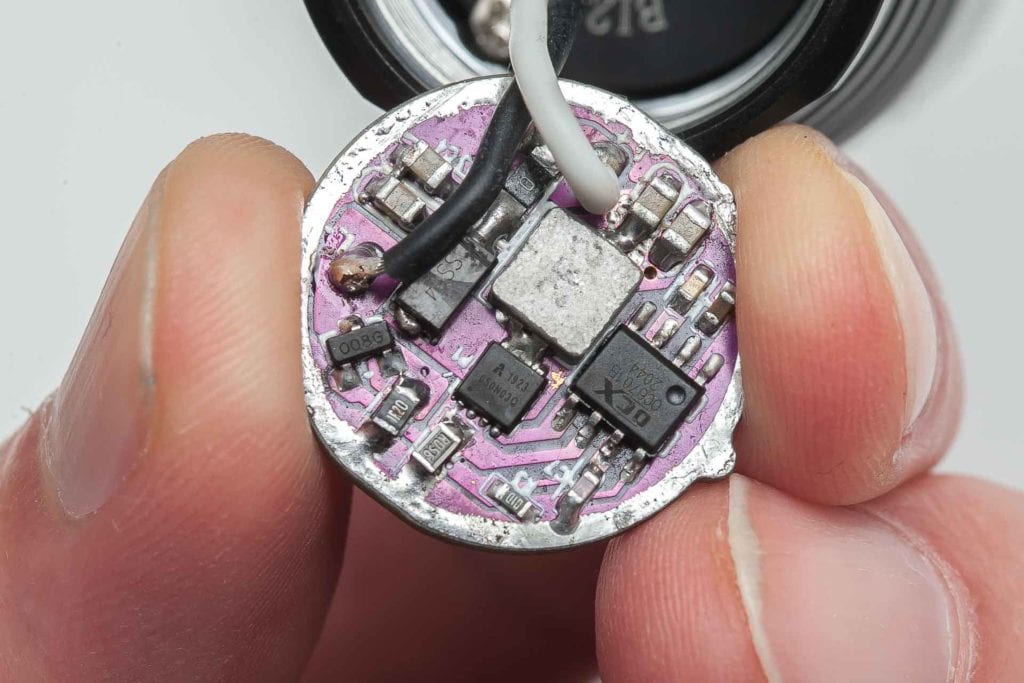
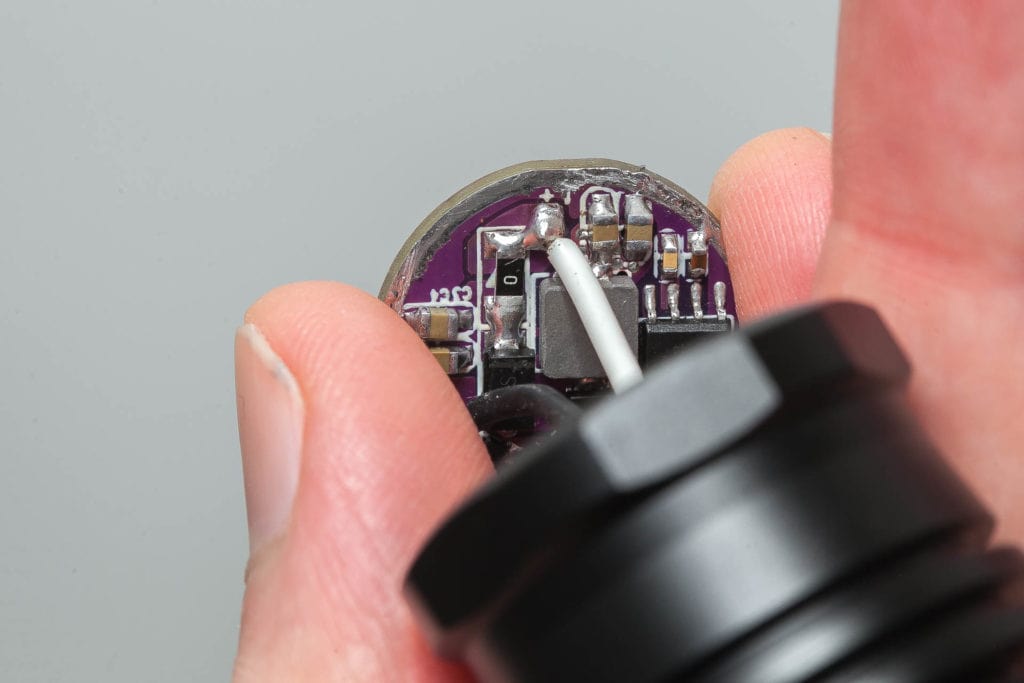
Mine broke because of trying to use a protected battery! I tightened it, and it didn’t turn on, tightened a bit more, still nothing. Then reverted back to the unprotected cell, and that didn’t work anymore either. Tried the short tube with 18350, also didn’t work anymore. So learn from my mistake, don’t use protected cells, and try to tighten the tailcap.
Performance
Lumen measurements:
All output numbers are relative to my homemade Integrating Sphere. It is set up with an Extech SDL400 Lux Meter for measurements including a Kenko PRO1D ND-16 filter. The base measurement is done with a Convoy S2+ that has been tested at 255 lumens.
For Amp readings, I use a Fluke 77III DMM. For higher amps I now use a Fluke 325 True RMS clamp meter. For microamps, I use a cheap DMM with an easy-to-use micro amp setting.
Used a Samsung INR18650 30Q for testing.
| Mode | Amp at start | Specs | start | 30 sec | 10min |
|---|---|---|---|---|---|
| Low | 0.89 | – | 124 | 122 | 114 |
| High | 2.82 | 350 lm | 345 | 328 lumens | 228 |
I also tested it 1 time with a 18350 before the light broke. It was a Keeppower IMR18350 1200mAh.
| Mode | Amp at start | Specs | start | 30 sec | 10min |
|---|---|---|---|---|---|
| Low | 0- | – | – | – | – |
| High | 2.88 | – | 334 | 316 lumens | 215 |
Runtime:
The runtime test was done with the 50cm integrating sphere, including the Kenko Pro1D ND-16 filter and Extech SDL400 data logging Lux Meter.
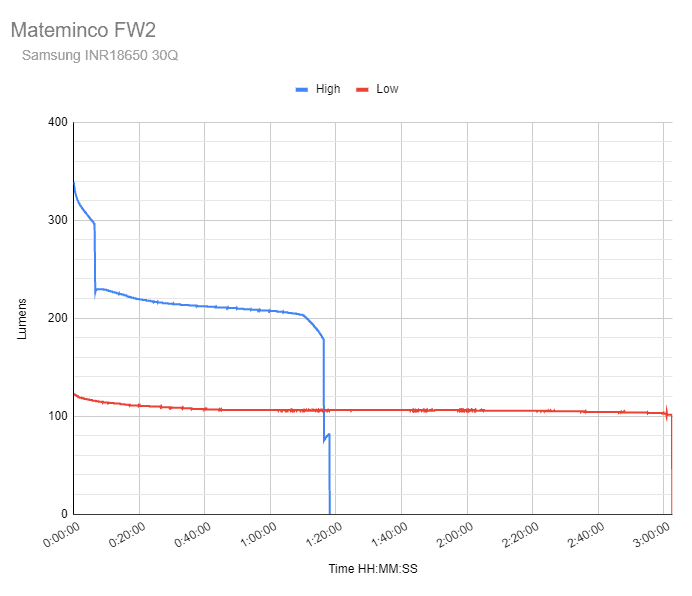
High: total runtime 1h18min.
Low: 3h02min
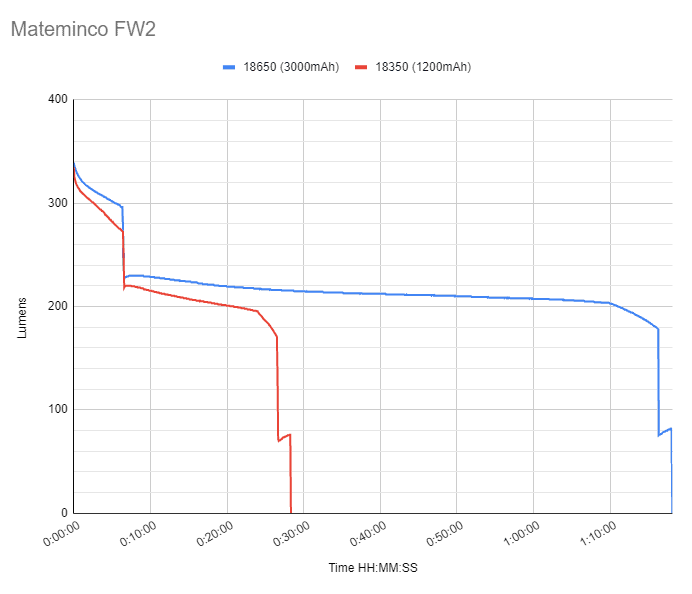
And I did 1 test with a 1200mAh battery, and the total runtime for High is: 28min. You can see the graph below. The output drop happened at the same time as with the 18650 battery.
Throw Measurement
Measurements were taken outdoors at 20 meters, with a professional Hagner E4-X Lux Meter. Measurements were taken 30 seconds after turn on.
| Mode | Specs | Cd measured | Meters | Yards | Miles |
|---|---|---|---|---|---|
| Low | – | 192,000 cd | 876 | 958 | 0.54 |
| High | 425,000 cd | 440,000 cd | 1,327 m | 1,451 yd | 0.82 mi |
Unfortunately, there are no specs yet available.
Mateminco FW2 versus its competition
LEP flashlight comparison: small LEP flashlights (< 40mm)
A comparison list with single-cell LEP flashlights we reviewed: These numbers are NOT from the specifications but measured by our reviewers. They include all single-cell LEP flashlights with a smaller diameter head (smaller than 45mm). The numbers include the measurement in lumens (lm), measure candela (cd), and calculated distance in meters, and yards. These numbers are all measured 30 seconds after turning on.
| Flashlight | @30sec (lm) | Candela (cd) | Meters | Yards |
|---|---|---|---|---|
| Acebeam W10 gen2 | 474 | 496,000 | 1409 | 1540 |
| Fenix TK30 | 493 | 384,000 | 1239 | 1355 |
| Fenix HT30R | 474 | 700,000 | 1673 | 1830 |
| Jetbeam M2S WP-RX | 354 | 345,000 | 1175 | 1285 |
| Jetbeam RRT M2S Raptor | 365 | 248,000 | 996 | 1089 |
| Lumintop Thor 1 | 323 | 356,000 | 1193 | 1305 |
| Lumintop Thor 2 | 324 | 888,000 | 1888 | 2065 |
| Lumintop Thor 2 v2 | 297 | 752,000 | 1734 | 1897 |
| Maratac LEP DX Reach rev. 2 | 291 | 396,000 | 1259 | 1376 |
| Nextorch L10 Max | 421 | 440,000 | 1327 | 1451 |
| Nextorch T7L | 524 | 428,000 | 1308 | 1430 |
| Nextorch T10L | 468 | 484,000 | 1391 | 1522 |
| Olight Odin Turbo | 379 | 368,000 | 1213 | 1327 |
| Richfire SFC-039 | 194 | 197,896 | 890 | 973 |
| TrustFire T30R | 105 | 147,500 | 768 | 840 |
| Weltool W3 Pro | 478 | 363,000 | 1206 | 1319 |
| Weltool W3 PRO TAC | 1017 | 583,600 | 1528 | 1671 |
Interactive runtime graphs below
Below are interactive throw comparison graphs (candela), between single-cell LEP flashlights with a small head (+-<40mm). Hover your mouse over the interactive graph below to see the details of each specific light.
(tip: hold your mobile phone horizontally to see the full graph). Or check this link to view the full interactive graph.
Same, but then focused on the first 30 minutes. Or open new window for 30min interactive graph here.
And now zoomed in to see the details. Or open the following link for the interactive graph.
Beamshots
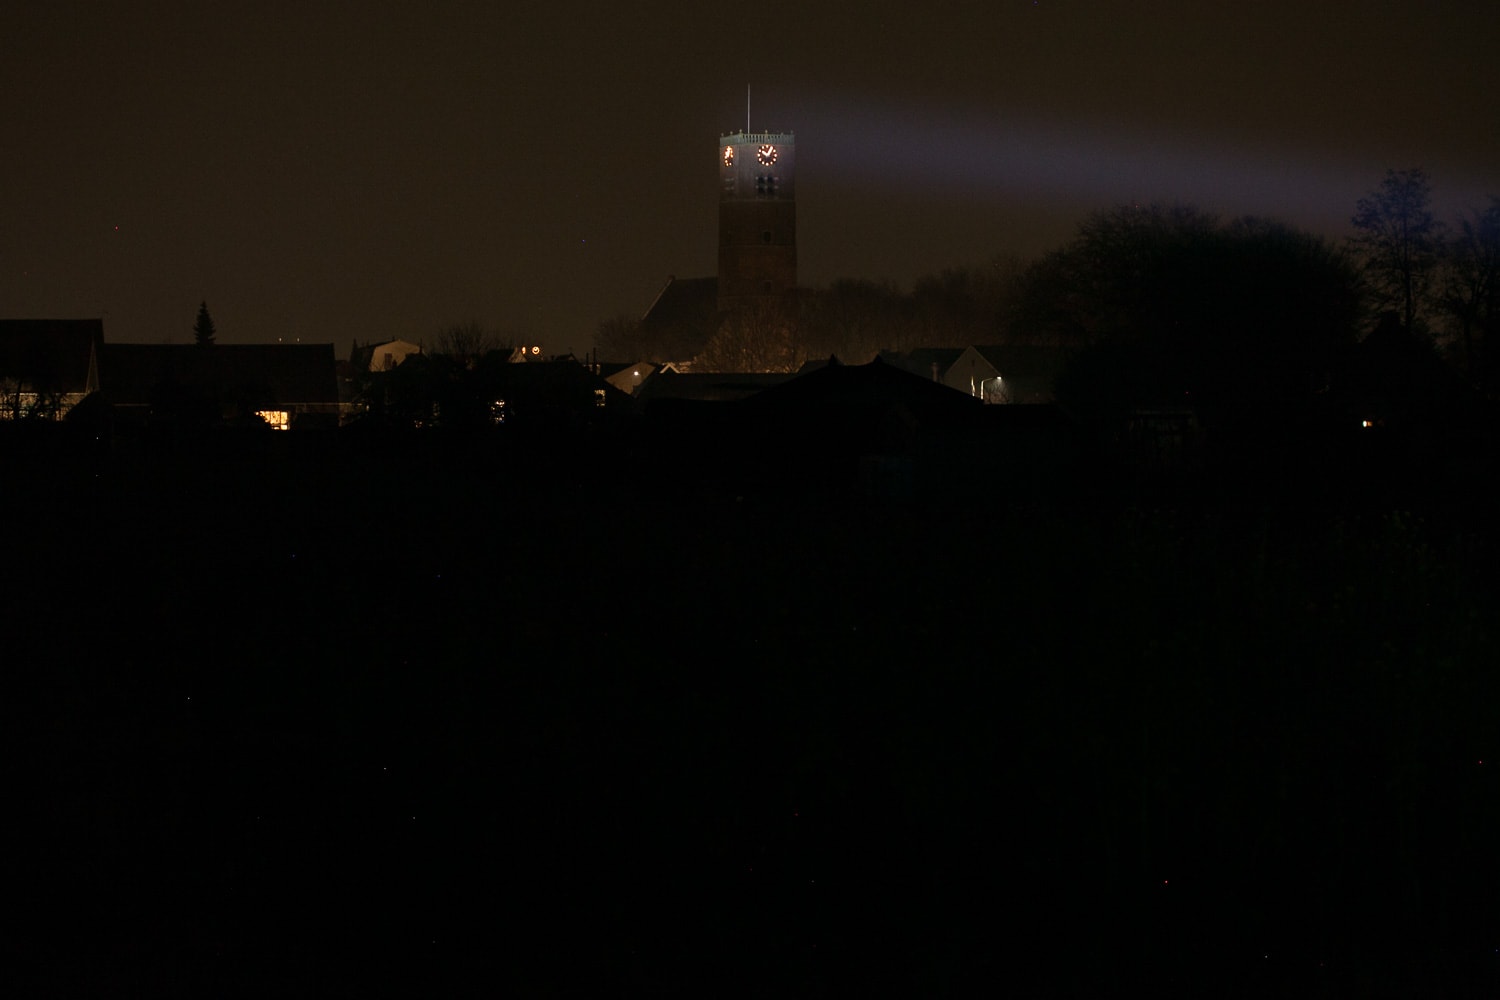
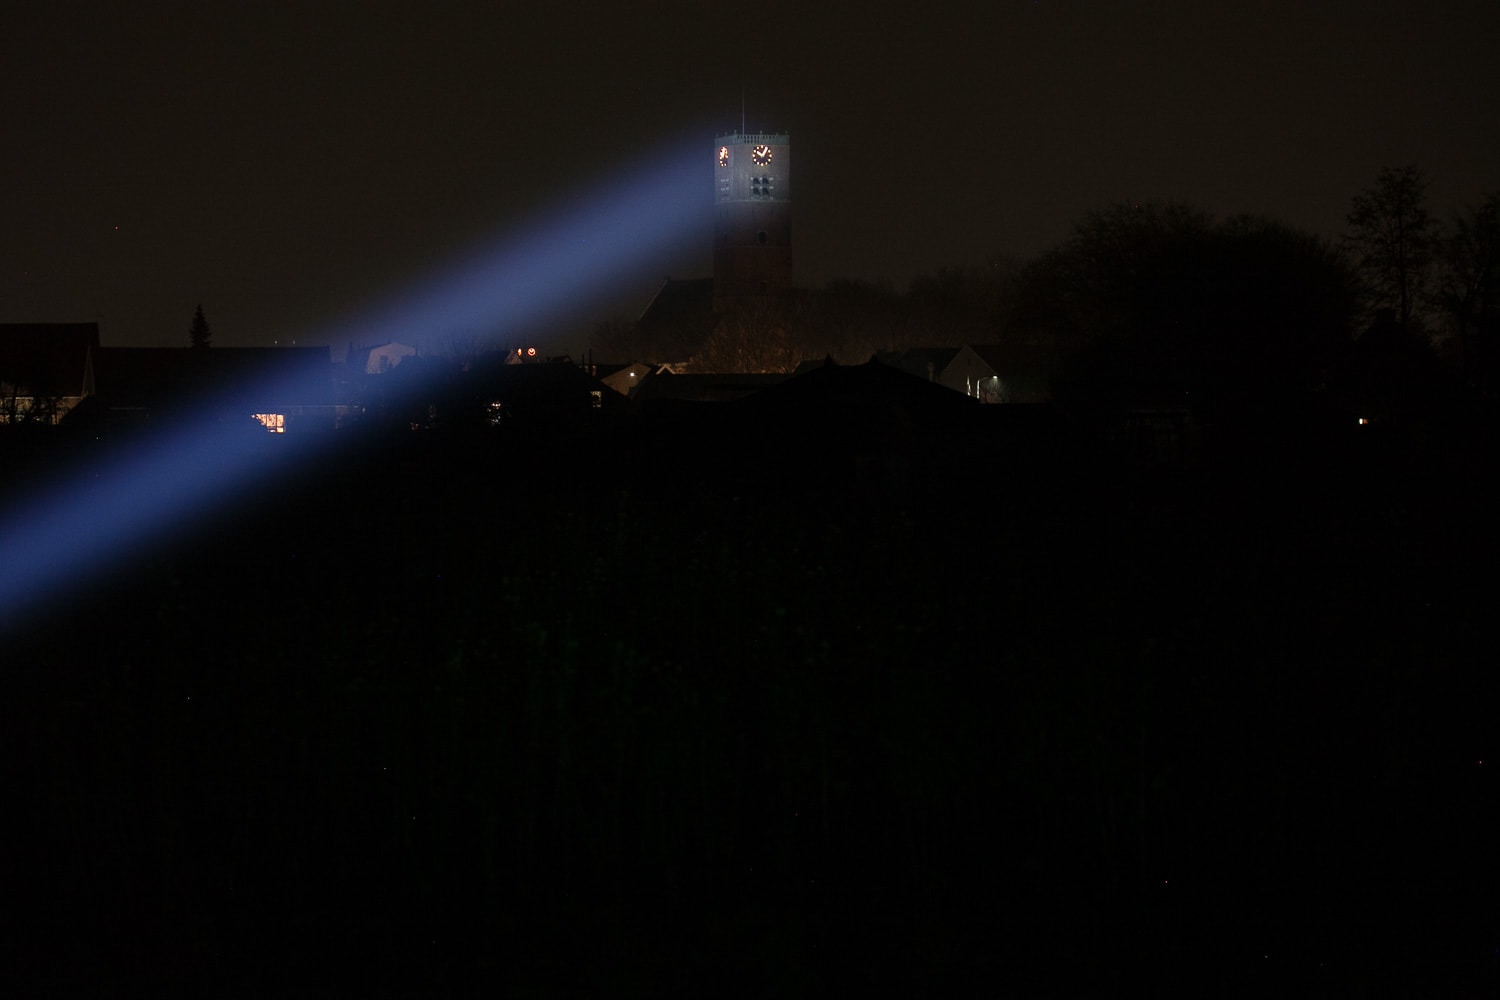
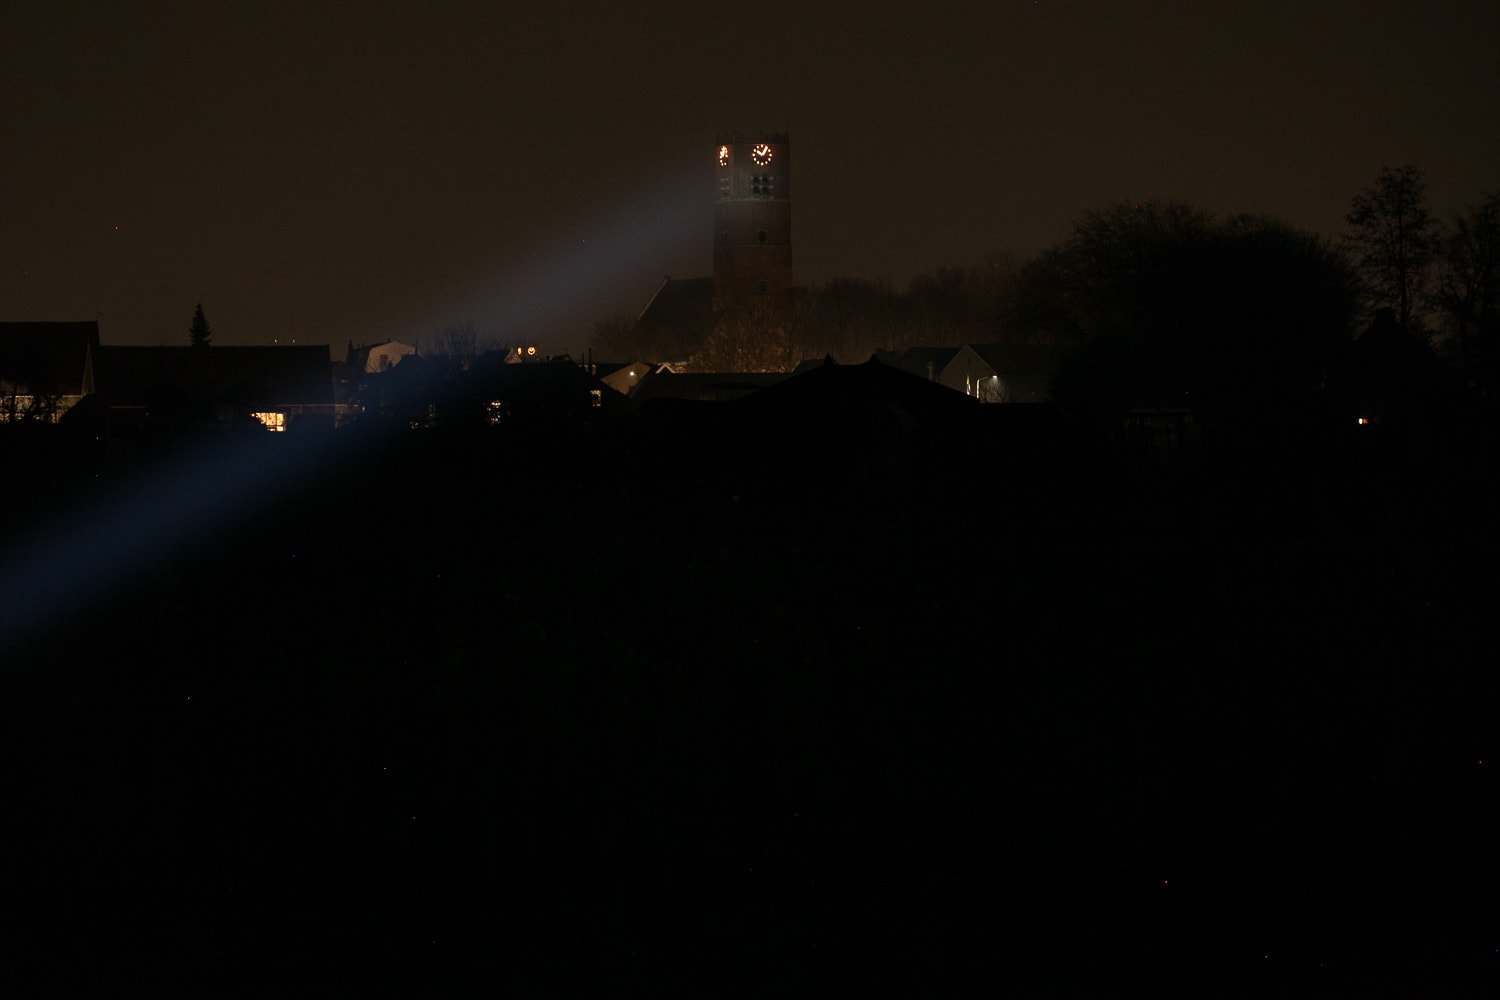
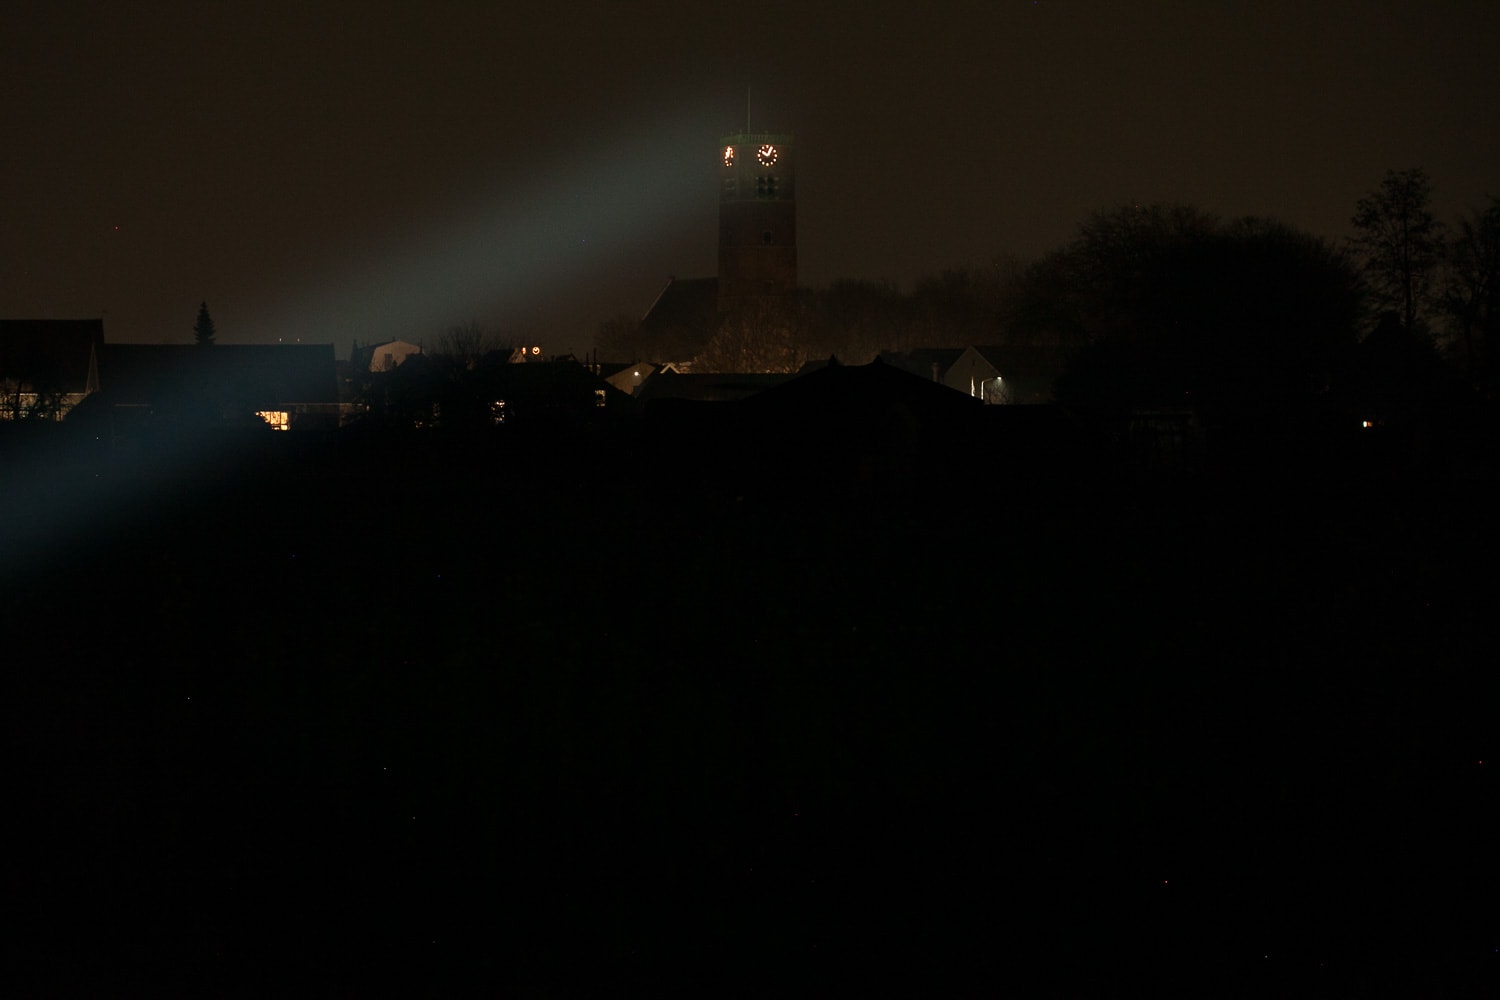
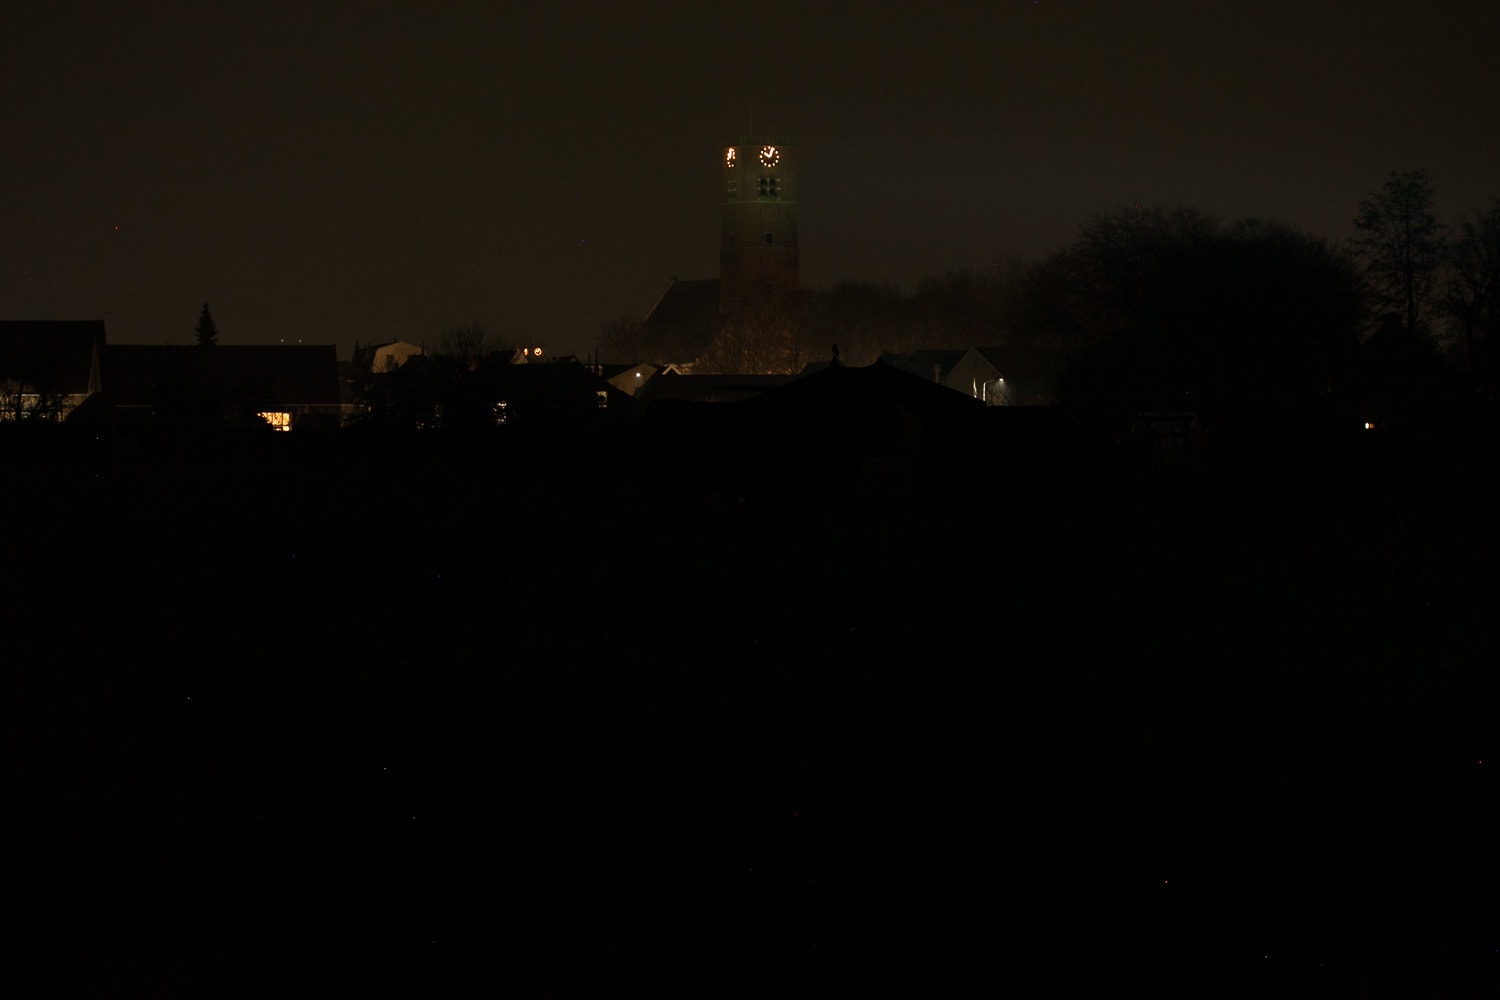
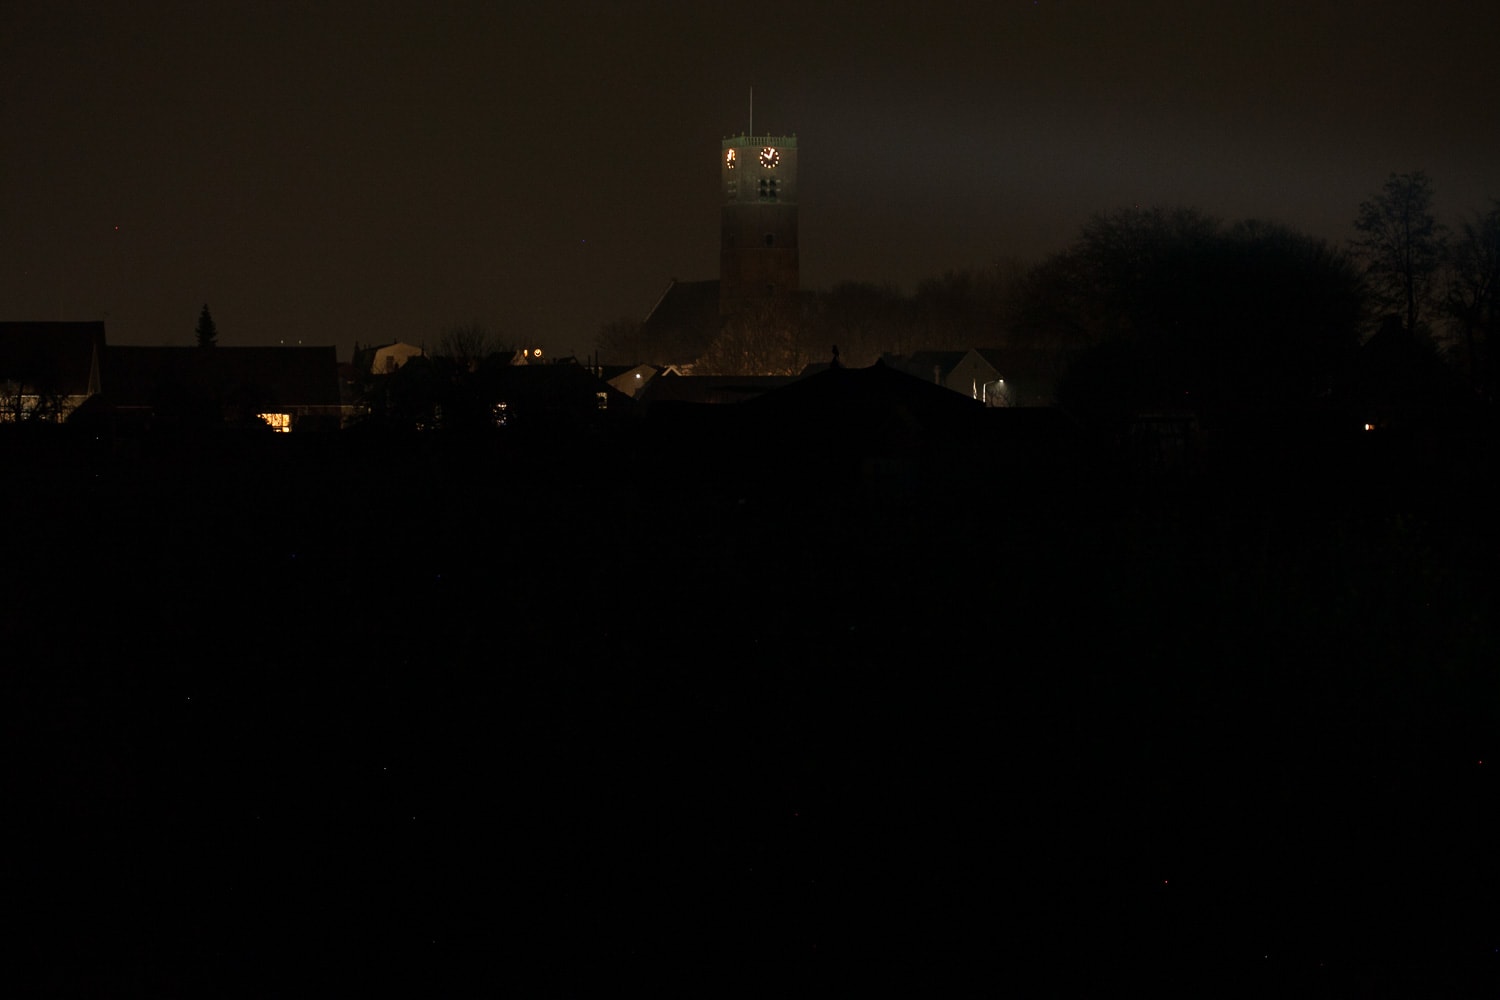
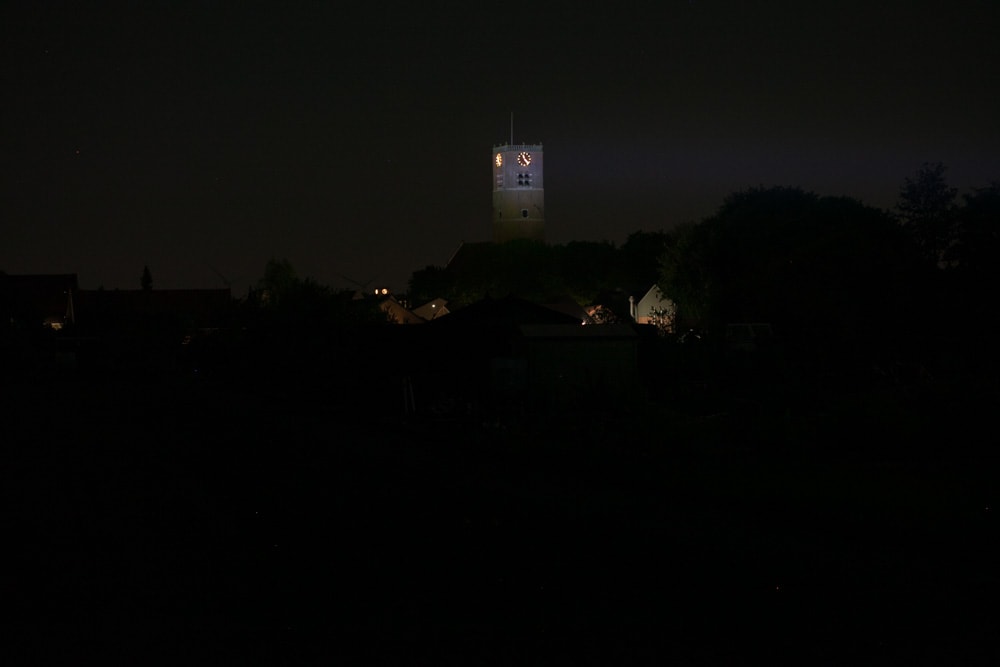
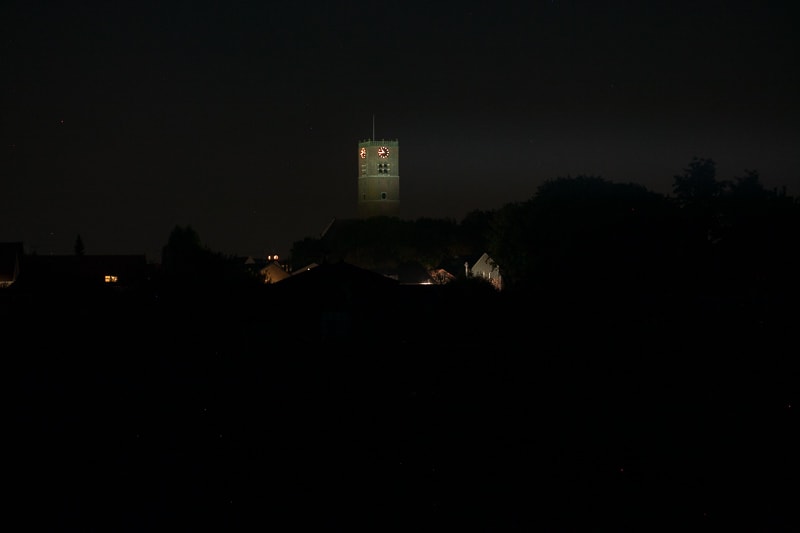
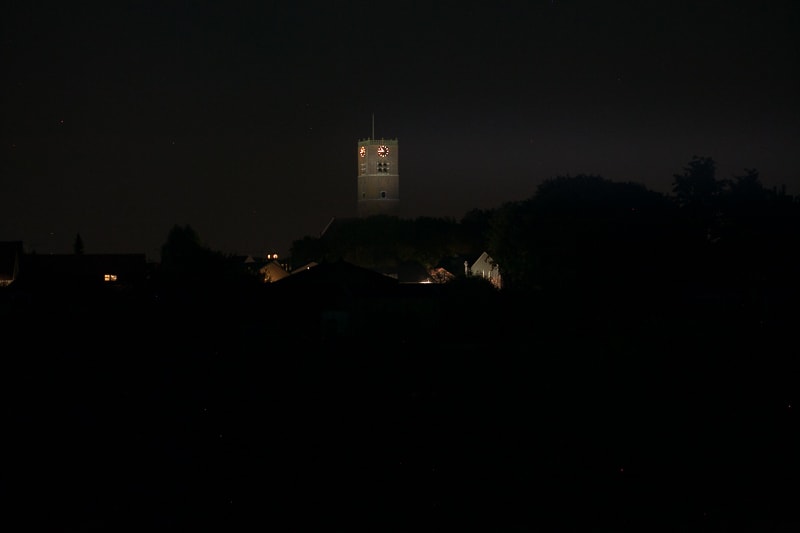
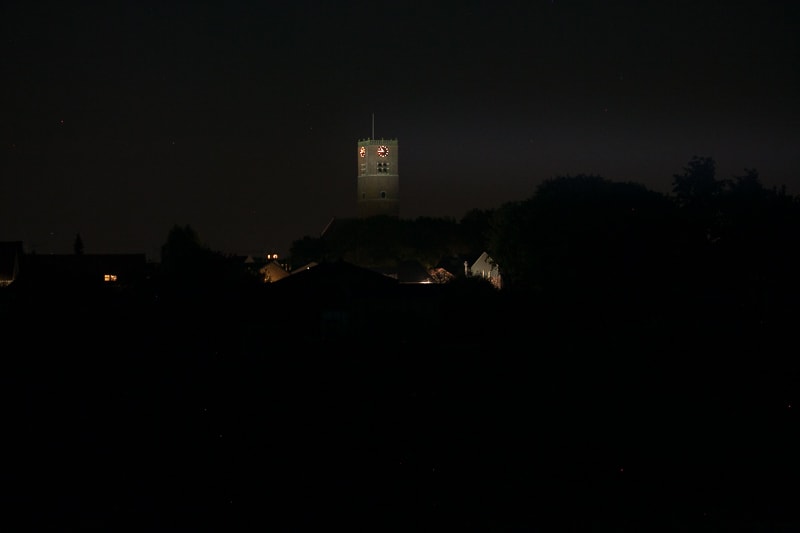
For the following beamshots I used a Canon EOS 5D Mk2 and a 100mm lens. manual settings: ISO1600, .5sec , F4, 5000K
The tower is about 450 meters / 492 yards away.

Disclaimer: This flashlight was sent to me for review at no cost by Nealsgadgets. I have not been paid to review, nor have I been holding back on problems or defects.
Final Verdict
Pros
- Nice (tactical) design
- Plenty of throw
- Works on 18650 and 18350 with battery adapter
Cons
- UI: easy to activate strobe accidentally
- No lanyard attachment or pocket clip
- Prototype product: no specs yet avaiable, or final UI
Explanation on star ratings:
1: Avoid: my phone flashlight would be a better choice – 2: Poor: significant defect or issues; almost unusable – 3: Average: some defects or issues; but still usable 4: Good: recommended (minor issues) – 5: Great: highly recommended
4 stars: ★★★★
Activating strobe is a little too easy when changing modes. But performance-wise, the Mateminco is not a bad flashlight. Not as good as some of its competitors, but it’s very pocketable.
The additional 18350 battery adapter is a great option as well. That makes the light even shorter, and even more ‘pocketable’.
Mateminco FW2 discount code:
Discount code: 1Lumenlep or 1lumen711
1lumen selects and reviews products personally. We may earn affiliate commissions through our links, which help support our testing.