1lumen selects and reviews products personally. We may earn affiliate commissions through our links, which help support our testing.
Olight Warrior 3 review
Olight Warrior 3 specifications
| Brand/model | Olight Warrior 3 |
|---|---|
| Category | Best tactical flashlight |
| LED | N/A |
| Lumens | 2,300 lm |
| Beam intensity | 23,000 cd |
| Battery config. | 1*21700 |
| Material | Aluminum |
| Modes | 5 |
| Blinkies | Strobe, SOS |
| Reflector | Smooth |
| Waterproof | IPX8 |
| Review date | October 2021 |
Introduction:
I’ll be honest. I didn’t know there was a Warrior 2, so I started digging and soon realized we talked about the Olight Warrior M2R Pro. Fortunately, that’s one of the Olights we reviewed earlier, so this could be a good comparison between 2 popular tactical flashlights.
Olight claims an increased output, with 2,300 lumens from the original 1,800 lumens. And yes, that’s quite a bump. And knowing Olight pretty well, these numbers are likely to be on the conservative side.
Package quality.
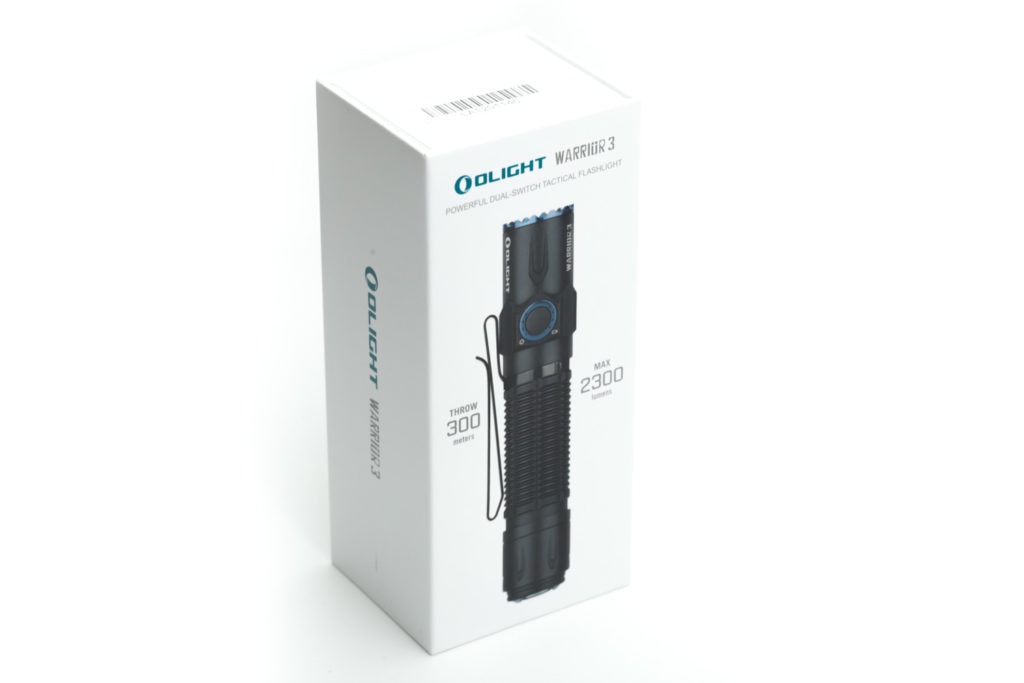
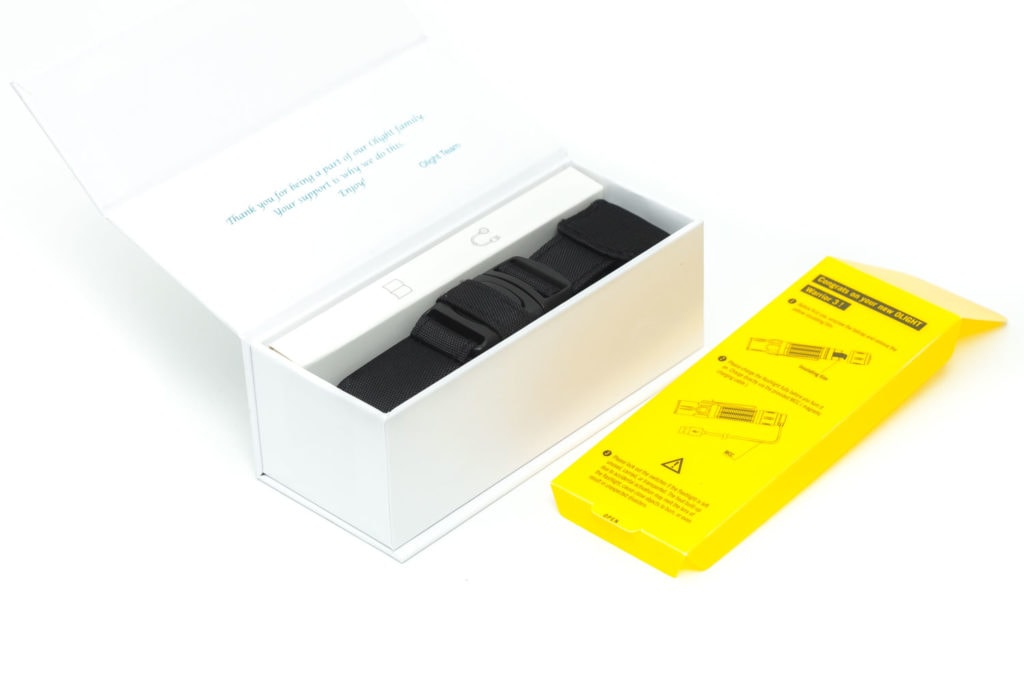
I always enjoy Olight’s packaging. Especially if you’re used to the generic packaging of some other brands. Olight goes the extra mile and makes it fit like it was made for it. Oh, you’re right; they’re actually tailor-made for it.
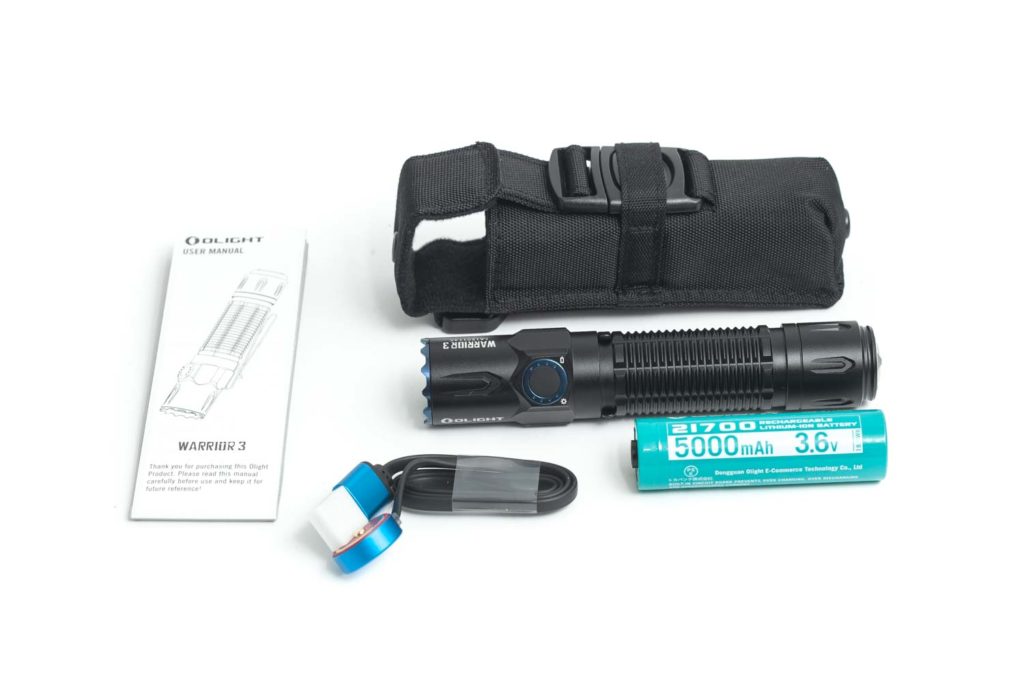
The package includes everything for you to get going.
- The flashlight: Olight Warrior 3
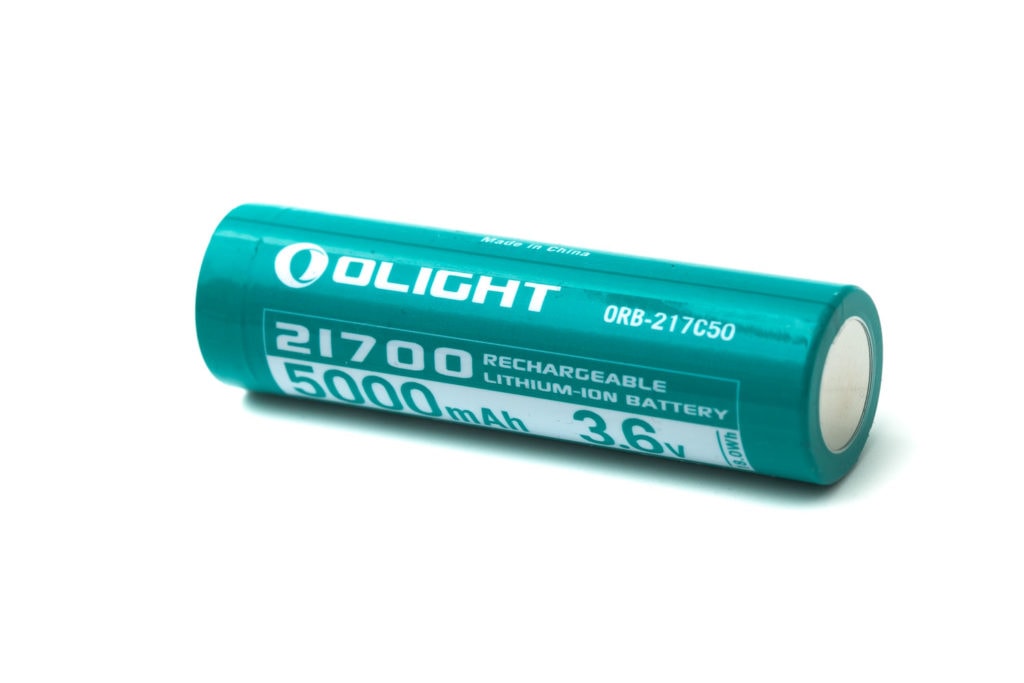
- A battery: 21700 battery with 5,000mAh
- A magnetic USB charge cable (MCC3)
- Manual
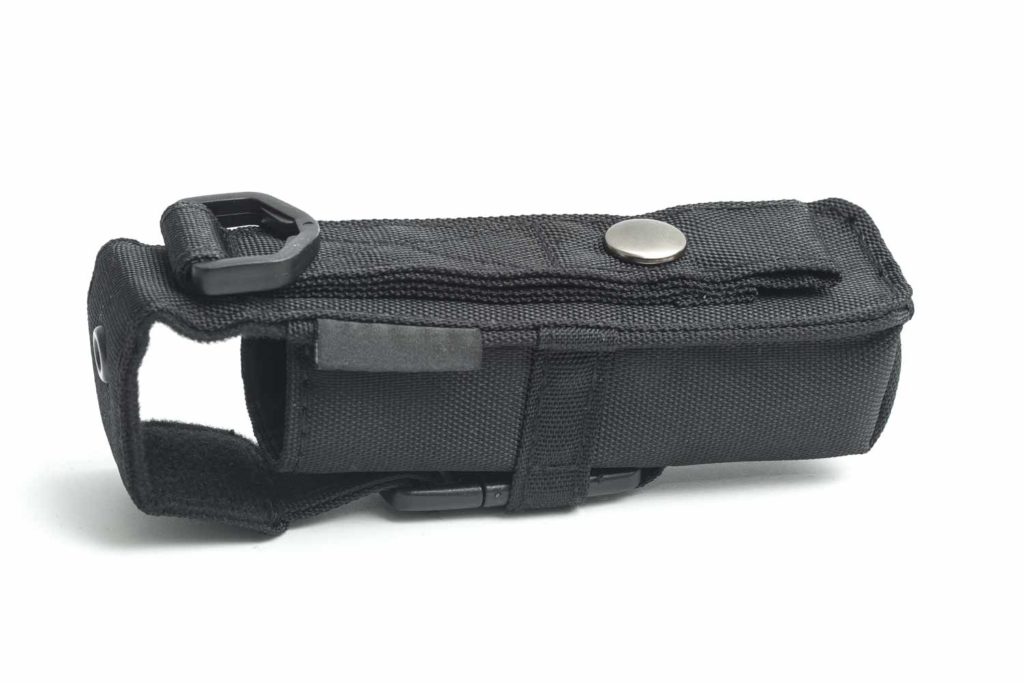
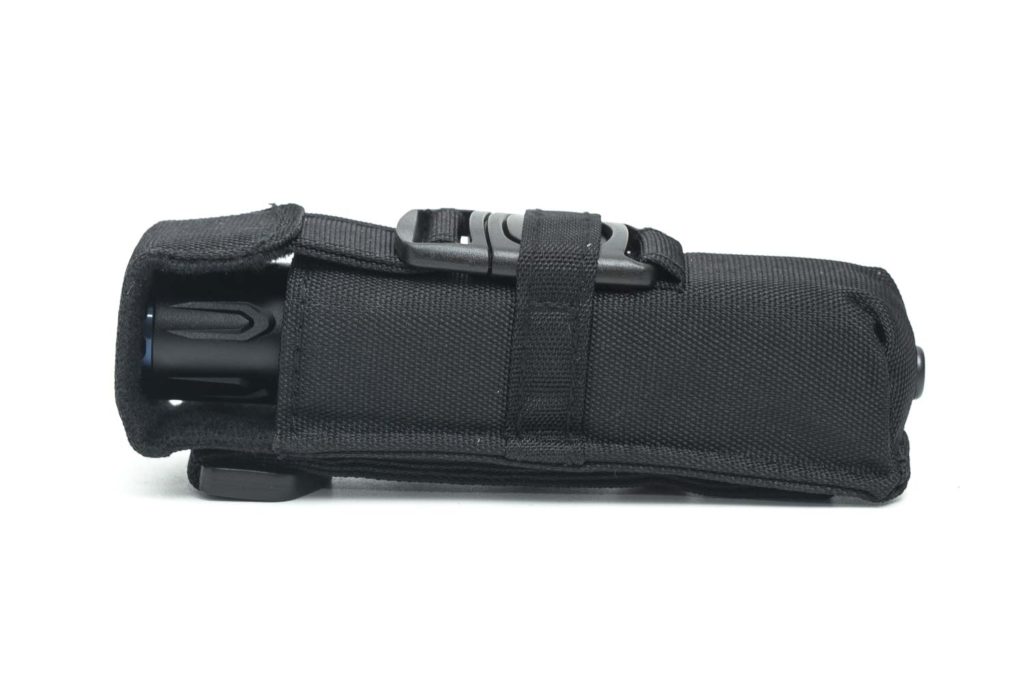
- Holster
Flashlight in use
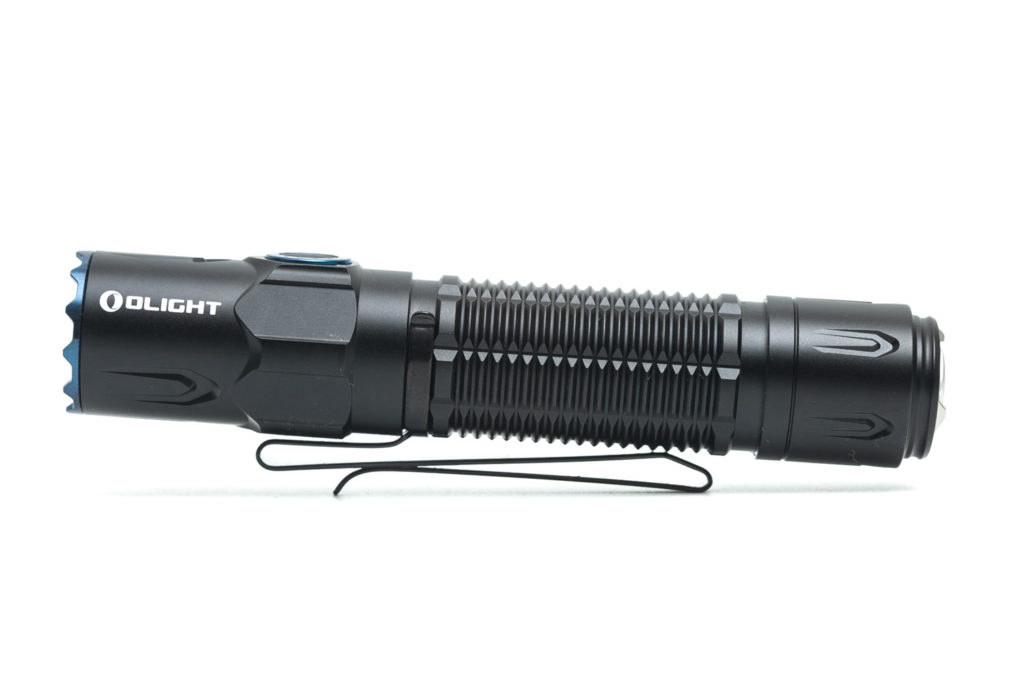
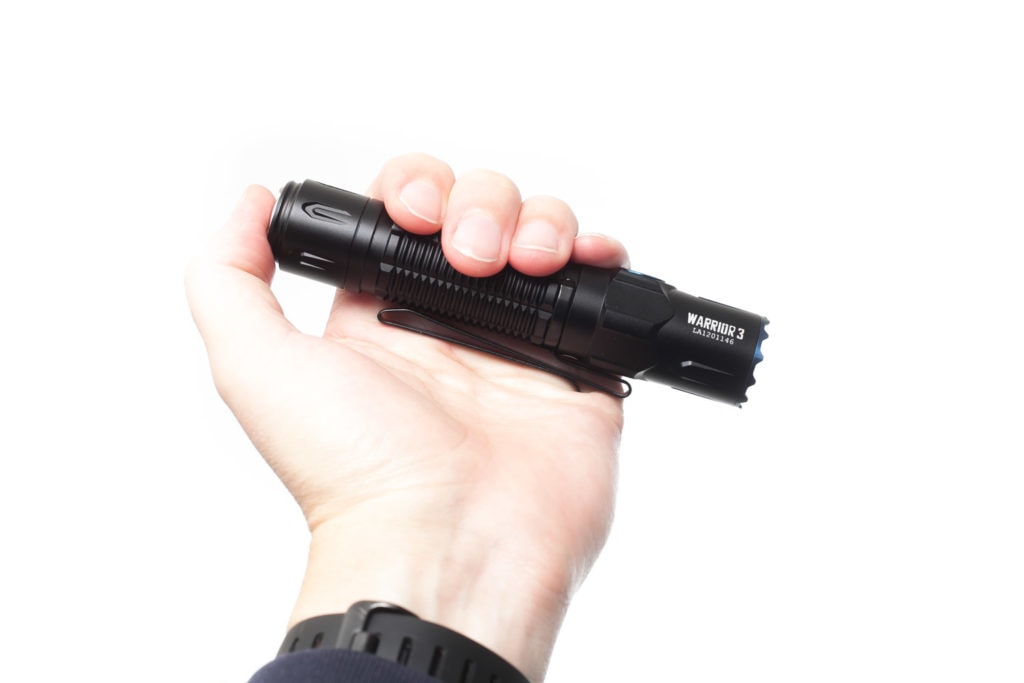
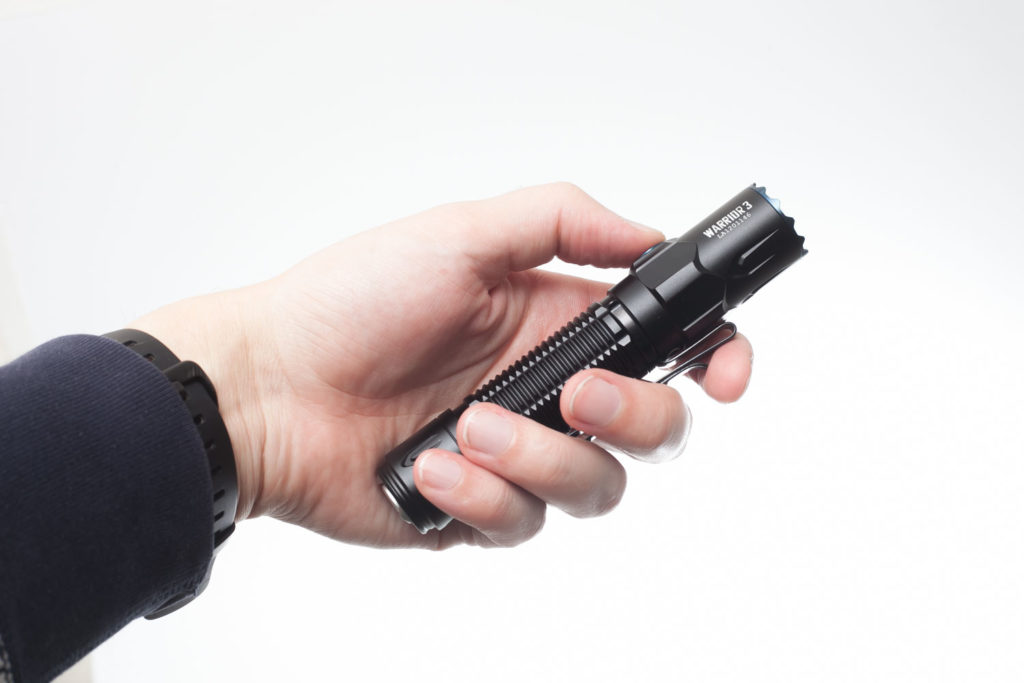
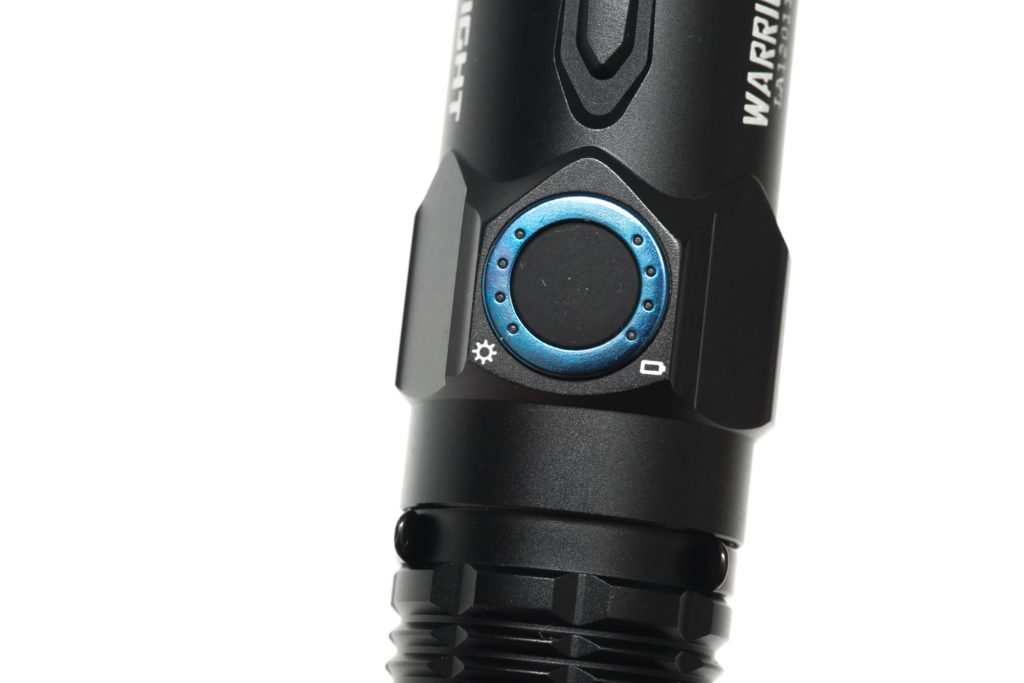
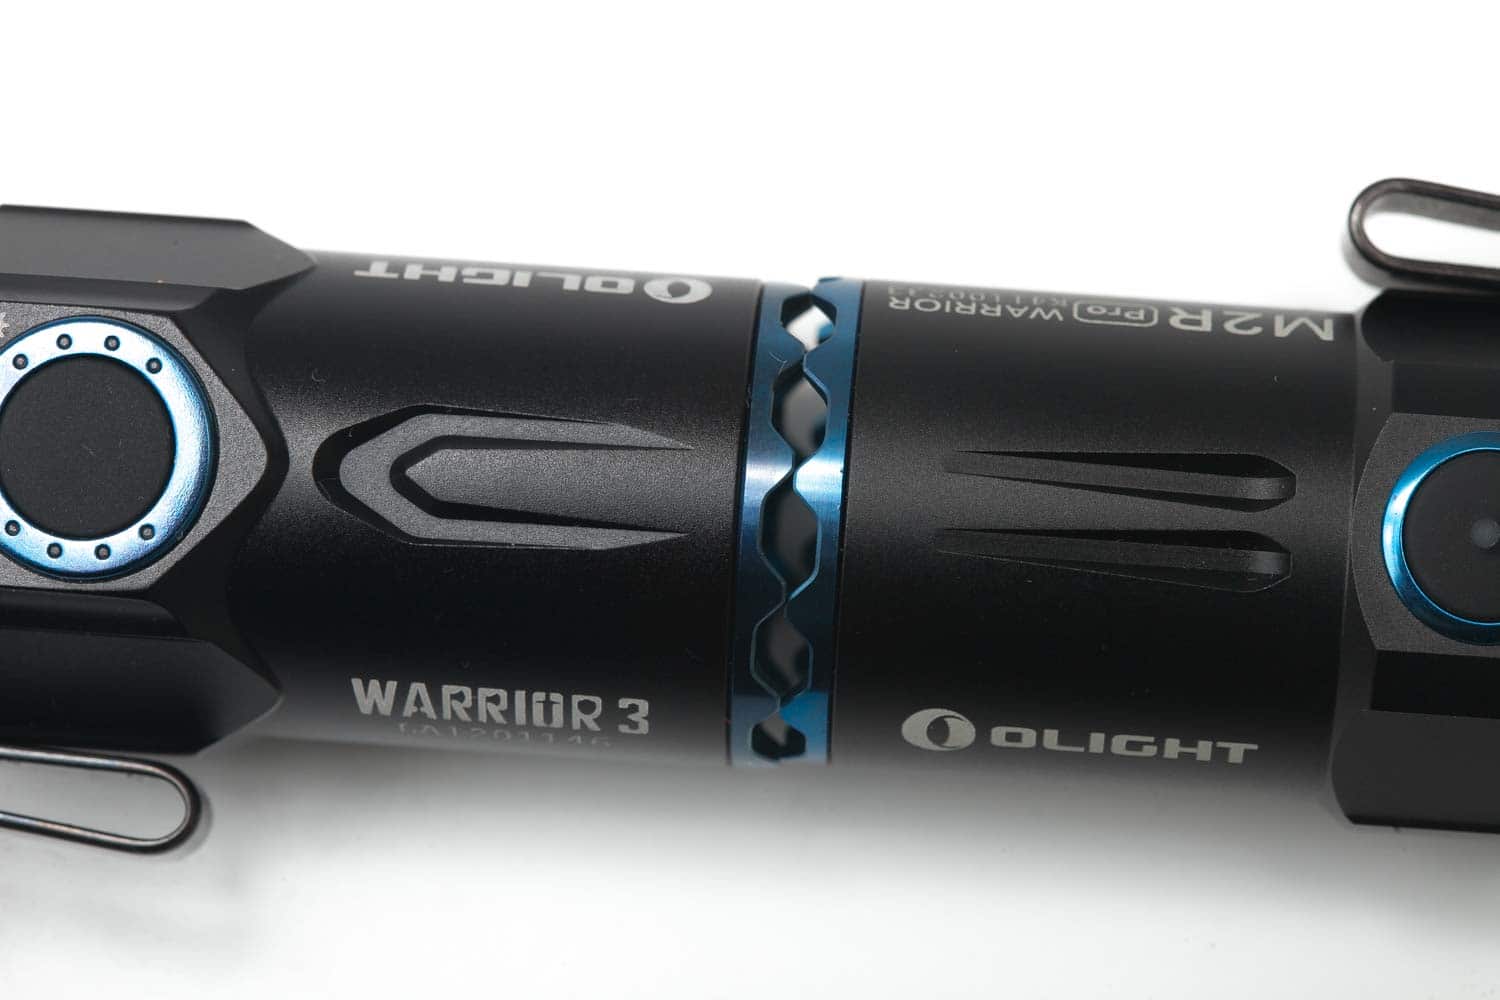
One of the first things you’ll notice when comparing the M2R PRO with the Warrior 3 is the side switch. The switch is renewed and has indicator LEDs on both sides. The left side shows the output mode, and the right side shows the battery level.
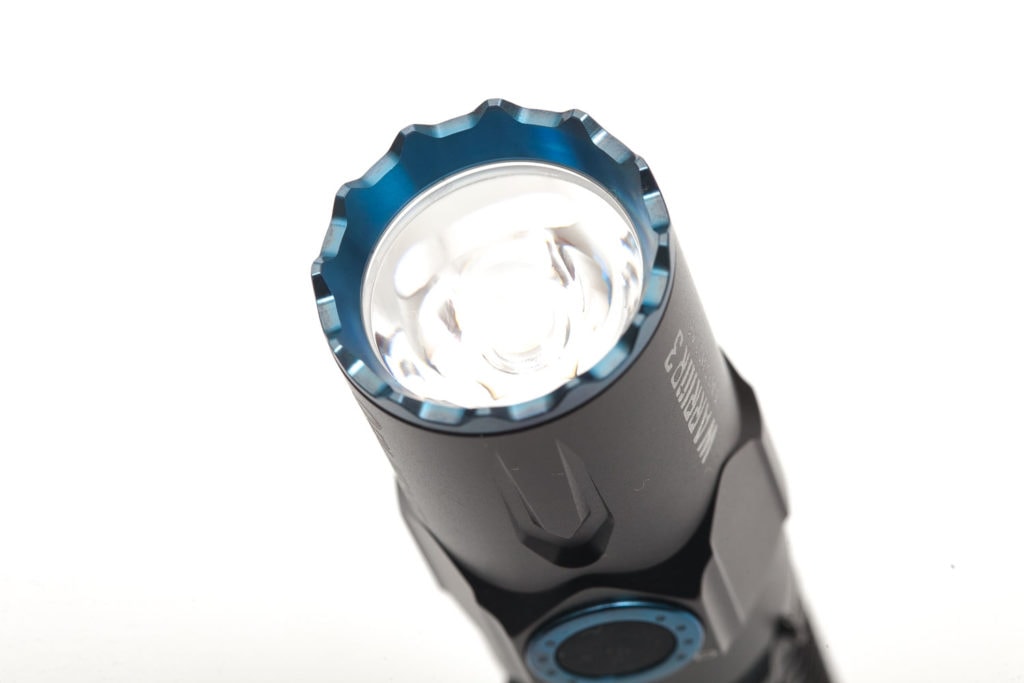
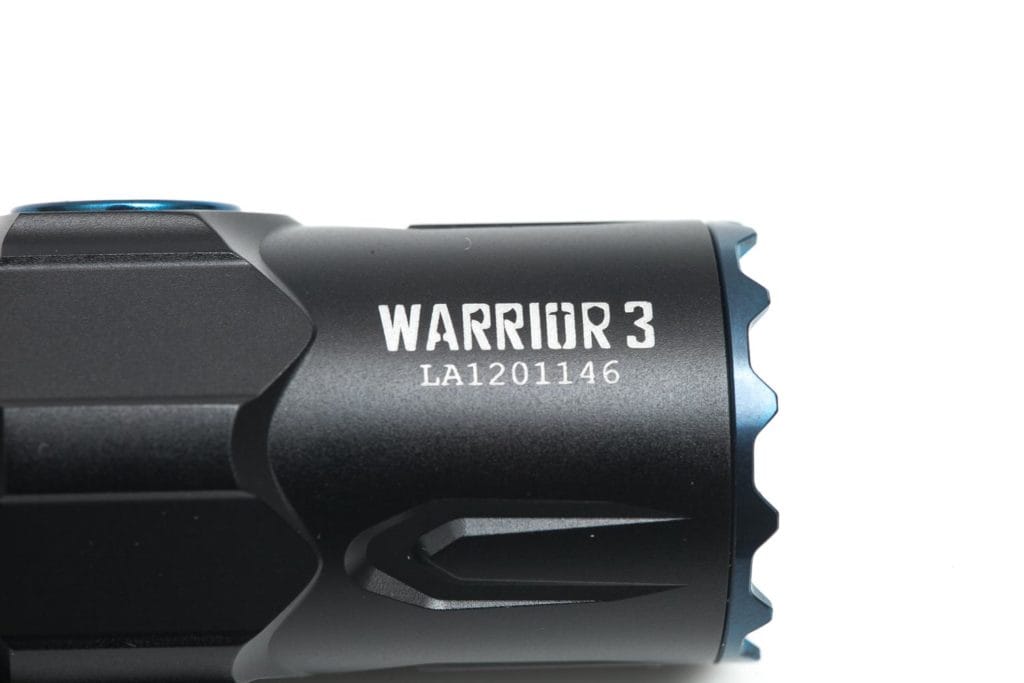
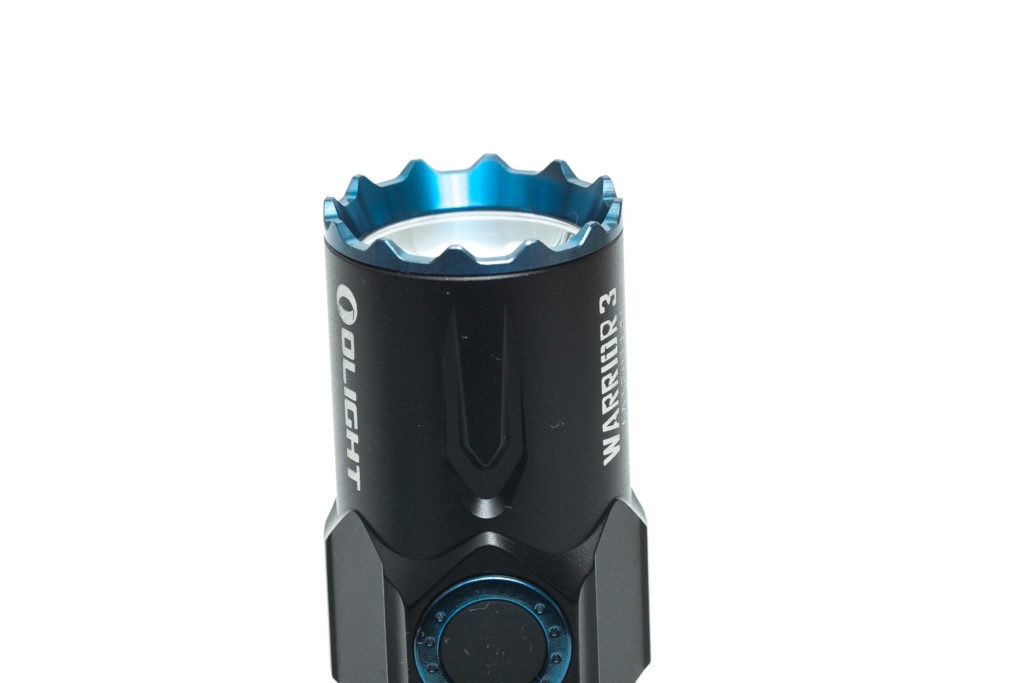
The side switch itself also feels different, in a positive sense. It’s very ‘snappy’ without any play or wiggle. It’s sitting flush with the blue ring around the switch. This could help to not accidentally activate it. But I wouldn’t recommend carrying it in your pocket with its aggressive bezel anyway. Within the shortest time, you’ll cut yourself, or at least your pants.
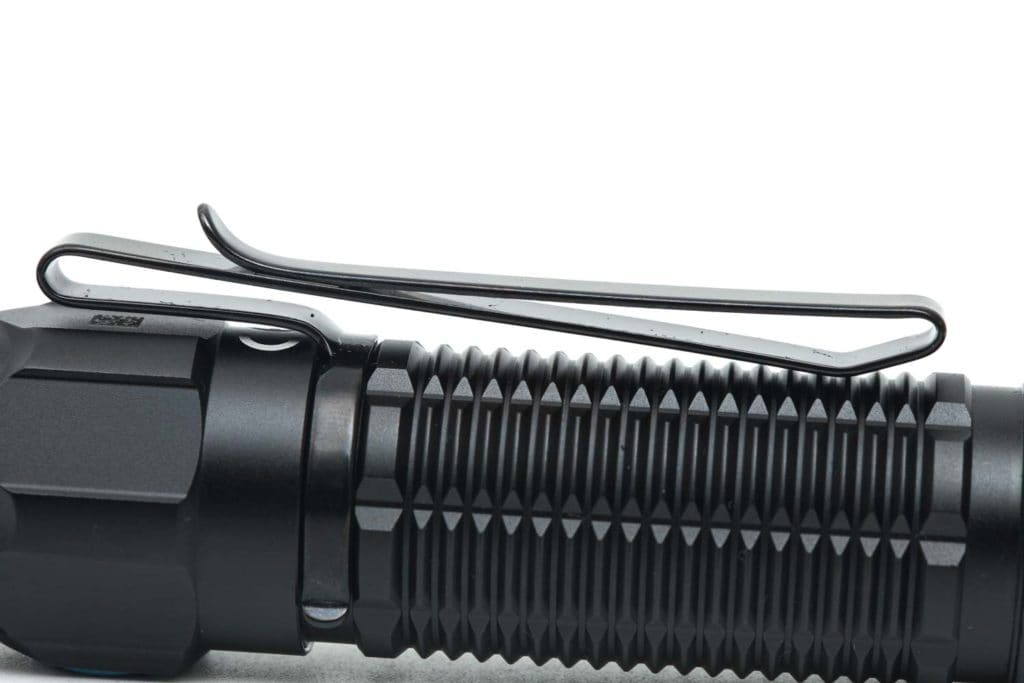
There’s a 2-way pocket clip, so you don’t have to use the holster if you don’t want to. But there’s no attachment point for a lanyard. You can still attach a lanyard to the pocket clip, but I’m not sure how well that hold up, because the pocket clip is removable.
if you want to use the Warrior 3 with a gun, you can get the optional remote pressure switch that attaches to the rear end.
That being said, there’s a holster included in the package for you to use. Or if you want to get crazy, you can always sand down the bezel to make it flat and smooth.
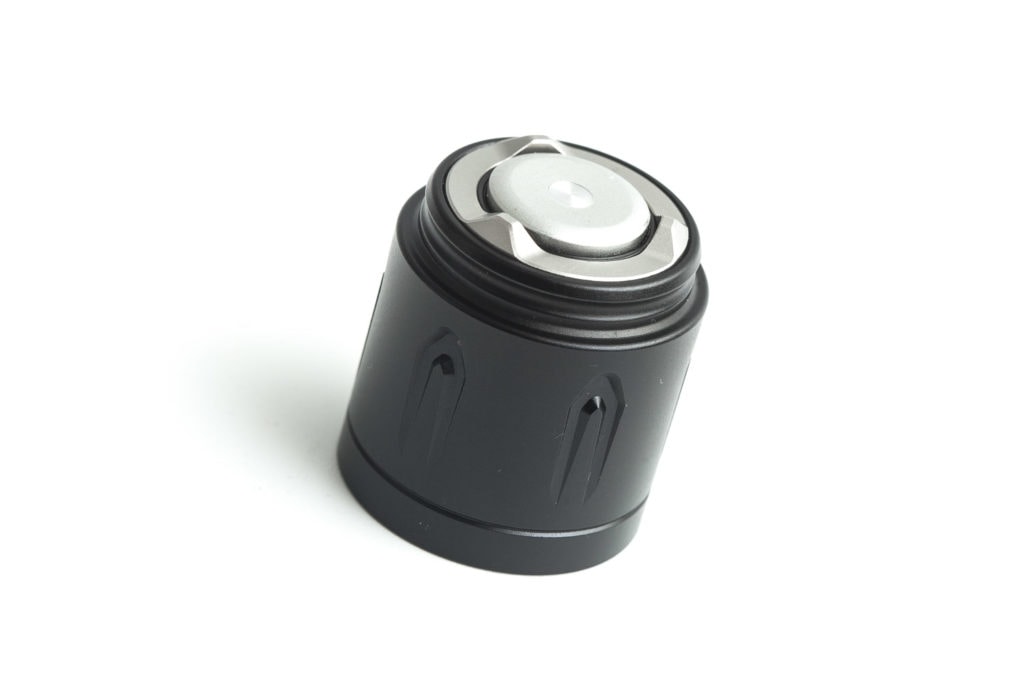
At the rear is a 2-stage tail switch that, depending on the setting, has 2 different usages. A half-press works differently from a long half-press. When you hold the switch half-pressed for a few seconds, the light will turn off once you release it. This is a momentary mode.
The same applies to a Full-press. If you push the switch quickly, the light stays on. If you keep pressing it, it will turn off when you release it. This is a typical Olight 2-stage switch that you probably have to get used to the first time. But once you are used to it, you’ll appreciate it, especially if you’re into tactical flashlights.
Oh, and yes, if you want to let it tail stand, that’s possible, but not very stable.
Build Quality, and Warranty
Quality wise, you can’t go wrong with an Olight. And the Warrior 3 is no exception.
The moment you have the Warrior 3 box in your hand, you feel this is going to be a high quality flashlight. This is something that Olight really stands out with. Upon opening the box you have all the accessories nicely packed and the flashlight in a holster. Each and every part screams q u a l i t y.
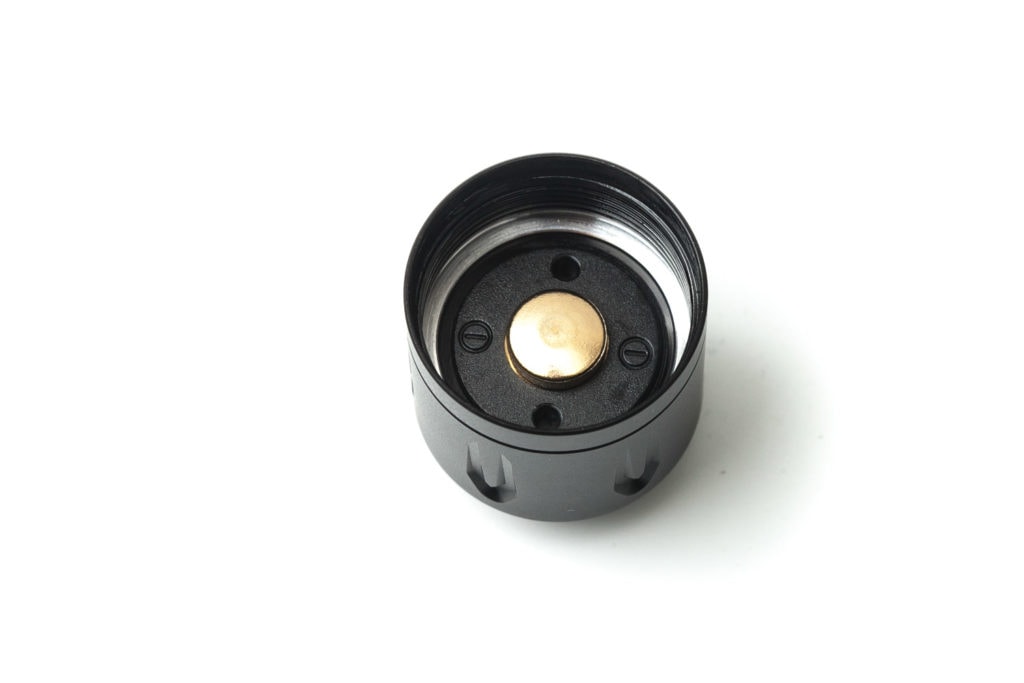
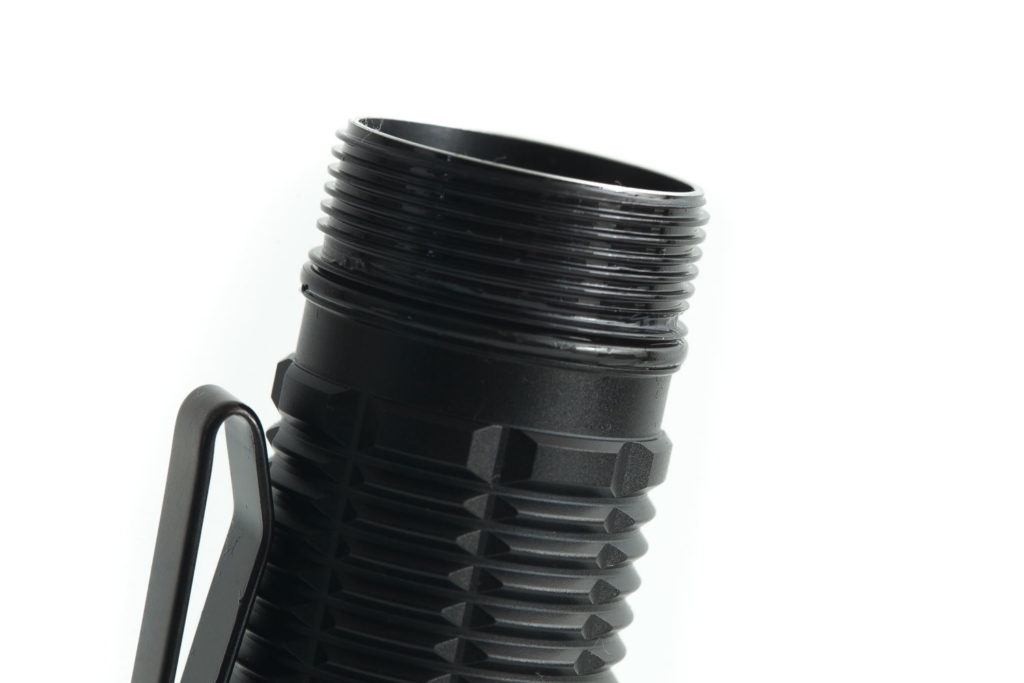
Olight’s knurling is one of its unique features. It’s not using the traditional diamond-shaped knurling, but one that I can’t explain, lol. There are no sharp edges or blemishes to be found. The tailcap is the only part on this light that can be unscrewed, and it has a nice amount of lube. The threads are anodized and screw very smooth.
Mine has black anodization, but it’s also available in other (limited edition) colors.
Olight warranty:
If your Olight product has any defect as the result of the materials or workmanship we want to make it right! Within 30 days of purchase: Return the product to the retailer you purchased it from and they will replace or repair it. Period. Within 5 years of purchase: Return the product to Olight and we will repair or replace it as long as the light is not working because of factory defects. This does not include obvious user wear or extreme damage. After 5 years of purchase: Return the product to Olight and we will repair or replace it. We will assess the fees involved and will let you know once we receive it.
LED, Lens, Bezel, and Reflector
Olight is one of the few companies that don’t show the type of emitters they use. When you’re new to flashlights and just want a good-looking, high-quality flashlight, you probably don’t even think about this. But for some flashlights enthusiasts, the type of LED is one of the reasons why they buy/don’t buy a flashlight.
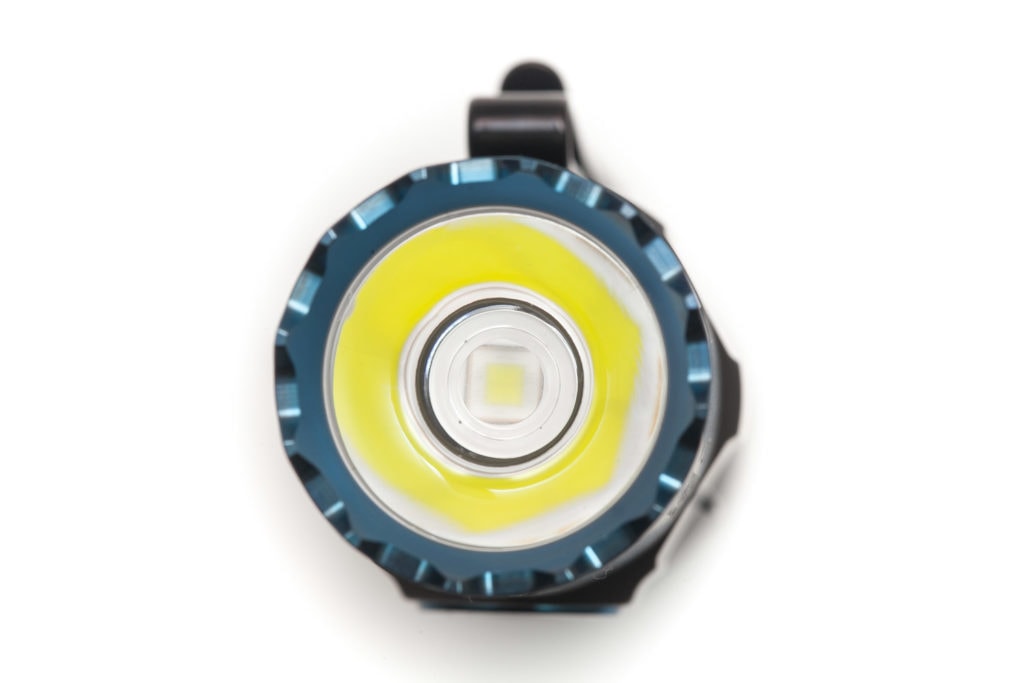
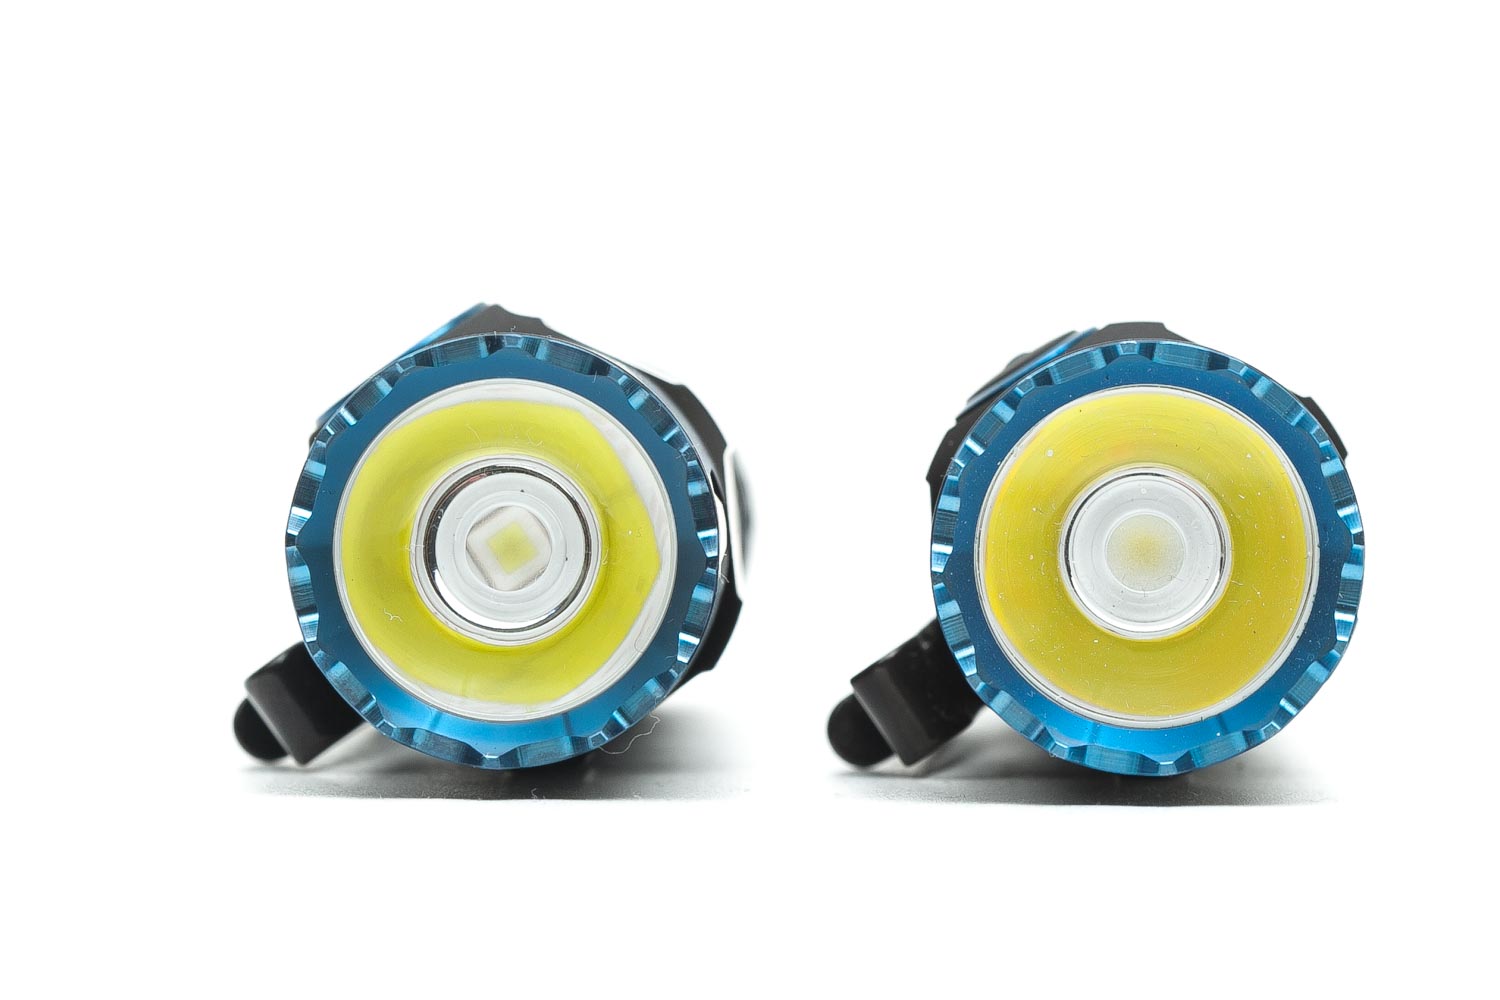
And oftentimes when a manufacturer isn’t showing the brand and model of its LED, you can still see what type they use by looking at the LED from the front. But that’s not the case with the Warrior 3 since there isn’t much to see. If you look at the front through the TIR optic, you can only see a blurry-looking LED. That’s not because of the LED, but because of the way this TIR optic was built.
Somehow, this optic makes a pretty perfect large-size hotspot, with a distinct edge. It’s larger than most traditional, reflector-based, flashlights. This is something unique, and different from the Warrior M2R PRO.
Oh, and the TIR optic doesn’t have a glass lens for protection.
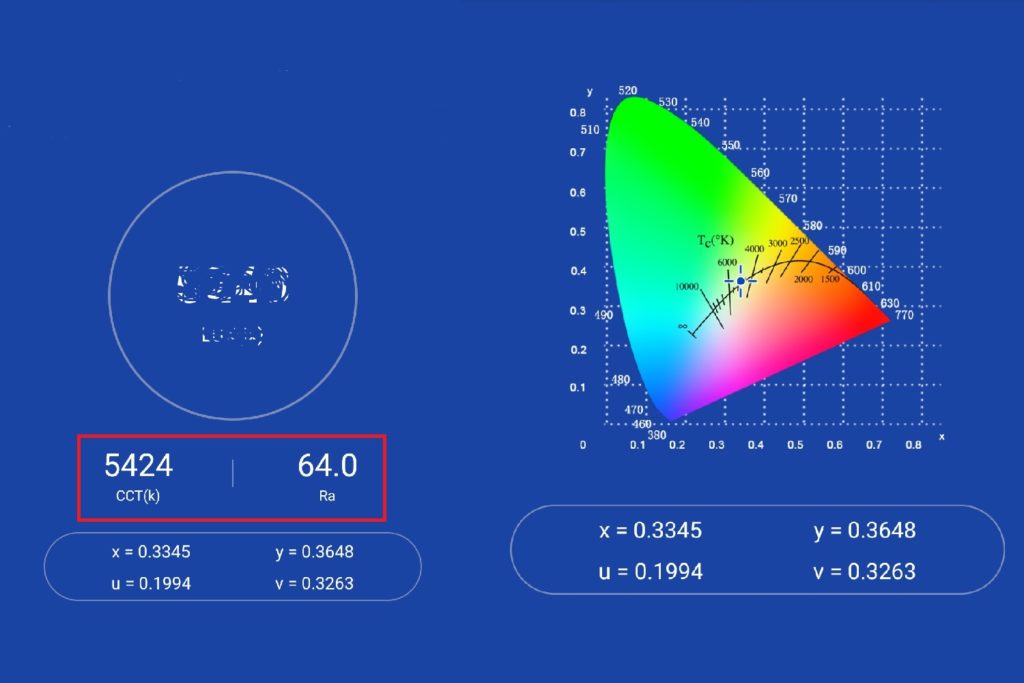
Beam color temperature (CCT) and CRI
I removed the LUX because I just wanted to test the CCT (color temperature) and Ra (CRI)
I already mentioned the sharp bezel earlier in this review. The bezel is not something you’d like to poke in your upper legs. In your jeans pocket may not be the best way to carry this flashlight around. The bezel is pretty sharp and is not removable without using tools or heat. It’s probably using some kind of Loctite.
Dimensions and size comparison
- Length: 139.9 mm / 5.51 ”
- Head diameter: 26.6 mm / 1.05 ”
- Body diameter: 25.8 mm / 1.02 ”
- Tailcap diameter: 26.6mm / 1.05″
Weight:
- Empty: 103.9 g / 3.66 oz
- With battery: 176.7 g / 6.23 oz
Tactical Flashlight comparison
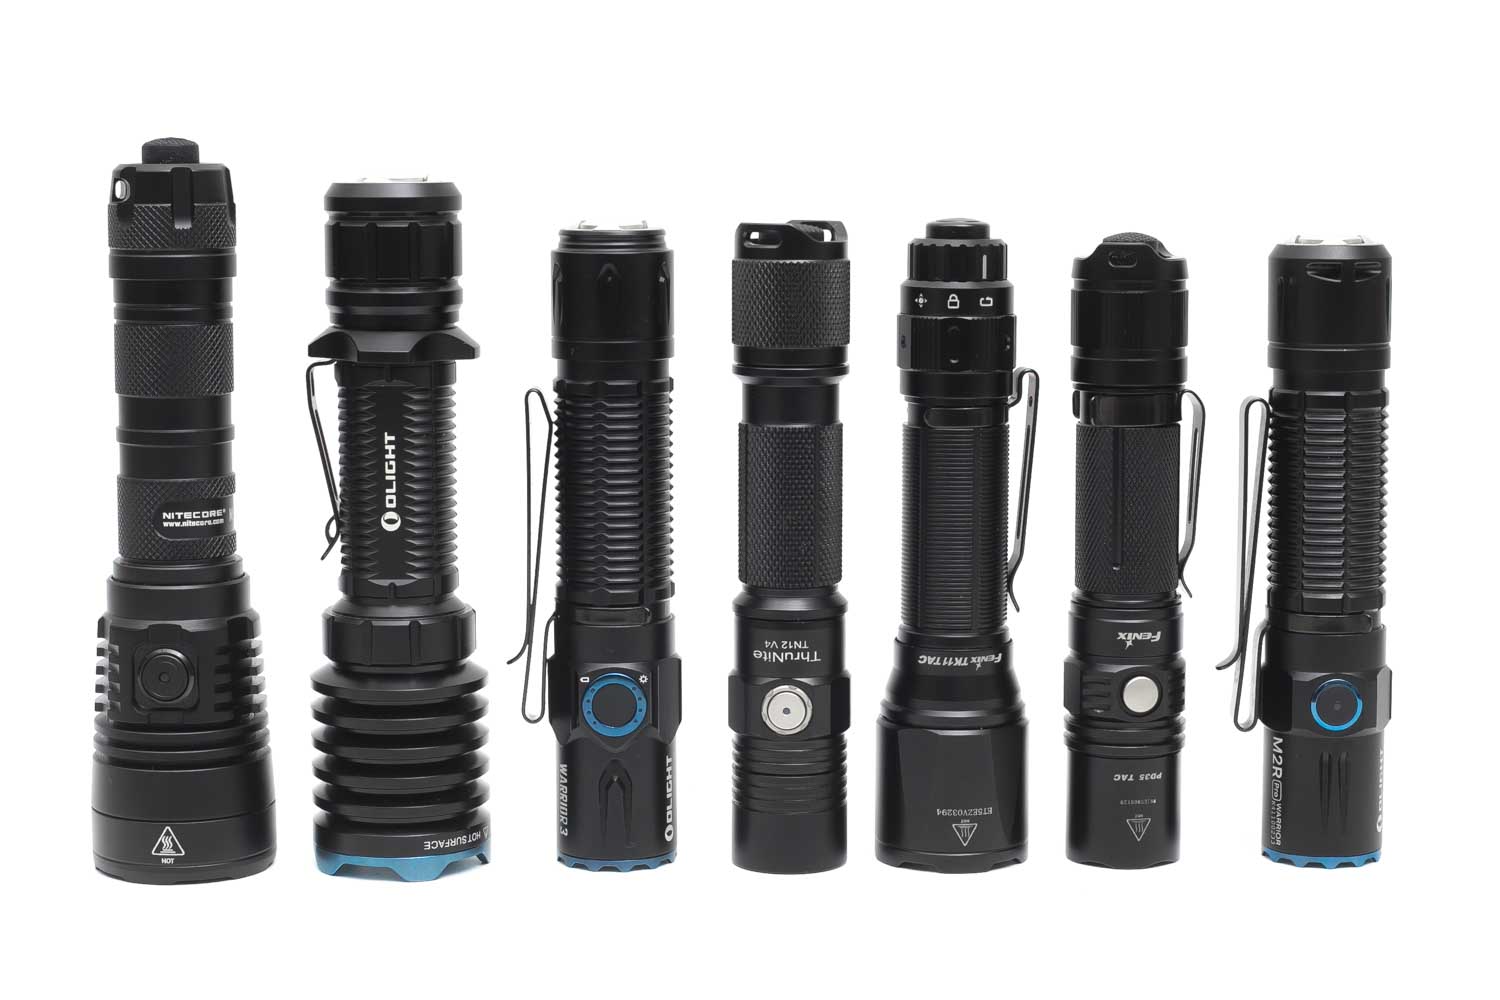
Size compared to other Tactical flashlights
Group 1, Olight Warrior 3 compared to its predecessor, the Olight Warrior M2R PRO
Group 2, from left to right: Nitecore MH25S, Olight Warrior X Pro, Olight Warrior 3, Thrunite TN12 v4, Fenix TK11 Tac, Fenix PD35 Tac, Olight Warrior M2R Pro.
Driver & User Interface:
The Olight Warrior 3 has a different kind of UI from other well-known brands. You can use the tailcap and the side switch to activate the light. But keep in mind that the tailcap functions differently from the side switch.
The tailcap switch is a bit special and has 2 menu configurations, besides a unique 2-stage switch. The default configuration is half-press (first stage) for Medium and Full press (second stage) for Turbo. In mode configuration 2, you have half-press for Turbo and full-press for Strobe.
Modes:
- Moon, Low, Medium, High, Turbo
- Moon, Turbo and strobe are not part of the normal mode cycle
From OFF: Tailcap:
- Half click: constant on, medium mode
- Half press (longer than ~0.5 sec): momentary on, medium mode
- Full click: constant on, Turbo mode
- Full press (longer than ~0.5 sec): momentary on, Turbo mode
- Triple-click: N/A
From OFF: Side-Switch:
- Single-click: Last used mode (exclusive Moon, Turbo or Strobe)
- Press and hold: Moon mode
- Double click: Turbo
- Triple-click: Strobe
From ON: Side switch:
- Single-click: Off
- Double click: Turbo
- Triple-click: Strobe
- Press and hold: Cycle through modes Low Medium High
How to switch to Mode Configuration 2?
To switch between the two configuration modes, press and hold the tail switch and click the side switch. Release the switches to activate the configuration mode. Repeat to change for the other setting.
Mode memory:
- Yes, it does have mode memory, but you have shortcuts to Moon, Med and Turbo!
- Turbo is not memorized.
- High is memorized for 1 minute. After 1 minute the light will turn on in Medium mode.
Blinky modes menu:
- Yes, triple-click on side switch. Both from on and off position.
Low battery warning:
- There are battery level indicator LEDs on the right side of the switch
- 4 LEDs = 75-100%
- 3 LEDs = 50-75%
- 2 LEDs = 25-50%
- 1 LED = 10-25%
Lock-out mode:
- Yes. You can enter the lockout setting by a press-and-hold of the side switch from OFF. It first goes to Moon and then turns into lock-out mode.
- You can also do a mechanical lockout by unscrewing the tailcap.
- When the lock-out mode is activated, and you press the side swith, a red indicator LED will show it is actived.
PWM:
- Yes, visible in moon mode! But at very high Hz. So not noticeable by eye unless you swing the light really hard.
Firmware / UI Conclusion:
The firmware is easy to understand and has shortcuts to Moon, and Turbo, making this a great firmware. And, if you like Strobe, you even have a shortcut for that as well.
Batteries & Charging
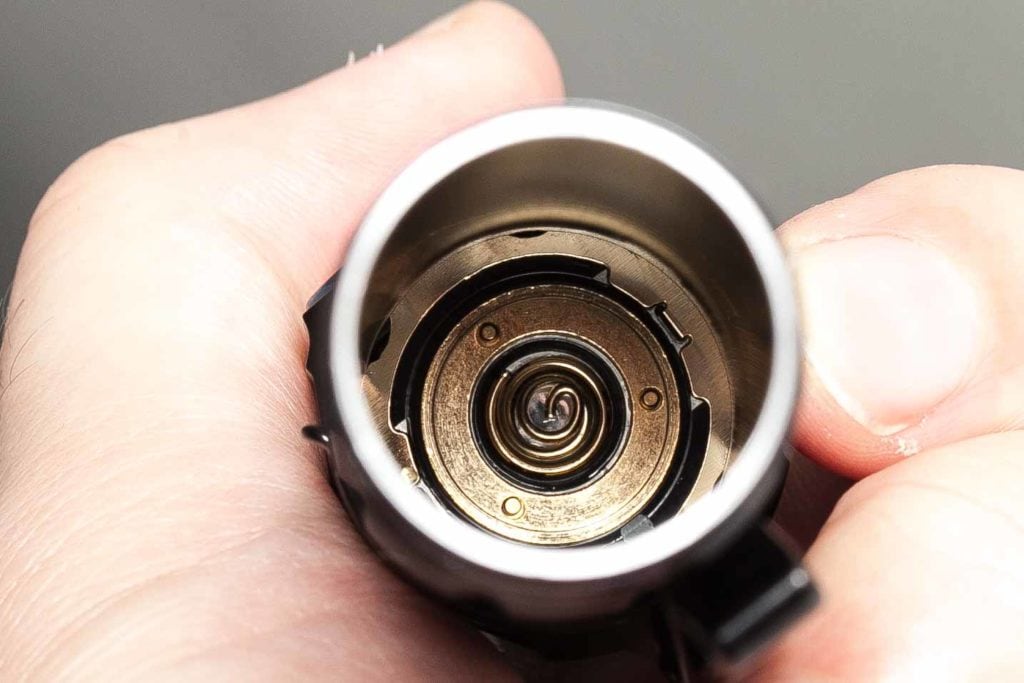
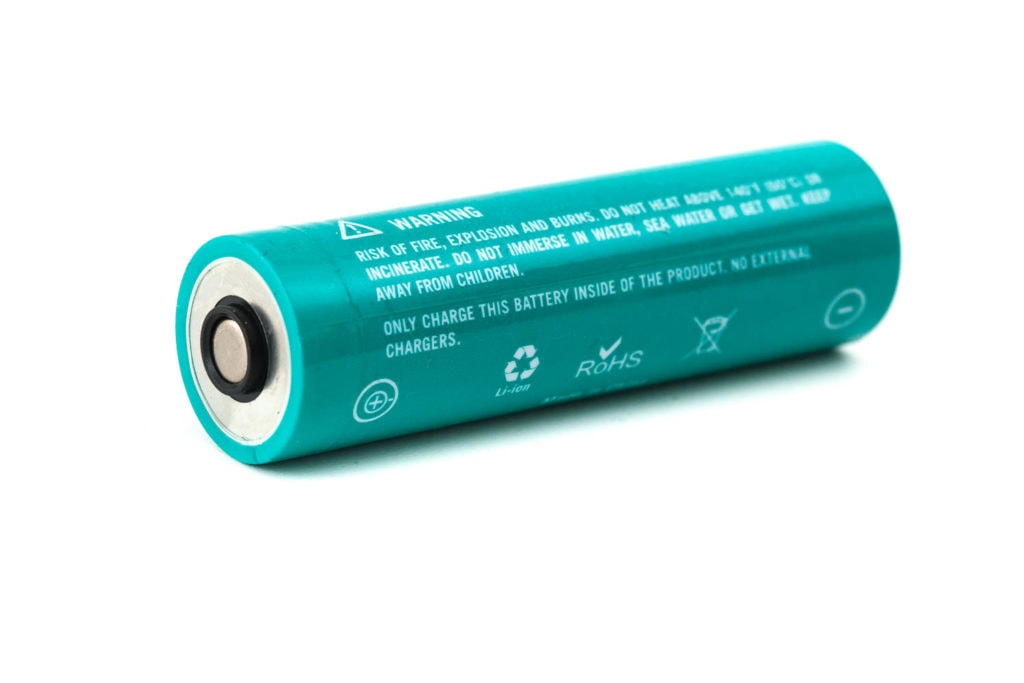
Olight uses a proprietary battery and charging system. Although you can still charge the battery in a normal conventional lithium charger (as long as it can make contact with the positive terminal), you can’t replace it with a regular non-Olight battery.
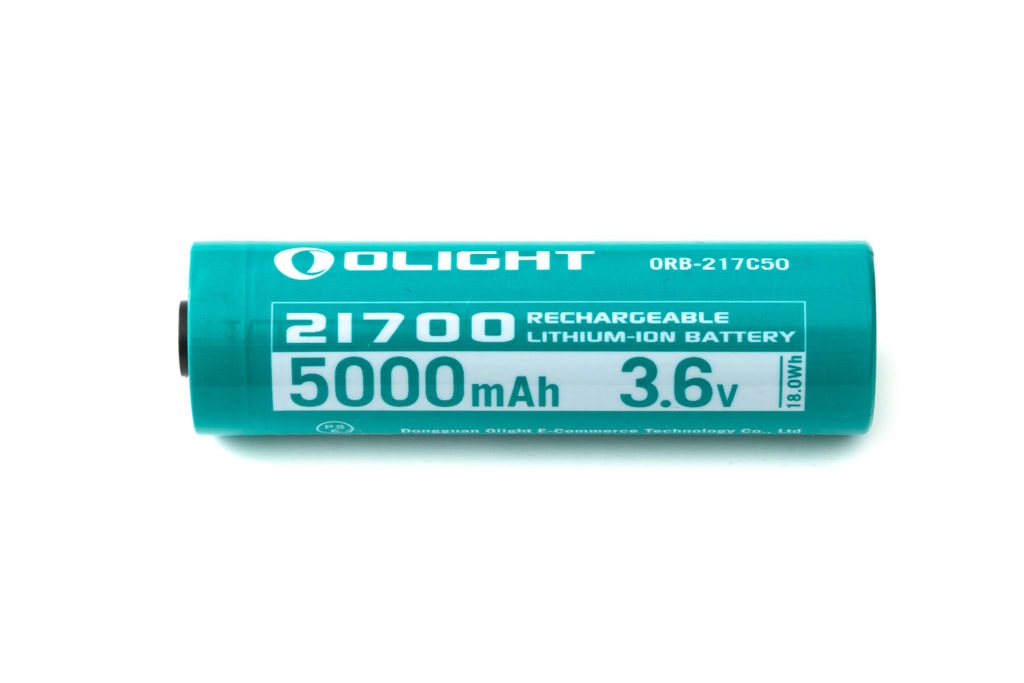
The 21700 battery included is an Olight ORB-217C50, Lithium-Ion battery with a capacity of 5000mAh and arrived with 3.7Volts. This has a lot more capacity than a regular 18650 battery, but it’s only slightly larger. Keep in mind that you can still use these batteries in normal flashlights, as long as it doesn’t touch the negative metal ring around the positive terminal!
Olight includes an MCC3 magnetic charging cable, and it doesn’t accept any older MCC’s. They use a proprietary charging system to guarantee the best possible performance and safety. Charging with the cable takes about 3 hours, but the green light will indicate the end of charge, but it’s not 100% charged yet. When the light turns green, the battery is about 95% charged.
Keep in mind, that if you’re using a USB meter, the charge current starts off at around 0.06mA. At first, you may think the charging cable to be broken, but just wait a minute, and the light will start charging with a much higher current, of about 1.8A or more. Not sure why this is, but it’s probably a safety feature. I know some other Olight charging cables (with 1A) are working right away.
Some people say you can’t use these batteries in other flashlights, but that’s not true. As long as the driver spring makes contact with the positive terminal, you can use these batteries. Just be careful that you don’t get a short by touching the negative terminal next to the positive terminal. You could always put a plastic/paper washer on top of the negative ring to reduce that risk. (Only when you use them in other flashlights).
Performance
Lumen measurements:
All output numbers are relative to my homemade Integrating Sphere. It is set up with an Extech SDL400 Lux Meter for measurements including a Kenko PRO1D ND-16 filter. The base measurement is done with a Convoy S2+ that has been tested at 255 lumens.
All of my readings were taken from a fully-charged Olight ORB-217C50. Measurements were taken manually at the start, and 30 seconds. The 10-minute measurement is taken from the runtime graph.
| Mode | Specs | start | 30 sec | 10 minutes |
|---|---|---|---|---|
| Moon | 1 | 1.02 | 1.02 | – |
| Low | 15 | 19.65 | 19.65 | – |
| Med | 200 | 226 | 224 | 222 |
| High | 800 | 878 | 866 | 831 |
| Turbo | 2300 lm | 2598 lm | 2428 lm | 816 |
As usual, Olight was pretty conservative with their numbers.
Runtime:
The runtime test was done with the 50cm integrating sphere, including the Kenko Pro1D ND-16 filter and Extech SDL400 data logging Lux Meter.
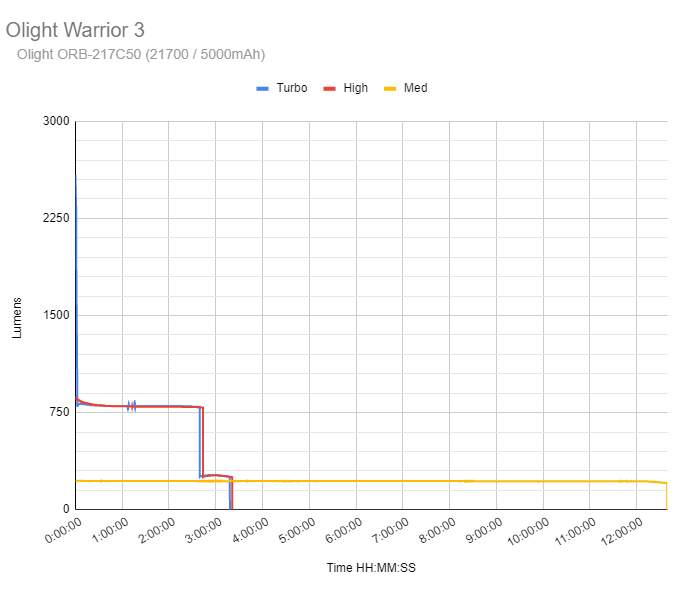
Only Turbo, High, and Medium modes are tested. Medium had a runtime of almost 13 hours, and Low mode is according to specs 180 hours, or 7.5 days. Moon mode has a runtime of up to 55 days according to the specifications.
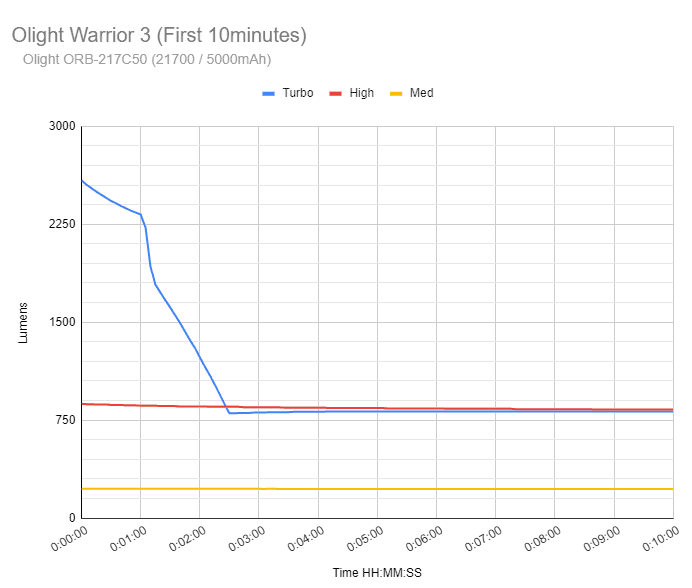
Turbo starts at almost 2600 lumens and drops quickly to below 1000 lumens in 2 minutes and 20 seconds. After 3 minutes it is pretty stable around 816 lumens and runs till it drops to 258 lumens after 2 hours and 39 minutes. The 3rd, and last drop, is at 3 hours and 18 minutes when the light turns off abruptly. This is also the total runtime.
High mode starts at 878 and slowly declines till it’s pretty stable at around 800 lumens till its first drop after 2 hours and 43 minutes down to about 260+ lumens. After 3 hours and 21 minutes it turns off.
Low mode is extremely stable at around 220 lumens for 12 hours and 39 minutes. (Specs: 13 hours)
You can see the low battery warning for a long time, so you know when to charge or change batteries.
Note:
Turbo mode can’t be reactivated when the battery charge is about 75% or lower!
Throw Measurement
Measurements were taken both indoors at 5 meters and outdoors at 10 meters (after 30 seconds) with a professional Hagner E4-X Lux Meter.
| Mode | Specs | Candela | Meters | Yards |
|---|---|---|---|---|
| Low | – | 200 | 28 | 30.93 |
| Med | – | 2350 | 97 | 106.03 |
| High | – | 9,075 | 191 | 208.36 |
| Turbo | 23,000 cd | 25,500 cd | 319 | 349.27 |
| High 10 meters outdoors | – | 8,500 | 184 | 201.65 |
| Turbo 10 meters outdoors | 23,000 cd | 24,500 cd | 313 | 342.36 |
I couldn’t measure moon mode from 5 meters distance.
21700 tactical flashlight comparison
Single 21700 tactical flashlights measured: These numbers are NOT from the specifications but measured by our team.
| Flashlight | Max Output (lm) | @30sec (lm) | Candela (cd) | Distance (m) |
|---|---|---|---|---|
| Acebeam L18 | 1249 | 1051 | 215,500 | 928 |
| Acebeam L19 | 1378 | 1242 | 430,300 | 1312 |
| Acebeam L35 | 6189 | 5609 | 57,000 | 477 |
| Cyanksy P25 | 4236 | 3300 | 11,275 | 212 |
| Fenix PD36 Tac | 2590 | 2079 | 18,675 | 273 |
| Fenix TK16 v2 | 2657 | 2222 | 40,900 | 404 |
| Fenix TK20R UE | 2571 | 2078 | 45,700 | 428 |
| Fenix TK22 TAC | 2742 | 2234 | 72,250 | 538 |
| Fenix TK22 v2 | 1622 | 1592 | 53,000 | 460 |
| NEXTORCH TA30C Max | 2822 | 2810 | 41,750 | 409 |
| Nitecore MH25S | 1979 | 1850 | 68,400 | 523 |
| Nitecore P10iX | 4223 | 566 | 8,700 | 187 |
| Nitecore P20iX | 4119 | 1342 | 16,000 | 253 |
| Nitecore P23i | 2795 | 2345 | 50,760 | 451 |
| Nitecore SRT6i | 1744 | 1691 | 99,617 | 631 |
| Olight Warrior 3 | 2598 | 2428 | 25,500 | 319 |
| Olight Odin | 1999 | 1884 | 25,750 | 321 |
| Olight Warrior X4 | 2817 | 2664 | 92,125 | 607 |
Interactive runtime graphs
Below are interactive comparison graphs for a selection of these tactical lights. Hover your mouse to see more details.
If you use a mobile device, rotate your phone horizontally or open this link for a closer look.
The following graph focuses on the first 10 minutes after activation. If the details are unclear, access the interactive graph through this link for a closer look.
And the last comparison, we zoomed in to show the differences even better. For the first 60 minutes after activation. Not clear? Use this link for the interactive graph.
Beamshots
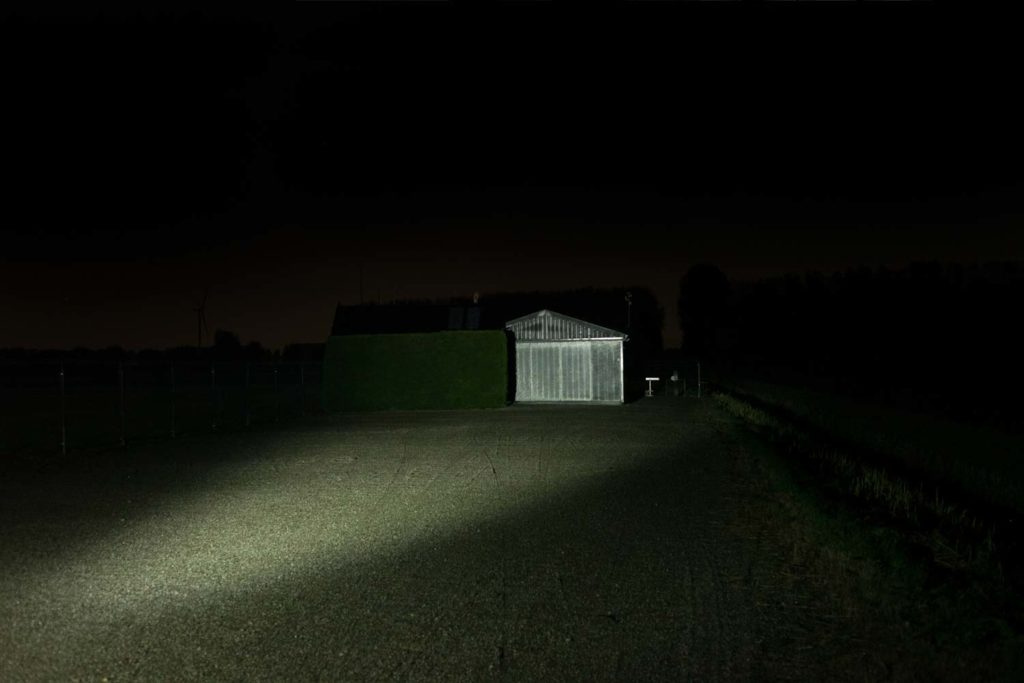
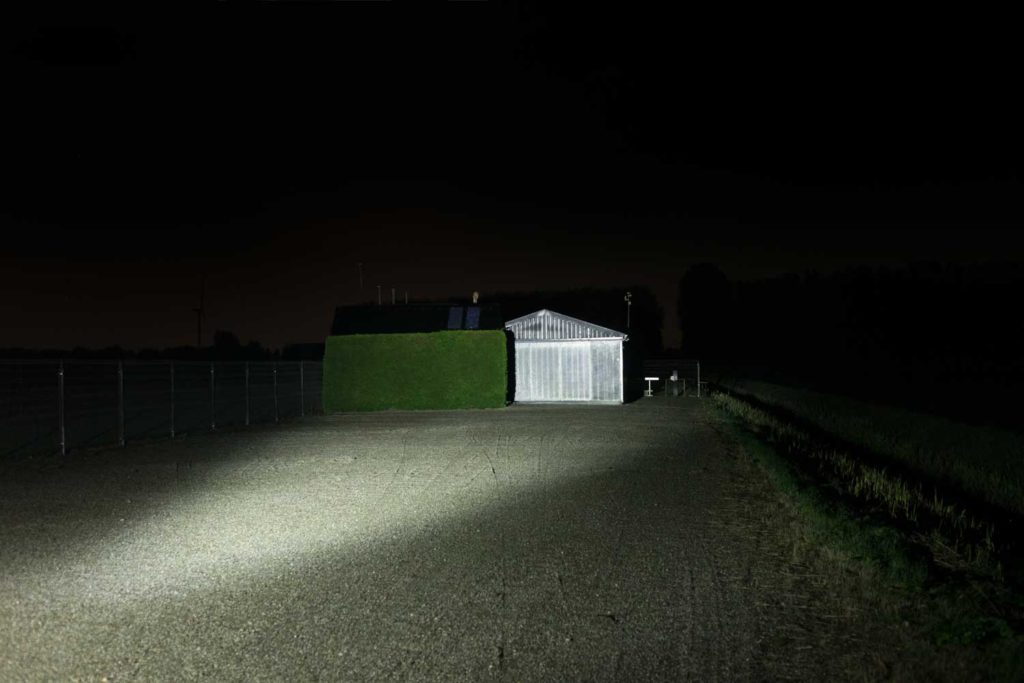
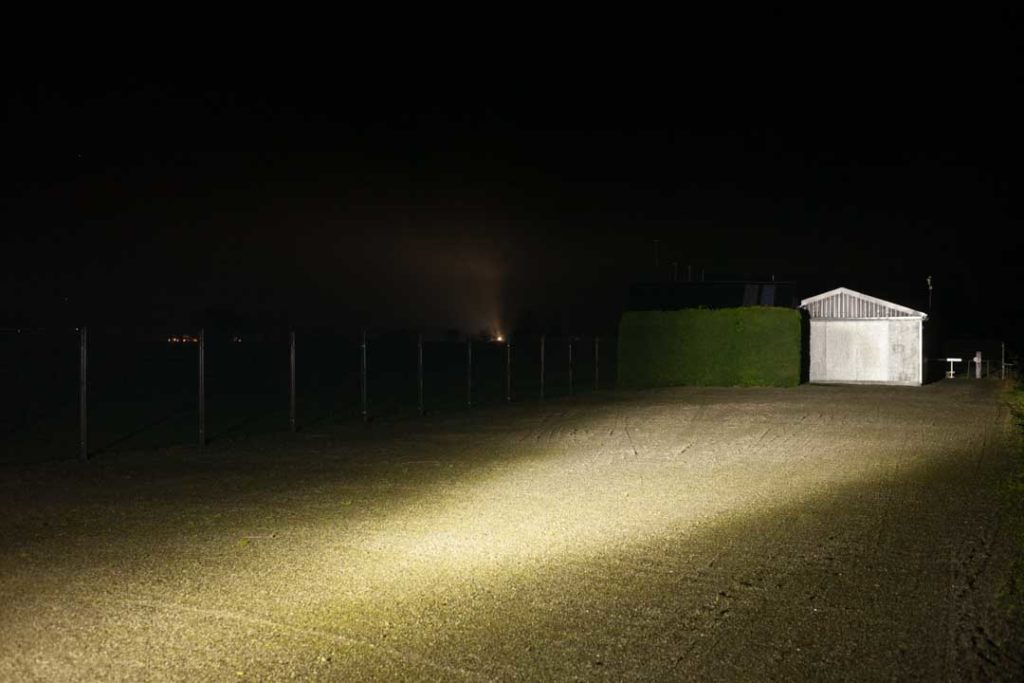
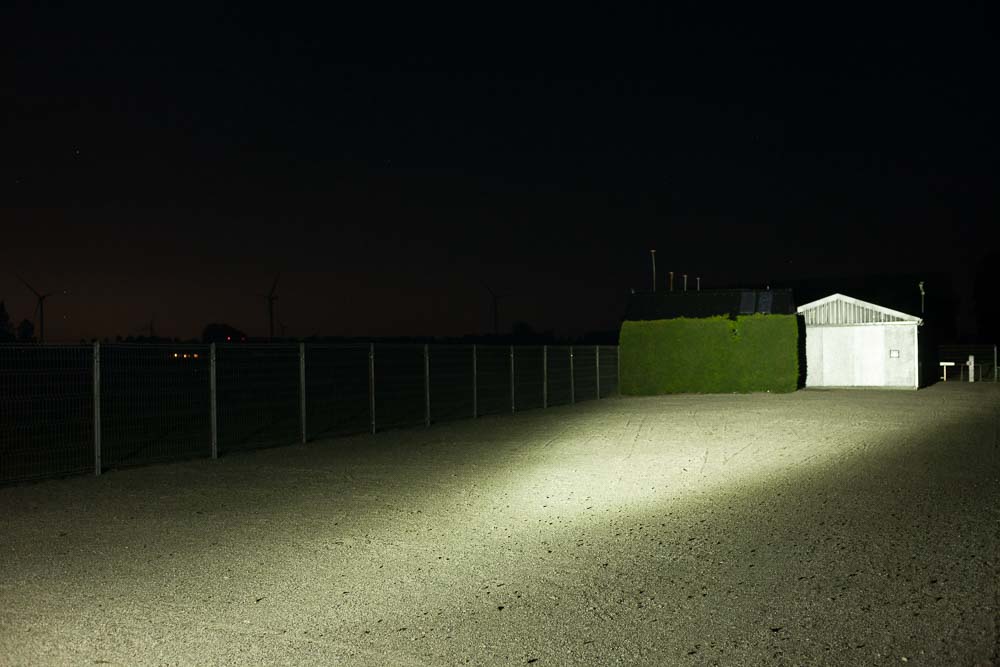
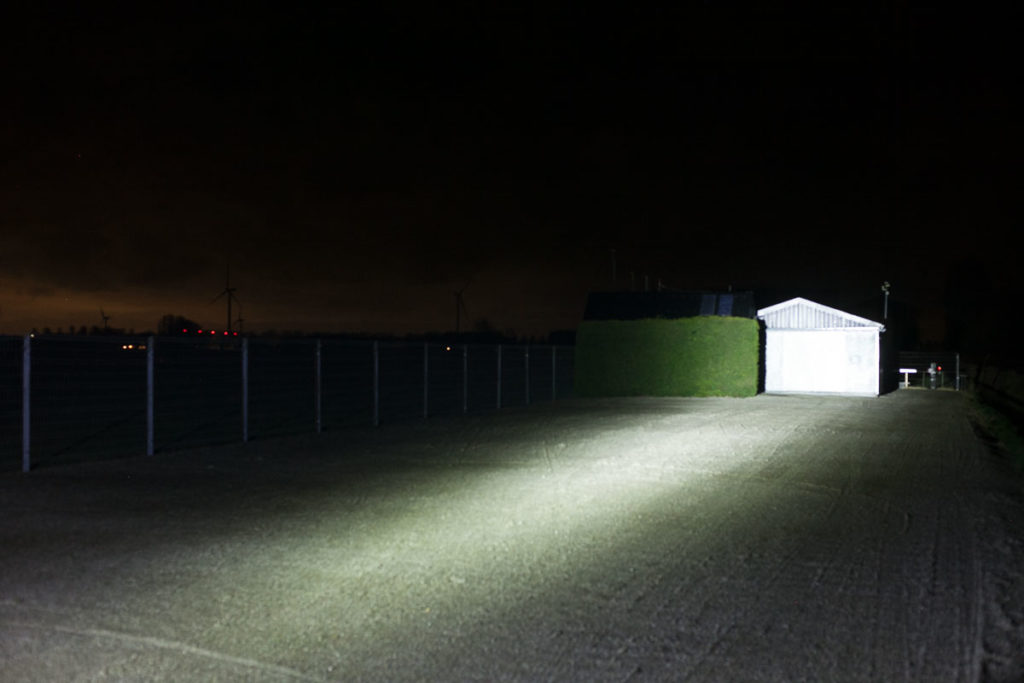
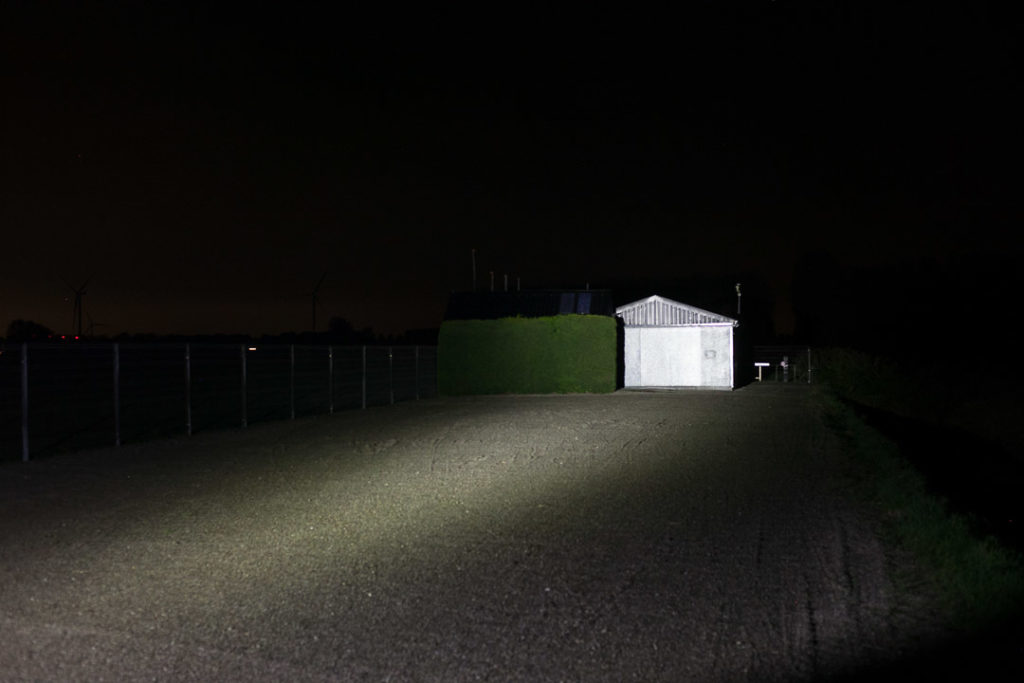
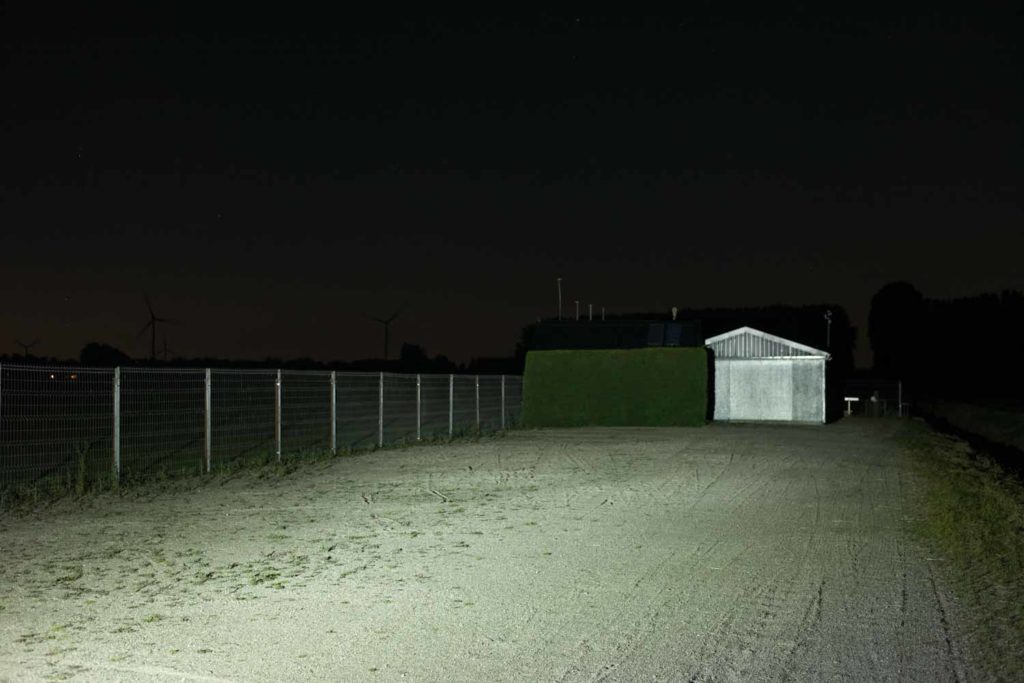
For the following beamshots, I used a Canon EOS 5D Mk2 and a 50mm lens. manual settings: ISO1600, 1/4sec , F4, 5000K
The shed is about 65 meters / 71 yards away.
Disclaimer: This flashlight was sent to me for review at no cost by Olight. I have not been paid to review, nor have I been holding back on problems or defects.
Final Verdict
Pros
- High quality packaging
- High quality flashlight
- Great UI (direct access to Moon, Turbo and Strobe)
- Ready to use package (Including battery, charging cable etc)
Cons
- Not pocketable with the sharp bezel (probably not meant to be carried that way anyway)
- Turbo mode can’t be activated after battery charge is 75% or lower (battery level indicator 3 or lower)
- Spare proprietary batteries are costly
Explanation on star ratings:
1: Avoid: my phone flashlight would be a better choice – 2: Poor: significant defect or issues, much better options available at the same price – 3: Average: some defects or issues – 4: Good: recommended (minor issues) – 5: Great: highly recommended
4.5 stars: ★★★★⋆
The Olight Warrior 3 provides you with a ready-to-go package including a battery, charge cable, and that’s all most people need. It’s a great tactical flashlight with instant access to Turbo, but also to moon mode and great runtimes.
On top of that, it’s also a nice upgrade from Olight’s M2R PRO warrior in terms of output and runtime.
What else can I say? It’s a great flashlight to gift and to get.
Olight Warrior 3 discount coupon
Unfortuantely, the Warrior 3 has been discontinued. Please have a look at its successor, the Olight Warrior 3S.
The link below goes to the newer version, the Olight Warrior 3S. Use our exclusive discount coupon to get 10% off your purchase. Use our coupon: 1Lumen
1lumen selects and reviews products personally. We may earn affiliate commissions through our links, which help support our testing.
